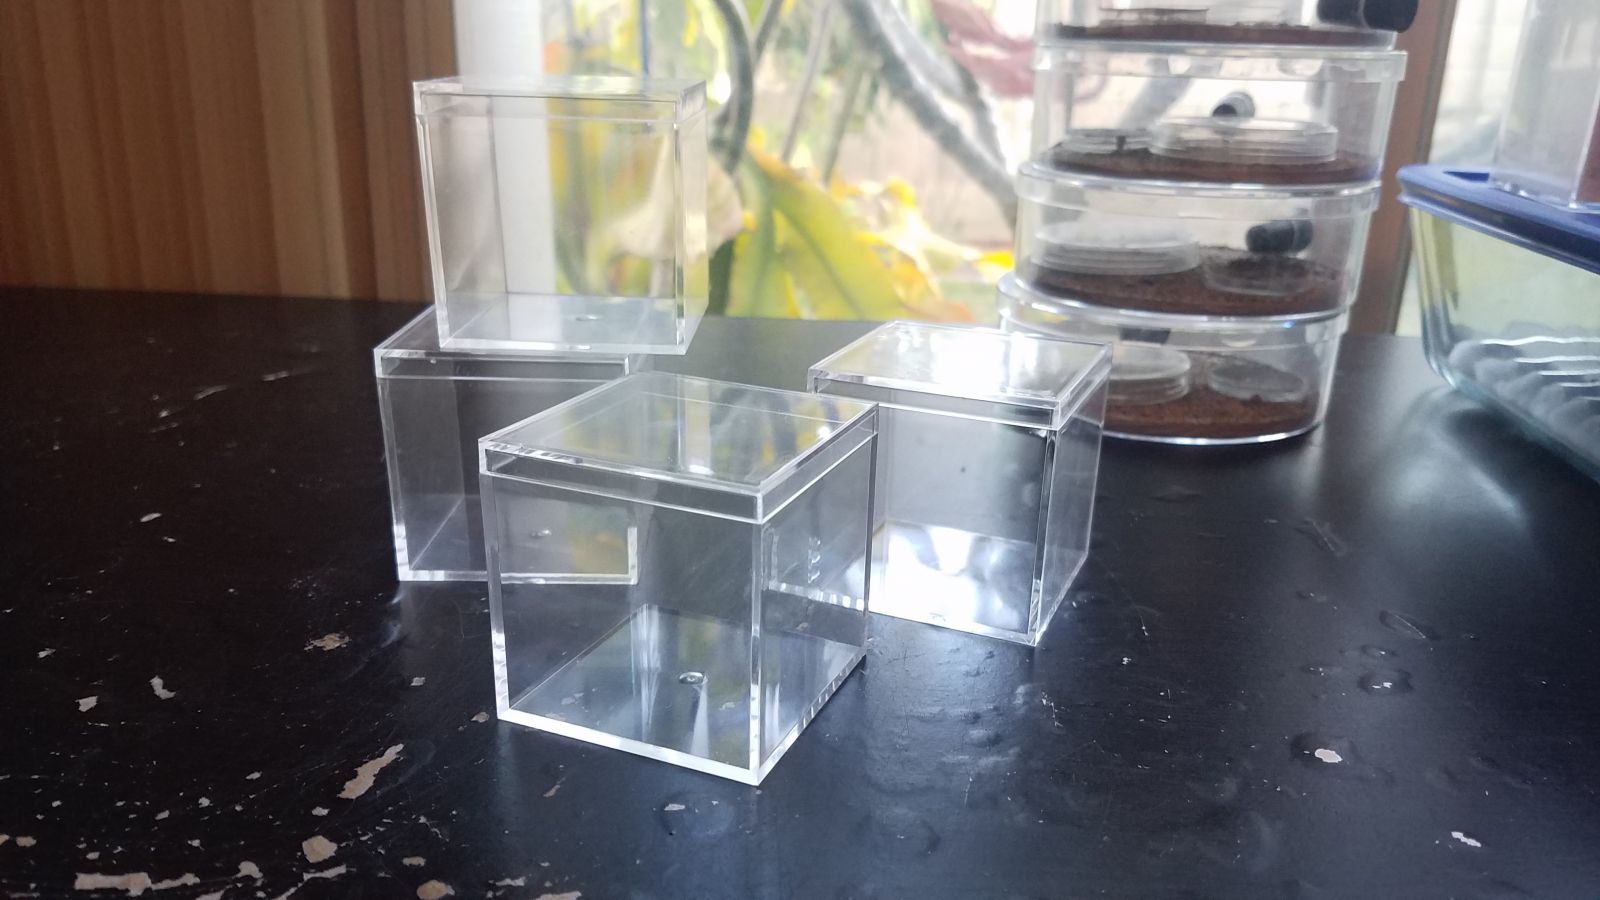
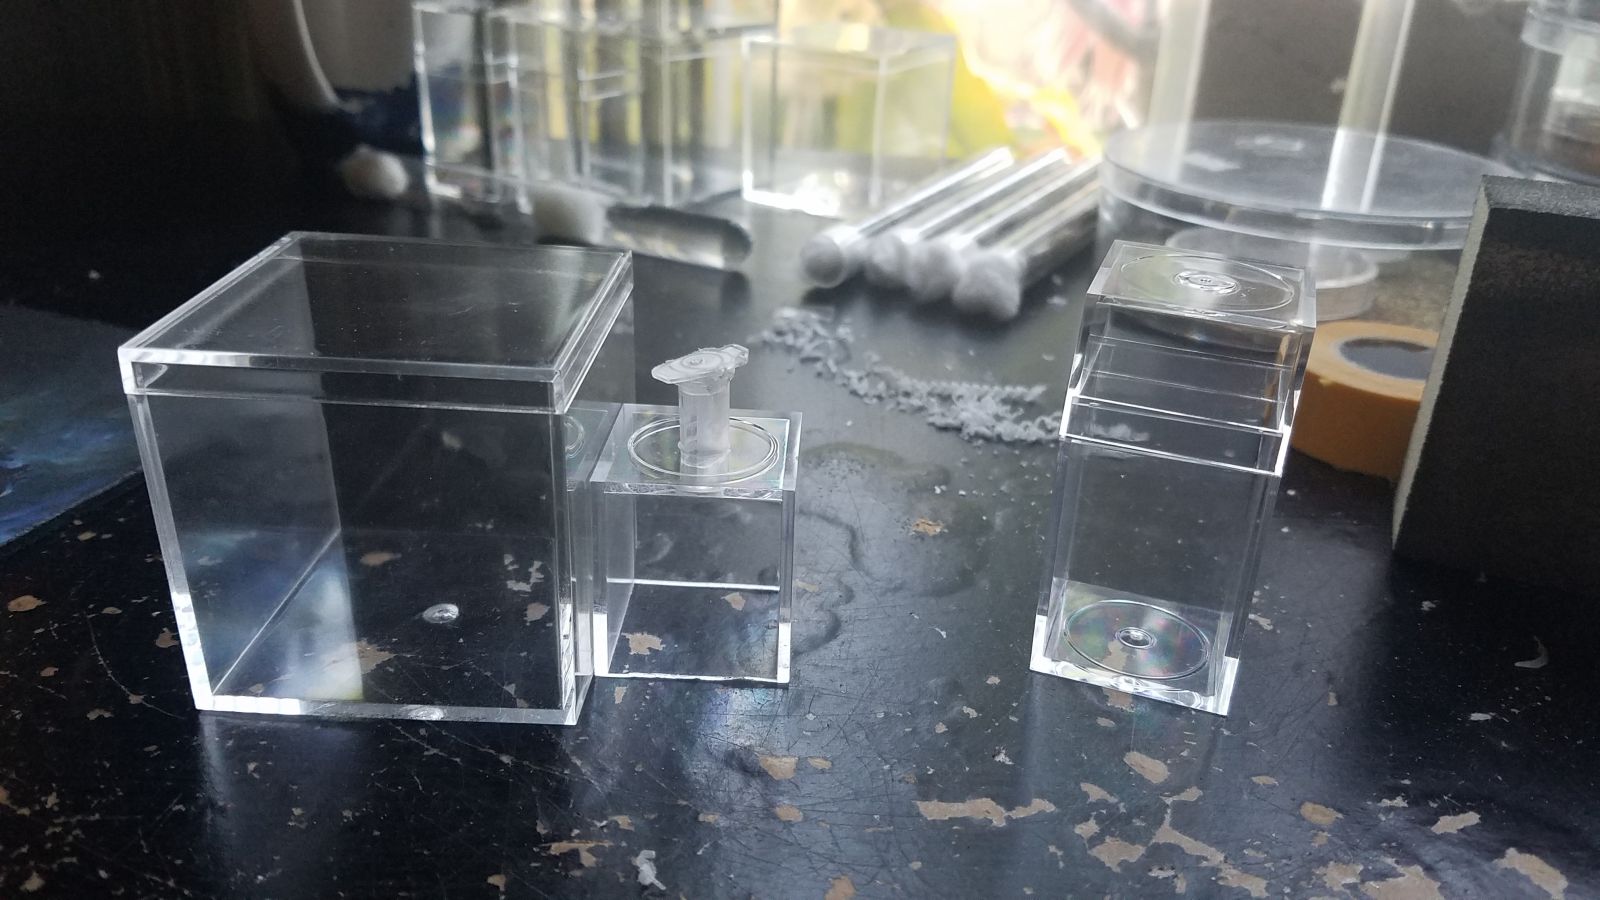
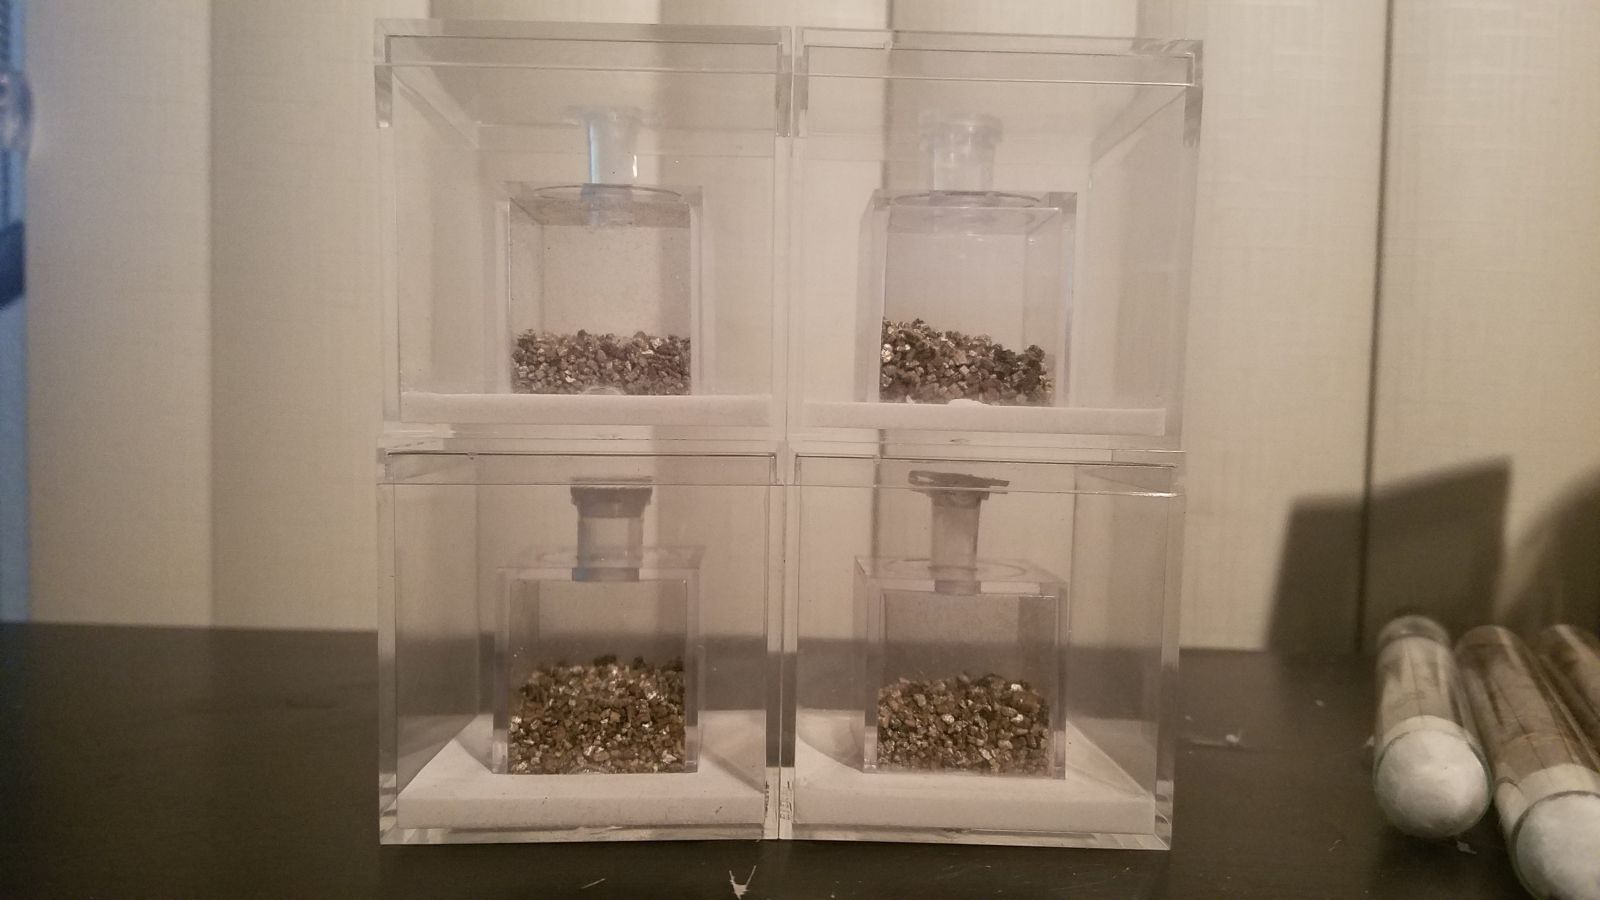
Here is an update on my progress so far. It is turning out to be one of dspdrew's dirtbox clones, but a lot smaller, haha. There are also no 3D printed parts. Seen here, I have the container from the first post, as well as a small Amac box off to the right. The smaller container next to the original one is a small Amac box cut down to fit into the container. This is what will make the hydration chamber as well as limit the ants' digging to around the sides, which will make them easier to observe. The thing you see at the top is the top half of a small centrifuge tube. I figured these would be great because I can stick them in a hole and just open and close the lid to add water to the chamber. I used a stepper drill bit to drill holes that were perfect enough that I did not have to use glue to keep them in place.
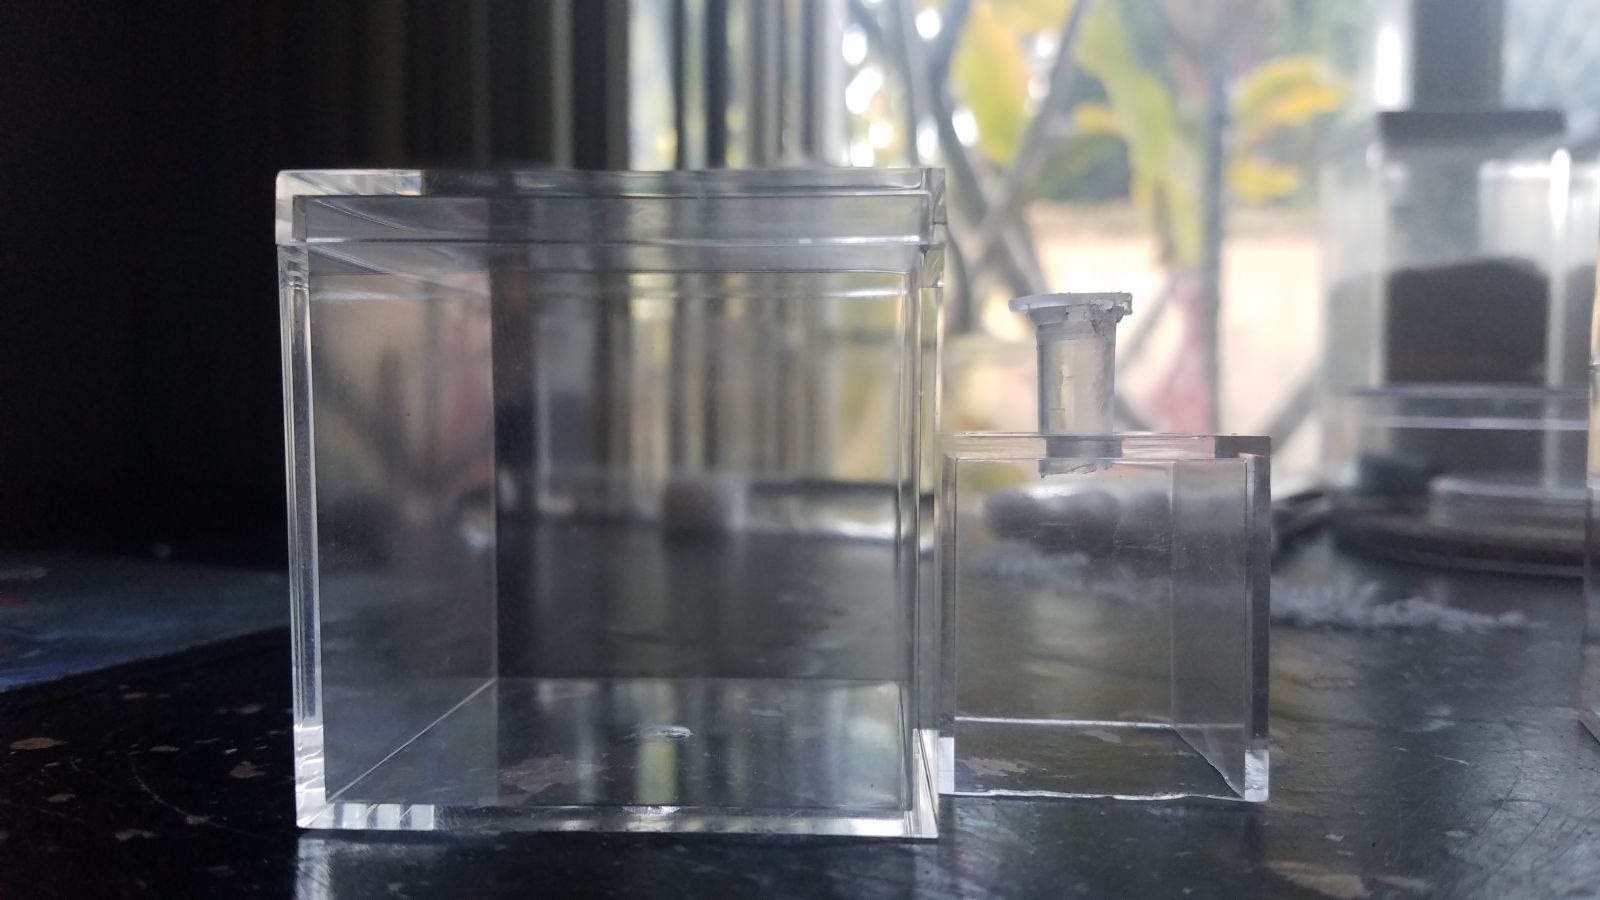
Here is the hydration chamber for scale compared to the main container.
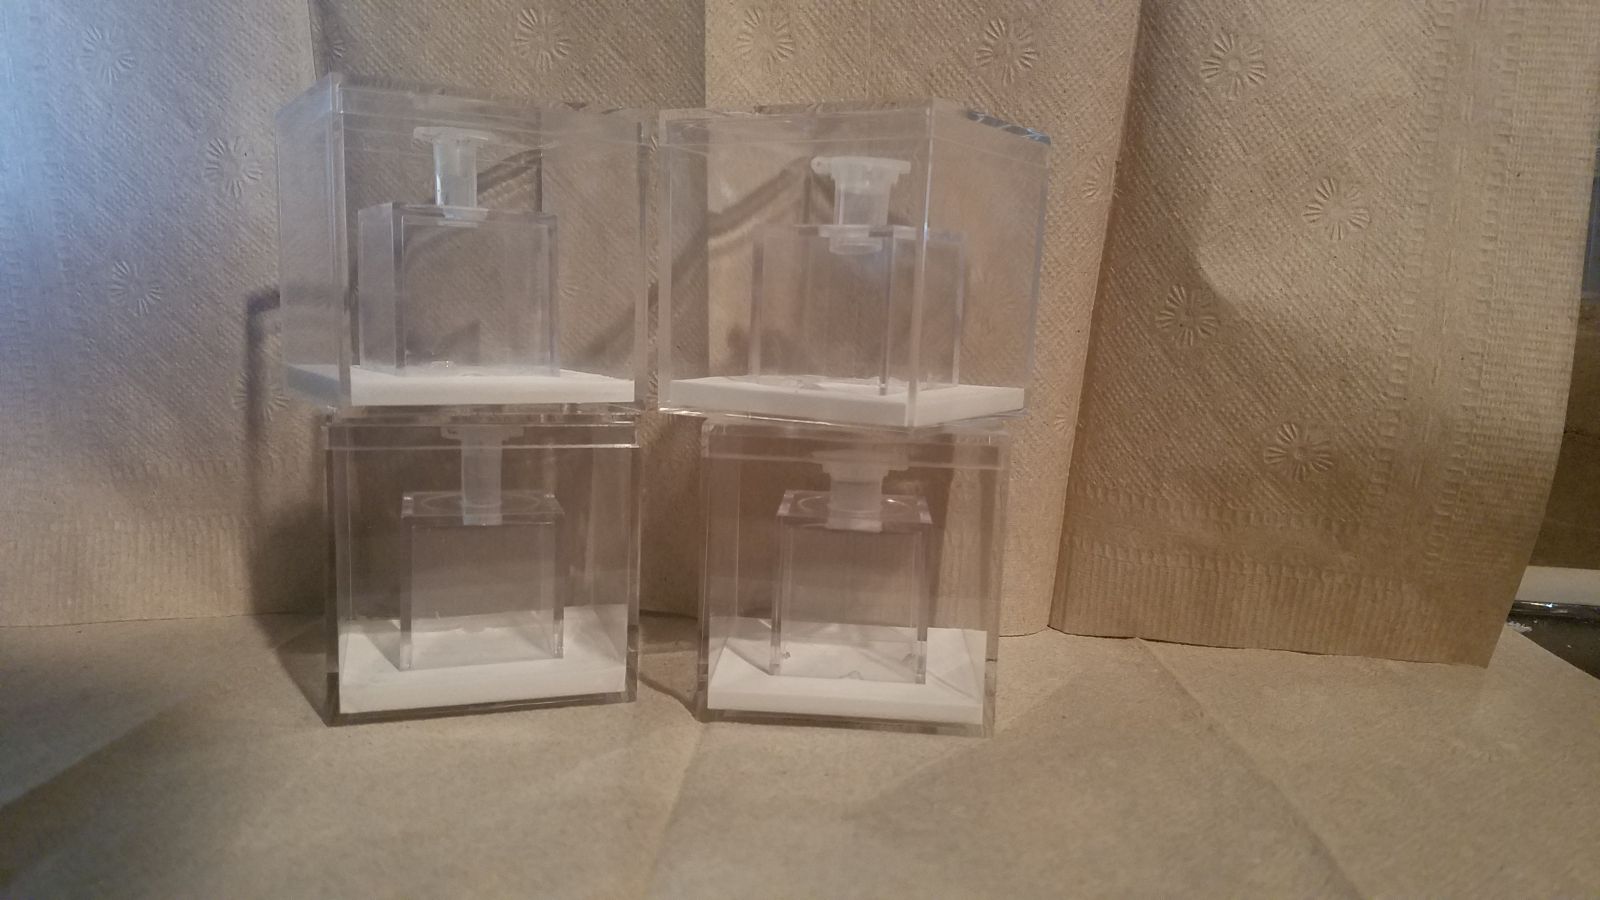
In this image, I have filled the base of the main container with hydrostone and the hydration chamber has been locked into place, since the hydrostone has cured. Another thing I forgot to take an image of was how I intend for the water to make its way to the rest of the hydrostone. Before I placed the chamber into the hydrostone layer, I used a soldering iron to melt small u-shapes into the bottom edges of the hydration chamber. This allows the hydrostone to have pathways inside and draw the water throughout the entire base.
This is the hydration chamber filled with vermiculite.
All that remains for me to do is collect some dirt and bake it to sterilize it of anything that can harm ants kept inside. I'm thinking I'm going to test a Pogonomyrmex queen or two as well as a Formica queen or two in it.
Edited by Zeiss, June 29 2018 - 3:43 AM.
