Okay... so the Hydrostone blocks were basically a fail. Well, maybe they weren't that bad, but they did pose a new problem that's worse than the ones they solved. I guess I had no idea how inadvertently perfect the original design was. With the block, it's basically no different than filling the whole container with dirt as far as capillary action and evaporation are concerned. The inner container was actually creating a pretty good moisture gradient up the sides because of the way it held the water in. With the block, there was never much of a gradient. The tank also kept the water from evaporating as quickly because of much less area where the water vapor can escape (only around the sides as opposed to the entire surface). These two things are pretty much the most important factors, so I decided to go back to the tank.
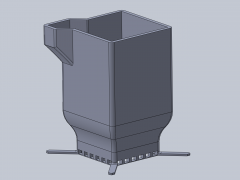
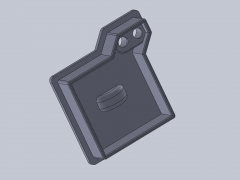
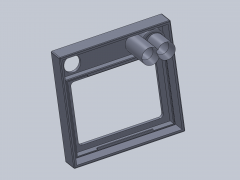
Of course I still wanted to try solving some of the problems I had with the old ones, so I completely redesigned them. The new design is quite a bit more complex looking, but it's really not too much harder to make. It just takes a lot longer because there are now four parts that have to be printed instead of just one. You can see three of them below. The fourth is just a little square bracket that's really not that exciting to see.
Here's a list of every problem solved by the new design:
1. I needed to be able to refill them WITHOUT having to remove the lid. That was the most annoying thing about the old ones, and made hydrating larger colonies a real pain in the butt.
2. With the big hydration tube sticking up from the center, there was no room to place a feeder inside. This is very important to me, because it's a LOT of work having to keep manually feeding tons of colonies every week; my feeders can last for months.
3. The lids had to have holes drilled in them and mesh glued on. This obviously is TONS of work and I really was just getting sick of doing it. The new design also has a much larger screen, giving it a lot more ventilation.
4. There was no easy way to clean out the inner container.
5. This isn't really a problem, but something nice that the block version had--more space around the bottom where nearly all ants like to make their chambers.
So here's the first one I printed up. I'll explain everything below, if you can't already figure it out.
As you can see the container is wide open.
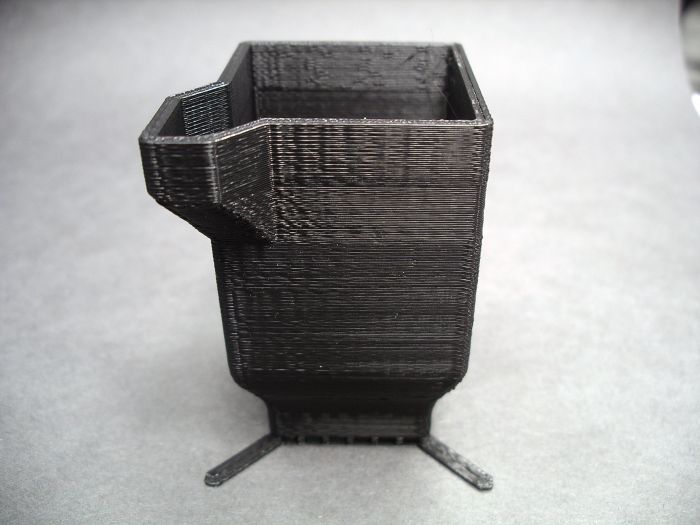
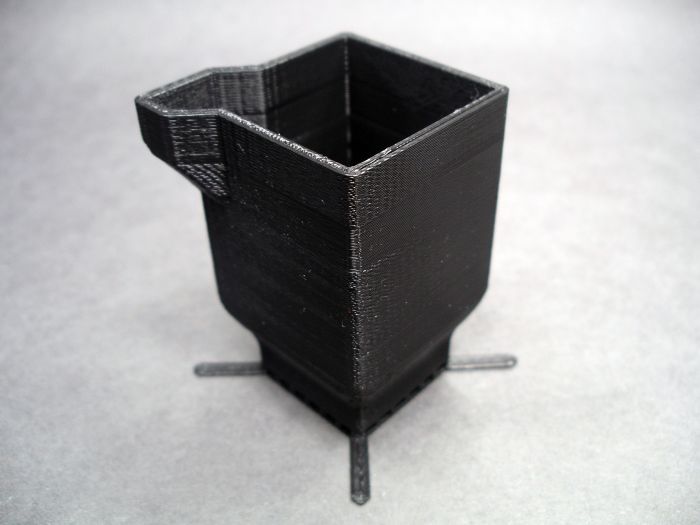
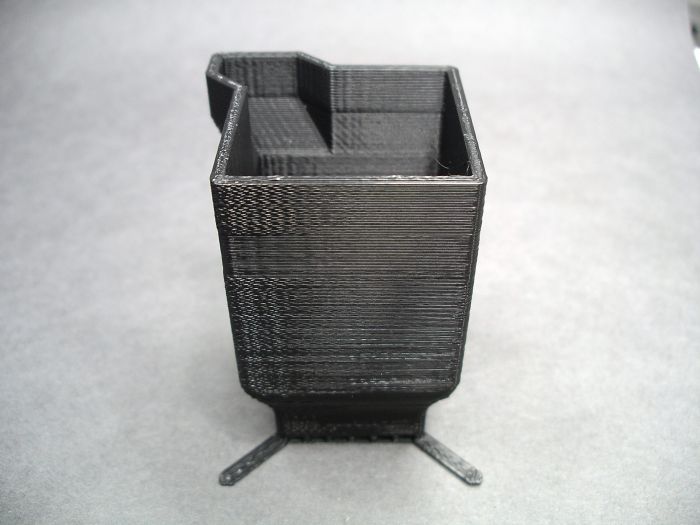
Ports where the water flows between containers, within the Hydrostone.
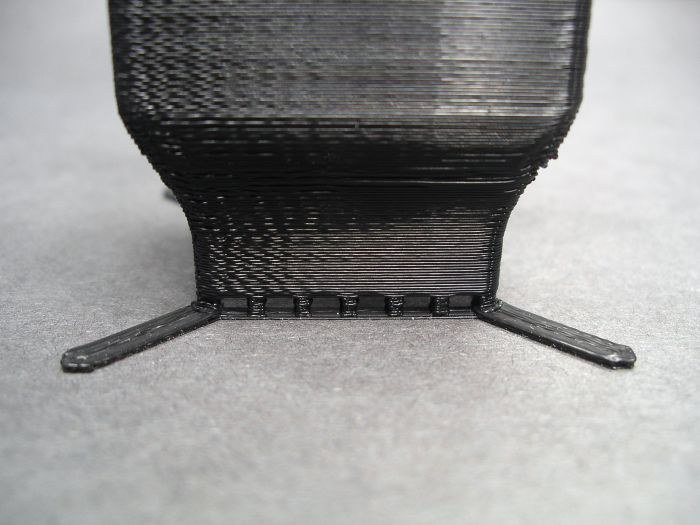
This is the inner container lid. The two large holes are for the two vinyl tubes used for hydrating. The water flows down one tube, while the displaced air escapes out the other, combining into a single hole on the lid. This allowed me to use smaller tubing, allowing for even more room on the surface. The two small holes in the center basically create a tunnel that acts as a hook that can be used to pull the lid off while it's down inside the main container.
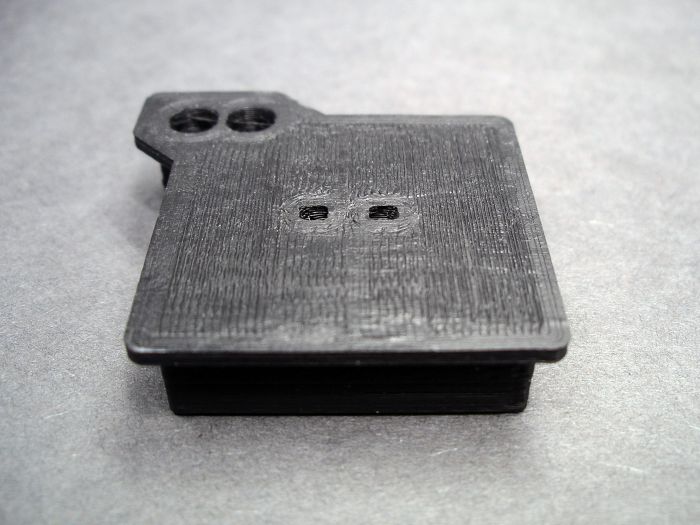
You can see the bottom side of the "tunnel" here.
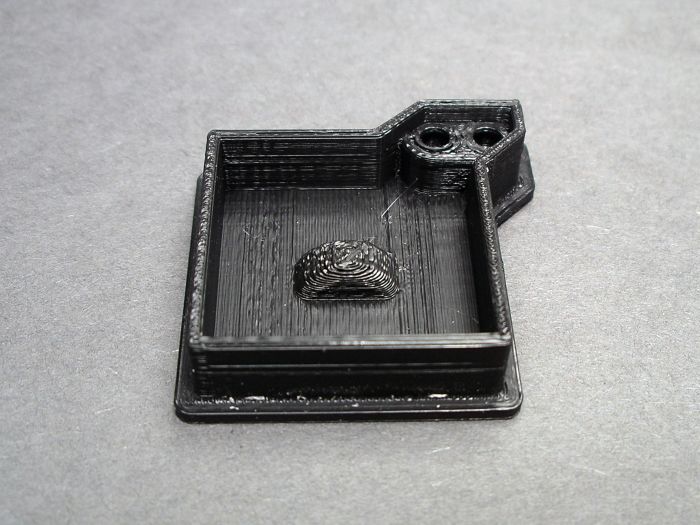
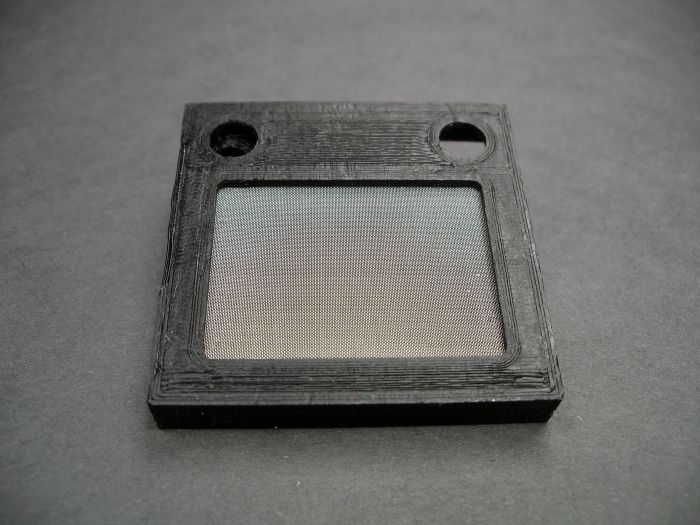
This is the lid that replaces the stock lids (it took quite a while, but I finally got them to fit perfectly). The left hole is where the two tubes are combined, and is used for hydrating from outside the nest. The right hole is just used for dropping food into the nest. With those two things, you rarely need to remove the lid.
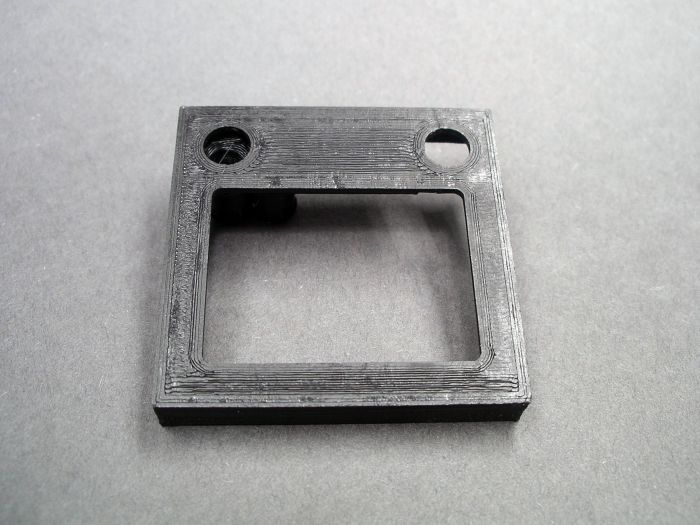
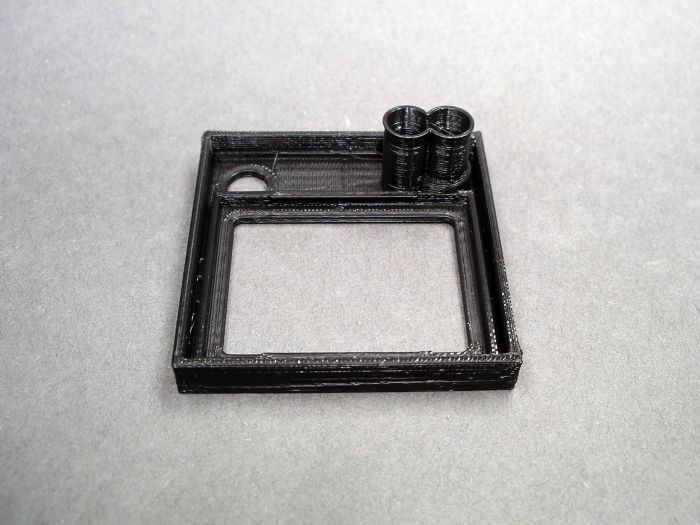
This is that one not-so-exciting part, yet it is pretty important.

This holds the screen in, as you can see in the next picture.
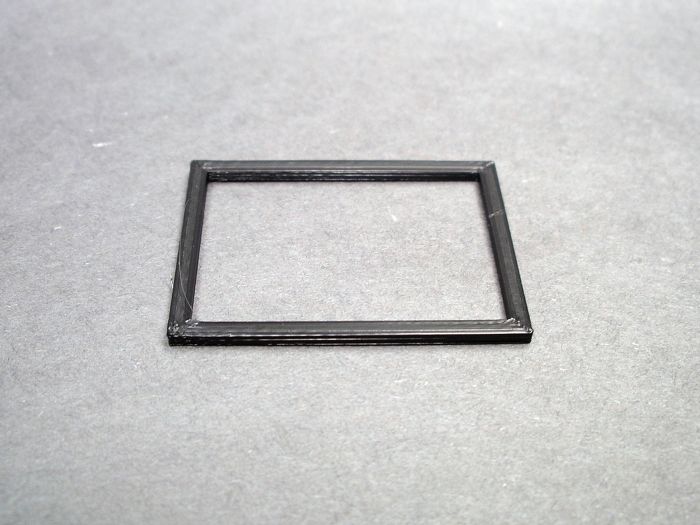
Soooo much easier than glue, and it's removable too.
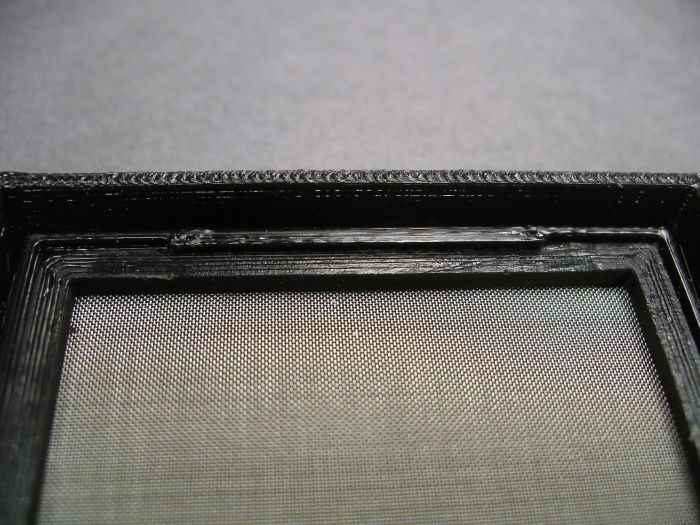
Here's the lid with the screen installed.
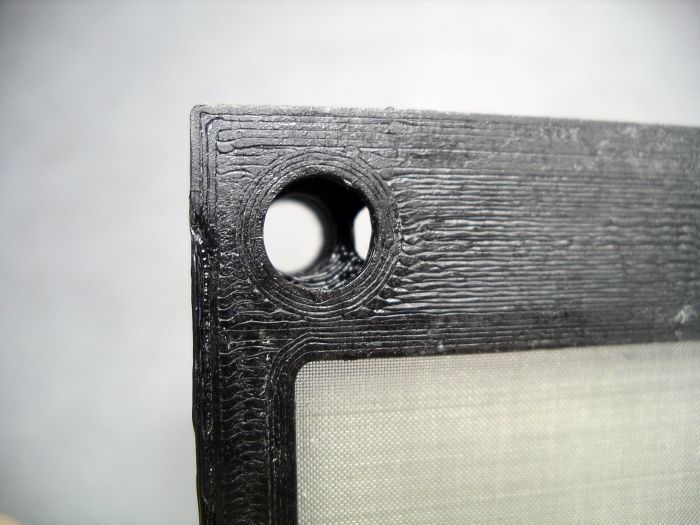
A better view inside the hydration hole/port.
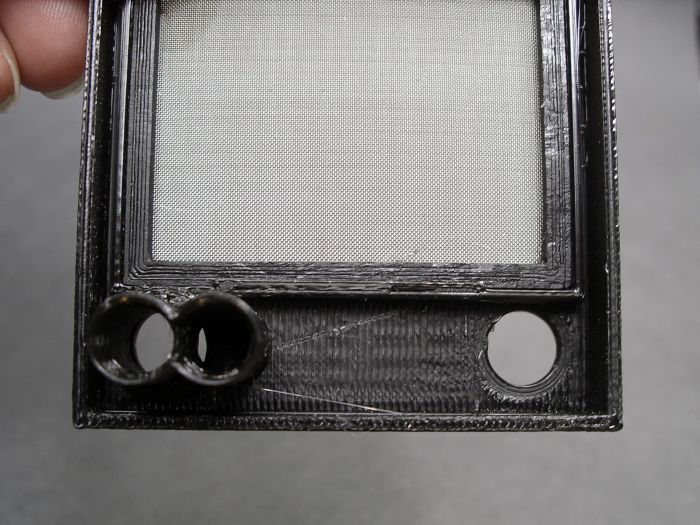
The inner container lids fit tight enough to be sure they can't be pulled off by pulling on the vinyl tubes, yet are not so tight, they can't be removed by pulling on the hook.
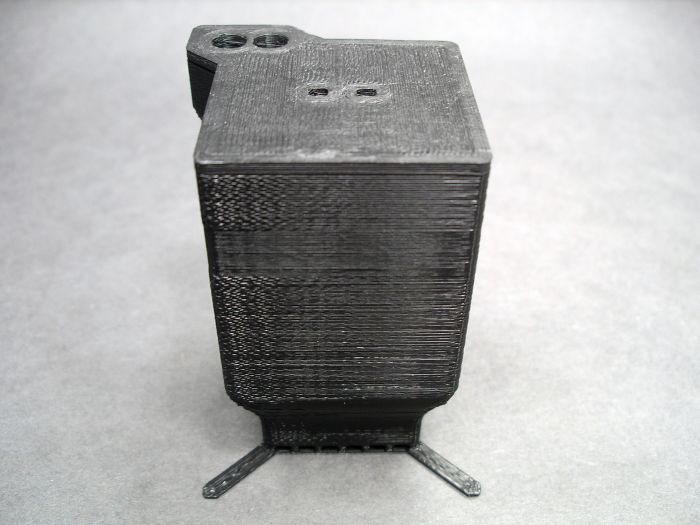
The "feet" on these new inner containers fit so much more perfectly inside the outer containers than the old ones did, allowing for a much more consistent thickness between the containers.
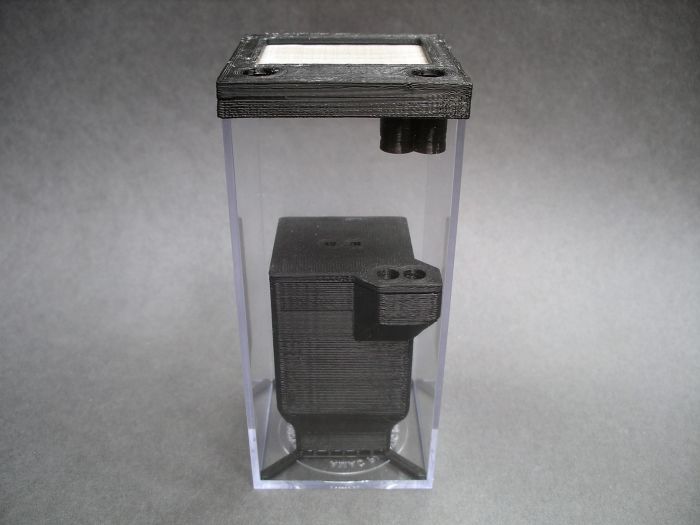
Here it is all complete without the substrate added. Now you can see what the black plugs are for.

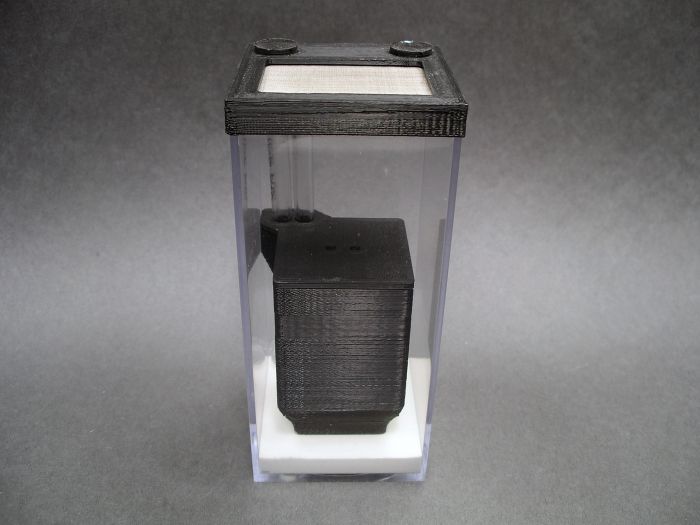
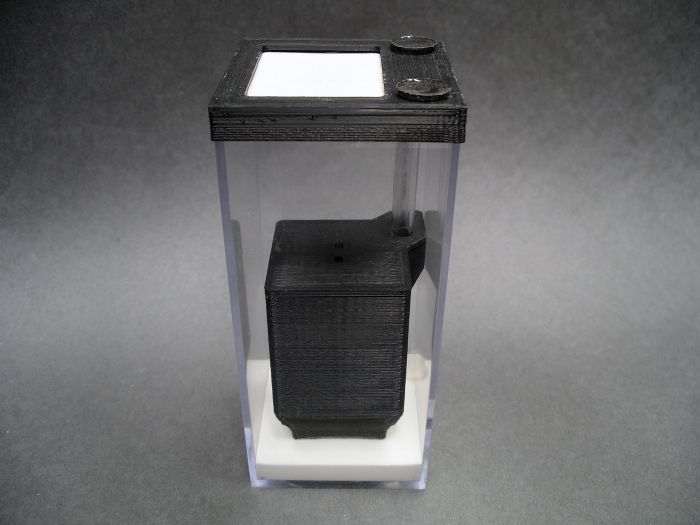
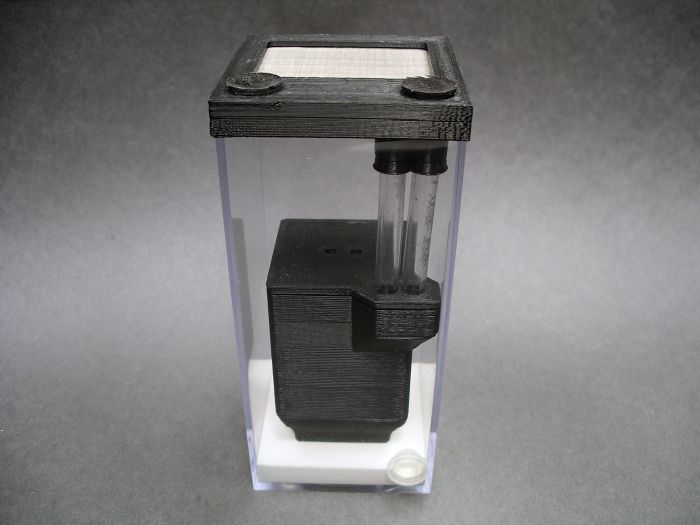
Not that it matters too much, but I need to try to find some tubing this size that doesn't have the stupid writing on the side of it.
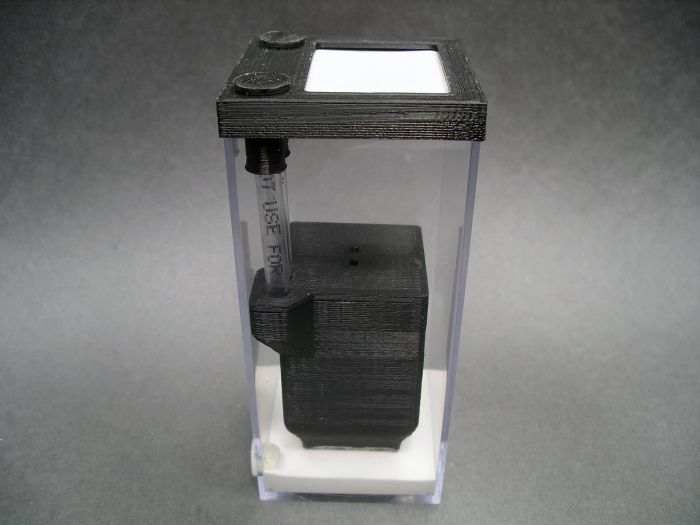
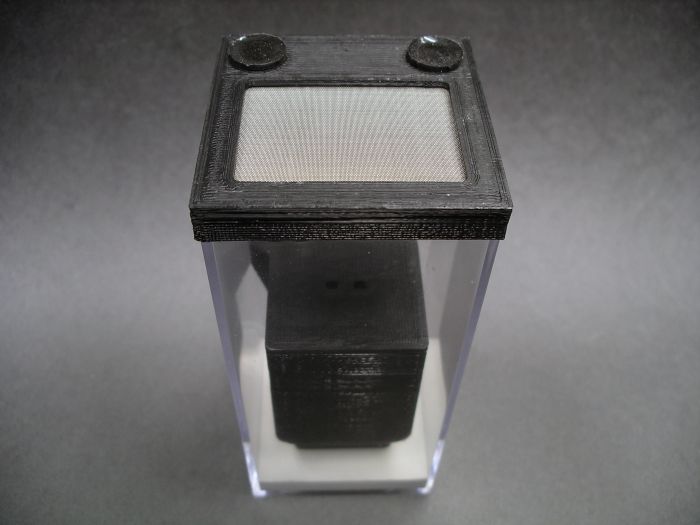
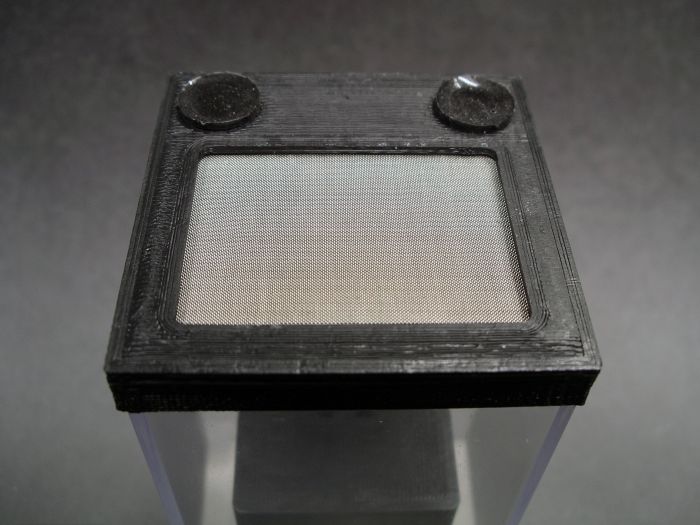
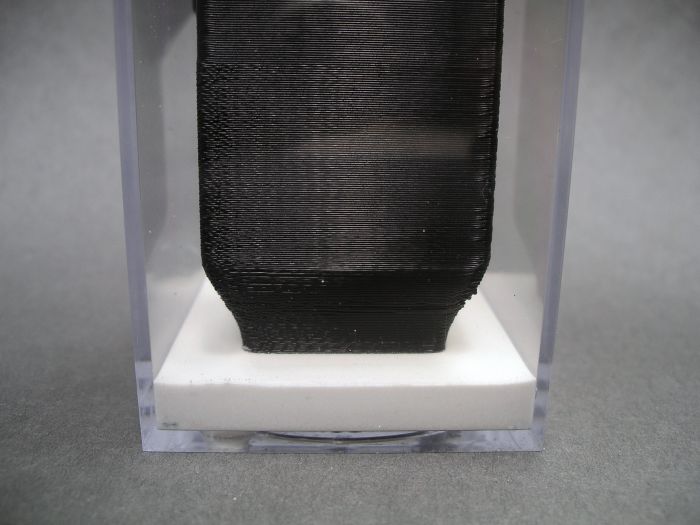
The tubing fits perfectly inside the lids, with as little friction as possible, making it very easy to place the lid on all the way, and ensuring that removing the lid will never result in pulling the tubes out of the inner container.
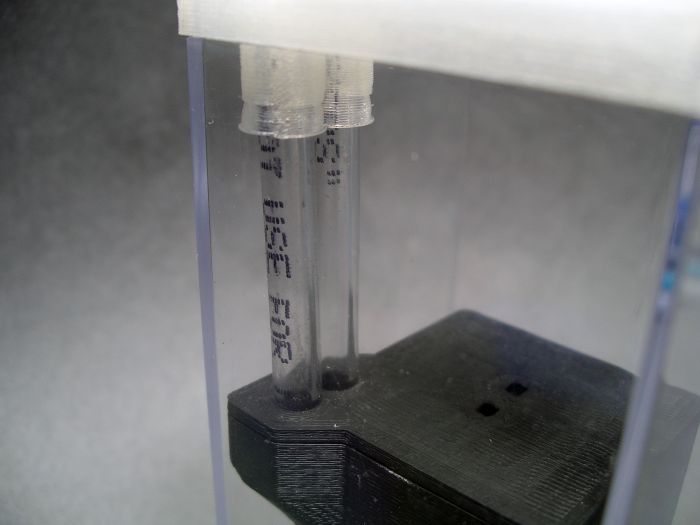
Here you can see how tightly the tubes fit into the inner container.
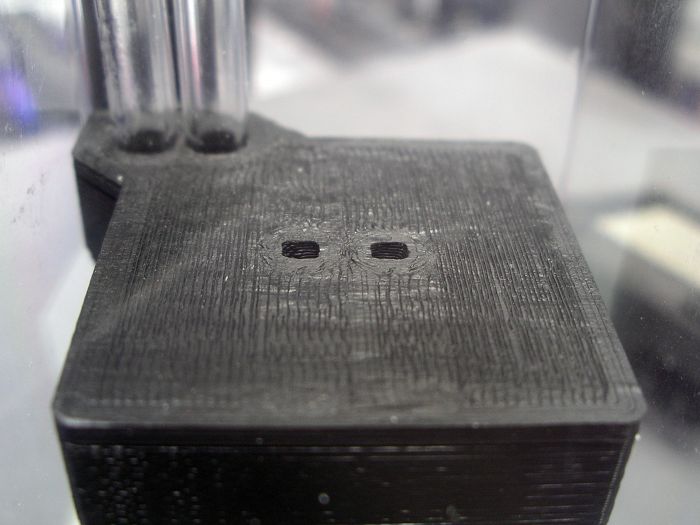
I made a translucent lid also. I'm still not sure which one I like more. The nice thing about this, is it might allow me to see if there are any ants around the feeding port/hole before pulling the plug out, one nice thing I may miss about the transparent stock lids.
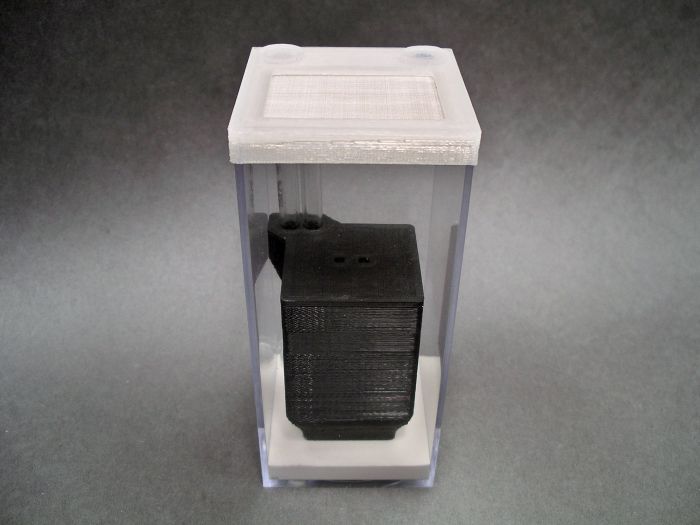
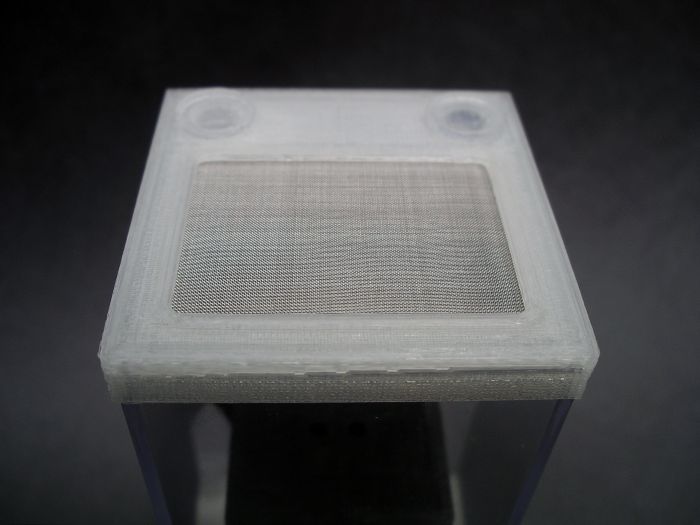
Here it is all filled with substrate and ready for use.

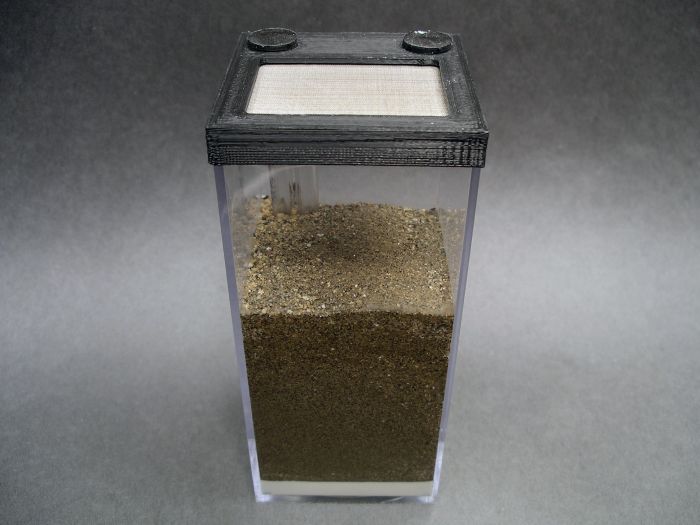
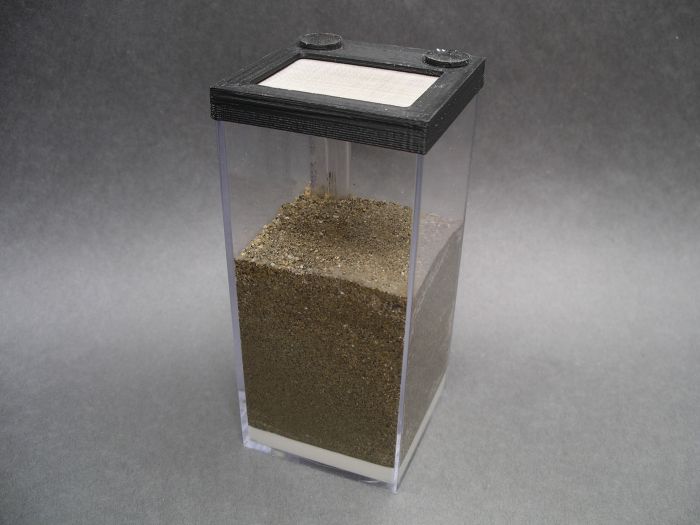
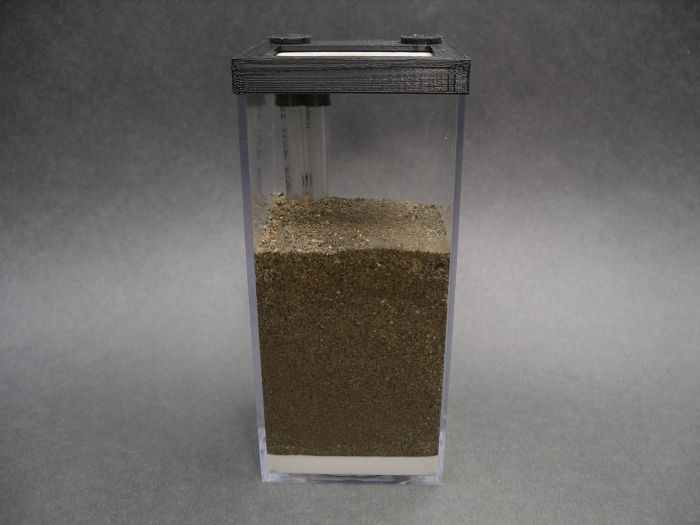
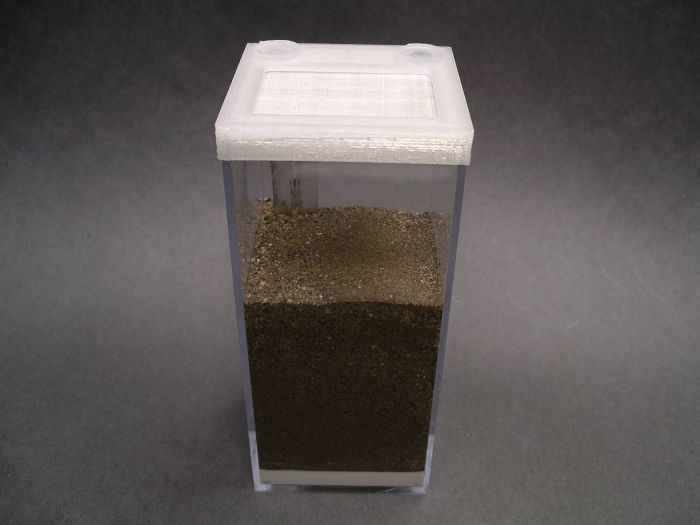
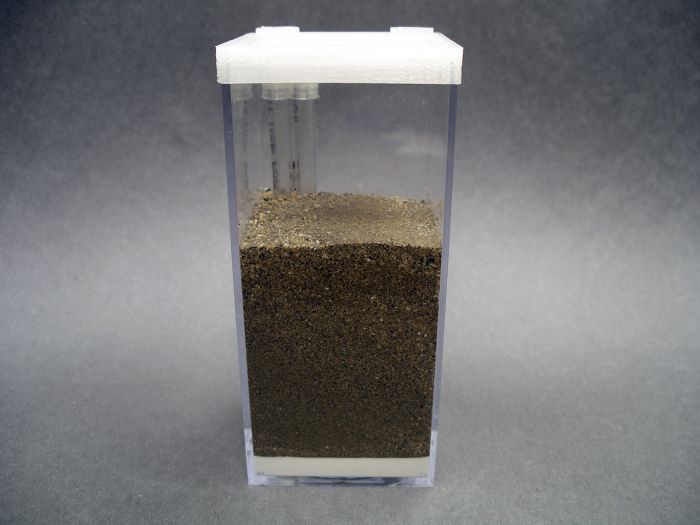
Let me know what you guys think about the colors so I can decide on one of them. Also, if any of you more technical people out there have any better ideas for some of these solutions I came up with, let me know.
![]()


