Hello DPSDrew -
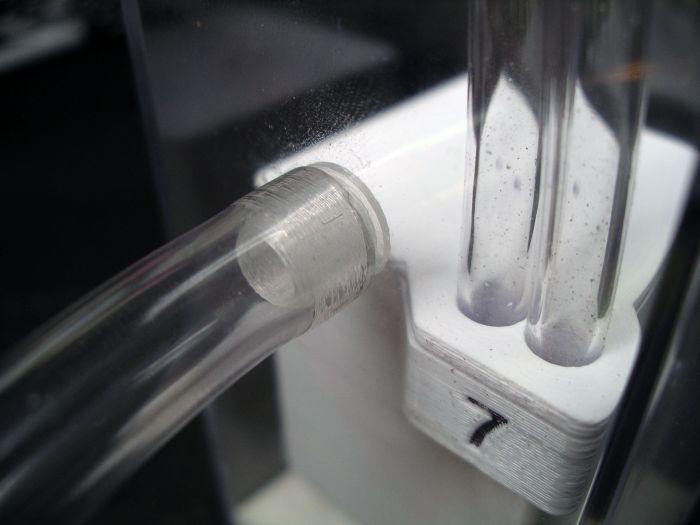
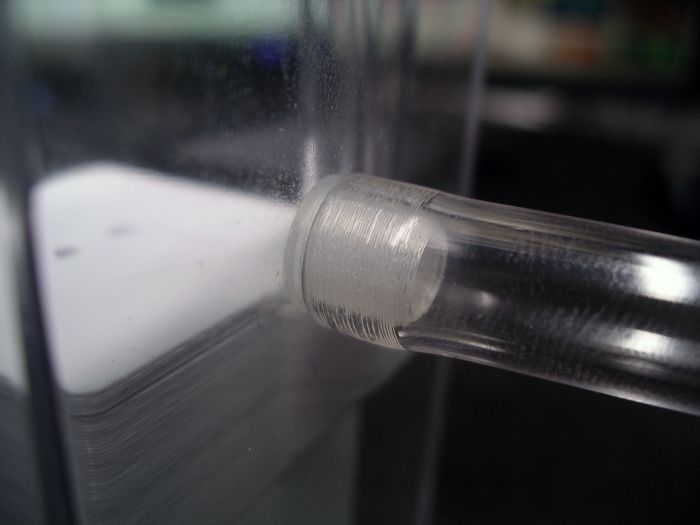
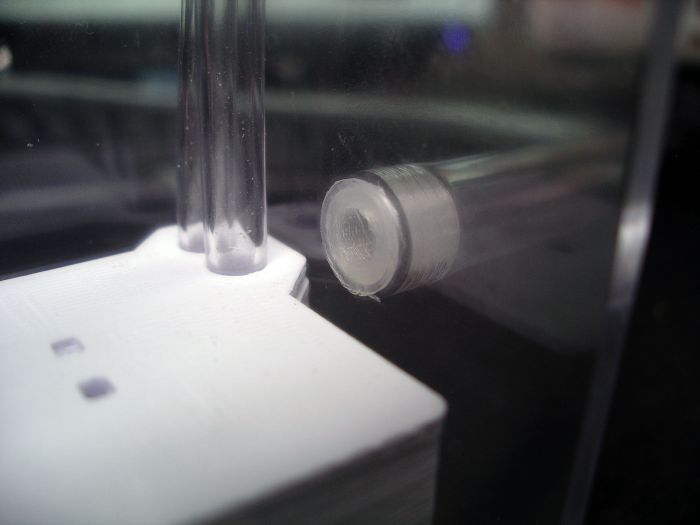
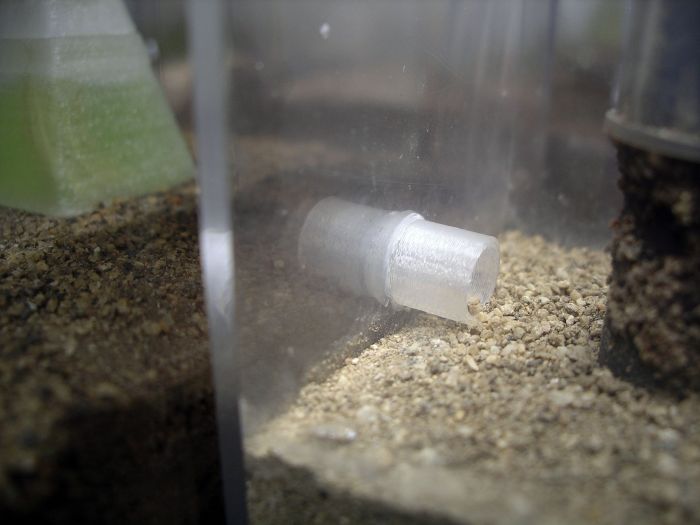
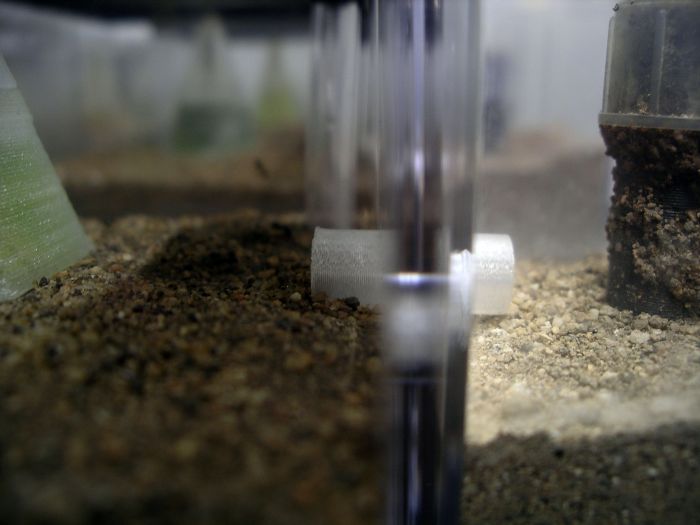
I just received my dirt box #7 today. There is some "material in the vertical tubes. It looks like really course sand, maybe (I have included a pic). Is this supposed to be there? Also is there a guide to getting it set up, how to water, etc?
Thank you.
Chris
It's the contents of the hydration reservoir. Some may loosen in transit and fall in the tubes. Simply add water and it will fall back down inside. Never remove the tubes from the plastic reservoir.
Thanks!
And I now have a colony of a queen and about 20 pheidole workers. They are in a much bigger test tube than what would fit in the dirt box. How do you recommend I move them?
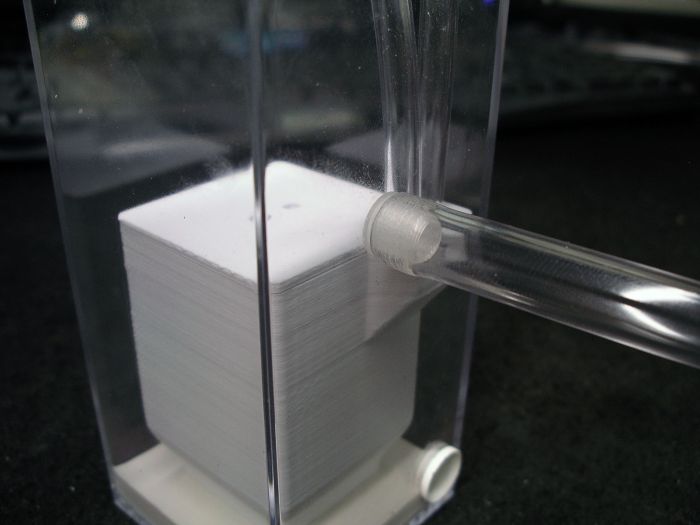
I see only the port on the top and on the very bottom.
Also what is the plug on the bottom for?
I just dump my ants where I want them. As for really small brood, I usually use a barbecue skewer to move them. If I was moving ants into one of these, I would just stick the small larvae and eggs to the side where the ants can find them. I don't worry about making a mess, because the ants will clean it all up.
One potential problem though, is that these are not really designed for ants smaller than 3mm. Some
Pheidole subgenera are only about 2mm, so I hope yours are one of the larger species. If you do try to house ants smaller than 3mm in these, they might be able to escape or find their way into the inner hydration container.
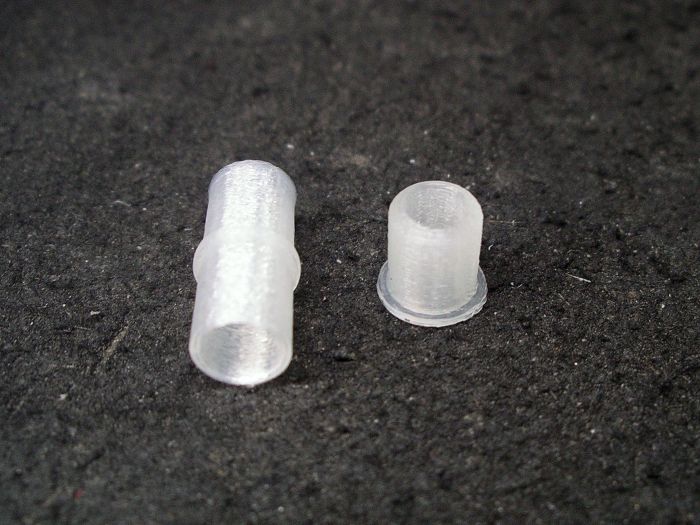
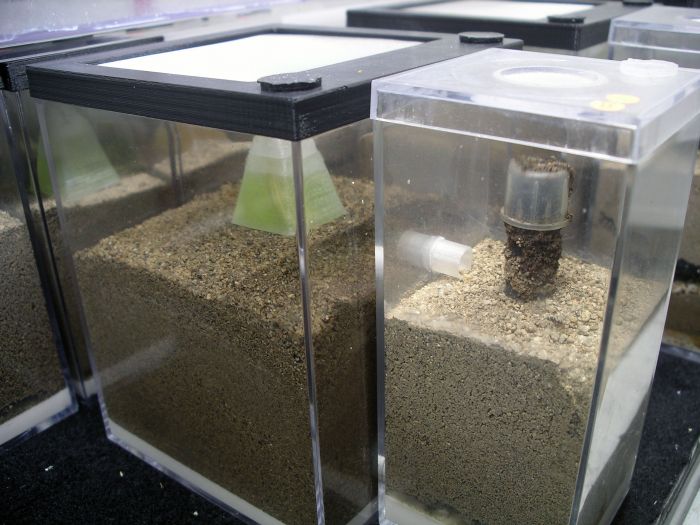
The plug on the bottom can be used to drain them if you ever add too much water. It can also be used to help move your ants out if you place it in the out world of a the new formicarium. I often use it to add queens that already have brood I don't want them to lose. I squirt water in the hole to carve out a chamber, and then install the queen and her brood. That keeps her from losing or burying her brood while digging a nest.
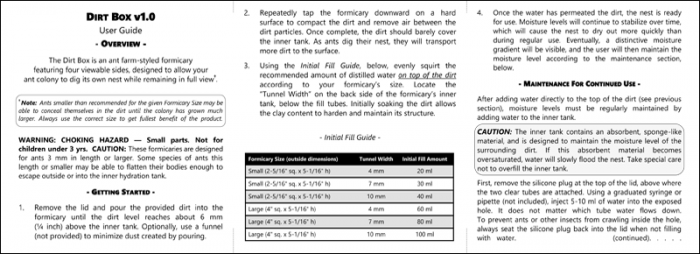
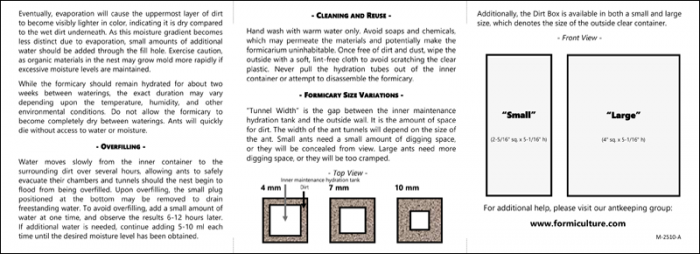
As for instructions, I haven't written anything up yet, but I need to.
I know I have described the best way to initially hydrate the nest a few times on the forum. I'll see if I can find the post and link it here.
Edit:
Found it.
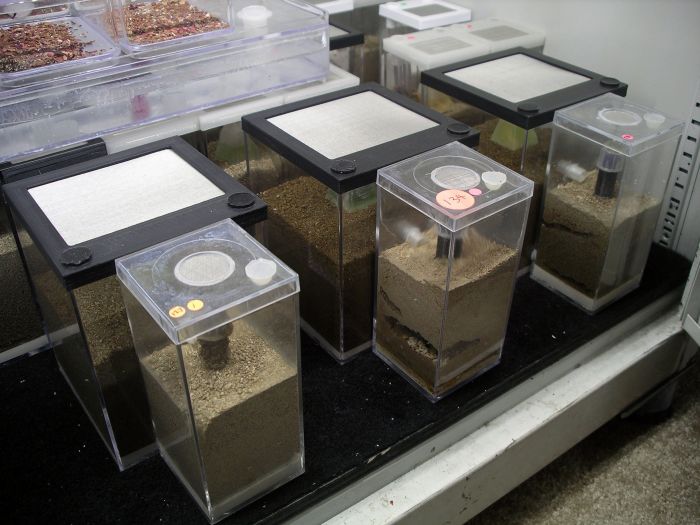
The way I initially hydrate these nests is by squirting about a 1/4 inch of water on the surface. I take that opportunity to wash the dust off the sides of the plastic. That amount of water will completely soak all of the dirt, and then continue slowly soaking into the vermiculite in the inner container, leaving the nests with the perfect dampness for new queens to start digging their nests. The reason I soak all of the dirt in the beginning is so that as the upper layer dries out, it hardens, protecting the nest against collapse.
Keep an eye on it, because it might dry out a little faster than usual the first time. A lot of that water will slowly soak into the hydration media in the inner tank. It just takes a small amount of water added to the tank via the tube to dampen it a bit again. It's best to try to keep a nice gradient of moisture.
Edited by dspdrew, September 22 2017 - 6:37 PM.


