Can anyone show me how to do this? I have not the slightest clue on what to do after preserving specimens in alcohol... ![]()
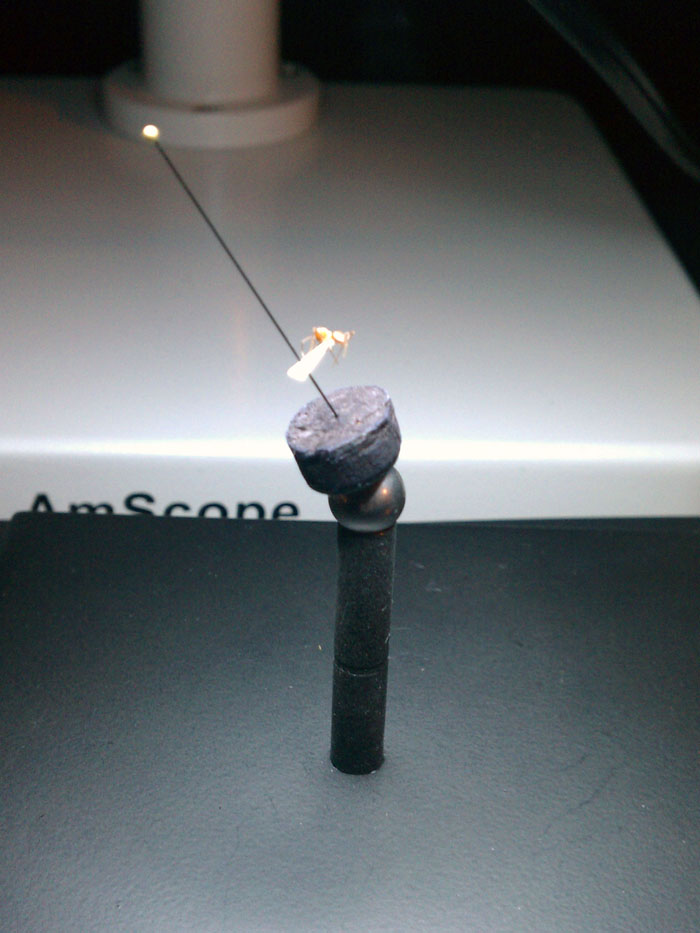
Can anyone show me how to do this? I have not the slightest clue on what to do after preserving specimens in alcohol... ![]()

Ant should be left side away from the pin. This one is right side outward, though. Especially when handling large numbers of specimens, as taxonomists do, it is quite inconvenient when specimens are mounted differently form the standard pose and orientation.
Edited by James C. Trager, April 3 2015 - 1:31 PM.
Yeah this was one I had in the wrong direction before I knew the correct way to mount them.
Pinning
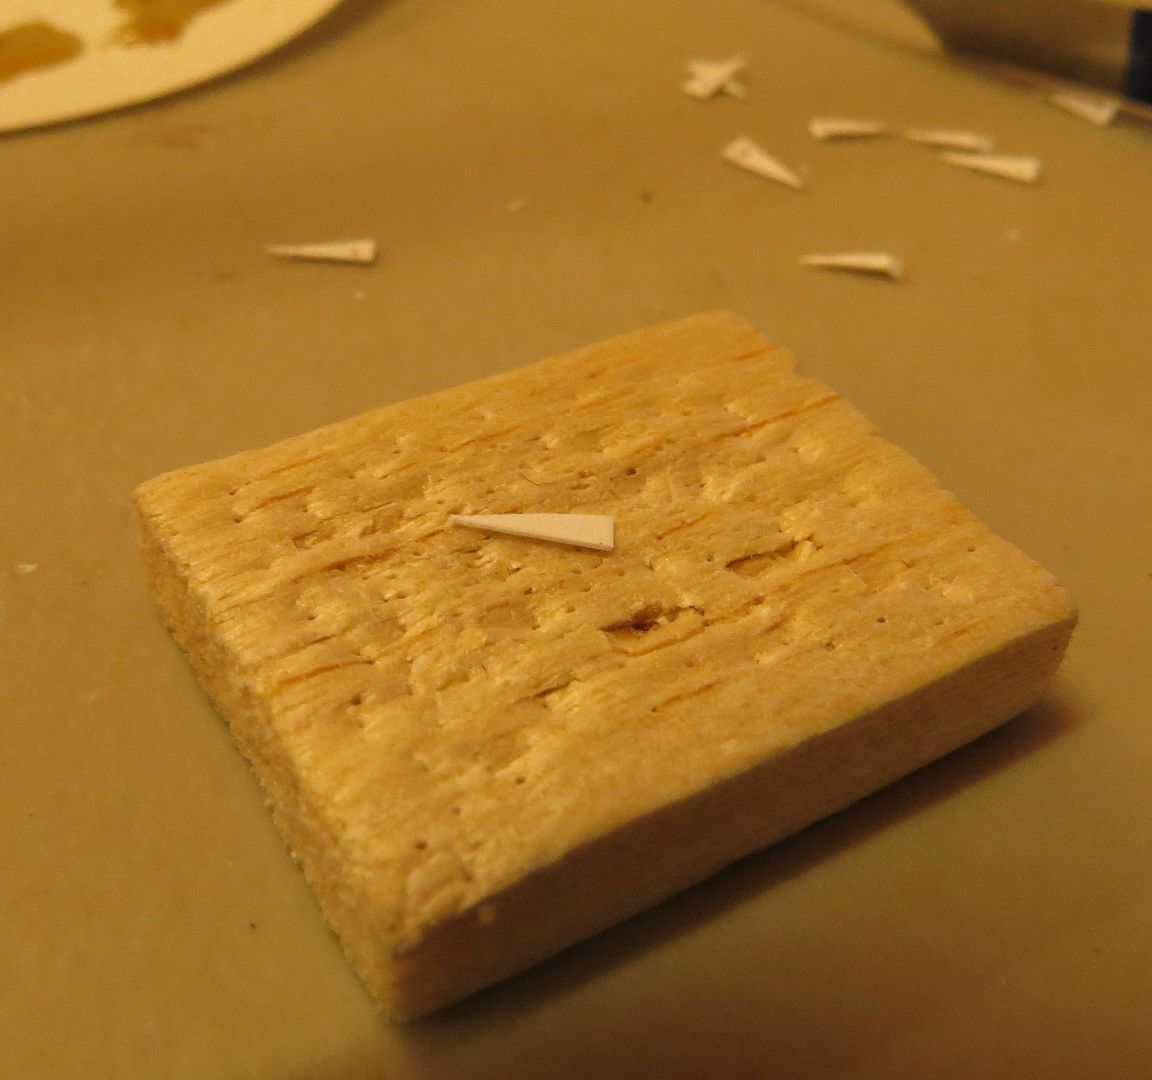
There is a special hole punch tool used to punch out small wedges on archival paper. It's helpful to have the hole punched through it before hand and this is easily done on a small slice of balsam wood. The needle should pass right through, except for the occasional hard spot. Corkboard might also work.
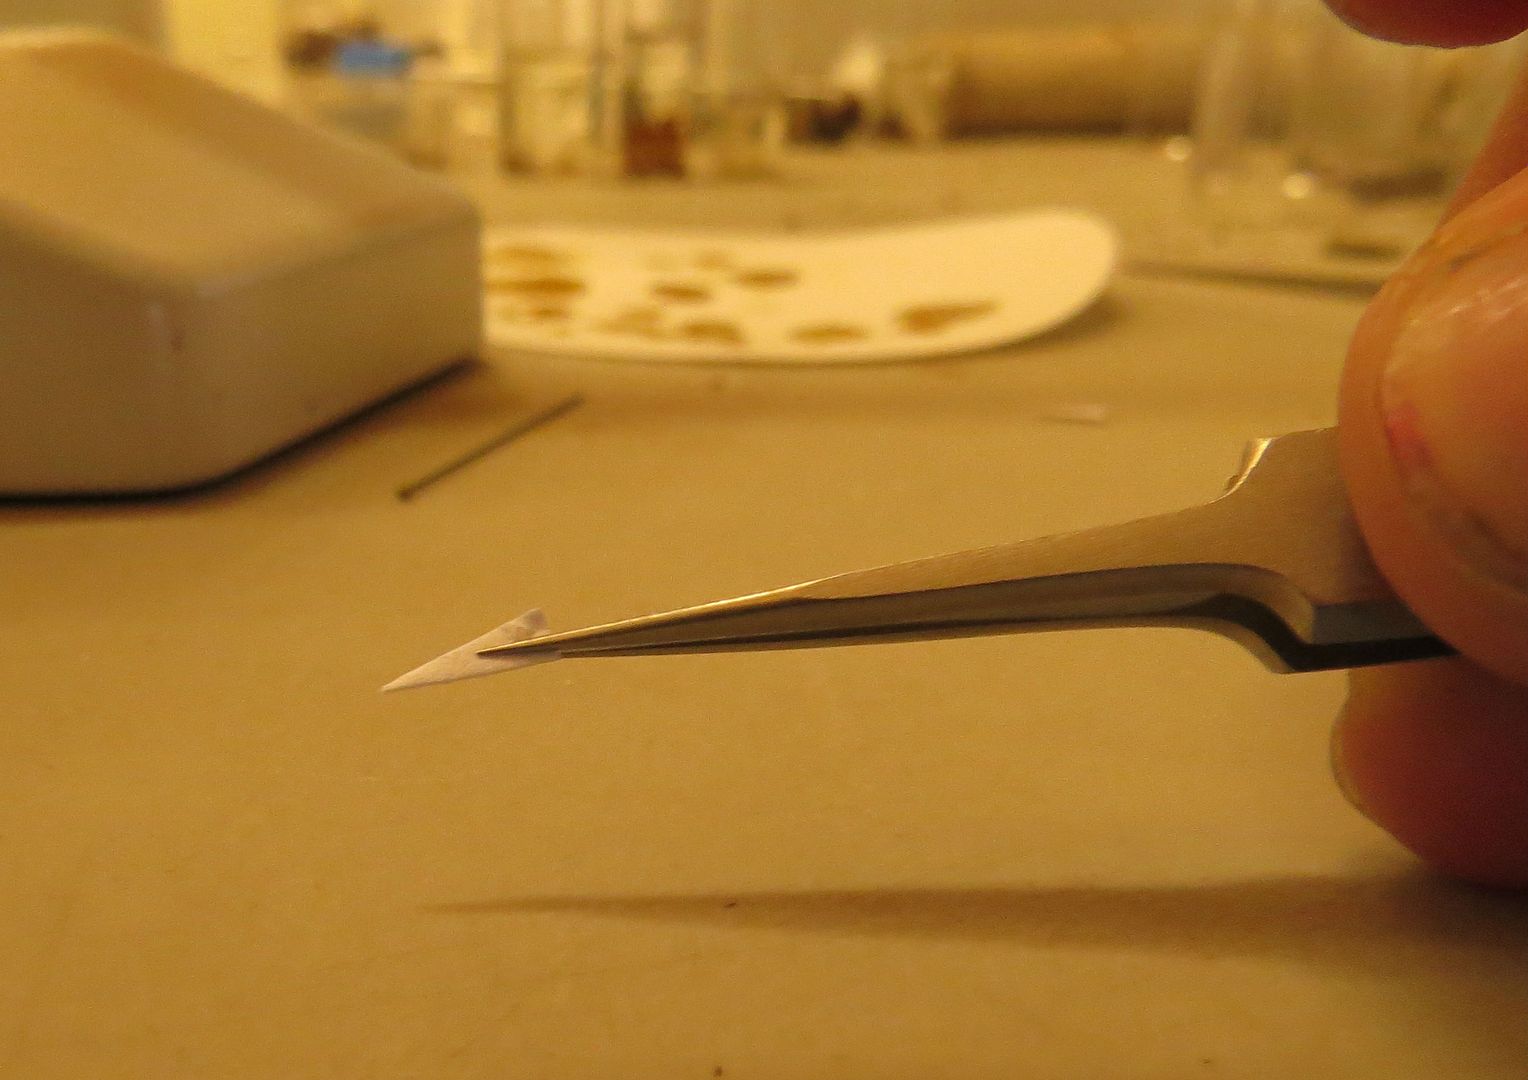
Tweezers should be sharp but don't have to be the super expensive kind.
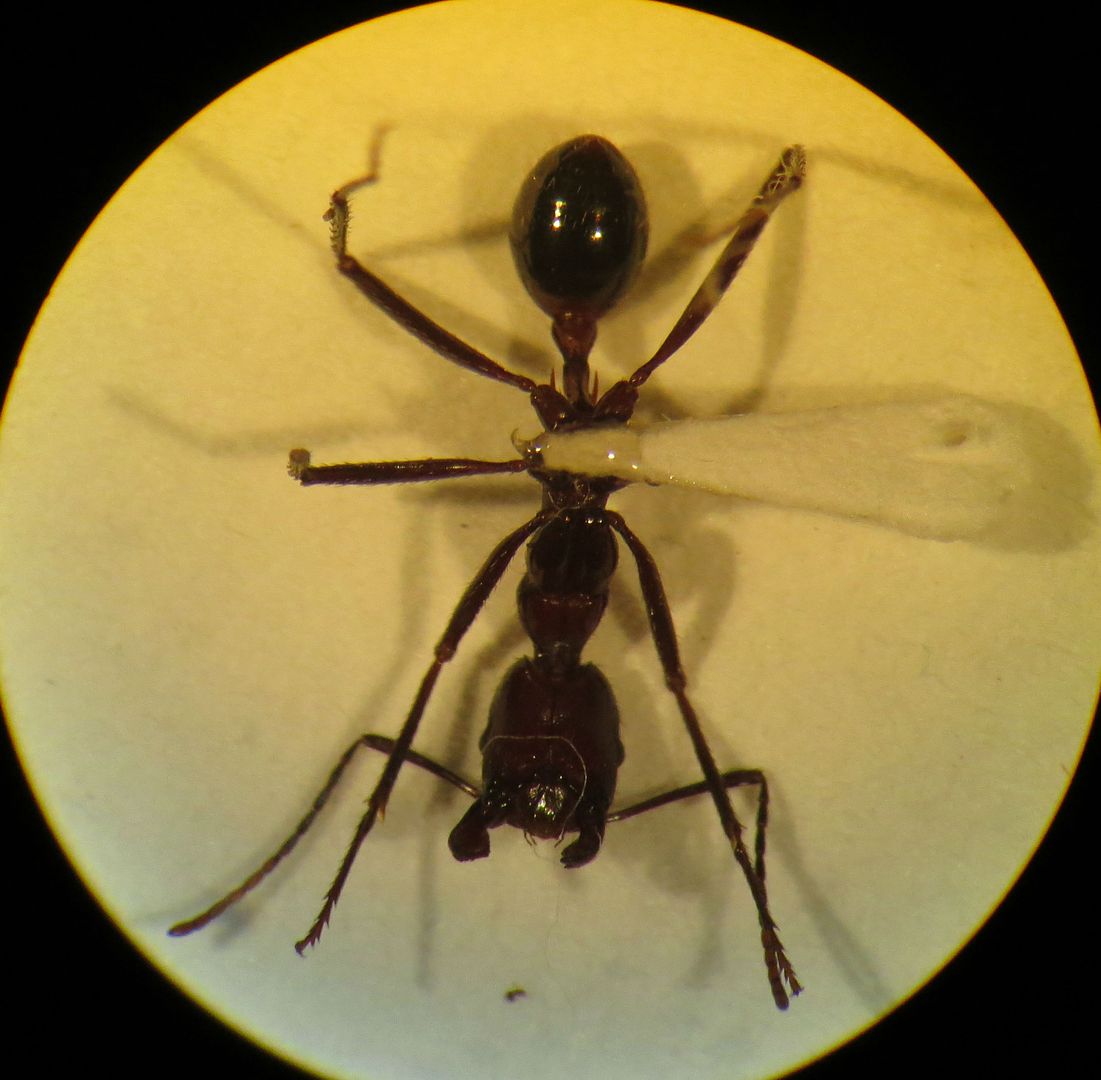
Your ant should be placed on its back, If you are right handed (as in coming in from the right) you want the head aimed down, as seen in the photo above. If you are left handed then the head should be aimed upward. Moving the legs, mandibles and antenna should have been done prior to this. Woodglue or clear nail polish are both acceptable glues to use here. You want to press the tip of the paper between either the first two or last two sets of legs, depending on if your ant is front or rear heavy.

Your ant should look something like this when it's done.
Labels

On a lot of ants you'll see labels with them written in small font (sometimes even typed). Between one or two lables you'll usually see location data and some sort of code. These usually coresponds to a notebook the collector wrote in while collecting the ant.

Some codes break down differently but the ones I used are thus. My first two initials, The last two digits in the year, The number that specimen was taken that year (in ascending order of course) and either a C or S for Collected from a colony, or found as a Stray ant somewhere.
Storage
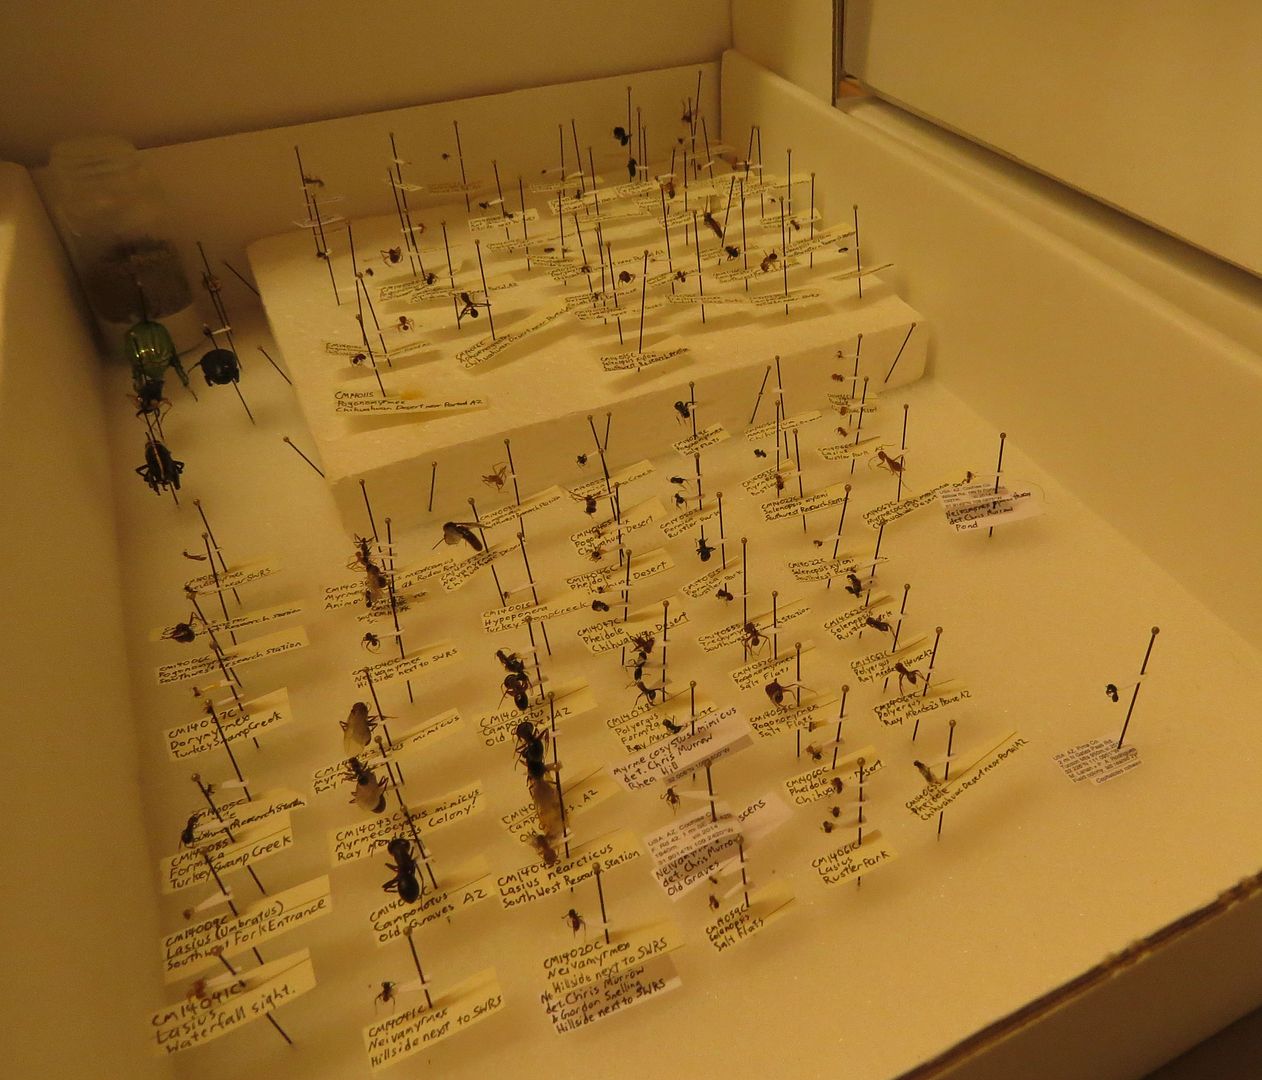
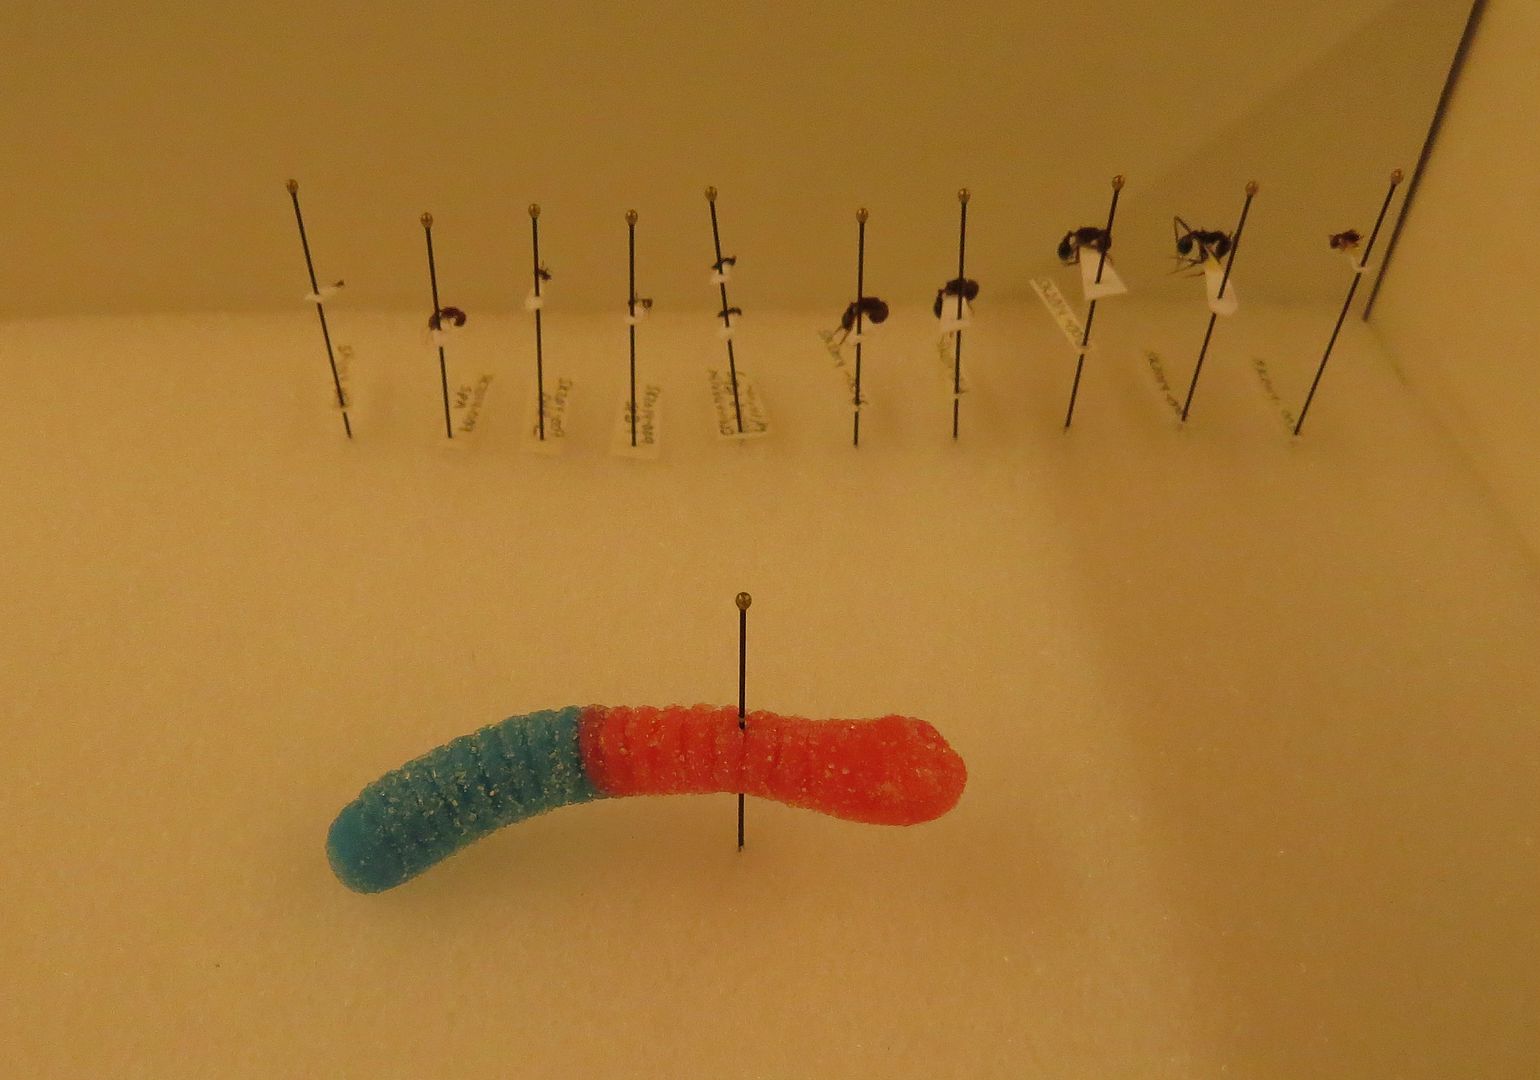
Rule number one, Don't eat them! Sadly a fleet of other bugs will be trying to do that for you and they will consume everything, even to the most dried out specamins that haven't seen the light of day in years. Mothballs should be placed in every container to discourage such insects from establishing a breeding ground in your collection.
North America: Ant Genera, Species List, "Native Plants for Honeybees" | My YouTube Channel
This is what I do after taking the specimen out of the alcohol to dry. It's easier to position them while the joints still work and things are still flexible. Once dry it stays in the position I want it in.
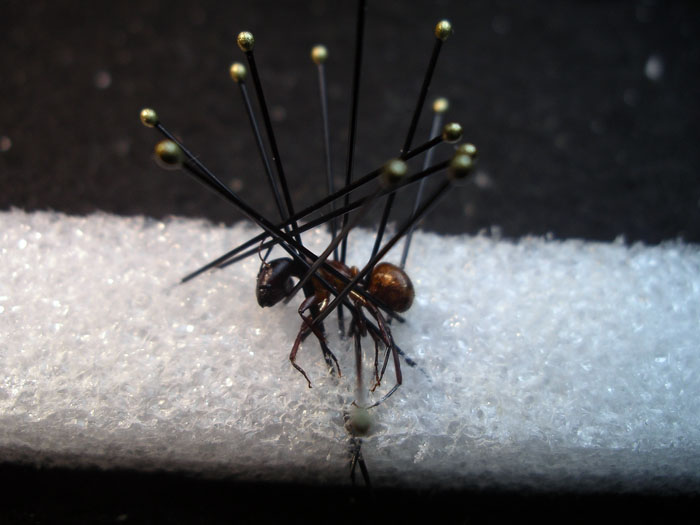
I believe it's called a Point Maker or Point Punch. It's just like a hole puncher but it makes little triangles instead of holes. Or you could just cut out little wedges with scissors.
Edited by MrILoveTheAnts, December 26 2014 - 1:47 PM.
North America: Ant Genera, Species List, "Native Plants for Honeybees" | My YouTube Channel
I just cut mine with scissors, but here. http://www.bioquip.c...t.asp?pid=1161A
Wow, that is expensive! I am just going to cut my own.
Onto another question, is there a specific type of paper that these points need to be made with?
Also, what kind of pins should be used?
I just cut mine with scissors, but here. http://www.bioquip.c...t.asp?pid=1161A
Wow, that is expensive! I am just going to cut my own.
Onto another question, is there a specific type of paper that these points need to be made with?
I just use black constuction paper. Cardstock is what most use I think.
Also, what kind of pins should be used?
These are what I use.
BioQuip Insect Pins, Black, #000, 100/Pack
BioQuip Insect Pins, Black, #3, 100/Pack
What is the difference between #000 and #3?
#000 are the thinnest. #3 are medium thickness.
If I were to get one, which do you suggest?
#3 is what's commonly used I think.
Okay everyone! I have my microscope, my paper triangles, my pins, and my microscope stage! Can someone please tell me what substance binds the ant to the paper triangle???
I just use fast drying CA glue. Which stage did you get?
0 members, 0 guests, 0 anonymous users