
- Formiculture.com
- Forums
- Gallery
- Members
- Member Map
- Chat
177 replies to this topic
#21 Offline - Posted September 13 2016 - 12:52 AM
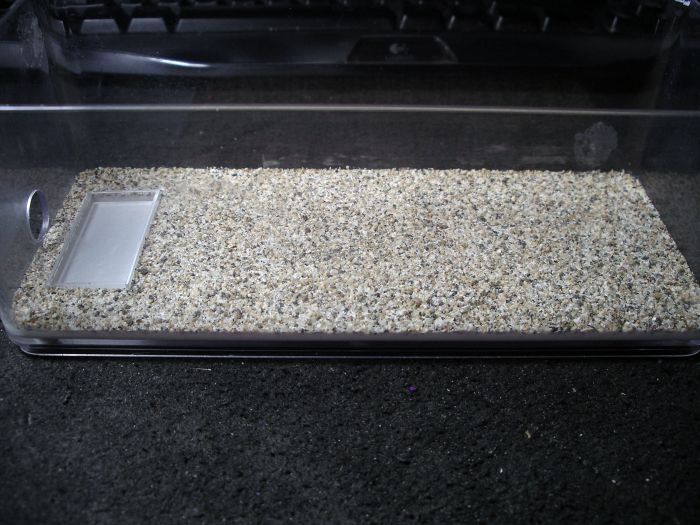
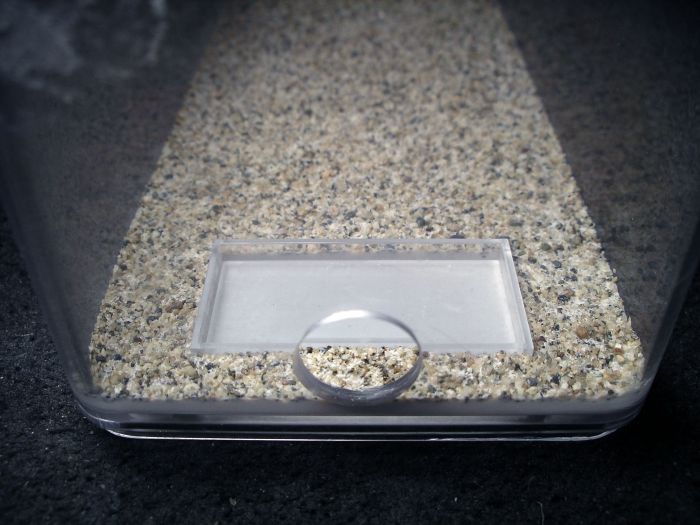
I just thought I would try cementing sand to the hydrostone bottoms. As long as the sand is sieved very clean, it sticks quite well.
- kellakk likes this
#22 Offline - Posted September 13 2016 - 9:11 AM
That looks really nice, much better than plain hydrostone.
Current Species:
Camponotus fragilis
Novomessor cockerelli
Pogonomyrmex montanus
Pogonomyrmex rugosus
Manica bradleyi
#23 Offline - Posted September 13 2016 - 9:53 AM
Yeah, I just don't know how easy to clean, and how durable it's going to be.
#24 Offline - Posted September 13 2016 - 11:54 AM
I really like it.
"I'm the search bar! Type questions into me and I'll search within the forums for an answer!"
#25 Offline - Posted September 13 2016 - 10:03 PM
Yeah, I just don't know how easy to clean, and how durable it's going to be.
Your ants will probably rip up as many bits of sand as possible or even try to dig in it, so it won't look that nice for long. As for cleaning, how do you usually clean hydrostone anyway? It seems to get stained pretty easily by any liquid it absorbs.
Current Species:
Camponotus fragilis
Novomessor cockerelli
Pogonomyrmex montanus
Pogonomyrmex rugosus
Manica bradleyi
#26 Offline - Posted September 14 2016 - 6:37 AM
I normally soak them in bleach water, and then rub off the slightly dissolved Hydrostone.
#27 Offline - Posted March 18 2017 - 5:11 AM
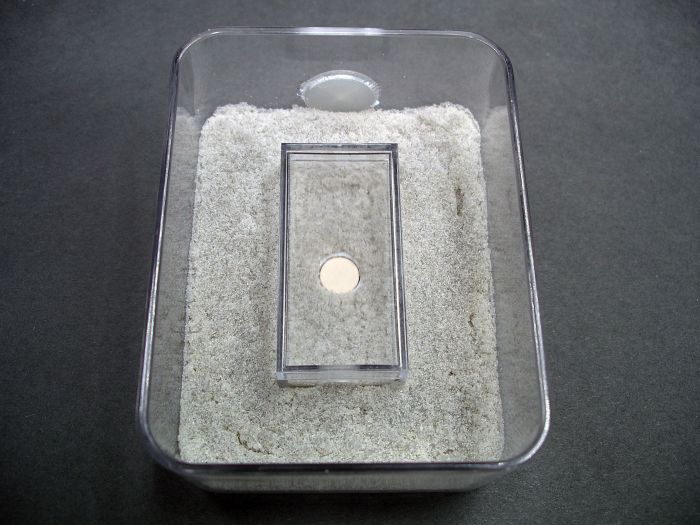
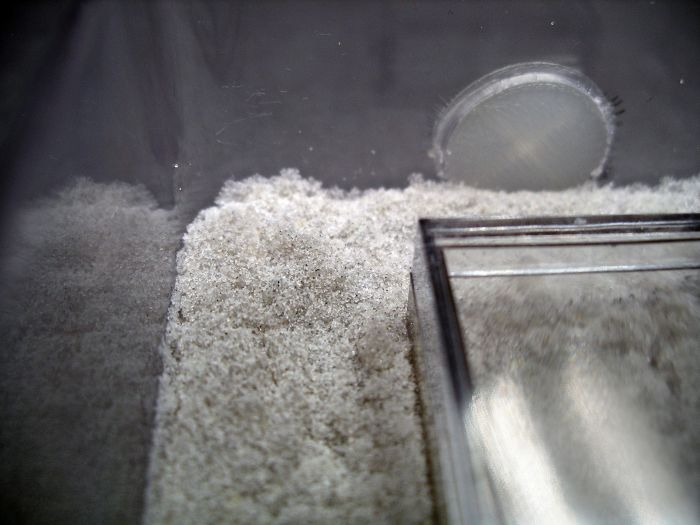
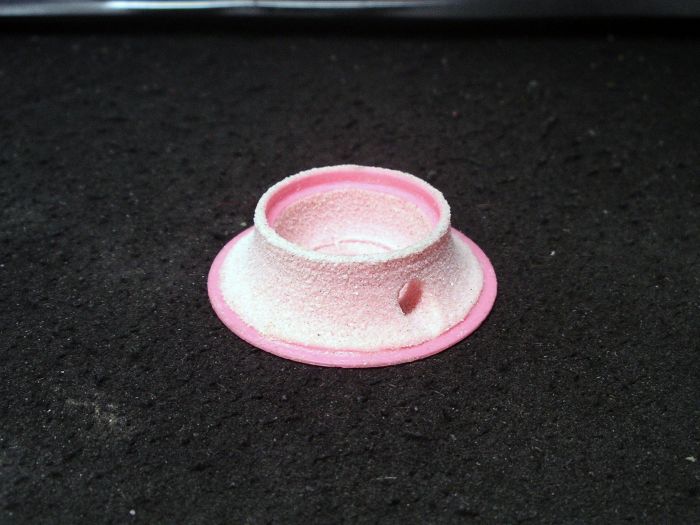
After my experiment confirmed my suspicions about bleach dissolving Hydrostone, I decided to start pouring resin in the bottoms of these instead. This will also keep the entire thing from being ruined as soon as a micro crack forms in the plastic tile frame. I have had this happen to a few of them now. In case you haven't figure it out, when this happens the water makes its way to the Hydrostone, and soaks the entire floor of the nest, out world and all. Resin will not do this, as it does not absorb water. Even though they no longer have floors that can absorb any unwanted liquids, the sand coating should still help break up the skin and keep it from beading. This is going to make these a lot more durable and washable.
The first one I tried did not turn out the way I wanted. The white quartz sand I added to the resin is much heavier than it is, and so it caused it to bubble up to the top. After adding enough sand, I was finally able to completely cover it, assuring clean resin-free sand on the surface. As you can see it bubbled up a lot, almost making it unusable without further modification. It did actually made it look a little more natural.
In this one, I waited two hours for the resin to set up a bit before adding the sand. This worked well and kept the resin from bubbling up.
In this one I waited the two hours, and sprinkled some more course white sand on it.
I think I'm going to try pouring a very thin layer and sprinkling the sand on it immediately to get the more natural look, but without raising the level up too high like I inadvertently did on the first one.
- nurbs likes this
#28 Offline - Posted March 30 2017 - 10:36 PM
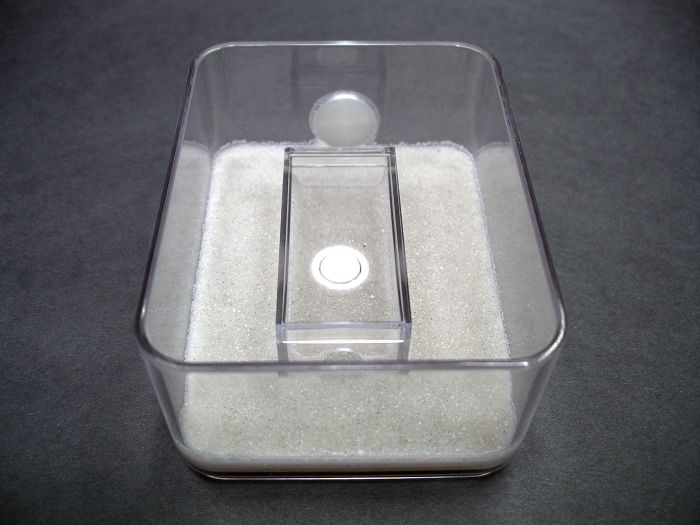
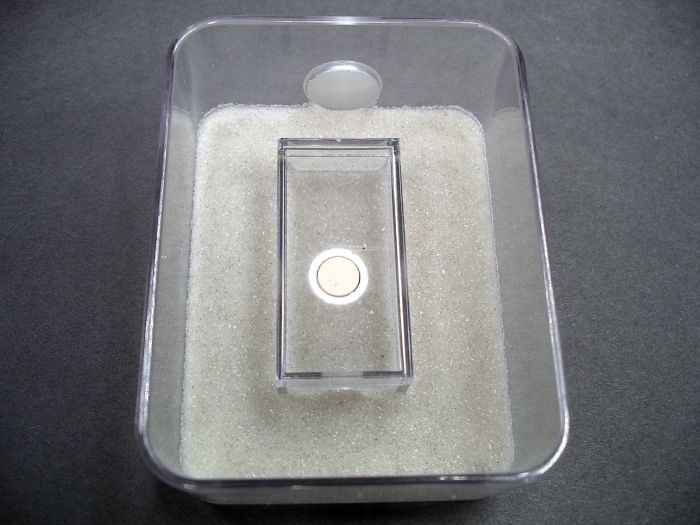
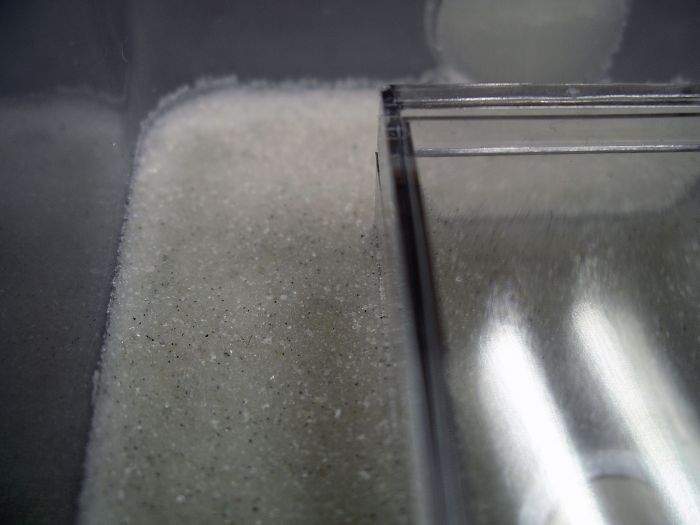
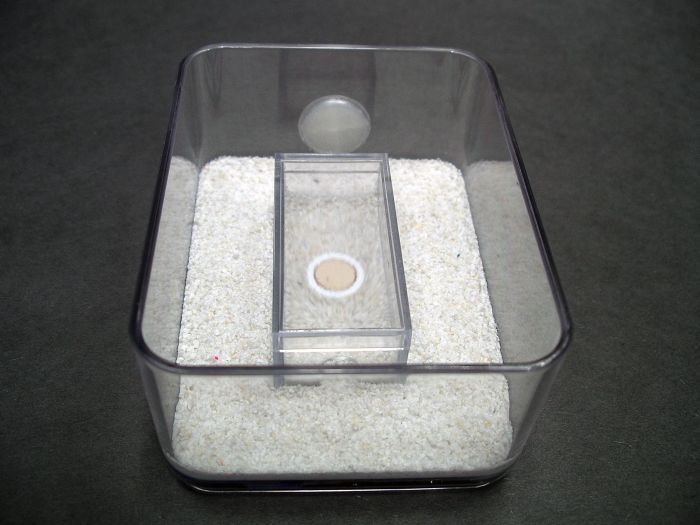
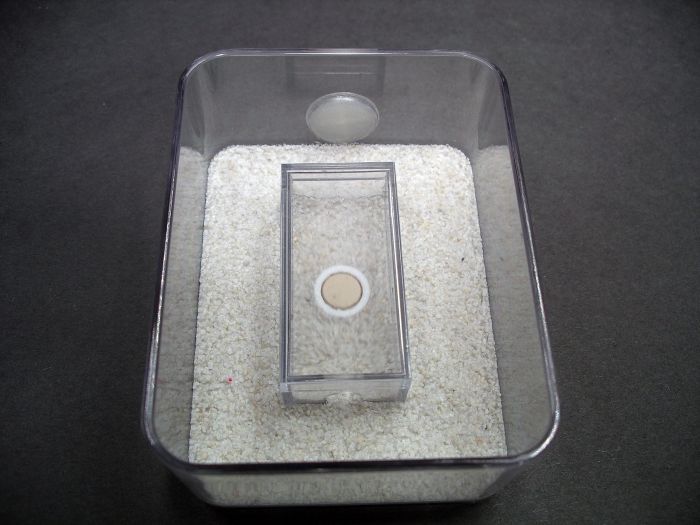
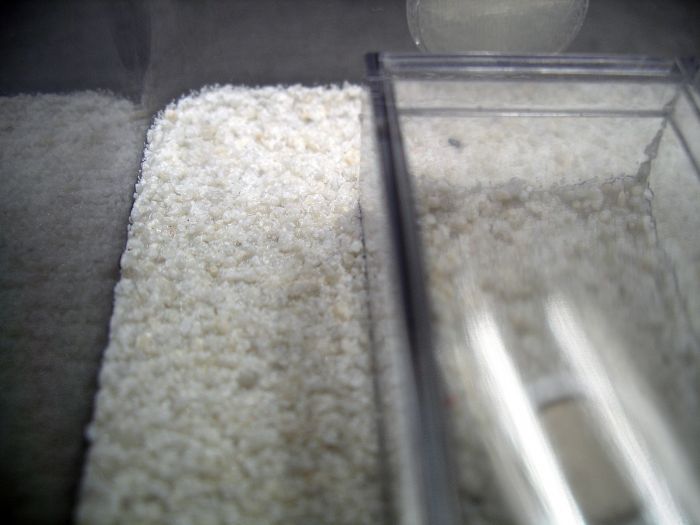
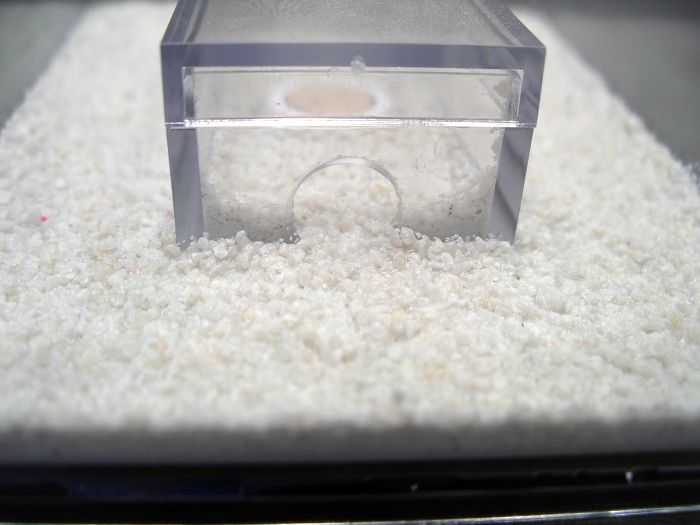
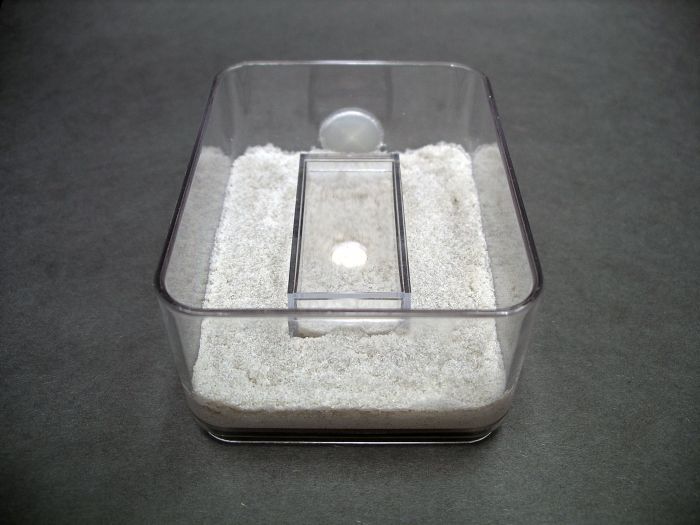
How do you cut the lid open so cleanly?So here's another larger founding nest I made with the plastic tile insert and Hydrostone instead of cement this time. Since the tile is now separated from the rest of the floor by the plastic insert, I can use Hydrostone again. The tile will stay wet without soaking everything else around it.
Here's the prototype of the small founding nest. Once I finish my cast resin vertical nests, I'm going to make both of these with a hole in the foraging area that lines up with the entrance of the vertical nest, so that the colony can be easily transferred.
I put the nest container in the center of the foraging container so that it can be viewed from the top with out the plastic lip obstructing the view.
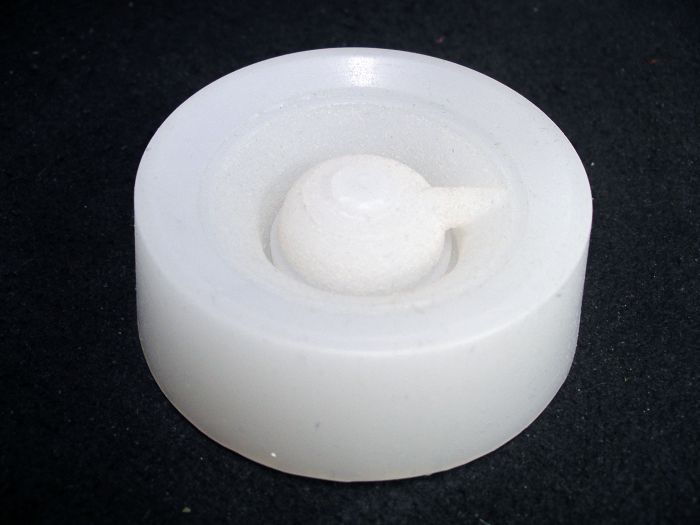
Here's the plastic tile insert.
#29 Offline - Posted March 30 2017 - 10:37 PM
How do you cut the lid open so cleanly?
Micro table saw. I'm going to get a jig set up and start doing it with a router soon.
#30 Offline - Posted March 30 2017 - 10:49 PM
How do you cut the lid open so cleanly?
Micro table saw. I'm going to get a jig set up and start doing it with a router soon.
Do you recommend the saw you use? if so, link to it maybe?
#31 Offline - Posted March 30 2017 - 11:25 PM
How do you cut the lid open so cleanly?
Micro table saw. I'm going to get a jig set up and start doing it with a router soon.
Do you recommend the saw you use? if so, link to it maybe?
This is the newer version.
http://www.micromark...CFRSPfgodTuYHiw
#32 Offline - Posted March 30 2017 - 11:33 PM
Now to find out how to use it xD Thank you!
This is the newer version.
http://www.micromark...CFRSPfgodTuYHiw
#33 Offline - Posted March 31 2017 - 5:16 AM
Drew's makin' carpet with sand again!
"I'm the search bar! Type questions into me and I'll search within the forums for an answer!"
#34 Offline - Posted March 31 2017 - 5:54 AM
Drew's makin' carpet with sand again!
Ant carpet.
#35 Offline - Posted April 12 2017 - 2:33 PM
I need to find where to buy those boxes in Seattle.
#36 Offline - Posted April 15 2017 - 2:17 AM
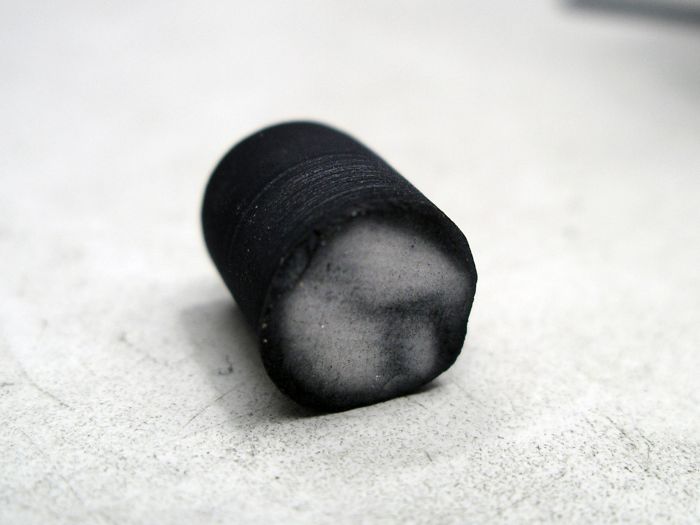
Dying ceramic tile is weird.
#37 Offline - Posted June 17 2017 - 10:58 PM
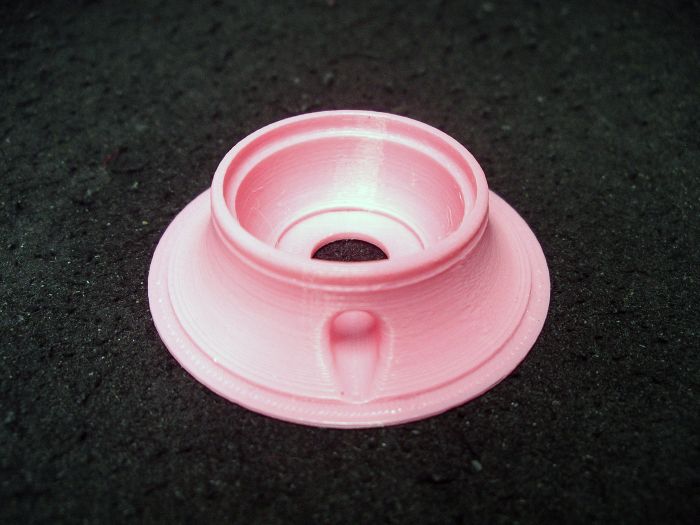
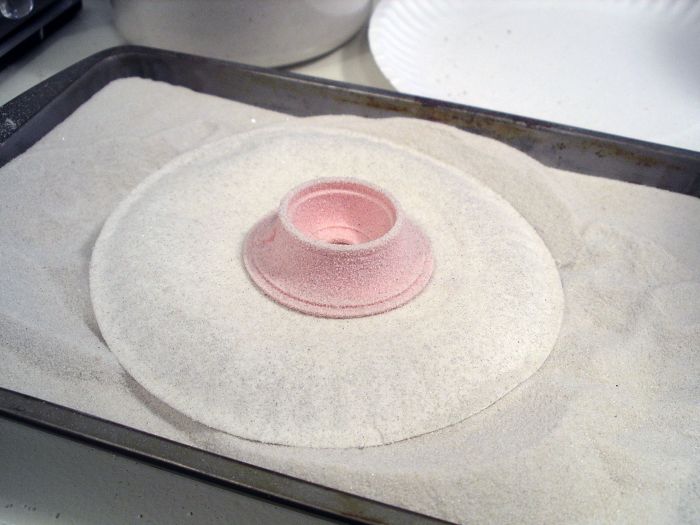
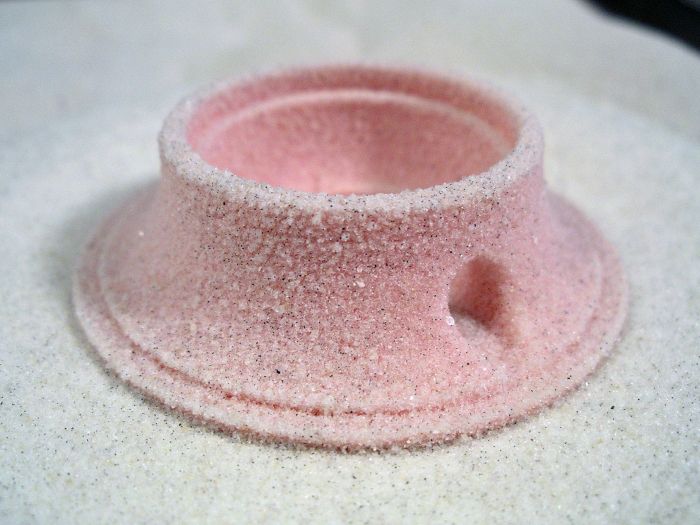
Working on a newer version.
- soulsynapse likes this
#38 Offline - Posted June 17 2017 - 11:18 PM
What is that?
#40 Offline - Posted June 18 2017 - 2:11 AM
wow, that looks awesome!
- dspdrew and SoySauce like this
Also tagged with one or more of these keywords: formicarium, container, out world, enclosure, how-to, diy, design, nest, dspdrew, tutorial
Ant Keeping →
General Ant Keeping →
What do you thinkStarted by AntsGodzilla , Sep 26 2024 formicarium, ants, perfect cast |
|
|
||
Ant Keeping →
General Ant Keeping →
What should I use for DIY?Started by AntsGodzilla , Sep 18 2024 diy, ants, formicariums |
|
|
||
Market Place →
General Market Place →
Win a Free Formicarium with Myrmecology LabStarted by MyrmecologyLab , Aug 21 2024 myrmecologylab.com, formicarium and 1 more... |
|
|
||
Ant Keeping →
General Ant Keeping →
First 3D Printed FormicariumStarted by CJsAntStuff , Aug 19 2024 formicarium |
|
|
||
Market Place →
General Market Place →
Well Priced Formicarium WantedStarted by Gardav , Jul 27 2024 formicarium, camponotus |
|
|
2 user(s) are reading this topic
0 members, 2 guests, 0 anonymous users