Jump to content

  • Chat
  •  
  •  

Welcome to Formiculture.com!

This is a website for anyone interested in Myrmecology and all aspects of finding, keeping, and studying ants. The site and forum are free to use. Register now to gain access to all of our features. Once registered and logged in, you will be able to create topics, post replies to existing threads, give reputation points to your fellow members, get your own private messenger, post status updates, manage your profile and so much more. If you already have an account, login here - otherwise create an account for free today!

Photo

Dspdrew's Formicarium 11 Research and Design (Updated 9-30-2017)


  • Please log in to reply
5 replies to this topic

#1 Offline dspdrew - Posted September 30 2017 - 3:37 PM

dspdrew
  • LocationSanta Ana, CA
5-25-2015
 
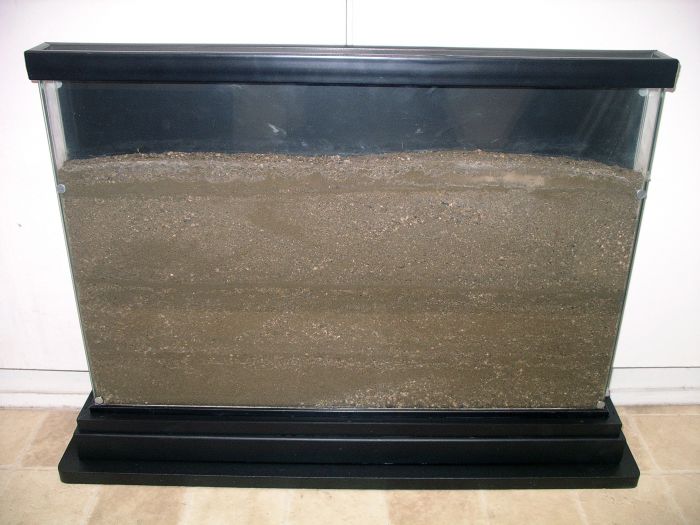
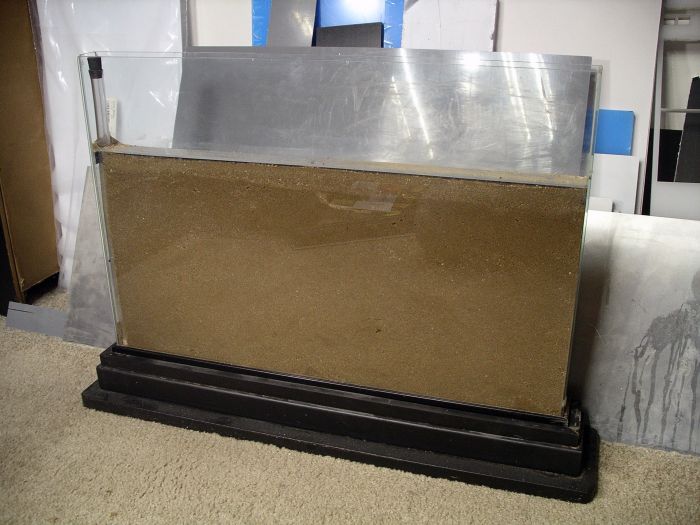
I was given this two foot wide, inch and a half thick, 50 pound ant farm by Retroman in a trade.
 
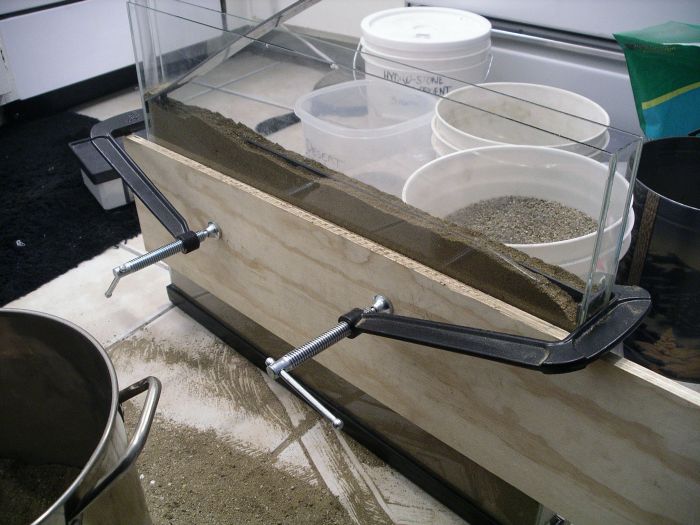
I cleaned it all out, and put in new substrate. I had to do this in layers to keep it from pushing on the glass too much, wetting it down little by little as I went. As long as the dirt is wet (not liquid mud!), it holds itself up pretty well and doesn't push too much on the glass. I also used a c-clamp to hold it as well.
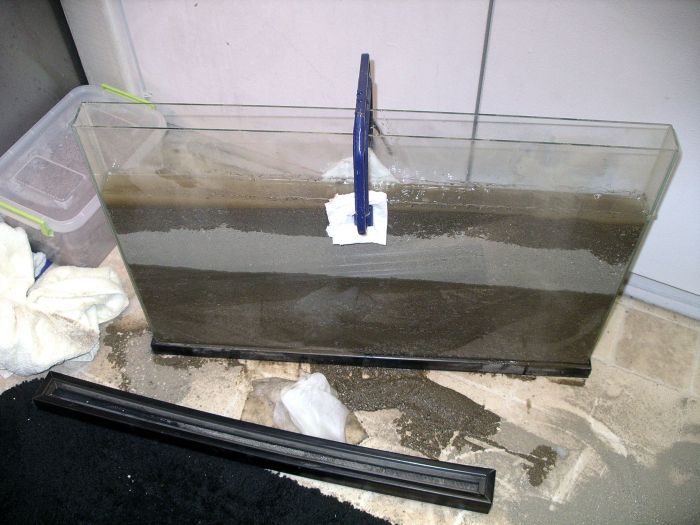
 
med_gallery_2_409_572290.jpg
 
 
I made a few modifications to it. Instead of the black construction paper and velcro covers/shades he had on it, I made some out of black foam board, and attached it with magnets. I added a larger board to the very bottom of the base, to stable it even more in case of an earthquake or something. I would NOT want this thing to fall over; that would be really bad. I also drilled two 3/8 inch holes in one side. One hole is at the surface of the dirt, and the other is at the very bottom.
 
Gluing the magnets on.
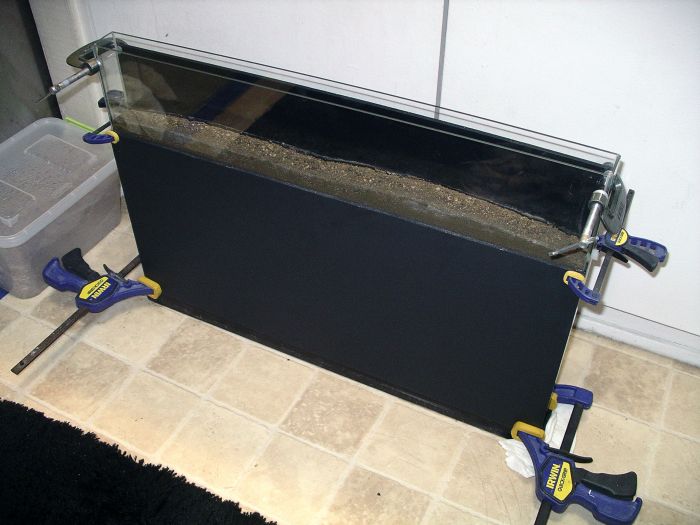
 
med_gallery_2_409_880365.jpg
 
 
Here it is all setup and ready for use.
 
With the cover/shade on.
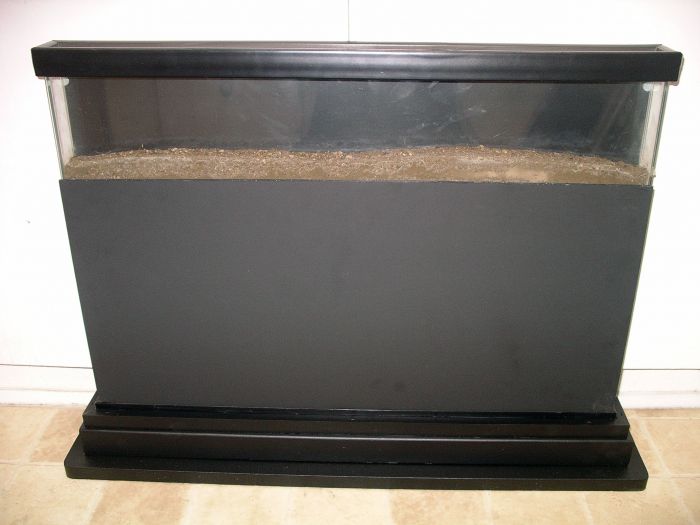
 
med_gallery_2_409_478554.jpg
 
 
With the cover/shade off.
 
med_gallery_2_409_672998.jpg
 
 
I started moving my Pogonomyrmex californicus colony into it.
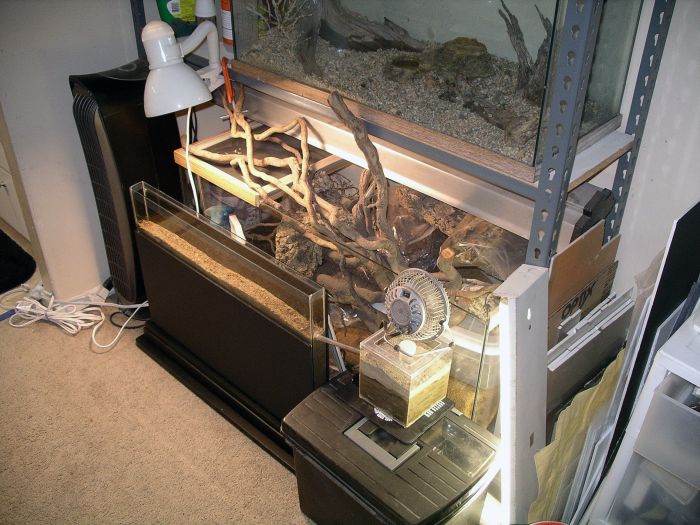
 
med_gallery_2_205_601079.jpg
 
med_gallery_2_205_208663.jpg
 
med_gallery_2_205_699998.jpg
 
med_gallery_2_205_591193.jpg
 
 
Within 10 minutes, they were already digging a new nest in the far back corner of the ant farm. I hope I catch them when they're moving all of their hundreds of brood and the queen into their new nest; it should be interesting to see.
  • John7429 likes this

#2 Offline dspdrew - Posted September 30 2017 - 3:48 PM

dspdrew
  • LocationSanta Ana, CA
Update 10-5-2015
 
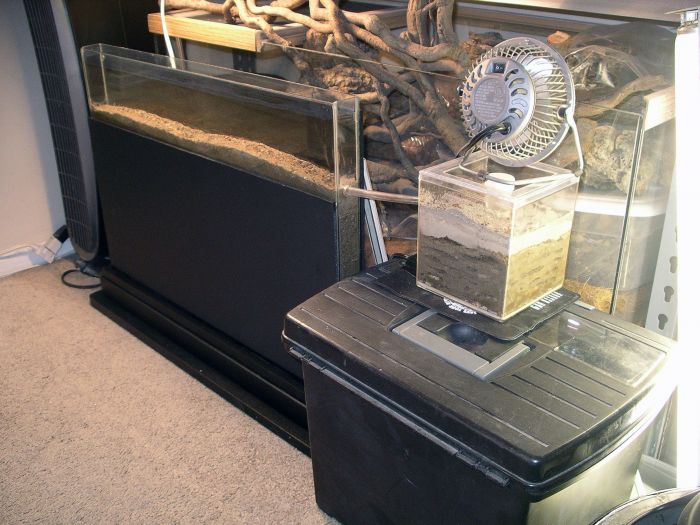
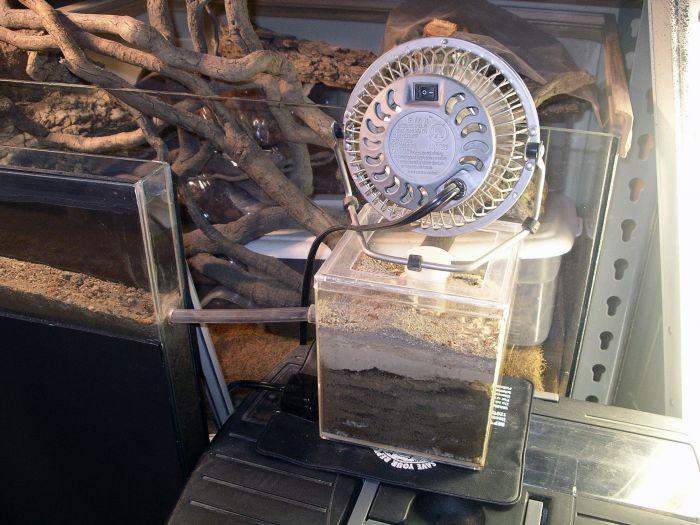
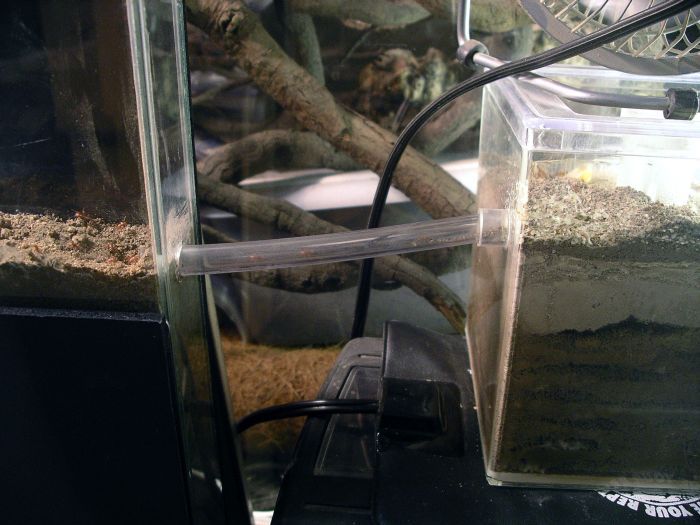
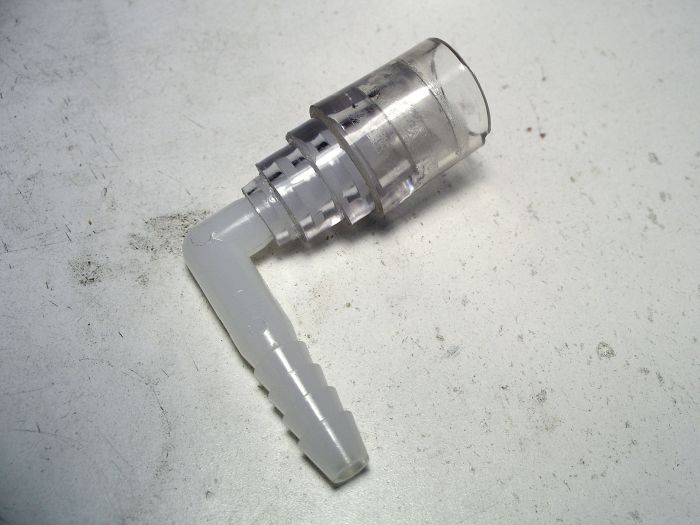
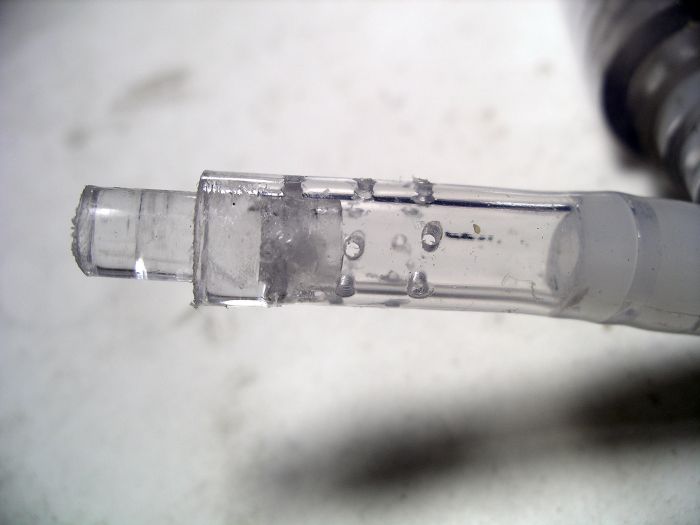
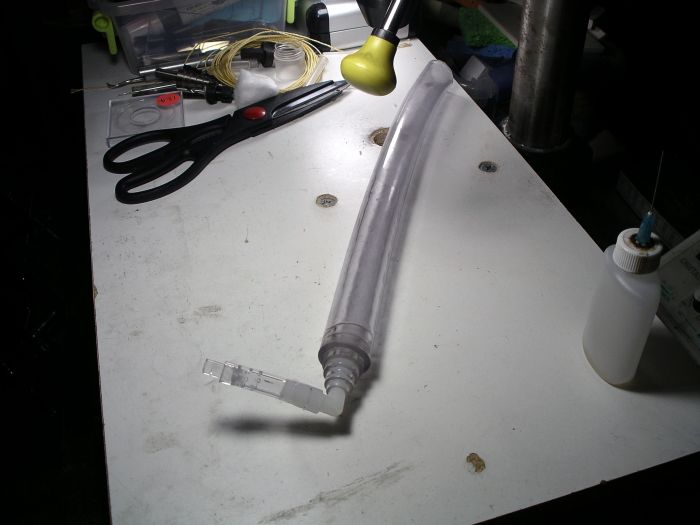
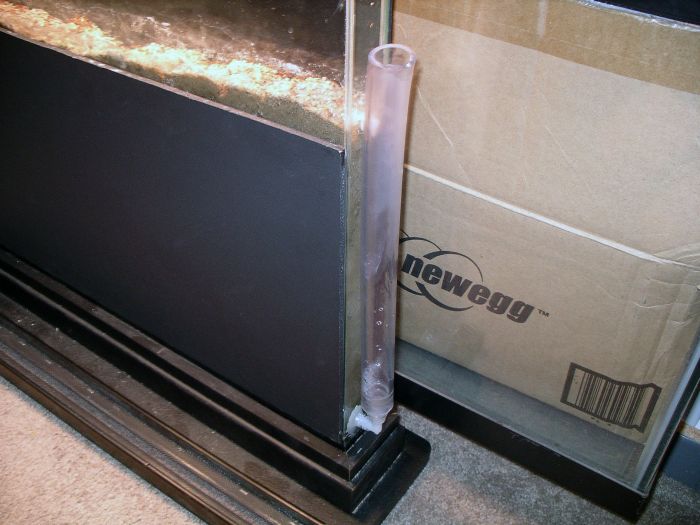
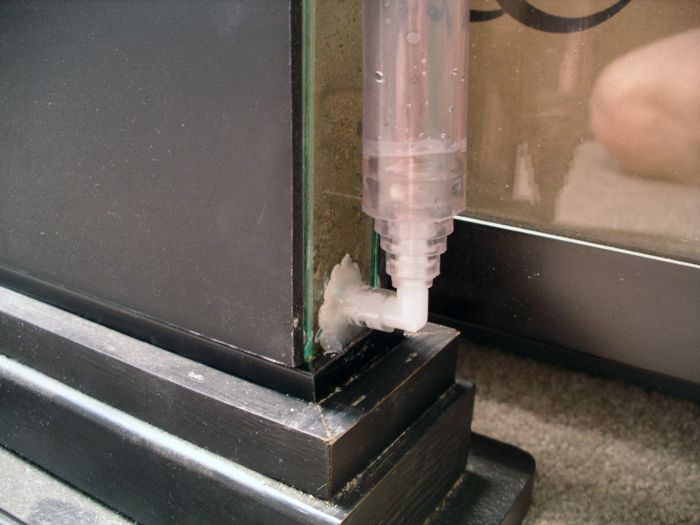
The nest finally started getting too dry and it was time for some hydration. I bonded some vinyl tubing together to make a little tank, and I stuck it in the bottom hole on the side of the ant farm.
 
med_gallery_2_409_592045.jpg
 
med_gallery_2_409_249349.jpg
 
med_gallery_2_409_381257.jpg
 
med_gallery_2_409_271807.jpg
 
med_gallery_2_409_376102.jpg
 
 
The water poured in a little faster than I expected, and the dirt was so hard that it look much longer for the water to soak in than I expected too.
  • AntsBC likes this

#3 Offline dspdrew - Posted September 30 2017 - 3:51 PM

dspdrew
  • LocationSanta Ana, CA
Update 9-30-2017
 
I decided to make a few more modifications to the giant ant farm now that it's empty. I moved the colony of Pogonomyrmex californicus out of it and sold them a few months back.
 
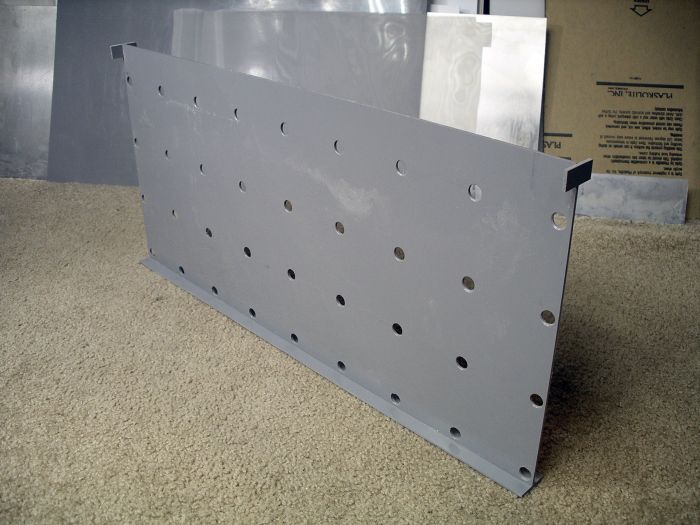
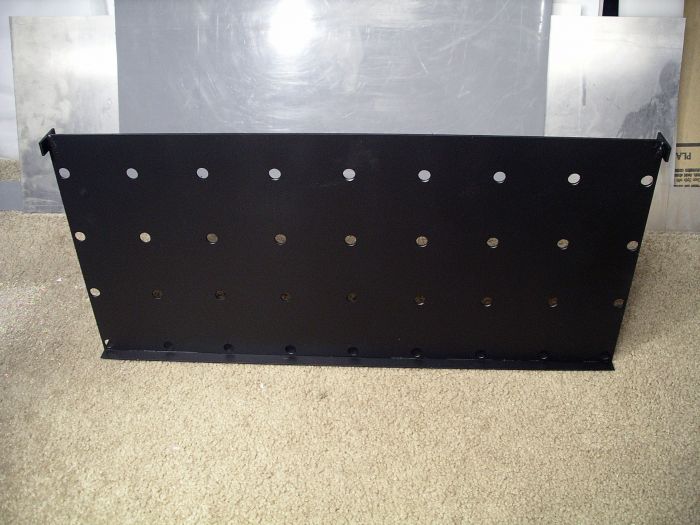
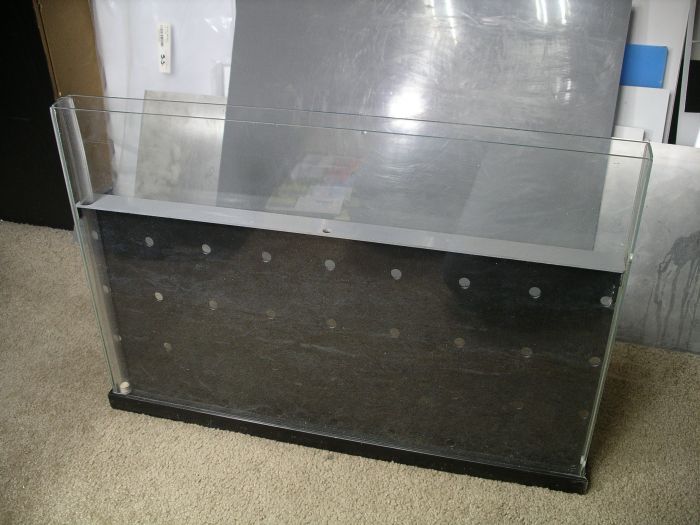
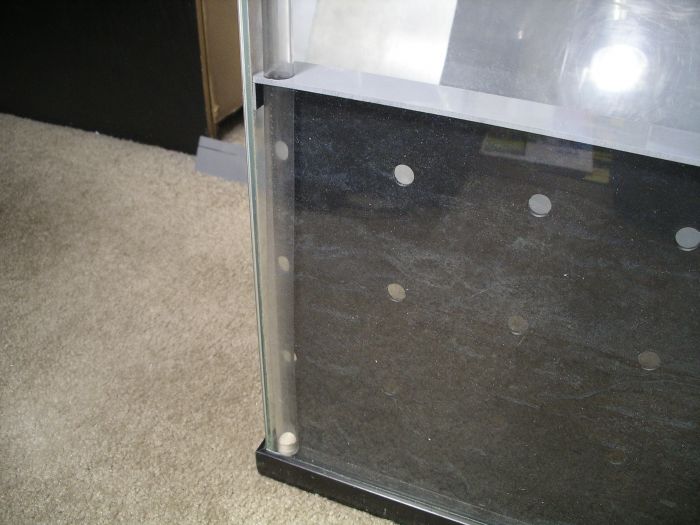
First, I divided it in half, so instead of one and a half inches of tunnel space, they will have closer to 3/4 inch on each side. This will keep them up against the glass more so they'll be easier to view. I also covered the dirt to make it easier to control and keep clean, similar to the way one of Retroman's ant farms are.
 
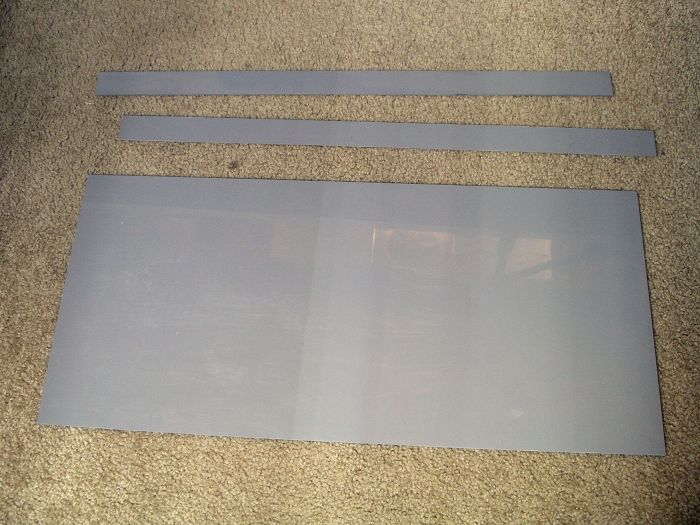
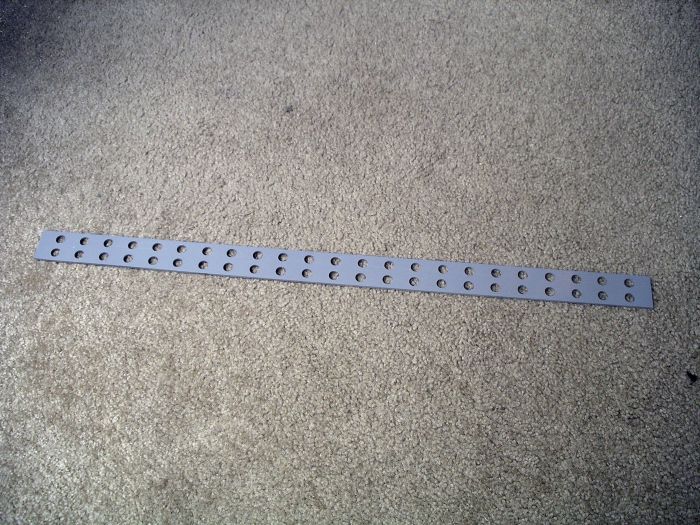
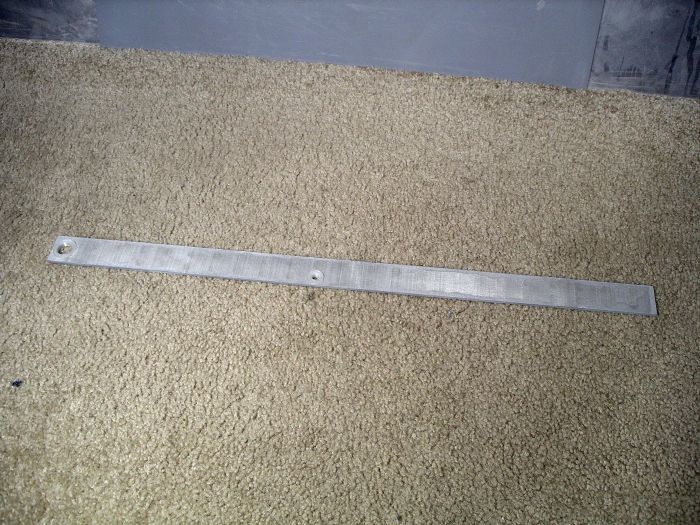
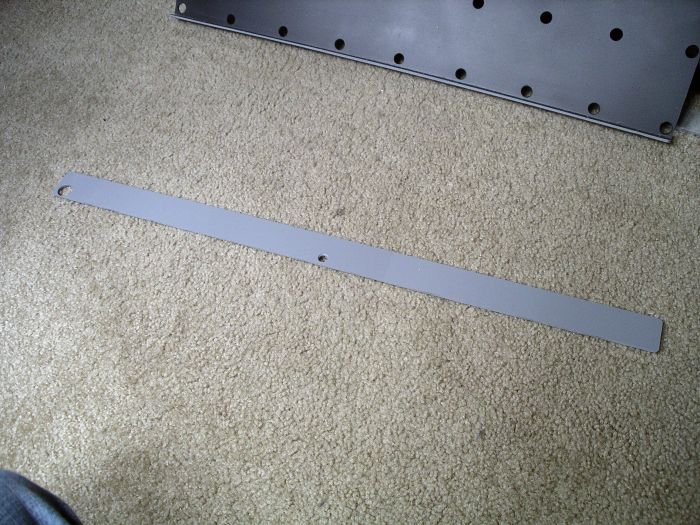
I cut some pieces from of a 3mm PVC sheet.
 
med_gallery_2_295_518275.jpg
 
 
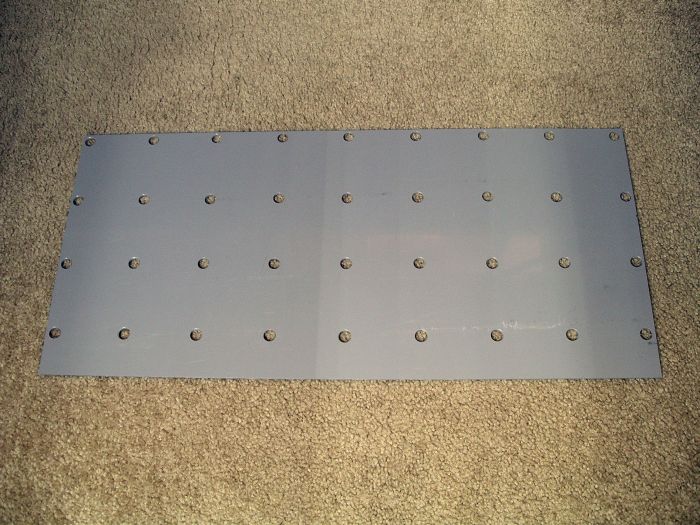
Drilled some holes so the ants can easily dig chambers on which ever side they want. I kind of wish I drilled way less.
 
med_gallery_2_295_281243.jpg
 
 
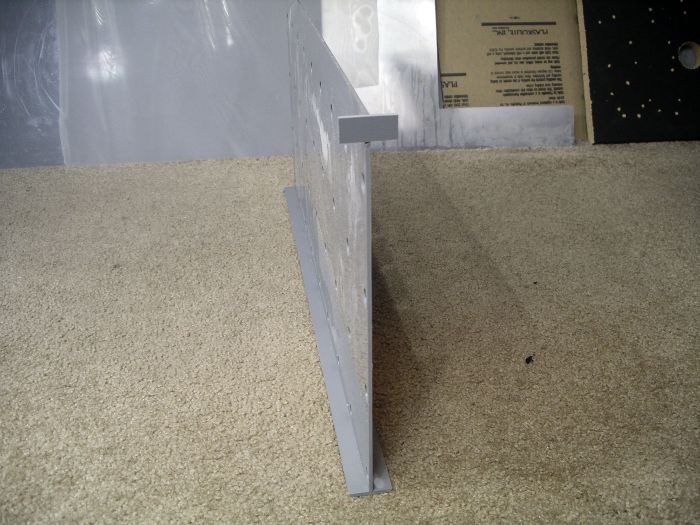
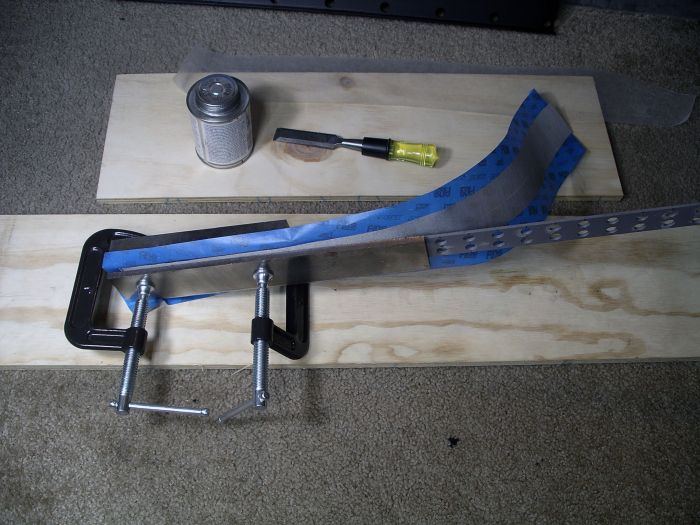
All bonded together.
 
med_gallery_2_295_887234.jpg
 
med_gallery_2_295_112175.jpg
 
 
Painted it black.
 
med_gallery_2_295_119684.jpg
 
 
This was going to be the dirt cover. I planned to put mesh over it to allow the dirt to dry out toward the top and create a moisture gradient, the way it would if it wasn't covered.
 
med_gallery_2_295_1111915.jpg
 
 
Sticking the mesh to it.
 
med_gallery_2_295_646373.jpg
 
 
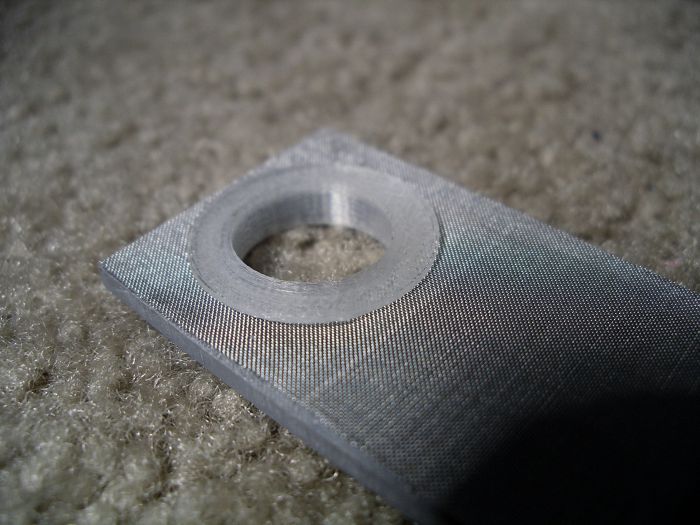
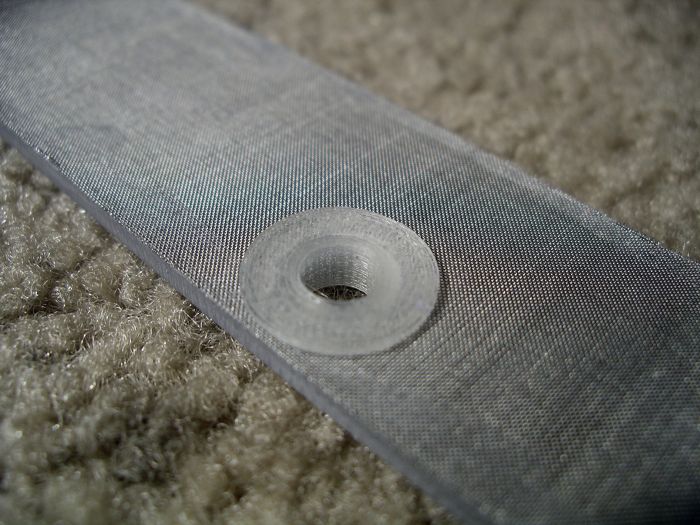
Once the mesh was glued to it, I drilled holes and 3D printed some grommets for the hydration tube and nest entrance.
 
med_gallery_2_295_530183.jpg
 
med_gallery_2_295_396049.jpg
 
 
Here it was all finished. Notice I screwed up and drilled out the mesh from the wrong damn hole to make the entrance? Not only was the entrance hole not in the center, but I also completely forgot about the divider when I drilled the stupid hole for the hydration tube.
 
So yeah, that was a big fail. Time to make a new one, only I'm not going through all that trouble with the mesh again. I'll just have to see how it works with the dirt sealed in. I really wasn't completely sure if I wanted to ventilate it at first anyway. I think there may still be a decent moisture gradient either way.
 
med_gallery_2_295_12697.jpg
 
 
So here is the cover with the holes drilled in the right place this time. :P This one was a lot easier to make.
 
med_gallery_2_295_517500.jpg
 
 
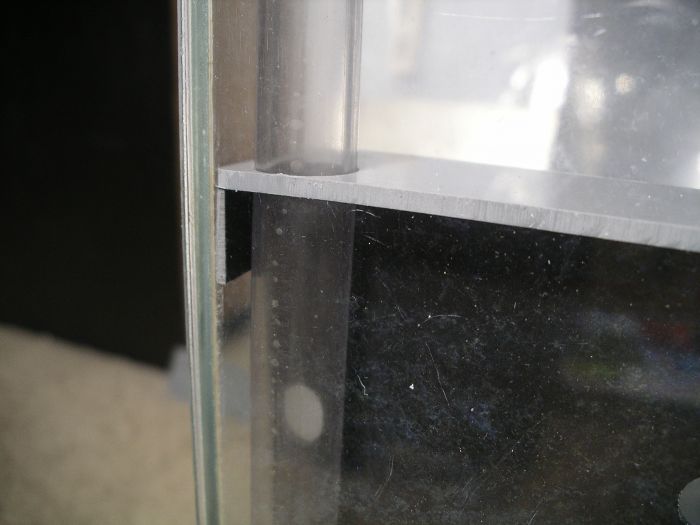
As you have probably already noticed, I decided to put the hydration tube on the inside this time, instead of hanging off the side of the thing like before. It got pretty annoying that way.
 
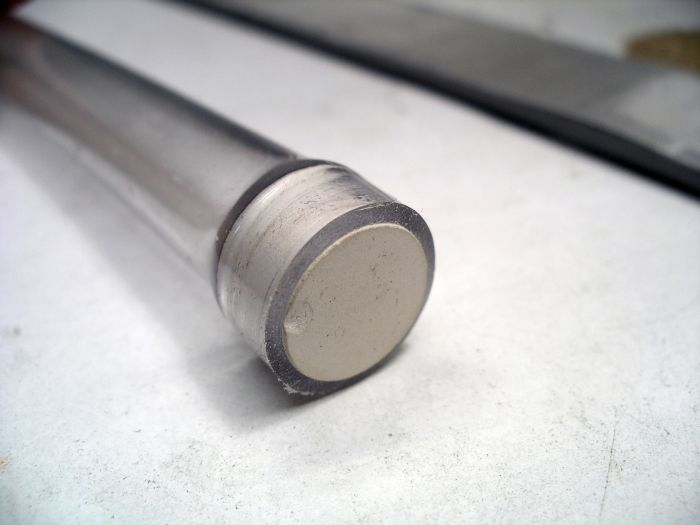
I'm not sure why I made it so complicated last time either. This time I simply pressed an unglazed ceramic tile round into the end of a half inch ID vinyl tube.
 
med_gallery_2_295_467212.jpg
 
 
Here is how everything will fit together, hydration tube and all.
 
med_gallery_2_295_529714.jpg
 
med_gallery_2_295_1252627.jpg
 
med_gallery_2_295_1215344.jpg
 
 
Adding the dirt. Had to use the boards and clamps to keep the glass from bowing out since it's only 1/8 inch thick. I didn't want any gaps between the glass and the dirt cover.
 
med_gallery_2_295_911156.jpg
 
 
Finished. Now to see if it works better than it did before.
 
med_gallery_2_295_863288.jpg
 
 
I'll be moving one of the Pogonomyrmex tenuispinus queens I got from Retroman this year into it.
  • nurbs, rdurham02, antaioli and 1 other like this

#4 Offline nurbs - Posted September 30 2017 - 8:37 PM

nurbs

    Advanced Member

  • Moderators
  • PipPipPip
  • 1,630 posts
  • LocationLos Angeles

That is quite epic.


Instagram:
nurbsants
 
YouTube
 
California Ants for Sale


Unidentified Myrmecocystus

https://www.formicul...ls-near-desert/


Undescribed "Modoc"

https://www.formicul...mp-ca-5-4-2017/


Camponotus or Colobopsis yogi:

https://www.formicul...a-ca-1-28-2018/

 
Camponotus us-ca02
https://www.formicul...onotus-us-ca02/


Unidentified Formica

https://www.formicul...l-ca-6-27-2020/

 
Pencil Case and Test Tube Formicariums
https://www.formicul...m-and-outworld/
 
Bloodworm Soup
https://www.formicul...bloodworm-soup/


#5 Offline AntsCalifornia - Posted May 27 2018 - 5:15 PM

AntsCalifornia

    Advanced Member

  • Members
  • PipPipPip
  • 247 posts

Can you tell me what that white thing used to connect the tubing to the formicarium is? I need to get some for a new formicarium design I'm trying out.


#6 Offline CoolColJ - Posted May 27 2018 - 6:18 PM

CoolColJ

    Advanced Member

  • Members
  • PipPipPip
  • 2,646 posts
  • LocationSydney, Australia

Can you tell me what that white thing used to connect the tubing to the formicarium is? I need to get some for a new formicarium design I'm trying out.


Vinyl tubing extenders, should be available from any hardware place that sells vinyl tubing or aquarium shops


Current ant colonies -
1) Opisthopsis Rufithorax (strobe ant), Melophorus sp2. black and orange, Pheidole species, Pheidole antipodum
Journal = http://www.formicult...ra-iridomyrmex/

Heterotermes cf brevicatena termite pet/feeder journal = http://www.formicult...feeder-journal/


1 user(s) are reading this topic

0 members, 1 guests, 0 anonymous users