Tips for taking pictures
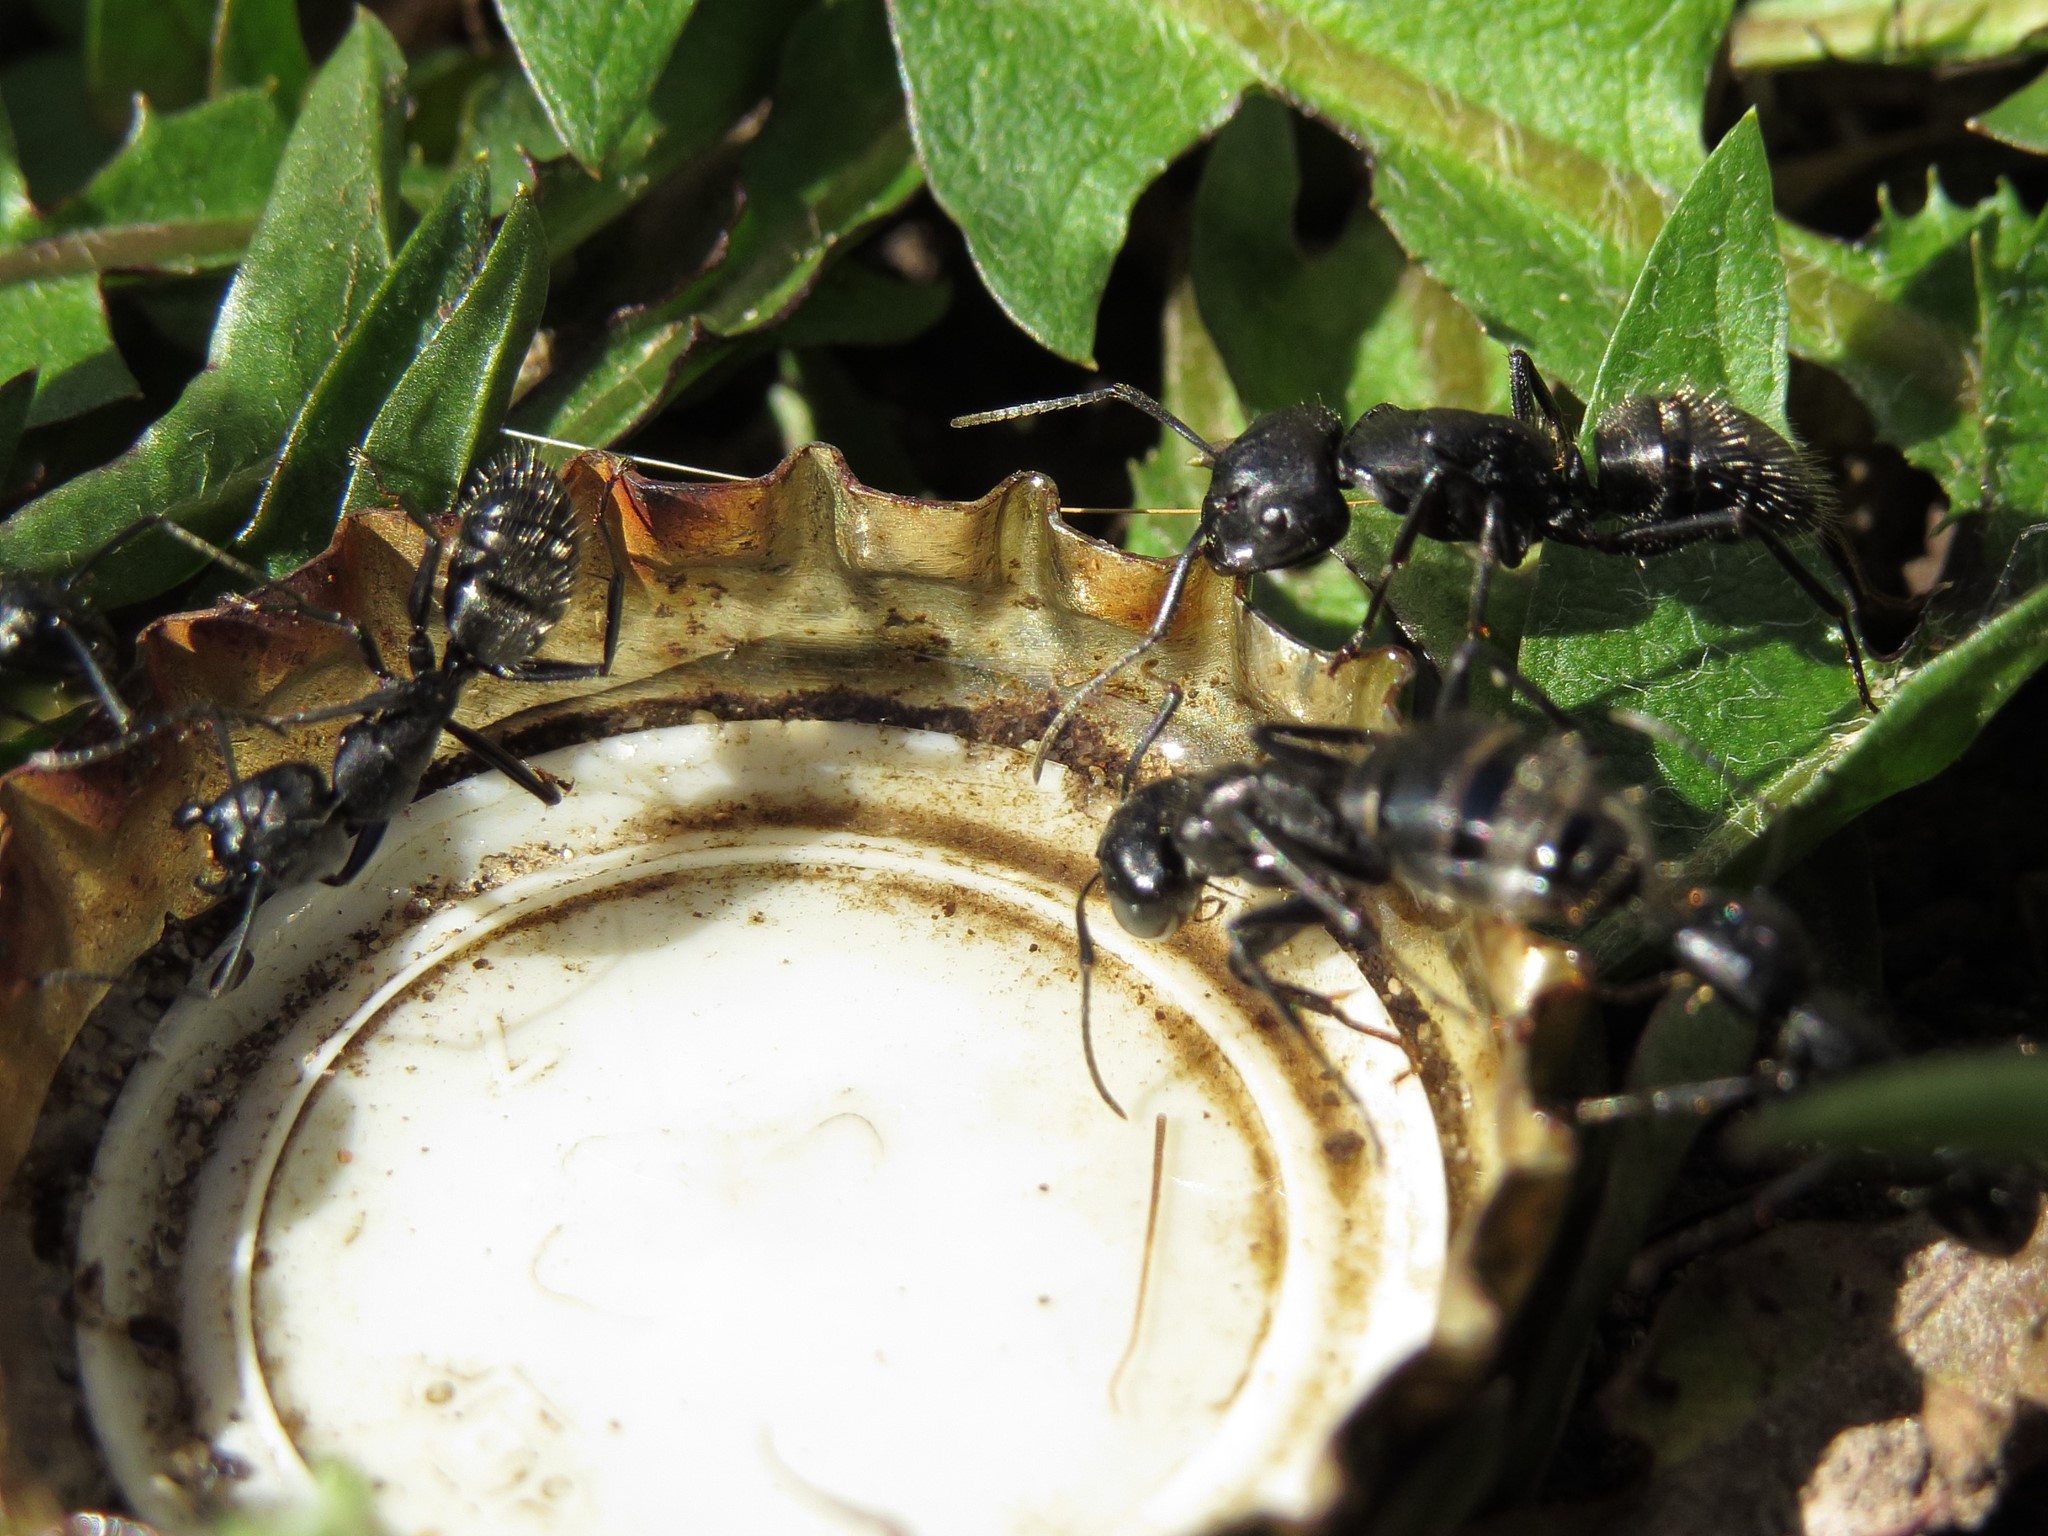
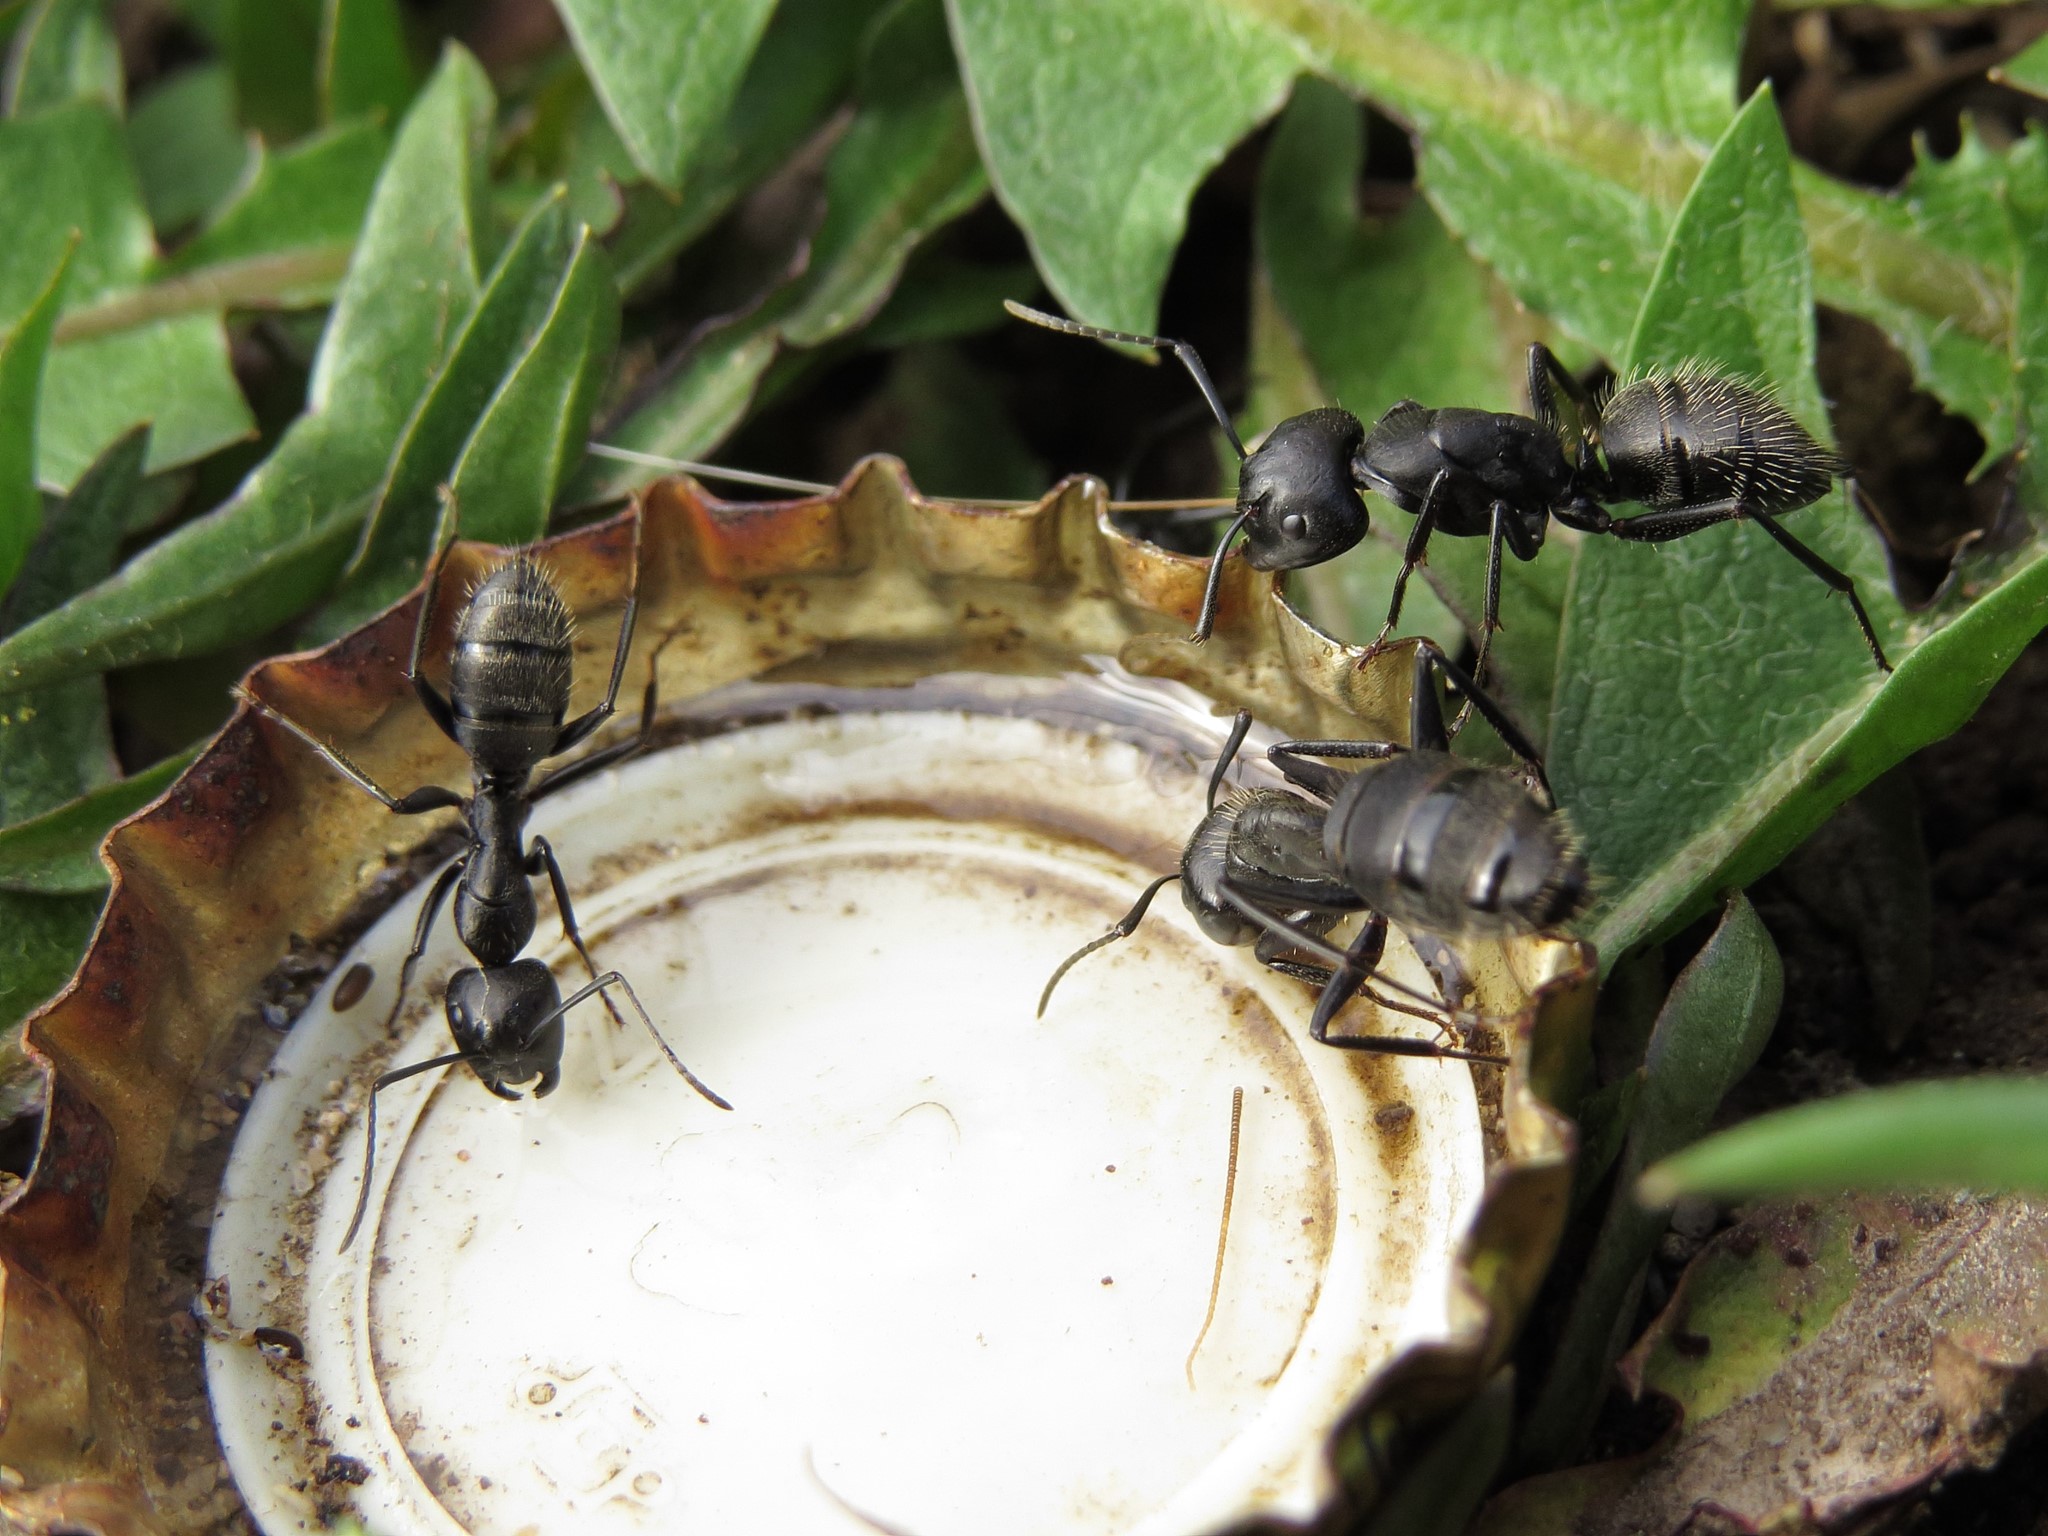
For ants that move around a lot, you can put a pebble in a pop bottle lid and make a water moat around the rock. Some species have no problem jumping into the water, so this may not work for all species.
You can also take 2 pieces of glass and some clay to make a small "dungeon" for the ant. The less space they have the easier time you will have getting a good picture.
For ants that live where it gets cool, you can put ants in the refrigerator for 5 minutes to slow them down for a shot. Do not do this with tropical ants.
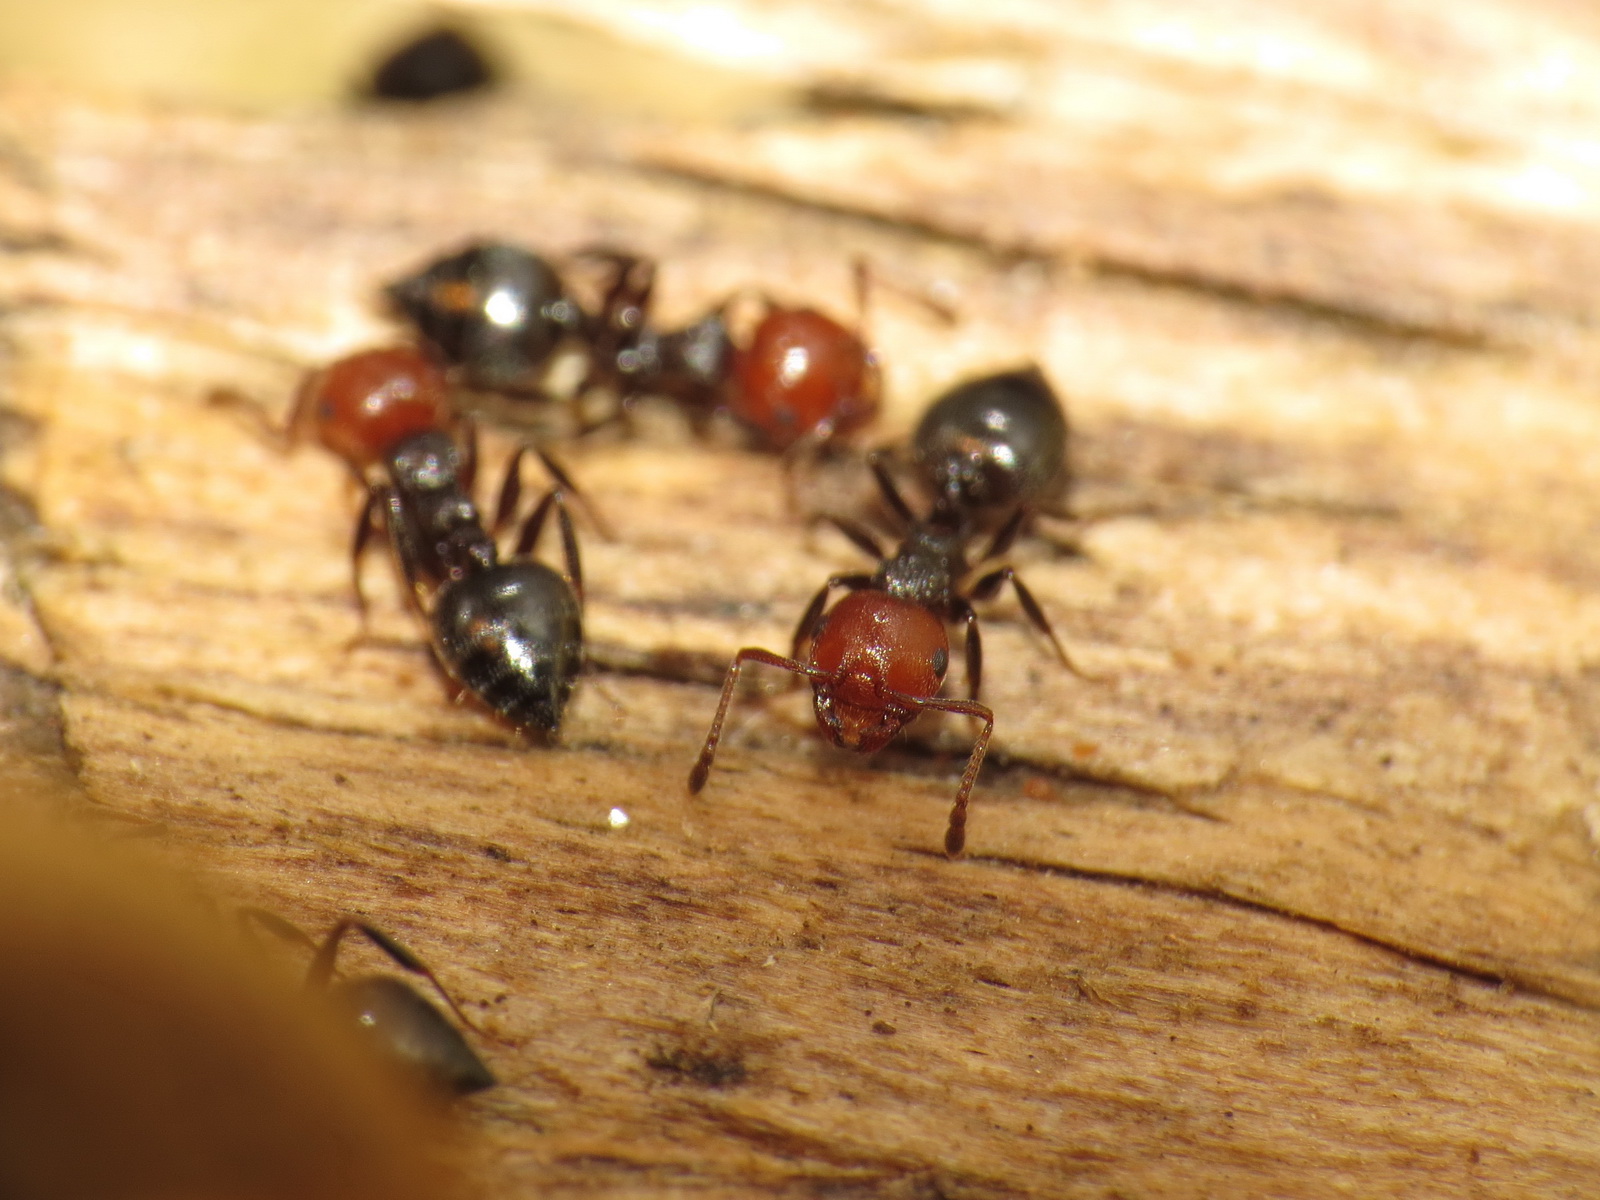
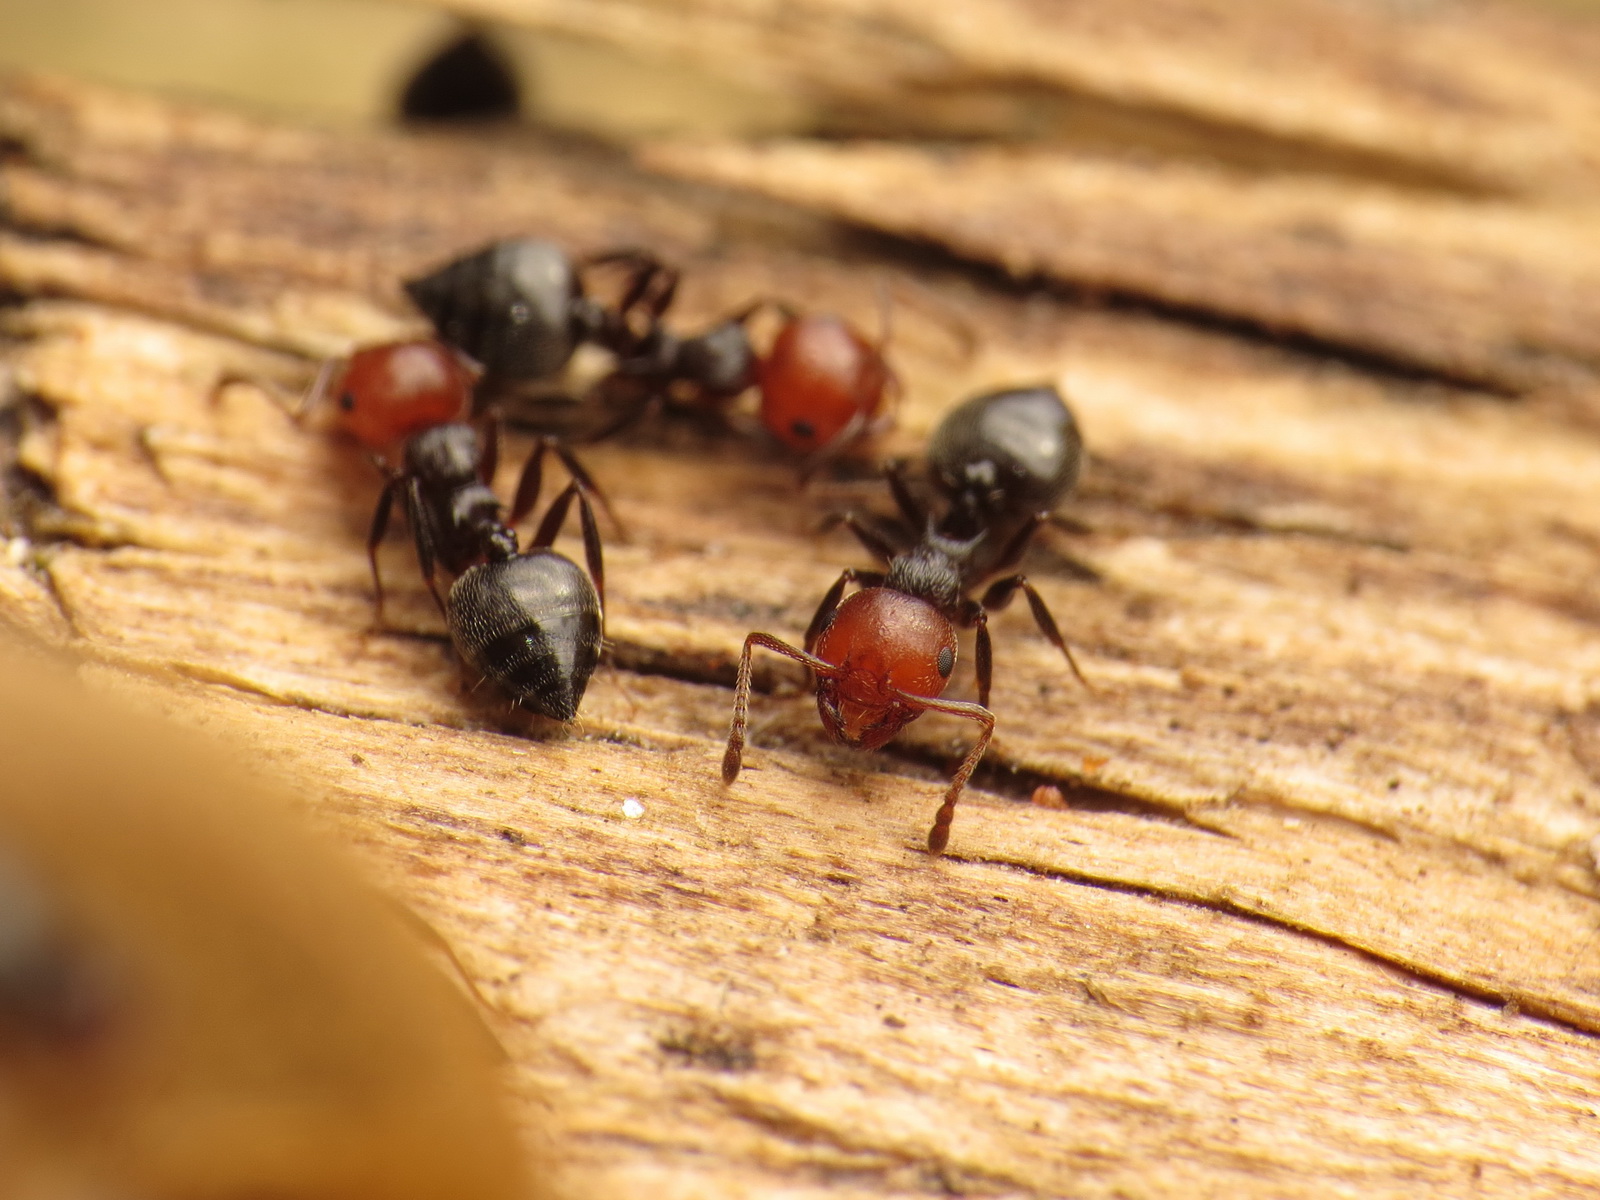
Good lighting can make all the difference. Try taking pictures just to see how different kinds of lighting affect the picture. Sometimes pictures are better without the camera flash, but using other sources of light. The best pictures I get are without the camera flash, but outside in natural lighting (not direct sunlight, but in light to medium shade).
If using any kind of additional lighting, keep in mind the glare from the lights and the angle of the camera to the glass. A 15-45 degree angle tends to avoid the majority of the glare, but play around with your camera to see what works best.
Some simple things that can make a difference:
Get close to the ant so that if fills up at least half of your shot (if possible).
A macro lens or even a magnifying glass can help get close up pictures even with cheap cameras.
Clean your lens and the outside glass of the formicarium/test tube.
Once you have uploaded the picture to your computer, crop the image to make the ant more central and larger.
USB microscopes are also good for close up images. Their price ranges from $25 and up.
Posting your pictures online
It is possible to upload a few lower quality pictures directly to this forum, but the majority of people upload their pictures to a third party free picture hosting site such as www.photobucket.com, www.flickr.com, or others.
1. Find an image host (eg: Imgur, Flickr, or other free 3rd party picture hosting sites), and upload your pictures.
2. Find the direct URL to the image file, which usually ends with an image file extension (eg: .jpg, .png, .gif). Some sites will specifically give you this URL, others you may have to obtain it yourself by pulling up the image in your browser and then copying the address.
3. Once you have the URL copied to your clipboard, while typing your post, you can either click the image icon near the center of the bottom toolbar of the graphical editor, and then paste that URL into the dialog box, or you can actually past it into an image tag like this:
[img=URL]
Edited by Crystals, December 28 2017 - 3:15 PM.


