- Formiculture.com
- Forums
- Gallery
- Members
- Member Map
- Chat
Dspdrew's Pogonomyrmex californicus (bicolor) Journal [160] (Discontinued)
Started By
dspdrew
, May 30 2014 6:11 PM
pogonomyrmex californicus dspdrew journal mojave desert california harvester ants
132 replies to this topic
#1 Offline - Posted May 30 2014 - 6:11 PM
5-29-2014
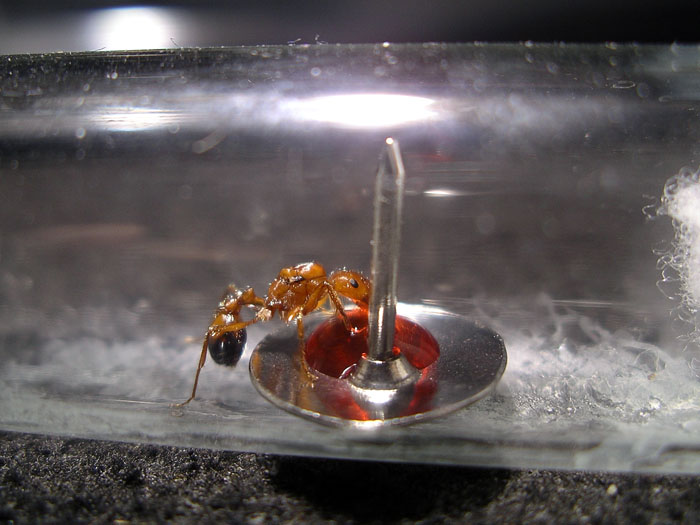
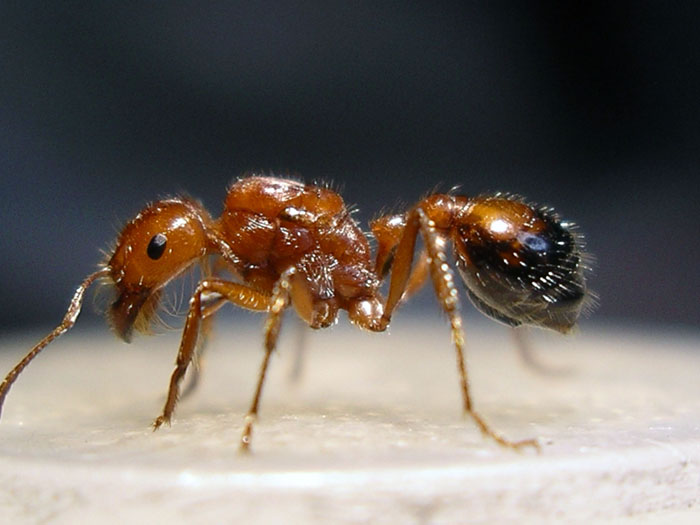
Pogonomyrmex californicus (desert bicolor variety) were flying in Palmdale, California around 4:00 pm on May 26th. This was after a large thunderstorm blew through there two days prior, dumping an inch of rain in 30 minutes. I had a feeling P. californicus would be flying out there a few days later after it warmed up almost 20 degrees, and I was right; I took home 33 dealates that day.
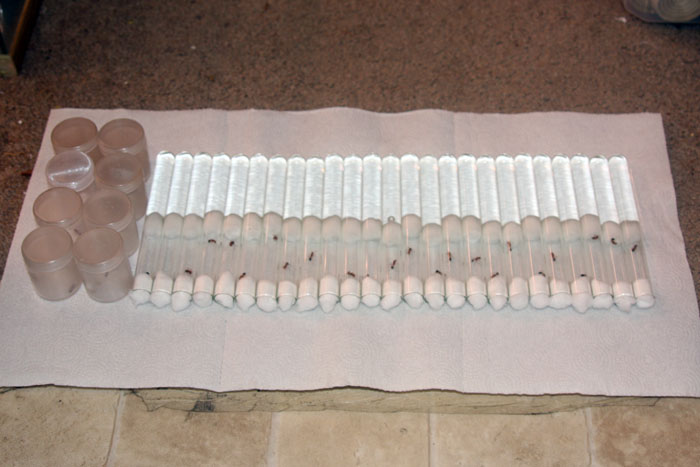
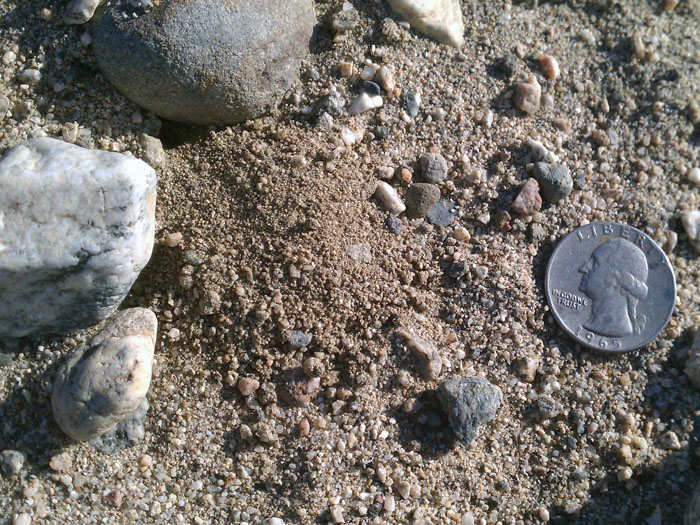
Here's what the founding chambers looked like.
For starters, I gave one of these to Bigb.
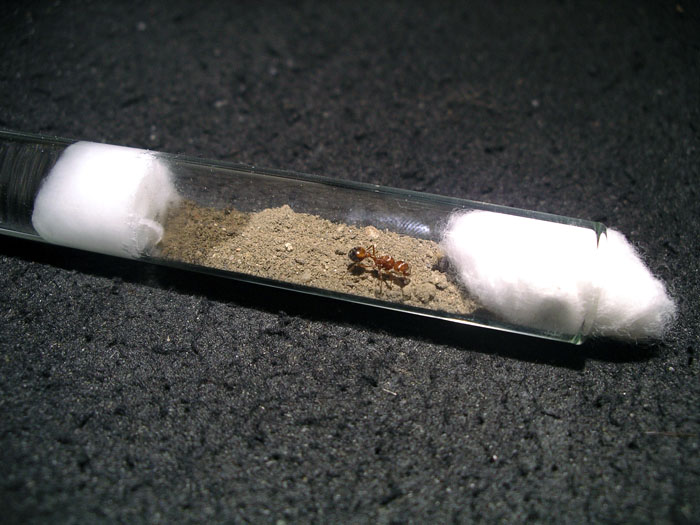
To ensure I end up with at least a few successful colonies, I decided to try a few different types of setups again like I did with my other Pogonomyrmex colonies. I divided up the remaining 32 into four groups. I put eight of them in regular test tube setups with a layer of clay dirt added.
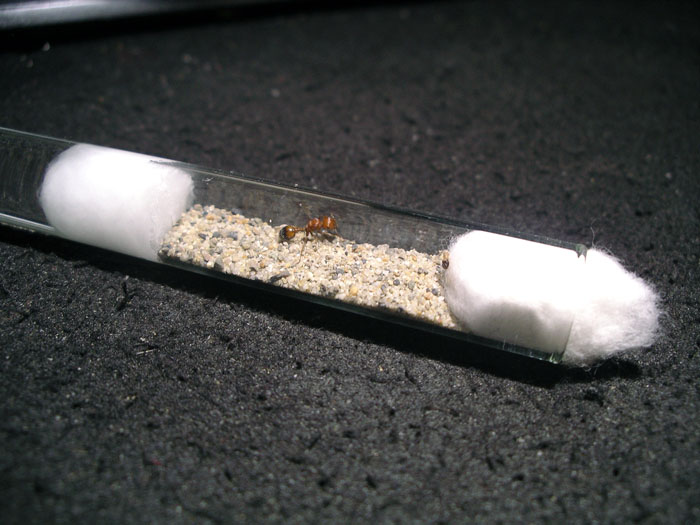
I put eight of them in regular test tube setups with a layer of fine sand added.
All the rest except for three of them I put in regular test tube setups with nothing added.
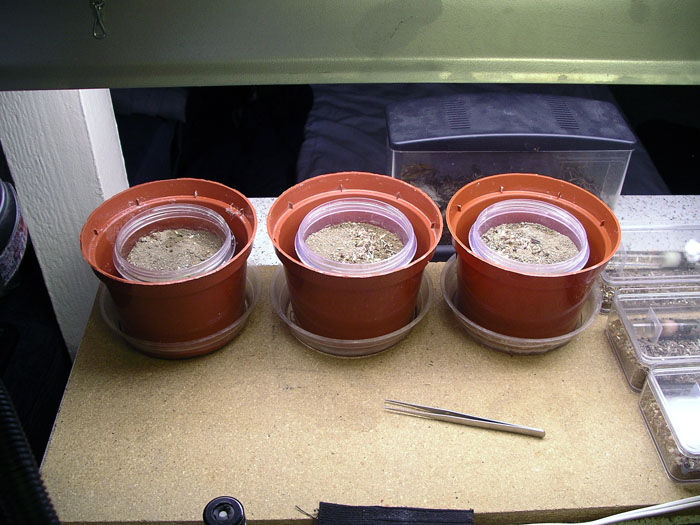
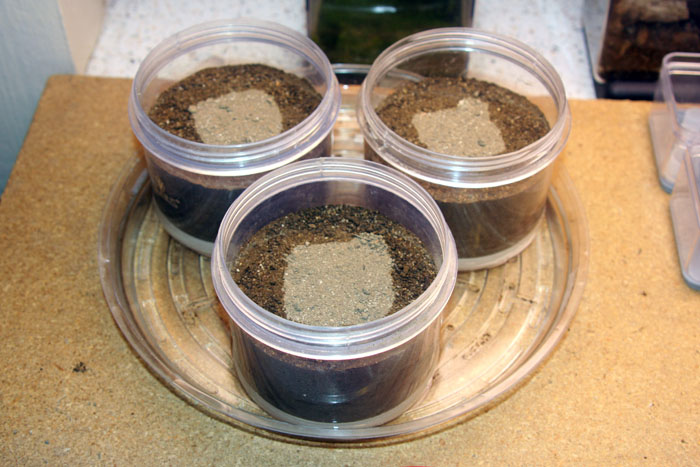
As for the three remaining queens, I decided to try dirt setups again, only this time I'm going to make sure they stay well hydrated. To ensure good hydration, I took three plastic jars, and drilled some holes in the bottoms, and for now, covered the latter with duct tape.
I took some small flower pots just a bit smaller than the jars, and cut about an inch off the tops. I then cut four square notches out of the top rims of each. These will block the ants from digging too far from the sides of the jars, allowing for better viewing.
I taped up all the holes on the bottoms of the pots with duct tape to keep anything from getting inside.
I poured about 4mm of Hydrostone in the bottoms of the jars and let it cure.
I then poured about another 1cm of Hydrostone on top of the first 4mm of cured Hydrostone, and pushed the flower pots down into it upside down. I made sure to pull the duct tape off one of the holes temporarily to allow the air to escape letting the pot drop all the way to the bottom.
Once it was all cured, I pulled the duct tape off the bottom holes. This should make it very easy for the water to be absorbed by the Hydrostone while the jars sit in a shallow tray of water. The water should then be absorbed by the dirt. As long as the water level in the tray never goes above the Hydrostone, there should be no risk of puddling or flooding in any of the chambers.
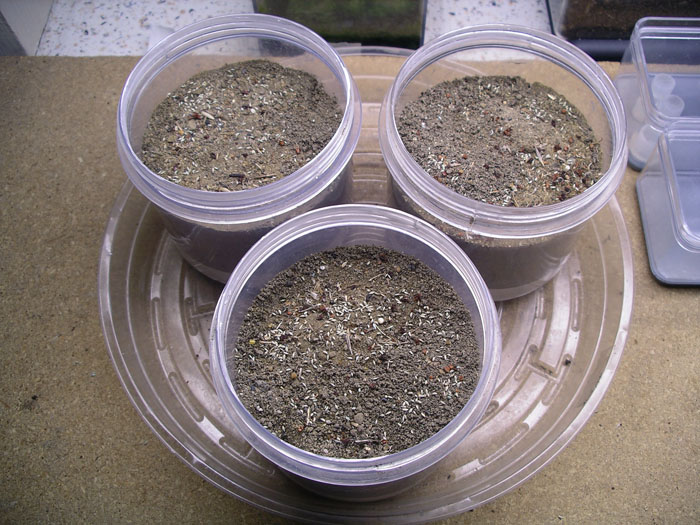
I filled them with dirt just high enough to cover the bottoms of the pots to give the ants plenty of room to forage in the dirt just like their natural habitat. I poured a little water in the tray and left it.
The next morning as you can see, the dirt absorbed plenty of the water. This should also keep me from having to try to hydrate from the top again, which was disastrous last time, as it all poured down into the nest and absorbed way too slowly.
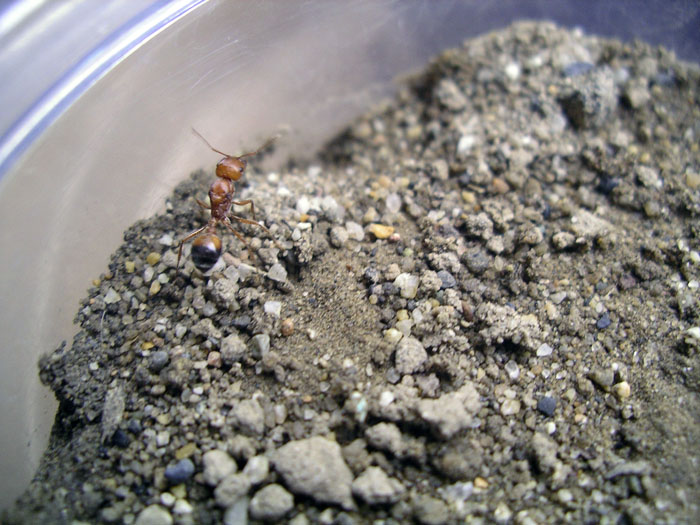
I placed the queens in their new homes, and within an hour they already started digging their new founding chambers.
Pogonomyrmex californicus (desert bicolor variety) were flying in Palmdale, California around 4:00 pm on May 26th. This was after a large thunderstorm blew through there two days prior, dumping an inch of rain in 30 minutes. I had a feeling P. californicus would be flying out there a few days later after it warmed up almost 20 degrees, and I was right; I took home 33 dealates that day.
Here's what the founding chambers looked like.
For starters, I gave one of these to Bigb.
To ensure I end up with at least a few successful colonies, I decided to try a few different types of setups again like I did with my other Pogonomyrmex colonies. I divided up the remaining 32 into four groups. I put eight of them in regular test tube setups with a layer of clay dirt added.
I put eight of them in regular test tube setups with a layer of fine sand added.
All the rest except for three of them I put in regular test tube setups with nothing added.
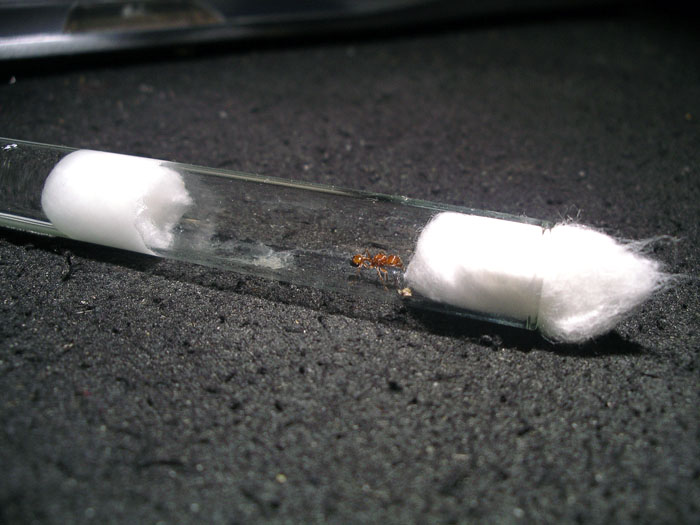
As for the three remaining queens, I decided to try dirt setups again, only this time I'm going to make sure they stay well hydrated. To ensure good hydration, I took three plastic jars, and drilled some holes in the bottoms, and for now, covered the latter with duct tape.
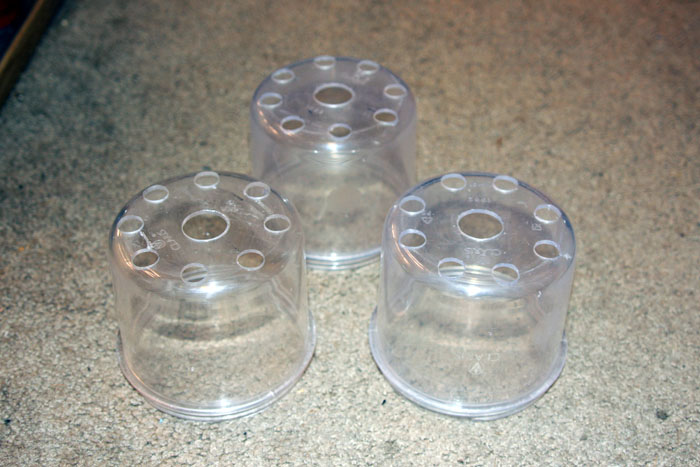
I took some small flower pots just a bit smaller than the jars, and cut about an inch off the tops. I then cut four square notches out of the top rims of each. These will block the ants from digging too far from the sides of the jars, allowing for better viewing.
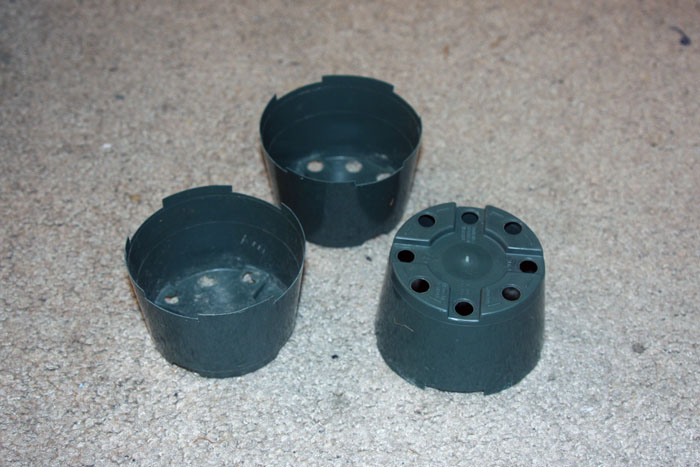
I taped up all the holes on the bottoms of the pots with duct tape to keep anything from getting inside.
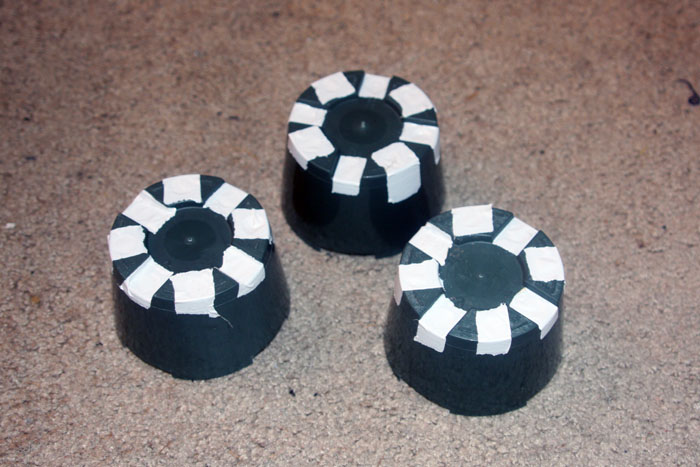
I poured about 4mm of Hydrostone in the bottoms of the jars and let it cure.
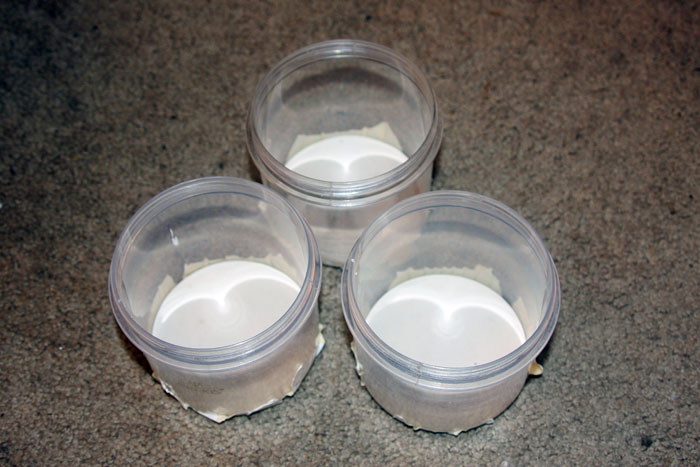
I then poured about another 1cm of Hydrostone on top of the first 4mm of cured Hydrostone, and pushed the flower pots down into it upside down. I made sure to pull the duct tape off one of the holes temporarily to allow the air to escape letting the pot drop all the way to the bottom.
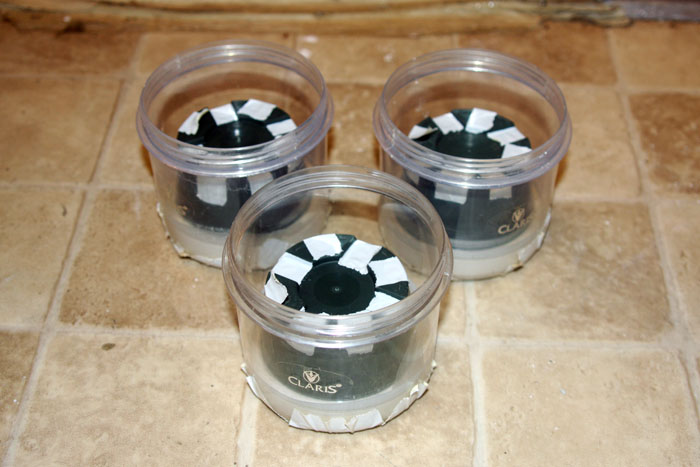
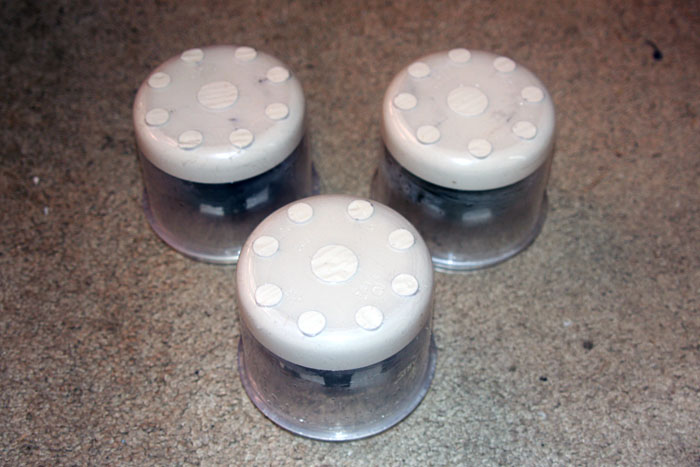
Once it was all cured, I pulled the duct tape off the bottom holes. This should make it very easy for the water to be absorbed by the Hydrostone while the jars sit in a shallow tray of water. The water should then be absorbed by the dirt. As long as the water level in the tray never goes above the Hydrostone, there should be no risk of puddling or flooding in any of the chambers.
I filled them with dirt just high enough to cover the bottoms of the pots to give the ants plenty of room to forage in the dirt just like their natural habitat. I poured a little water in the tray and left it.
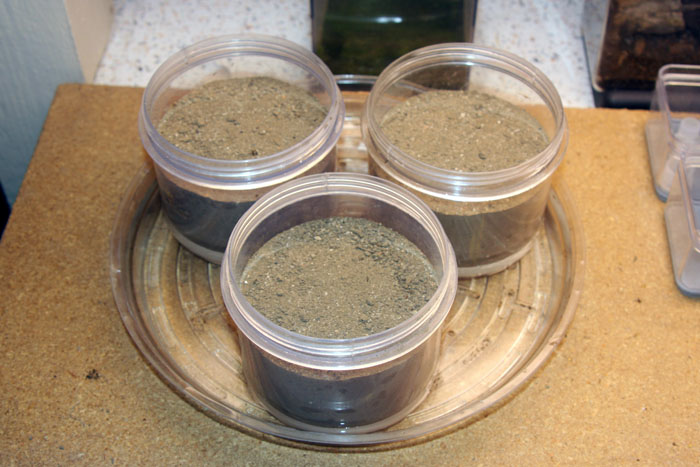
The next morning as you can see, the dirt absorbed plenty of the water. This should also keep me from having to try to hydrate from the top again, which was disastrous last time, as it all poured down into the nest and absorbed way too slowly.
I placed the queens in their new homes, and within an hour they already started digging their new founding chambers.
- Bcam43 and antgenius123 like this
#2 Offline - Posted May 30 2014 - 6:23 PM
What you've done with the jars is quite creative!
Here's my leopard gecko/ant youtube: https://goo.gl/cRAFbK
My ant website.
It contains a lot of information about ants, guides, videos, links, and more!
If you have any feedback, please post here or PM me, don't be shy!
I currently keep:
Formica podzolica
#3 Offline - Posted May 30 2014 - 6:31 PM
5-29-2014
To ensure I end up with at least a few successfull colonies
Fingers crossed!
#4 Offline - Posted May 30 2014 - 9:14 PM
Update 5-30-2014
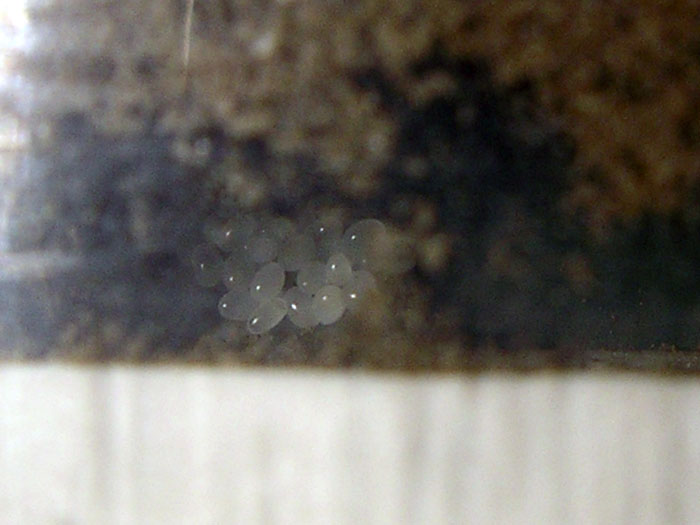
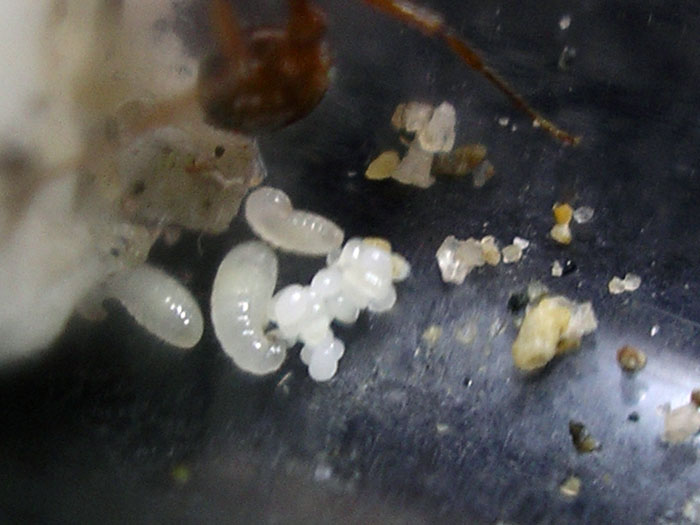
Almost all of the test tube queens have eggs already, some more than others. The ones in the sand are a bit hard to see.
The three queens in the jars have already dug their founding chambers and closed them up. I sprinkled a variety of seeds including some bluegrass seeds on top for them to select from if they feel like.
Almost all of the test tube queens have eggs already, some more than others. The ones in the sand are a bit hard to see.
The three queens in the jars have already dug their founding chambers and closed them up. I sprinkled a variety of seeds including some bluegrass seeds on top for them to select from if they feel like.
#5 Offline - Posted May 31 2014 - 1:11 PM
Nice job man. I'm curious to see how this works out. I'll monitor this journal heavily.
There are two kinds of sufferers in this world: Those who suffer from a lack of life...and those who suffer from an overabundance of life. -Waking Life
#6 Offline - Posted May 31 2014 - 7:26 PM
That's a lot of mouths to feed! Where do you get your bluegrass seeds from? All the ones at home depot seem to be in huge bags packed with chemicals.
Edited by LAnt, May 31 2014 - 7:27 PM.
#7 Offline - Posted June 1 2014 - 7:47 AM
I got them from Home Depot a long time ago, when they had a really small bag of them that didn't seem to have any pesticides.
#8 Offline - Posted June 4 2014 - 12:55 PM
Have you thought about small firebrick ones like in Crystal's video?
#9 Offline - Posted June 4 2014 - 1:27 PM
For formicariums yes. I was actually the one who told her about fire bricks.
- TennesseeAnts likes this
#10 Offline - Posted June 4 2014 - 2:34 PM
For formicariums yes. I was actually the one who told her about fire bricks.
He told me about firebricks, but I managed to build one before he managed to come up with a design he liked.
"Always do right. This will gratify some people, and astound the rest." -- Samuel Clemens
#11 Offline - Posted June 4 2014 - 3:06 PM
I meant for these queens right now.
#12 Offline - Posted June 5 2014 - 12:31 AM
He told me about firebricks, but I managed to build one before he managed to come up with a design he liked.
Haha no, I actually made a little formicarium out of one a year ago, but I gave it to Anhzor.,
#13 Offline - Posted June 5 2014 - 3:33 PM
#14 Offline - Posted June 6 2014 - 10:40 AM
Update 6-6-2014
Queens in jars:
These queens have dug tunnels all the way around the bottoms of the jars by now. They both have very large piles of eggs, larger than any of the queens in the tubes. None of these eggs have turned to larvae yet either, since it's slightly cooler where they are.
Queens in test tubes:
These almost all have eggs now, and most of them even have larvae already. The cabinet they are in is right above the fridge, so it's even warmer than the rest of my already-hot apartment.
#15 Offline - Posted June 6 2014 - 12:05 PM
Those are some plump larvae! good luck with them.
#16 Offline - Posted June 11 2014 - 8:05 PM
Update 6-11-2014
Queens in jars:
All three now have larvae, and still the largest piles of brood out of all these queens. I decided to put the jars inside some larger flower pots, and keep those in separate saucers. This makes it easy to keep the tunnels dark, while still keeping it easy for me to check on them.
Queens in test tubes:
At this point, I really can't see much of a difference between the three sets of tubes, but the ones without substrate are probably doing slightly better than the others. Most of the ones with substrate that are doing well, the queens have actually dug all the substrate away from where they're keeping their brood. Amazingly, one of the queens in the test tubes with sand already has two pupae, and it's only been 13 days! The reason these test tube colonies are developing so fast is probably because I am keeping them in a cabinet above my fridge, so even at night it never goes below 85 degrees in there.
#17 Offline - Posted June 11 2014 - 11:11 PM
I'm impressed with your wick system jars! I'm going to try this very soon!
#18 Offline - Posted June 11 2014 - 11:27 PM
Thanks. Yeah, capillary action seems to be the key to good hydration in any formicarium.
#19 Offline - Posted June 21 2014 - 5:18 PM
Update 6-21-2014
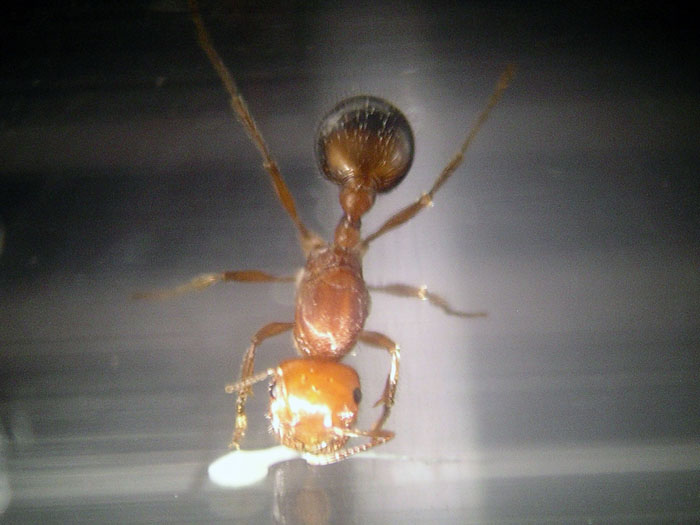
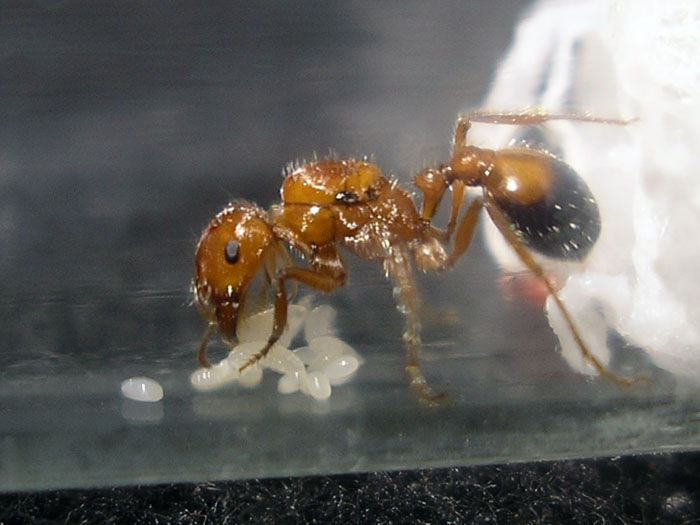
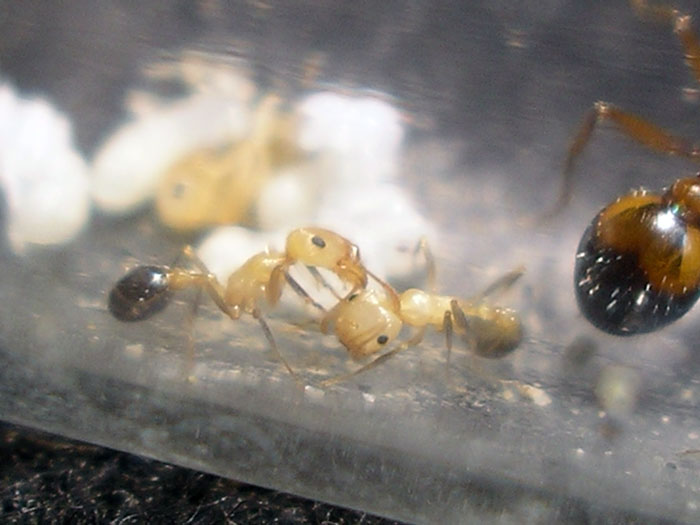
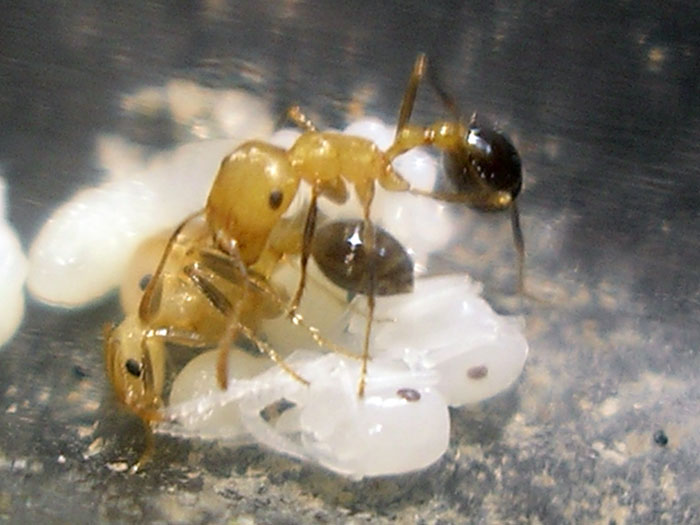
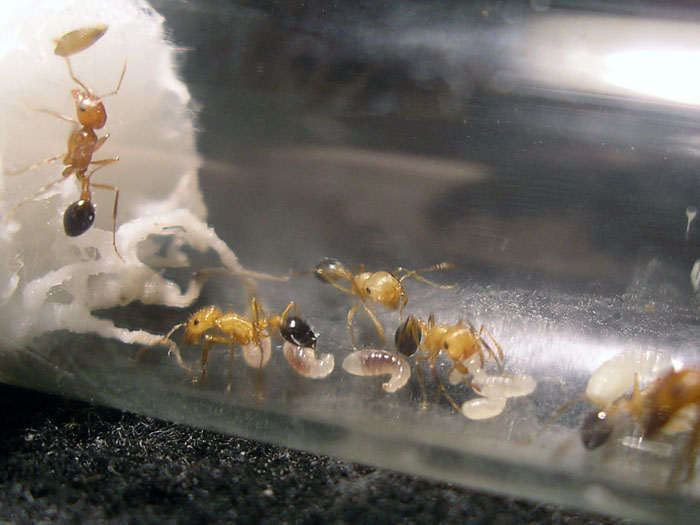
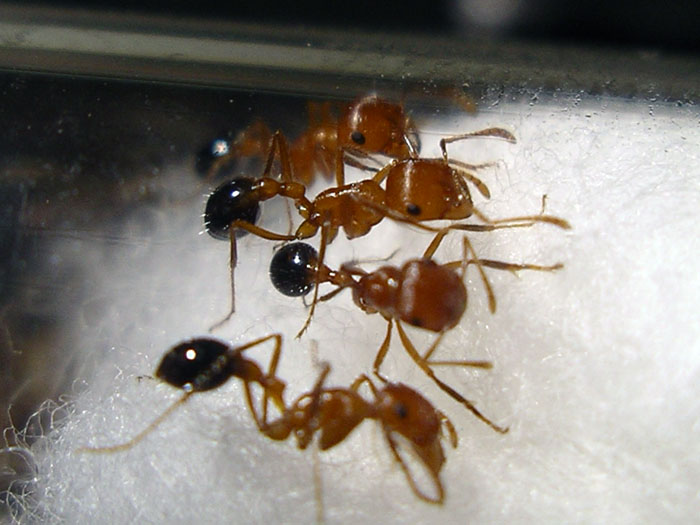
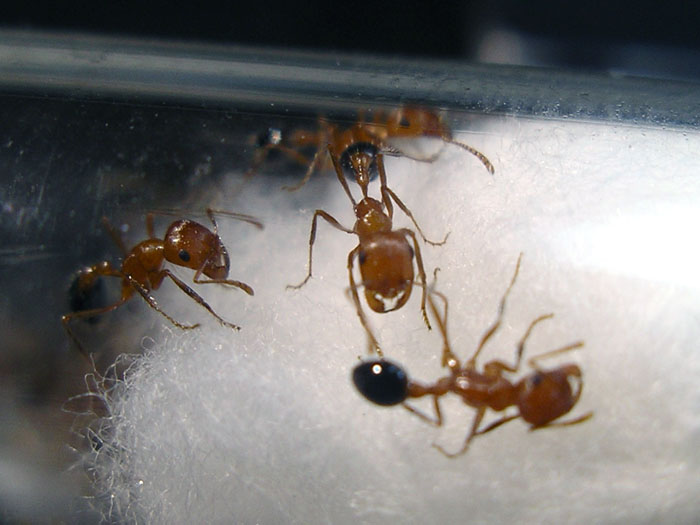
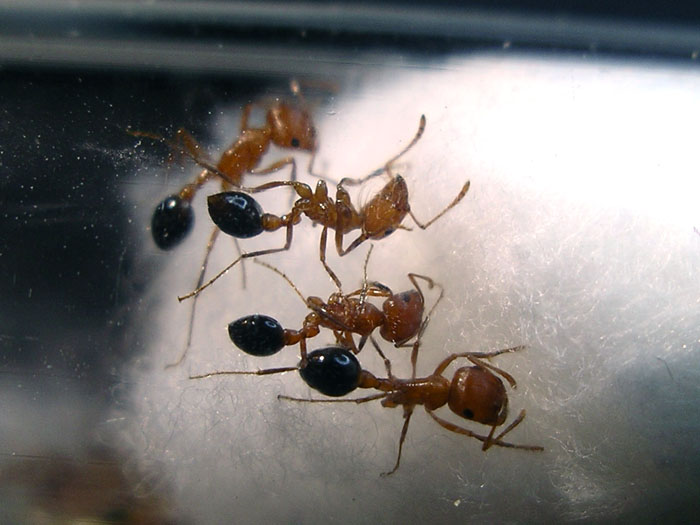
Yesterday one of the test tube colonies got their first worker. These went from eggs to workers in just three weeks! So far that's the fastest I've ever had any species develop before. That colony now has two workers, and I can see quite a few more colonies should also be getting their first workers later today or tomorrow. Like I suspected, even though the queens are not all that large, and their gasters aren't completely black, the workers are quite large, and their entire gasters are black. These nanitics are about 4.5 mm in length, as opposed to the concolorous, coastal variety whos first nanitics were about 3 mm when I had them. Another thing I noticed that I don't remember seeing on this species before, is that their tibiae are black also; no other part of their leg, just the tibia.
Two more of these have died since the last update, one in a plain test tube, and one in a test tube with dirt. This leaves me now with 29 of these queens/colonies total.
#20 Offline - Posted July 1 2014 - 5:05 PM
Update 7-1-2014
Queens in jars:
All three are still alive and seem to be doing fine. It looks like their first nanitics are probably about a week away. They still have a good amount of brood, but not as much as before, so some of those eggs may have been eaten.
Queens in test tubes:
I gave a way a few more of these, including one with a worker already, and a few that weren't producing any brood. At this point, I have six queens in test tubes with dirt, eight queens in test tubes with sand, and six in test tubes with no substrate at all. One of the colonies has eight workers already, and that happens to be one without substrate.
In total now, I have 23 colonies, 15 of them with workers already.
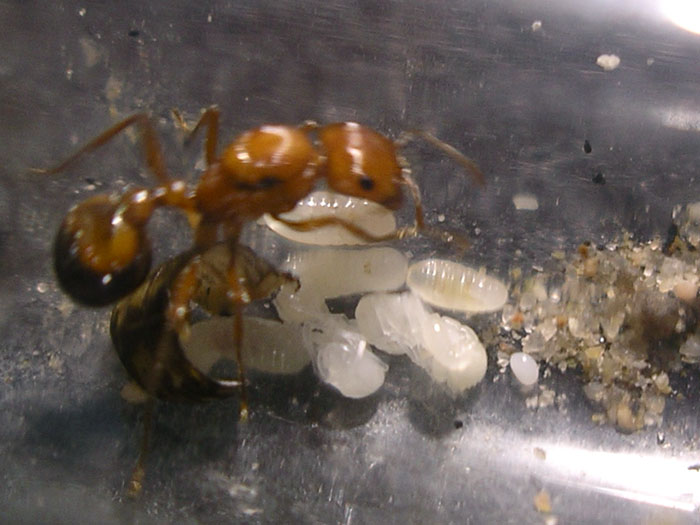
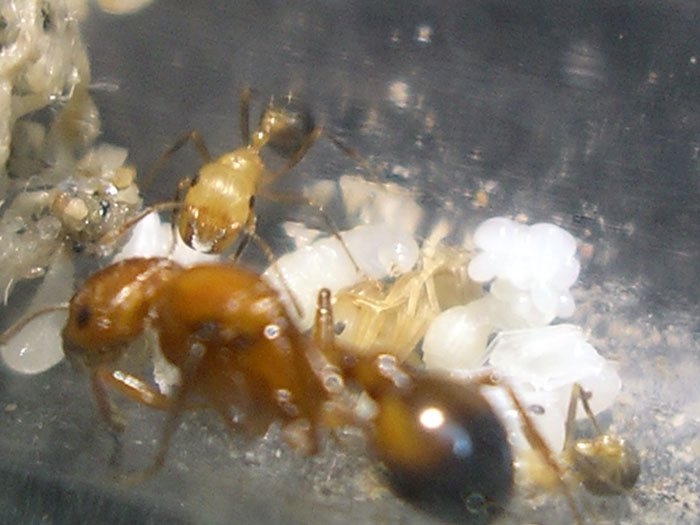
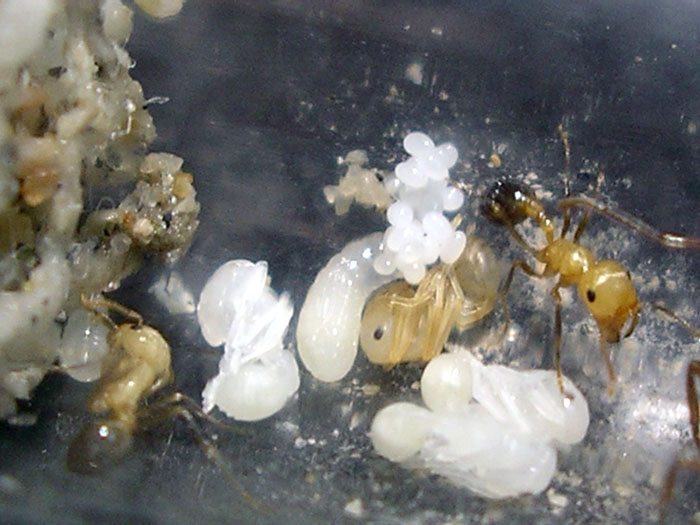
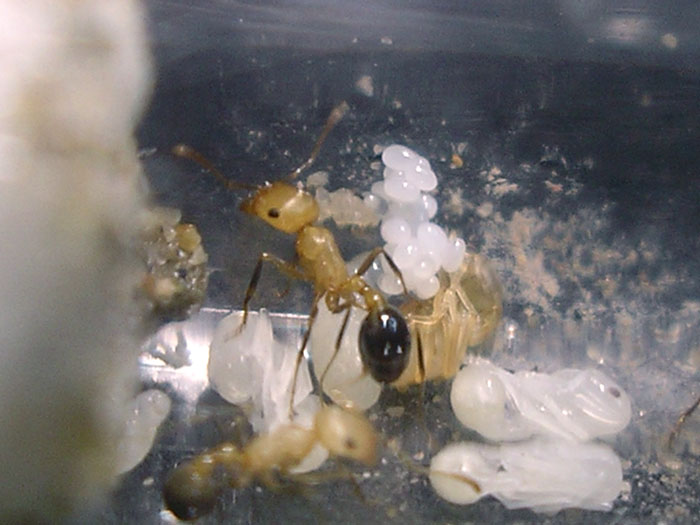
Here's some pictures of my largest colony so far.
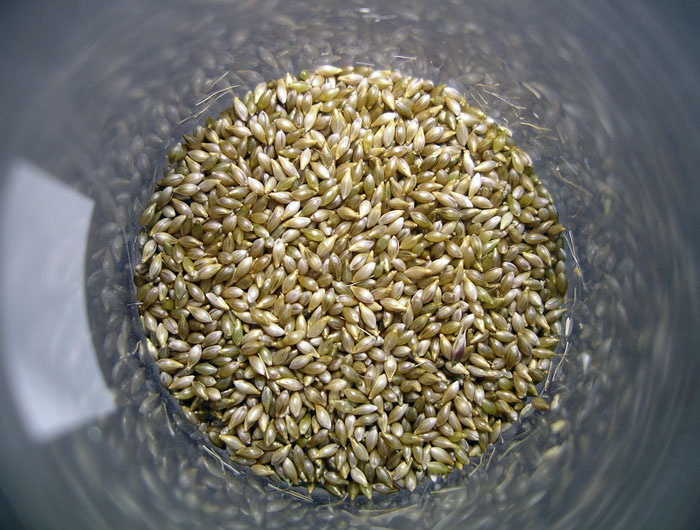
I recently collected some grass seed that they seem to like. It's an Anthoxanthum sp., possibly Anthoxanthum occidentale.
Also tagged with one or more of these keywords: pogonomyrmex californicus, dspdrew, journal, mojave desert, california, harvester ants
1 user(s) are reading this topic
0 members, 1 guests, 0 anonymous users