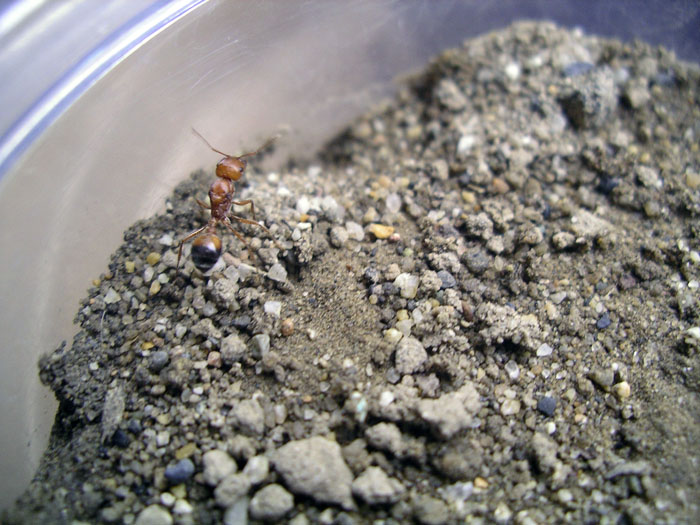
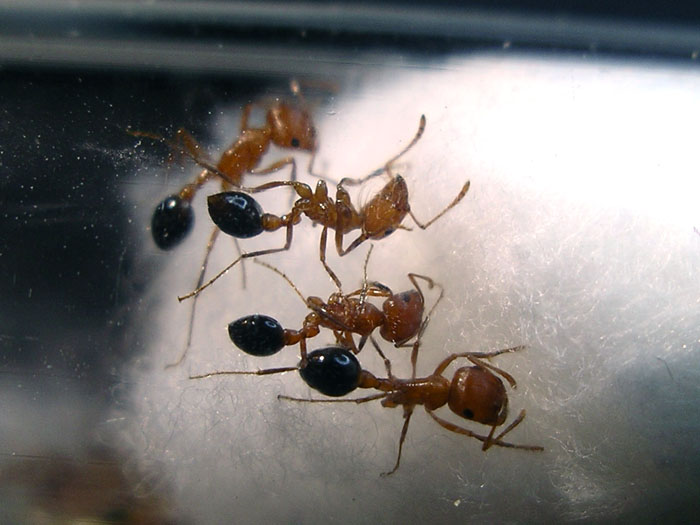
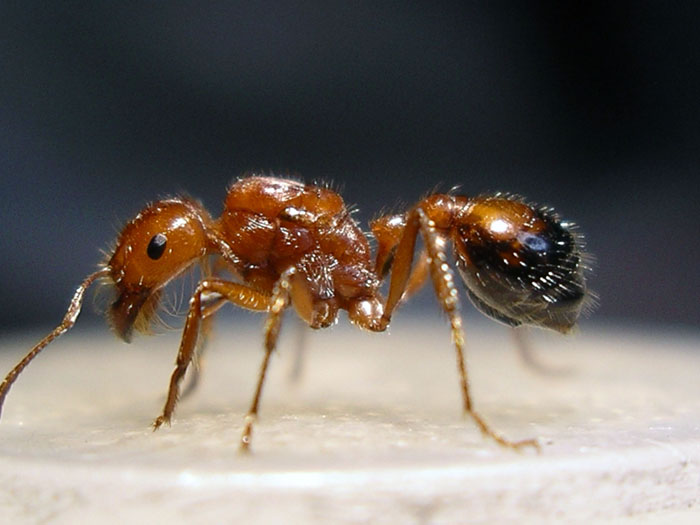
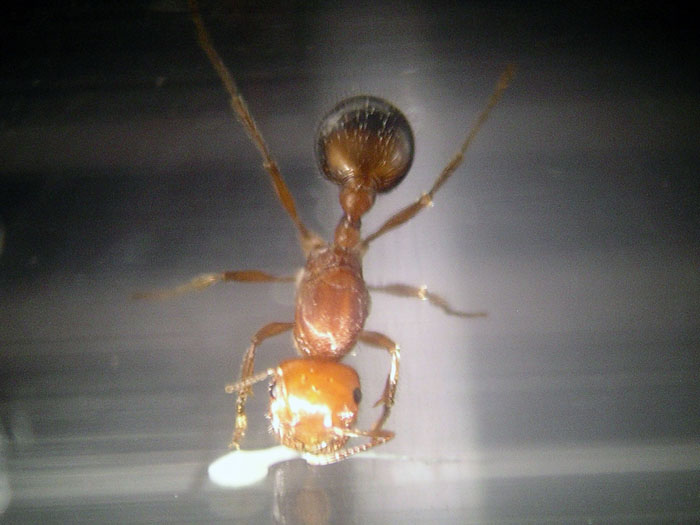
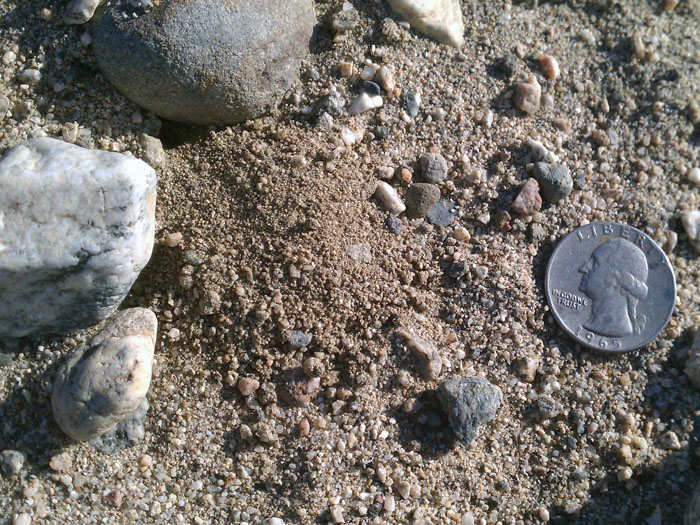
Pogonomyrmex californicus (desert bicolor variety) were flying in Palmdale, California around 4:00 pm on May 26th. This was after a large thunderstorm blew through there two days prior, dumping an inch of rain in 30 minutes. I had a feeling P. californicus would be flying out there a few days later after it warmed up almost 20 degrees, and I was right; I took home 33 dealates that day.
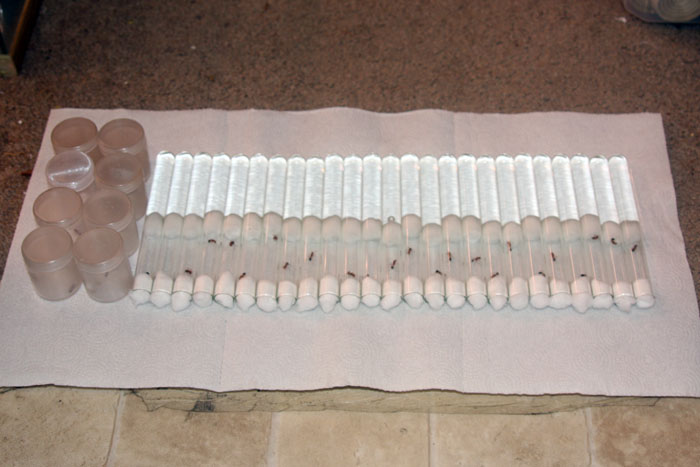
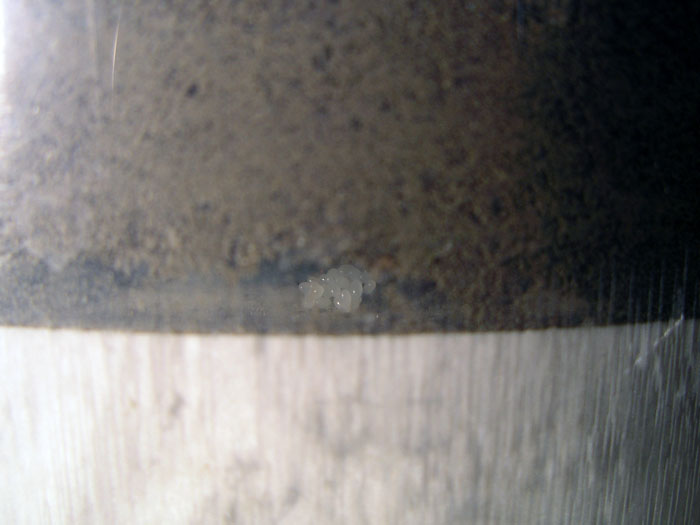
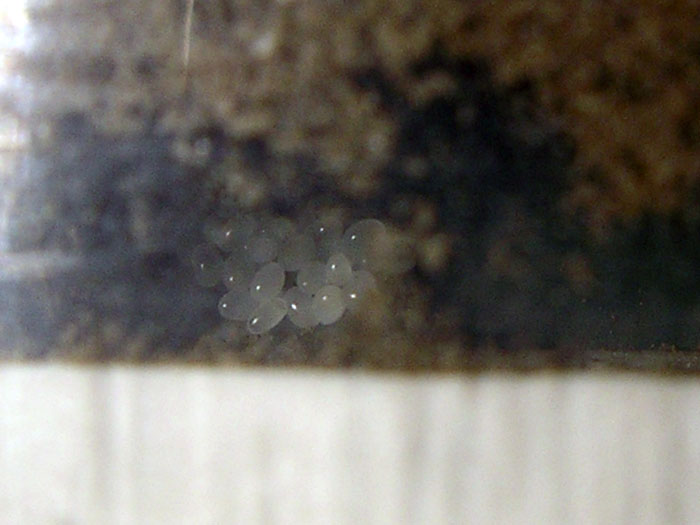
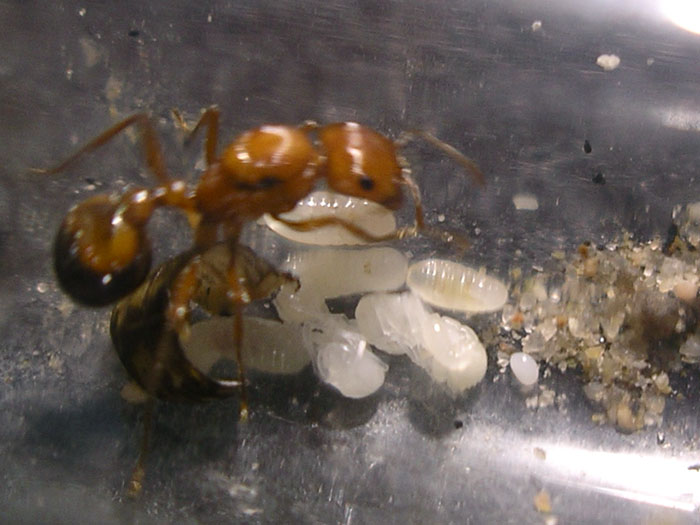
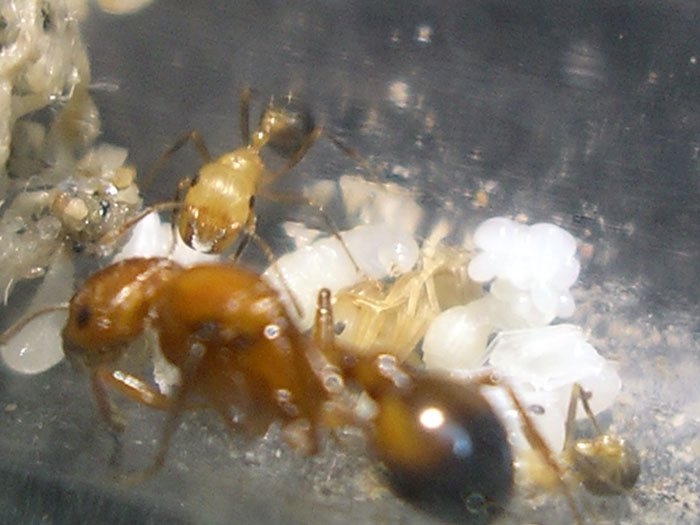
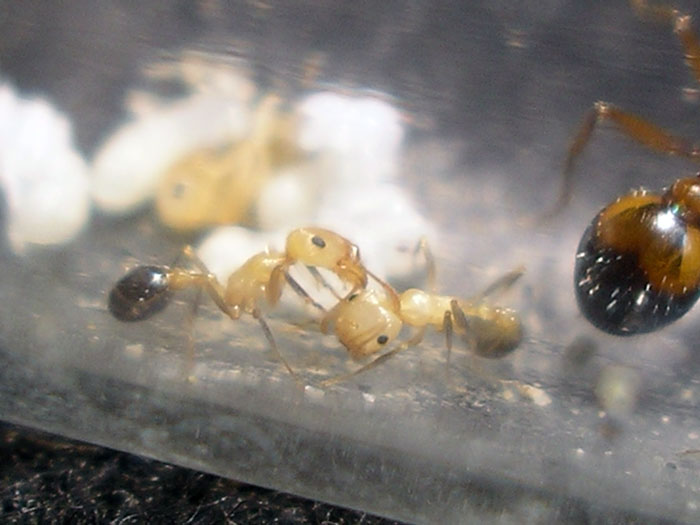
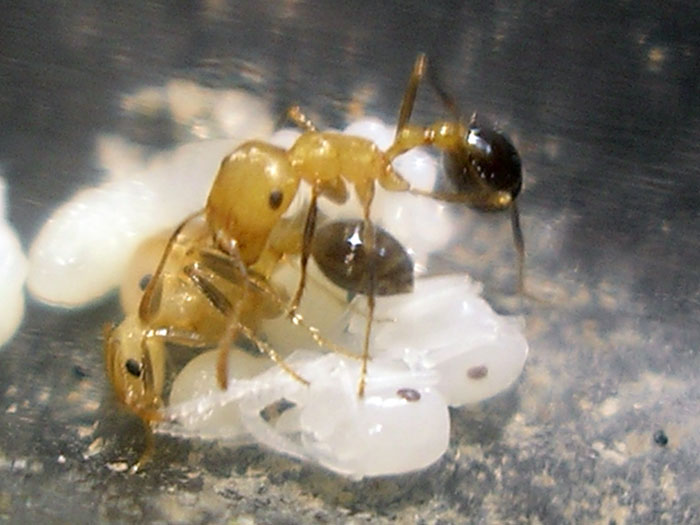
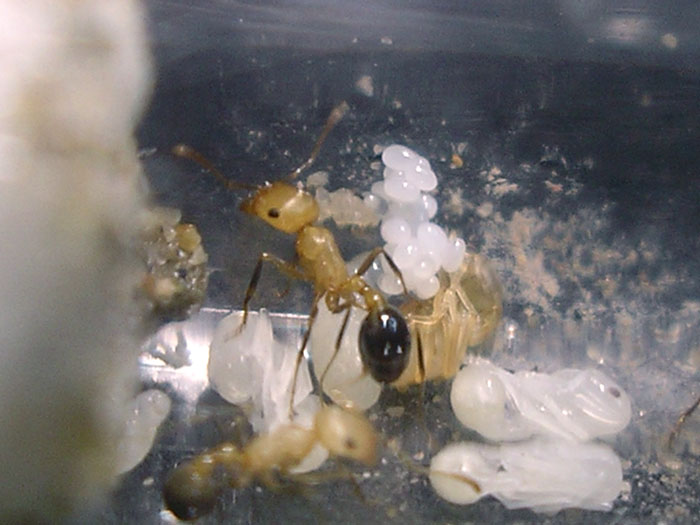
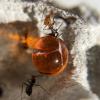
Here's what the founding chambers looked like.
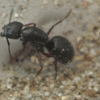
For starters, I gave one of these to Bigb.
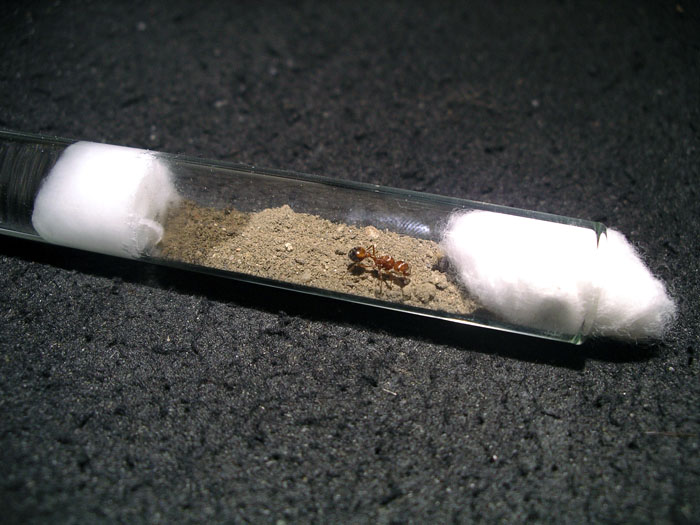
To ensure I end up with at least a few successful colonies, I decided to try a few different types of setups again like I did with my other Pogonomyrmex colonies. I divided up the remaining 32 into four groups. I put eight of them in regular test tube setups with a layer of clay dirt added.
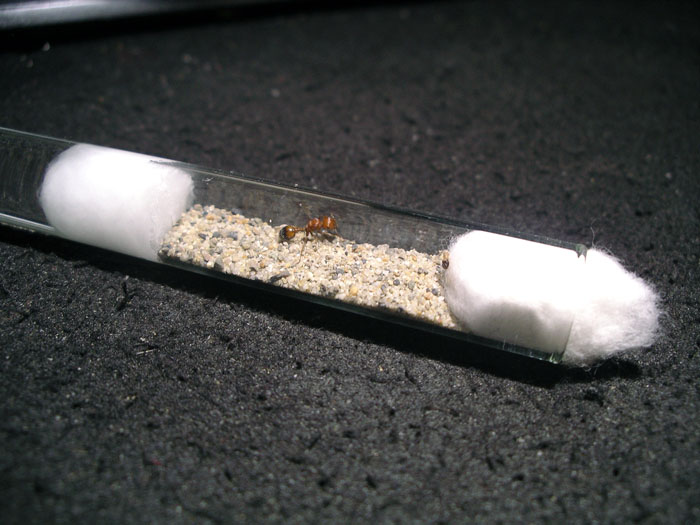
I put eight of them in regular test tube setups with a layer of fine sand added.
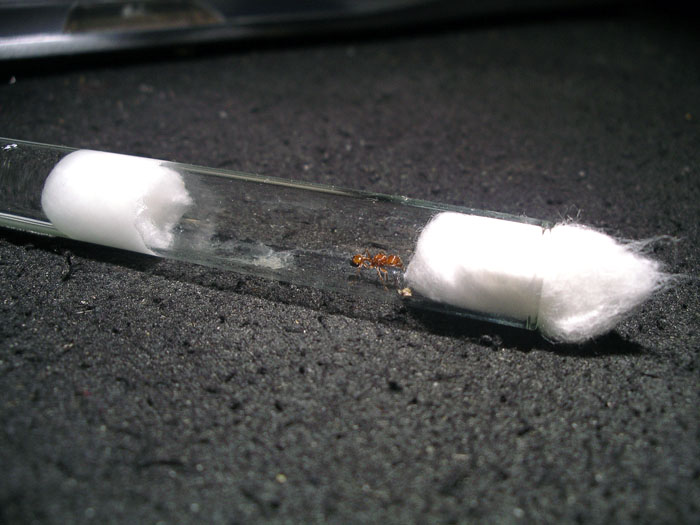
All the rest except for three of them I put in regular test tube setups with nothing added.
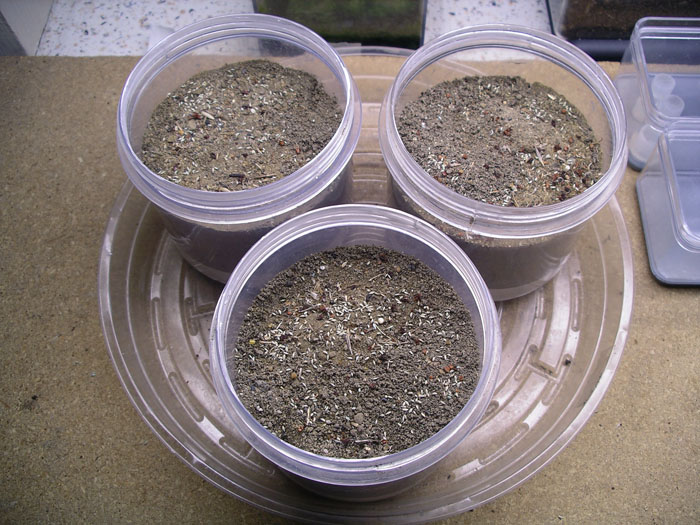
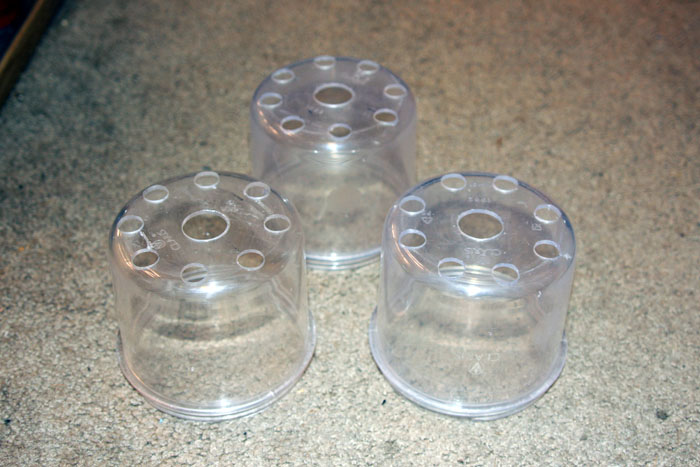
As for the three remaining queens, I decided to try dirt setups again, only this time I'm going to make sure they stay well hydrated. To ensure good hydration, I took three plastic jars, and drilled some holes in the bottoms, and for now, covered the latter with duct tape.
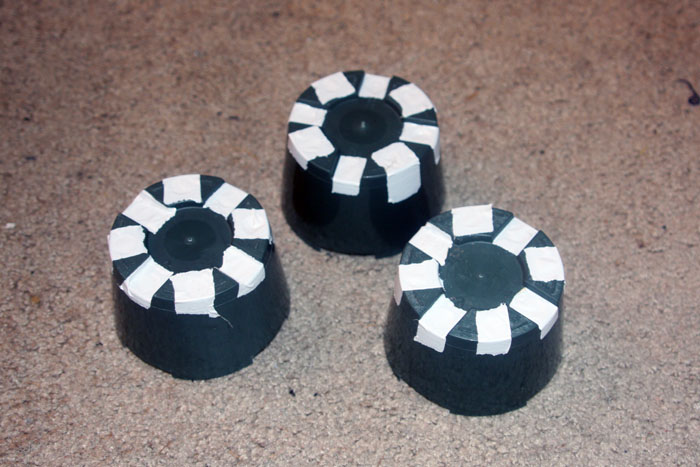
I took some small flower pots just a bit smaller than the jars, and cut about an inch off the tops. I then cut four square notches out of the top rims of each. These will block the ants from digging too far from the sides of the jars, allowing for better viewing.

I taped up all the holes on the bottoms of the pots with duct tape to keep anything from getting inside.
I poured about 4mm of Hydrostone in the bottoms of the jars and let it cure.
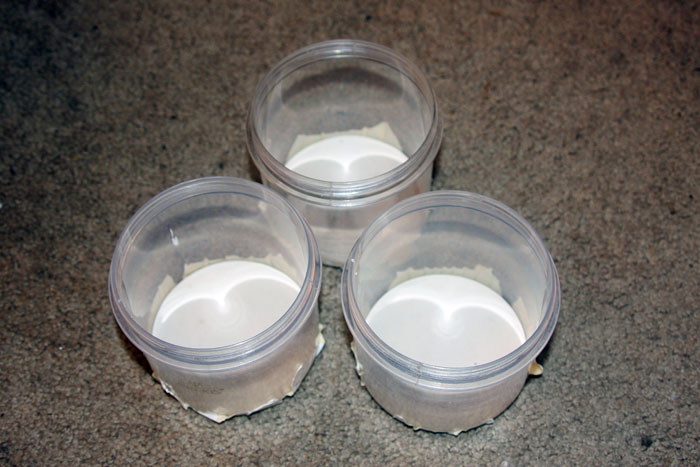
I then poured about another 1cm of Hydrostone on top of the first 4mm of cured Hydrostone, and pushed the flower pots down into it upside down. I made sure to pull the duct tape off one of the holes temporarily to allow the air to escape letting the pot drop all the way to the bottom.
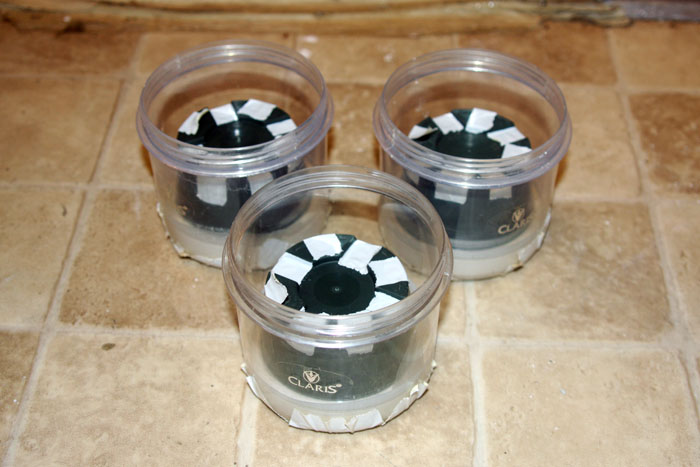
Once it was all cured, I pulled the duct tape off the bottom holes. This should make it very easy for the water to be absorbed by the Hydrostone while the jars sit in a shallow tray of water. The water should then be absorbed by the dirt. As long as the water level in the tray never goes above the Hydrostone, there should be no risk of puddling or flooding in any of the chambers.
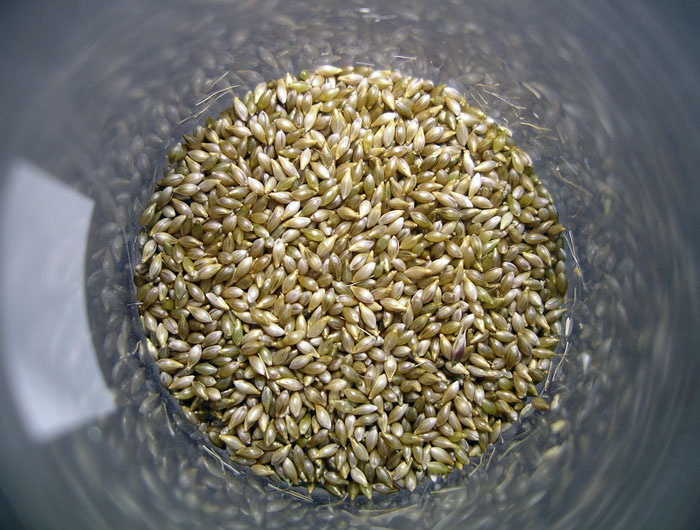
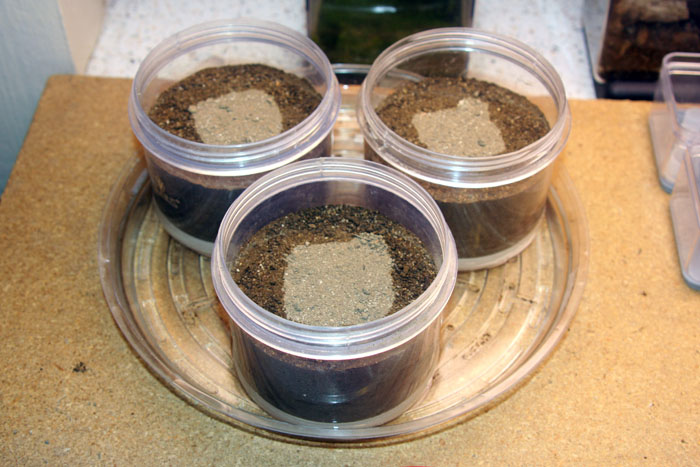
I filled them with dirt just high enough to cover the bottoms of the pots to give the ants plenty of room to forage in the dirt just like their natural habitat. I poured a little water in the tray and left it.
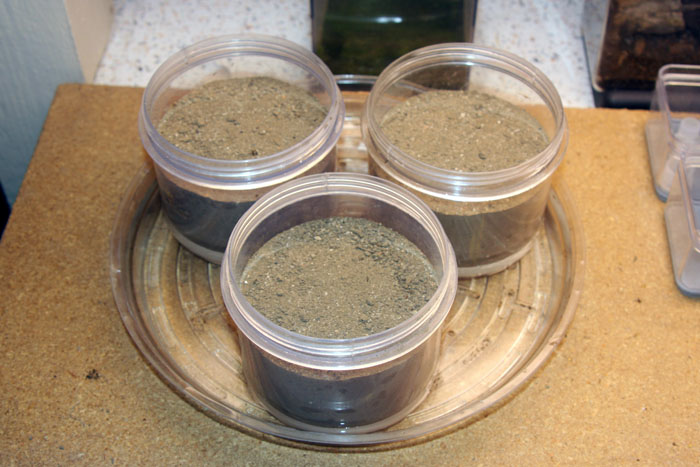
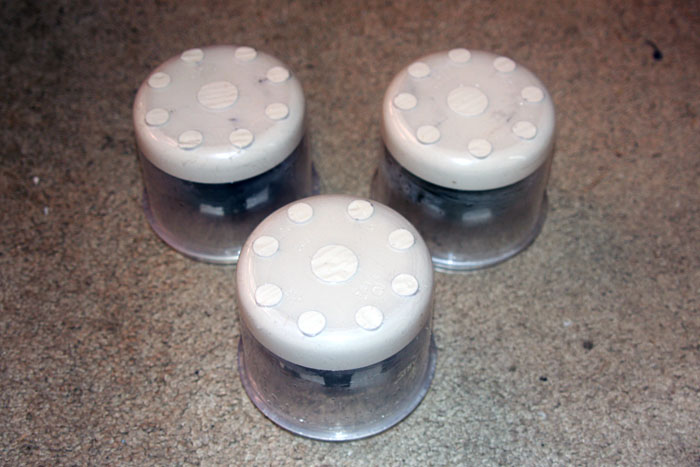
The next morning as you can see, the dirt absorbed plenty of the water. This should also keep me from having to try to hydrate from the top again, which was disastrous last time, as it all poured down into the nest and absorbed way too slowly.
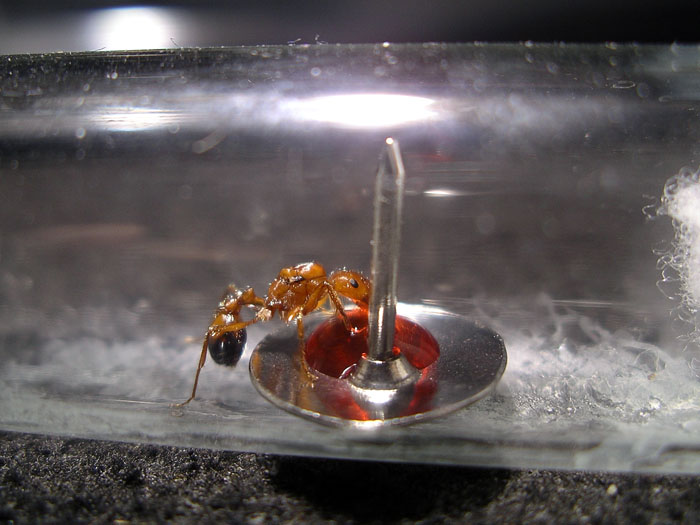
I placed the queens in their new homes, and within an hour they already started digging their new founding chambers.