How to build a formicarium from firebrick.
You will need:
Firebrick
Drill
Dremel + engraving bits
Vinyl tubing
2 part epoxy
Aquarium silicone (or 100% silicone with no additives)
Picture frame with glass
(optional)
Grout for coloration
rubber spray (to help the nest maintain humidity)
Firebricks, also commonly known as refractory bricks, come in several sizes and a couple of colors depending where you get it. Check at a local pottery store for soft K-23 Refractory bricks, ensure it is made from fired clay. I got mine from a Canadian Tire, so mine are a bit different in size from many out there.
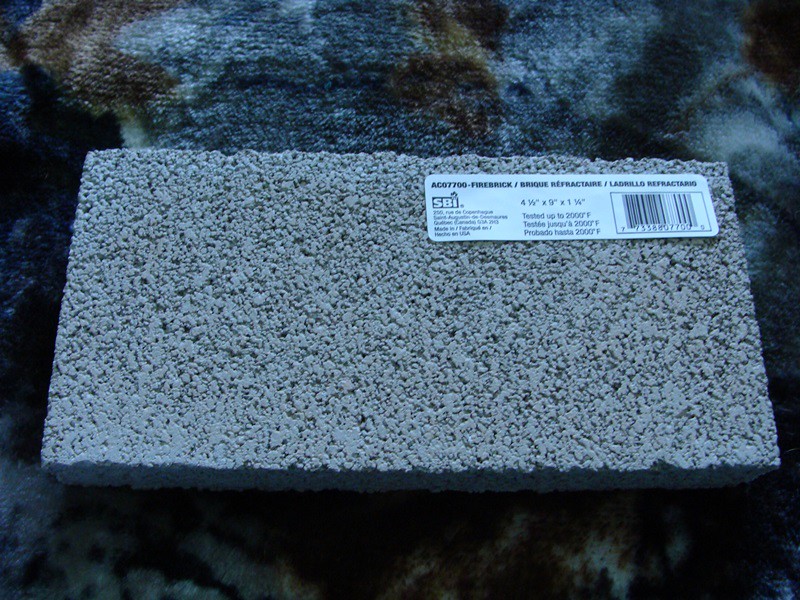
I used an angle grinder to cut my brick into smaller pieces so it would fit into my picture frame. Firebrick is pretty soft and it cuts and drills pretty easy, just about as easy as wood.
If you don't have a grinder, you can drill dozens of holes in a line in the brick with a small drill bit. Drill vertically and at both angles until the line is more hole than brick, then place the brick on a slightly elevated object (like a book) with the line right on the edge. A light tap with a hammer and it should split right at the line.
Use some scrap paper and draw out some tunnels that you like. Once you have a pattern you like, also draw it on the firebrick. I used a pale colored permanent felt marker. Ensure you leave at least 1cm (10mm) between tunnels as some types of firebrick are somewhat brittle and pieces may break while carving the tunnels. The one I am using is pretty brittle and fine detail is next to impossible. The white firebricks aren't as brittle.
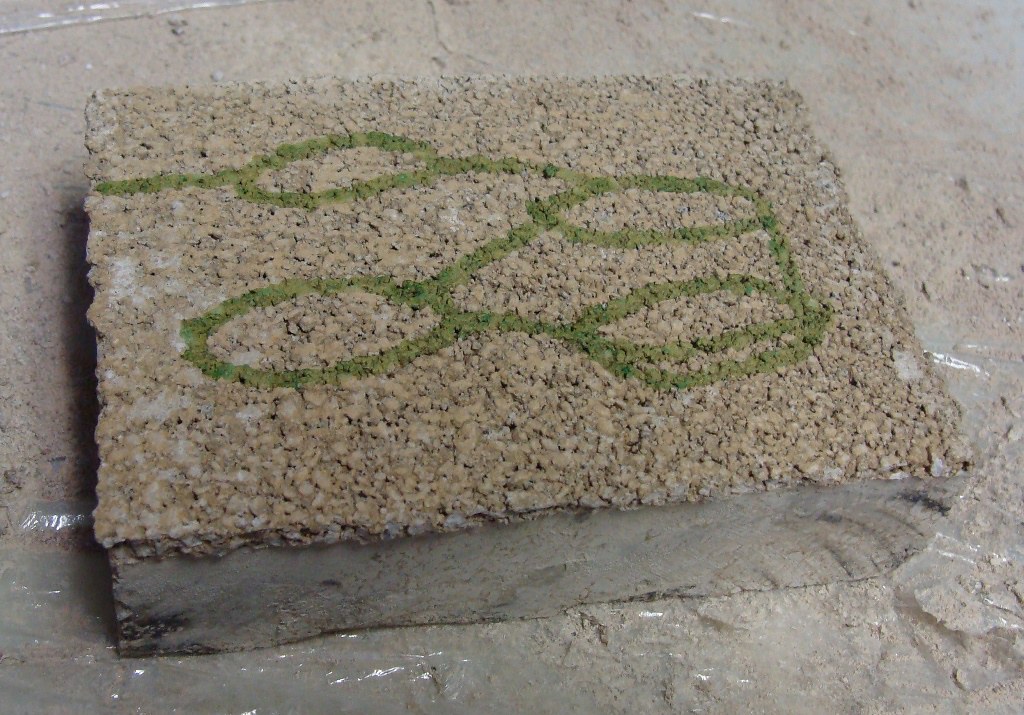
Since it is very easy to sharpen drill bits, and they are cheaper than dremel bits, use a drill to pre-drill the tunnels. This does about 80% of the work for your dremel and it is faster than trying to dremel the whole thing. Use whatever size drill bit fits your tunnels and your design.
Tip: Wet firebricks release very little dust. Consider soaking your brick first.
Also use eye protection when drilling - firebricks are fired ceramic and very sharp. If any pieces get in your eyes they can do damage.
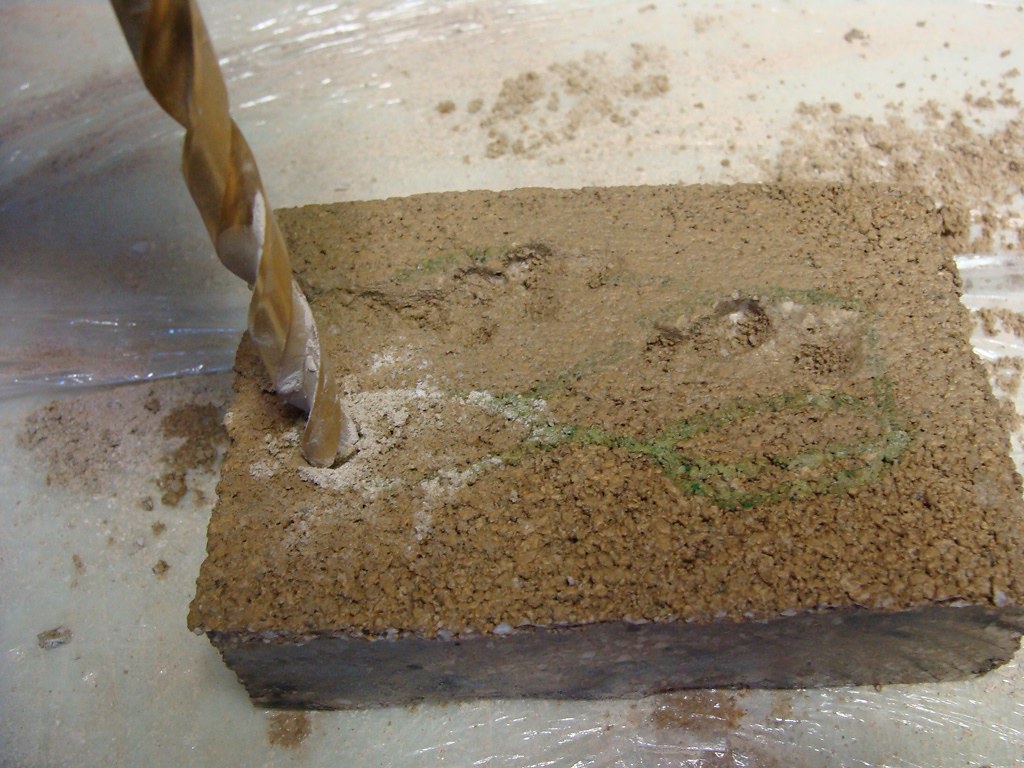
You can use a paintbrush to brush the powder out of the way. Or you can have a small container of water and use the water to keep rinsing it off. If you want, you can also use a pair of pliers to break the pieces between the drill holes.
Once you have drilled the majority of the pattern out, you can use the dremel and an engraving bit to smooth and finish the tunnels.
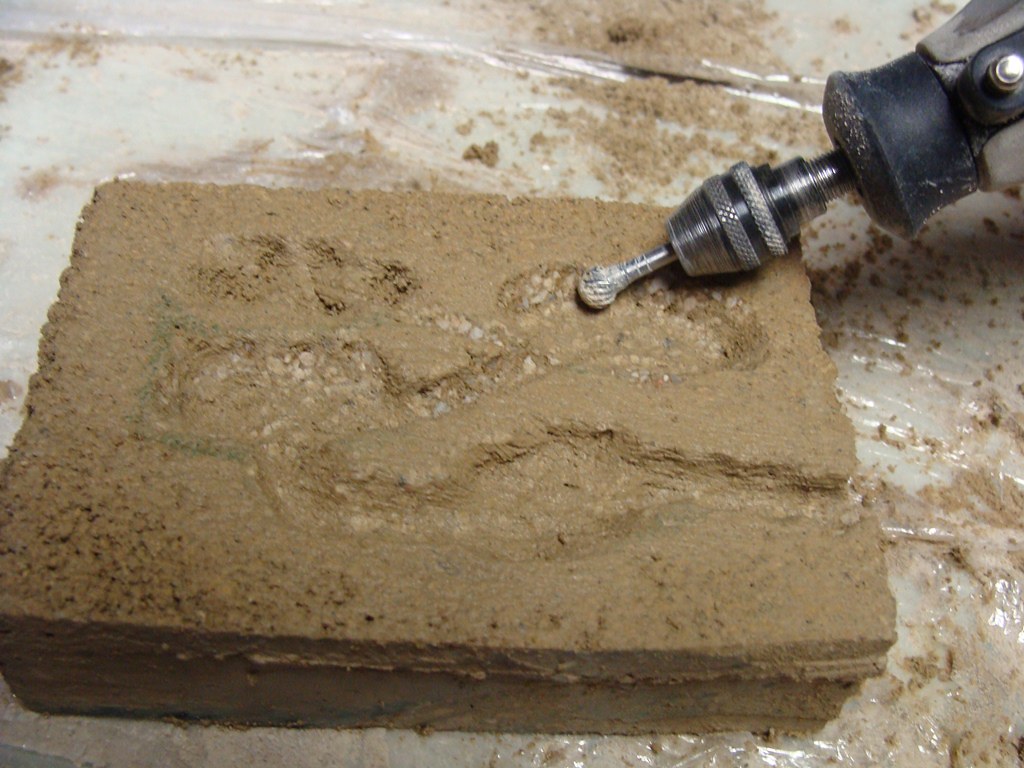
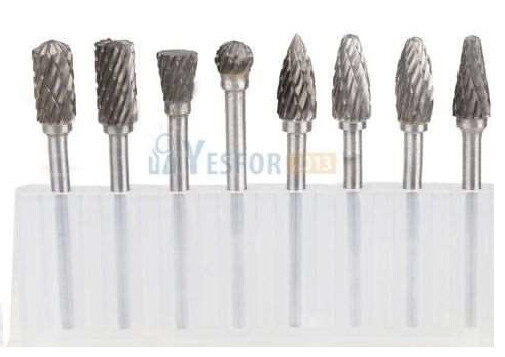
I use large engraving bits from ebay.
Ensure the tubing you are going to use fits into the entrance. Also make sure that there is 1-2mm between the top of the tubing and the glass, otherwise siliconing the glass on later may be difficult.
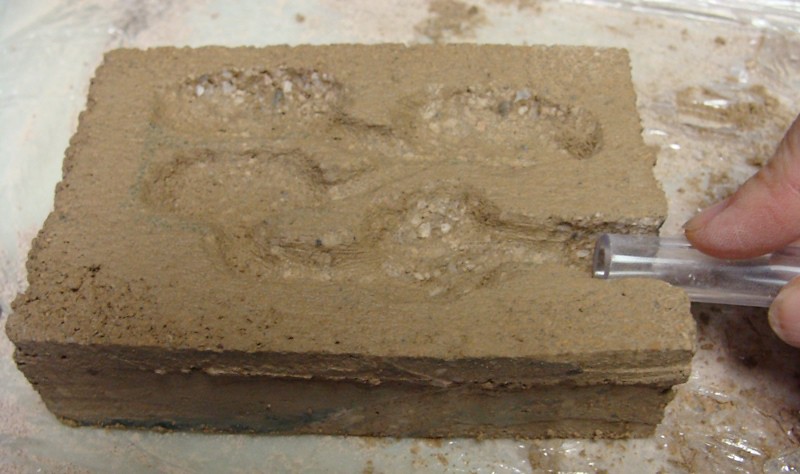
Once the tunnels are carved to your liking, give the firebrick a very thorough wash. Scrubbing the tunnels with an old toothbrush in a bucket of water will help remove any bits of dust.
(Optional)
If you want to "paint" your tunnels, now is a good time. I use grout to paint my formicarium as it is mold-resistant, water absorbent, and ant safe.
Paint the background first (the areas around the tunnels). I used black sanded grout as I had it on hand, but un-sanded grout will also work. Mix it somewhat runny, we just want the dyes to stain the firebrick. If using un-sanded grout, ensure no bumps are left behind as it will affect how well your glass fits.
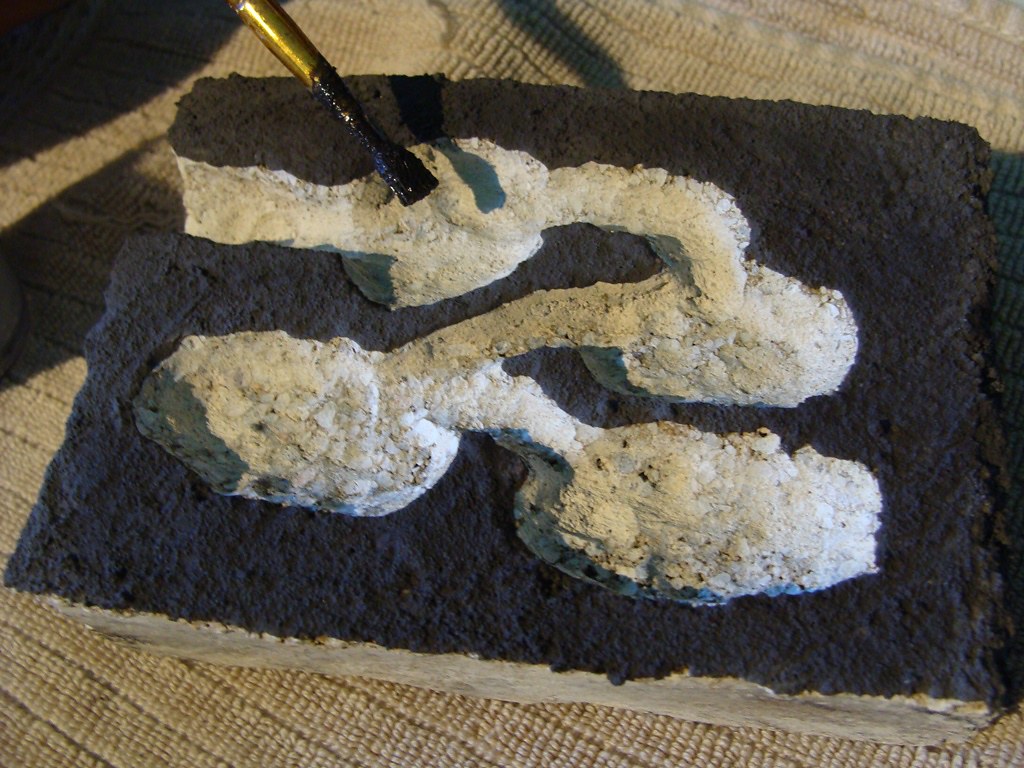
Once it is dry, use a cloth or soft bristle brush to remove any loose grout. This works very well with sanded grout. Scrub fairly hard, any dust/loose residue will prevent the silicone from sticking well. The brick is darker, although it is missing a really strong color. This coloration reminds me of subterranean dirt.
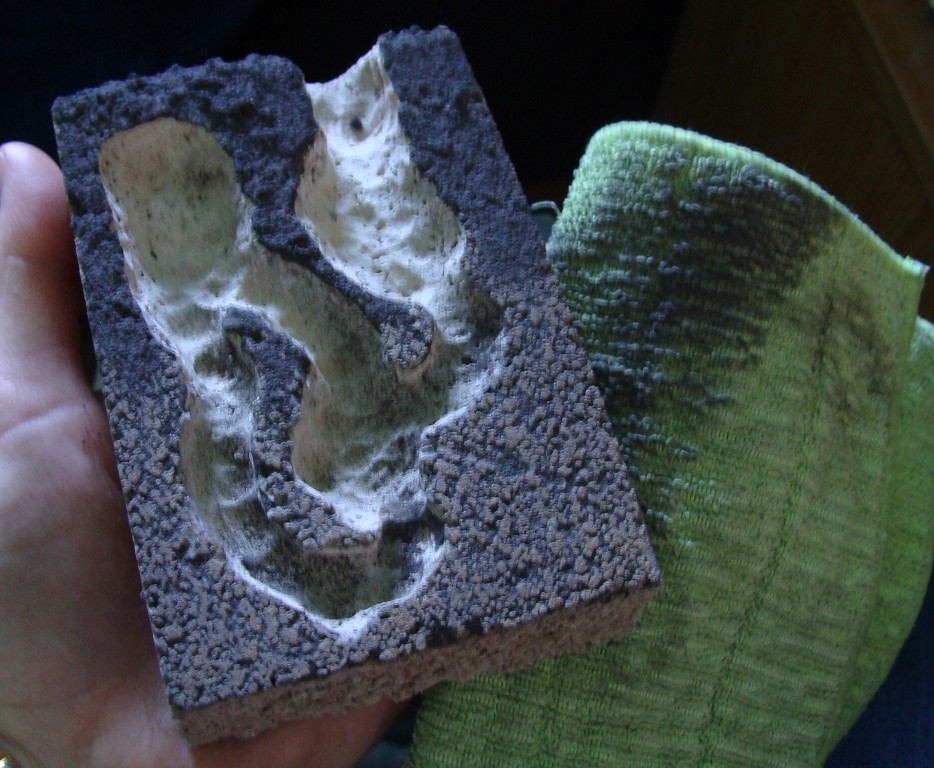
Once you have scrubbed it down, rinse it under water to remove any remaining dust.
Let it dry for a bit so it isn't soaked and we can paint the tunnels with grout. I used un-sanded grout as it has a nicer finish and it is water absorbent. If you are using sanded grout, keep the layers very thin as sanded grout is fairly water resistant.
Mix the grout to a ketchup or pudding consistency and paint it in the tunnels. Try not to make the layer very thick, or it may crack as it dries, you can always add more layers later on.
Don't paint the outer 3/4 of where your tubing is going to sit, epoxy bonds stronger with the firebrick than with a thin layer of grout.

Let it completely dry. If any cracks appear, a thin layer of grout over the crack covers them well.
Use a 2 part epoxy to glue the tubing into the entrance. I used a clear 2 part epoxy from the Dollarama, but any 2 part epoxy will work. Let it dry.
Take the glass out of your picture frame.
You have 3 options for a watering system:
1. Use a diamond bit to drill a hole in the glass (using a drill press)
2. Use a glass cutter to cut a small corner of the glass, just enough that a small space without glass appears inside of the frame. (sand the cut section with sand paper)
3. Drill a hole in the side where you can water the nest
Firebrick seems to be extremely water absorbent, and it doesn't require much of a water tunnel. It absorbs water within seconds.
If you drill or cut a corner, use the dremel or drill to make a small hole for watering, about the size of a small pea. Fire brick absorbs water so quickly, it isn't really needed, but it helps water the nest faster.
I drilled my glass this time, although I think I will simply cut the corners in the future. Ensure that the place you choose to cut or drill is at least 1cm (10mm) away from the tunnels.
Thoroughly clean your glass, especially on the side that will be inside of your nest.
Ensure the glass fits tightly to the firebrick, with no wobbling or teeter-totter motion. If there is a teeter-totter motion, look for the cause and remove it, usually a small bump of grout or epoxy.
Using aquarium silicone, or a silicone that is 100% silicone with no additives/anti-molds/etc, silicone the glass onto your nest. It helps to put a weight on top of the nest to keep the glass tight to the firebrick. Ensure you put a small bead of silicone between the watering hole and the tunnels.
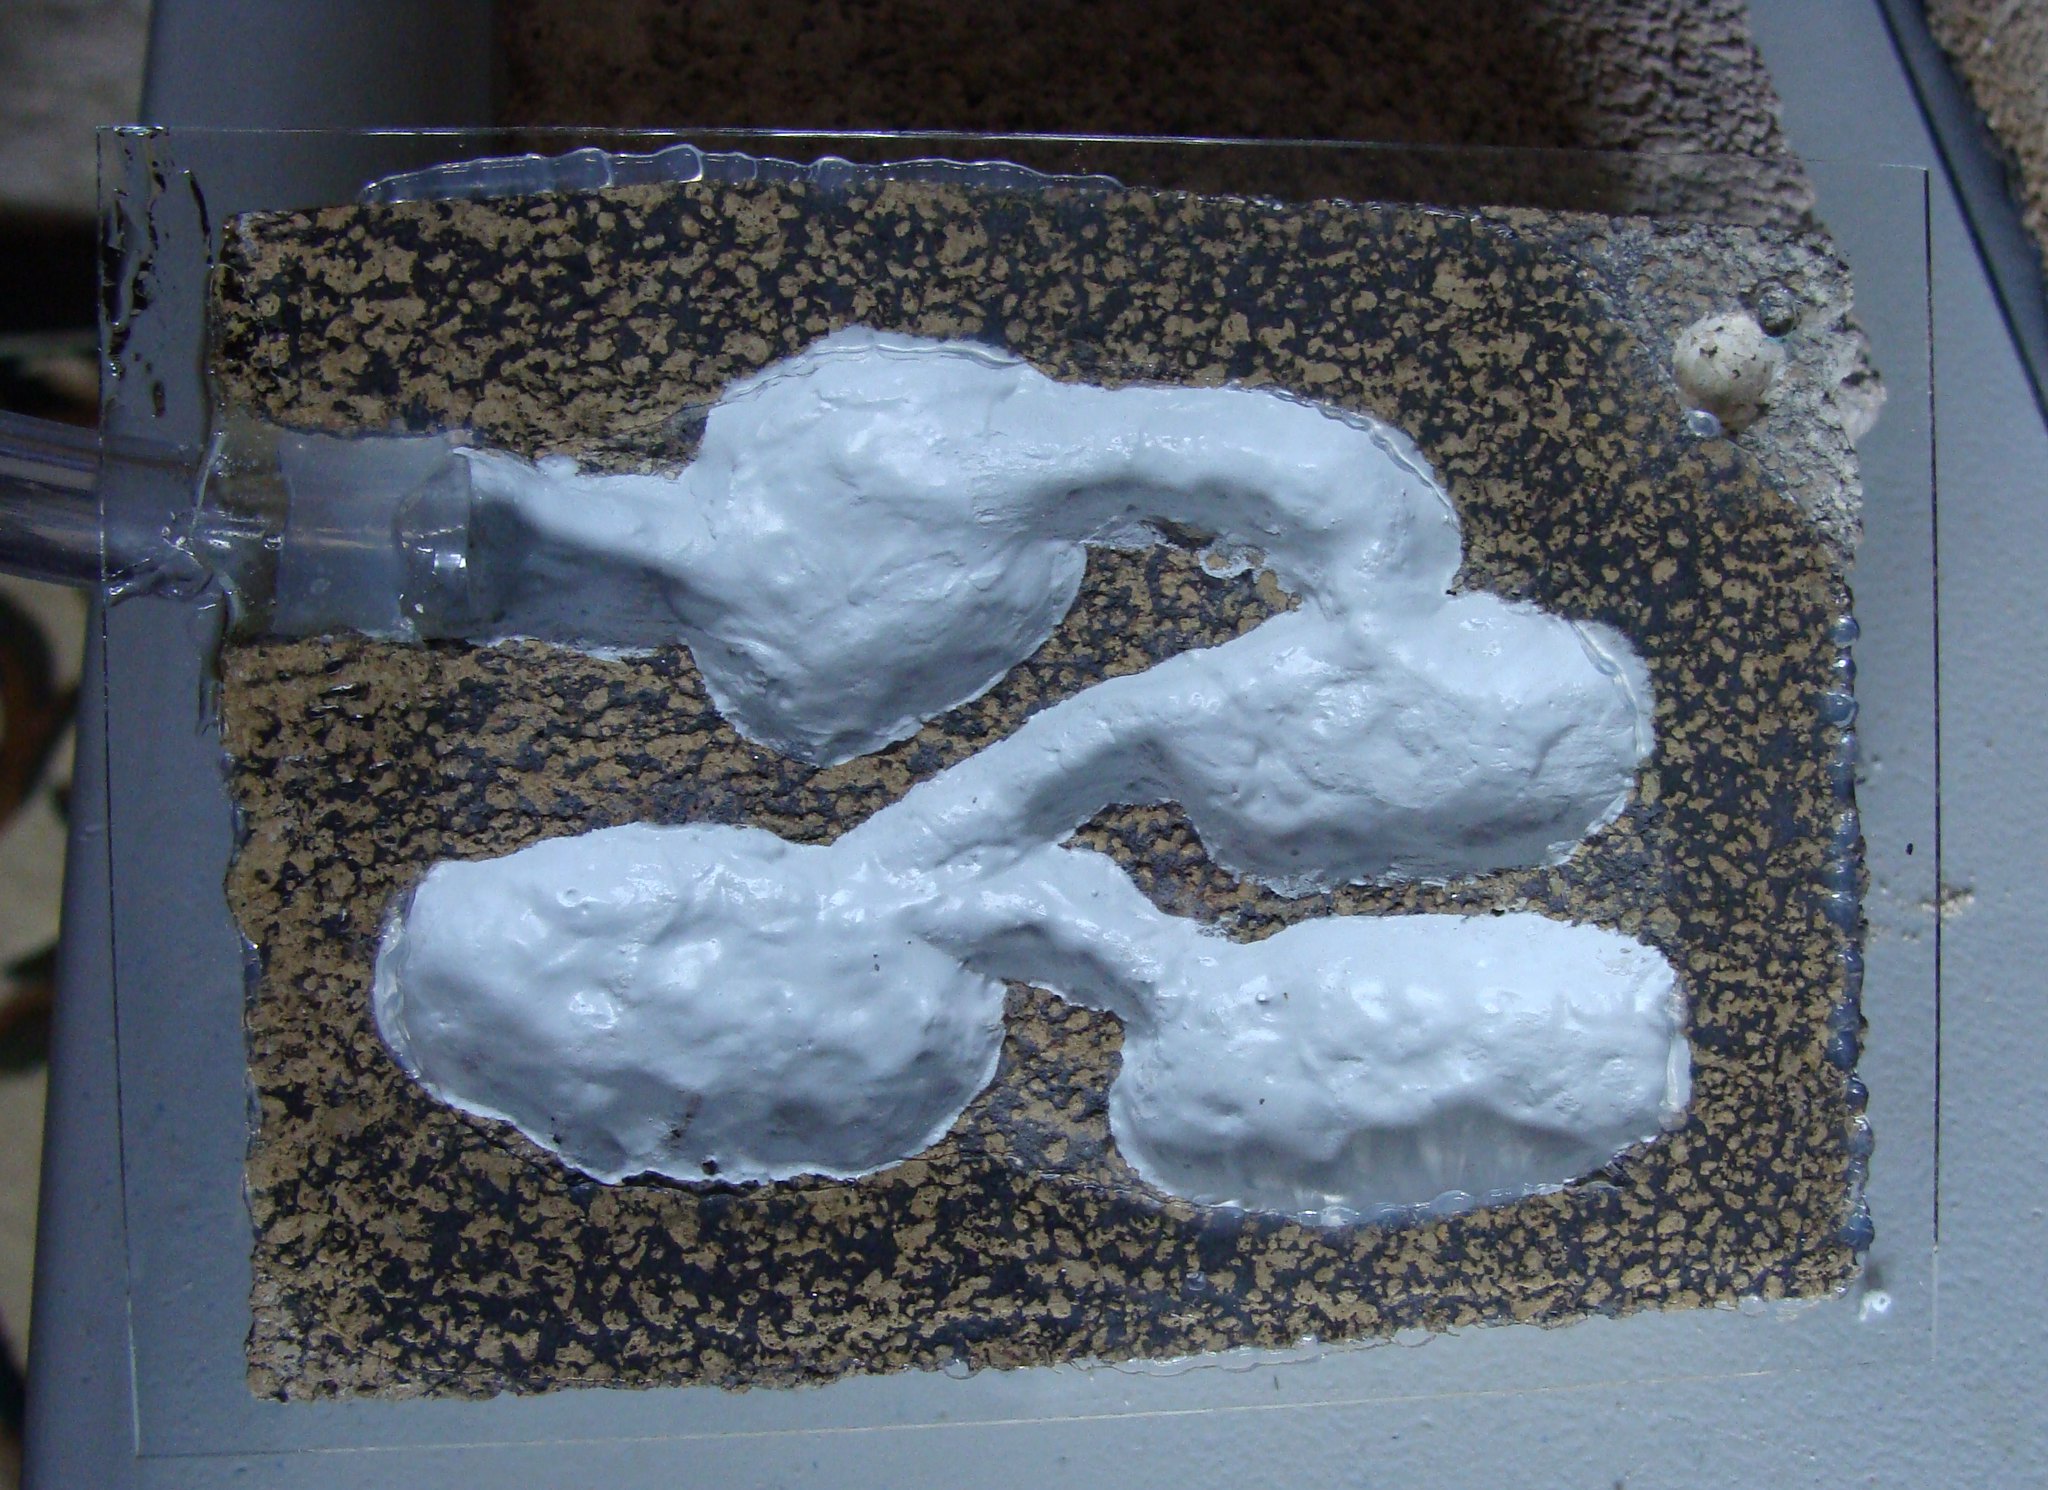
Let the silicone dry.
Check the location where the tubing is, sometimes there is a small gap or hole beside the tubing. If so, use more 2 part epoxy to prevent any escapees.
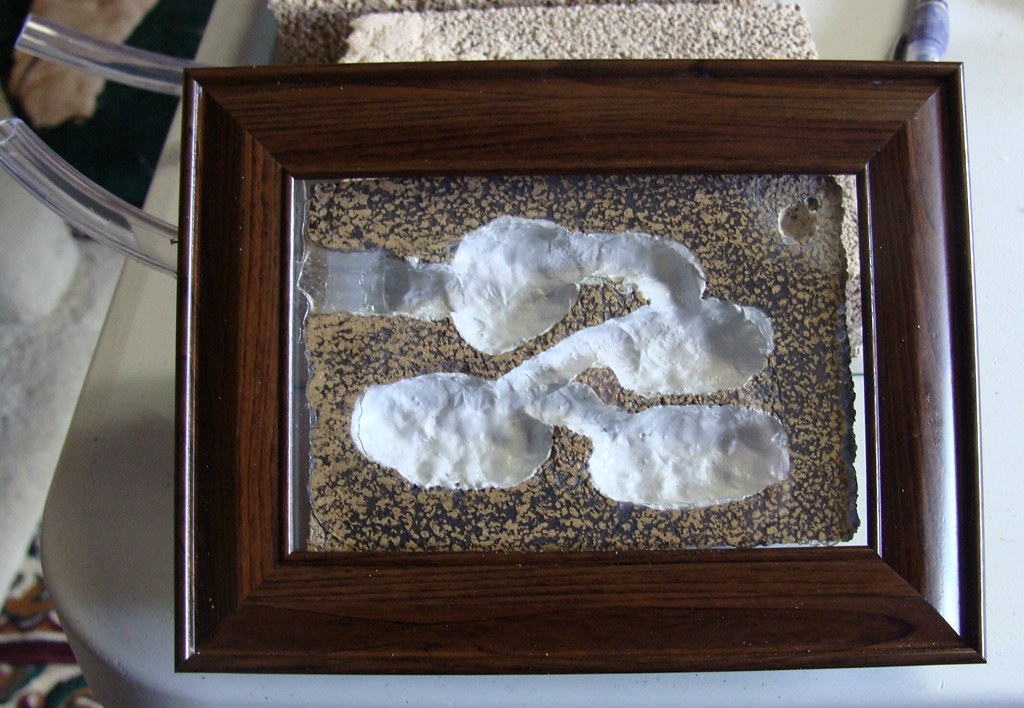
Place the nest into the picture frame and if the tubing or frame prevent a good fit, use a pen to outline the tubing. Use the dremel to remove some of the frame.
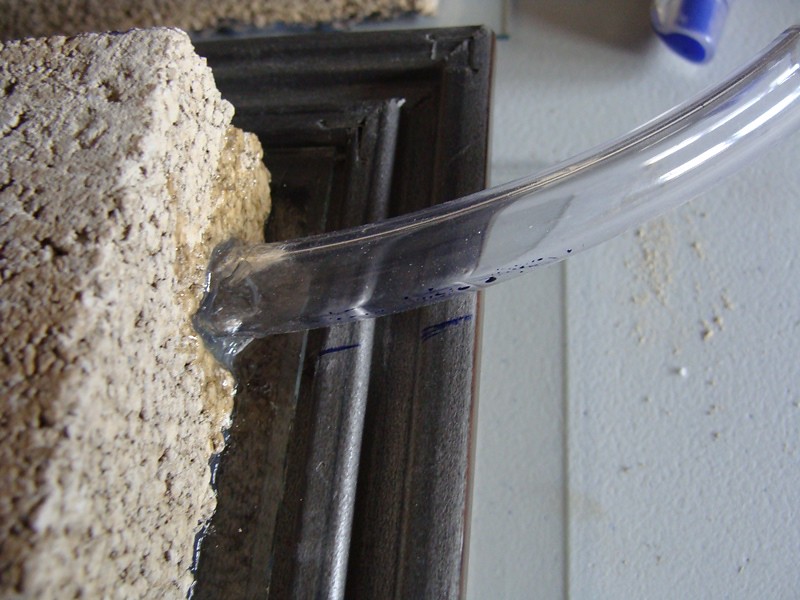
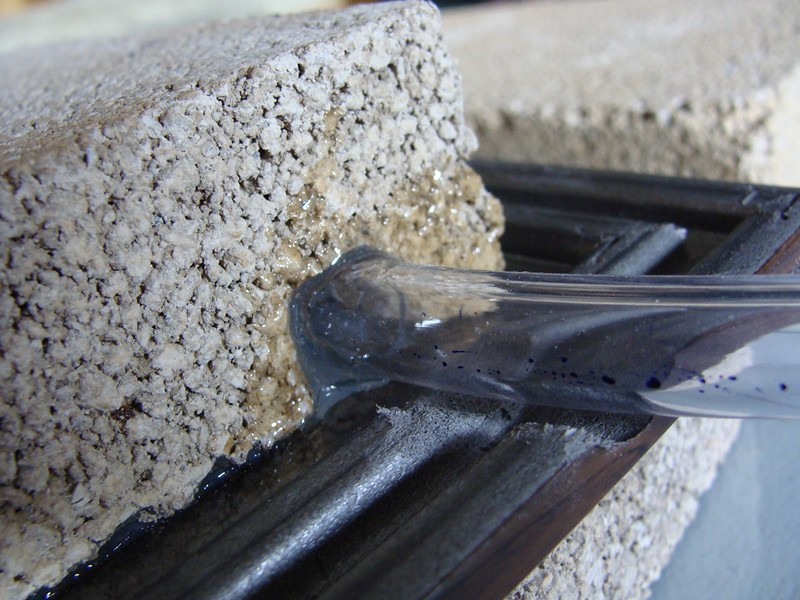
Silicone the frame to the glass (or not, if you want to change frames). You can use any type of silicone, glue, or epoxy. Let it dry.
(Optional)
To help maintain humidity, or prevent the nest from drying out too fast, we will use a rubber spray on the back of the formicarium.
Place your nest upside down on a piece of cardboard (or something in case you overspray). Tape a piece of paper towel/kleenex around the tubing (we don't want it sprayed). Tape 4 pieces of paper into a border to prevent getting spray on the front of your frame.
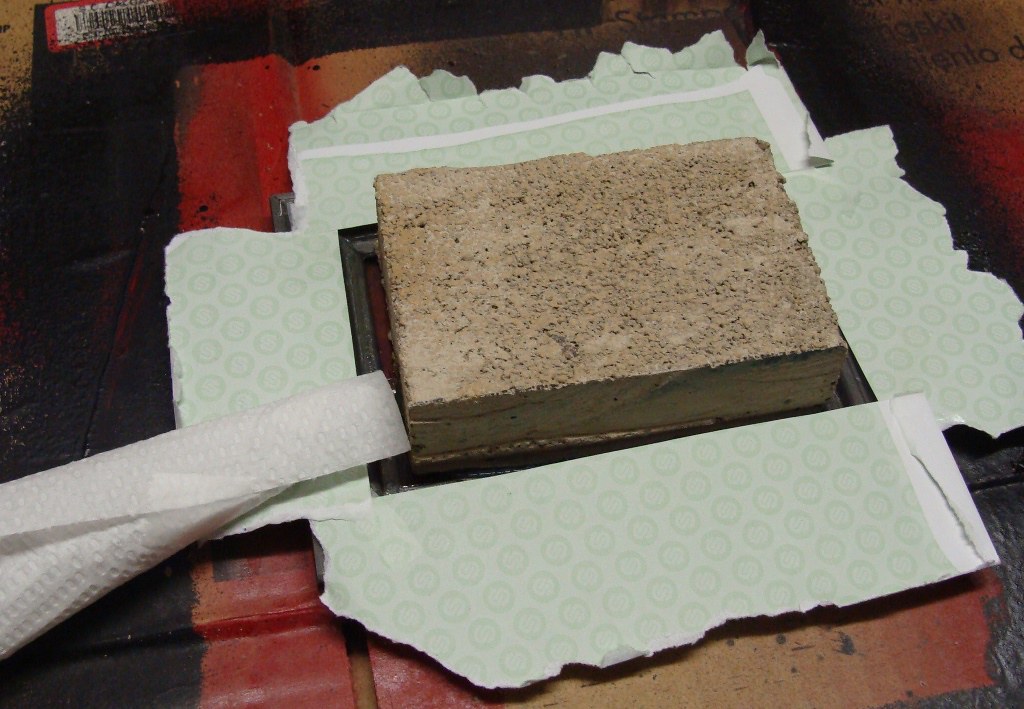
Use a rubber spray of some sort, I chose a black Rock Guard spray meant for vehicles. Even the rubber sprays used for eaves-troughs such as Flex Seal will work well. Any color will work.
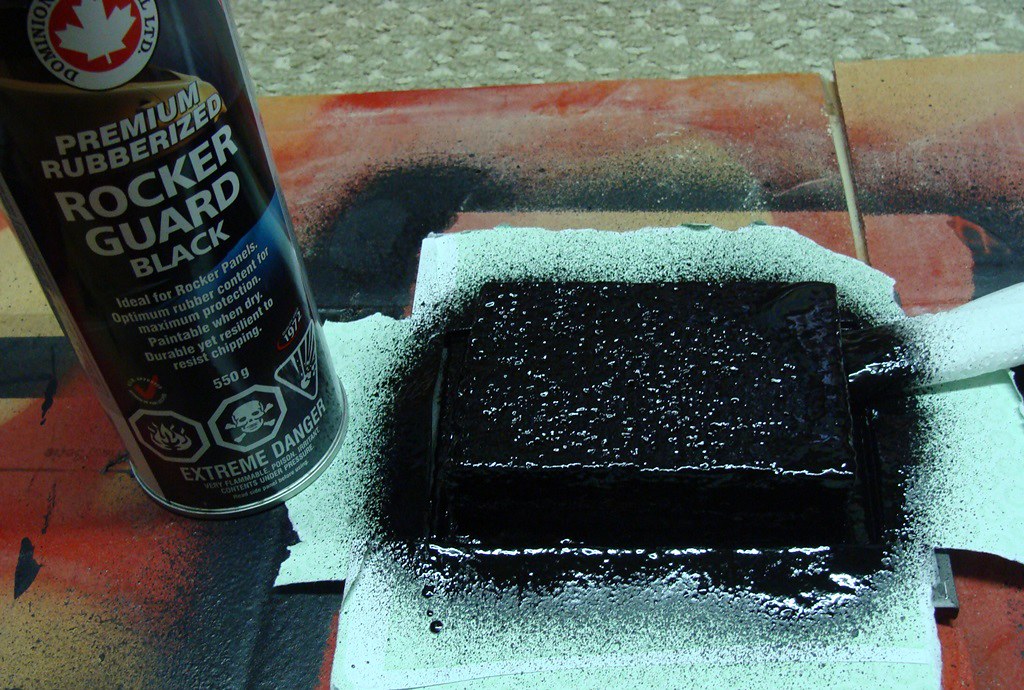
Use scissors to cut the paper towel and paper. Be careful when removing them if your spray is wet, as the rubber on them streaks easily. You can remove them when the spray is wet or dry, although the paper may stick if the rubber dries. Doesn't hurt anything if it sticks.
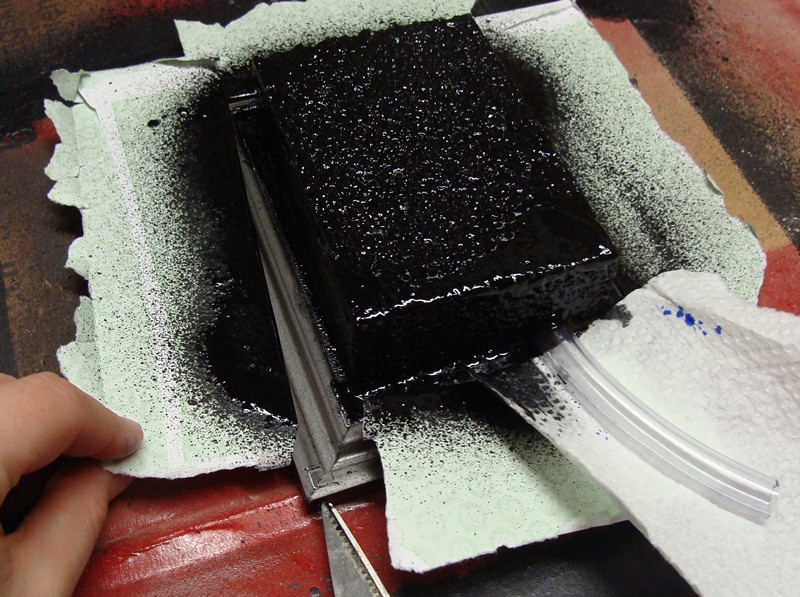

Let it dry.
Often, the spray misses some edges and you can see behind it. See the light on the edges, by the tubing and the right side?
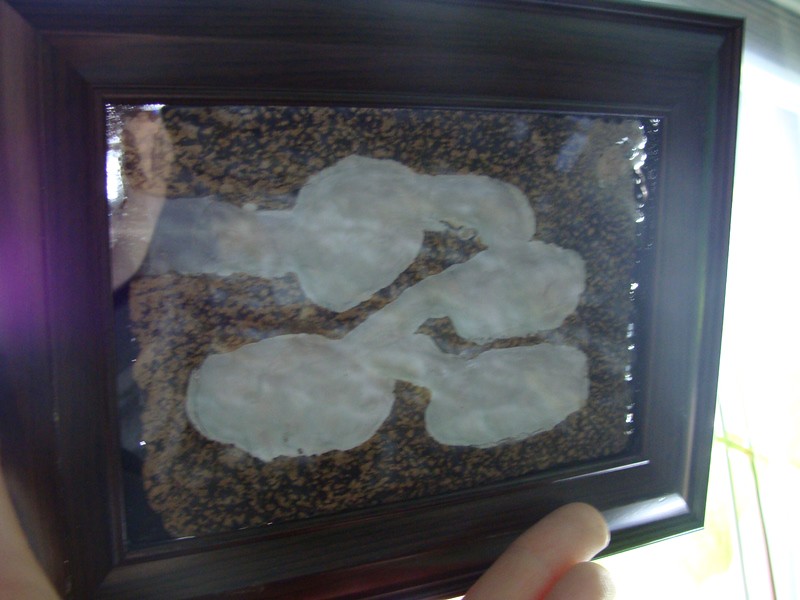
We can either leave it as it is, as these spots are so small they aren't likely to be seen, or we can use paint such as acrylic paints to paint them.
Let everything dry and cure for at least 48 hours before watering or adding ants.
We are done.
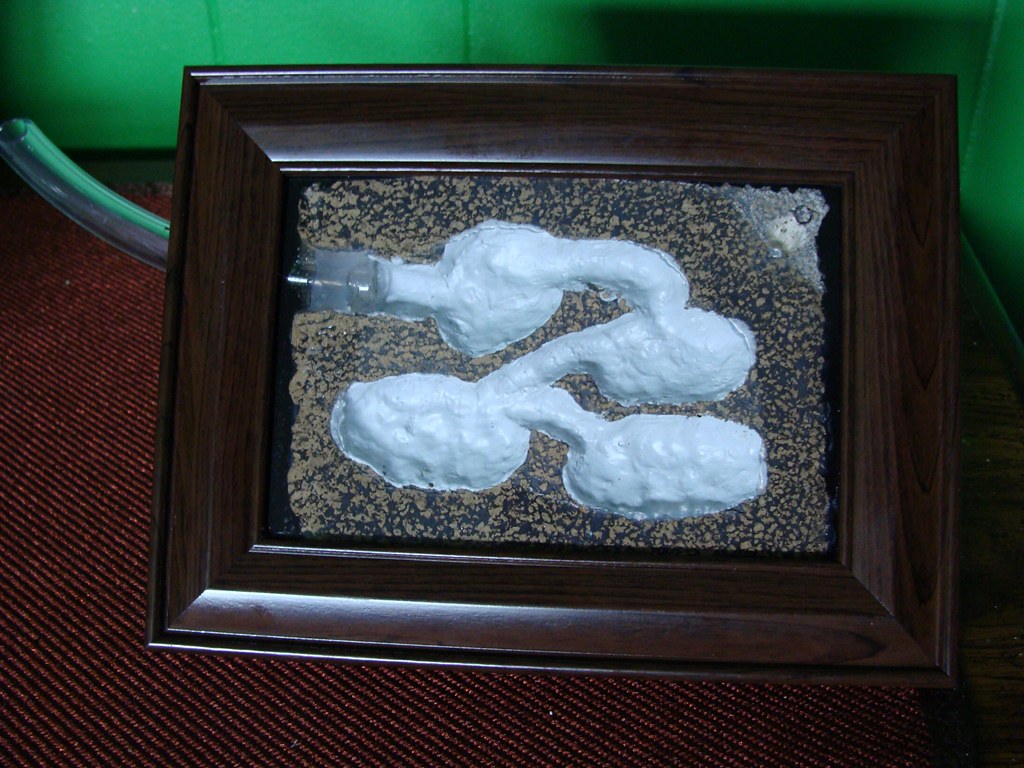
I also have 2 videos showing this:
Edited by Crystals, August 2 2017 - 6:54 PM.


