Hey everyone,
I'll be using this thread to document the progress I make in designing formicariums made from clay. I know, I know, there's almost no other mention of this type of formicaria anywhere on the internet, except for a polish site that's hard to understand. The reason I went with this method of building is I couldn't find Y-tong/Firebrick and grout seemed didn't have good aesthetics.
Here's a short rundown of things you'll need and how to do it:
Pottery Clay (not some kids plasticine stuff)
Access to a pottery kiln
Drywall boards or Tile backer board (Hardee)
Something to sculpt the clay with
1. Cut out the amount of clay that you'll need. Shape it into as clean of a ball as you can and then roll/press it into the type of form that you need. The thinner, the better, as a thicker piece of clay will take longer to dry and has a slight chance of exploding while being fired.
2. Form the final shape of the formicarium. I've done a flat square to take advantage of all the space available. You'll want at least one side to be as completely flat as possible and its just easier to have both sides flat.
3. Place your piece of clay onto the drywall board and cover with another drywall board on top. Leave for 8-12 hours to harden the clay up before you sculpt the chambers. Otherwise your clay will be too soft and you'll deform it when you try to make the chambers.
4. After its hardened a bit, sculpt out the chambers. Make sure to make them a tiny bit bigger than what you need, as clay shrinks some in the drying/firing process.
5. Put it back between the drywall boards and leave it between them for several days.
6. If your formicarium has dried enough, you can put it on a wire rack to dry faster without worrying about warp.
7. After 1-2 weeks of drying, depending on how humid the air is in the place it dried, you can take your formicarium and sand down the front surface to be completely flush on a pane of glass or plastic.
8. Take it to a pottery kiln to be fired. Usually only costs about a dollar per pound of clay.
That's all. ![]()
I then put mine inside of a plastic box, filled the back with pebbles and a vinyl tube to connect the surface to the back of the formicarium for watering purposes. Then covered the top with some plaster, sand and native decorations I gathered from outside.
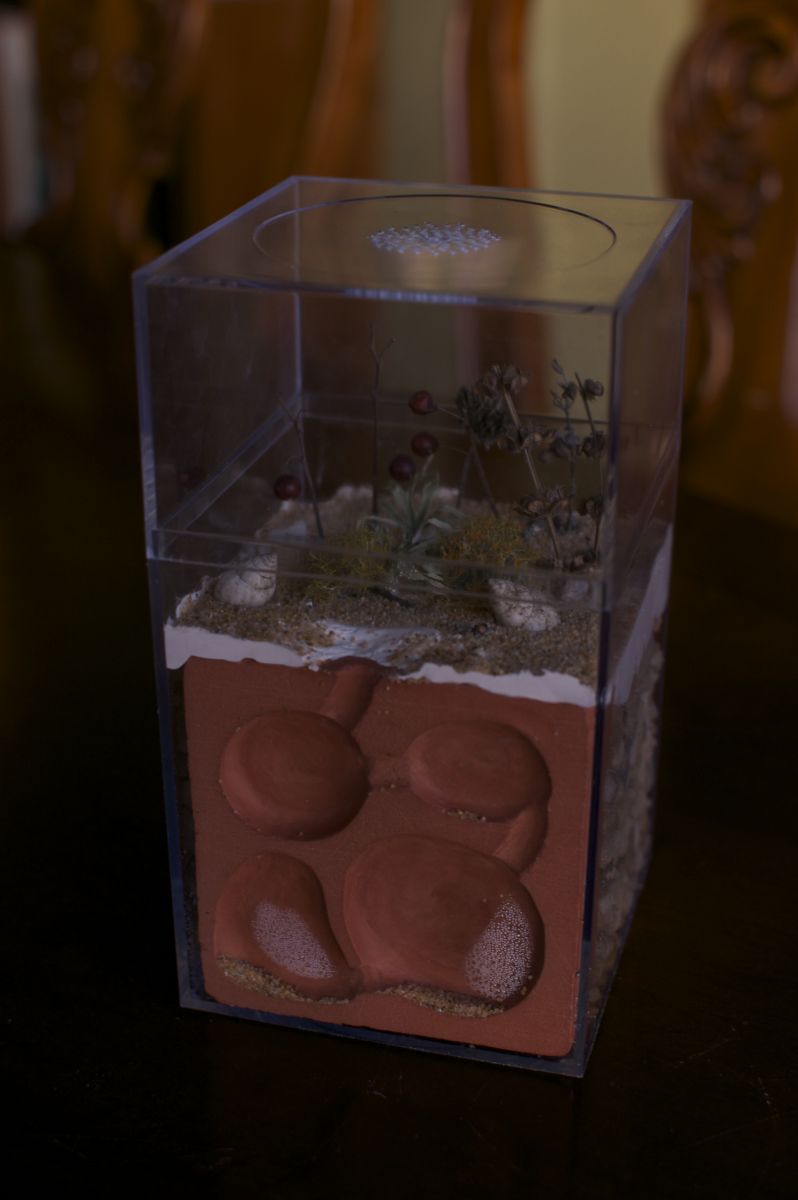
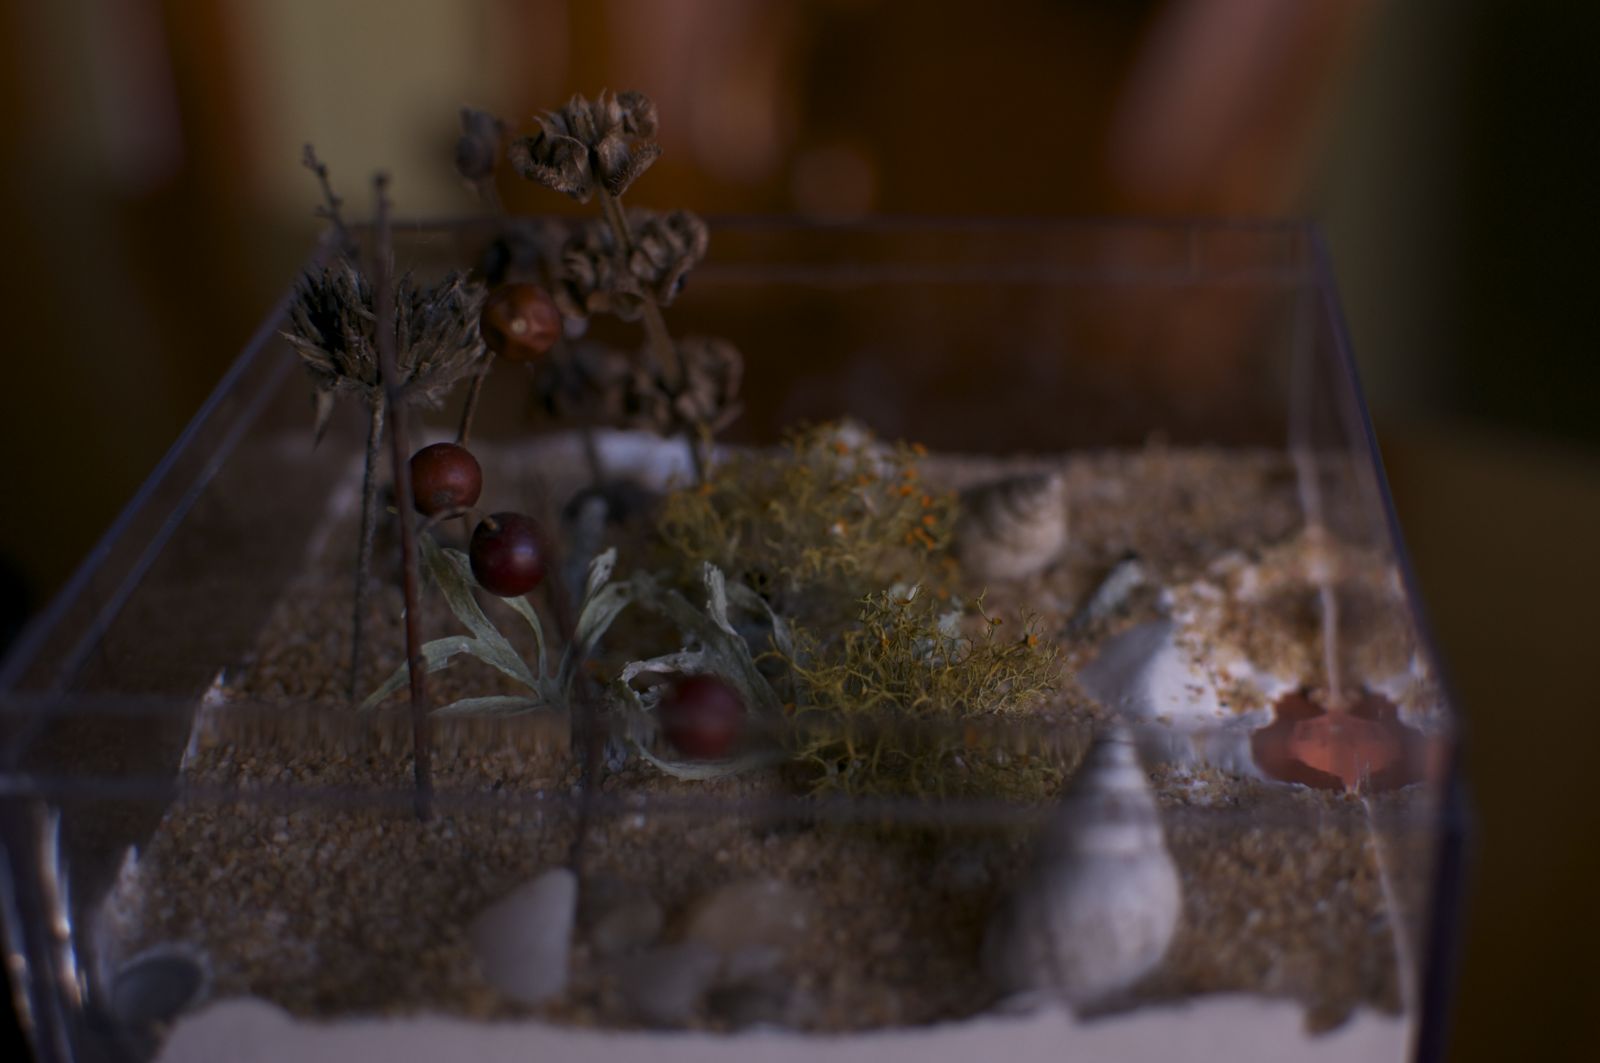
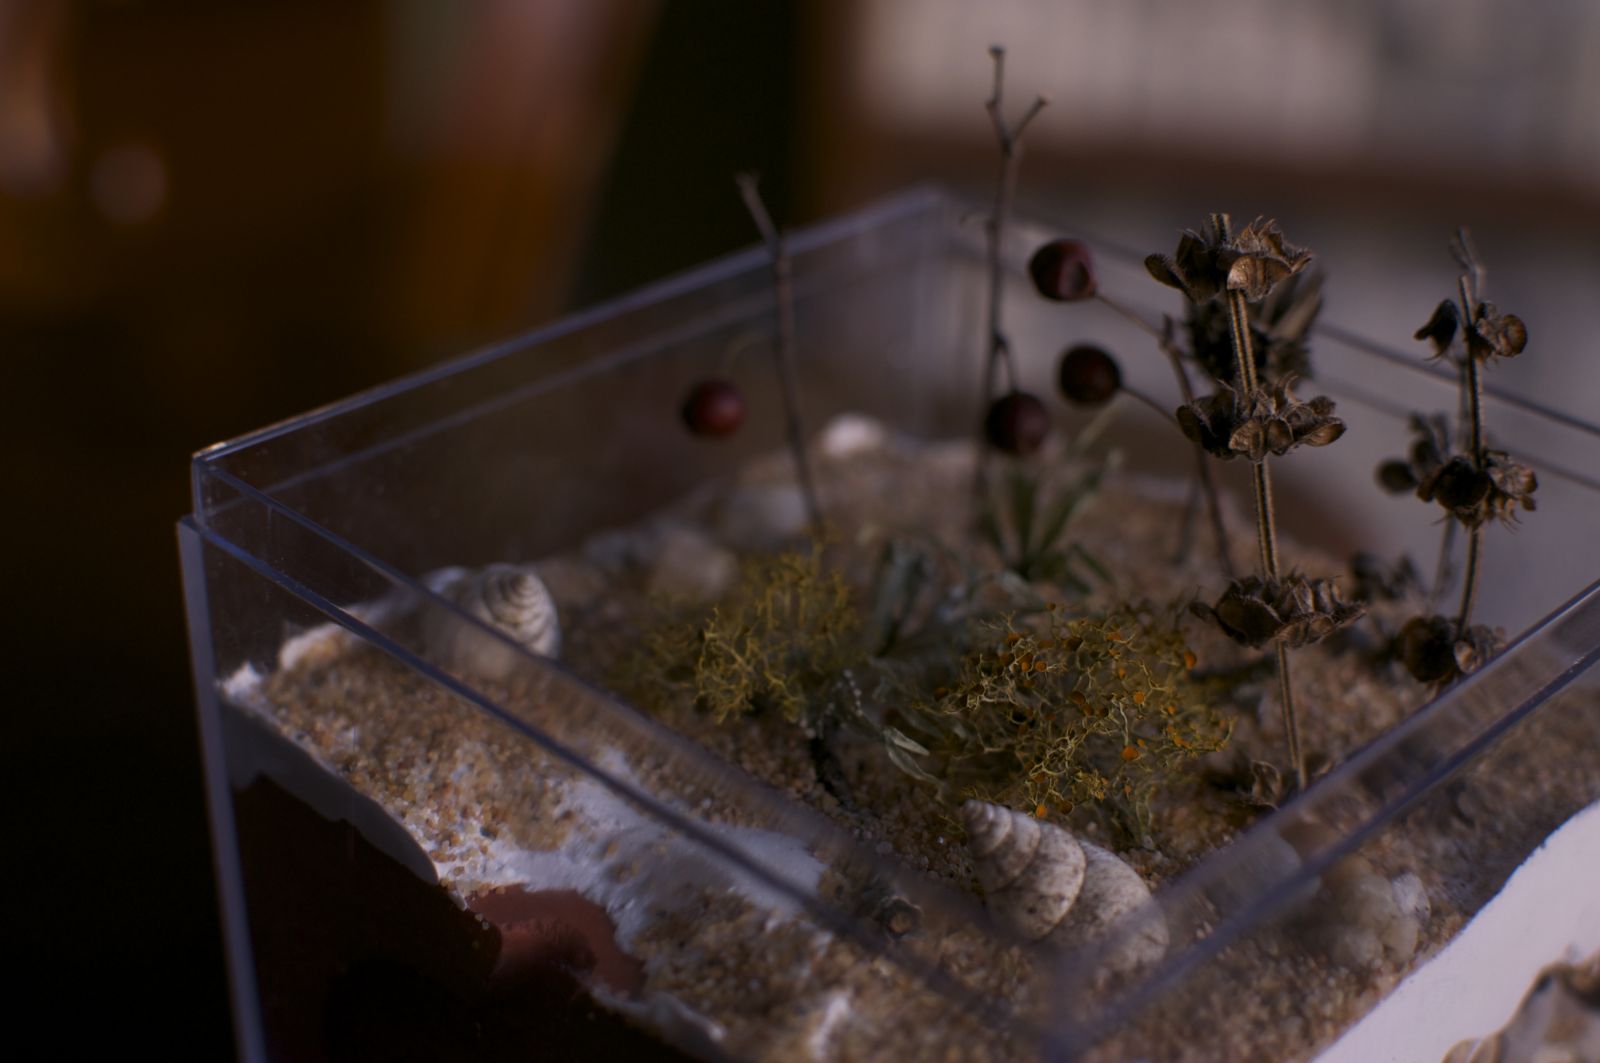
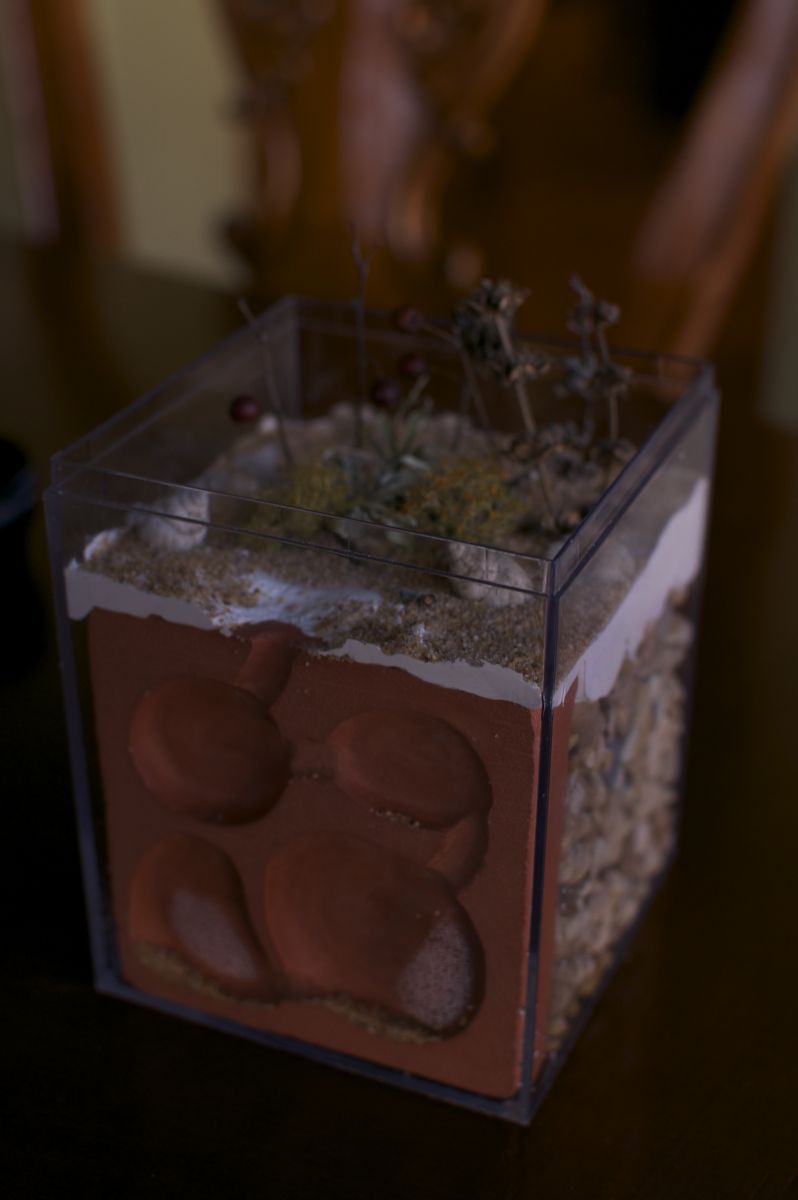
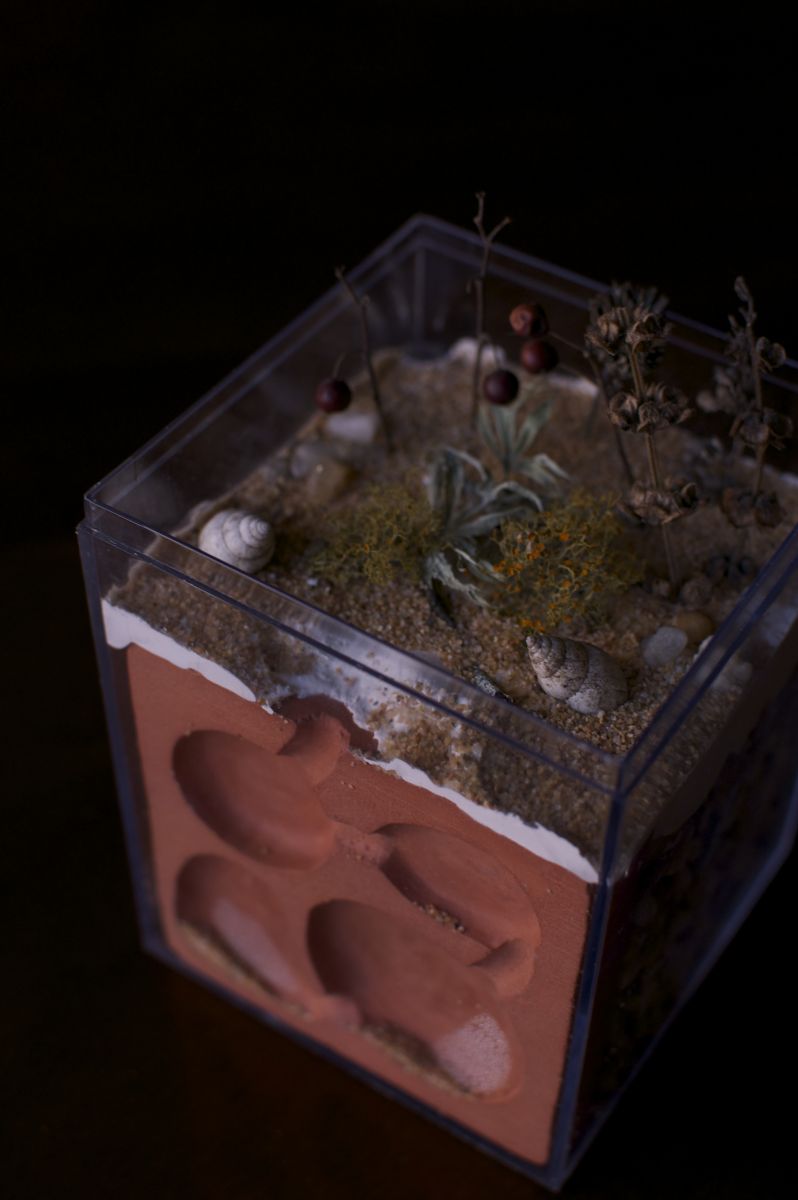
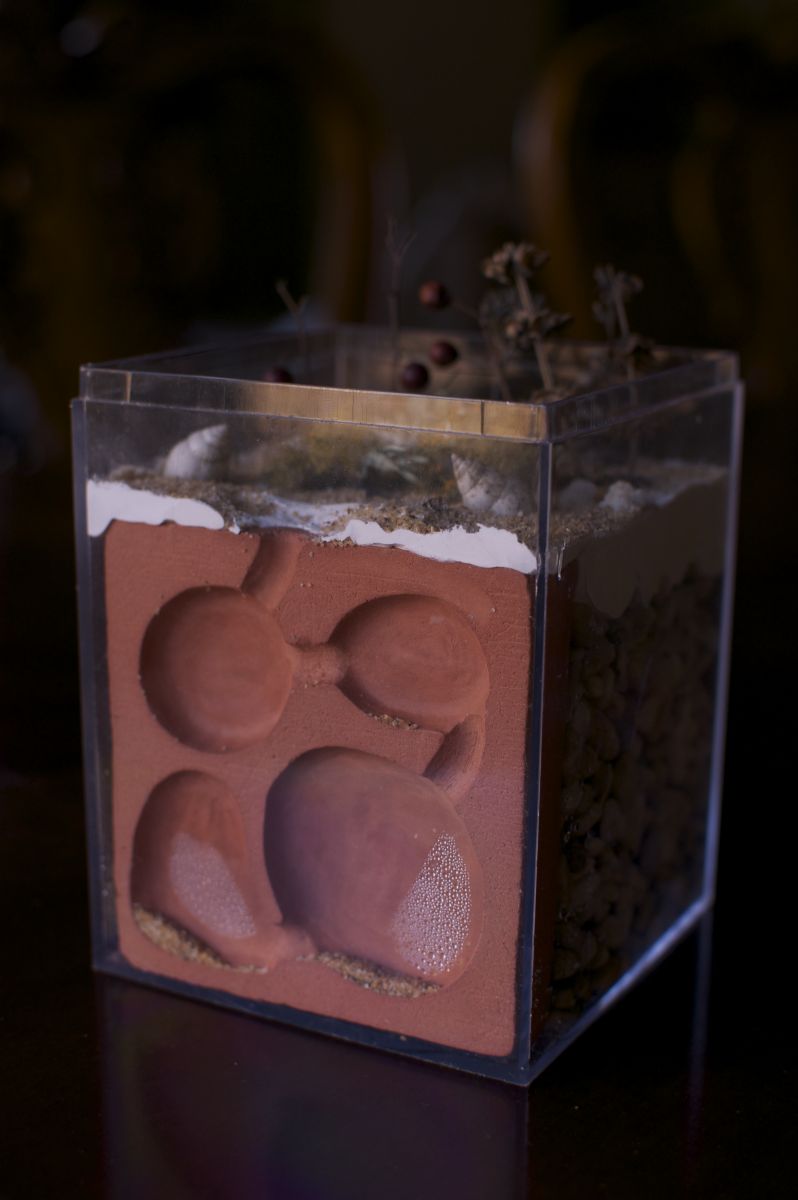
If you have any questions, suggestions or ideas, let me know!
I have a few more in the making so you'll see some more of these soon. ![]()


