Once Your Grout is Dry
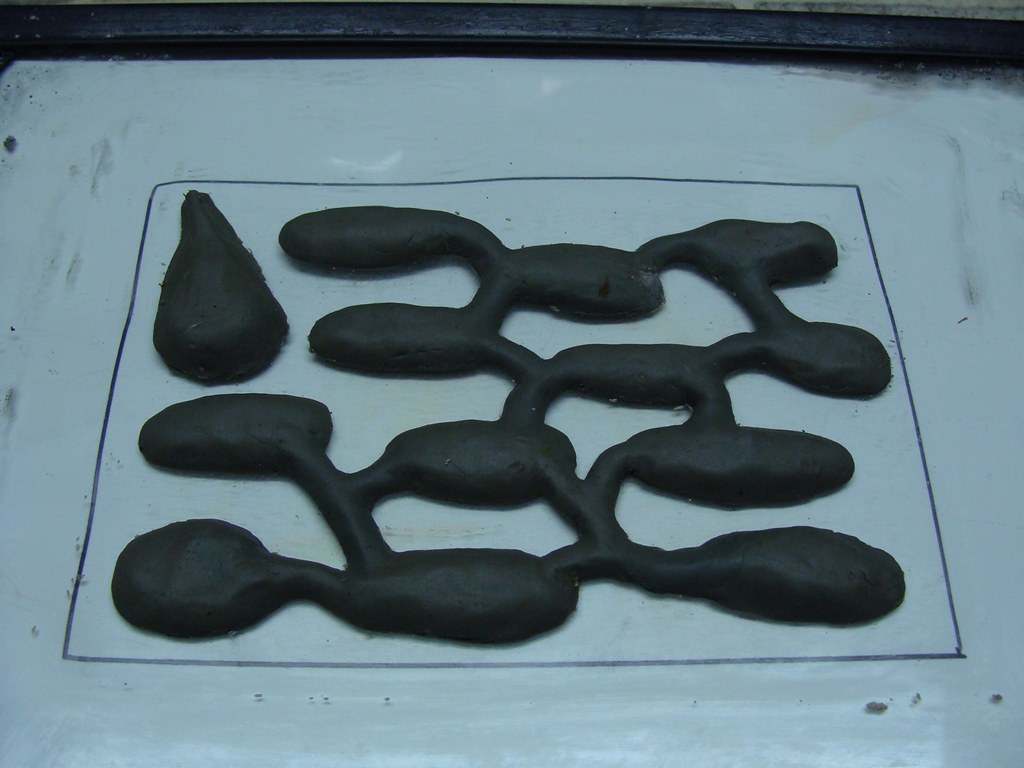
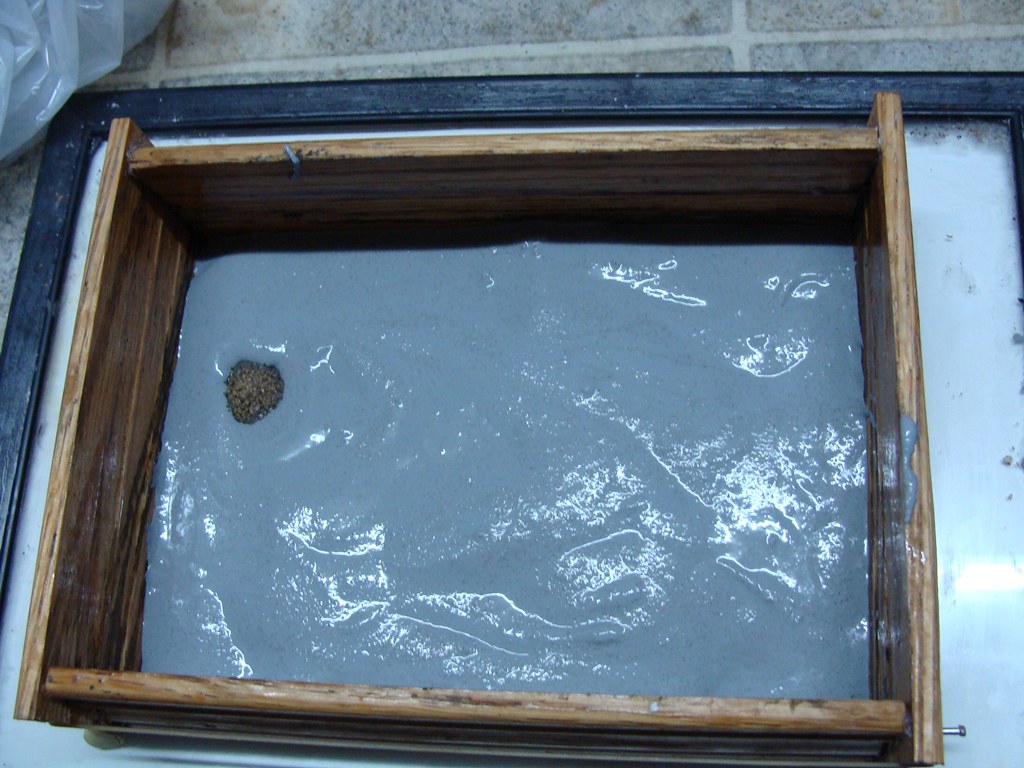
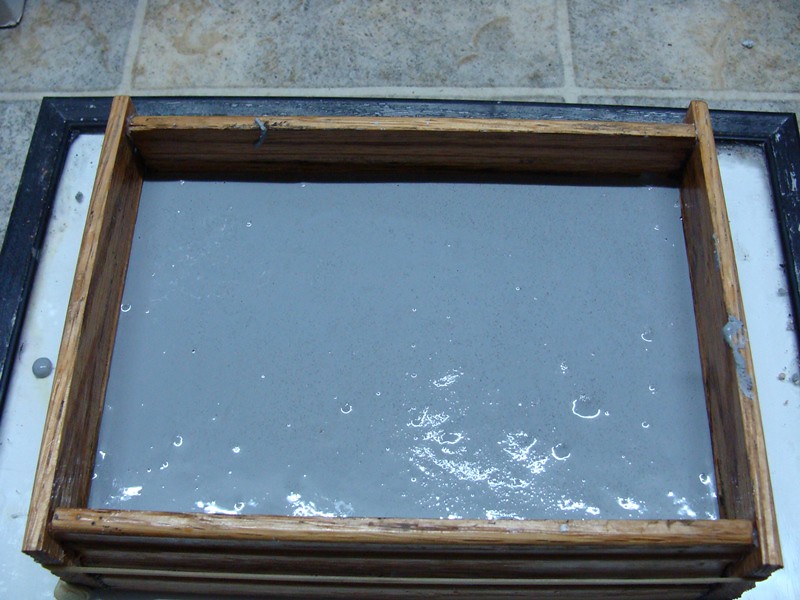
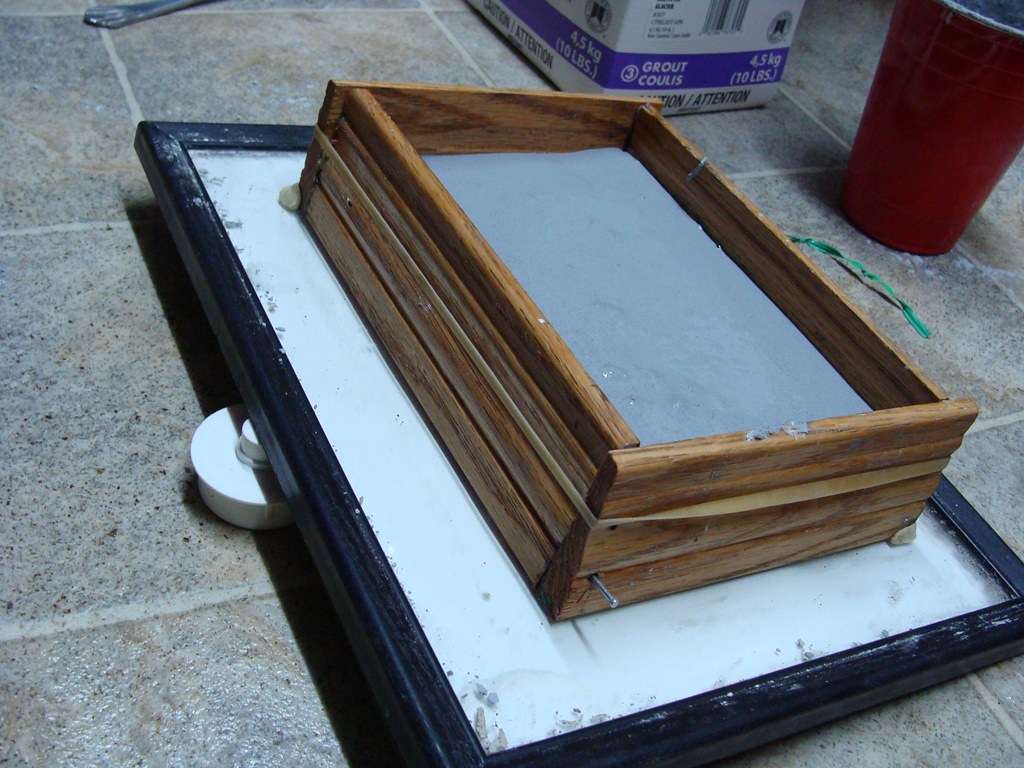
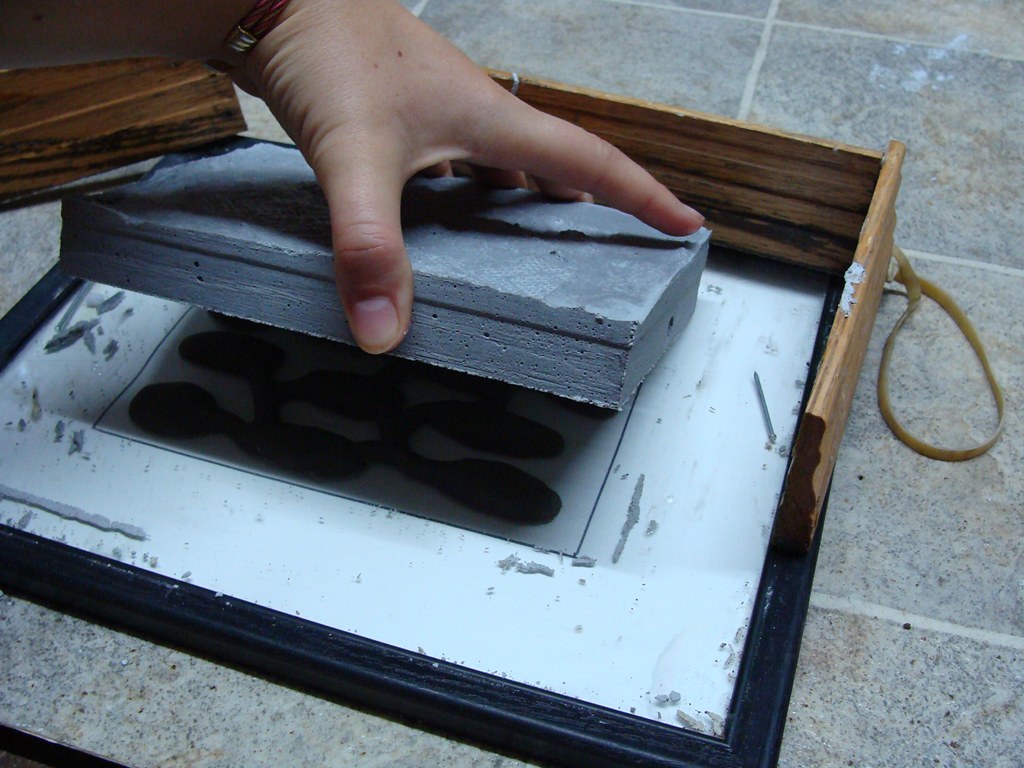
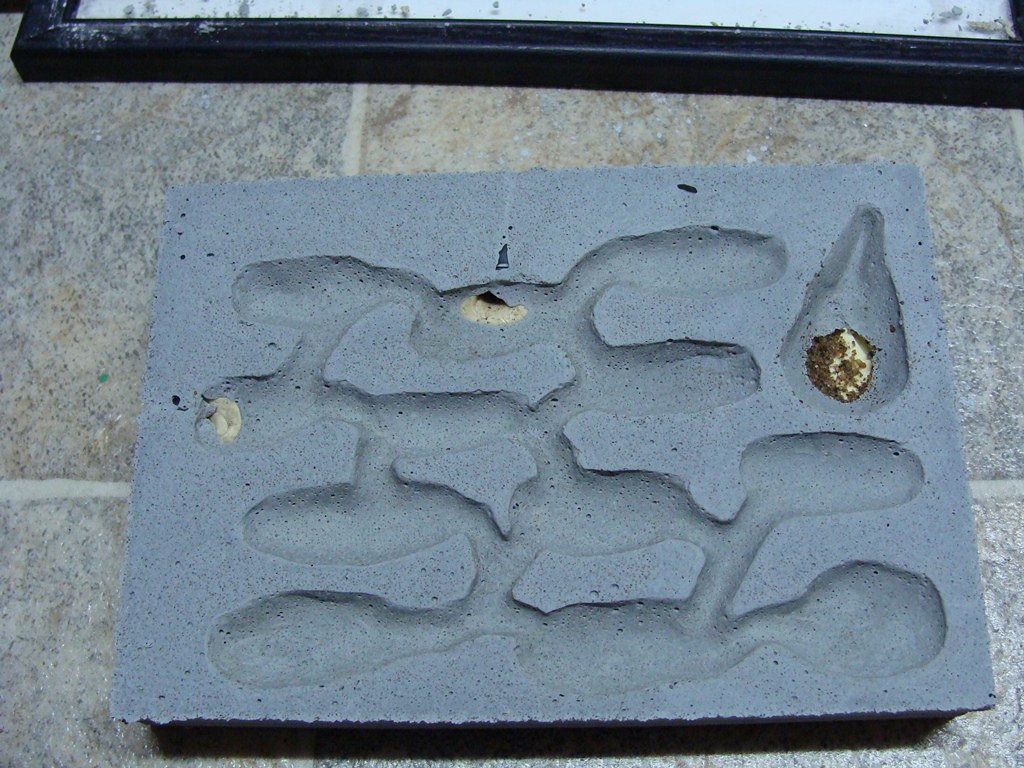
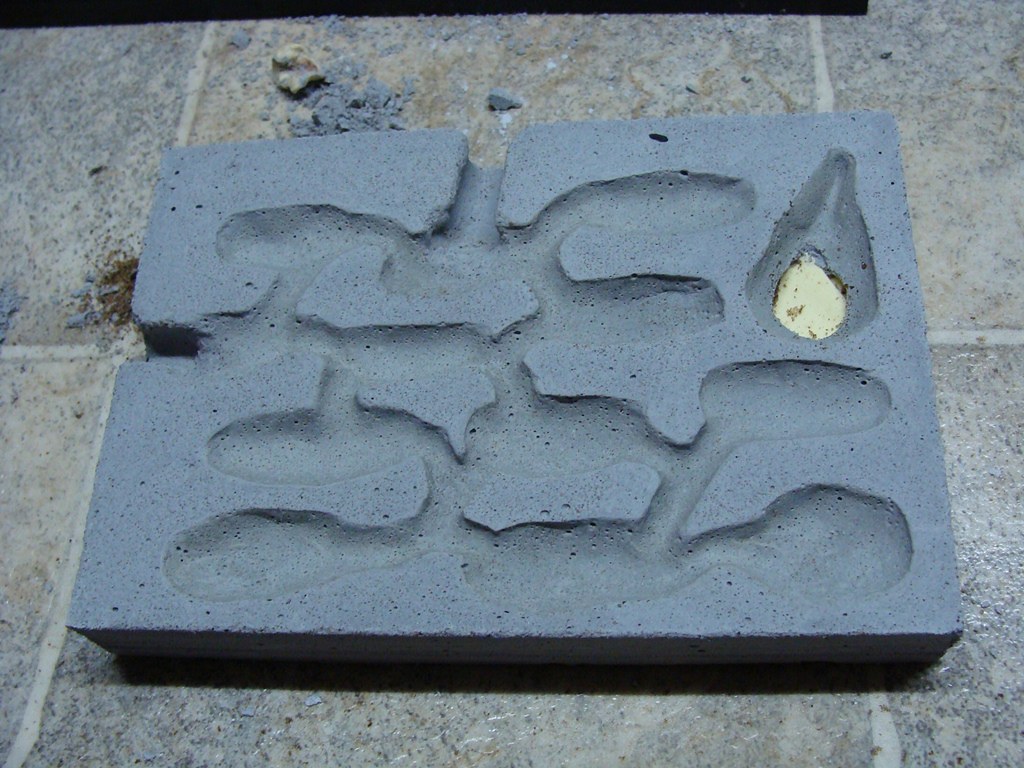
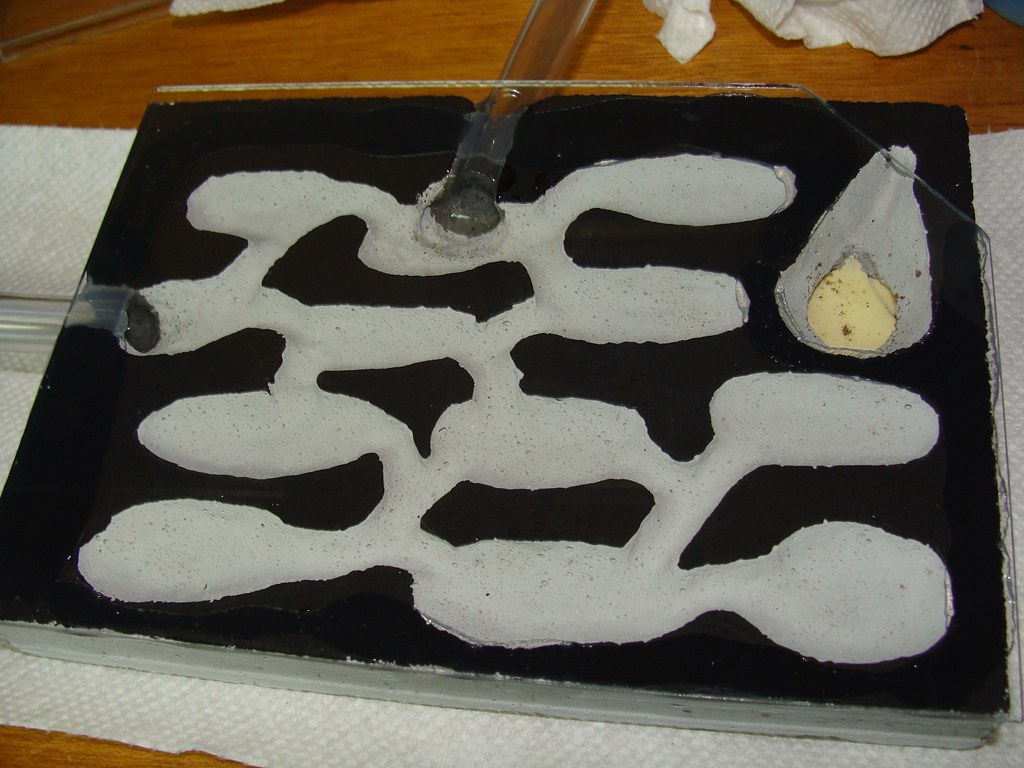
Carefully remove the mold framing. If the grout is firm and has no give, carefully flip it over and lift the glass off. Go slowly, lift one corner 2mm and then go to each of the other corners. You will probably see the air appearing between the glass and grout. Patience is key in this spot, you will likely have to go to each corner numerous times especially if it is more cured. You don't want to break the glass. For stubborn ones I pry one corner of the glass just a little bit and stick something between the glass and grout, a thin 1mm piece of plastic or a shaved down toothpick. Then just let the object sit there while the suction slowly disappears. Then move it in further.
Often the clay will stick to the glass as the back of the clay was oiled and prevented the grout from sticking. In my case the clay stuck to the glass, I have used this mold many times and will wrap it in plastic for future use as well. I just grab another picture frame for some glass.
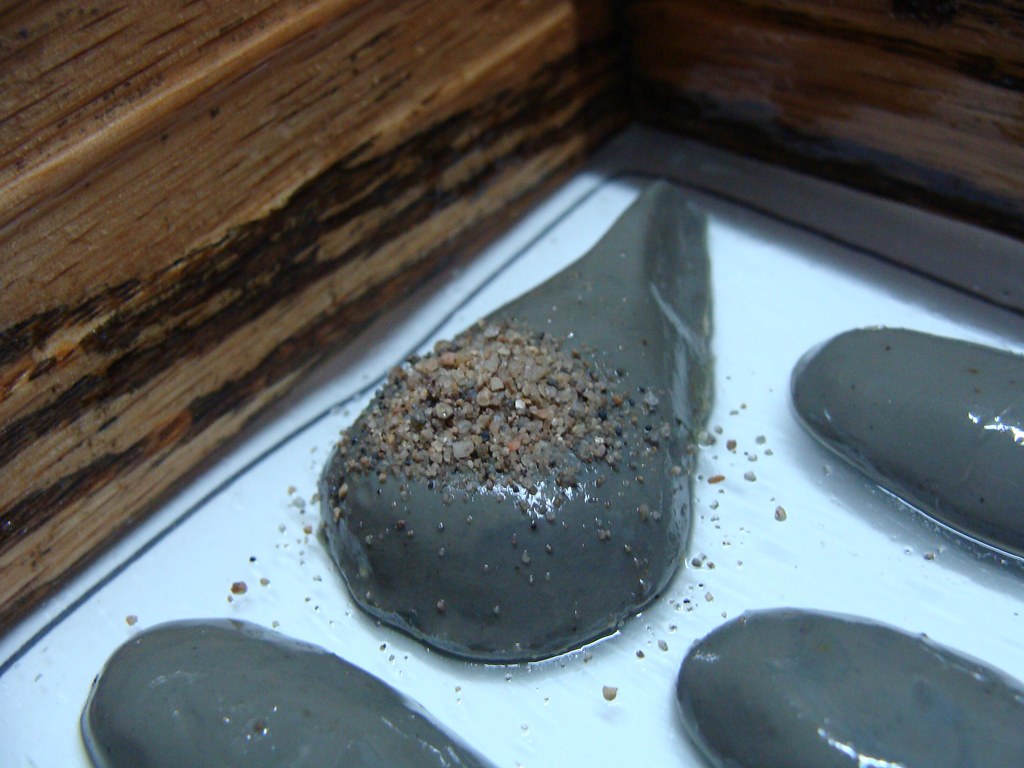
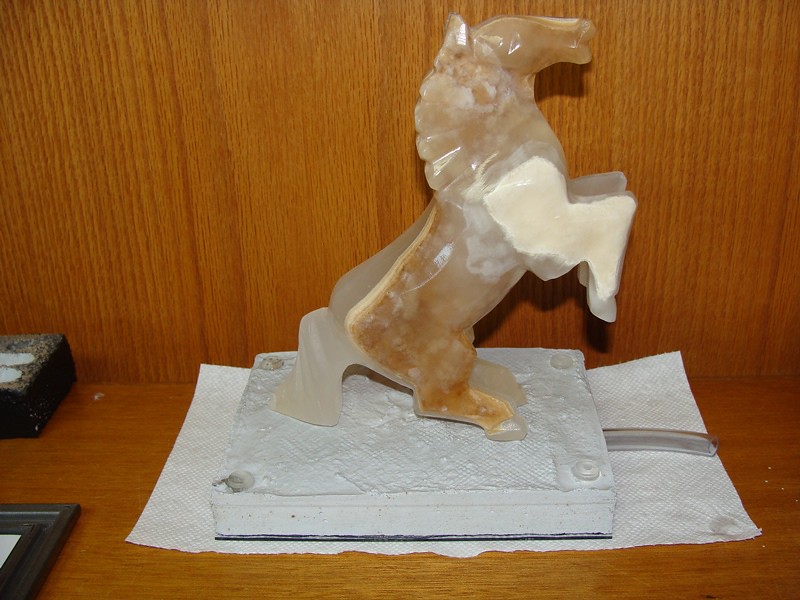
For the first 2-5 days the grout is somewhat soft and crumbly, like plaster - stable, but easily carved or smoothed. When you are not working with the nest, try to keep it face down as much as possible until it is fully cured.
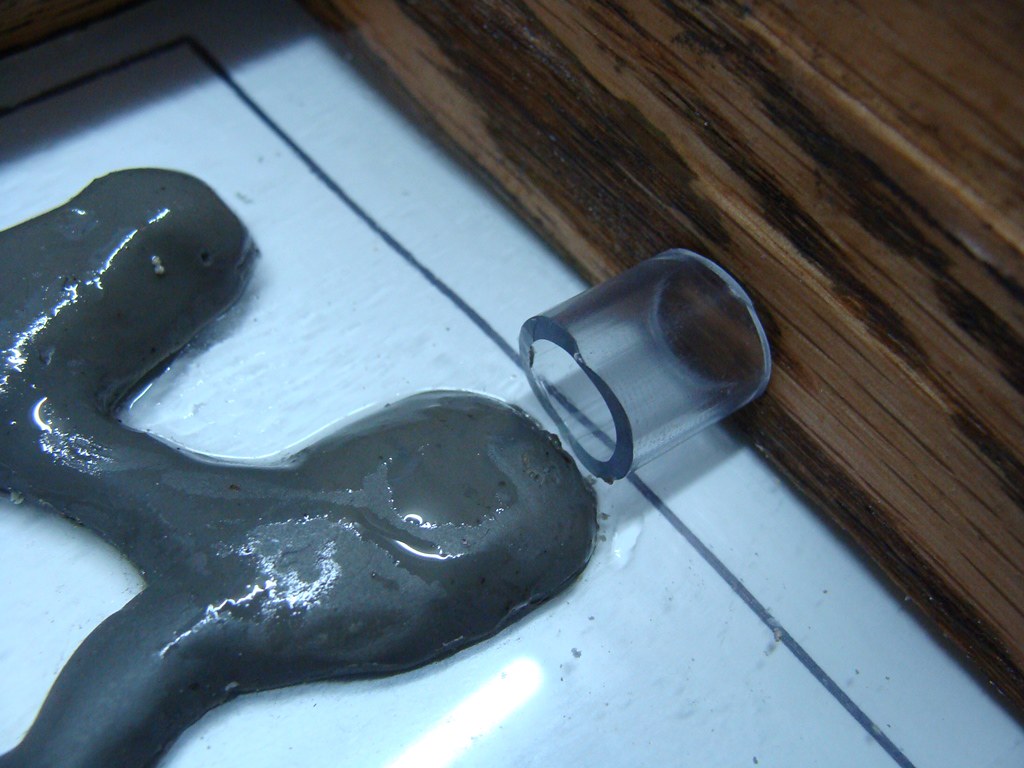
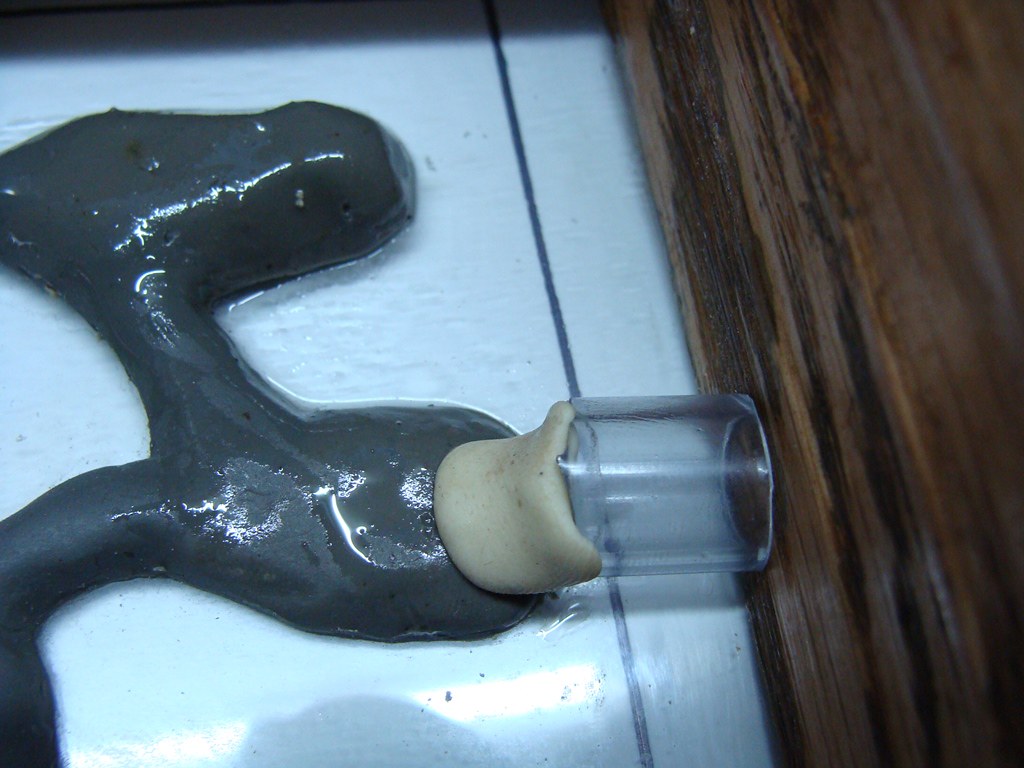
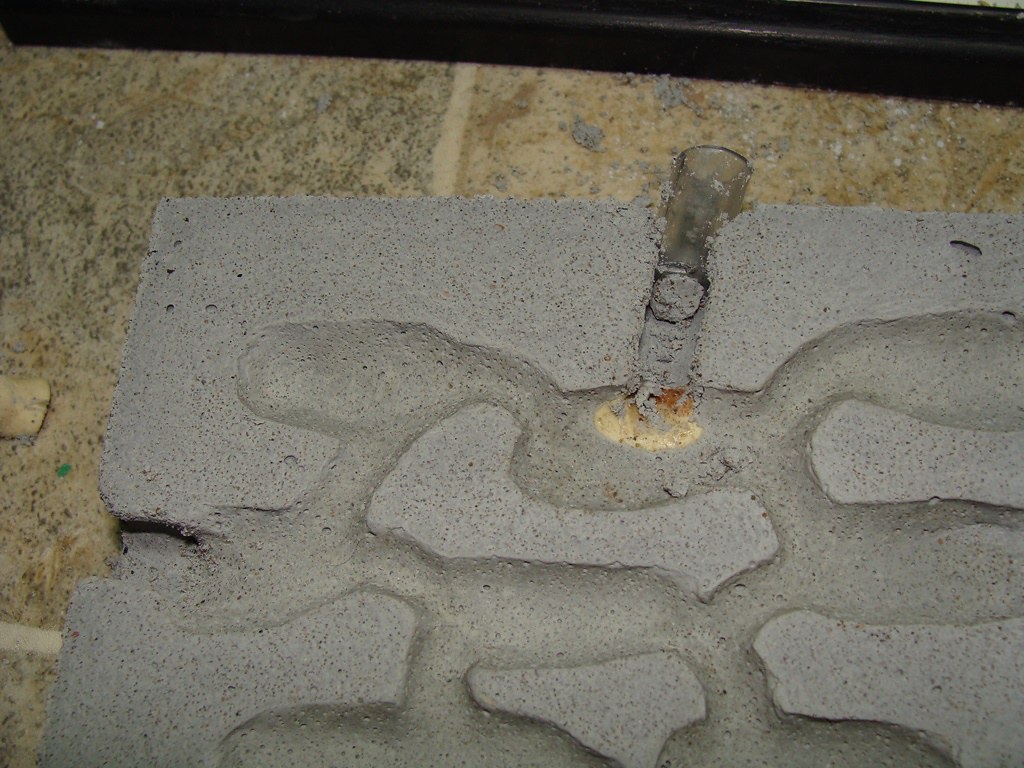
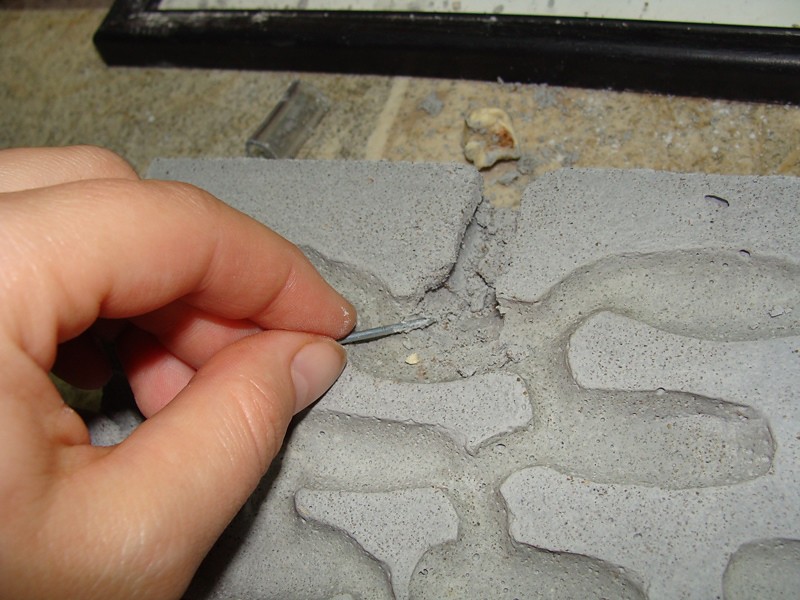
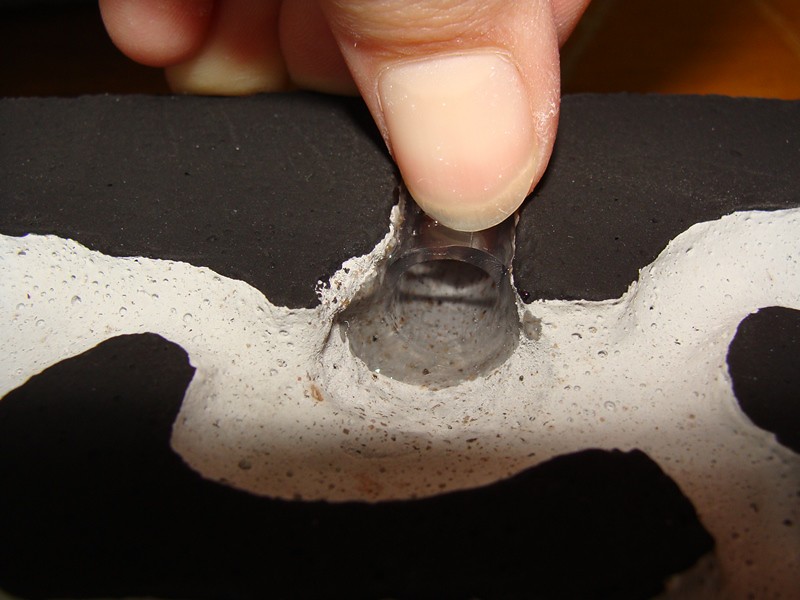
Pull the pieces of tubing out, grout may have come between the glass and the tubing. Pull them straight out of the side and they usually come out quite easily when pulled with pliers. You can choose whether or not you want to leave the surface grout intact. I used a wood nail to scrape the grout away, create a nice ramp, and smooth the edges. Use a skewer or nail to loosen the damp sand in the watering tunnel, then turn the nest upside down to let it fall it.
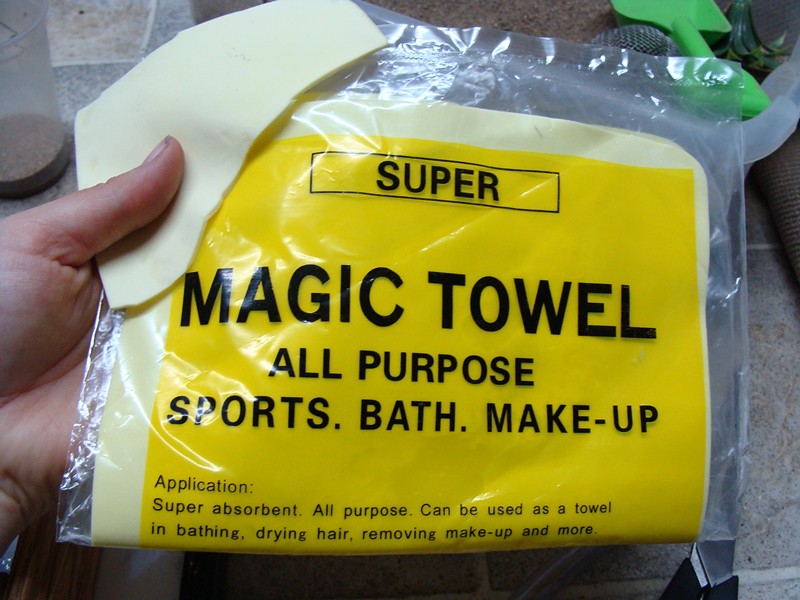
You should be able to see the chamois cloth. More sand will dry later and fall out - this is no problem, a few days later turn the nest upside down and see if more comes out. (If you used sand instead of chamois cloth, use a pipe cleaner to try to loosen as much sand as you can and let it fall out).
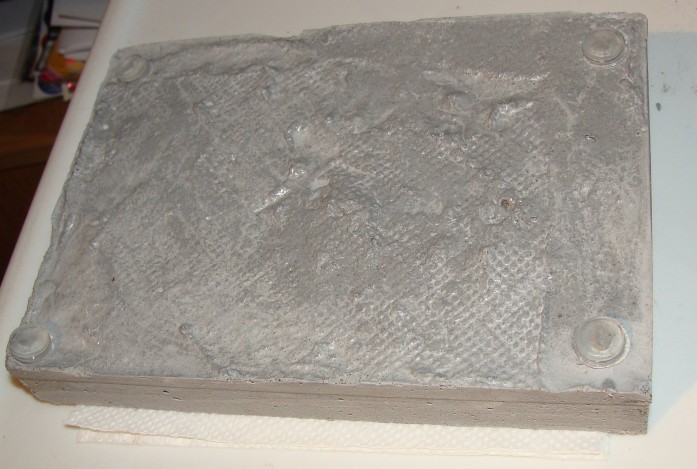
If you want, you can silicone a page protector to the back of the nest to slow water evaporation, or you can spray it with a rubber sealant (In the past, I have used a car rubber guard for a rocker panel). Or you can leave it as it is for better air flow in the nest, with the chamois allowing water to penetrate deeper with little effort, drying out is less of a concern.
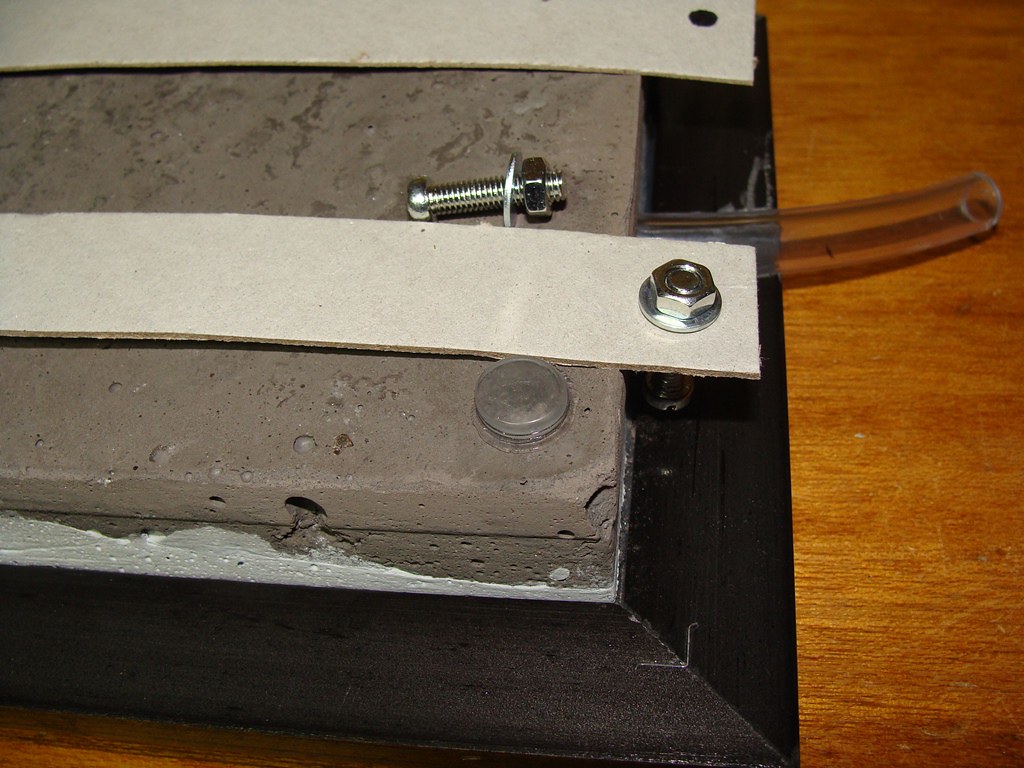
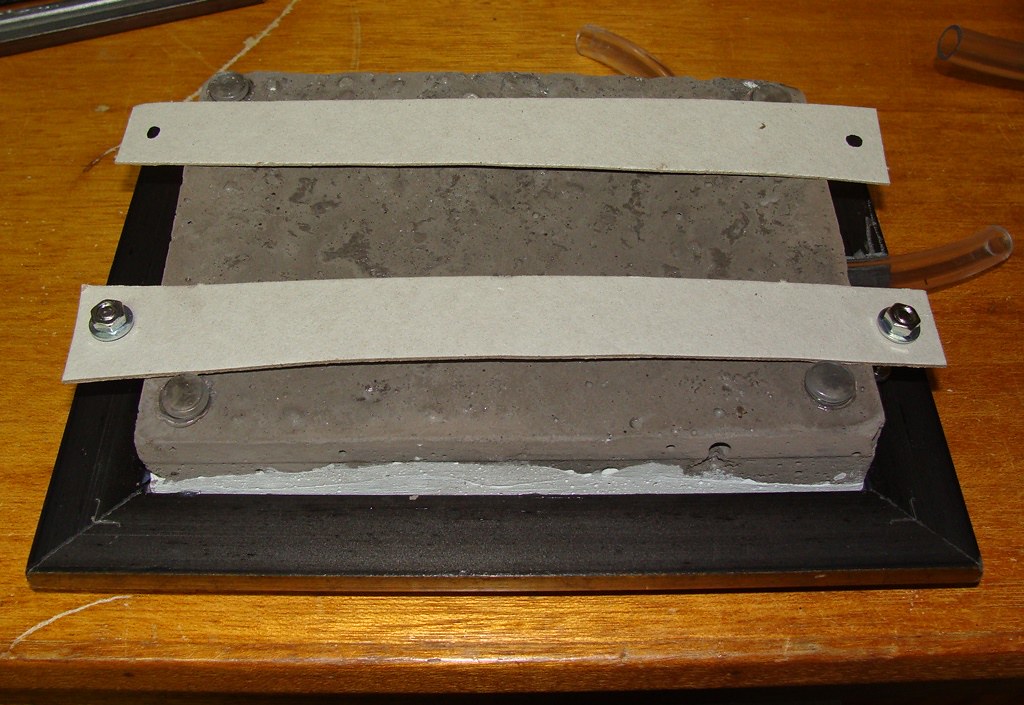
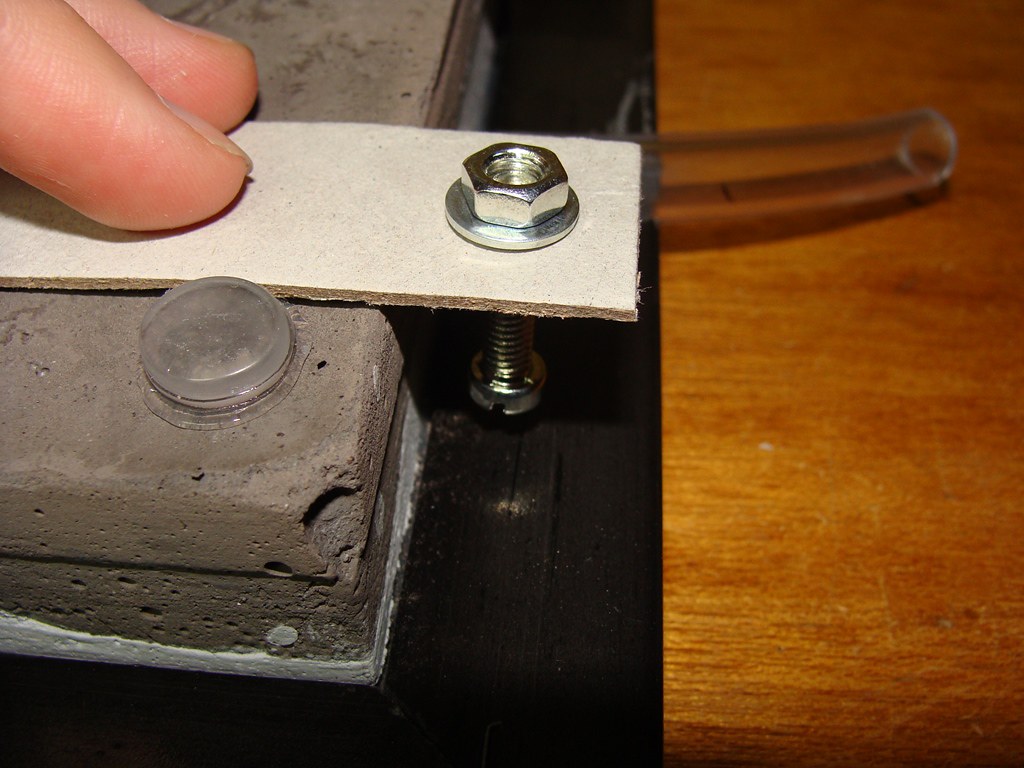
I like to add those little coaster feet to keep the nest off of any surfaces. You can find them cheap at dollar stores, or make your own by siliconing some thicker pieces of plastic or rubber foam on. I often end up siliconing/epoxying the feet on.
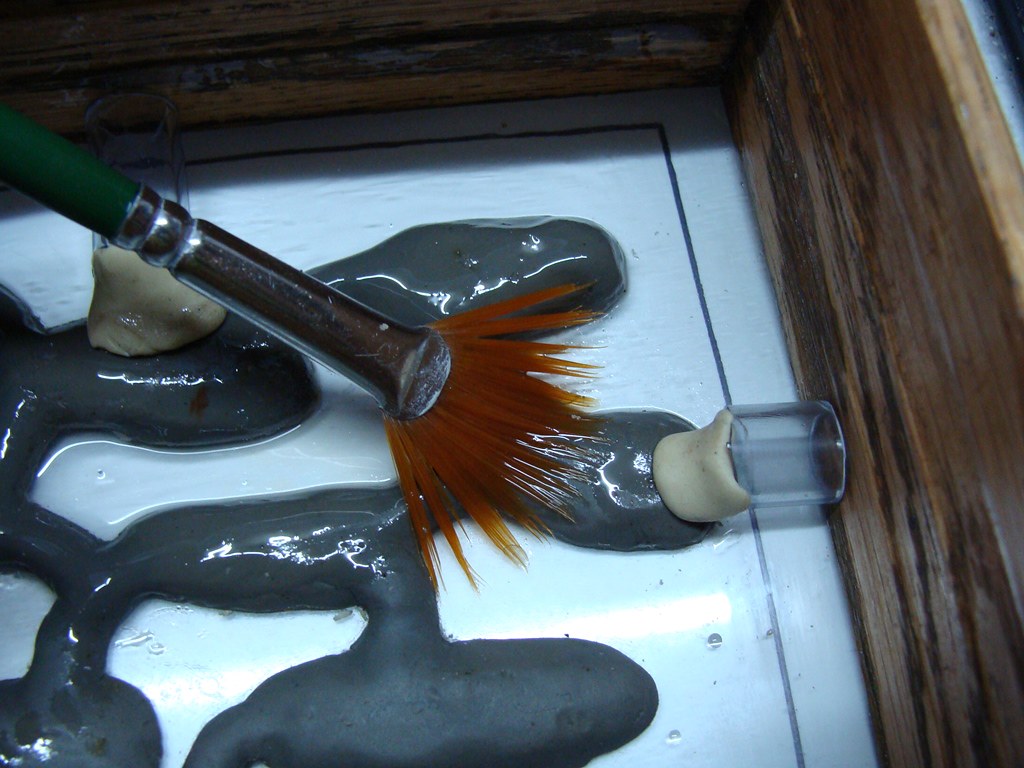
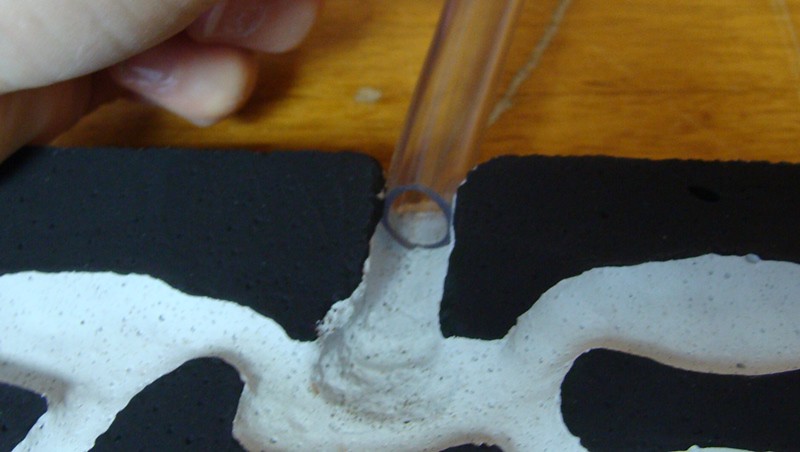
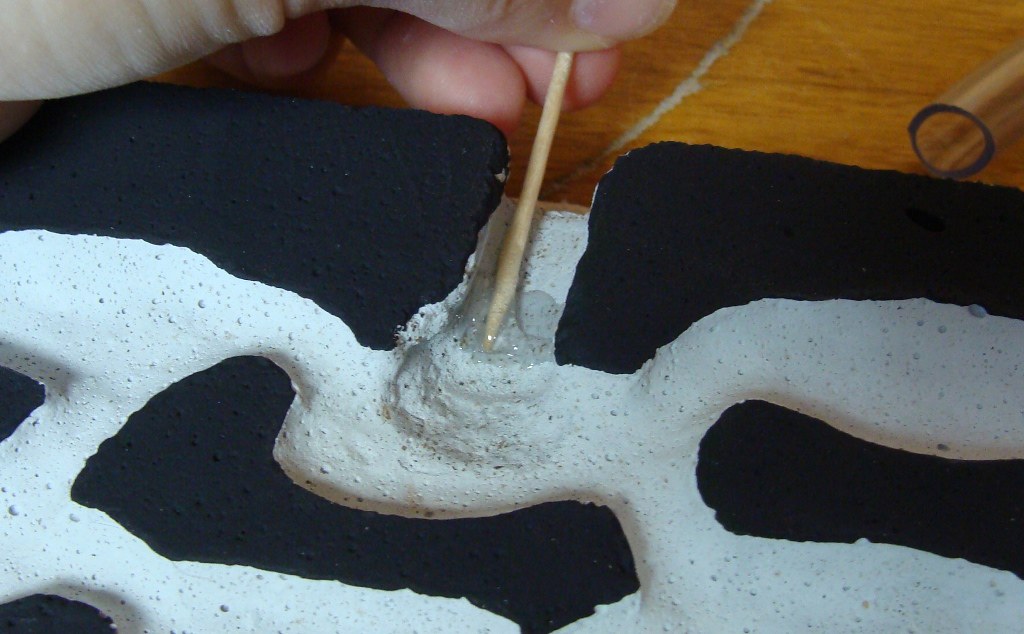
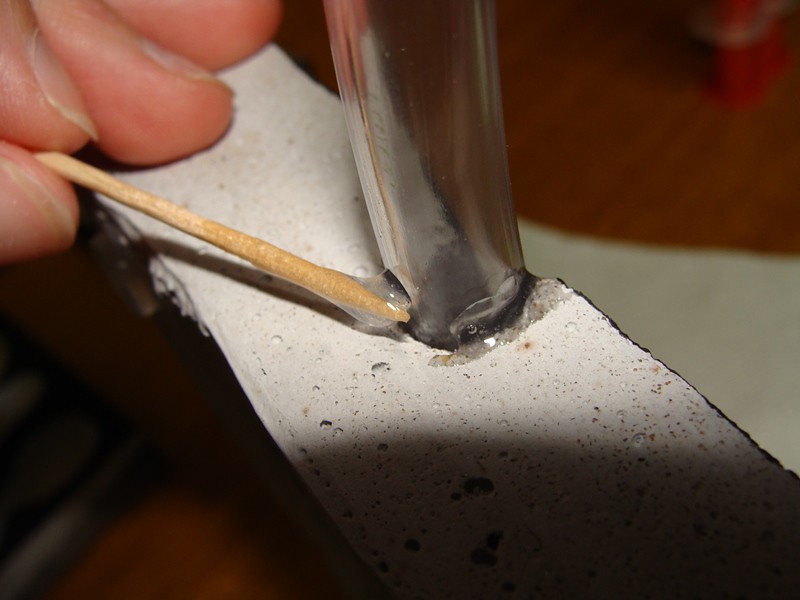
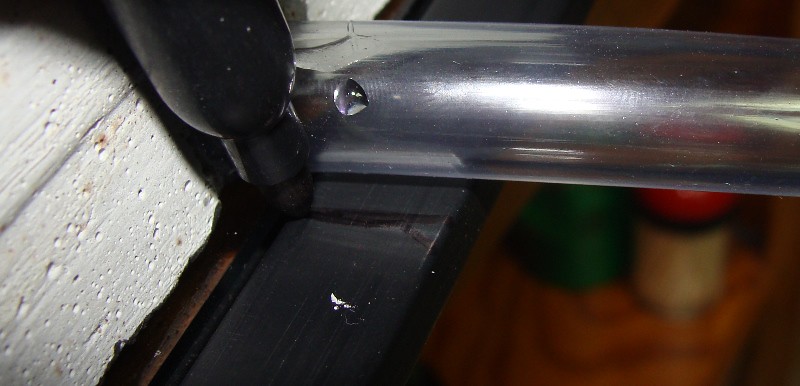
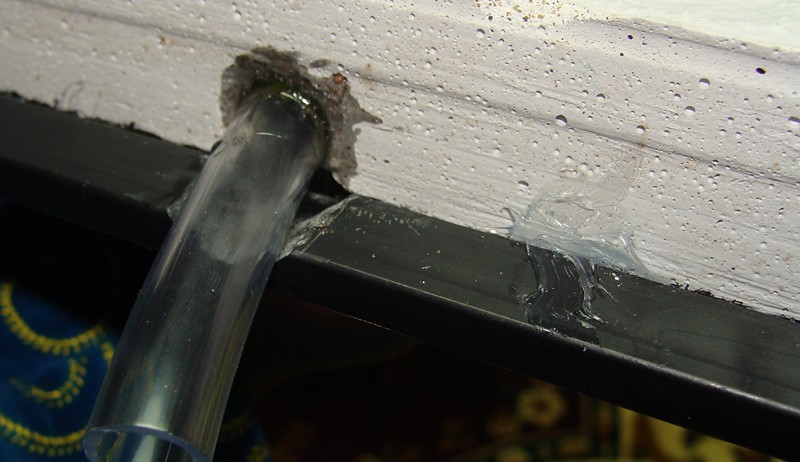
Cut your tubing to size and use a 2 part epoxy to secure it. Check that your tubing fits first. Silicone is not rigid enough for a long term secure bond. Add epoxy to the tunnel and to the outside edge of the grout where the tubing enters. I tend to press down on the tubing until it hardens (takes about 3-5min), just to prevent the inside piece of tubing from lifting due to the "see-saw" action of the outside longer piece of tubing.
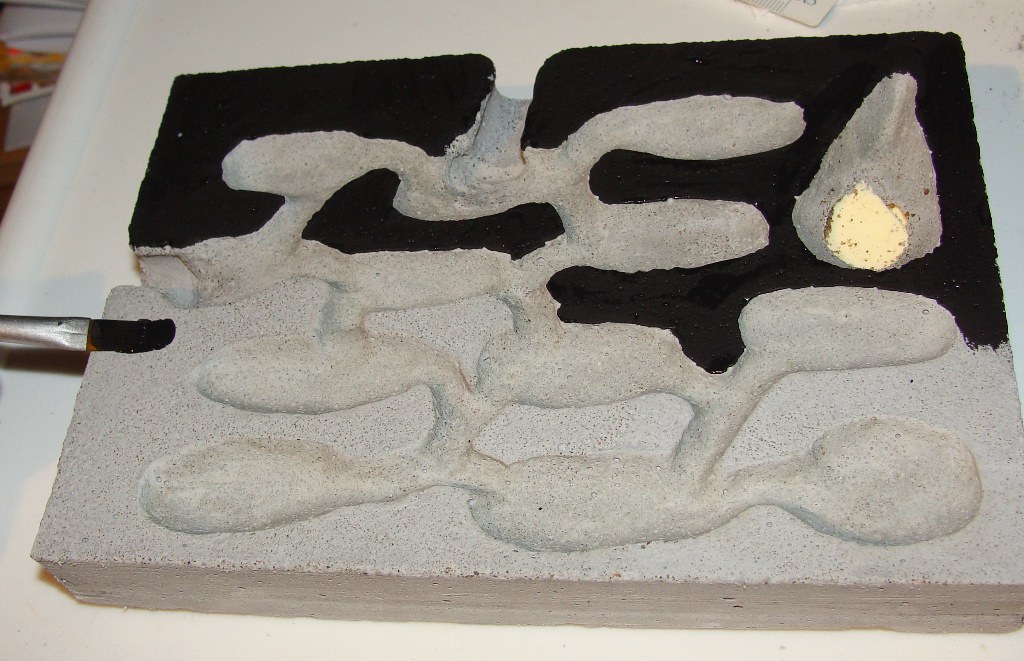
You can use acrylic paint on the parts of grout that will touch the glass (Krylon paint is water proof and works very well). Don't paint the tunnels. (You can skip the painting step if you want). (Yeah, I know, I painted mine before adding the tubing. It is amazing how much dust I can smudge on the new paint job while adding the tubing. Honest, add tubing first, then paint). Use epoxy on the outer edge of the joint as well.
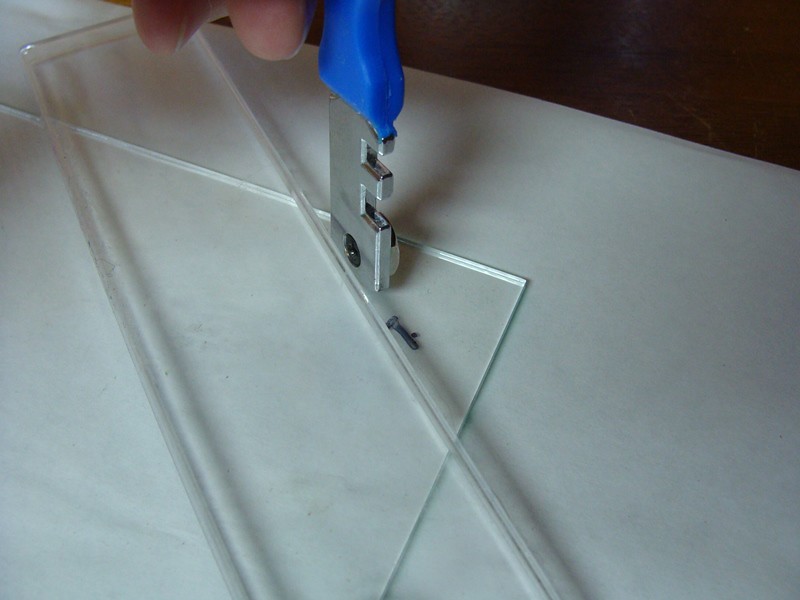
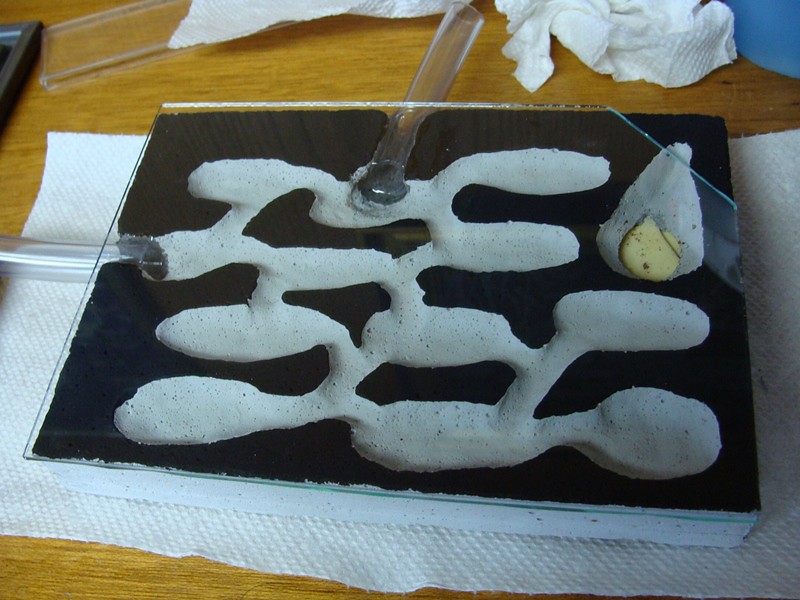
Take your glass and set it on top of your formicarium. Mark where the edge of your water chamber is. Place the glass on a stable surface and use a glass cutter to cut the corner off (Or if you have a diamond tipped drill bit and a drill press, you can drill a hole). I use a ruler to run one line on one side, then flip it over and run a line on the other side. I find it cuts easier this way.
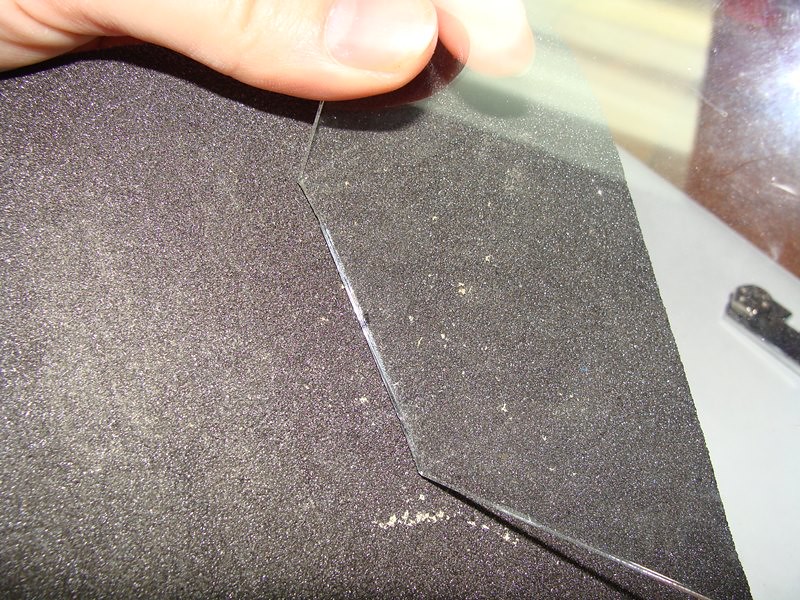
Use sand paper to sand the edge down that you just cut. You don't want to cut yourself later. The original edges will be hidden under the frame later, so you can ignore them.
Lay the glass on the nest with the frame on top, check if you can water it easily. Also check to see if the glass is laying flat or if it is rocking a bit. If it is rocking, check to see if a something is on top of the nest, like a piece of grout or sand.
Clean the glass very carefully, ensure there is no dust or finger prints. This will be the last time you will get to clean this side of the glass.
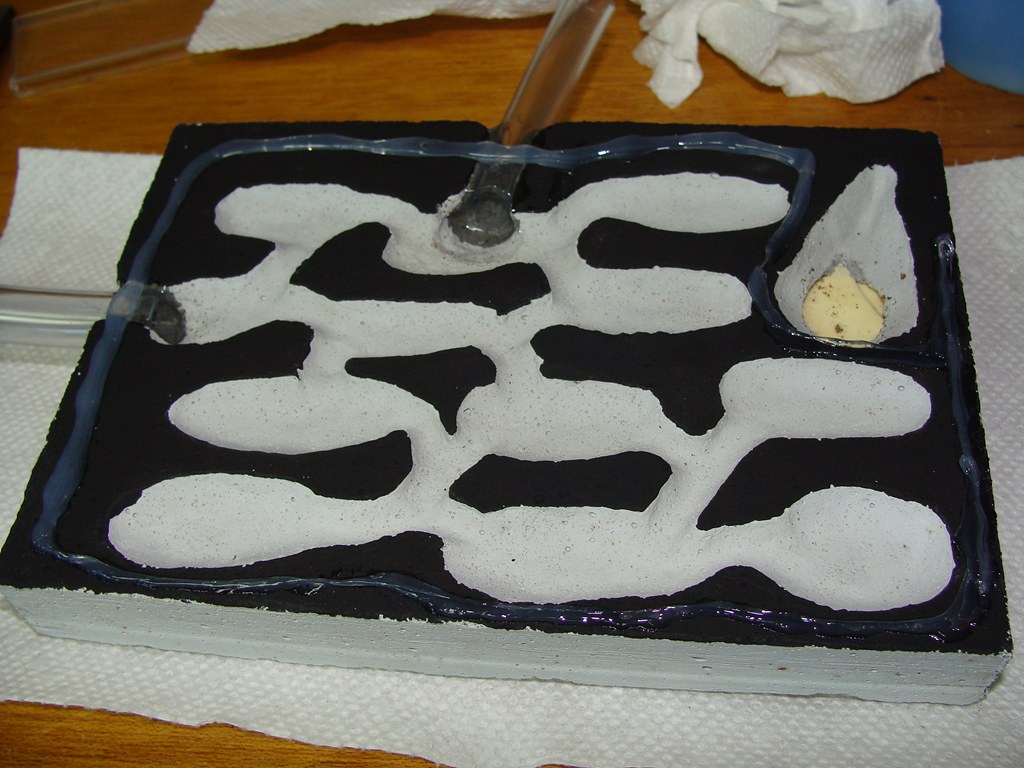
Run a bead of aquarium silicone along the edges and around the water chamber. Carefully place the glass on and push it firmly down making sure that the edge of the glass lines up with the edge of the grout. Turn the nest upside down and put a weight on the back and let it dry for 24 hours. Ensure the glass does not move while doing this. (You can use any 100% silicone with no additives, but I find aquarium silicone best handles the hydrating and drying if you store your nest for any length of time)
You can silicone the frame on now. Pull out any pins that hold the backing on.
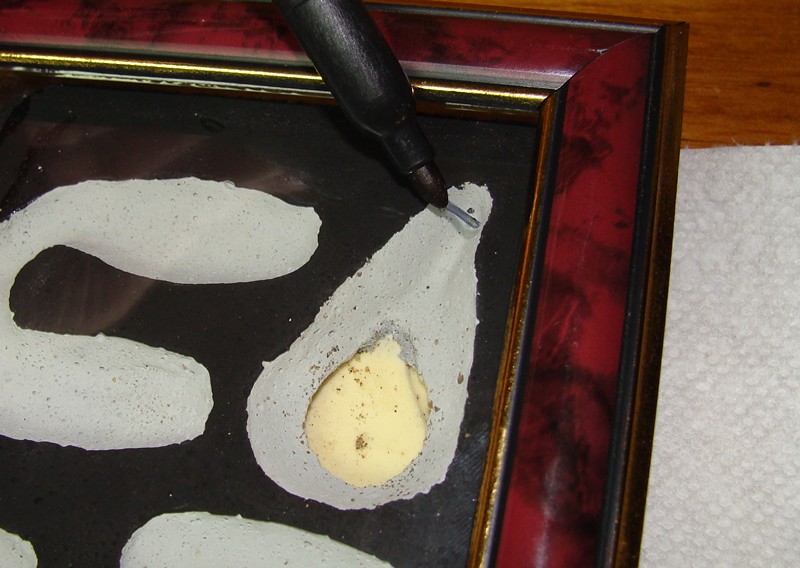
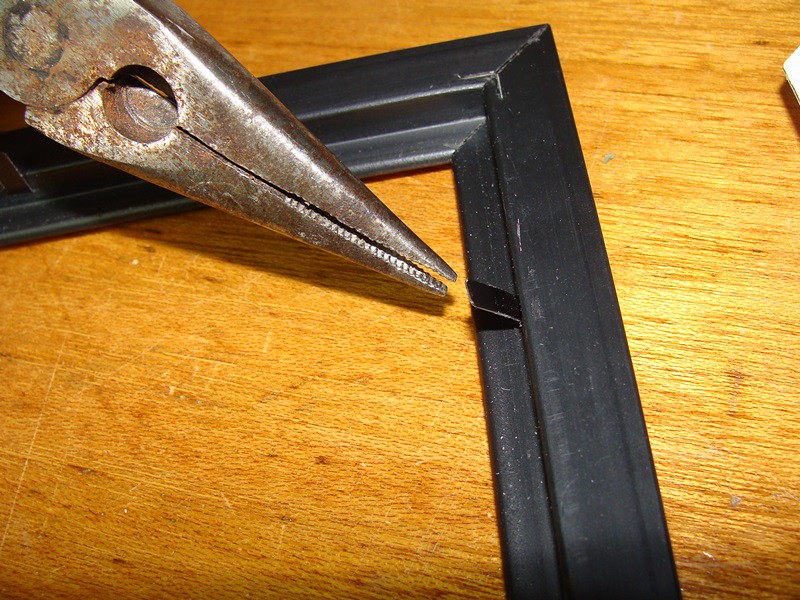
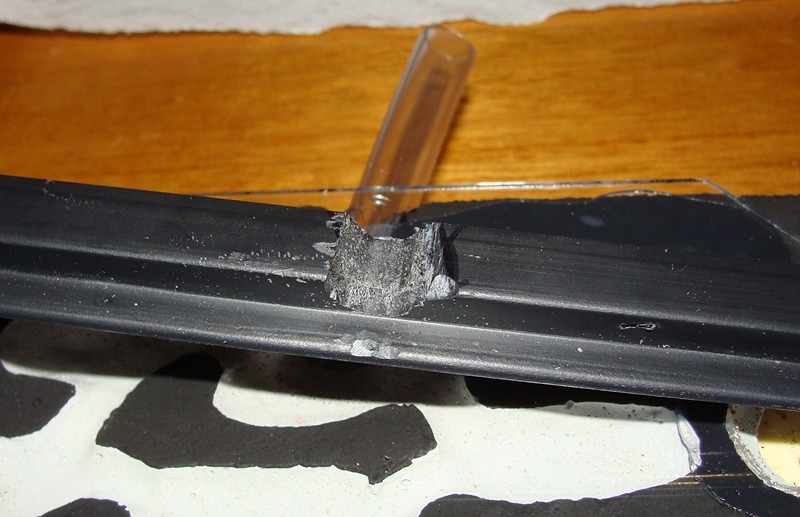
You may need to carve, dremel, chisel, or drill an edge of the frame so the tubing isn't in the way. Use a marker so you know where your tubing is. (When pouring grout you can move the tubing away from the glass so it will be below the edge of the frame once dry)
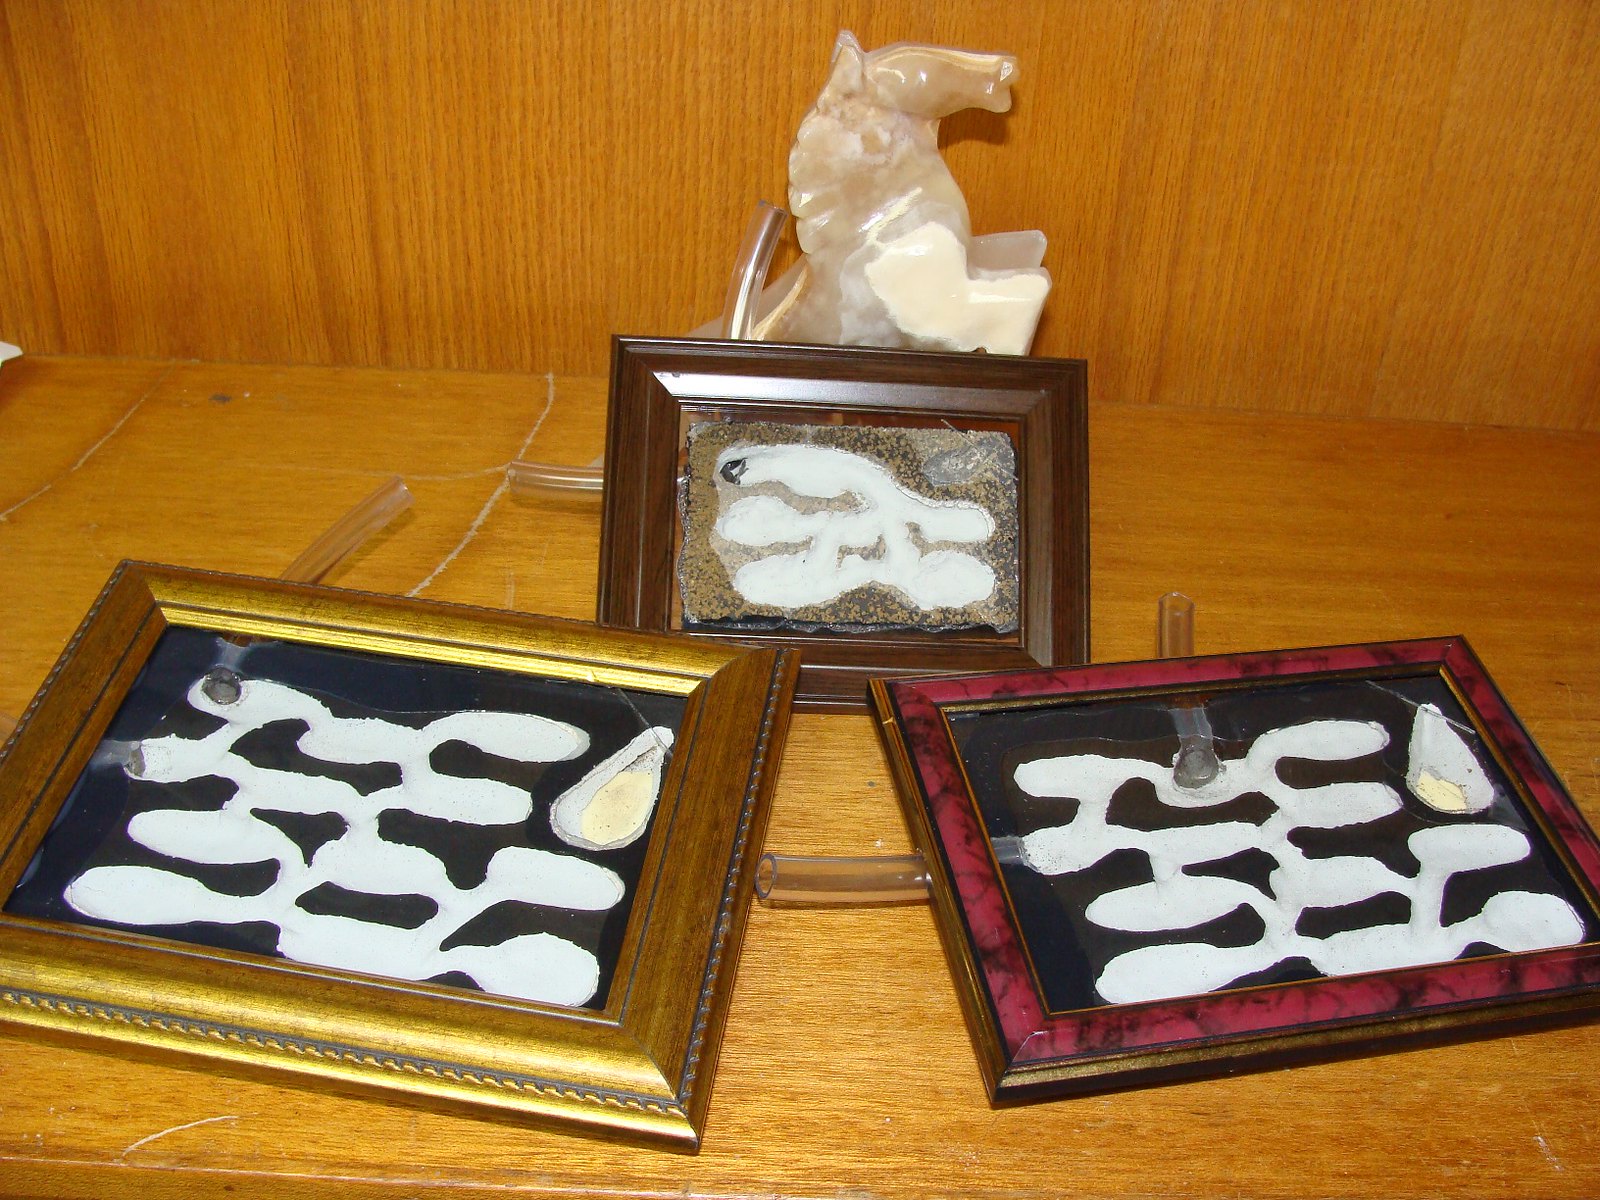
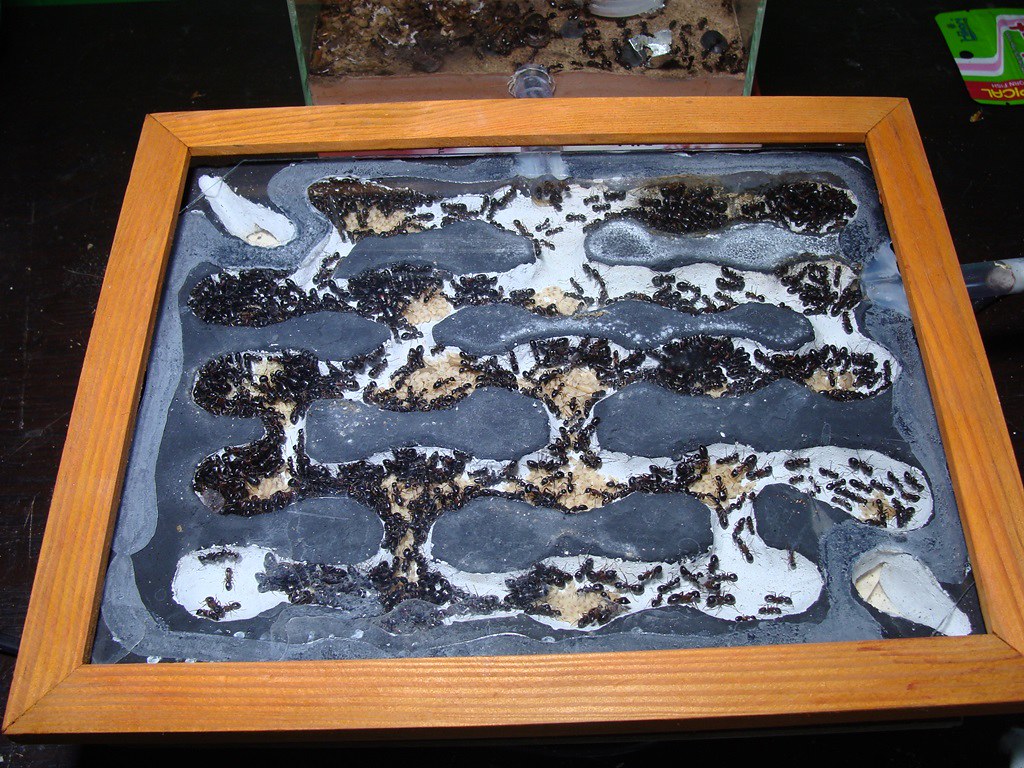
Let everything dry for at least a week in a well ventilated area. Then you can hydrate it and add ants.
Edited by Crystals, August 9 2017 - 7:49 PM.
