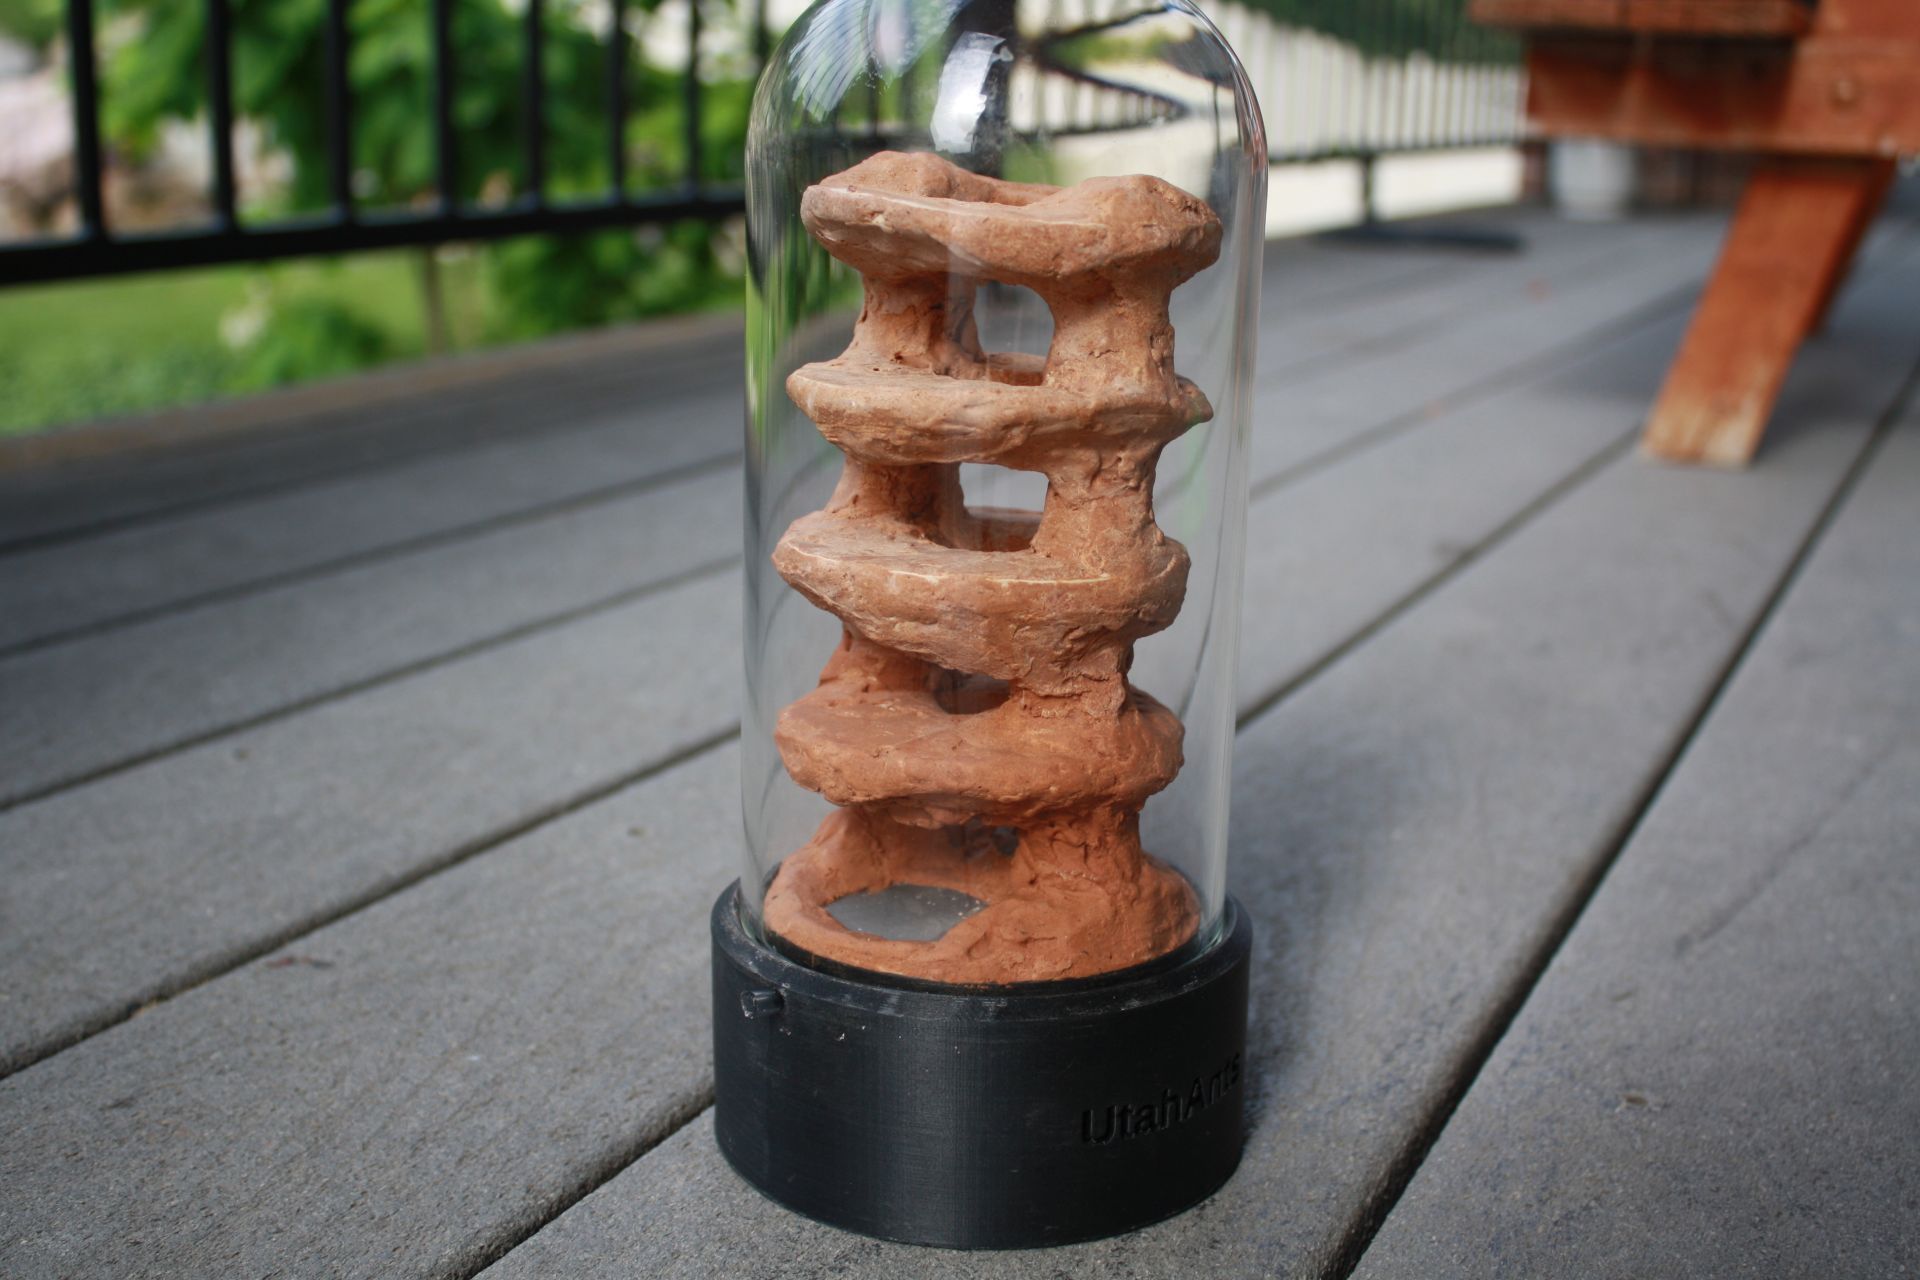
Here's a picture heavy tutorial for the dome formicarium going over the 2 main phases. This is the third version of previous formicariums based around clear cloche domes as seen on this thread here. This particular design, the V3, featues individualy cast layers which were then coated with an adobe material. In previous builds I have cast all the levels with sand in one continous pouring session. This method offers a more stress-free, albiet time consuming, alternative.
Shout out to ben for printing the bases for me - he designed the base with a couple inital specs from me in no time at all. Fantastic quality.
Phase 1
Making, connecting, and cementing the levels.
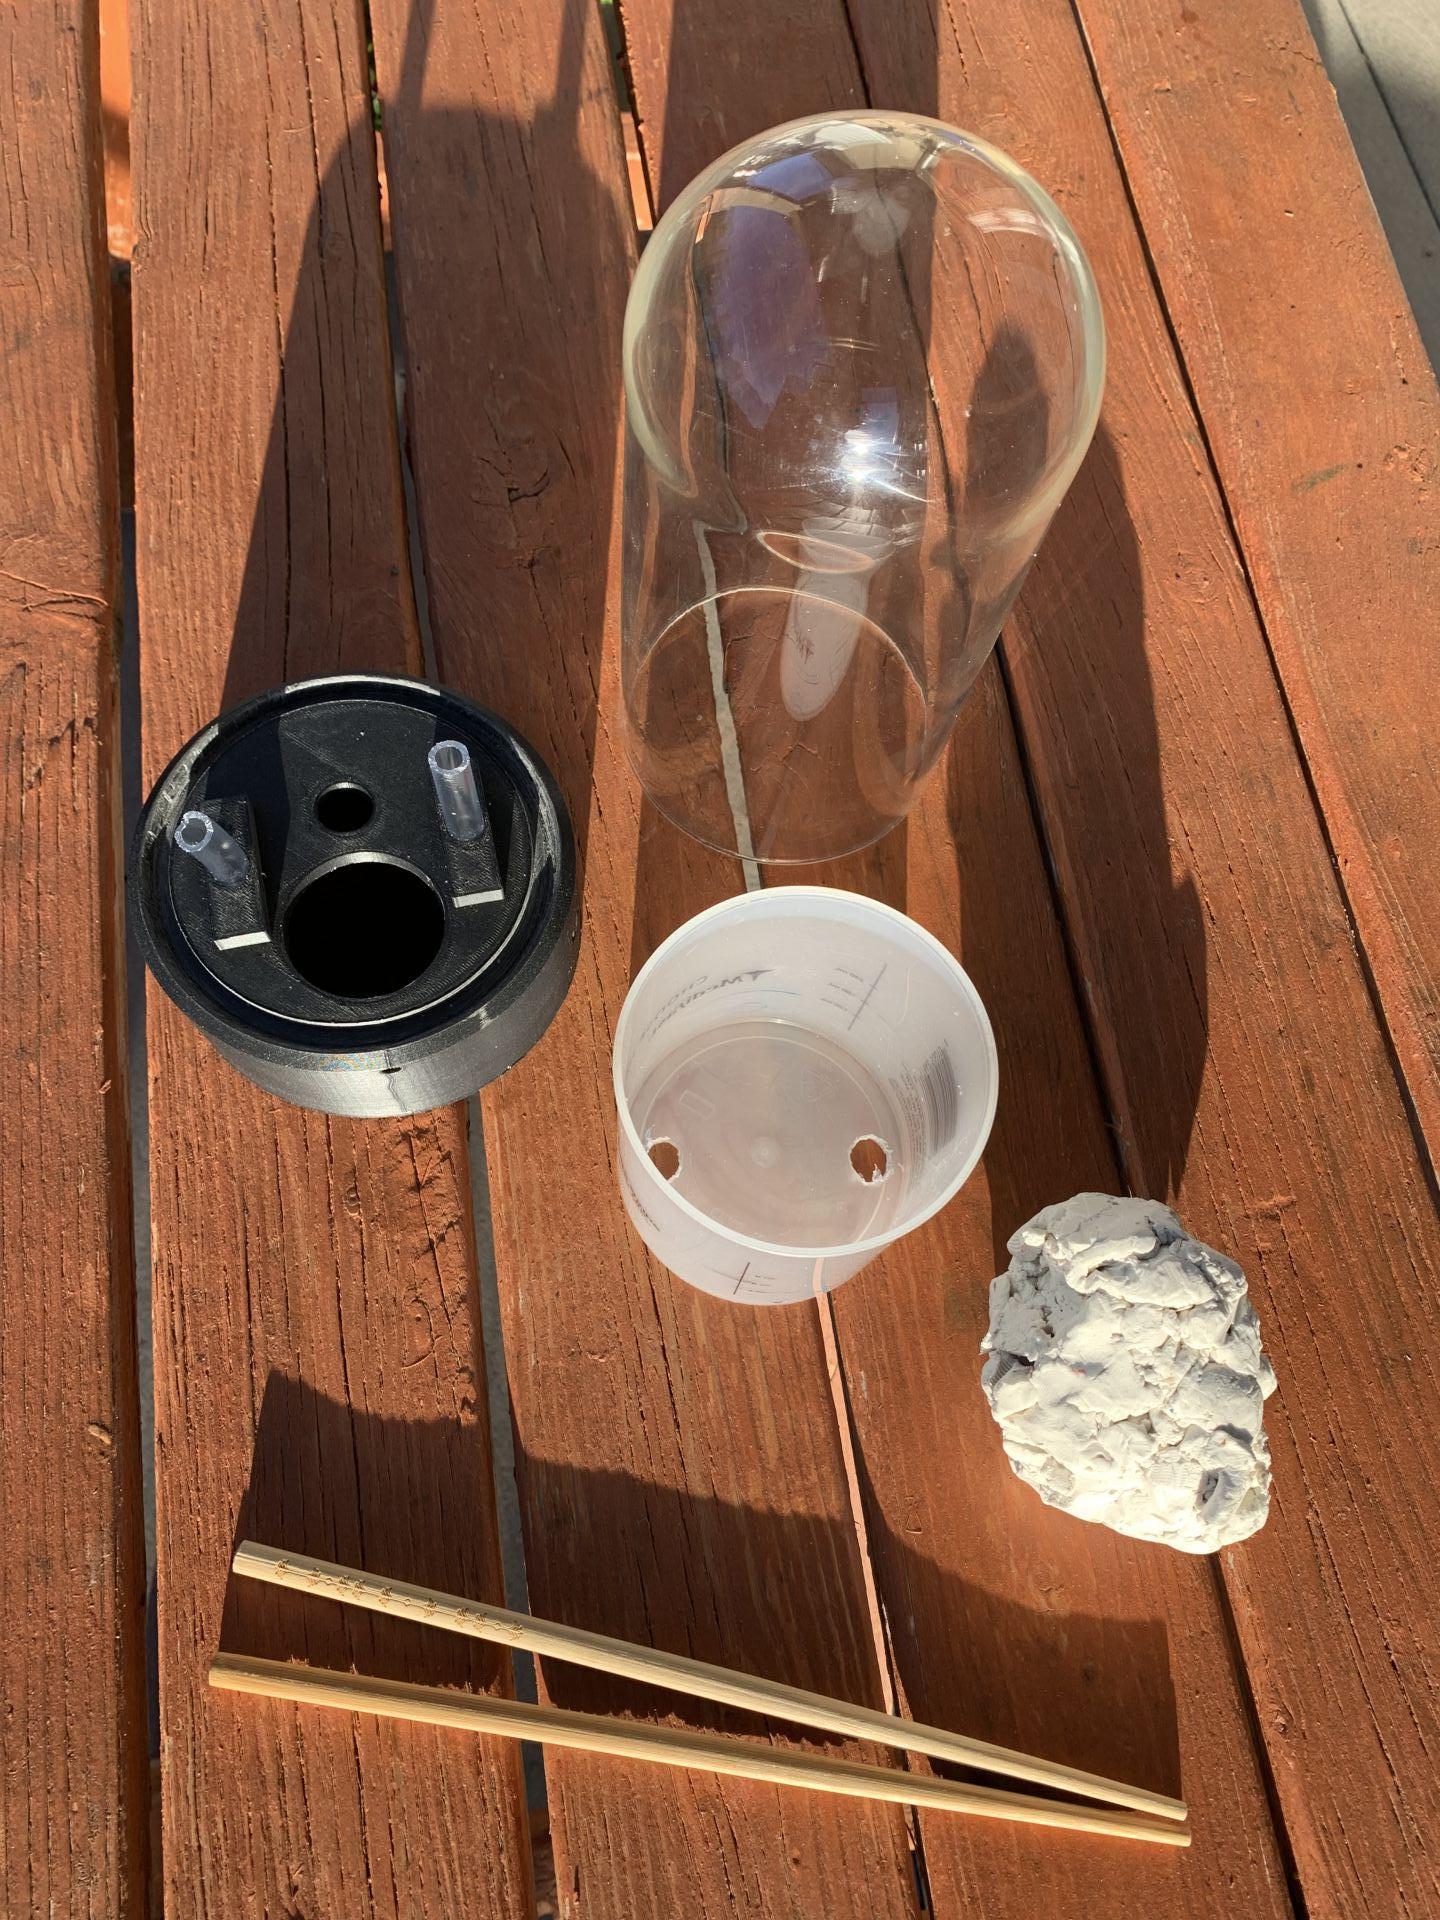
1. Gather initial materials. Notice the clump of non-toxic modeling clay to create the levels. The cup has had some holes drilled into it to allow for tubing to pass through each level.
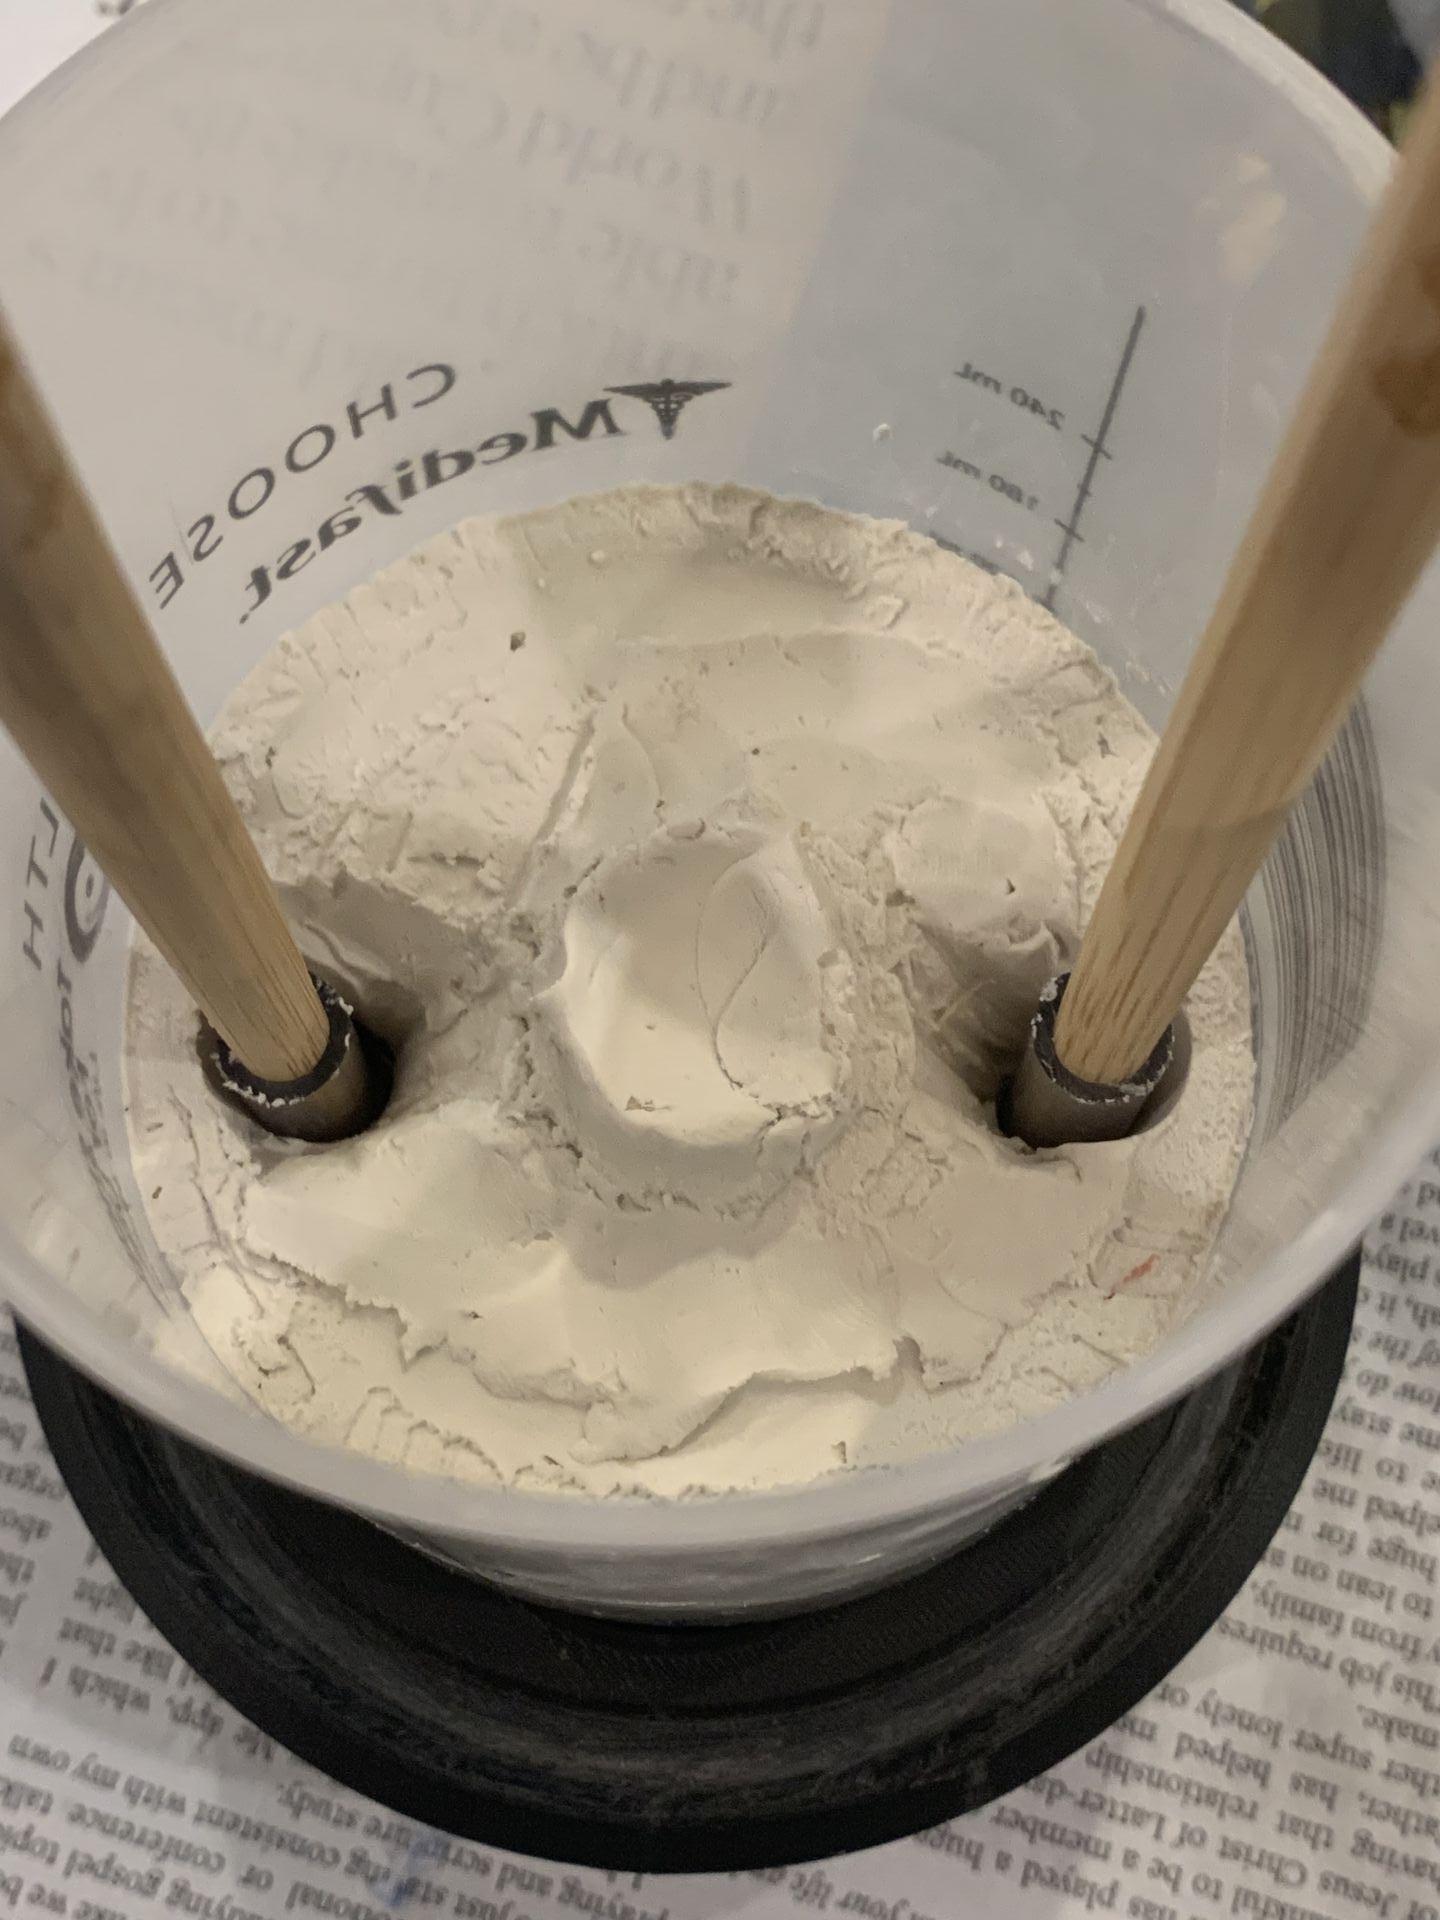
2. Create a clay mold to cast the levels. I tried to keep my design simple so that I would be able to easily replicate each level.
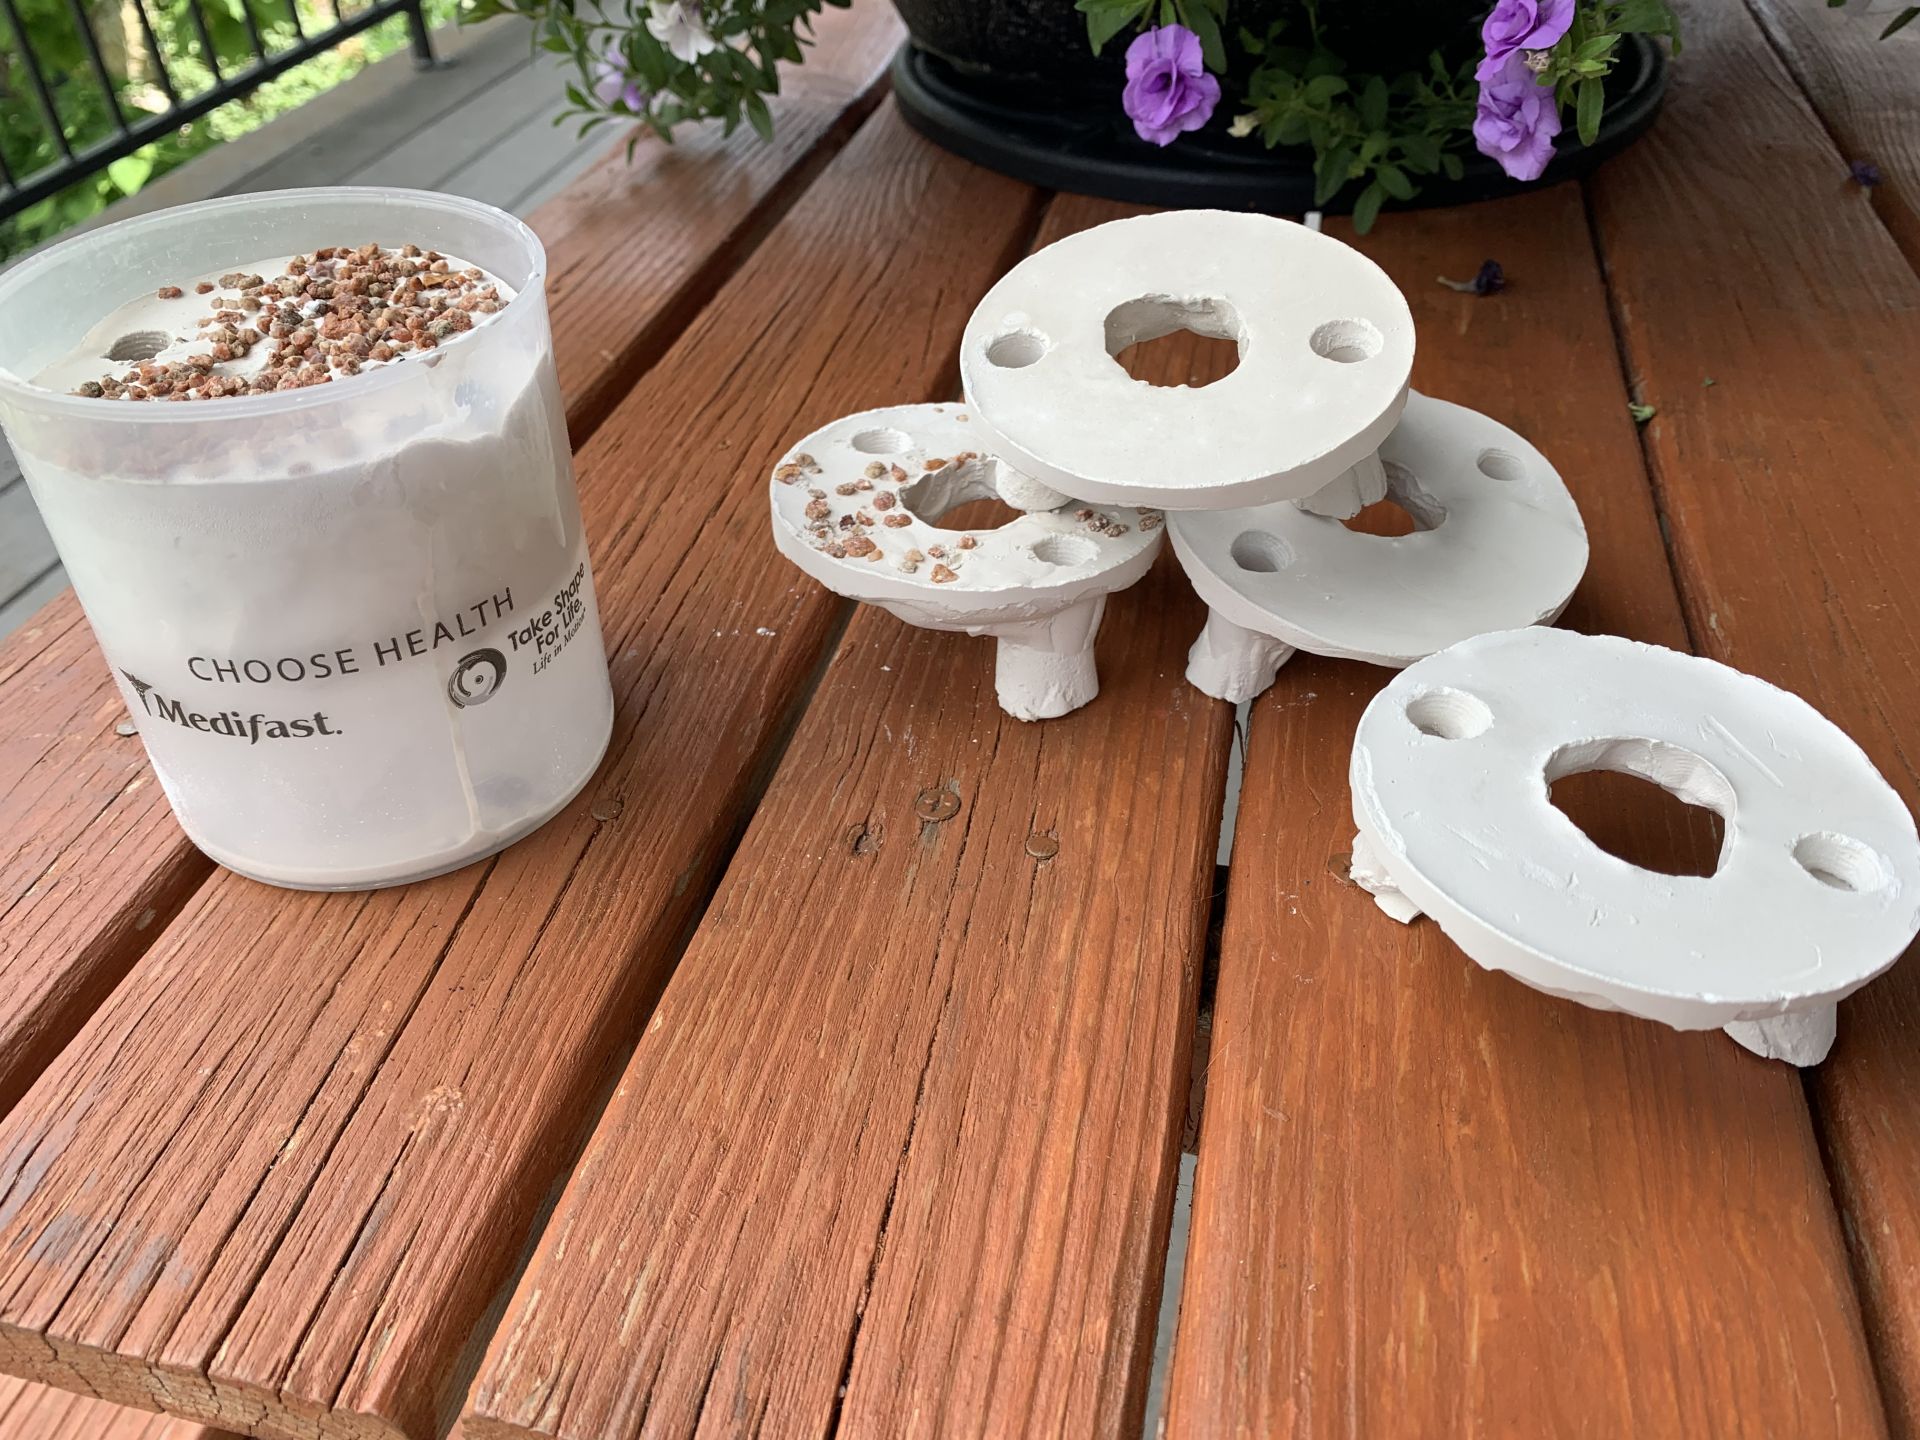
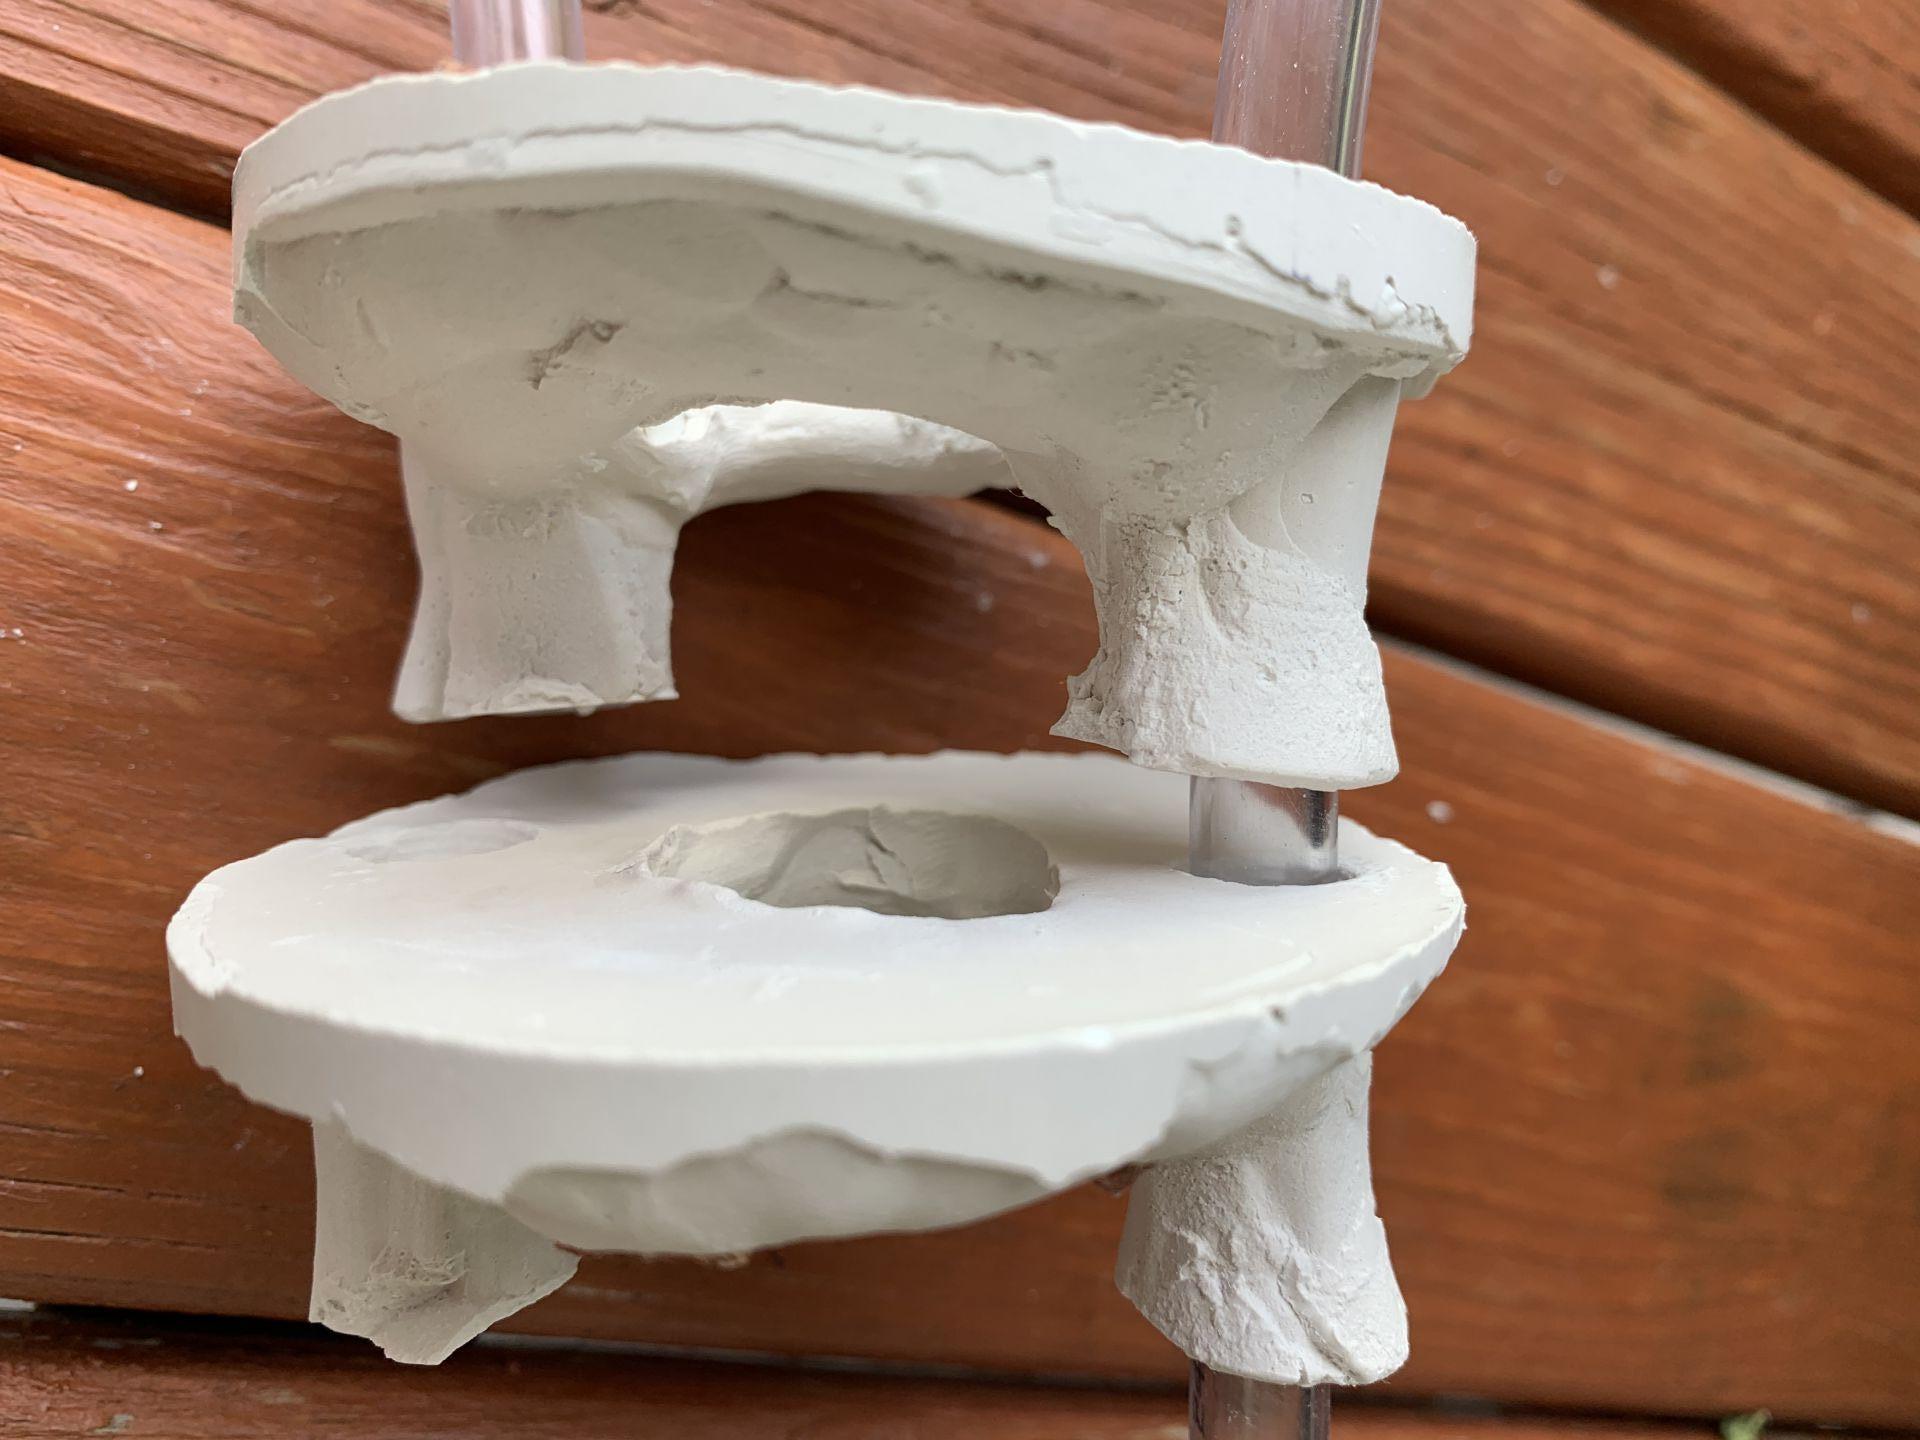
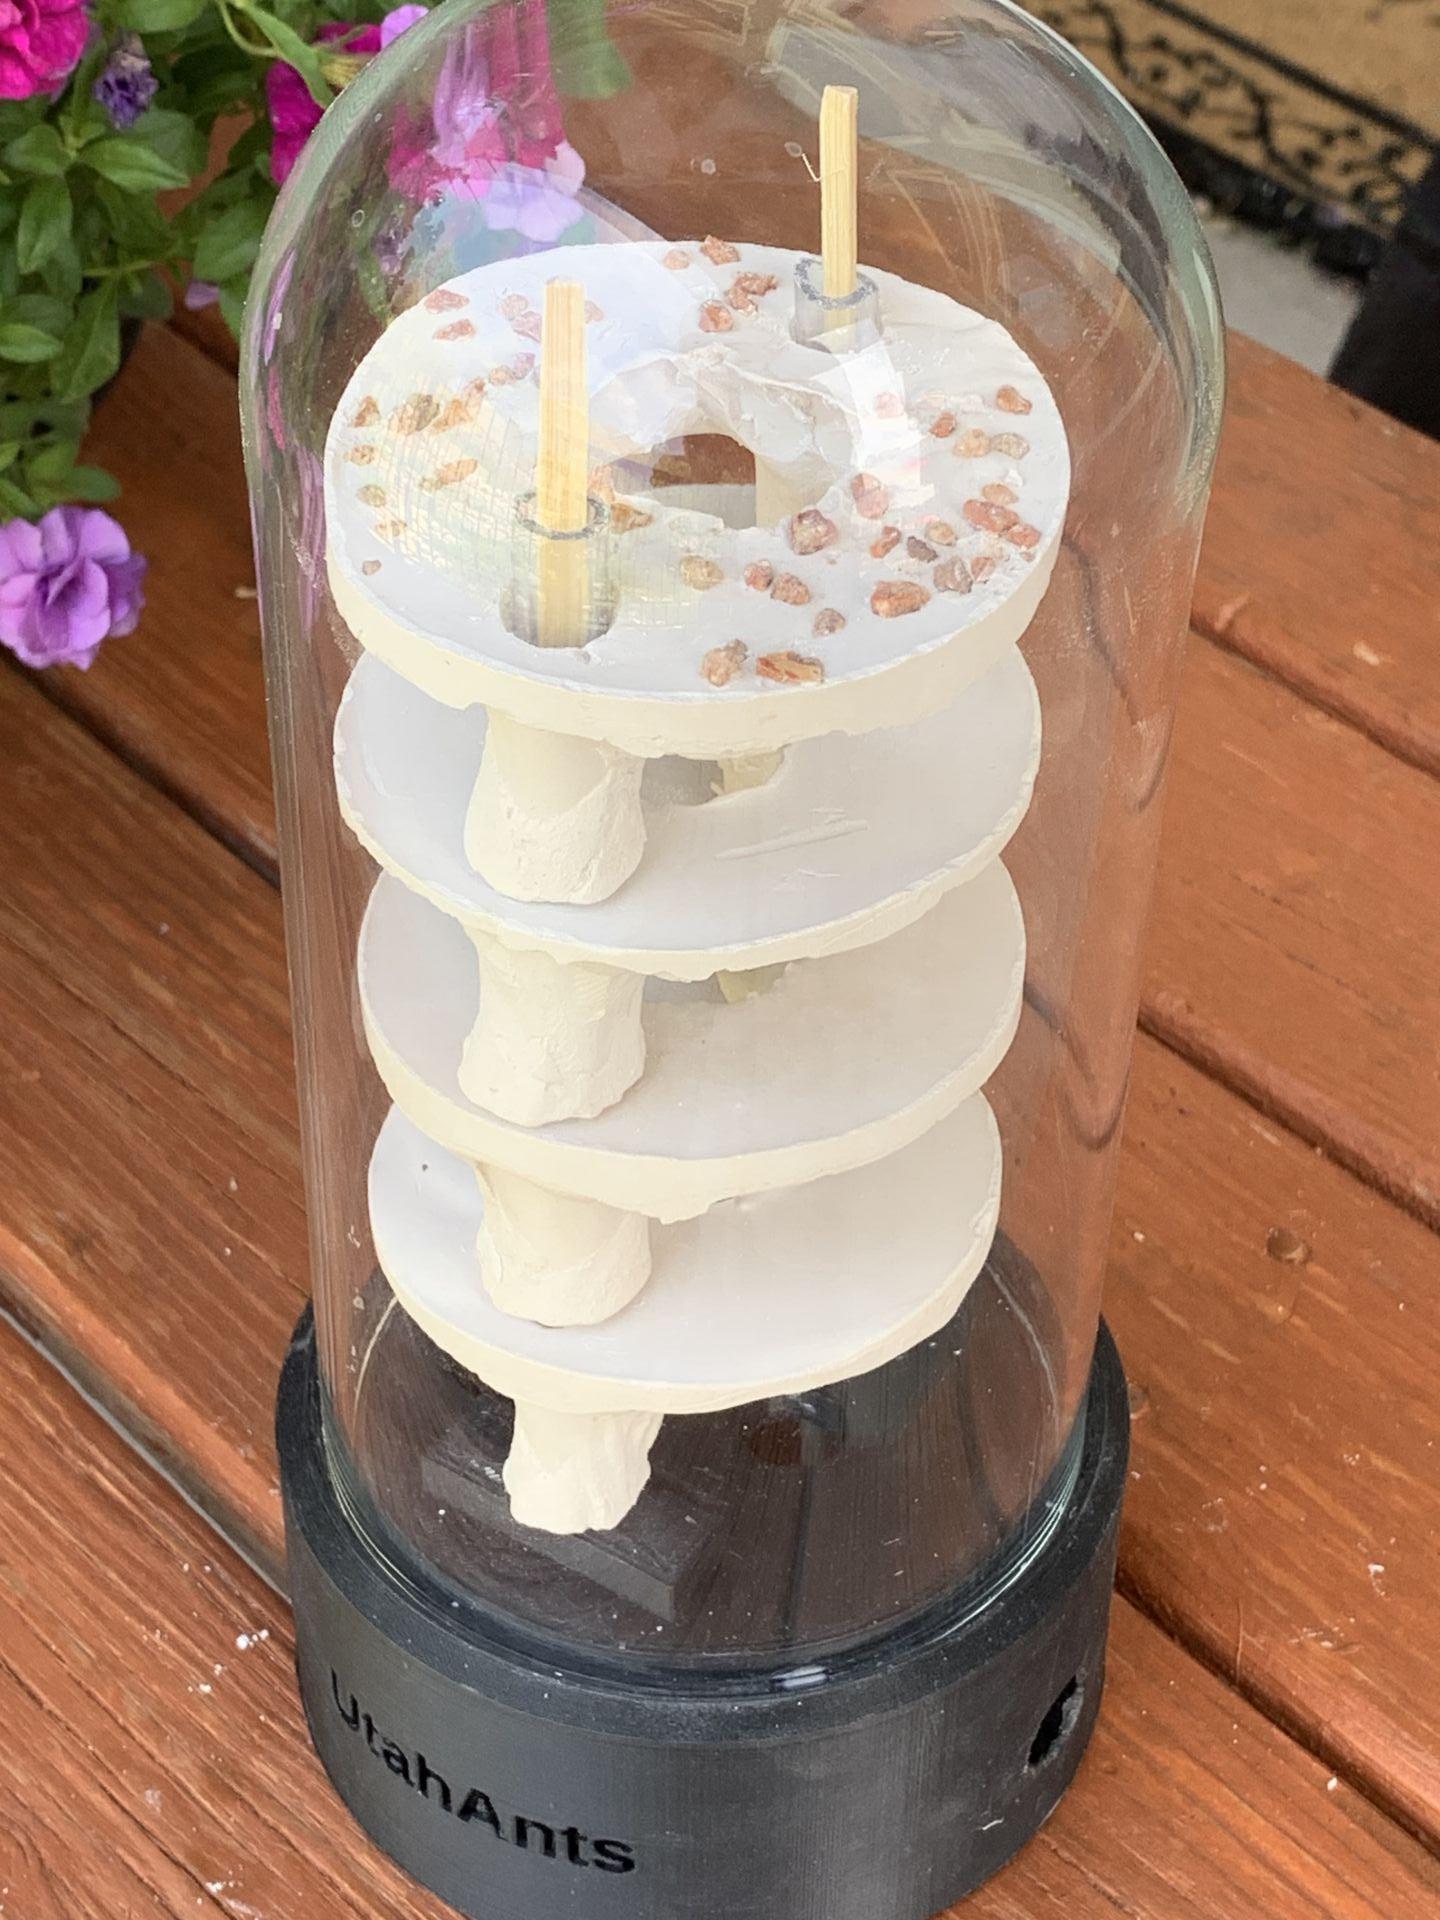
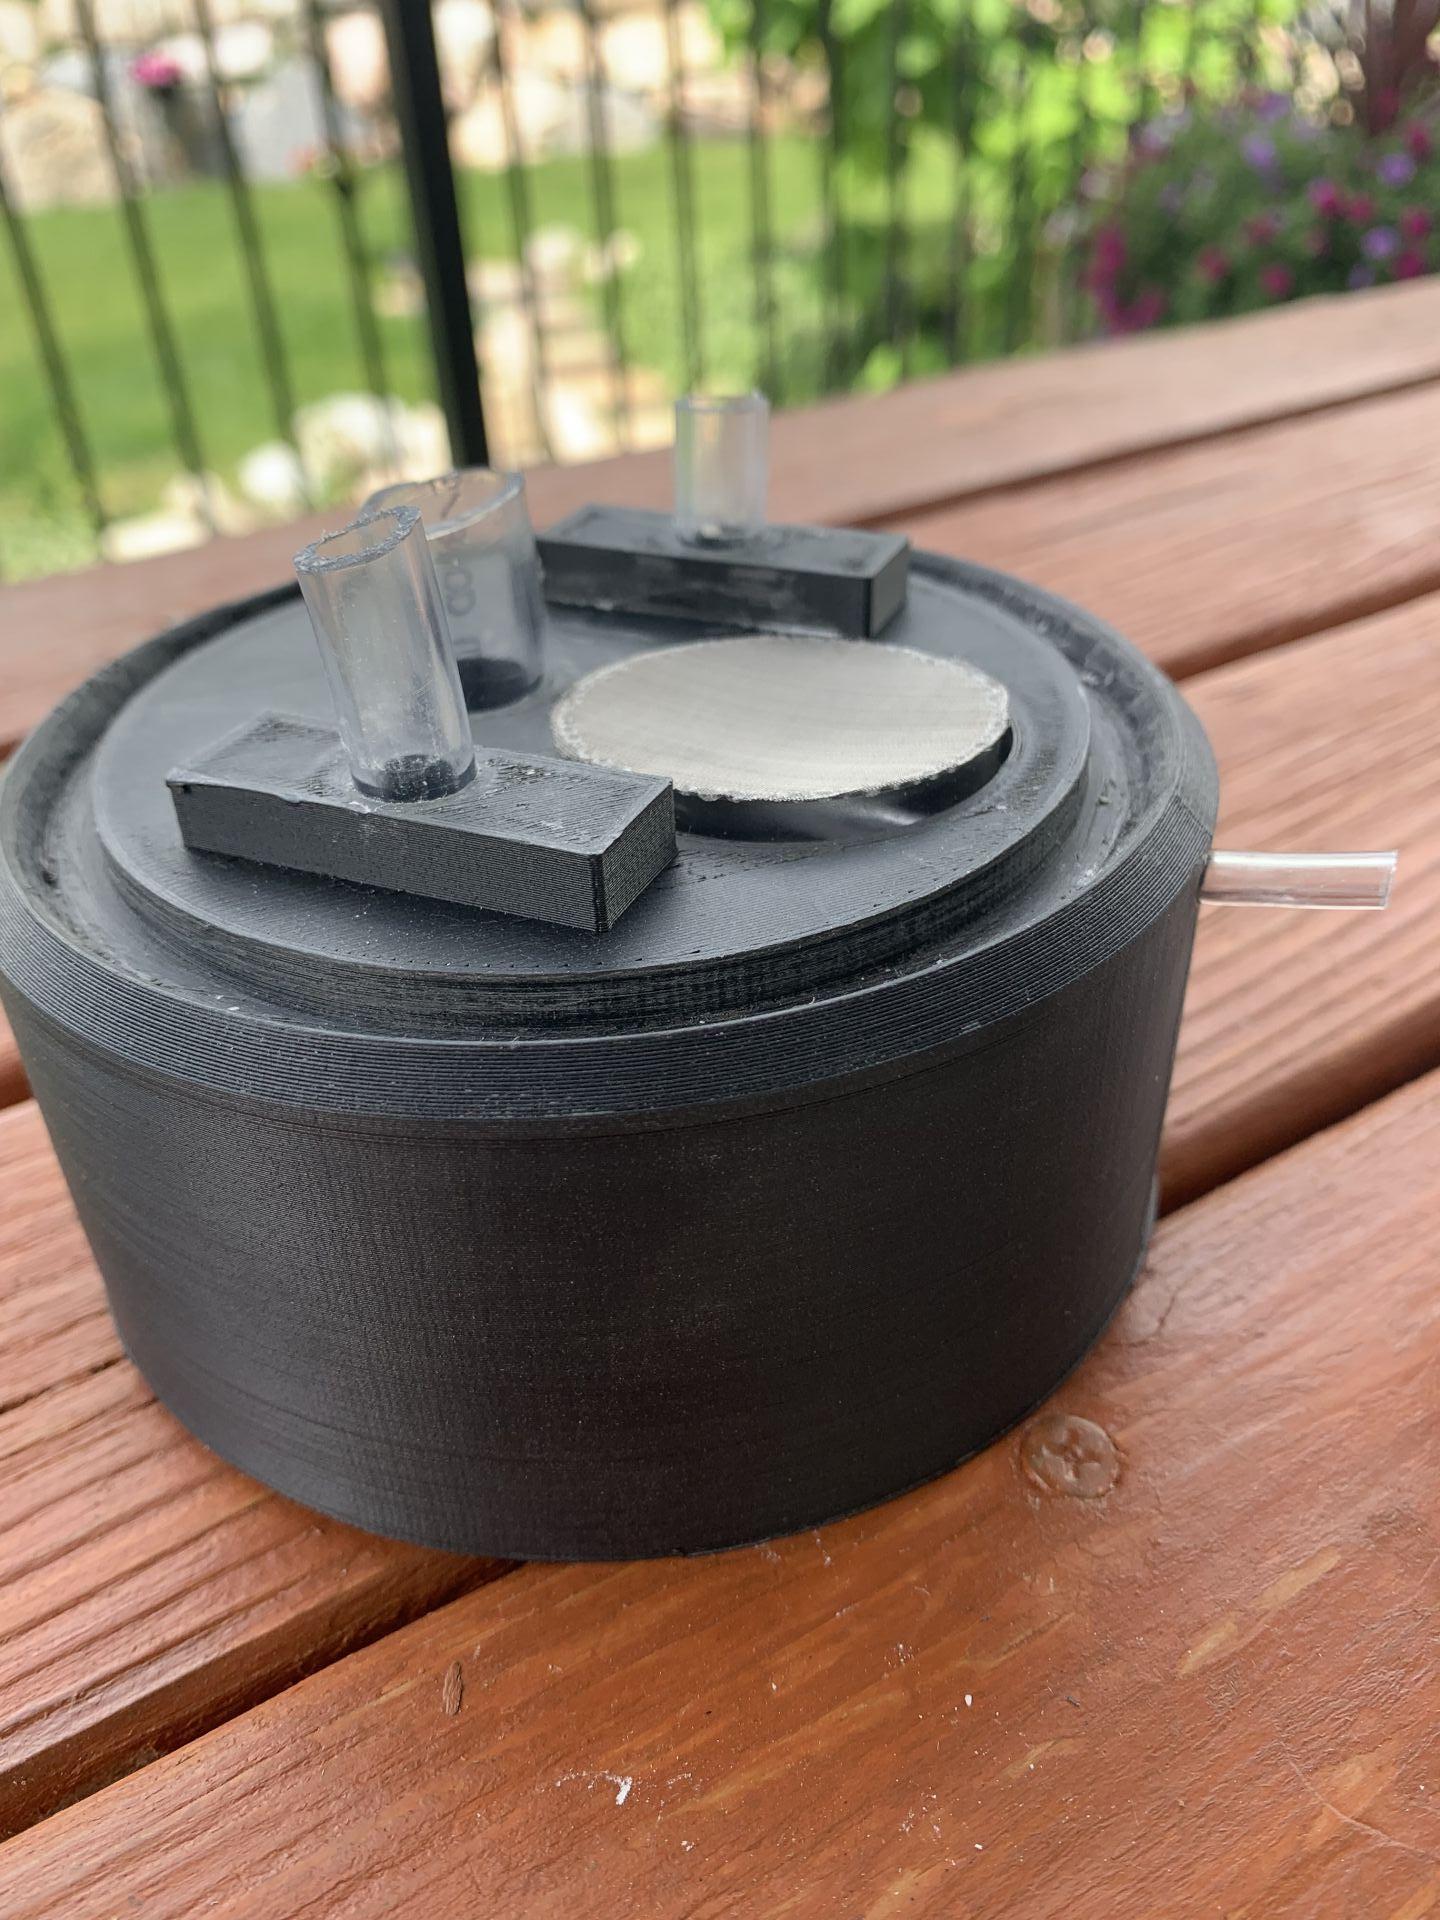
5. Create the water tower and prep the base by inserting all the necessary tubing.
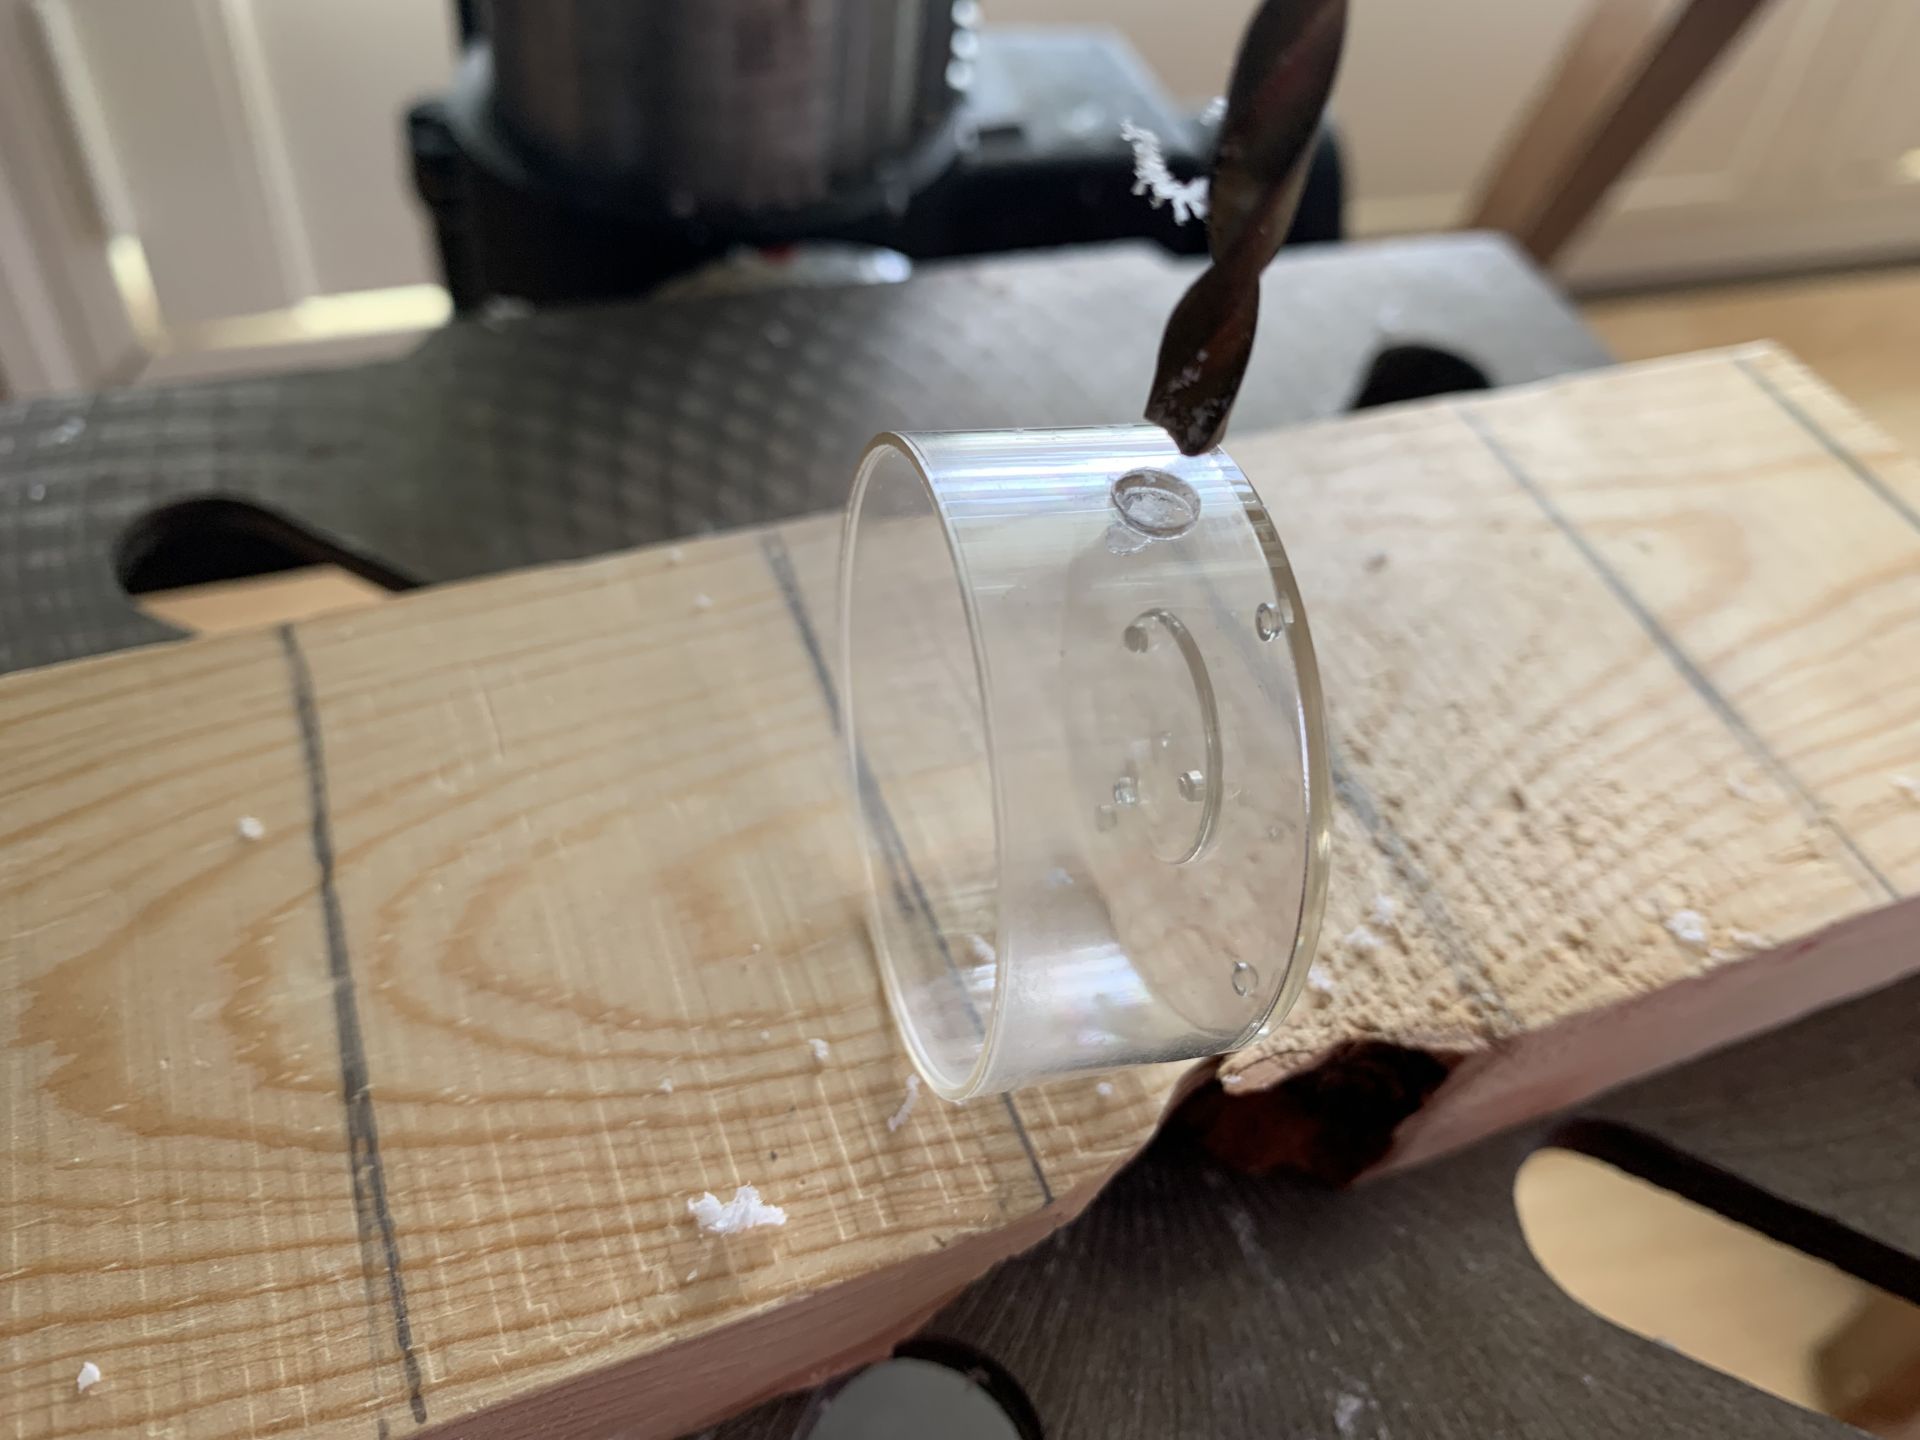
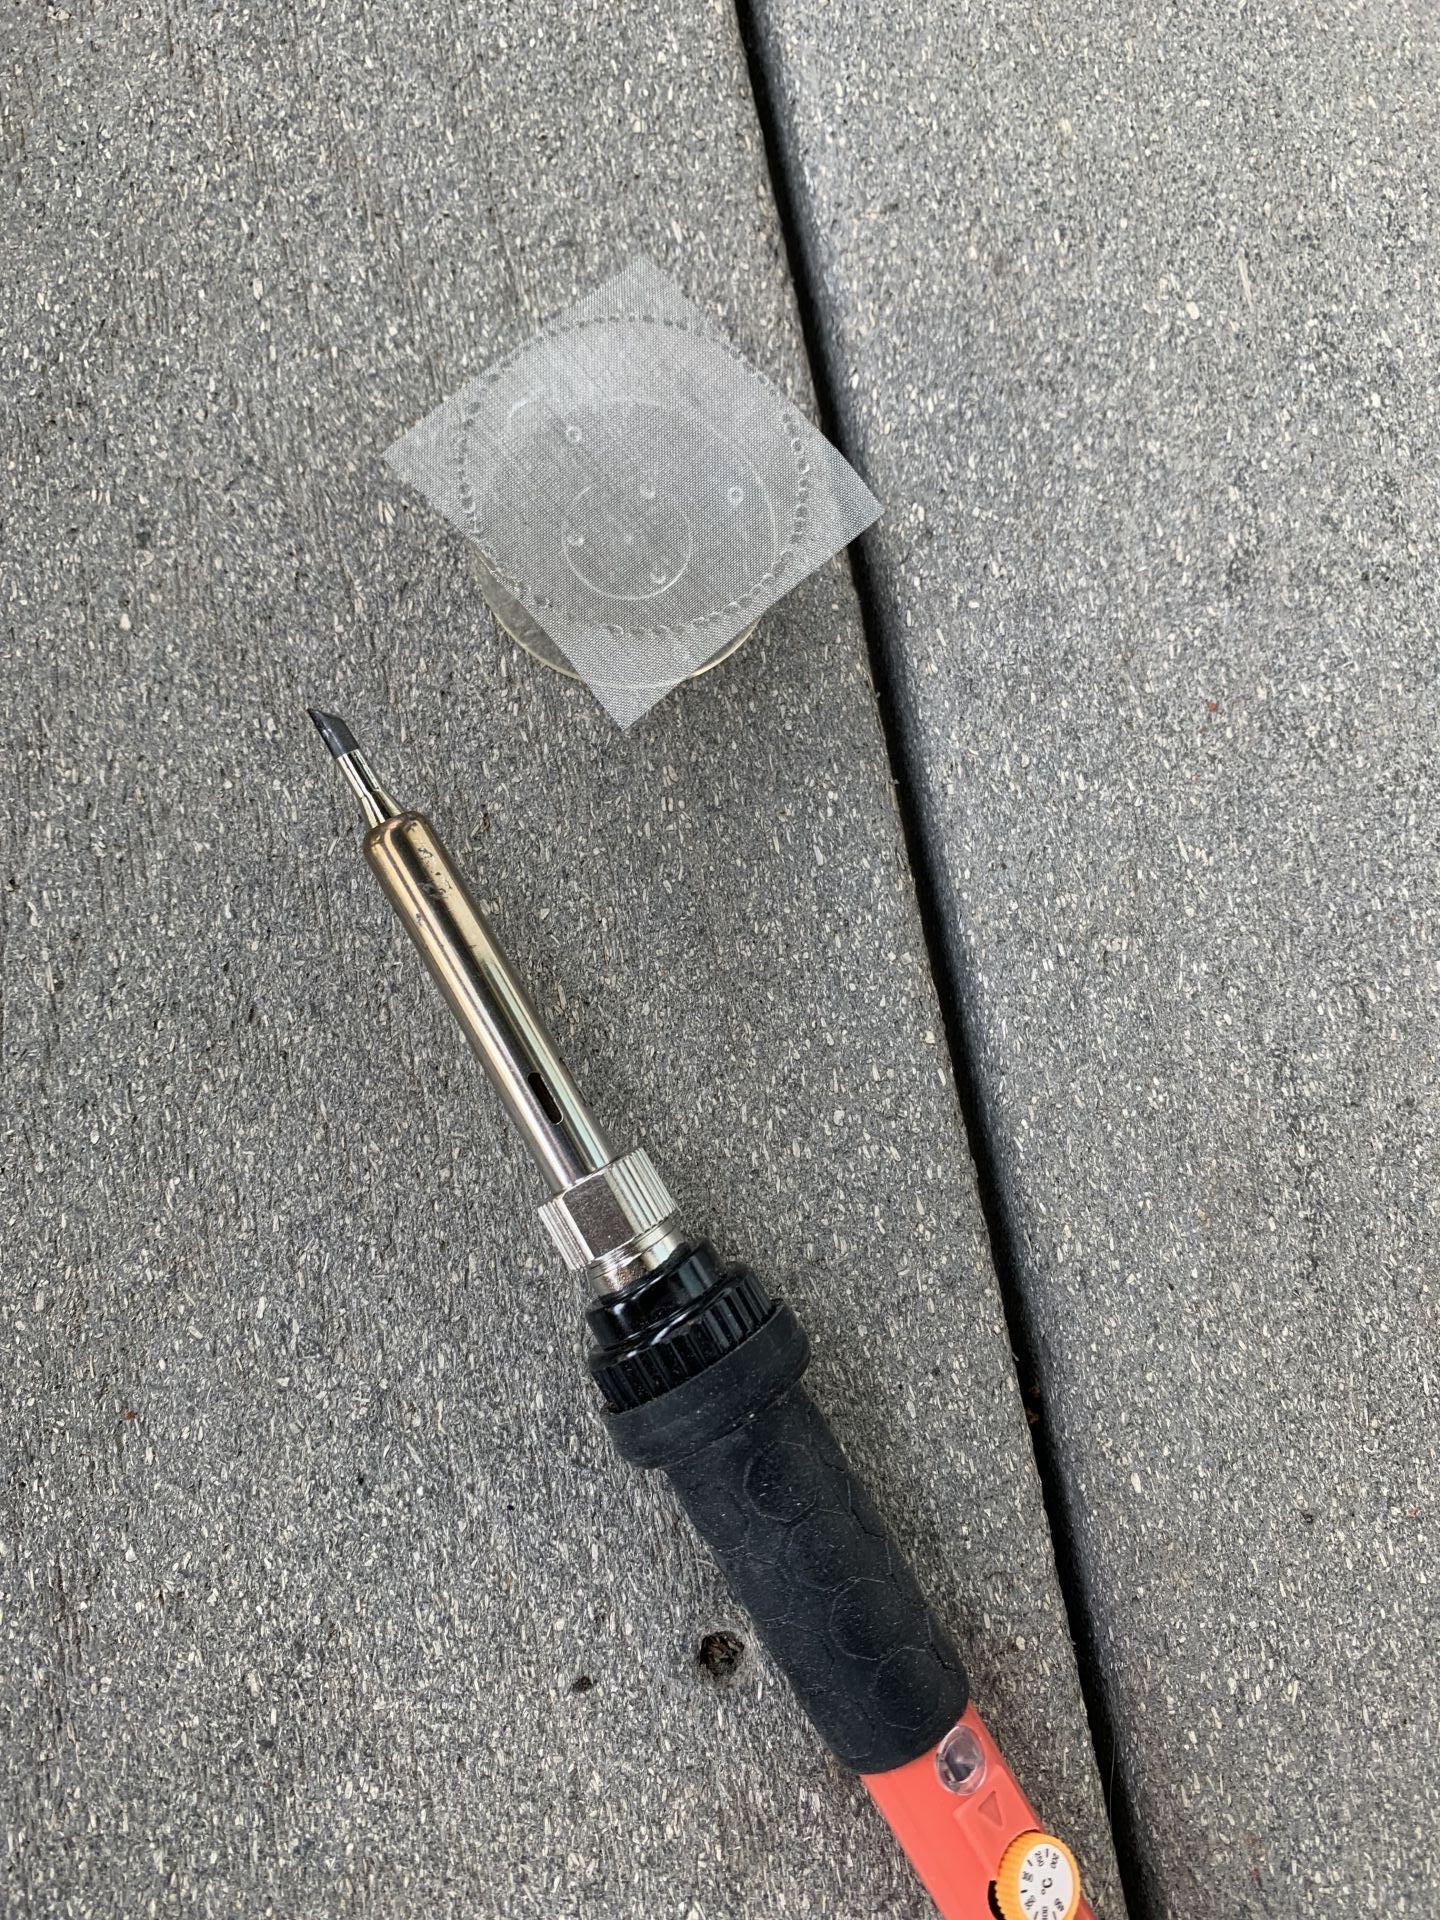
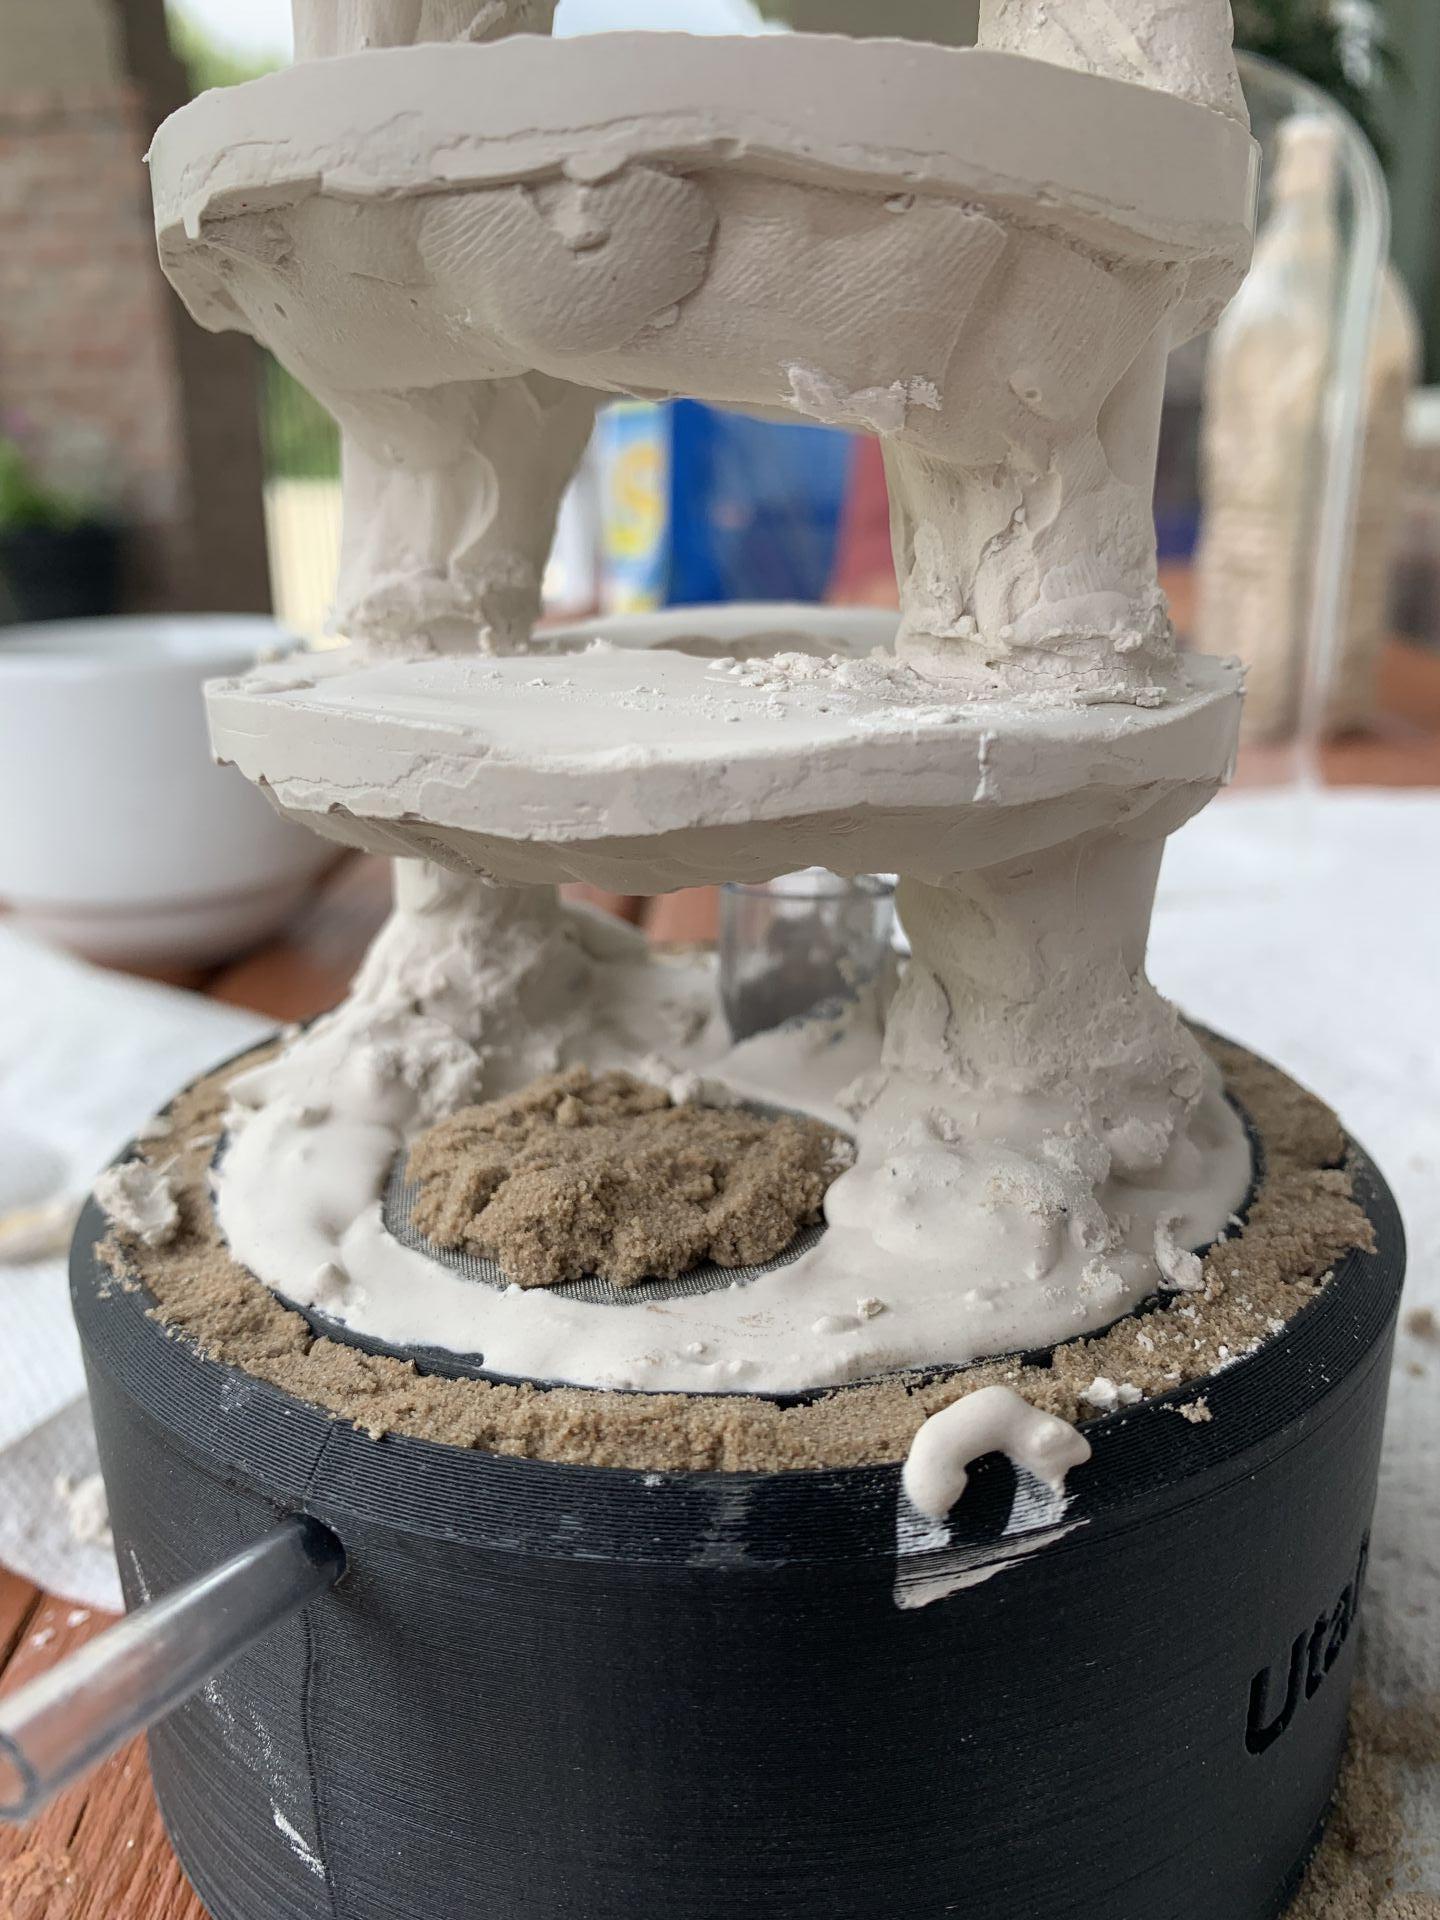
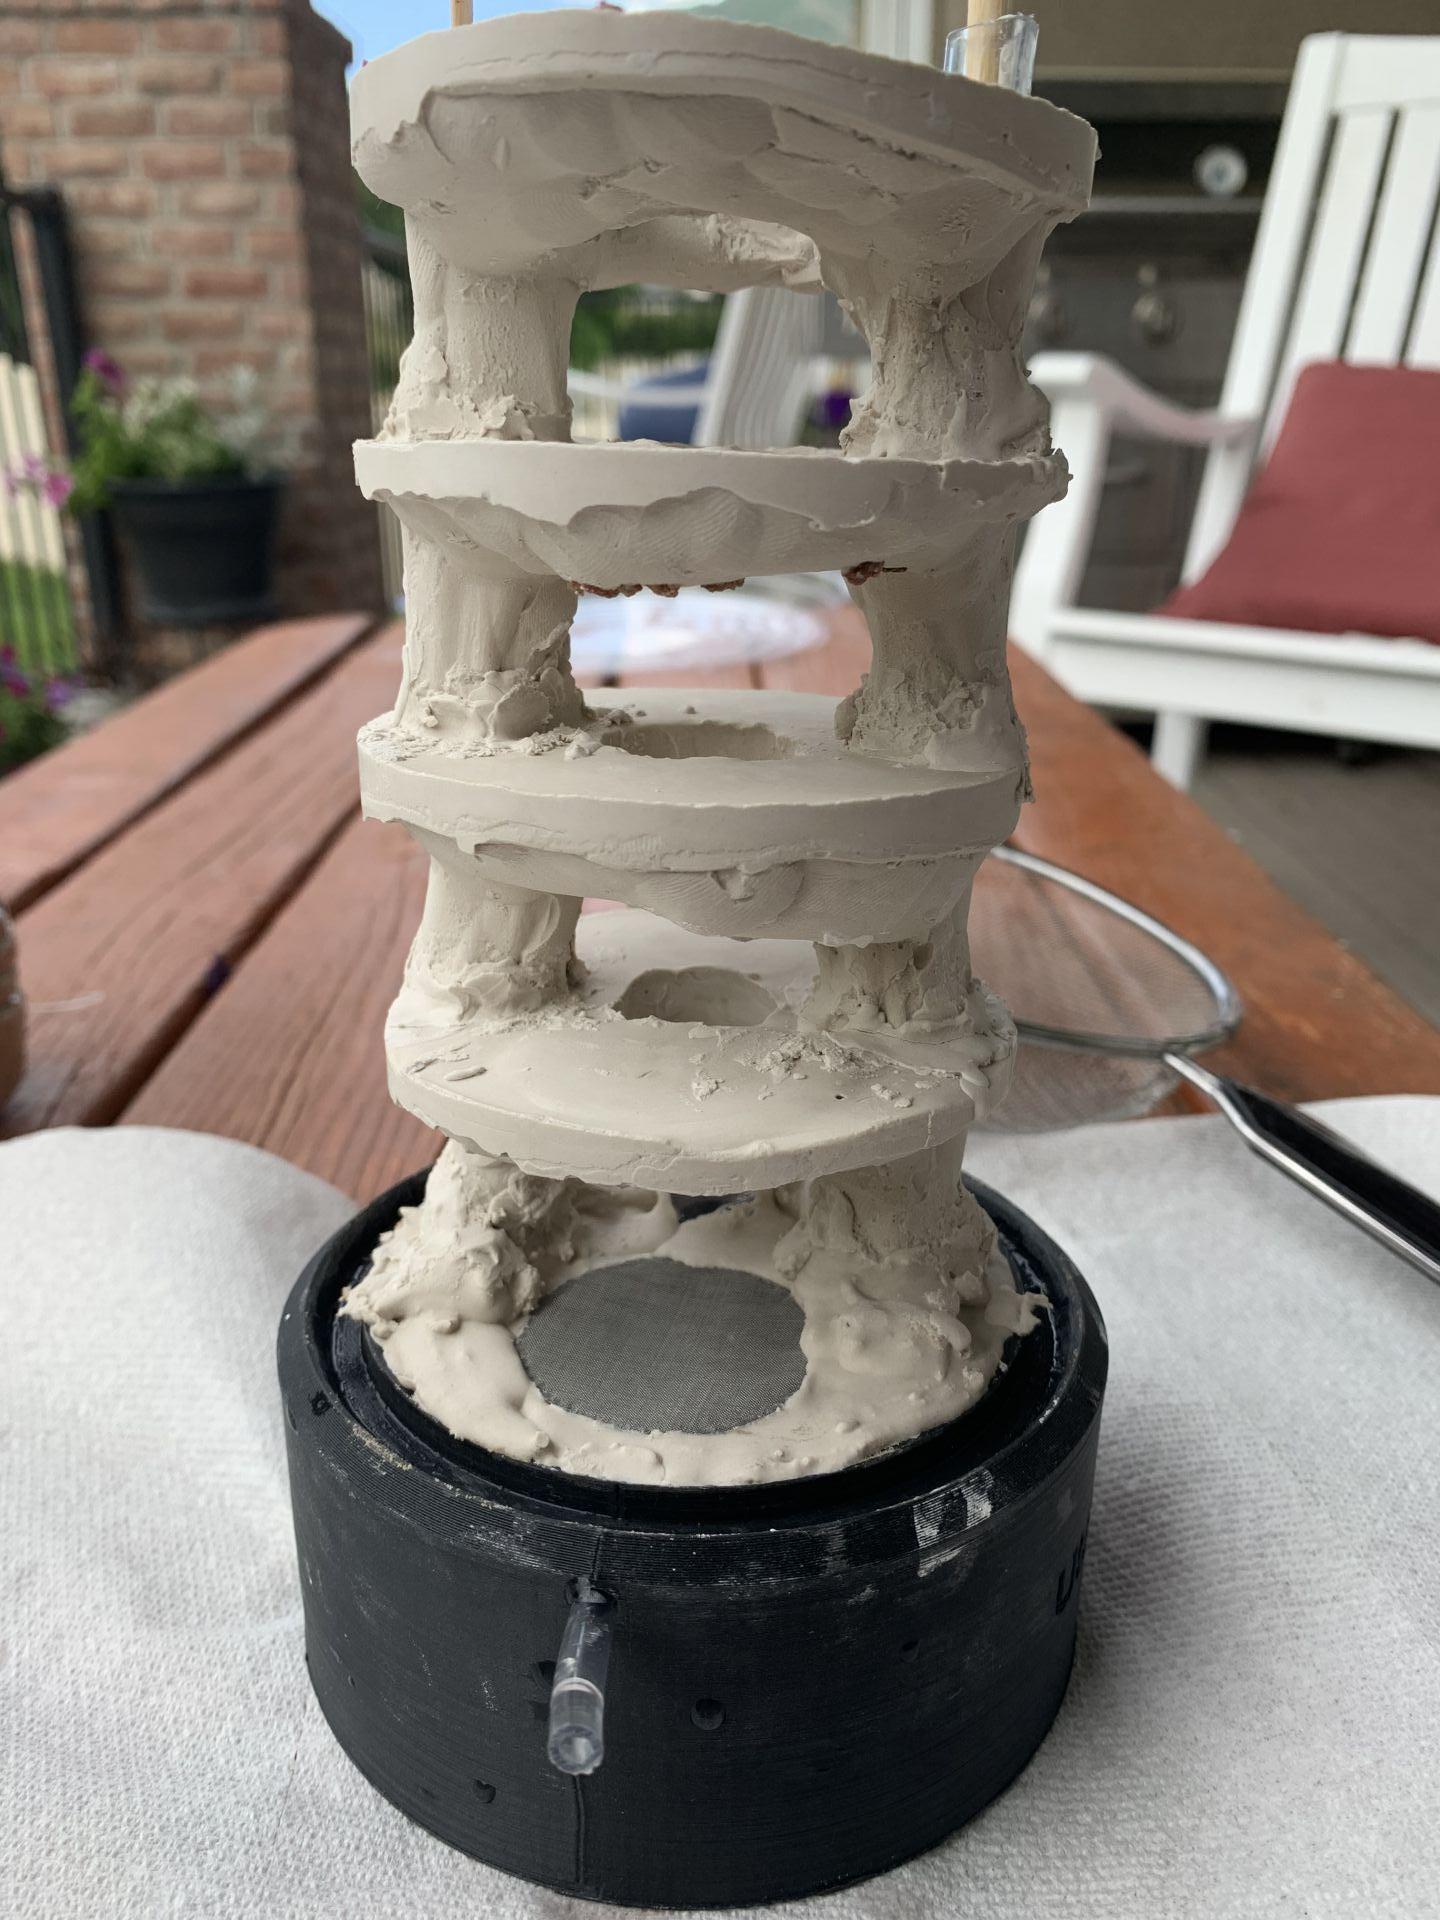
6. Cement the layer tower to the base.
Phase 2
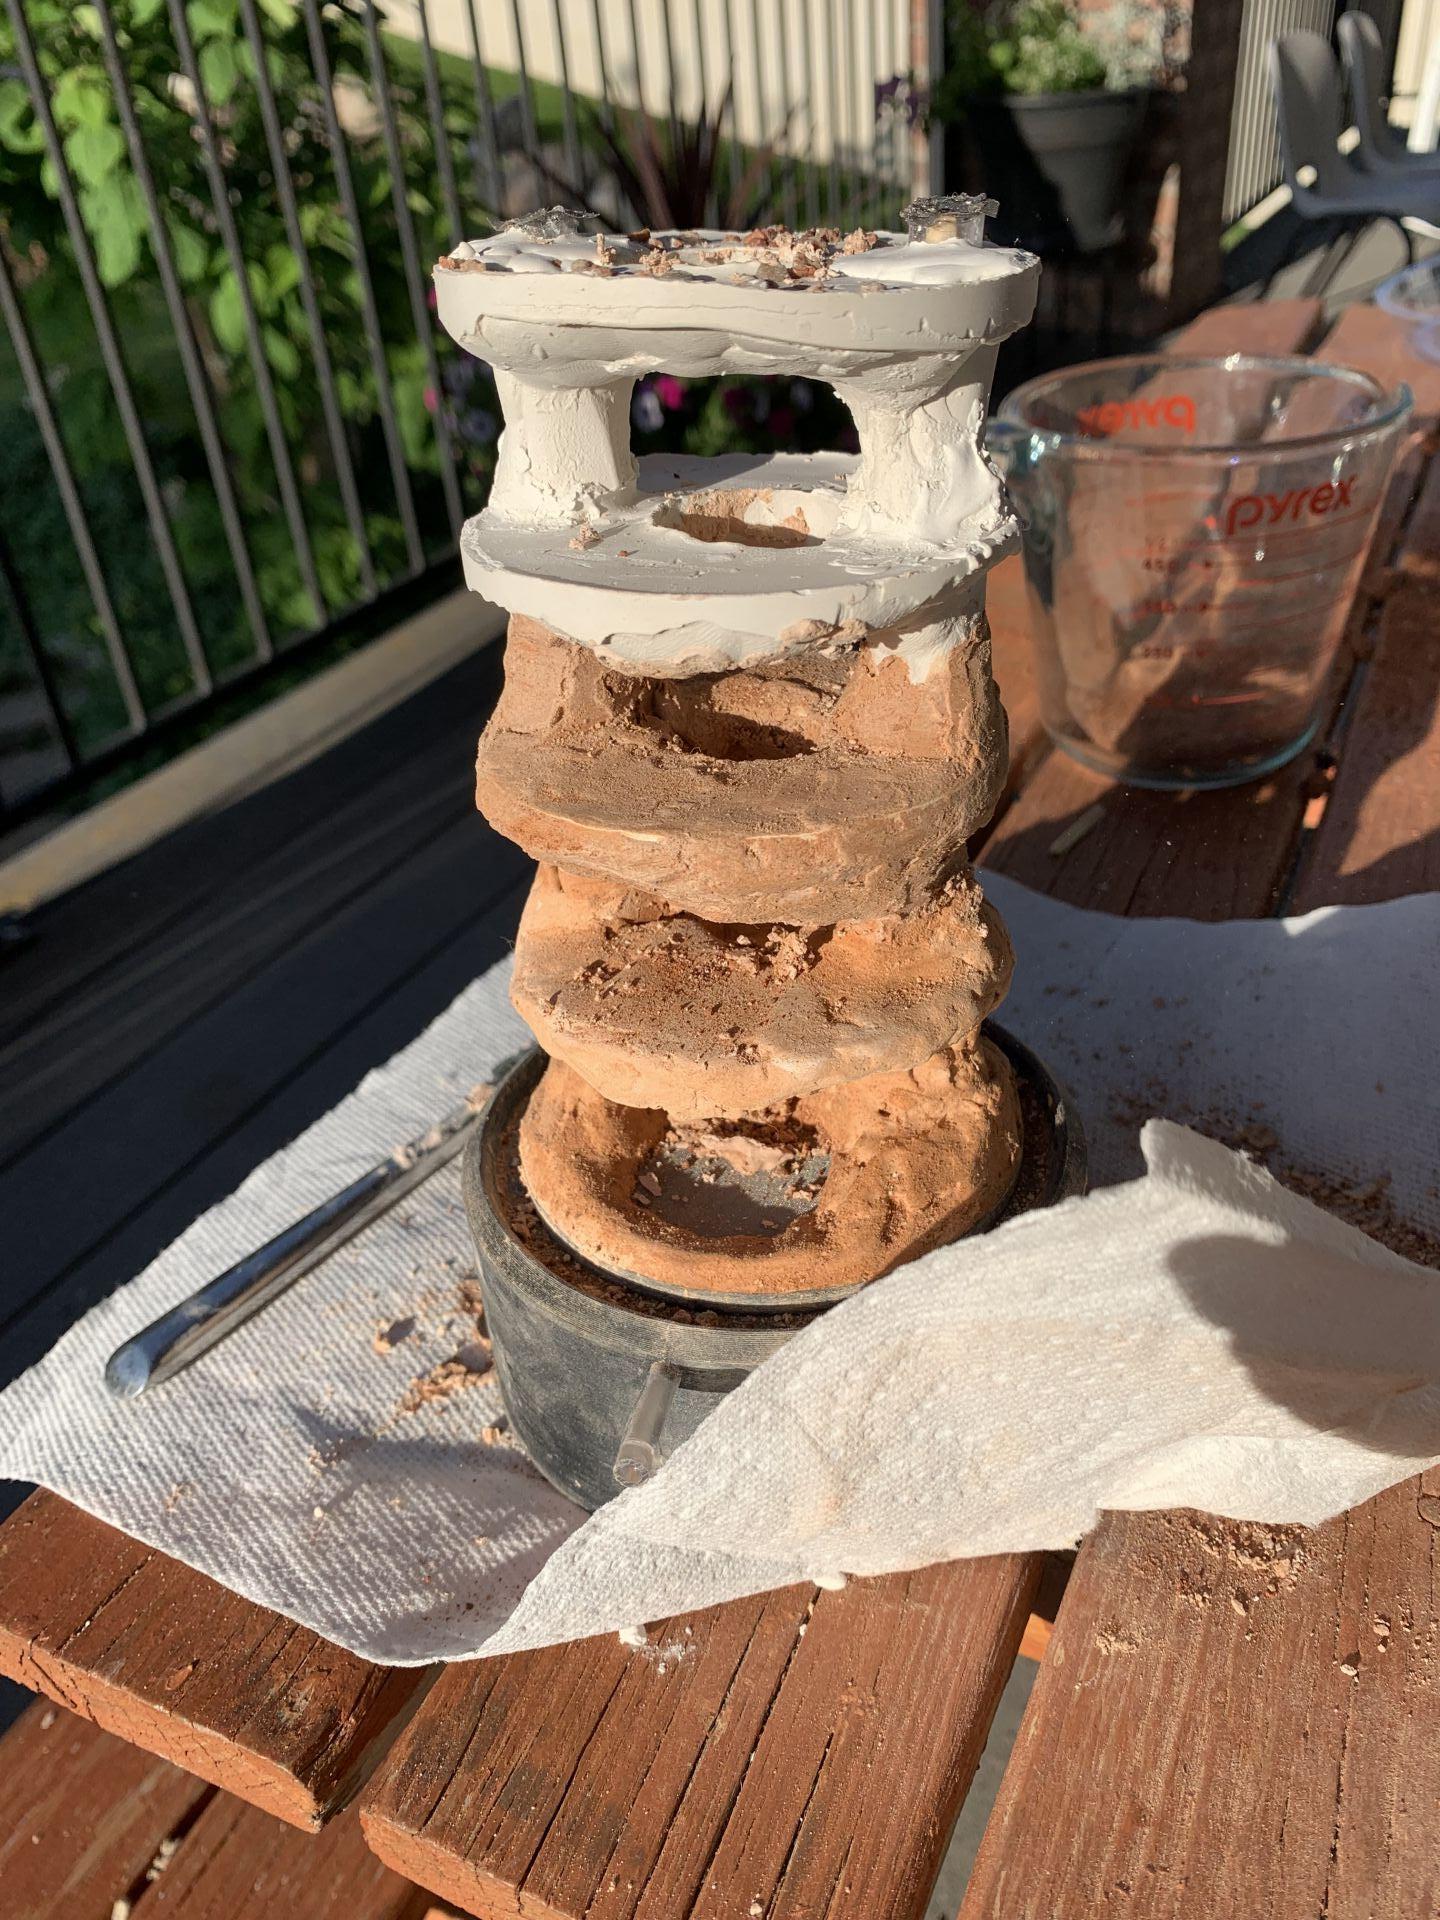
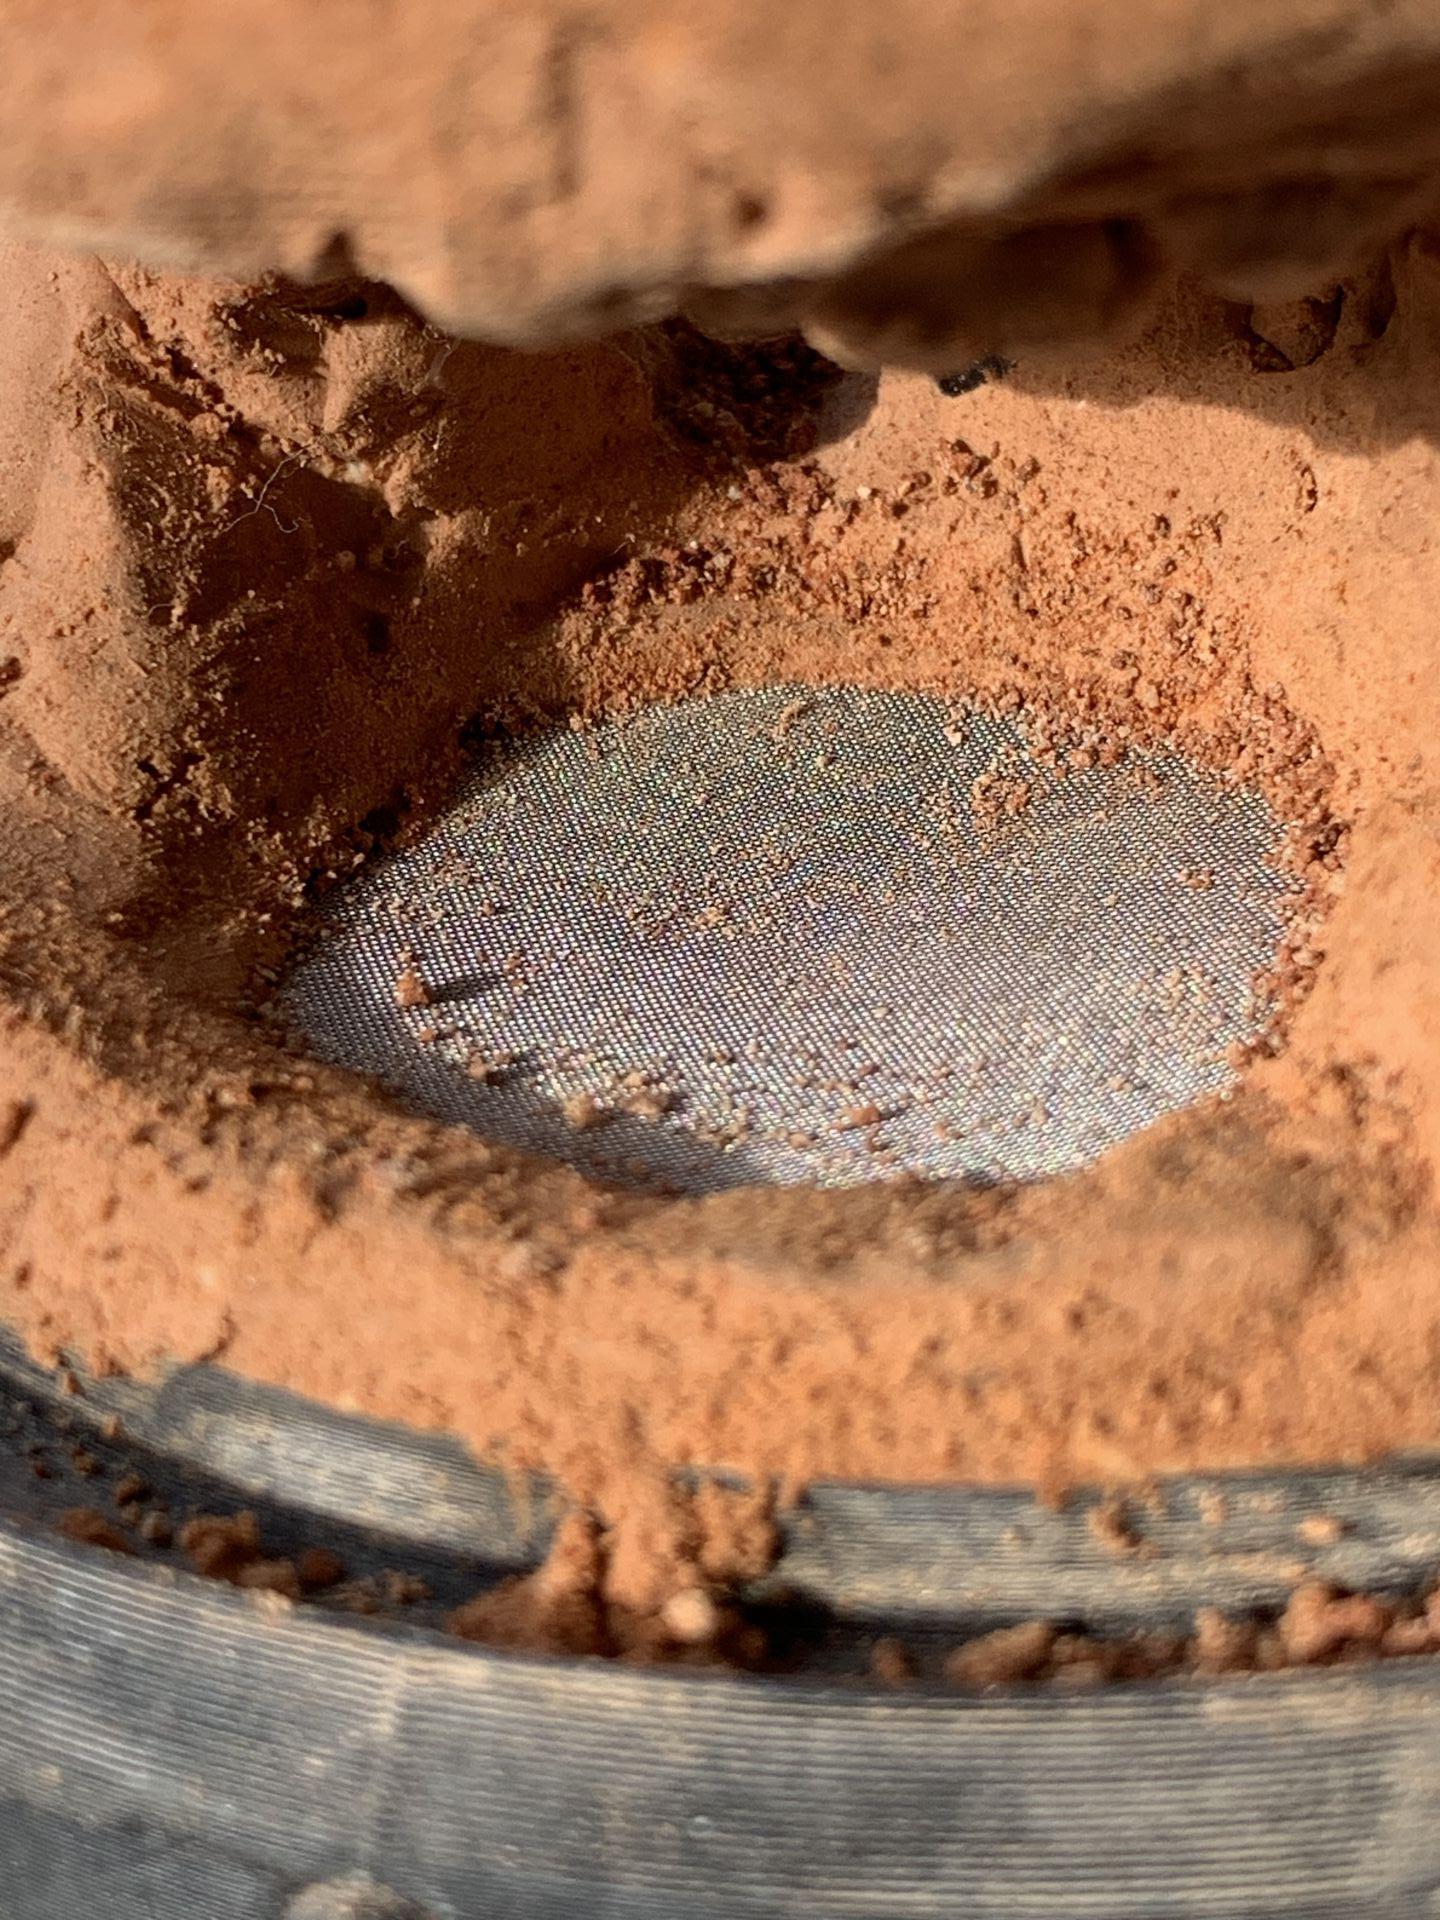
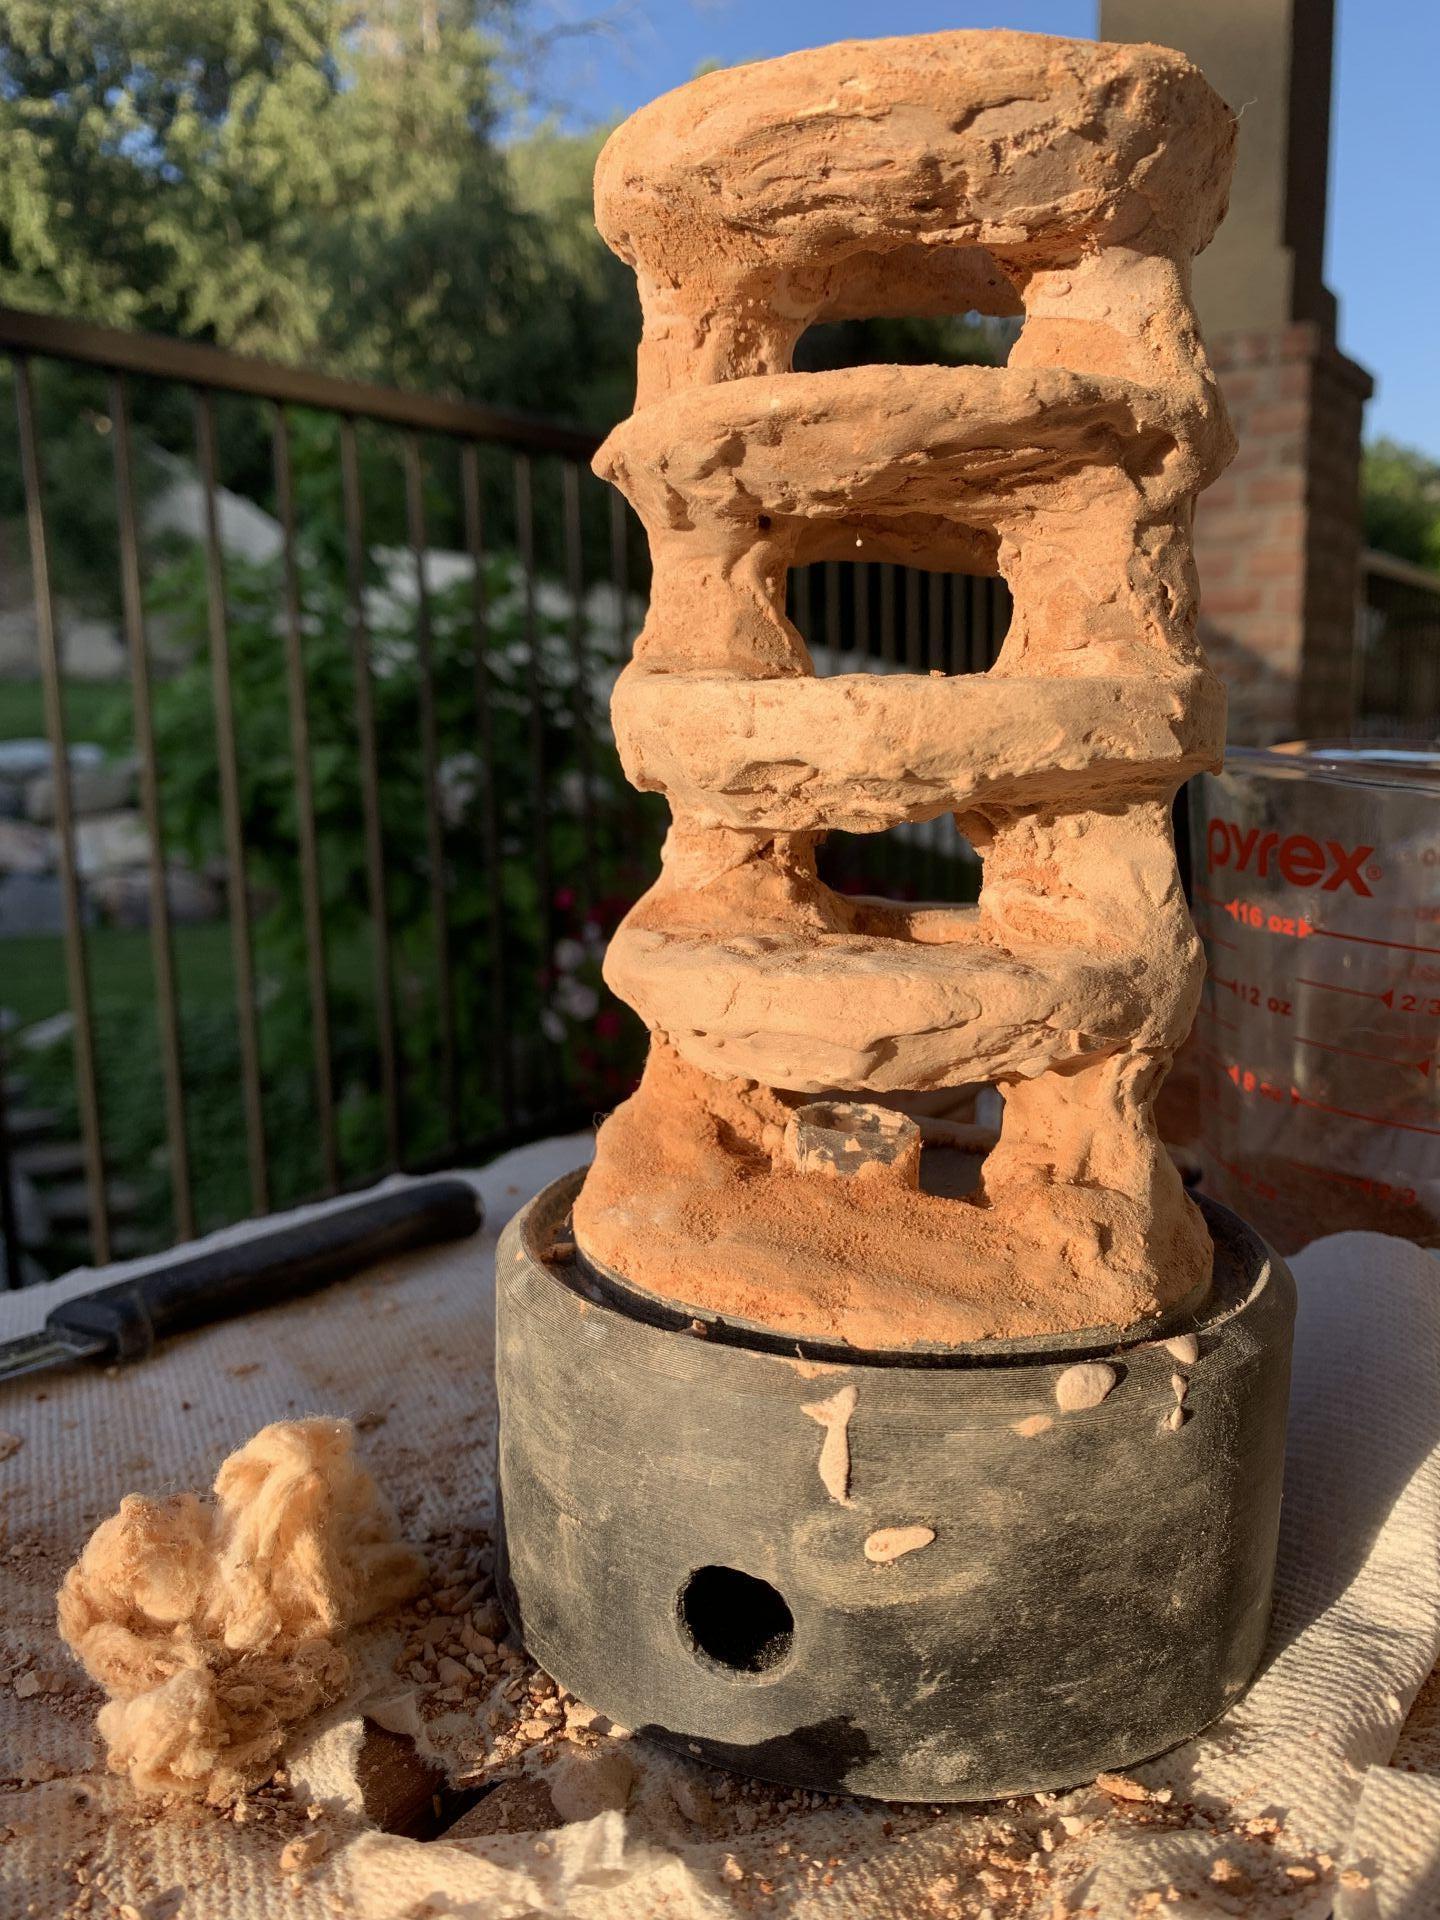
Prepping the base and coating the levels with perfect cast mixed with clay and sand.
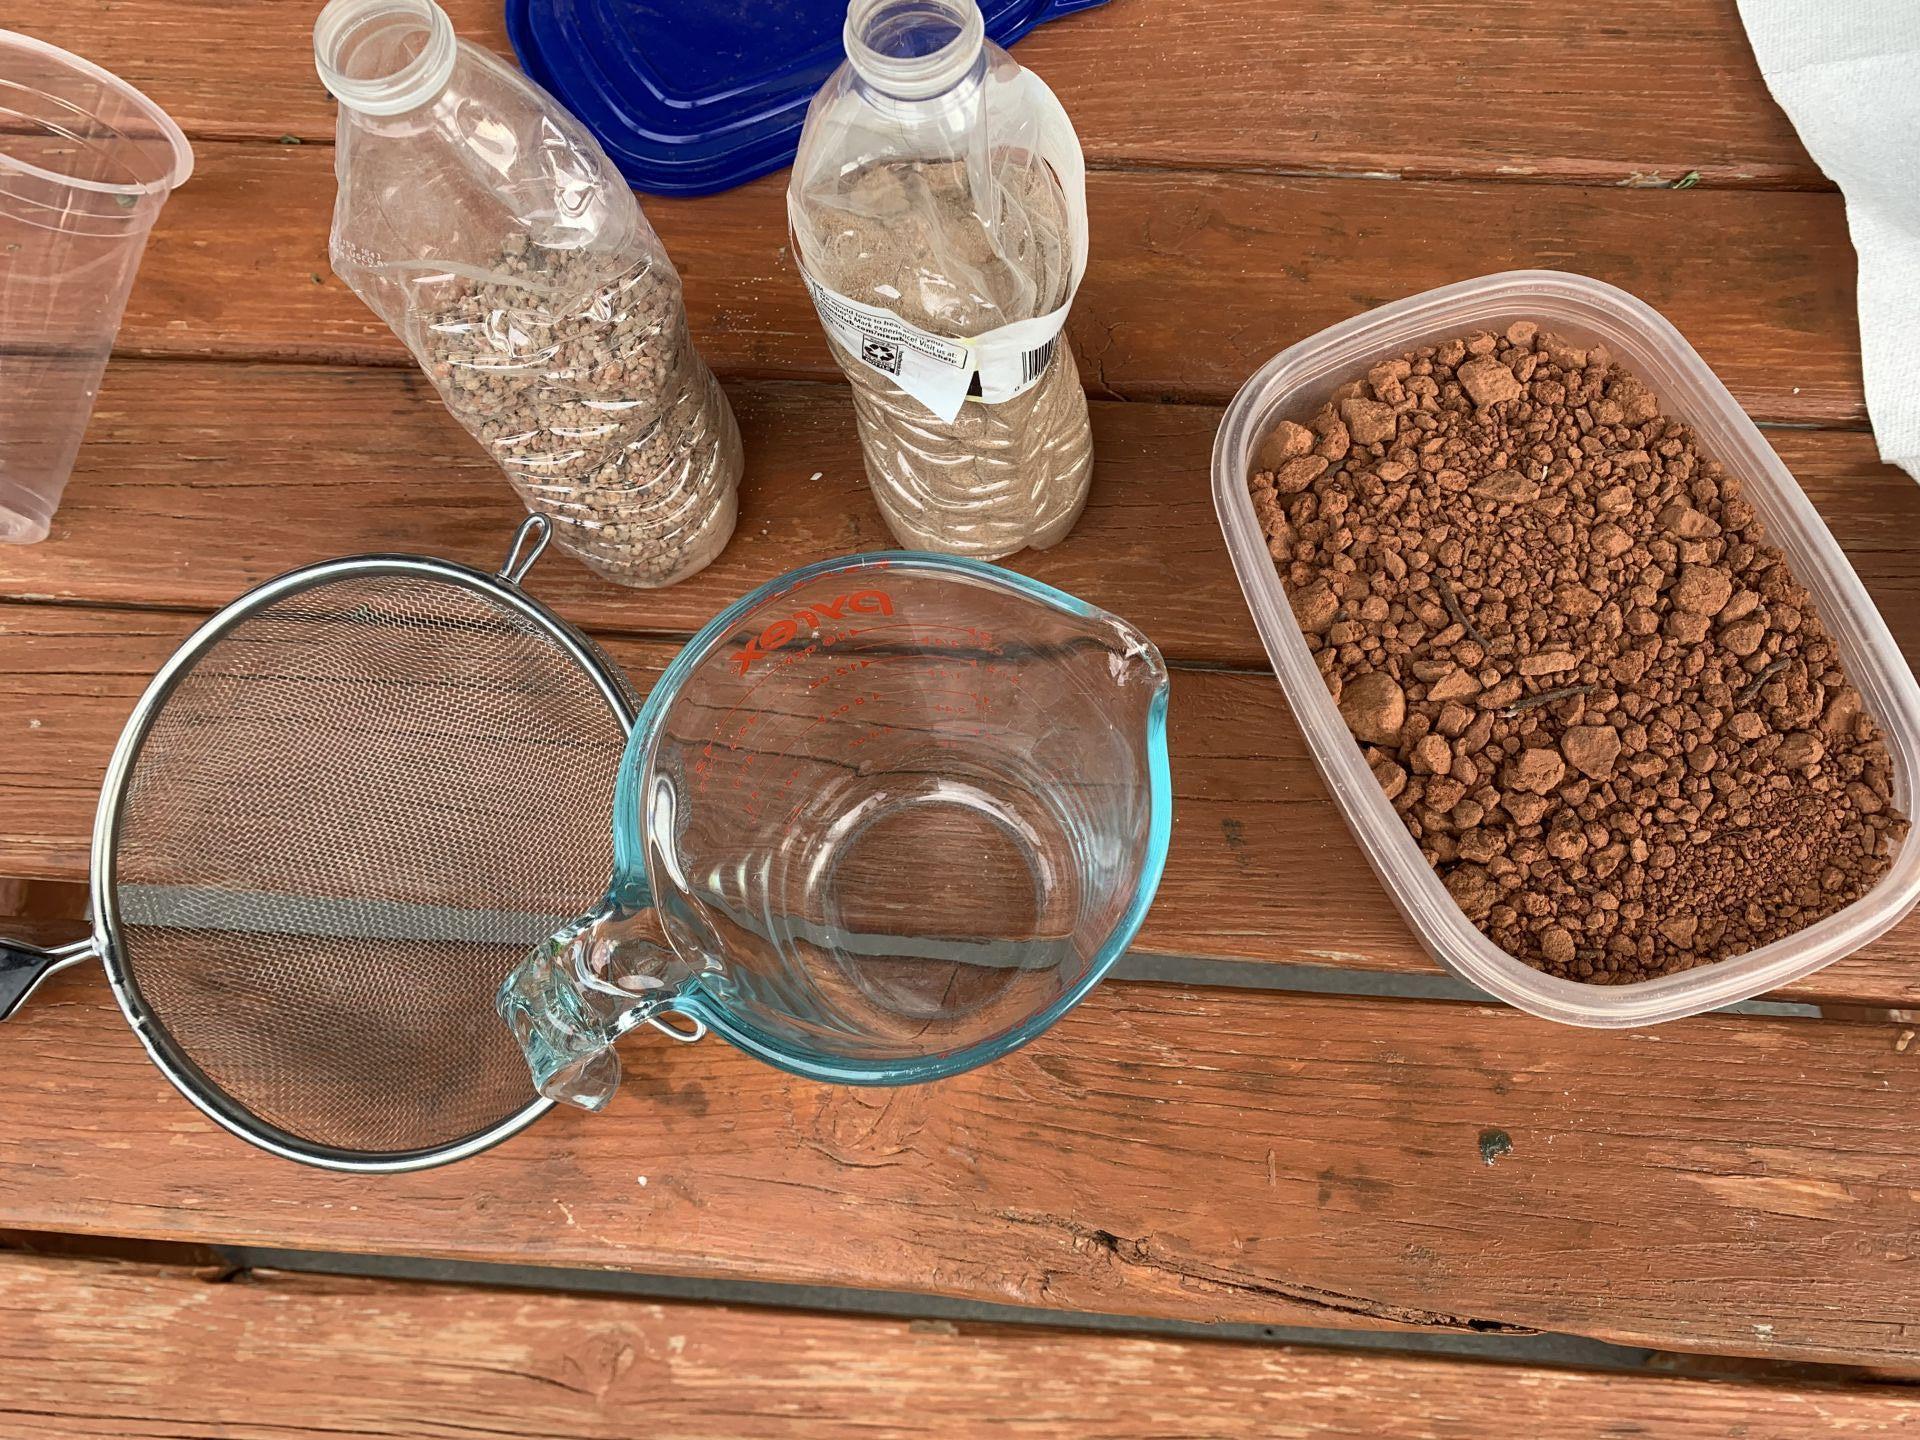
1. Sift the clay and mix in sand for desired ratio. I prefer 3:1 clay to sand.
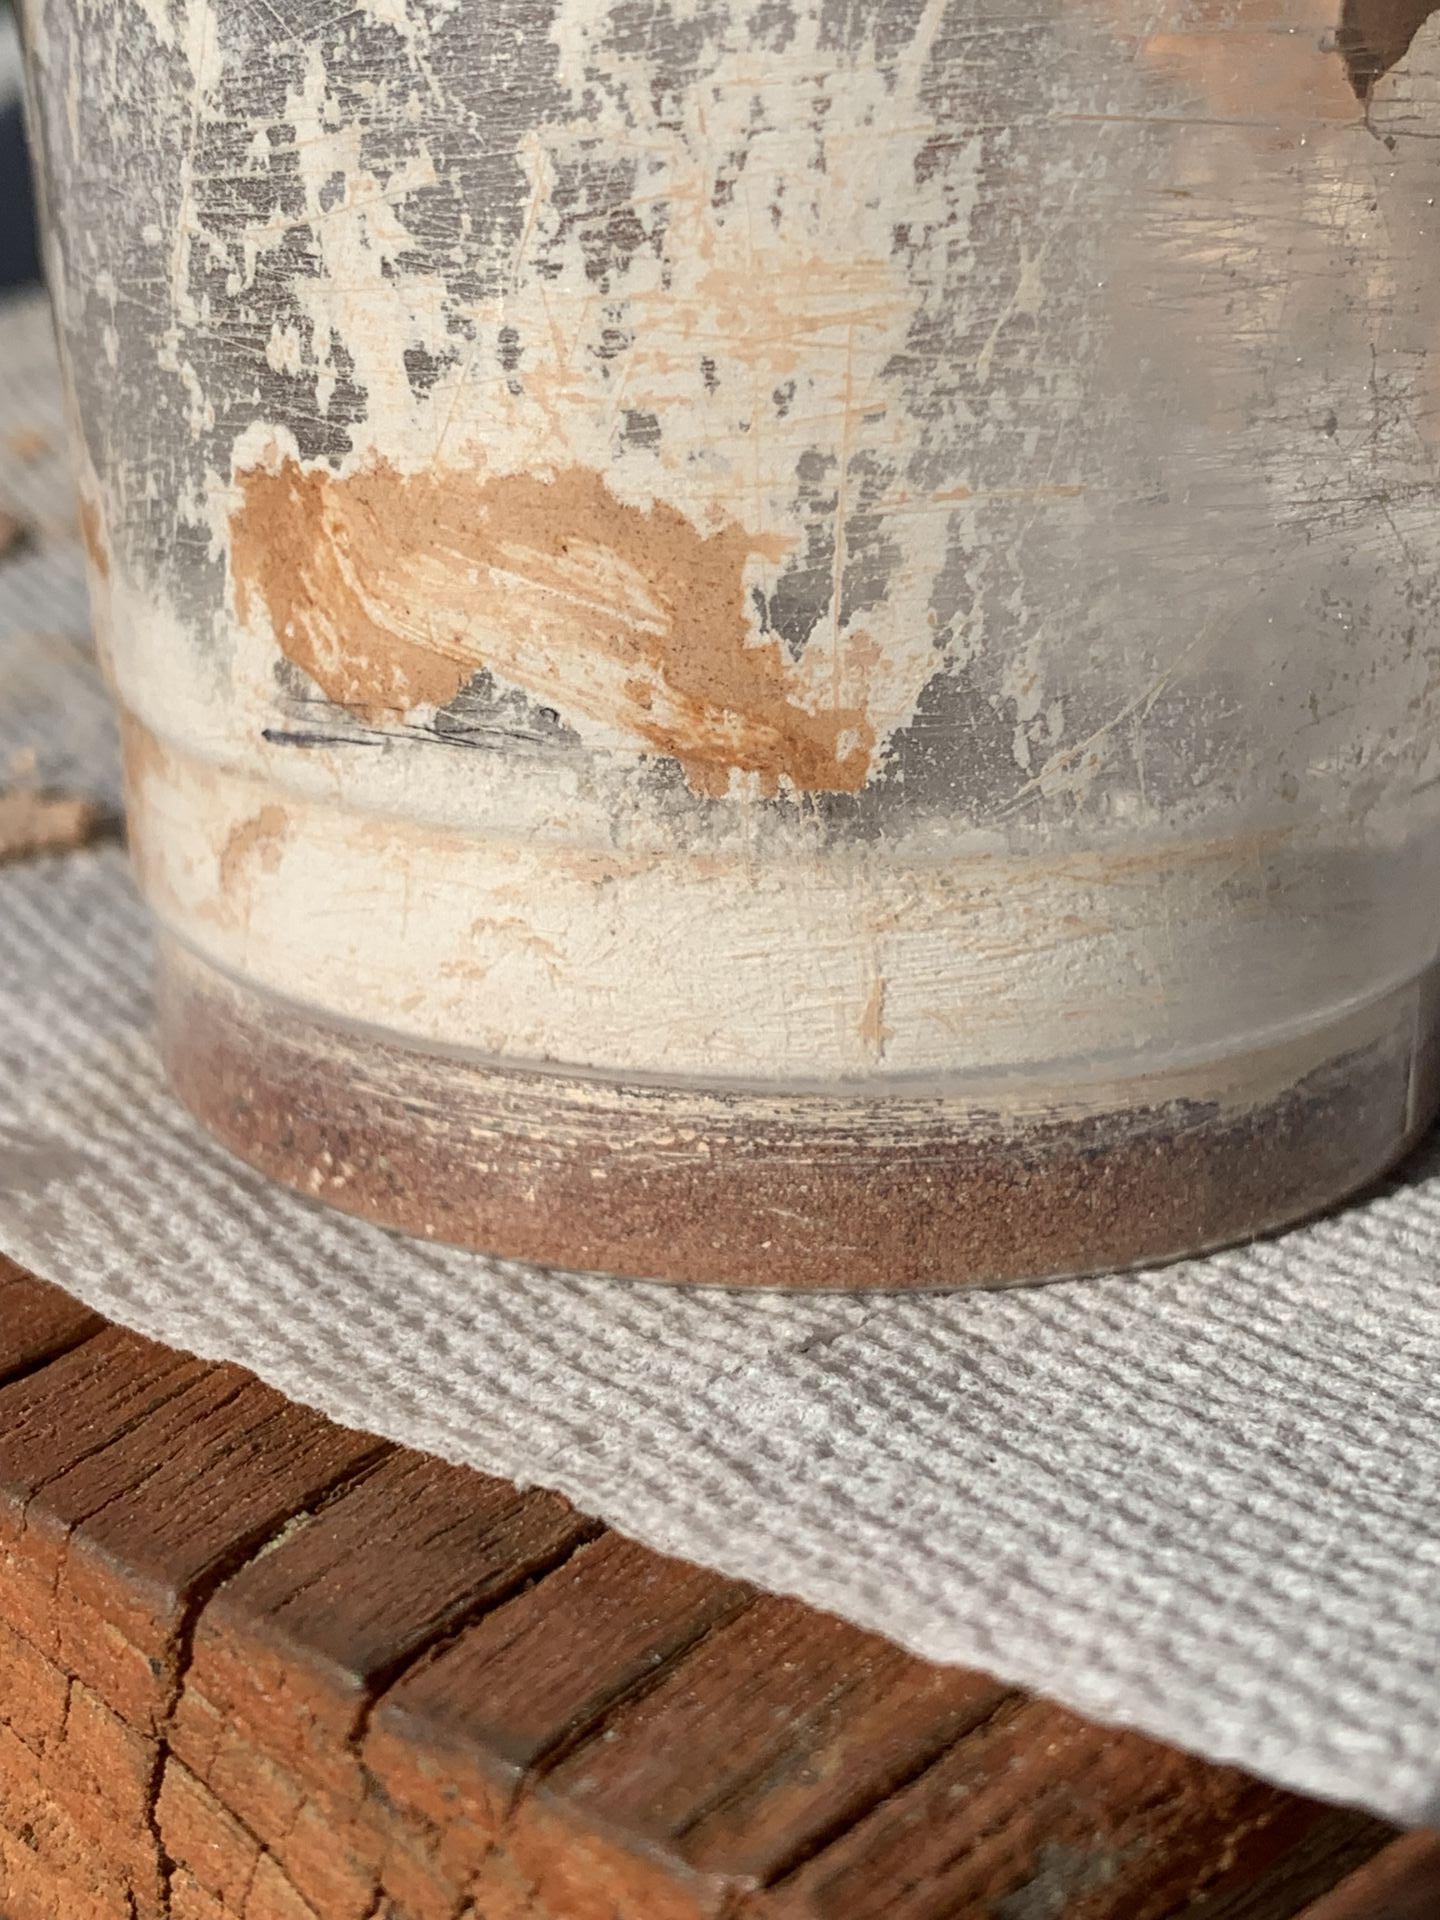
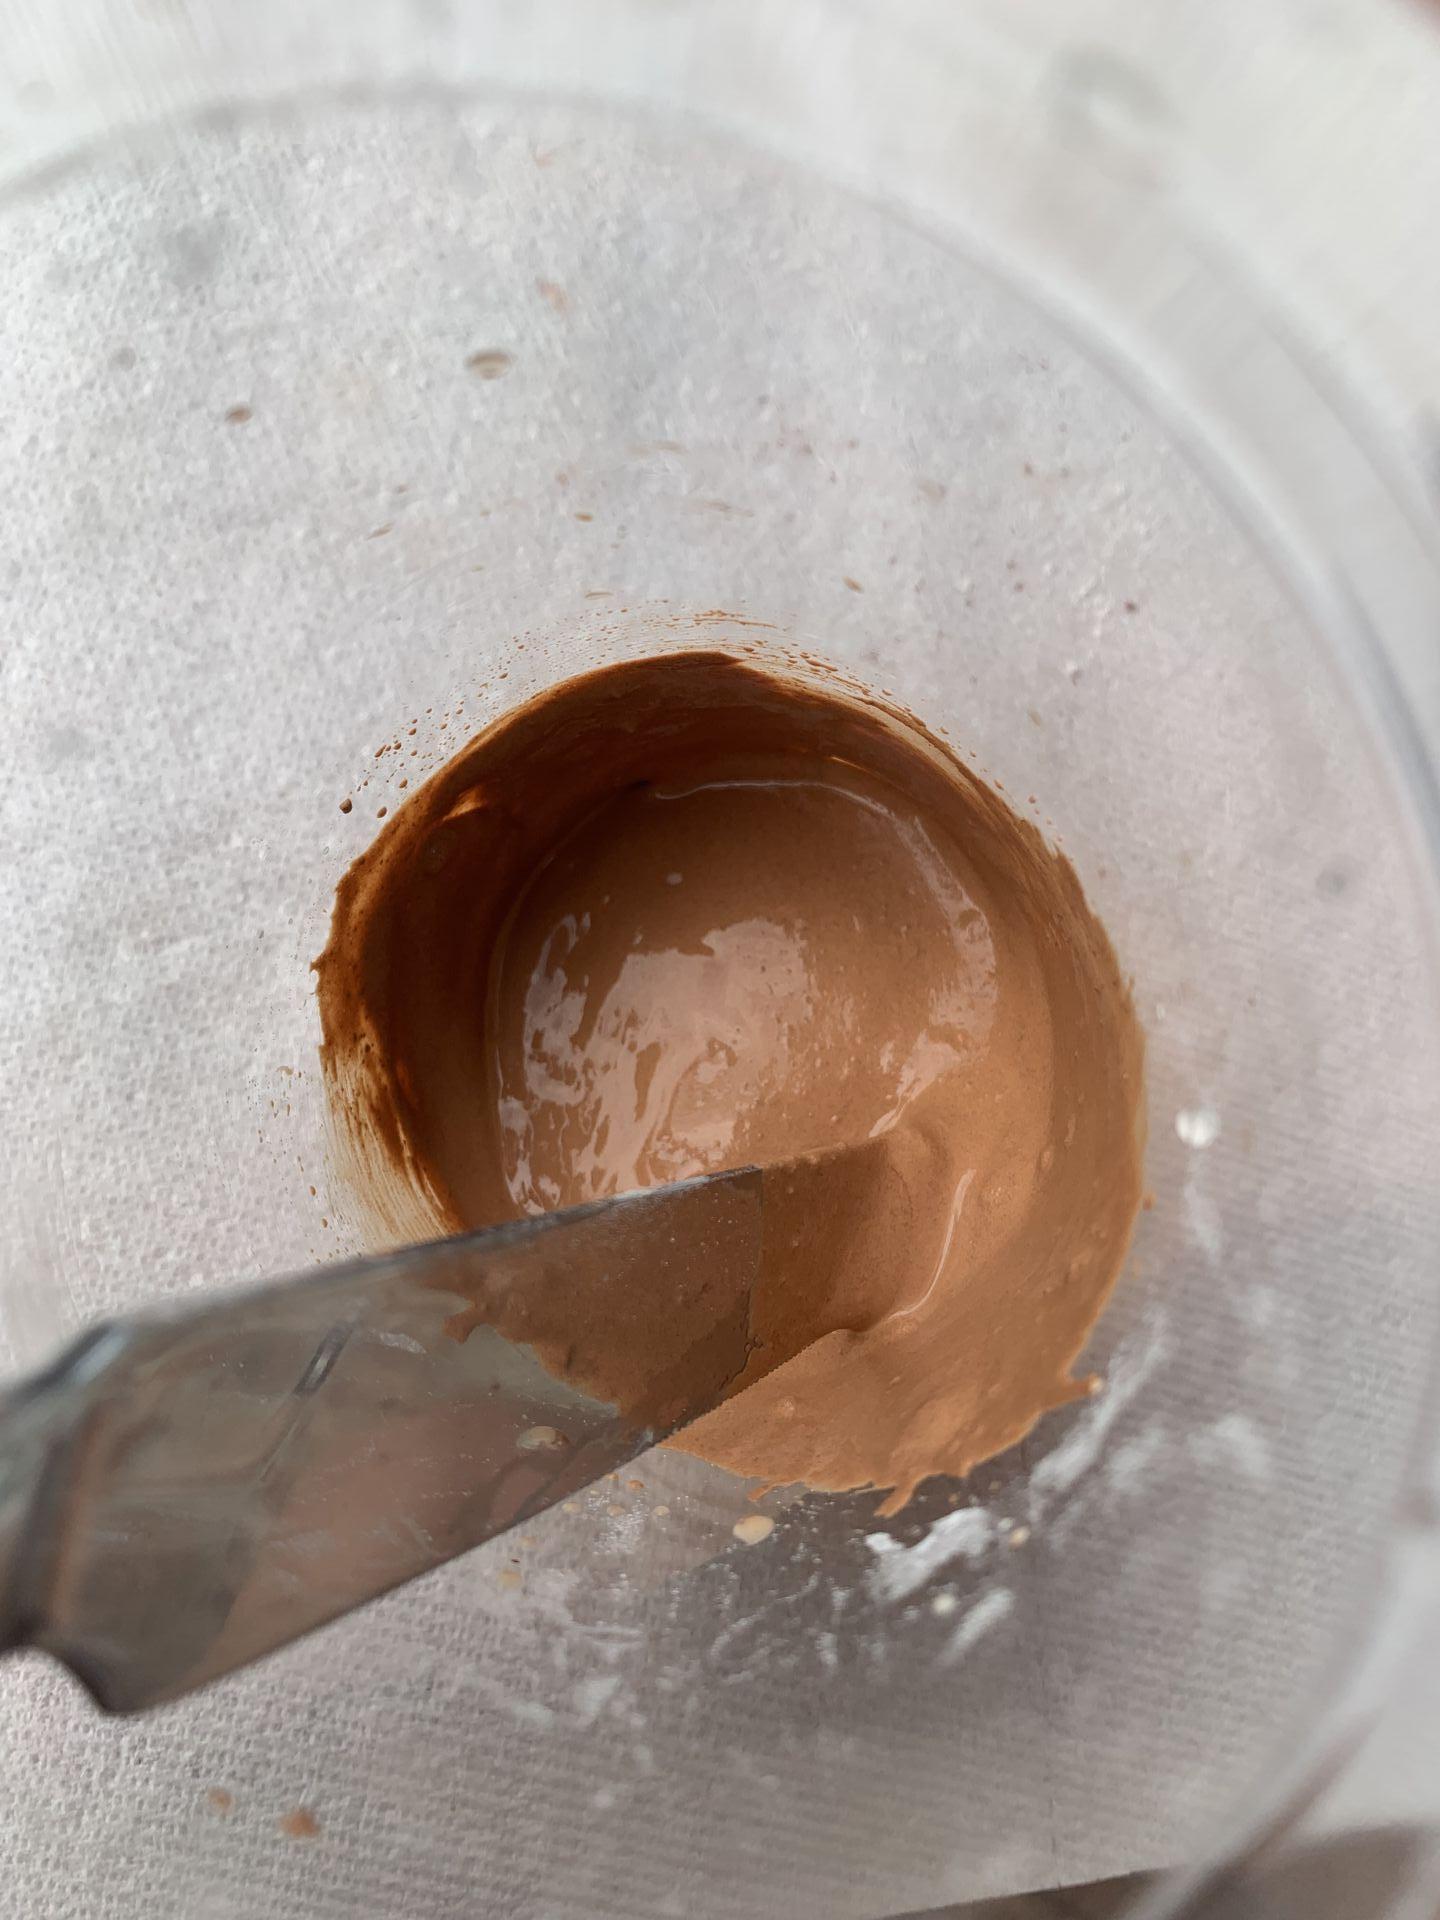
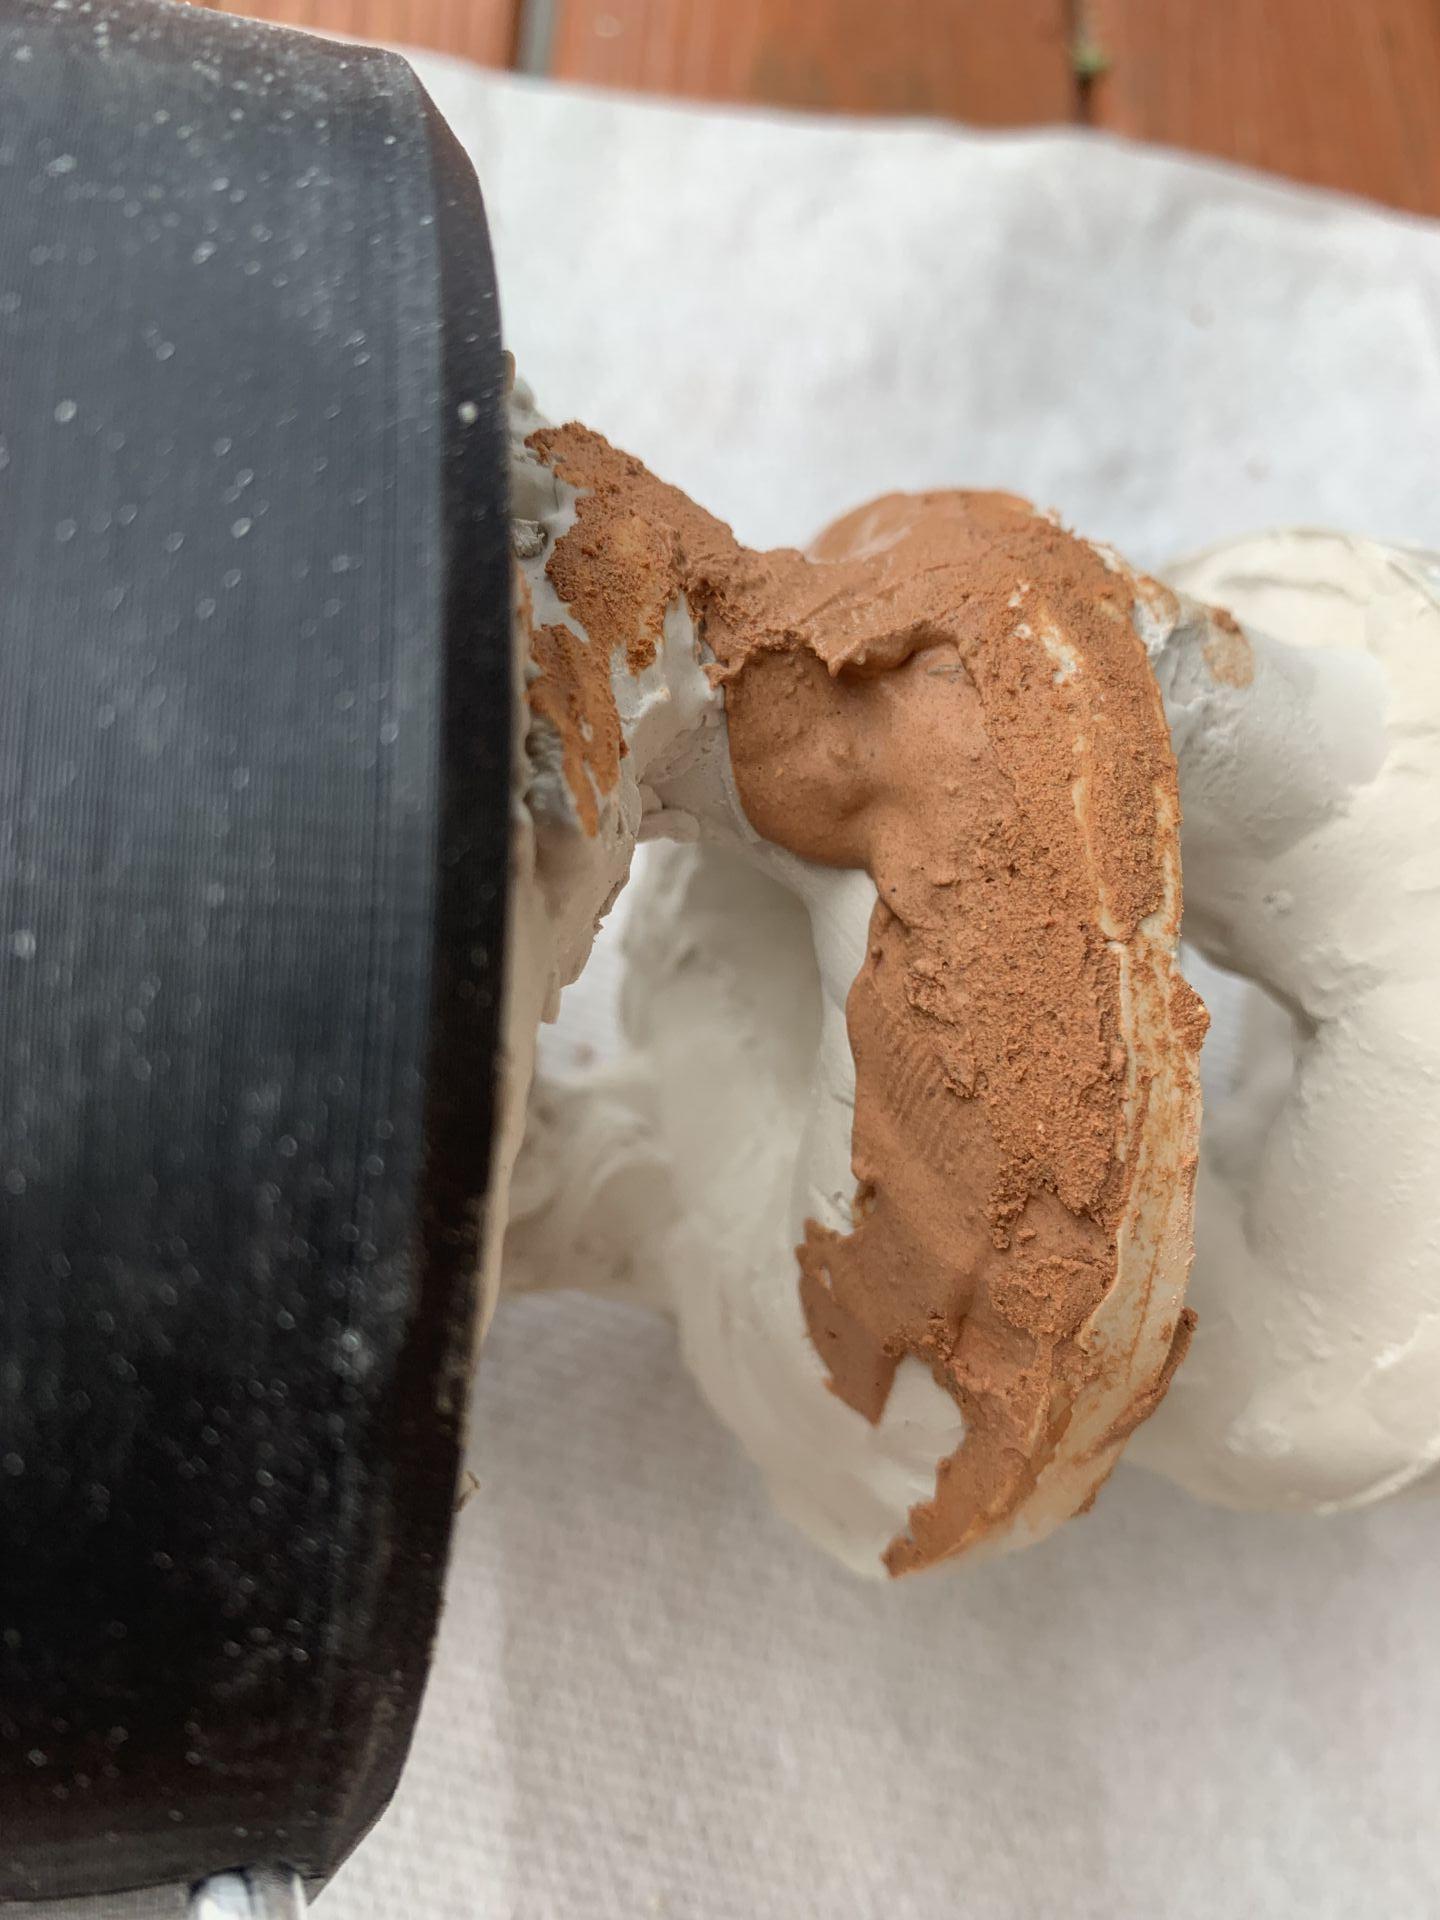
3. Apply the adobe in batches to each layer. Use a cotton ball once the adobe is recently dried to smooth the layer.
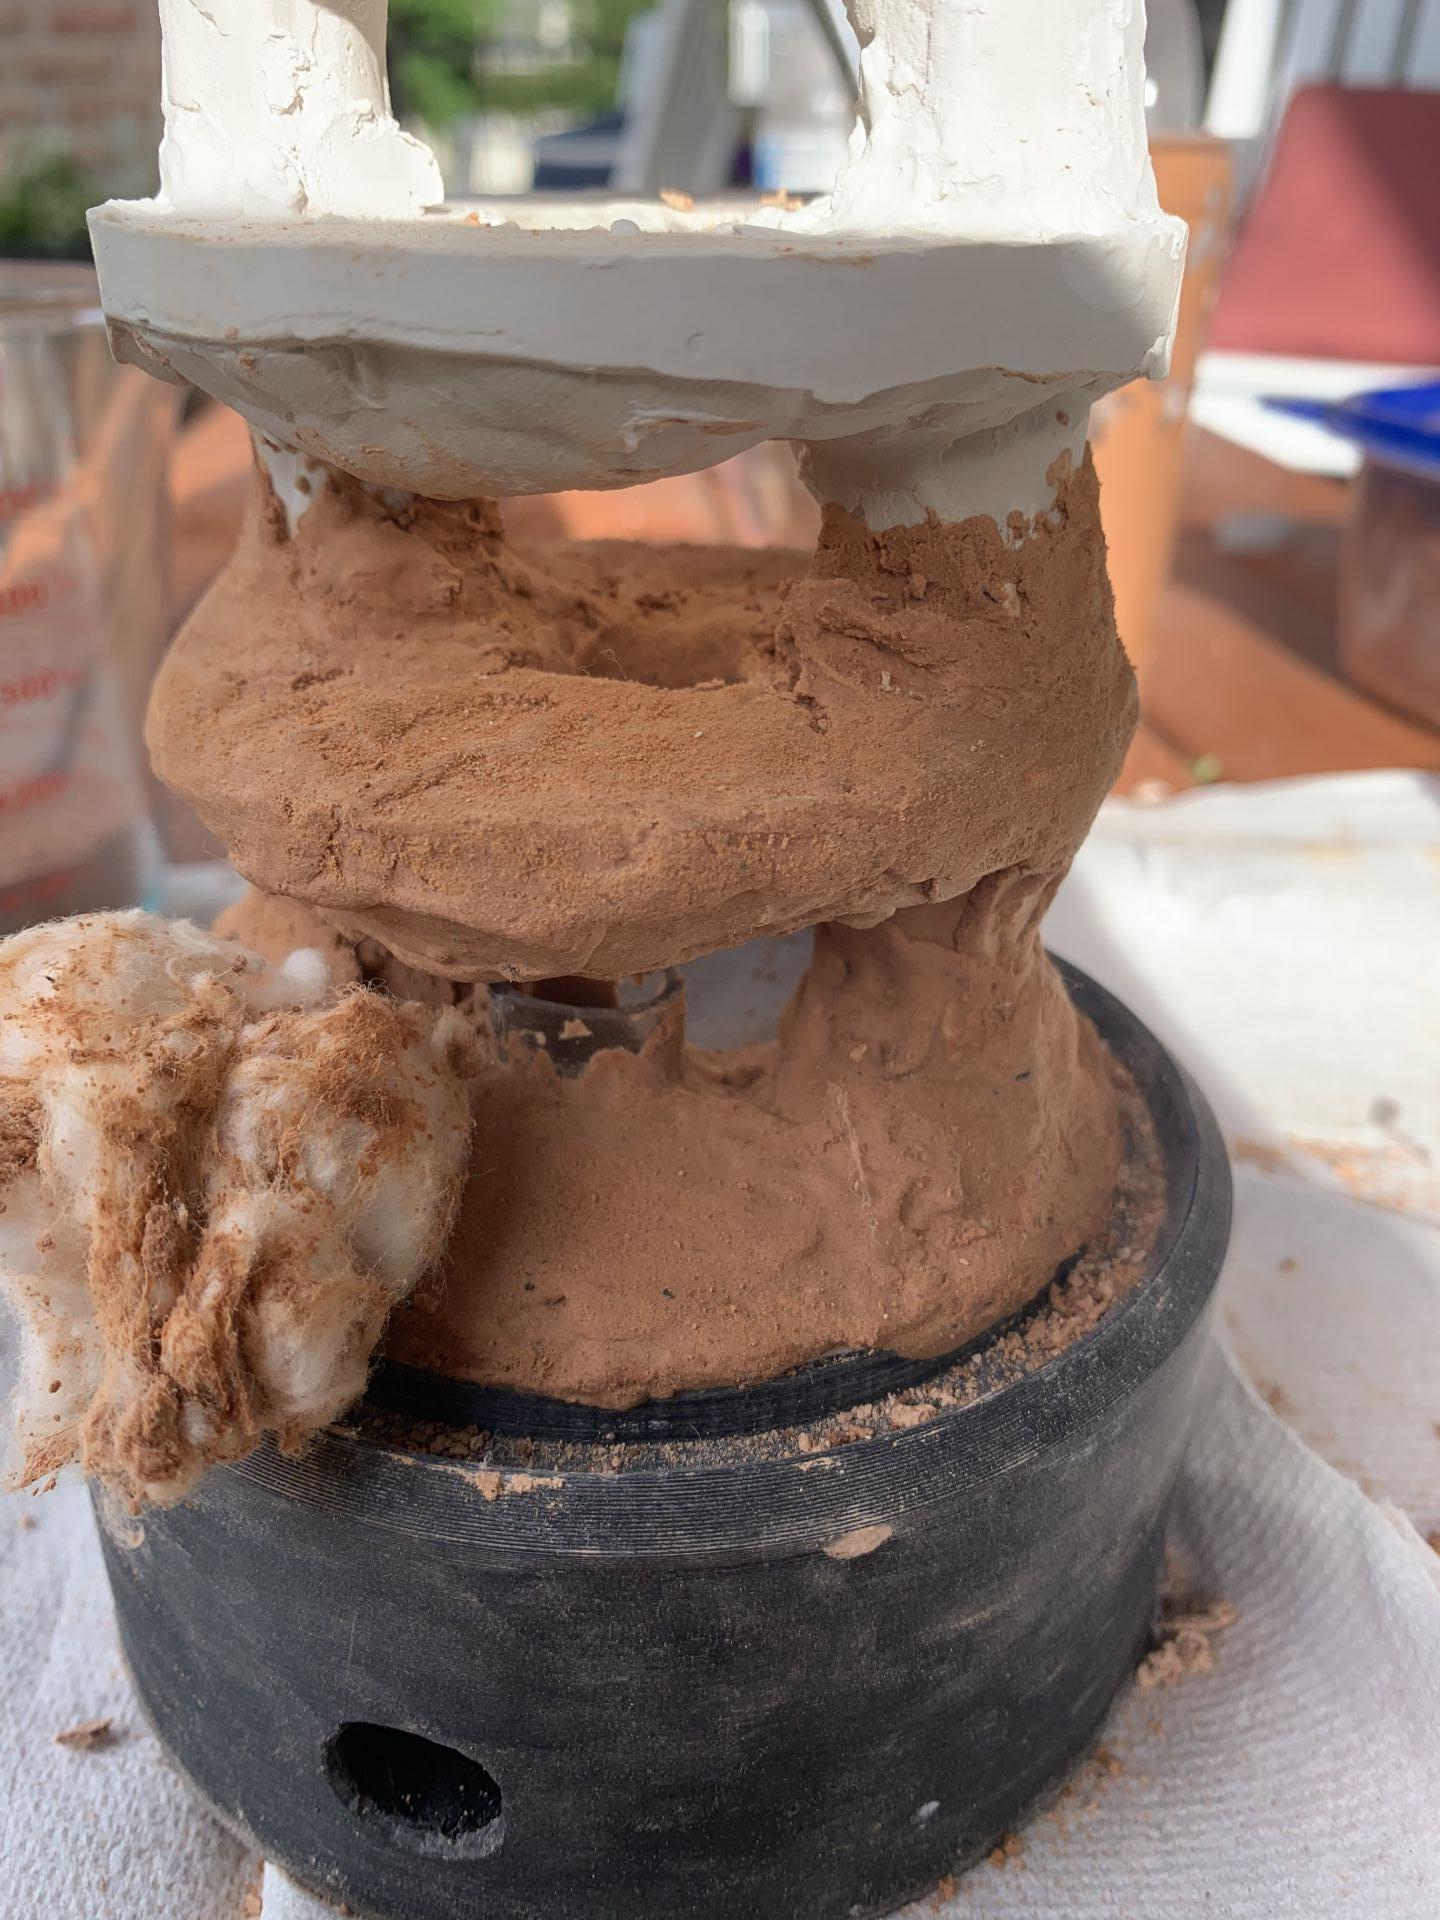
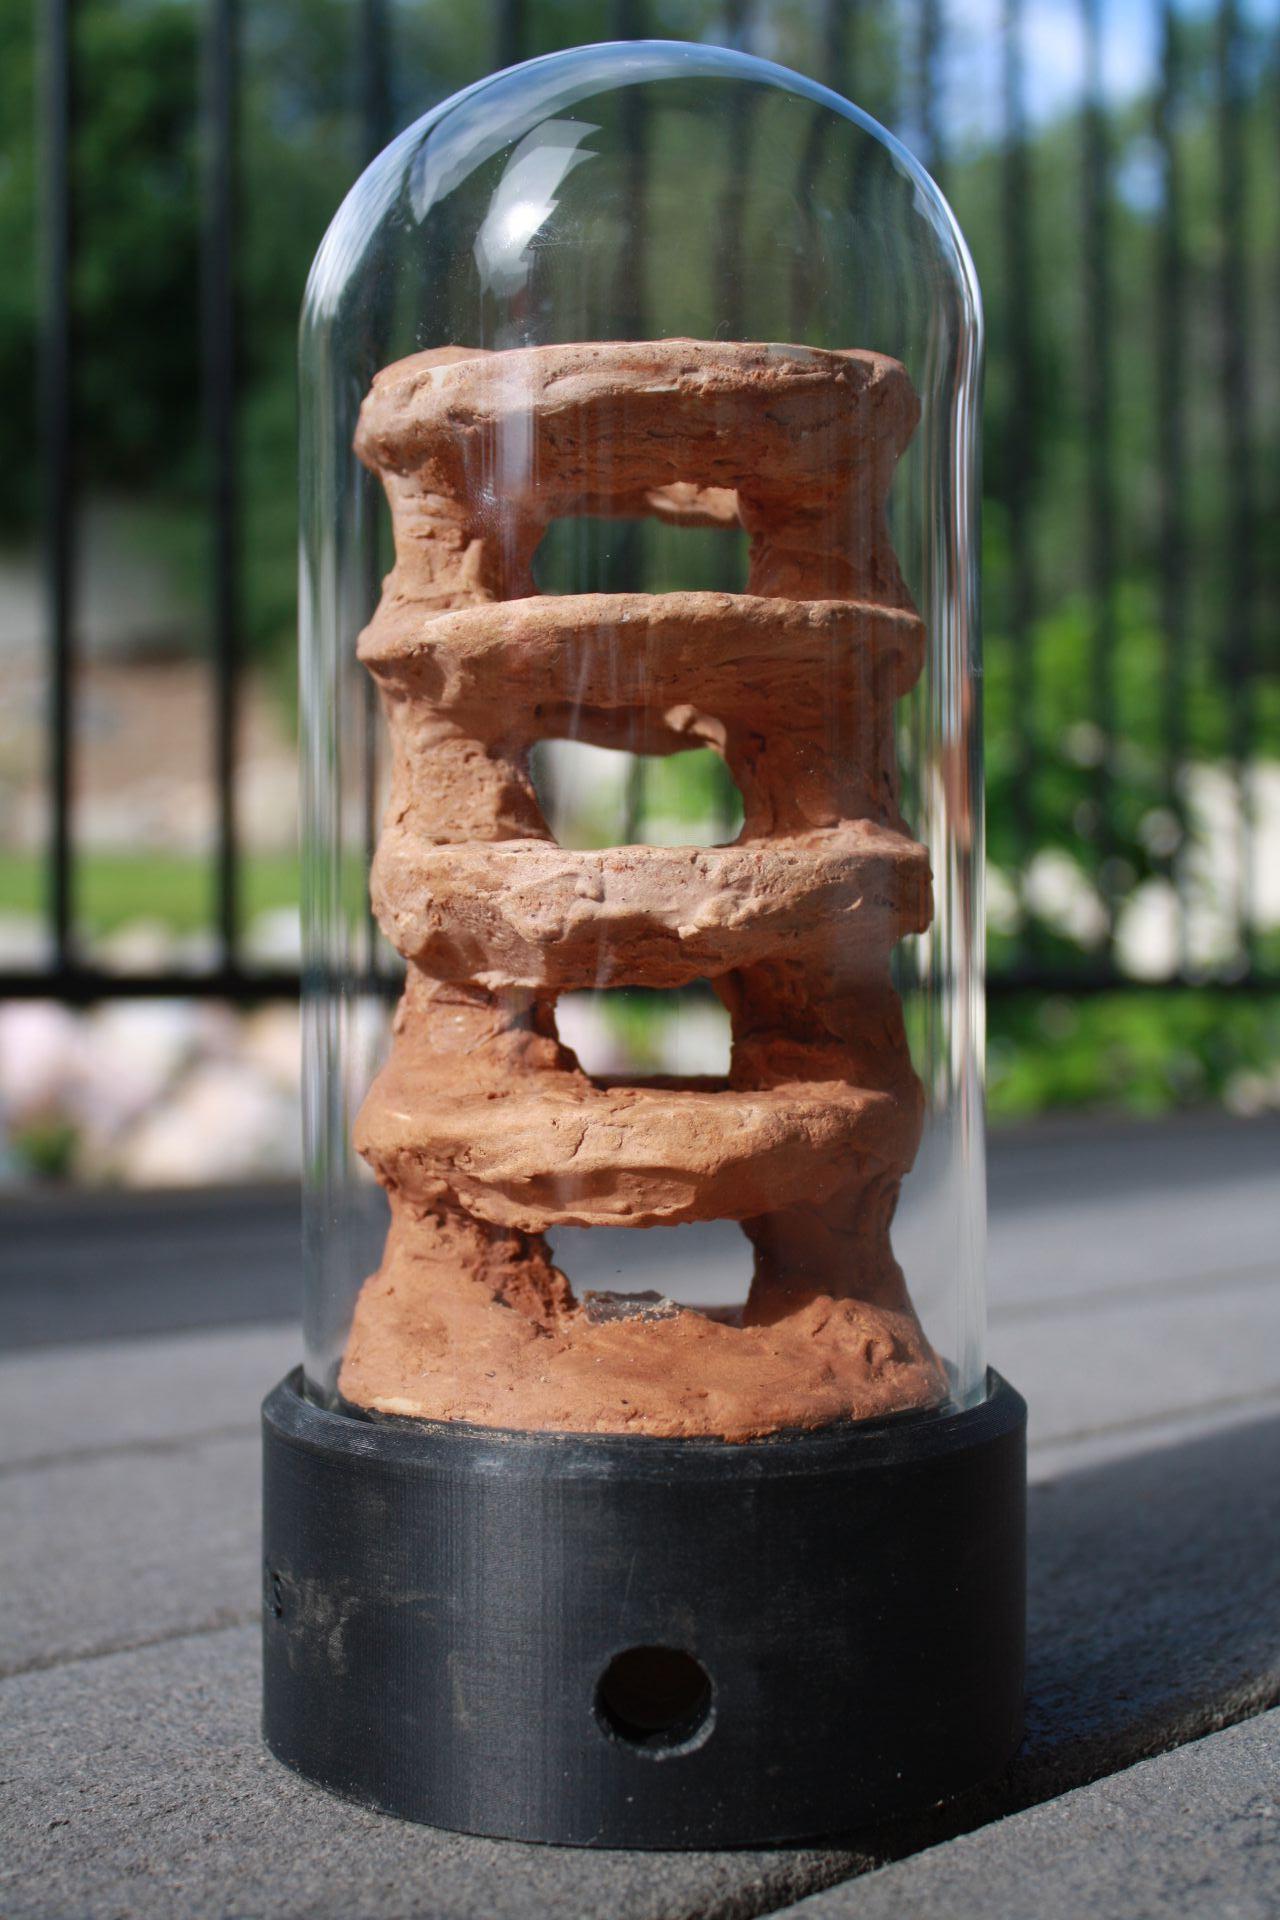
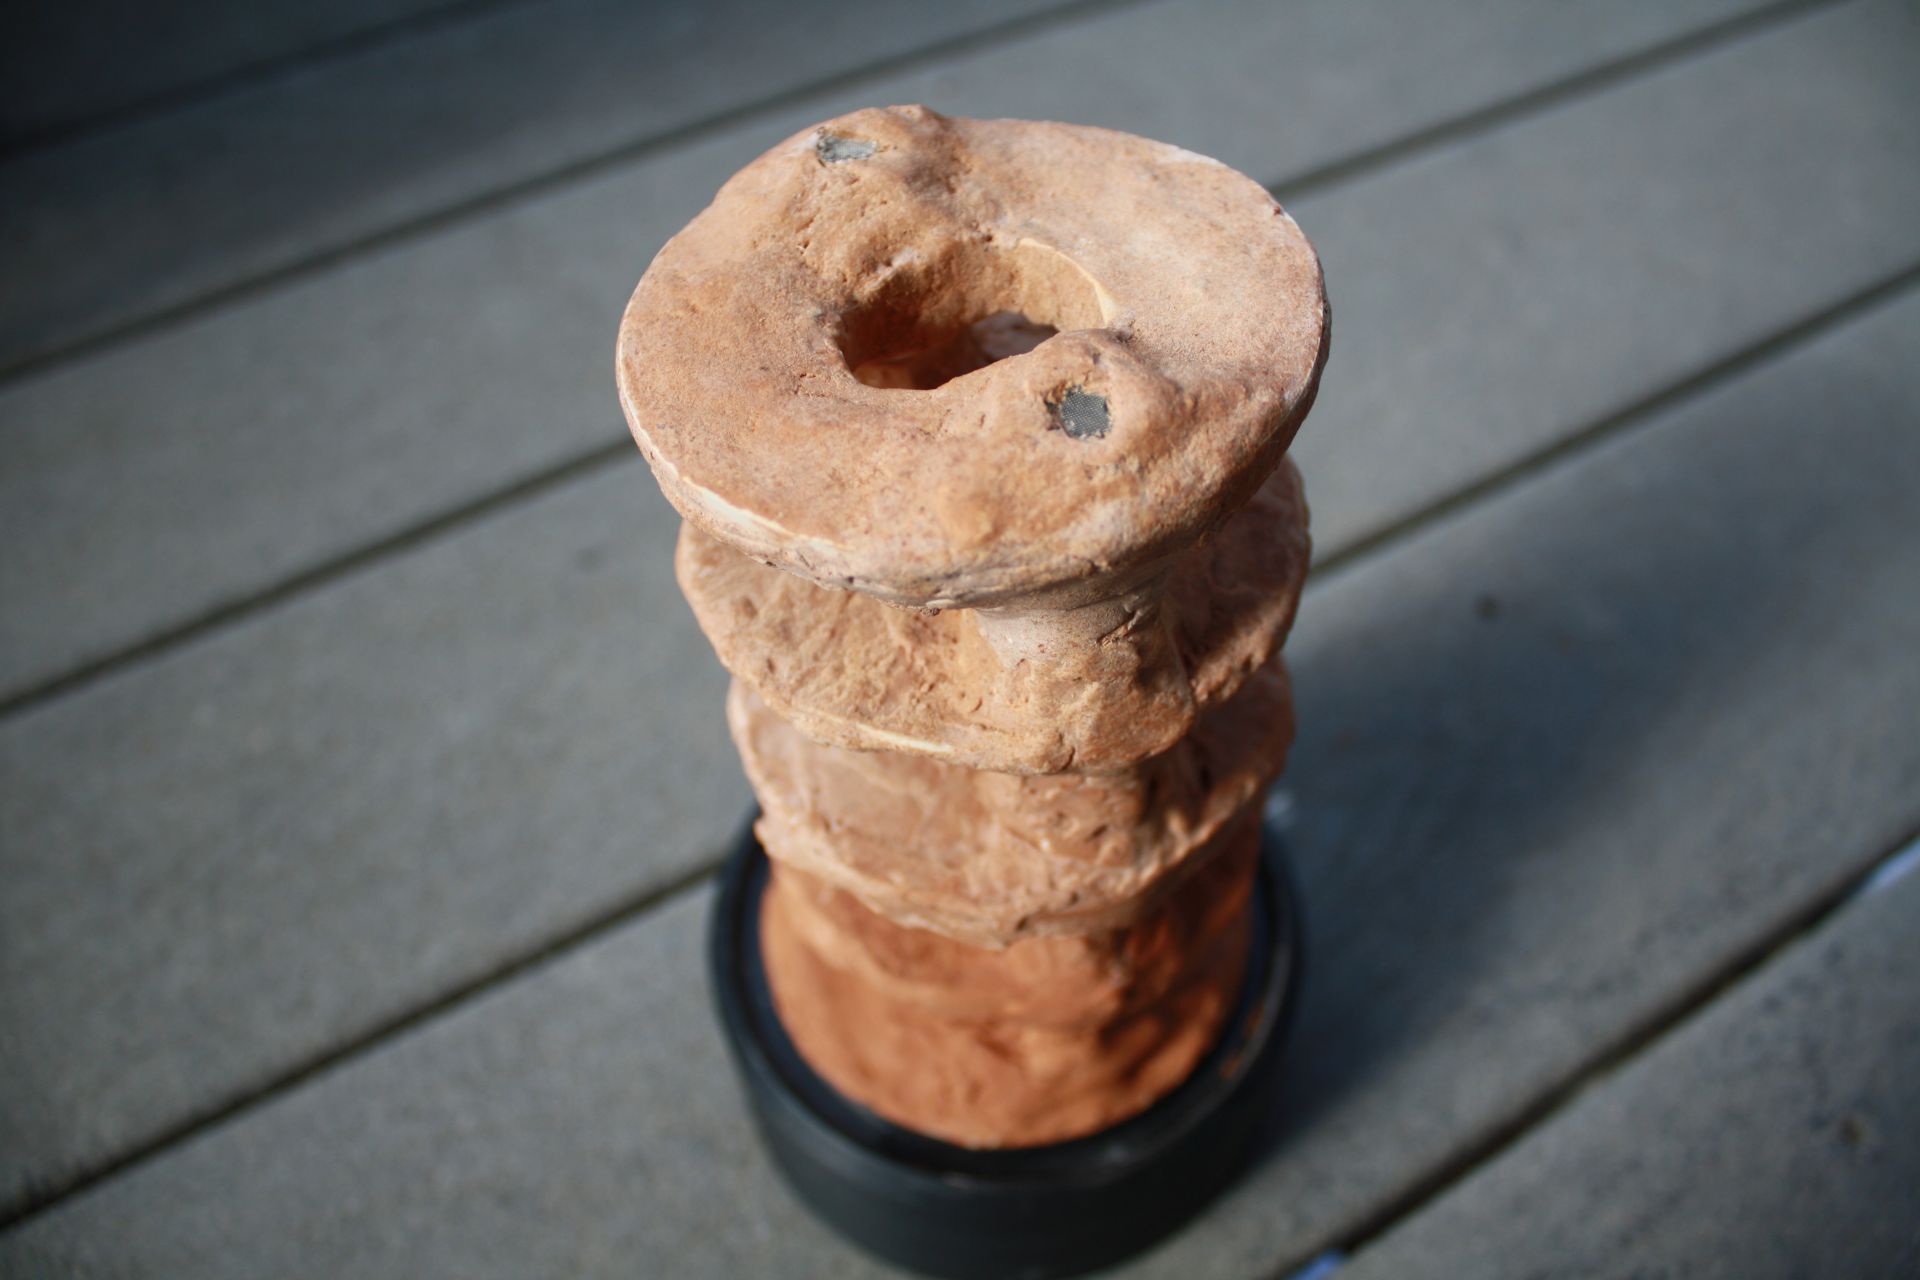
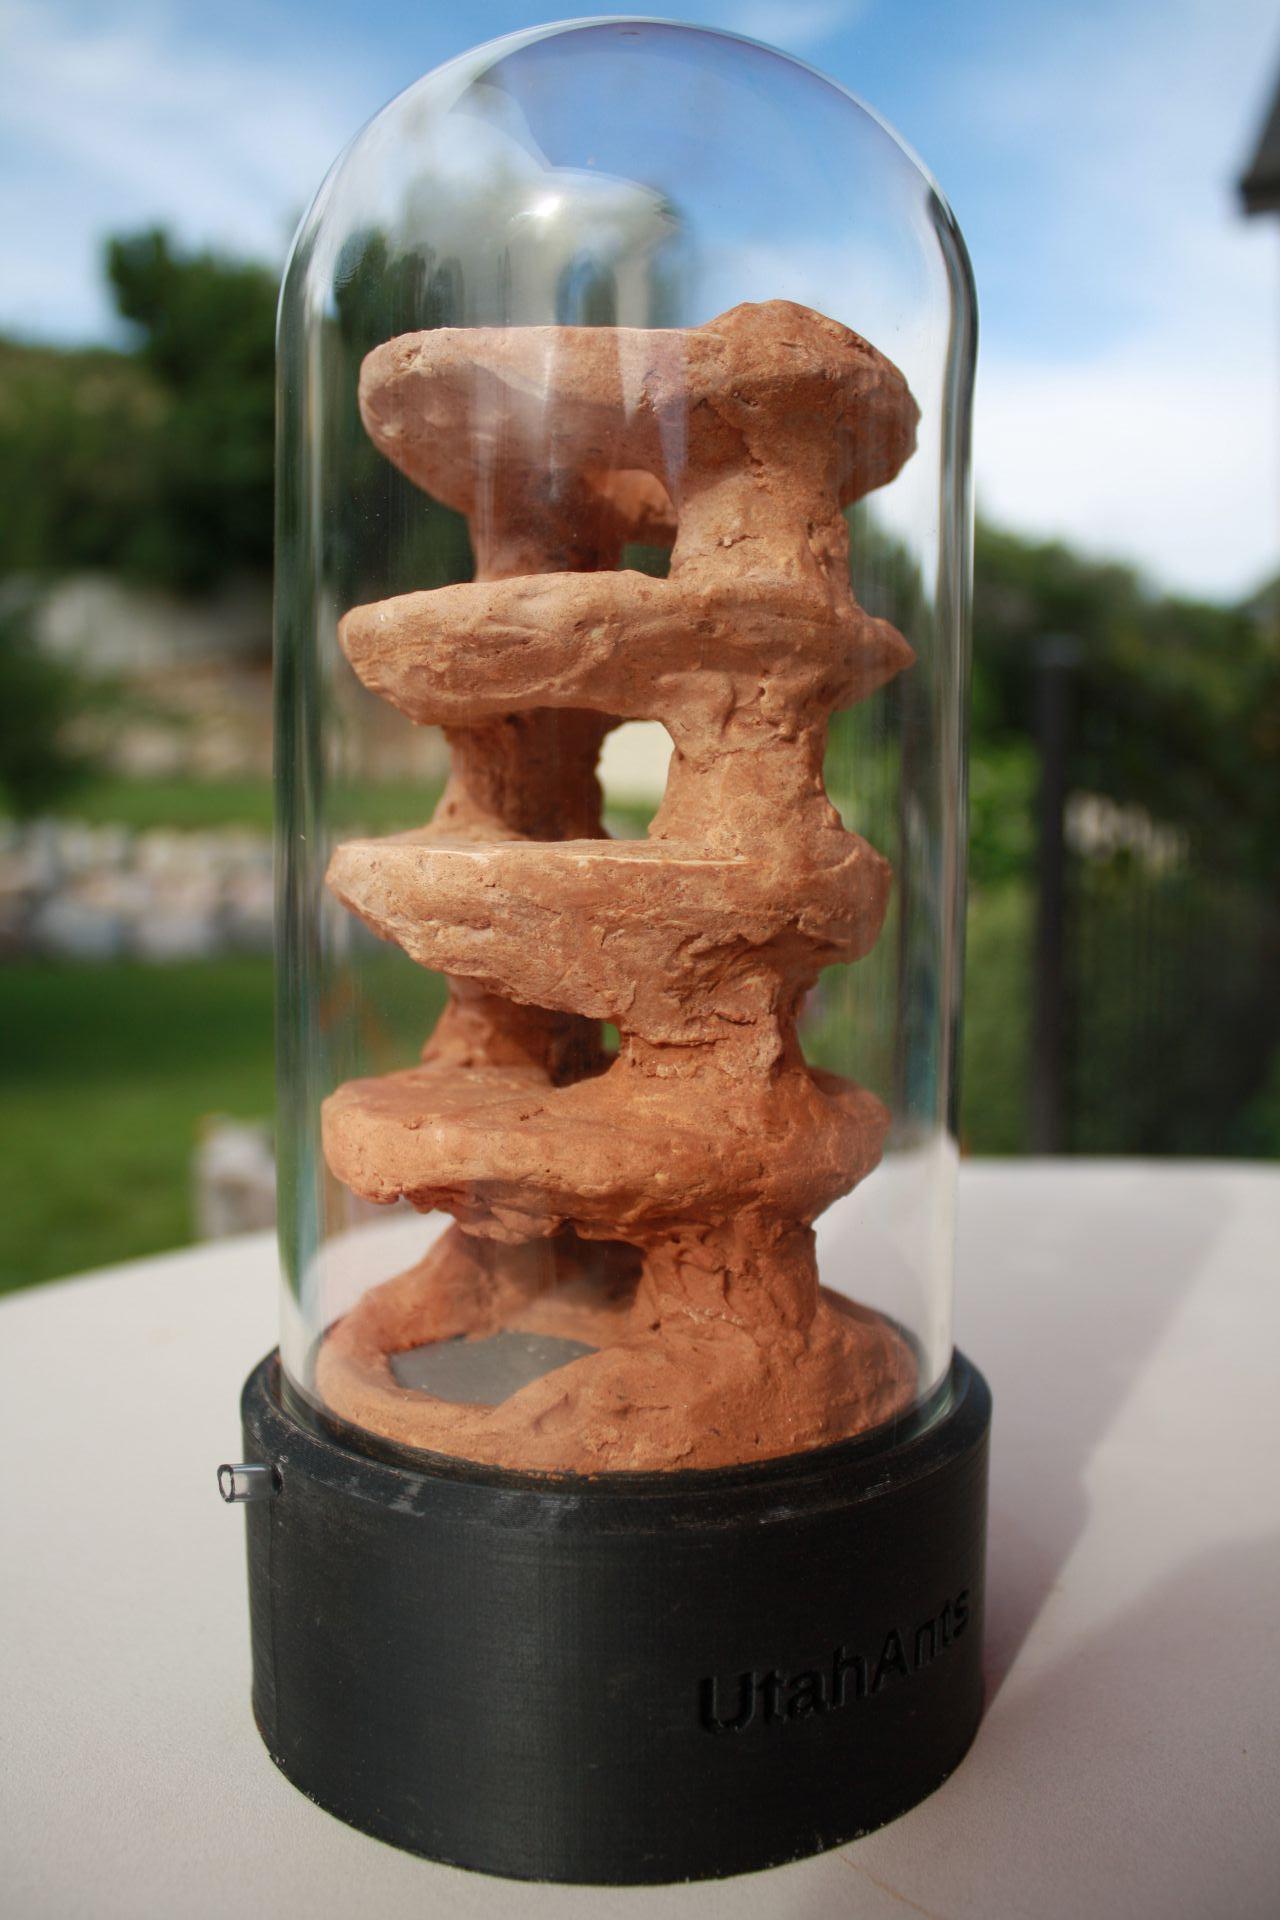
These formicariums are very fun to make, hopefully this gives you some ideas for your own builds!
Edit: Forgot to link the journal showing this formicarium in action! - https://www.formicul...xicanus-colony/
Edited by UtahAnts, July 23 2023 - 3:35 PM.


