New nest expansion has happened.
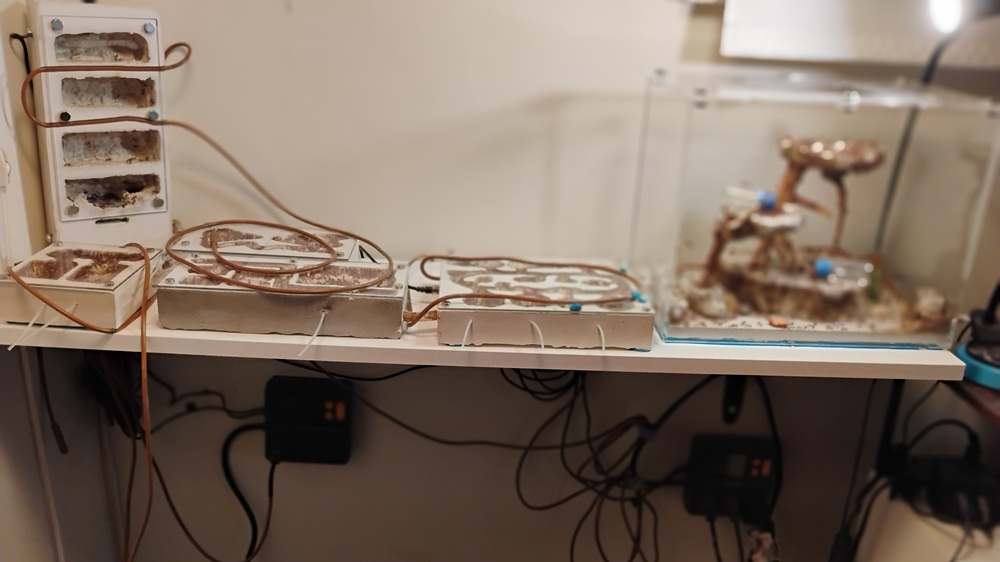
This time I went vertical as I am running out of space around here. I have been doing top down view nests, but those give a lot less realestate for the ants to the realestate it fills on the shelf. I’m down to two empty spots, these will get vertical nests. Though from the look of the newest one it will be about a year before I would need to add more.
The nest has one specific new feature, under glass heating that also warms the glass directly.
One of the ongoing challenges of some ants is condensation on the nest glass.
Warm humid air in the nest, contacts the glass, which itself as a material cools rapidly, and is exposed to the outside air where it can get a lot colder than in the heated nest. Creating perfect conditions for condensation. It blocks view and most ants do not like open wet water in their nest space. Many of ants will use the moisture on the glass and build dirt walls to keep the light out which blocks up our view.
The best way to prevent or remove condensation is to ensure a heat source is in direct contact with the glass so the glass itself never gets too cold*. It does not need to be a lot of heat, just enough be like the car defogger, keep the glass just warm enough to prevent the forming of condensation in the first place. And drying out any that may have already formed.
Construction details:
This is the work bench I use and do the work on a larger sheet of glass. I already had a cut piece of museum glass to use and it was the right size. So the nest is sized for it rather than made what I want and cut glass to fit. The black line is the trace to the glass so I know what is inside/outside the glass cover.

I had wanted to pour around the heat cable so it would be a perfect fit. I tried supergluing the cable down to the glass as superglue is so watery thin I figured it would be the least intrusive options.
However not wanting to cut the useable cable up, the bendy nature of it and the weight of it caused enough flex. It would not stay down in place and at the last before pouring I gave up on that plan and removed them fully.
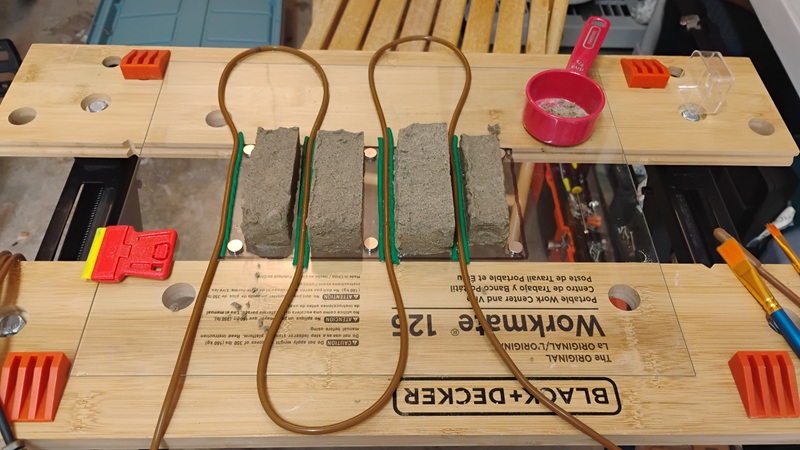
Always trying to get thinner walls, the green clay is place holder/sand block. The plan was to remove the green clay right before pouring. So I would have a fairly thin wall space and no sand needing to be cleaned out of a tiny tight space. But as I did not pour around the cable it was all for not.
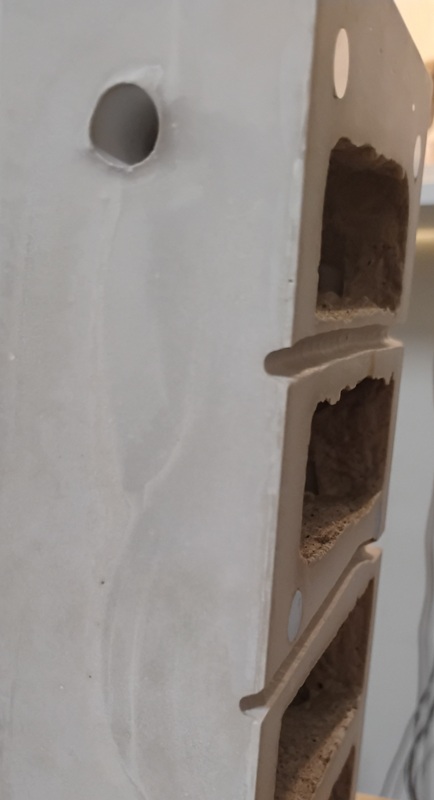
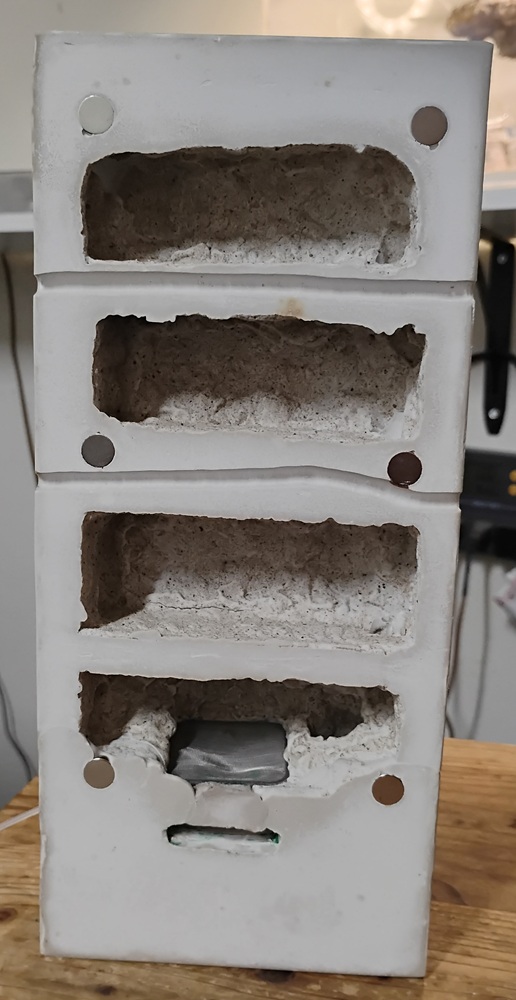
Making empty spaces below the sand was one of the harder parts of this build.
This is what will be passage between the floors.
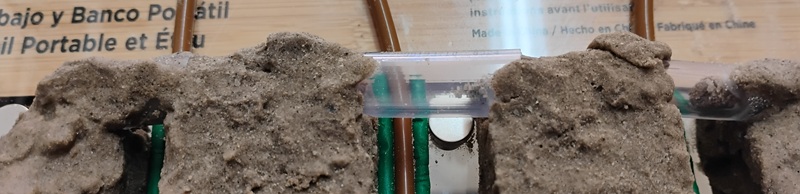
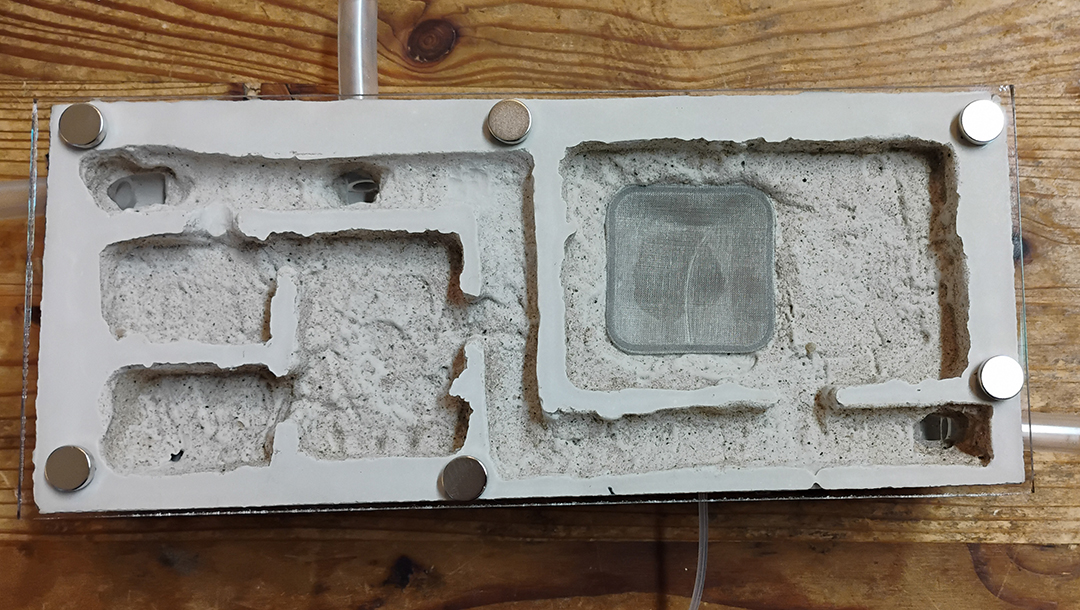
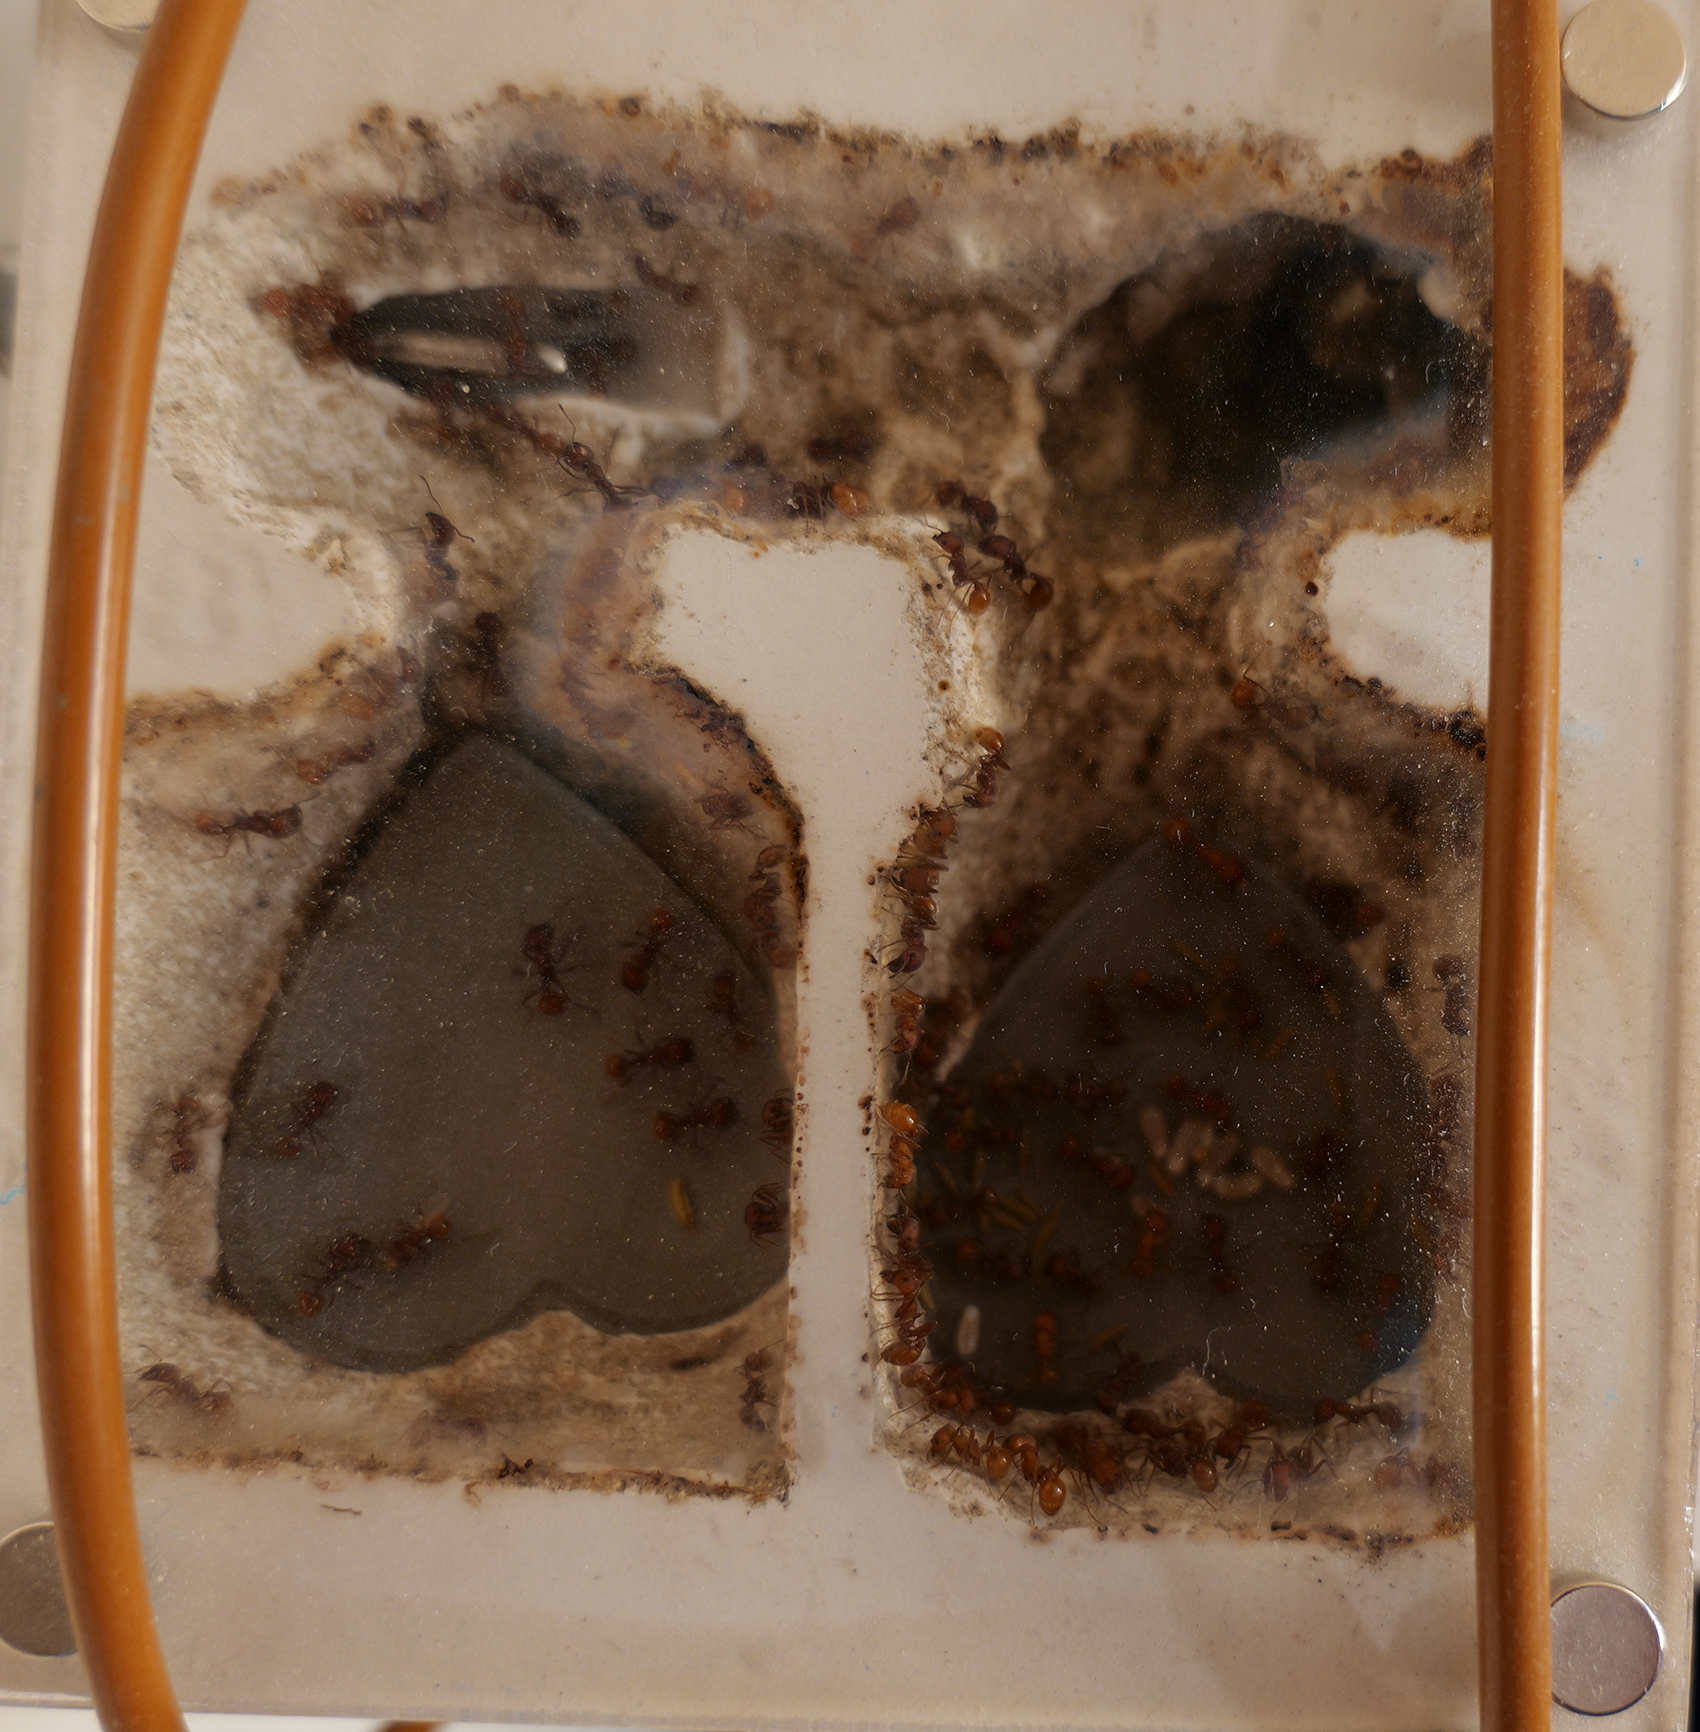
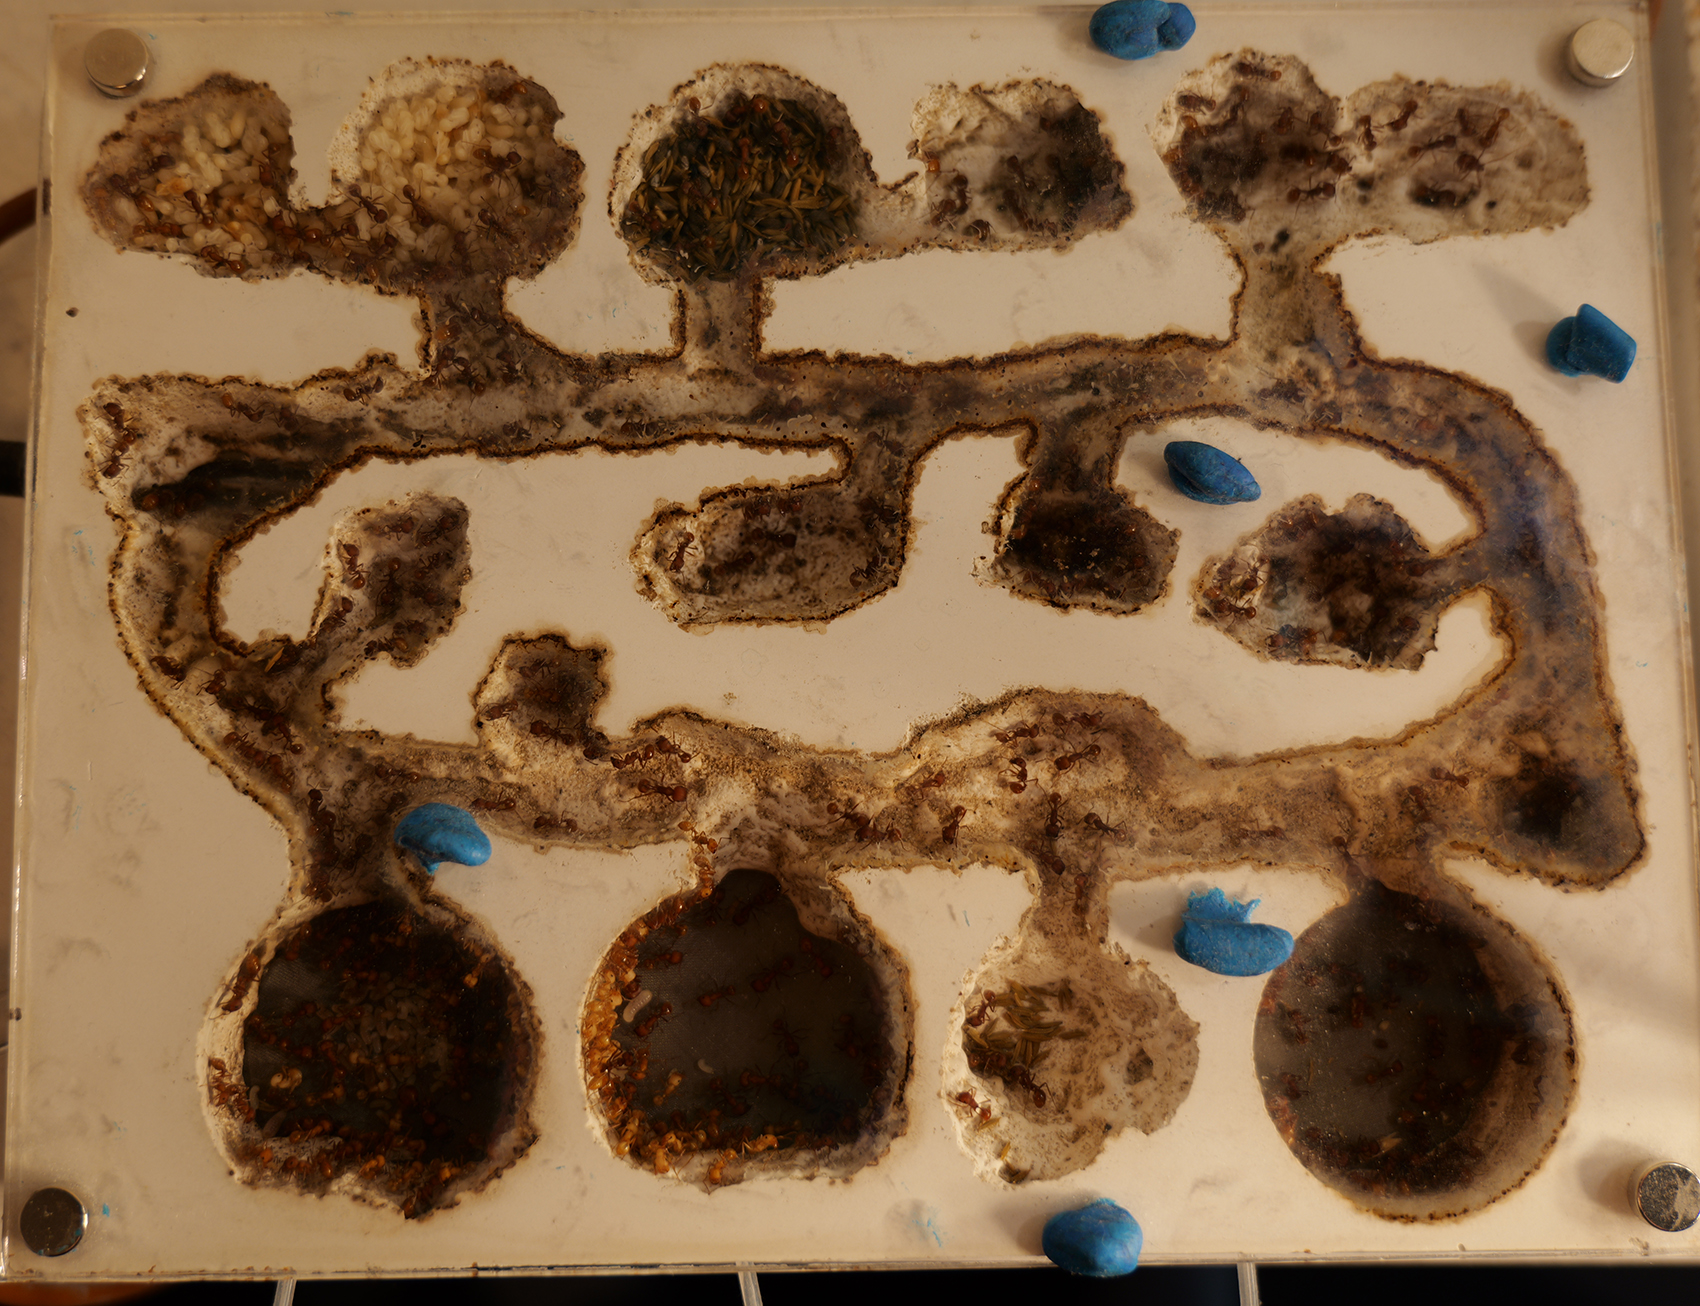
And this is the water tower in the bottom floor. With the green clay being a window into the tower for checking water levels.

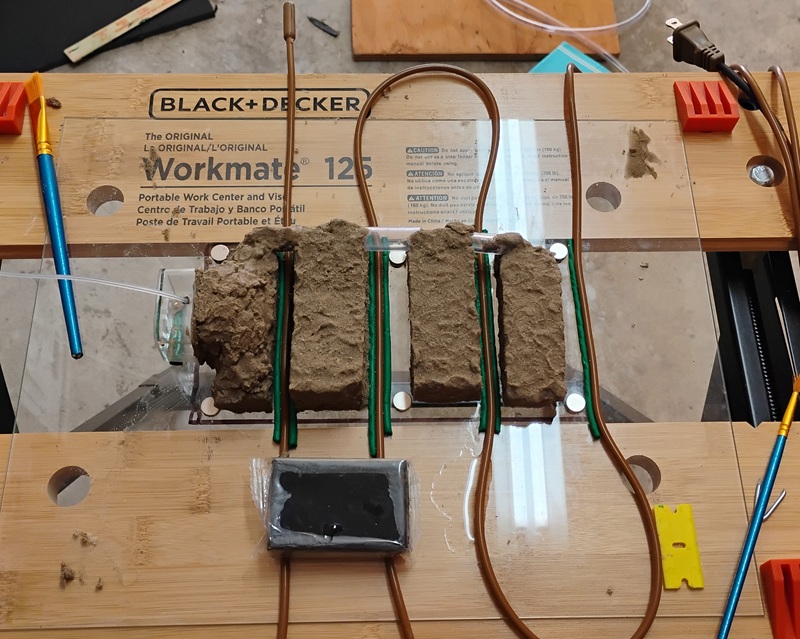
And then I used the Dremel to cut channels of the heat cable. I had planned on 3 runs but the top was a little tight to be under the magnets and I think these two will be plenty as I want the heat in the top and cooler in the bottom.
I poured a little too fast and let the mix be a little too thick(I add a little more water than 1:3 typcaily). I trapped an air buble right there in the bottom chamber on the watertower, and created a gap that i had to fill in later which you can see.
BAM
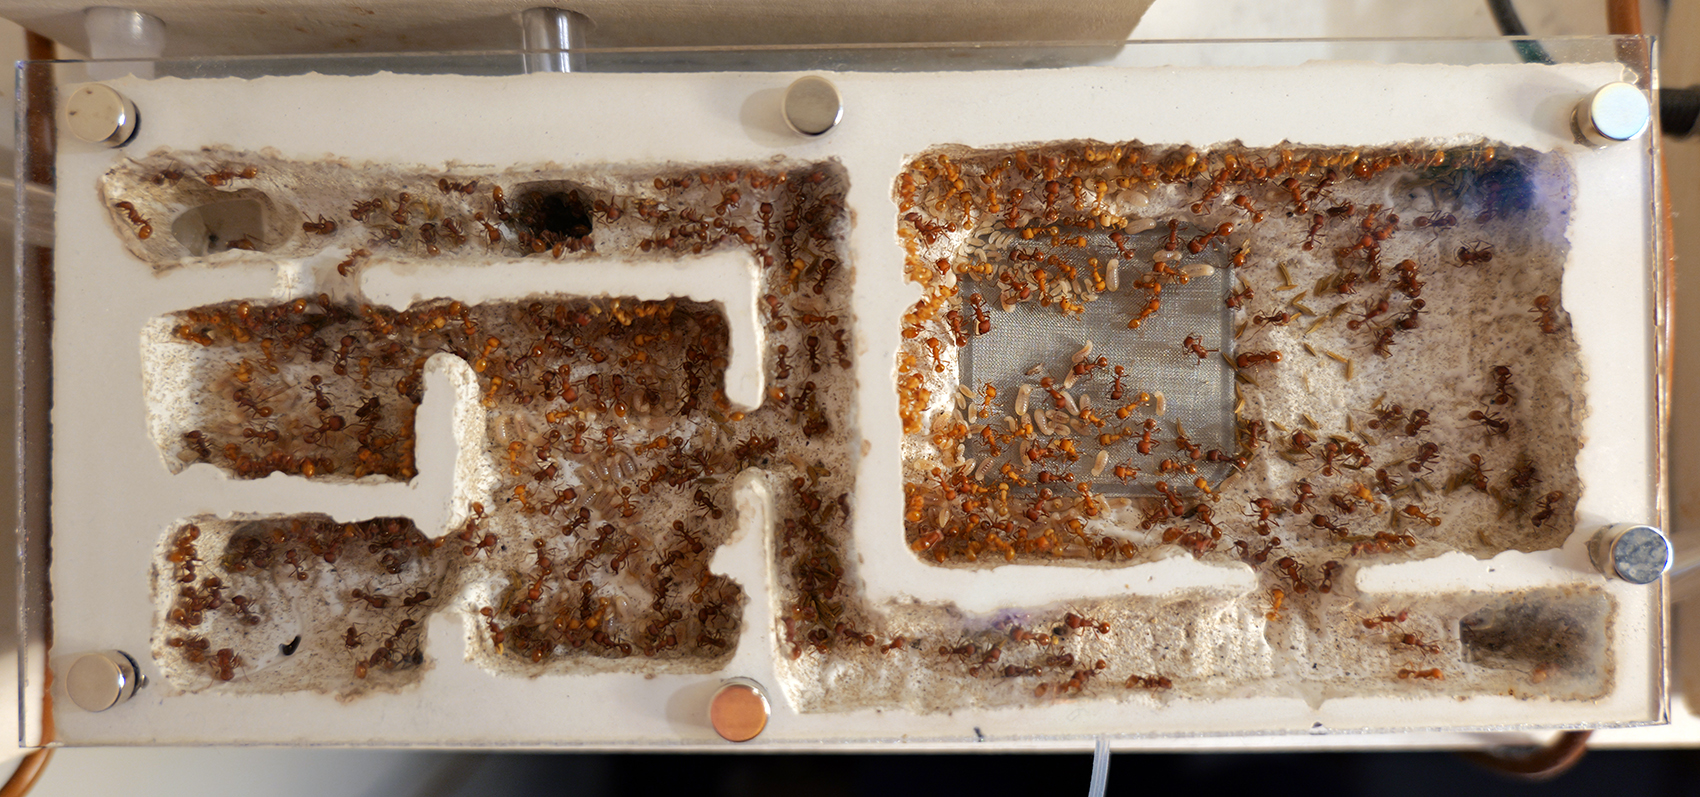
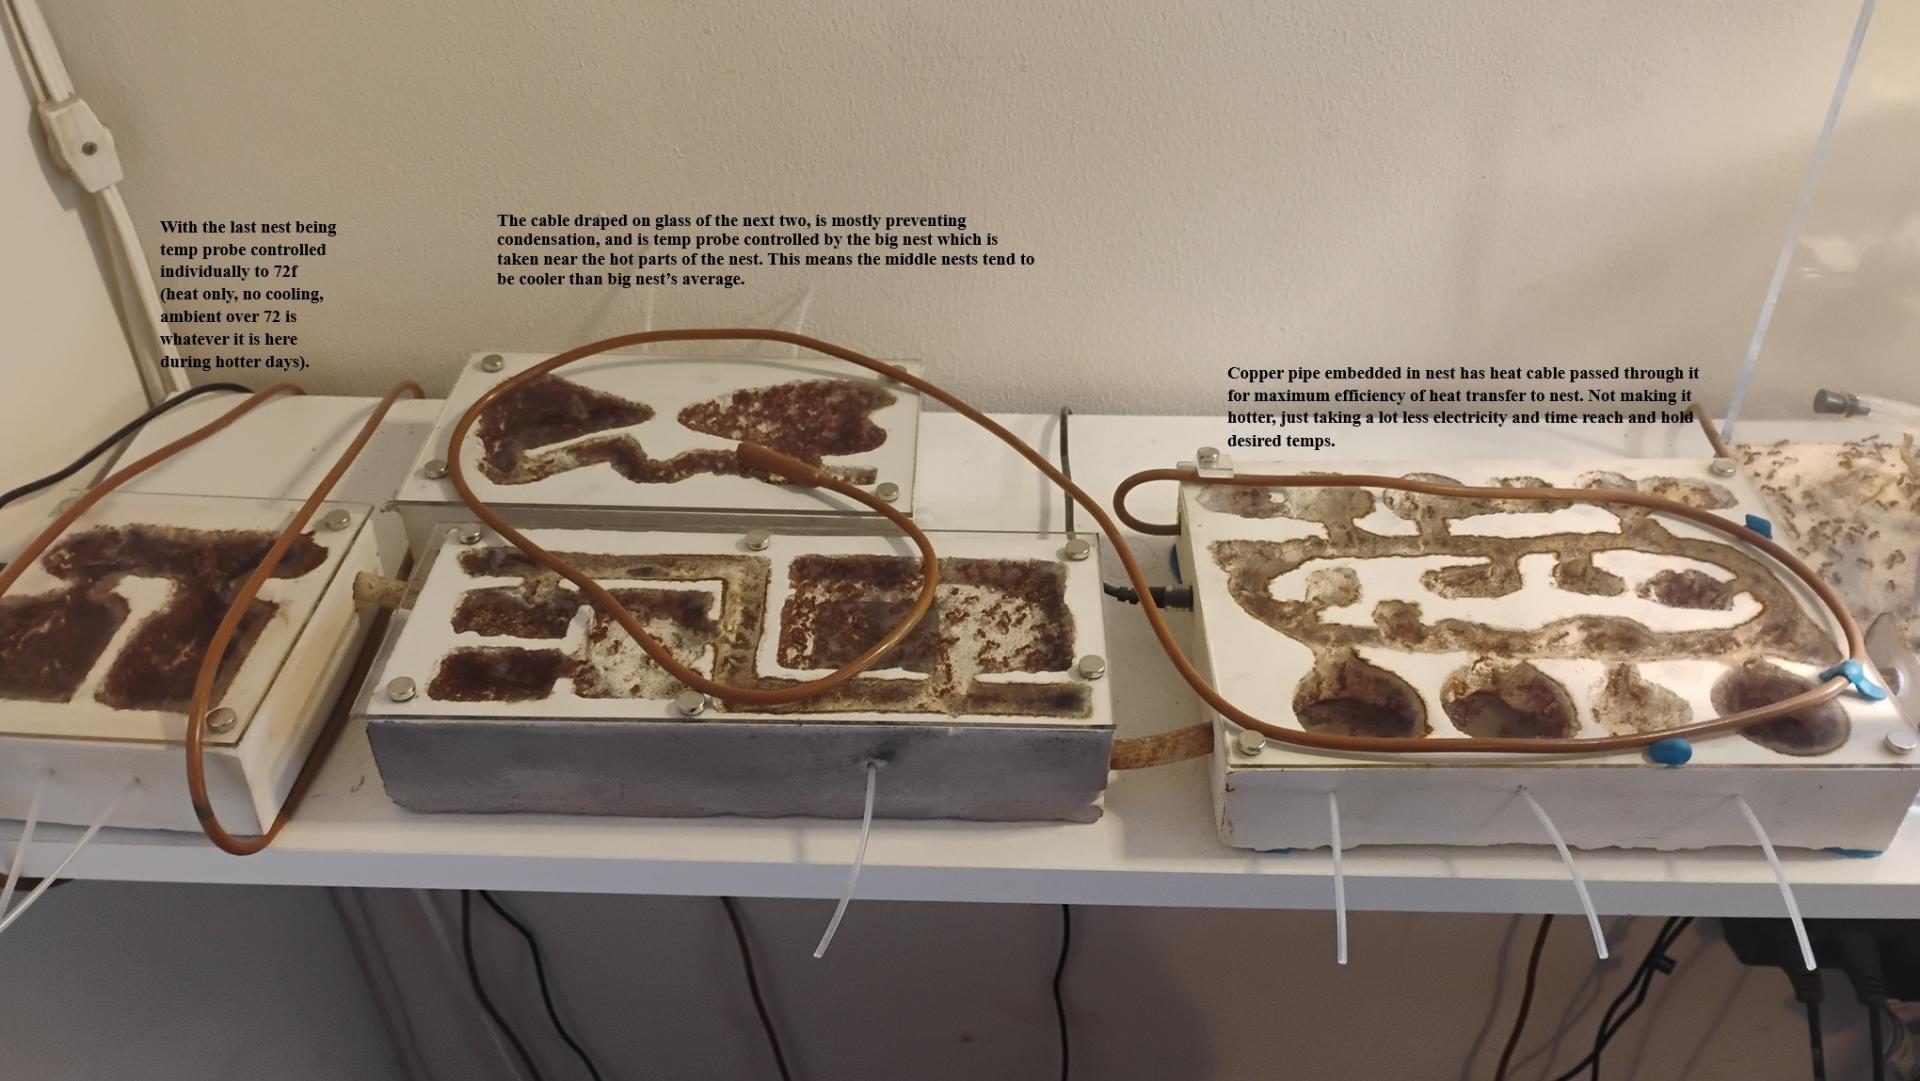
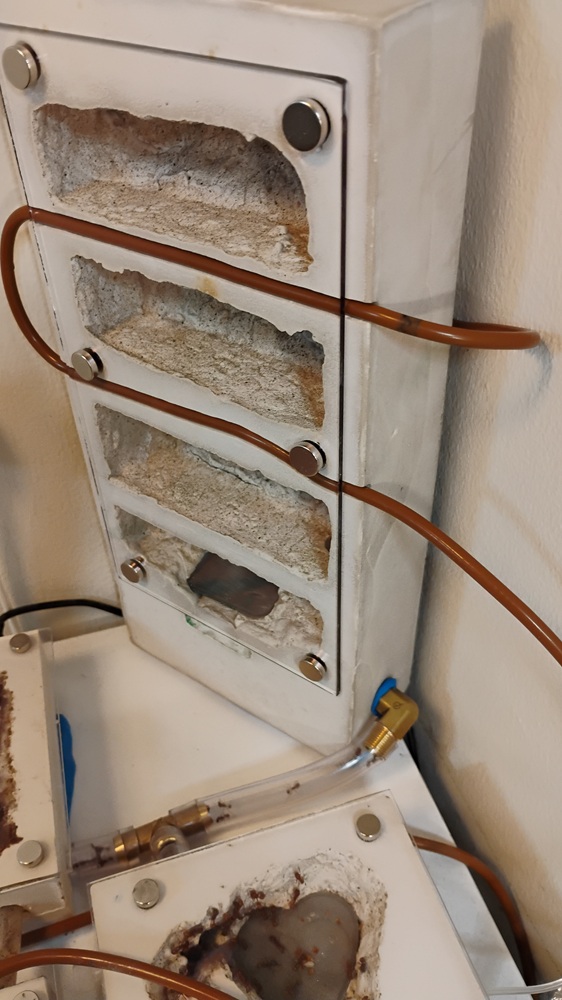
Heat cable puts heat inside the nest AND on the glass at the same time. The heat transfer and retention will not be as good an efficiency as the copper heat pipe. But in one cable run we get both better nest heating efficiency compared to heating externally where a lot of the heat is just going off into the room. And we get the contact with the glass which should keep the condensation at bay too.
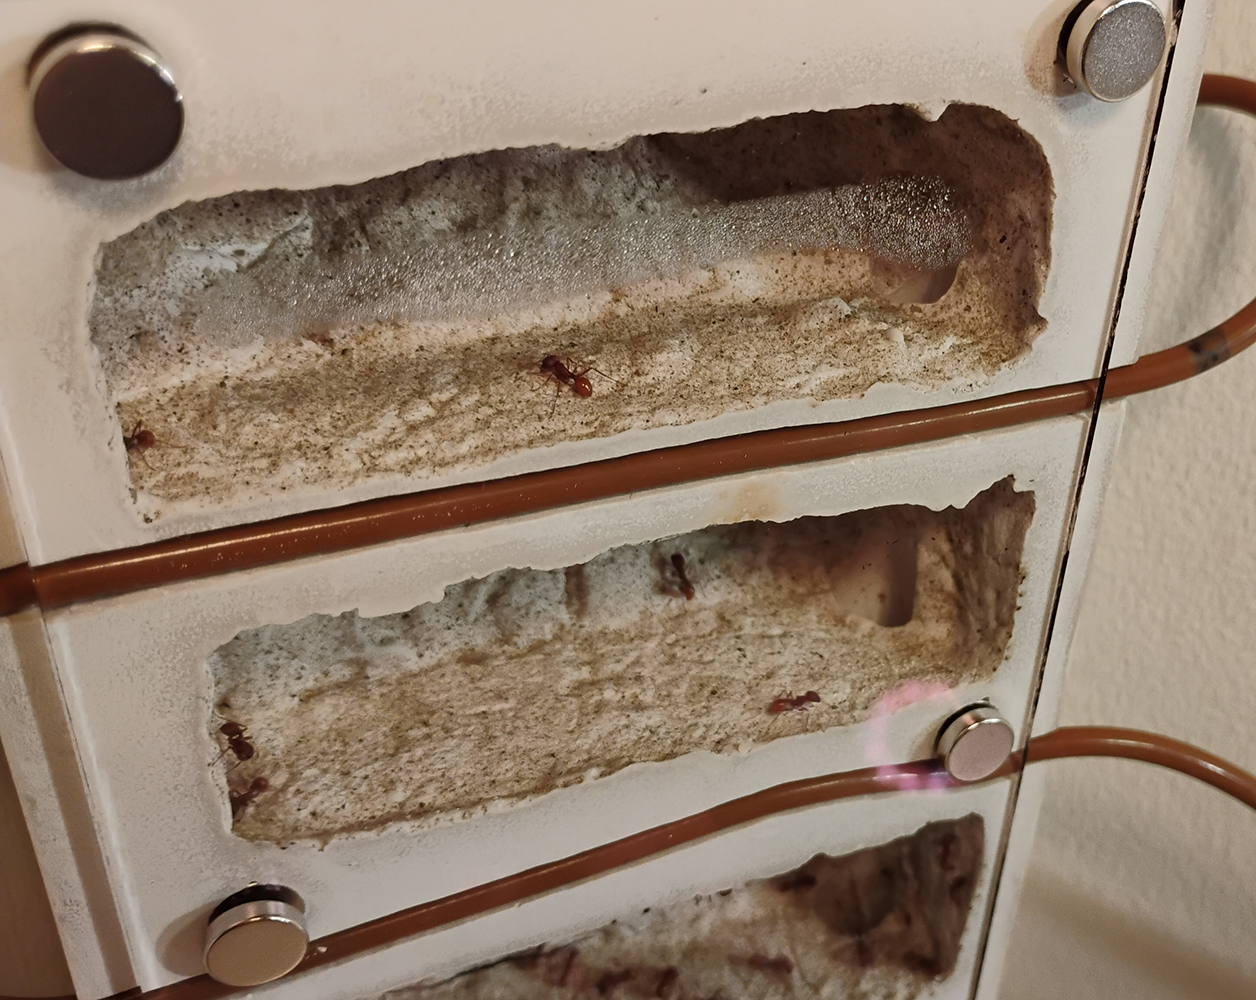
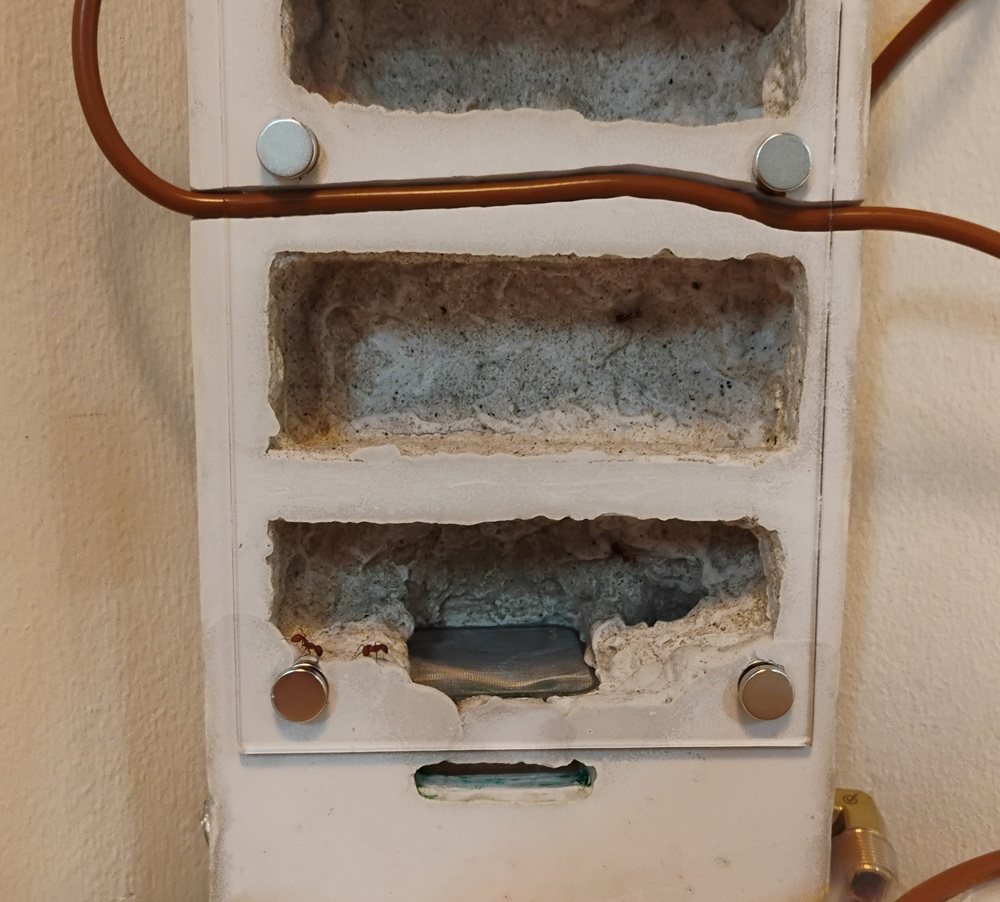
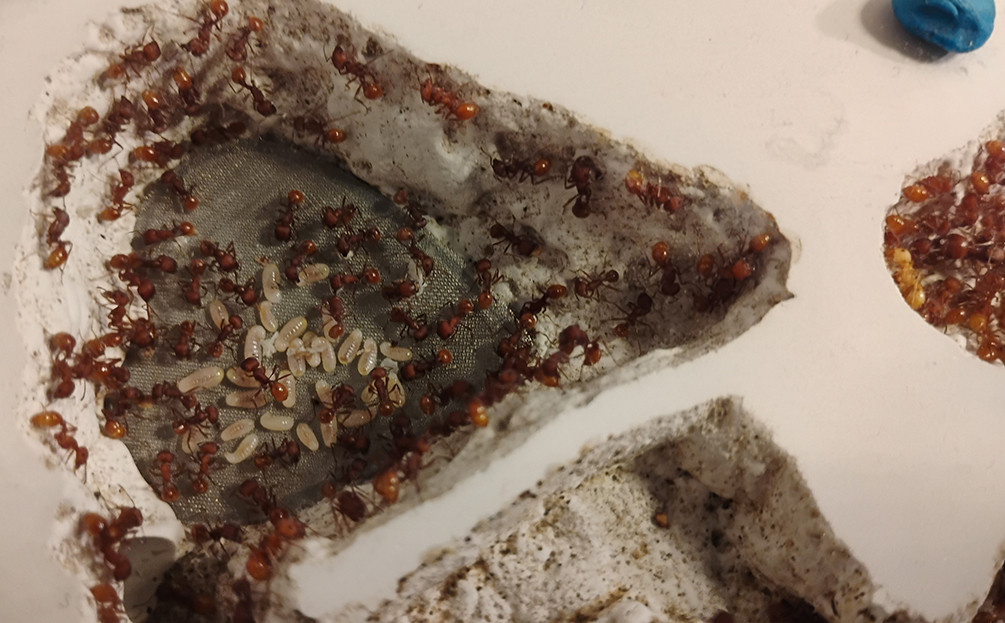
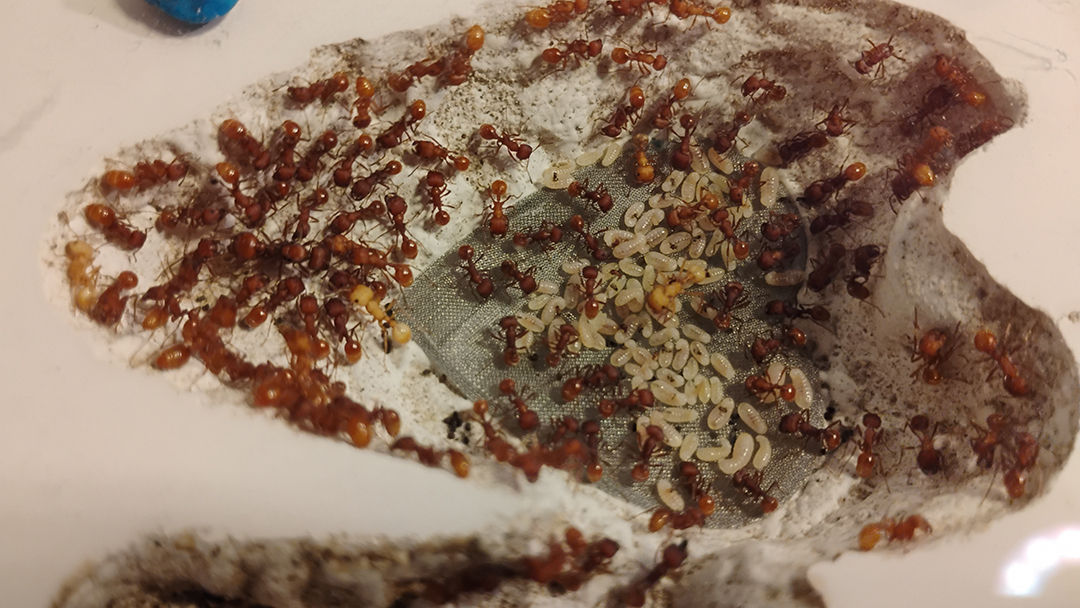
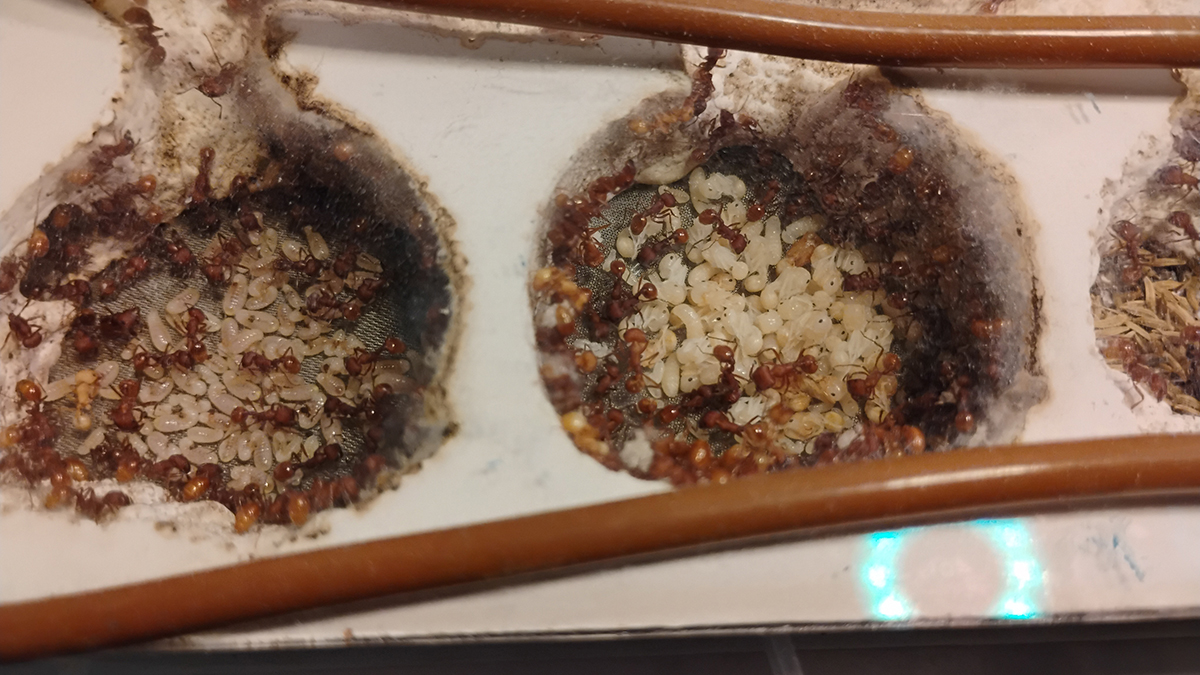
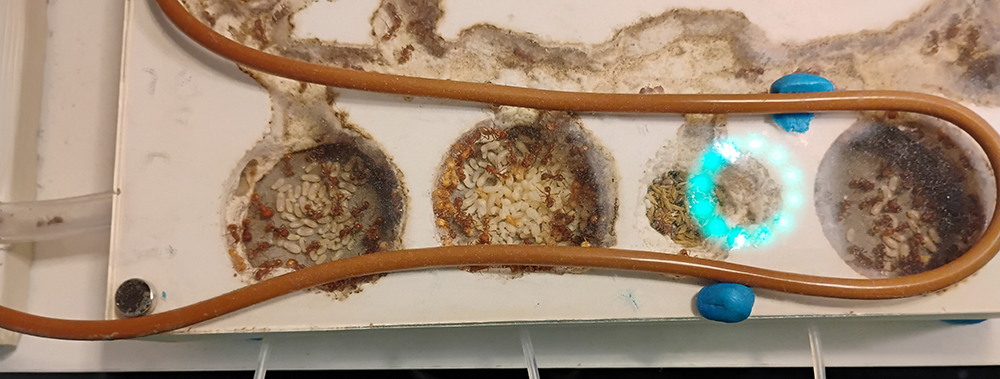
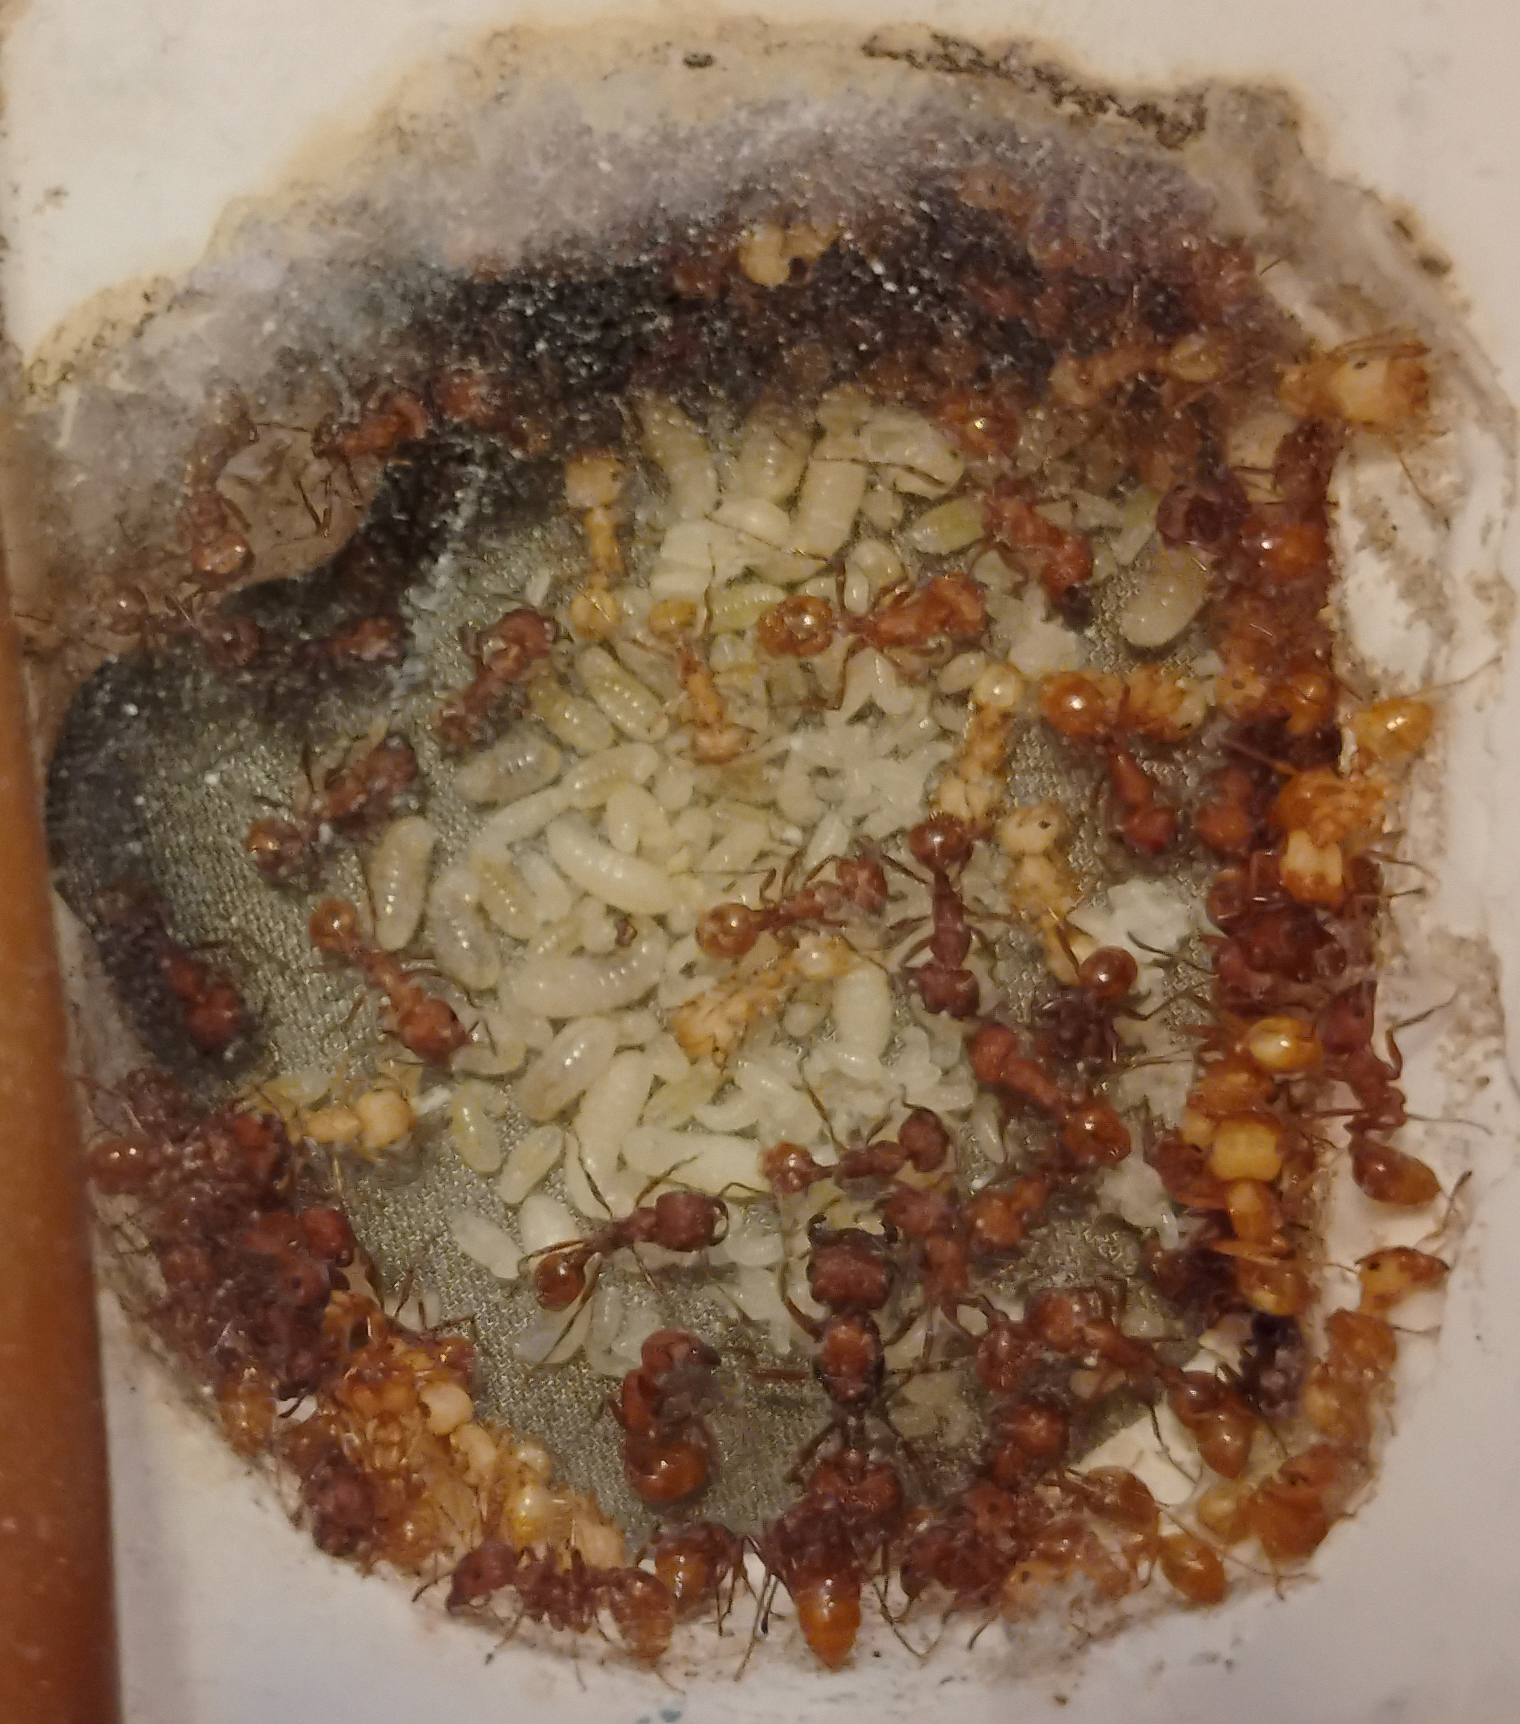
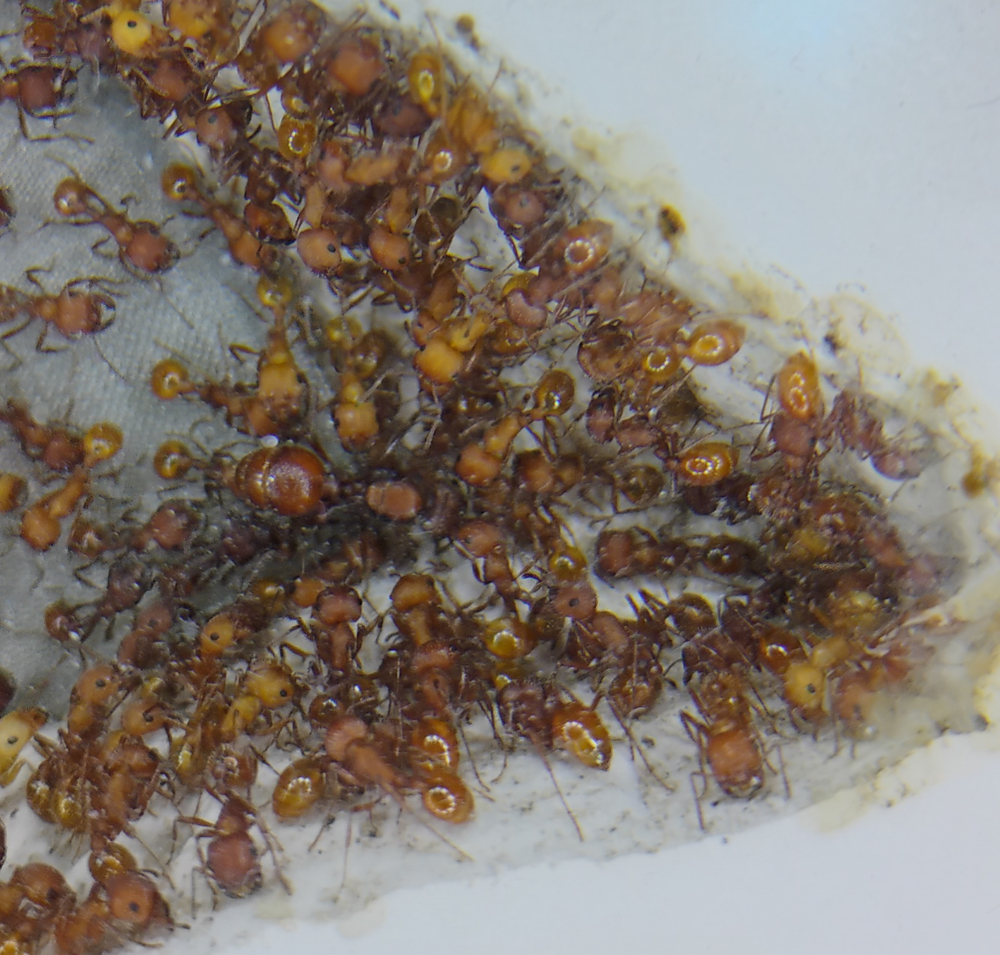
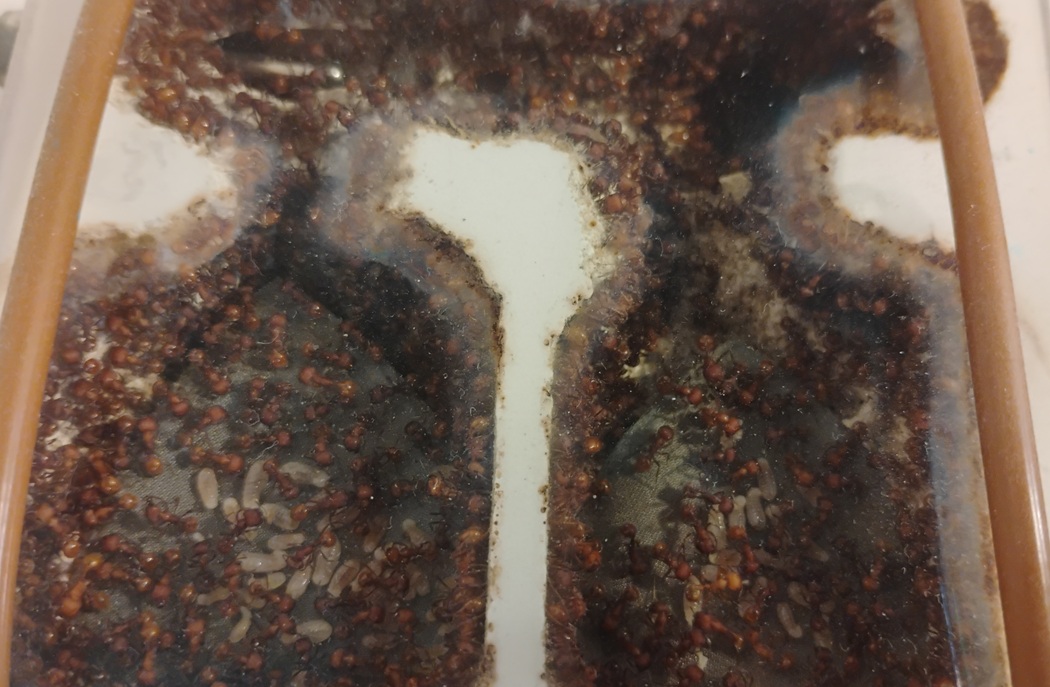
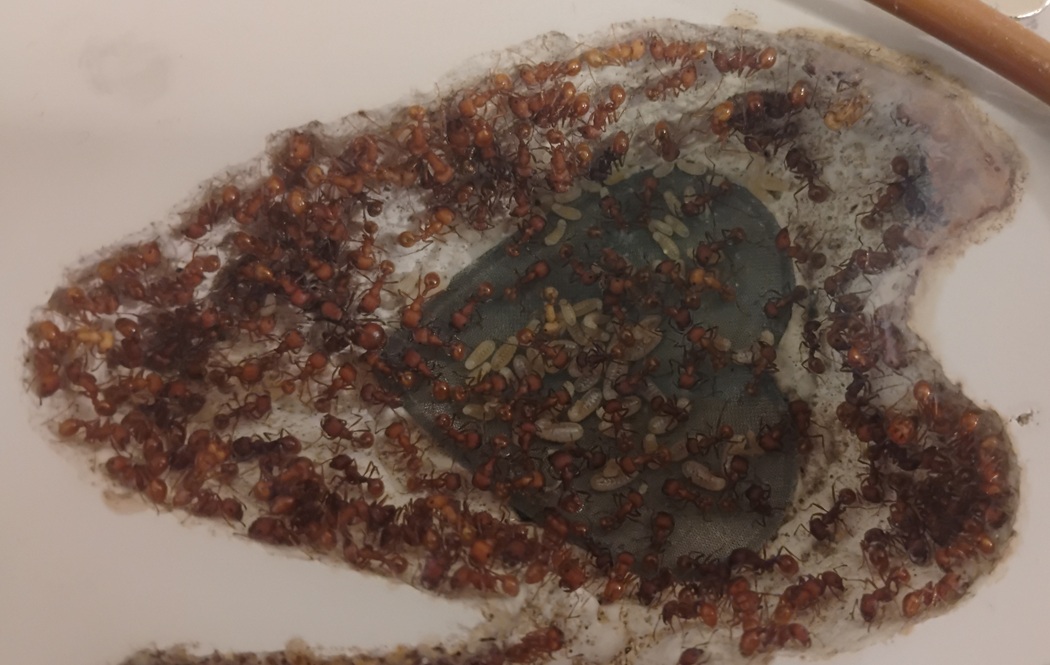
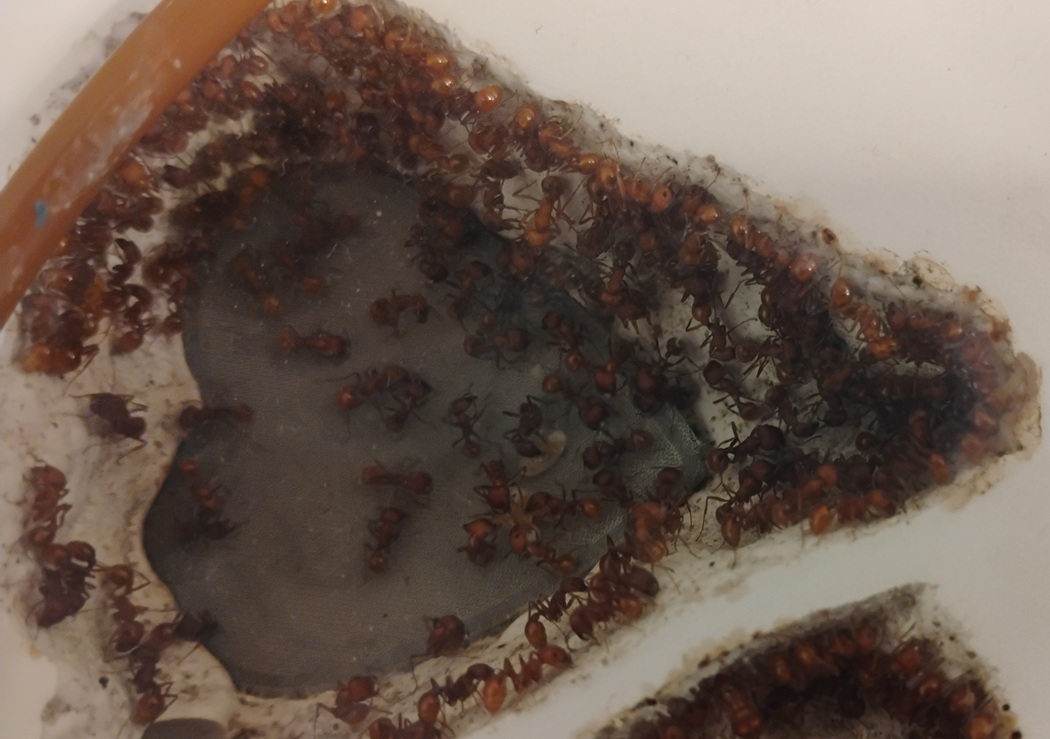
Though at time of post the nest has heavy condensation on the top three floors. This is normal for a new nest that still has a lot of water in the nest block from both plater mix and all the washing out later. Typically this will clear up in about 3-5 days as the nest block dries out.
And as any of you might imagine, yes there is one down side to this setup. That cable is locked in there now, to get it out would need to remove the glass, that is going ot be a fixed feature of dealing with this nest for as long as I have it. As well if I pulled the cable wrong it would pop the glass off. Though that nis part of the point of having a very form fitting tight channel. That should hold it in place and not allow any tugs on the cable in X direction to transfer any of that force onto the glass. The cable would have to be tugged very specifically outward away from the glass to do so. Any other angel of yank would be held in place and not allowed to twist/move and prevent force transfer.
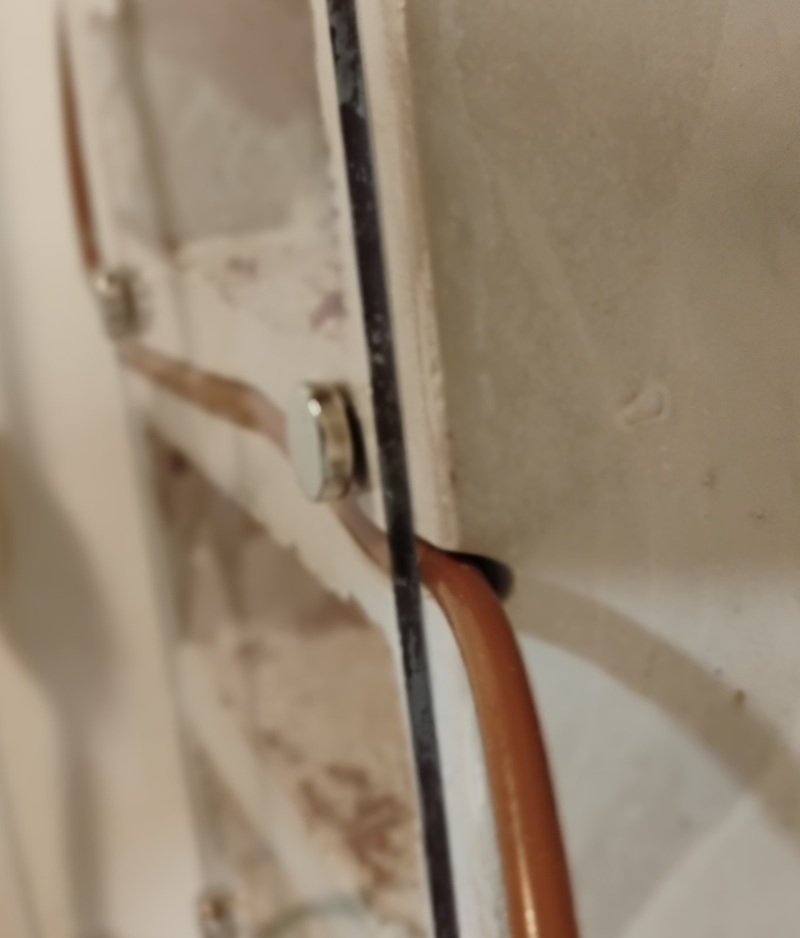
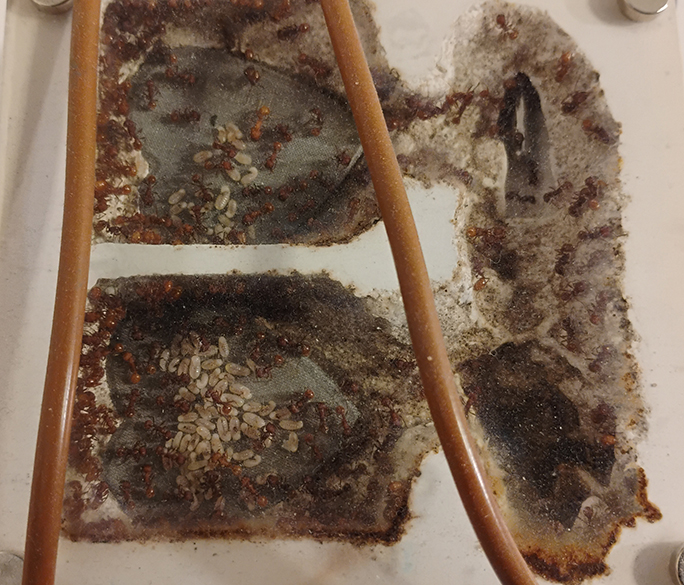
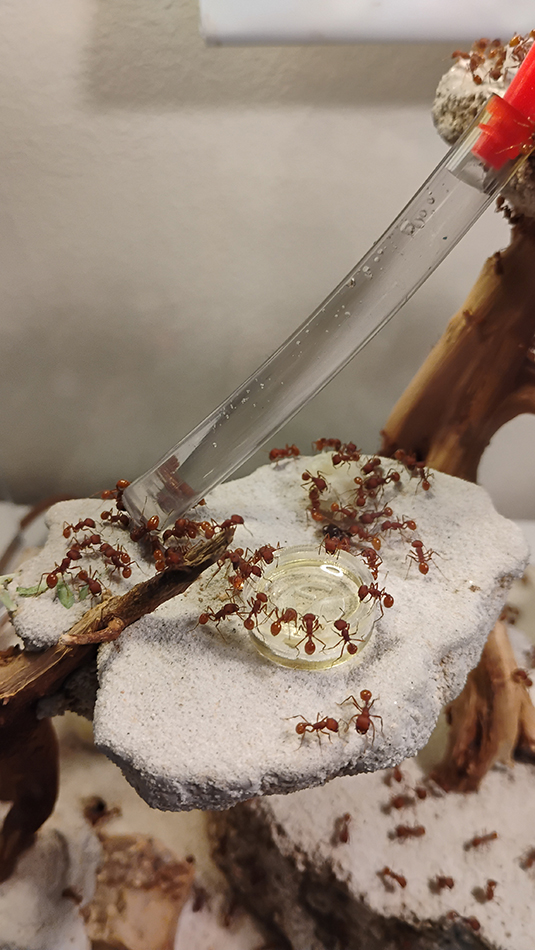
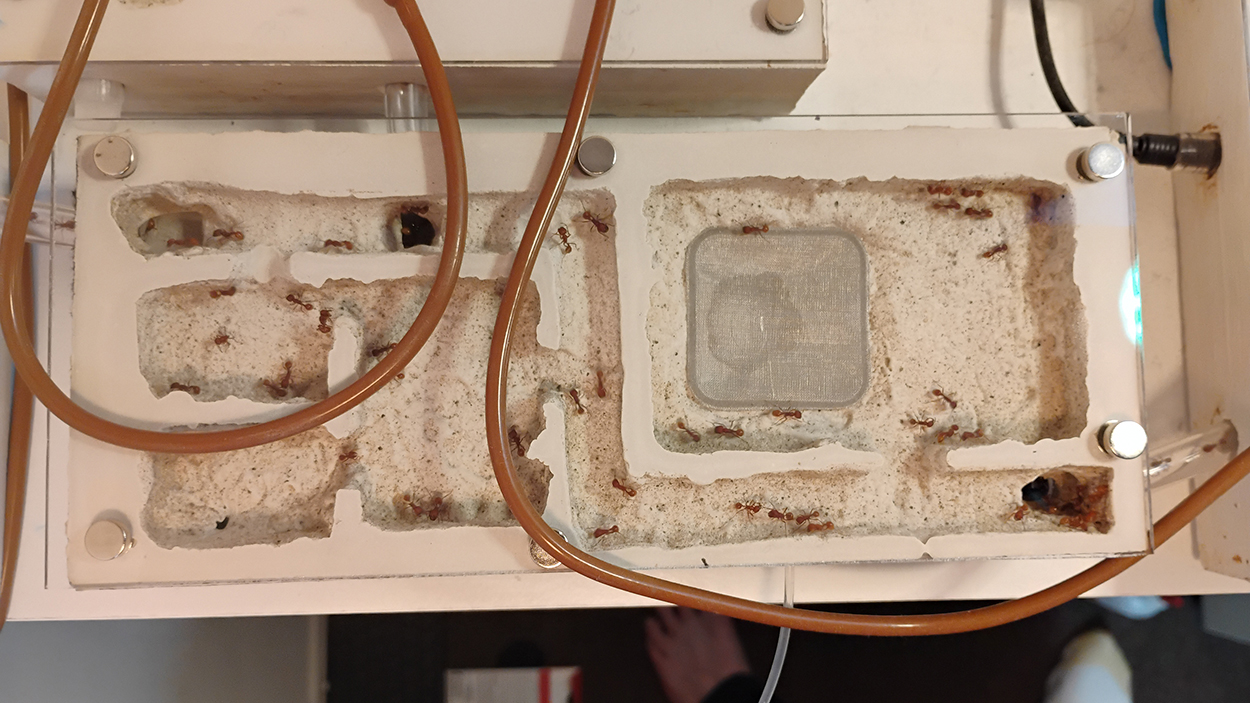
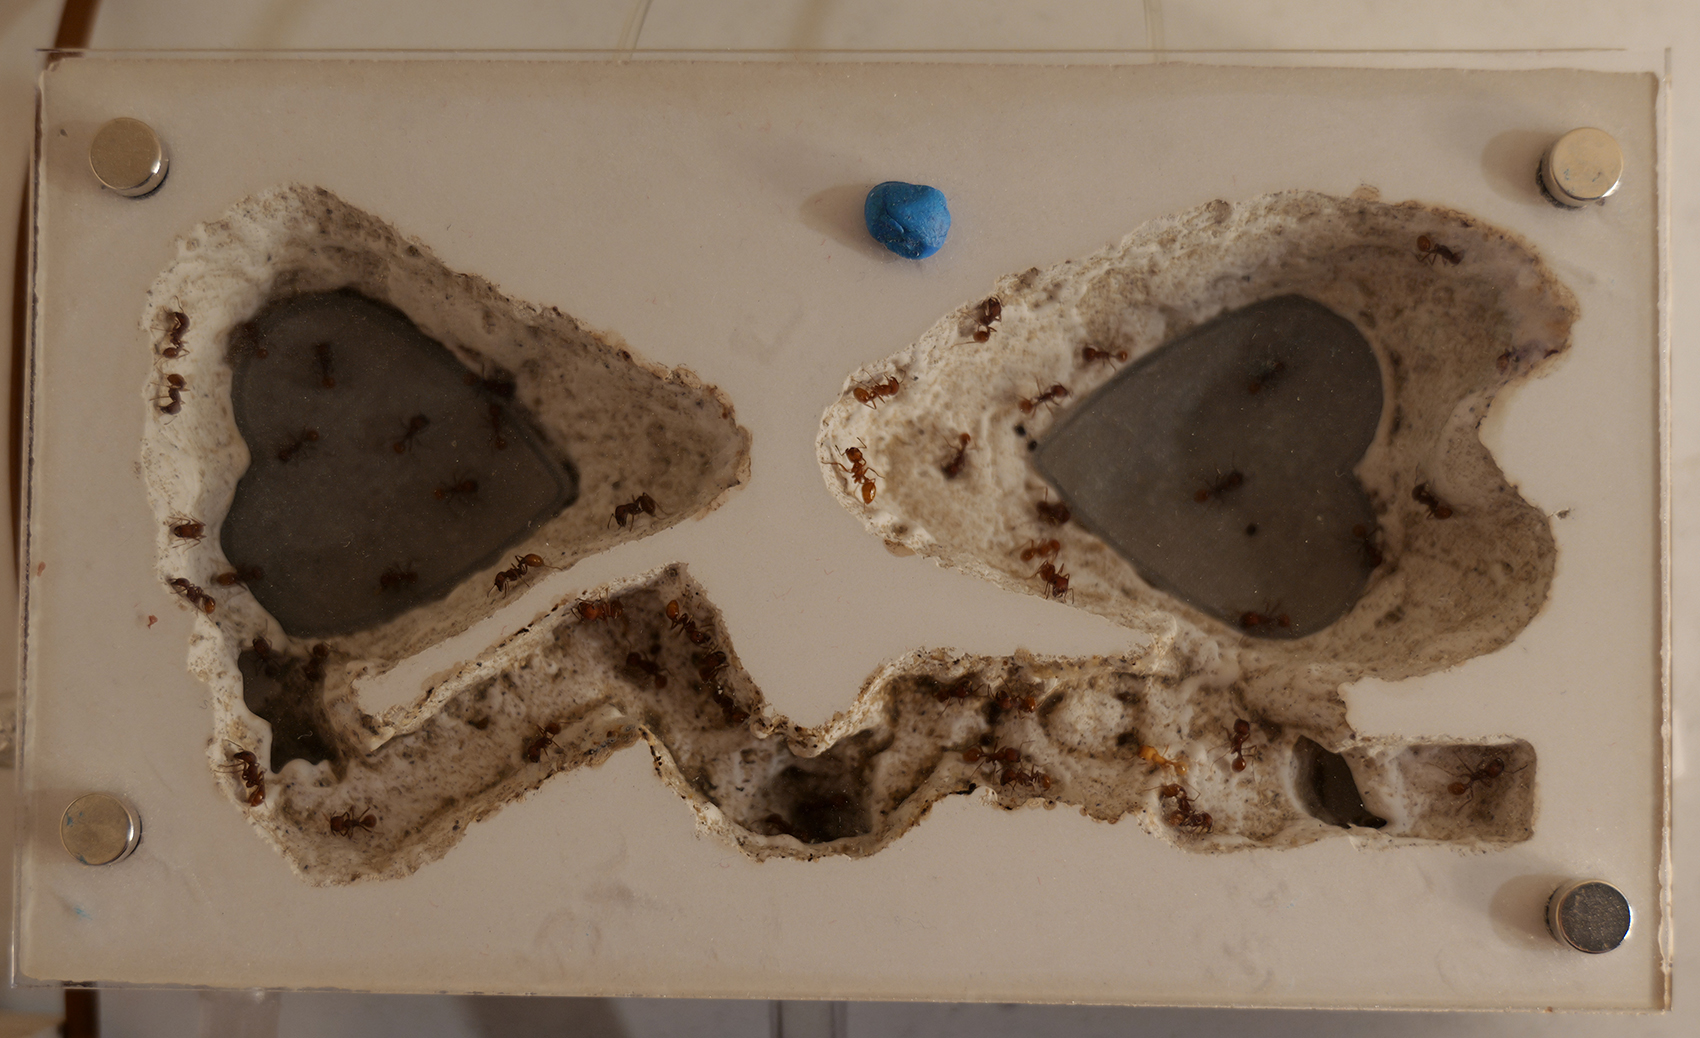
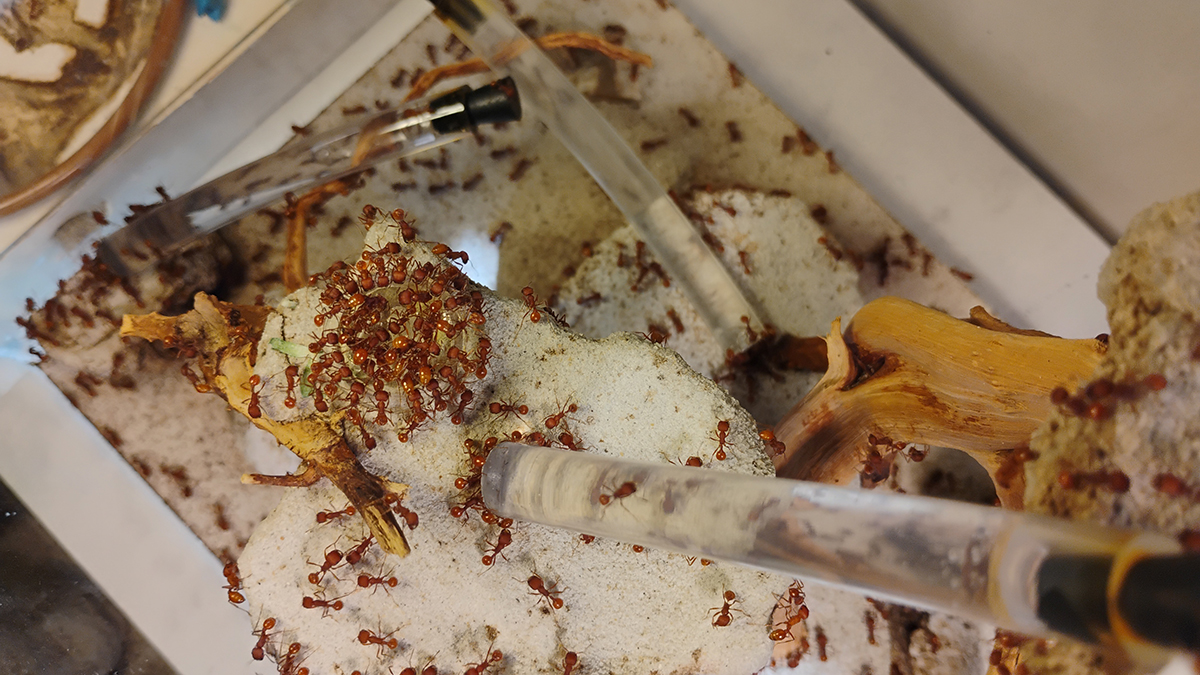
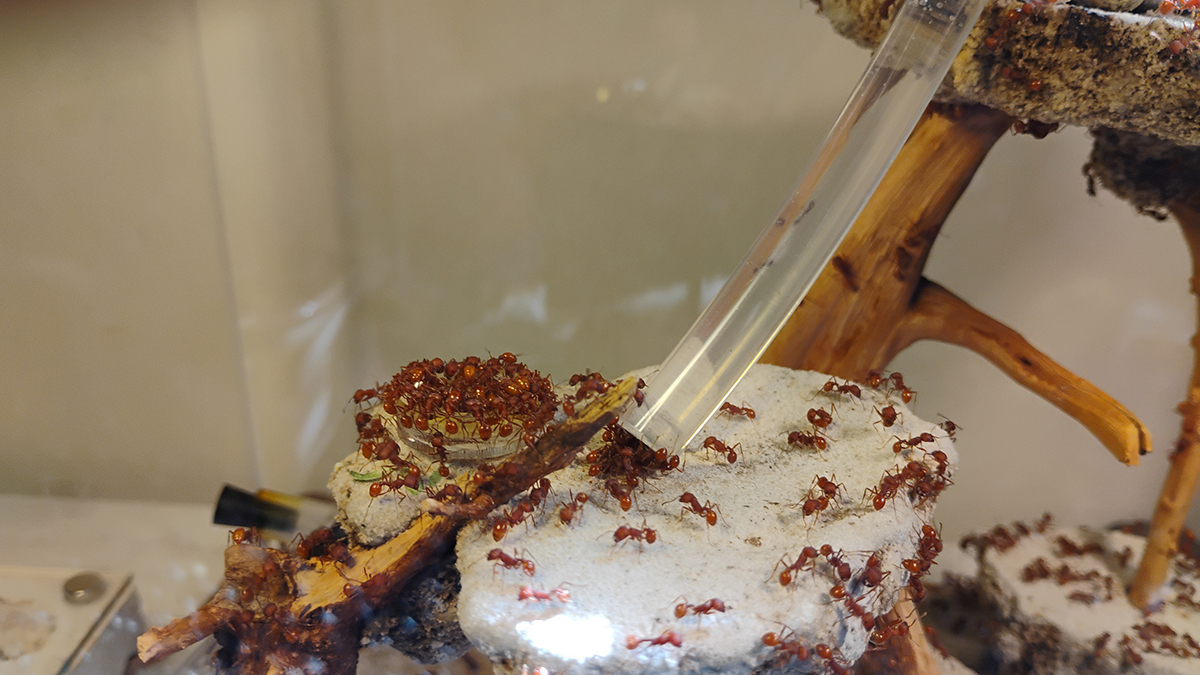
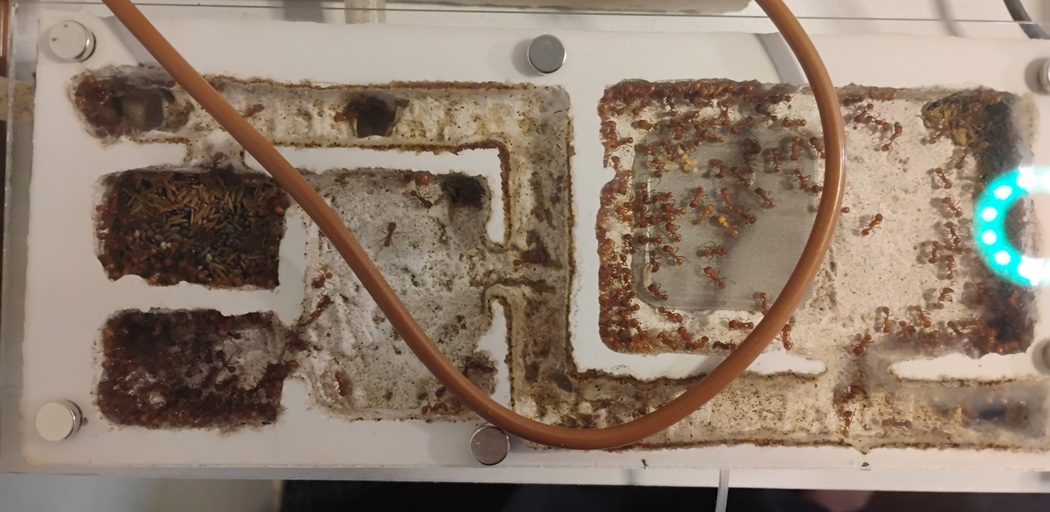
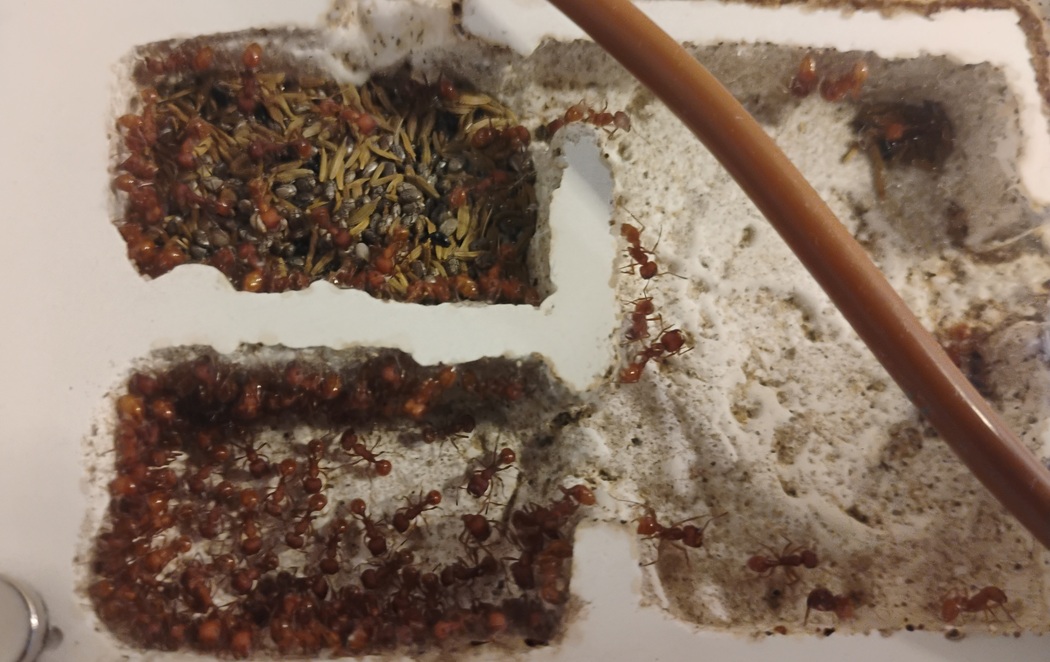
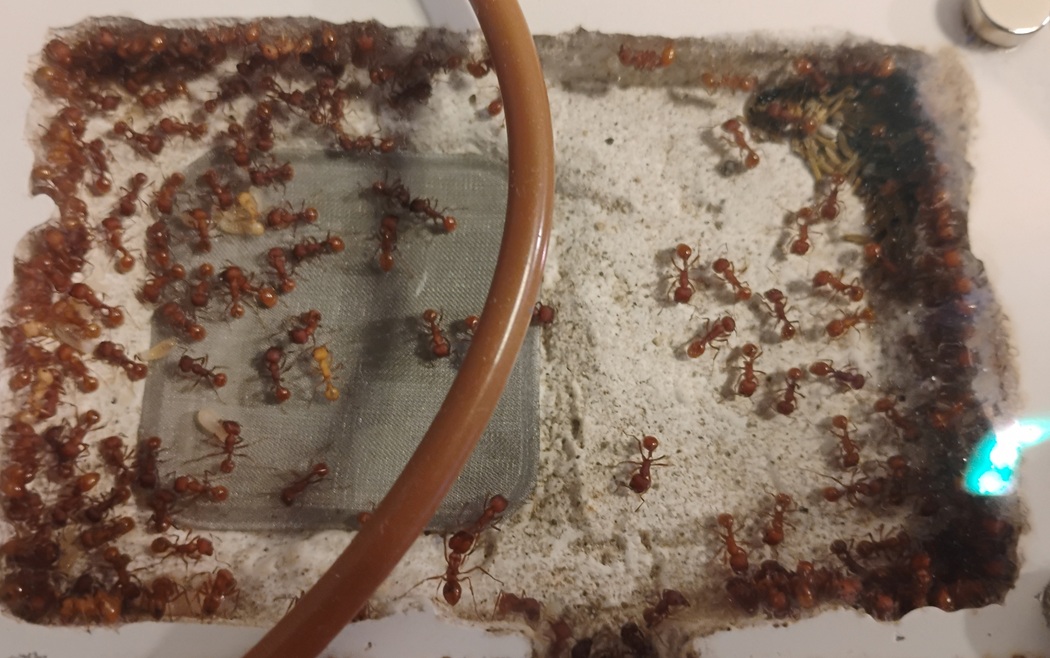
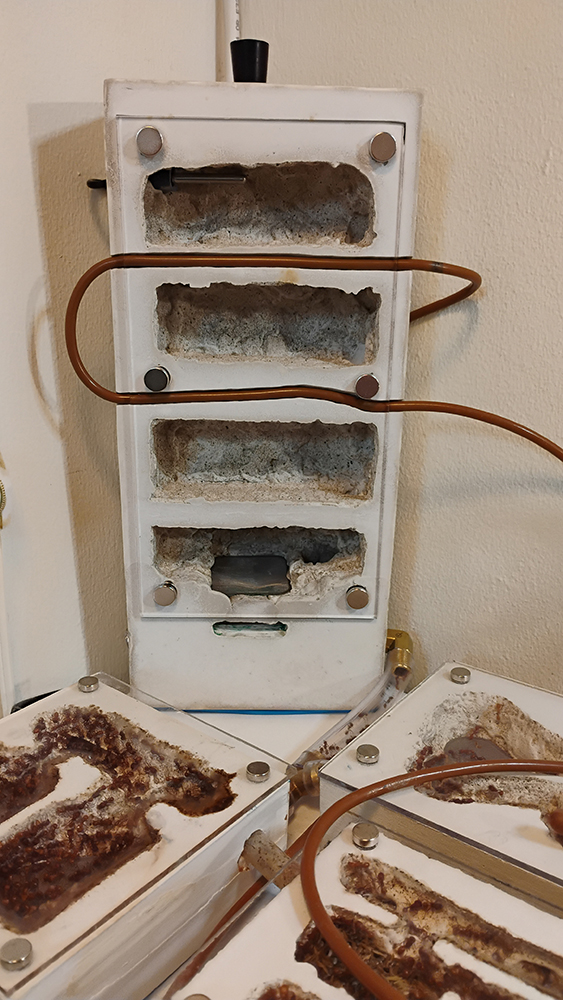
Just put it in place yesterday so we’ll see how it all lands out in a week or so. Here are the opening images, including the little path i had to create for getting in there. Space on the shelf is fixed, not rearanging all this so things got to fit where and how they can. Two bits of brass water pipe connections, a T and a 90 elbow. The elbow uses a little blutak and fits snugly into the nest port directly. The T had to be cut down and uses a bit of larger tube as a collar to connect the brass and smaller nest ports. The two nests now connect directly in that new tunnel to the new nest.
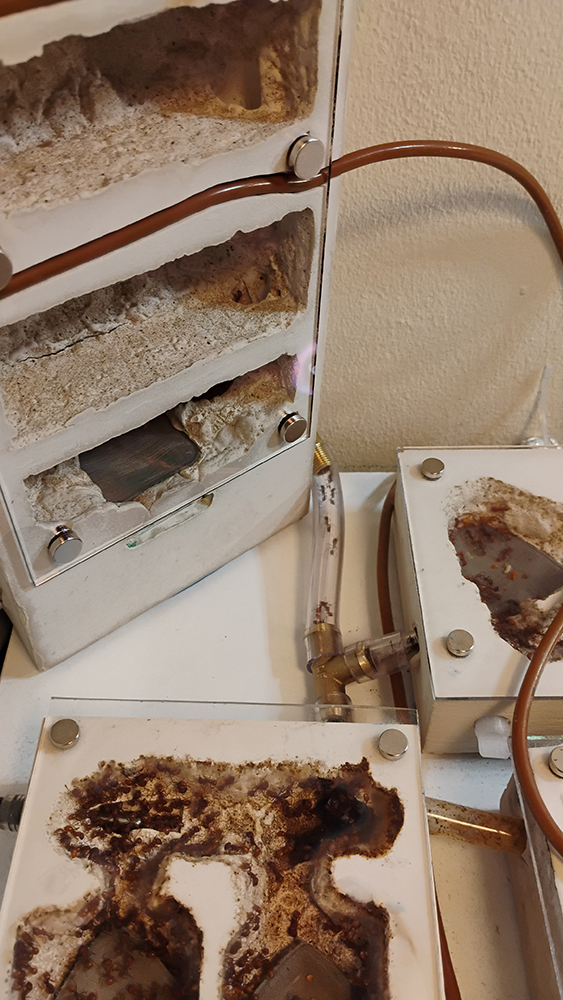
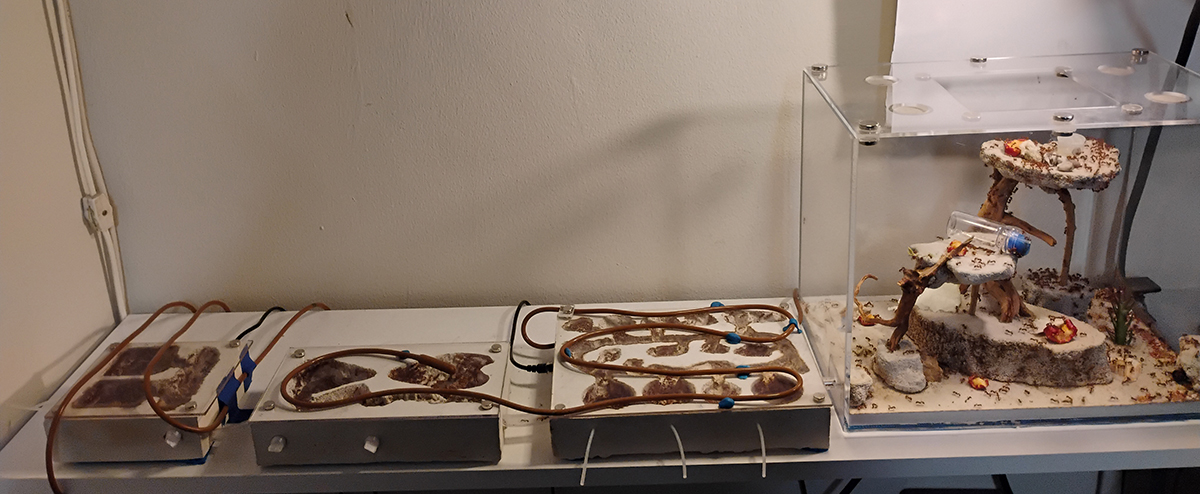
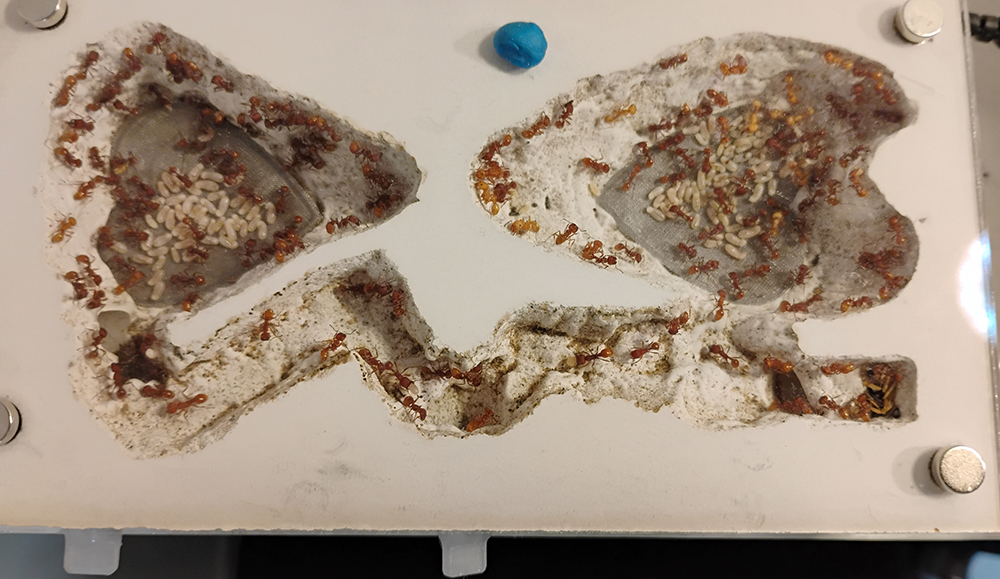
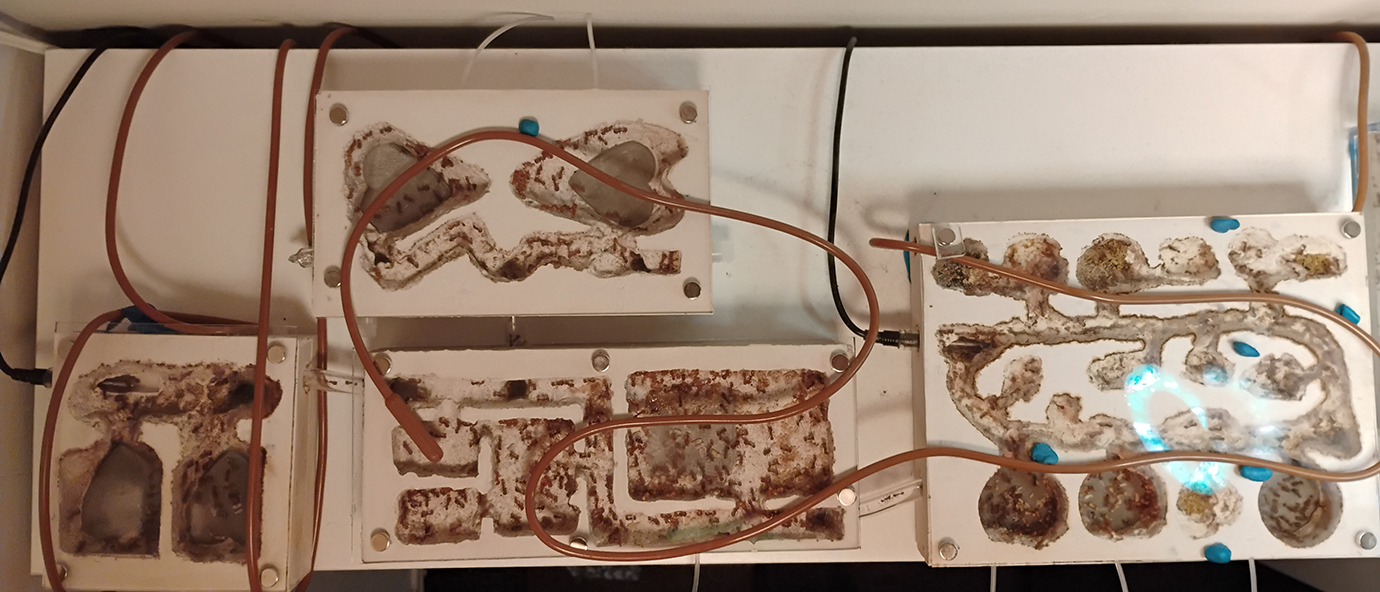
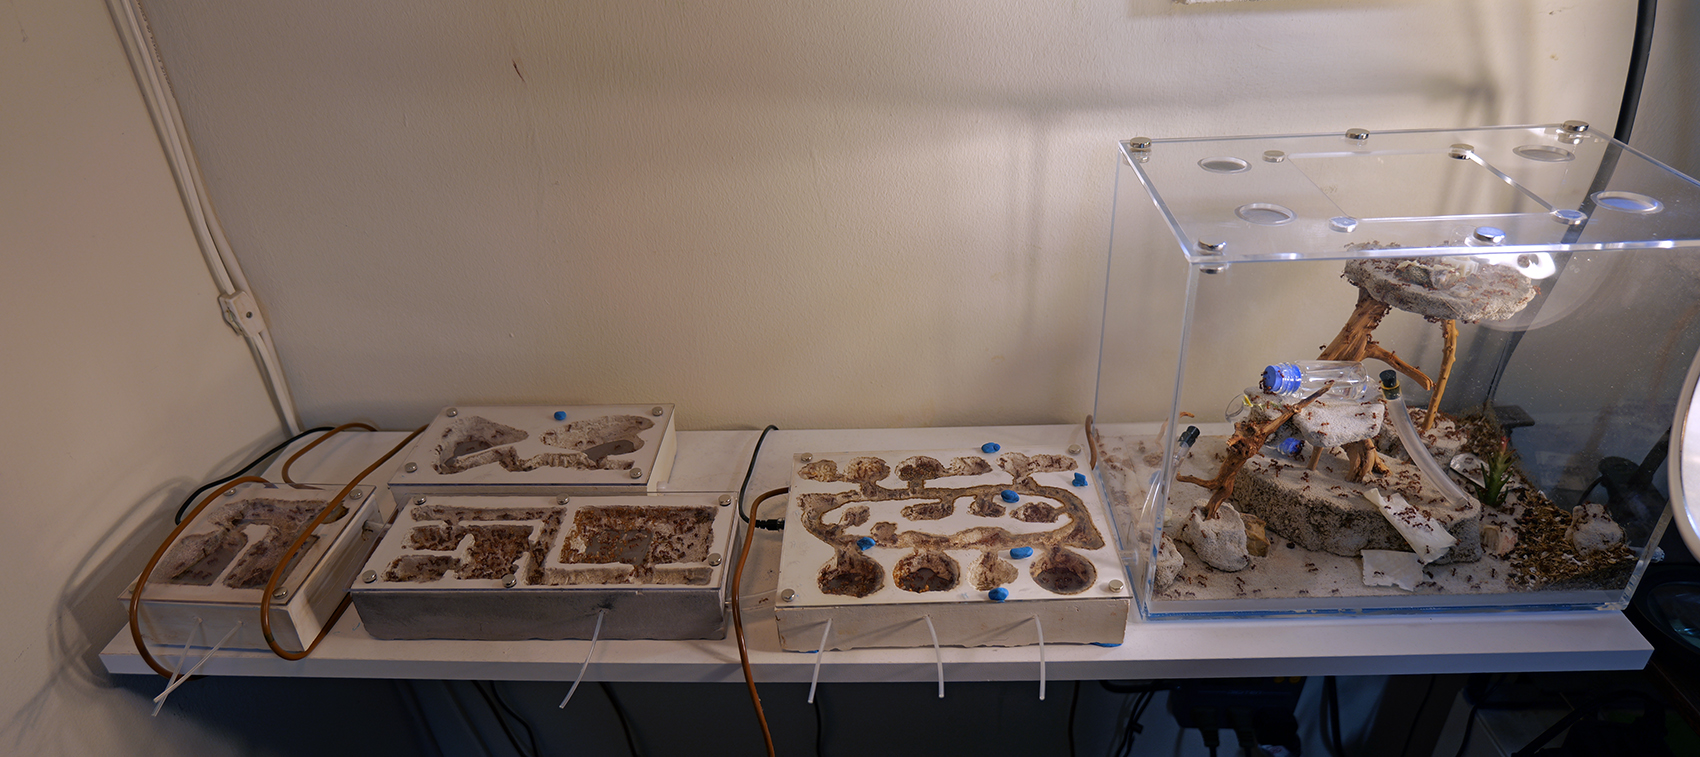
And how it all sits together now
*It is not a specific temperature to be at, it is more about the difference between the nest air temps and the temps of the glass. If difference > X, condensation will form. Keeping the glass just slightly warmed prevents that.
Edited by Full_Frontal_Yeti, November 10 2025 - 9:23 AM.

 *extreme internal screaming* 1x Myrmica ruba sp around 10 workers + pupa