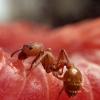
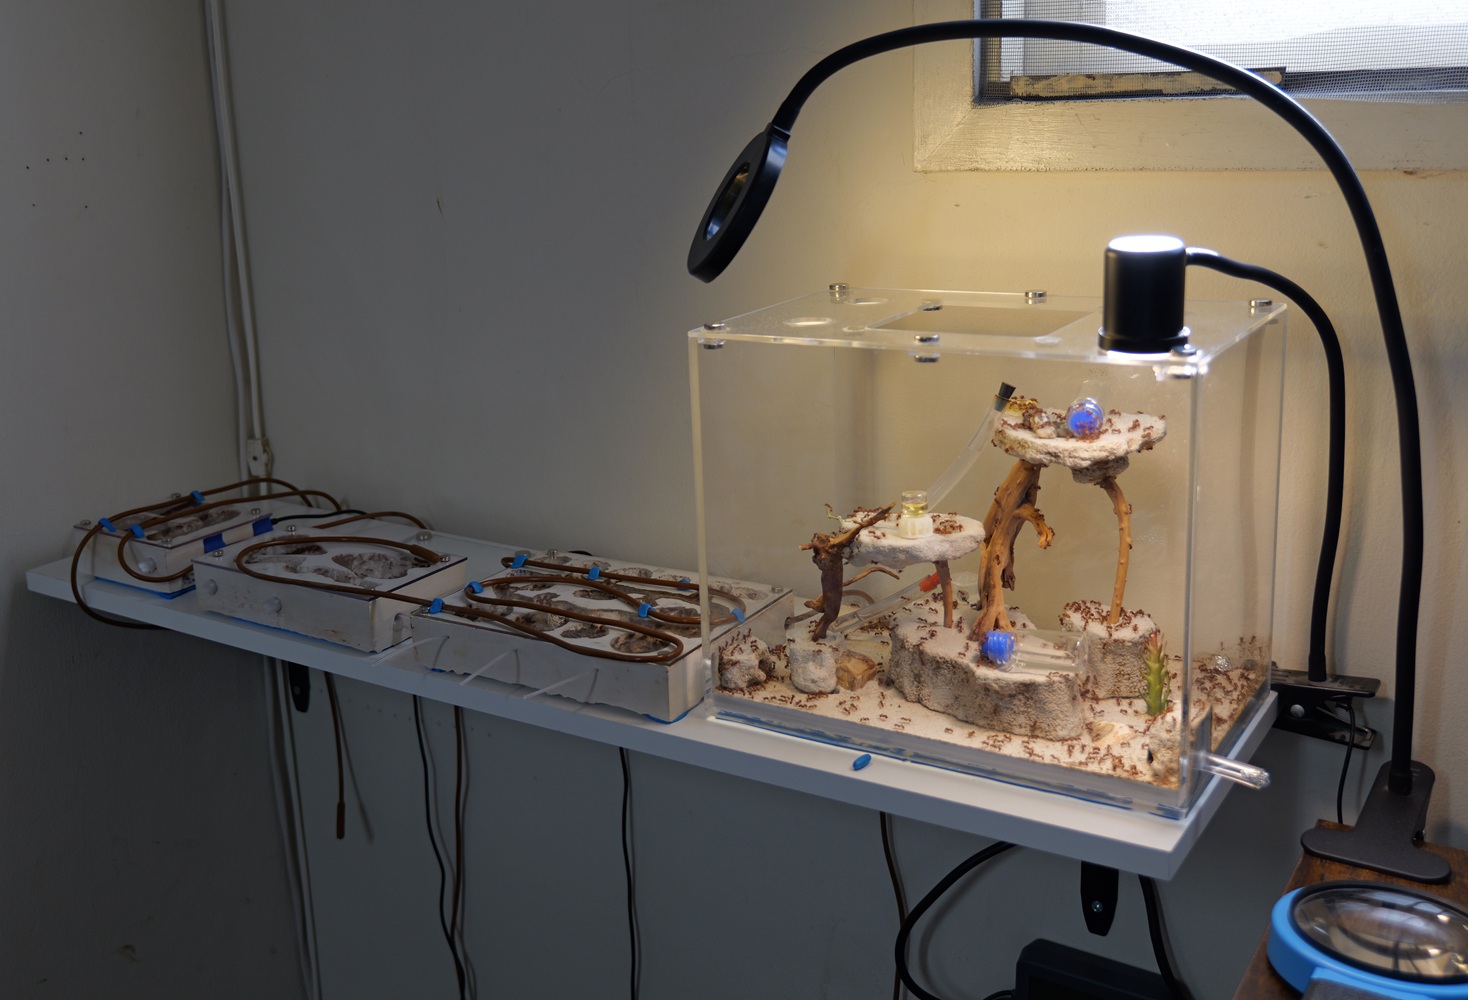
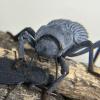
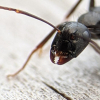
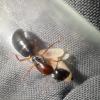
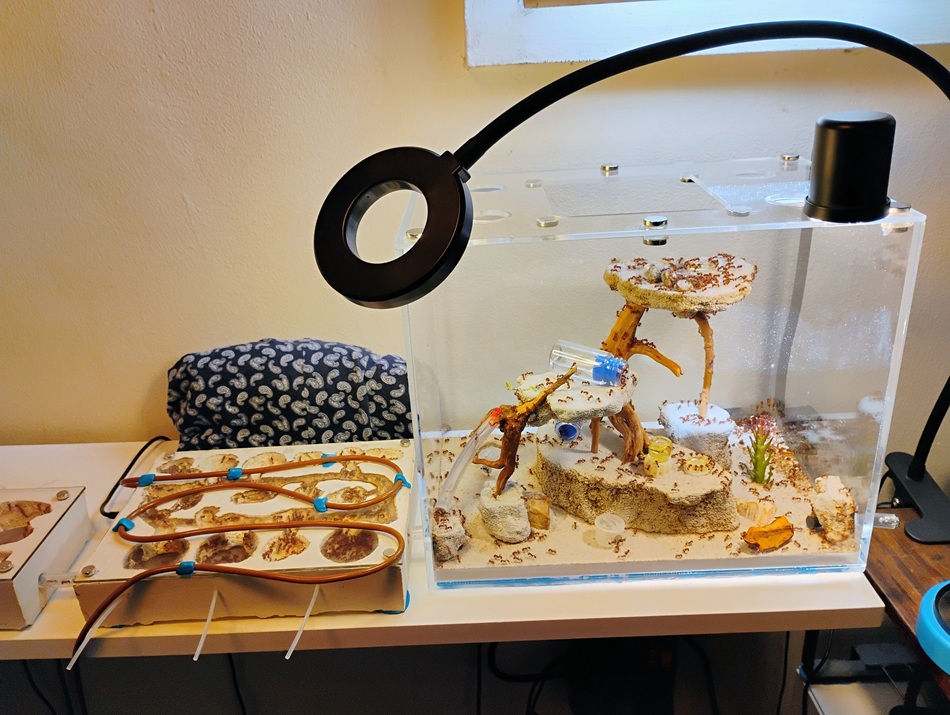
Nothing fresh here to post really, just some beauty shots of the ants. Still just in waiting on the new outworld. I’m hopeful it gets shipped before the end of March, sense the last update seemed to suggest a few weeks and that was about 6 weeks ago now.
Everyone seems fine. The queen is laying eggs again, and I can see a few new feeding larvae have shown up along side the last 4-5 soon to pupate ones that are the last of the last brood pile before she took a staycation.
As she only lays, I estimate, somewhere between 2-8 eggs a day, it takes a while for the brood pile to show back up as a real pile.
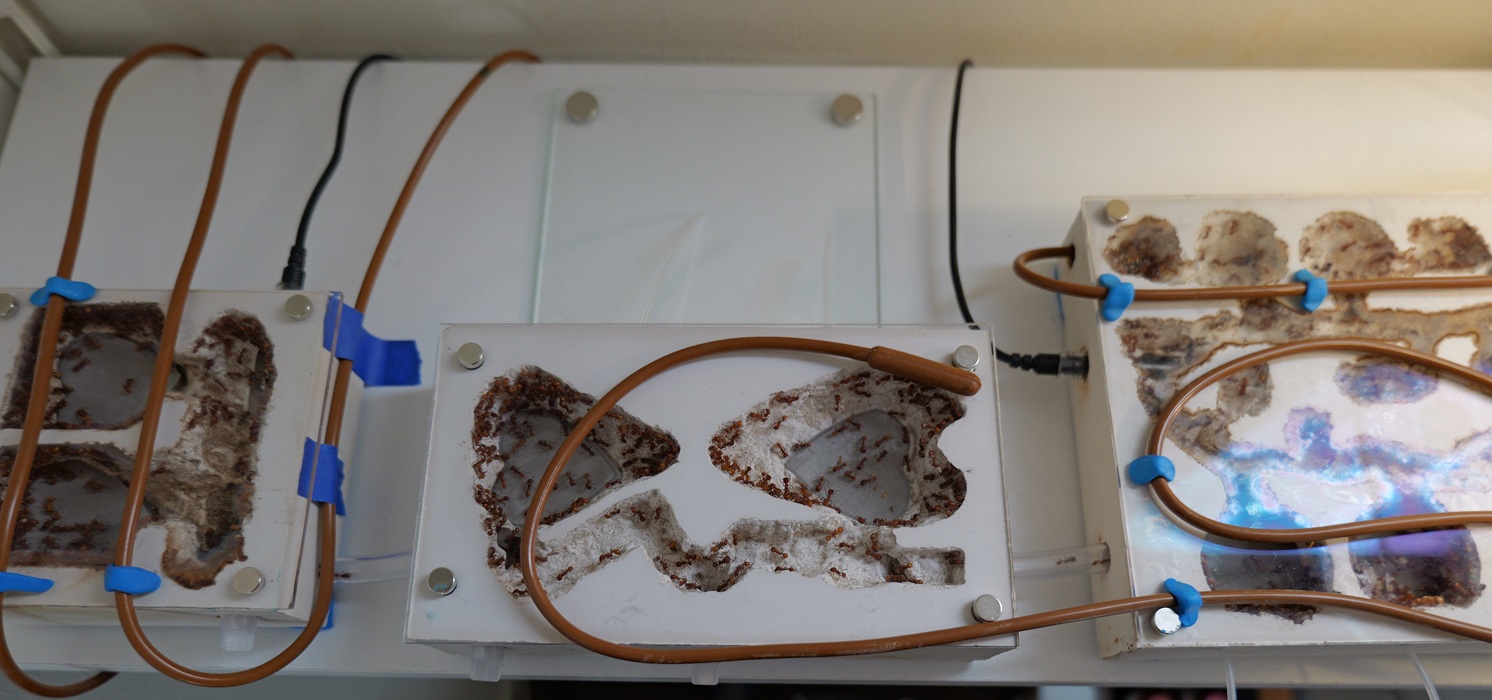
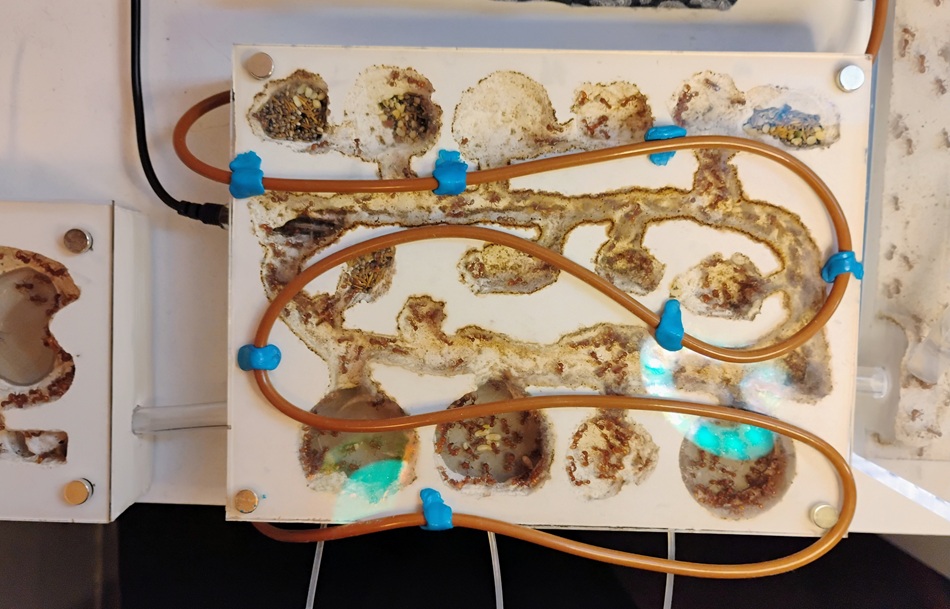
Here you can see the air gap I have mentioned about the heat cables over the glass. It only touches glass on the edges, but bends naturally up in arc over it. This is all it takes to keep the condensation off. But it is relative to the total surface area of the glass you have. A larger piece of glass cools faster, so it needs more heat applied to it. At some point you need to stick it down closer as you will see on the large nest.
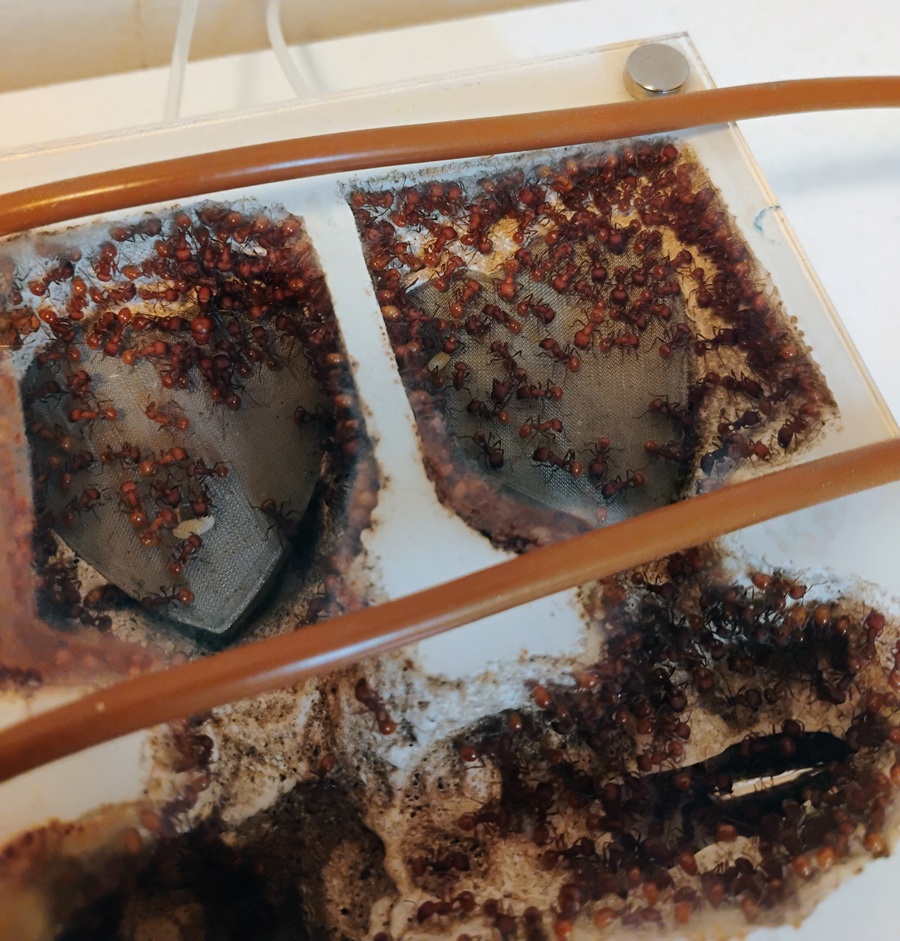
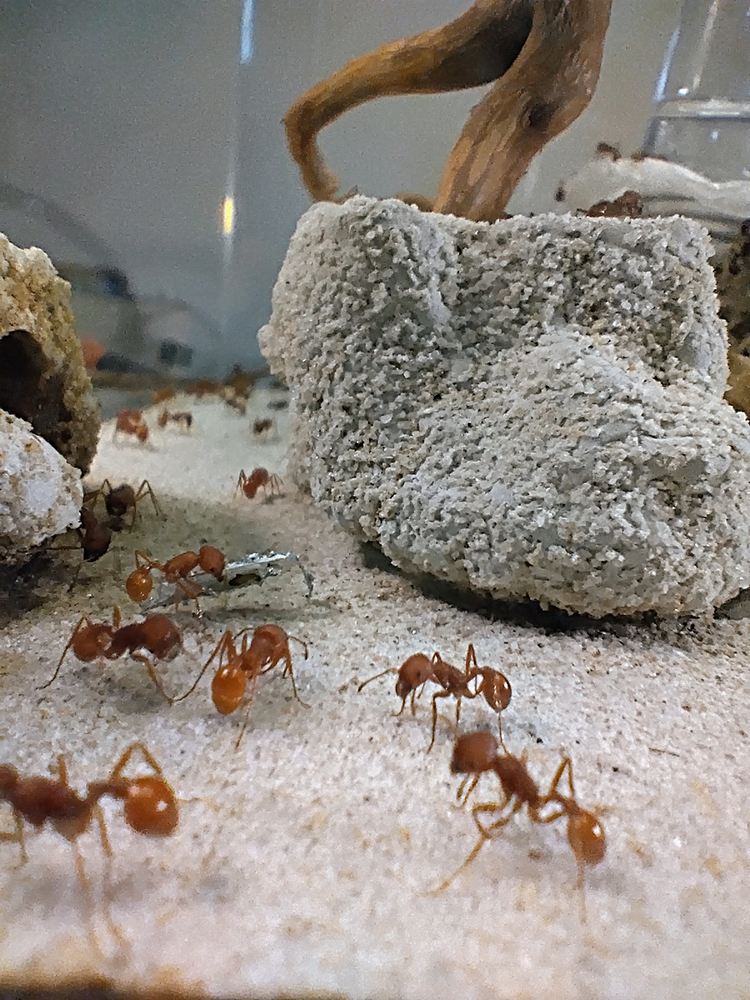
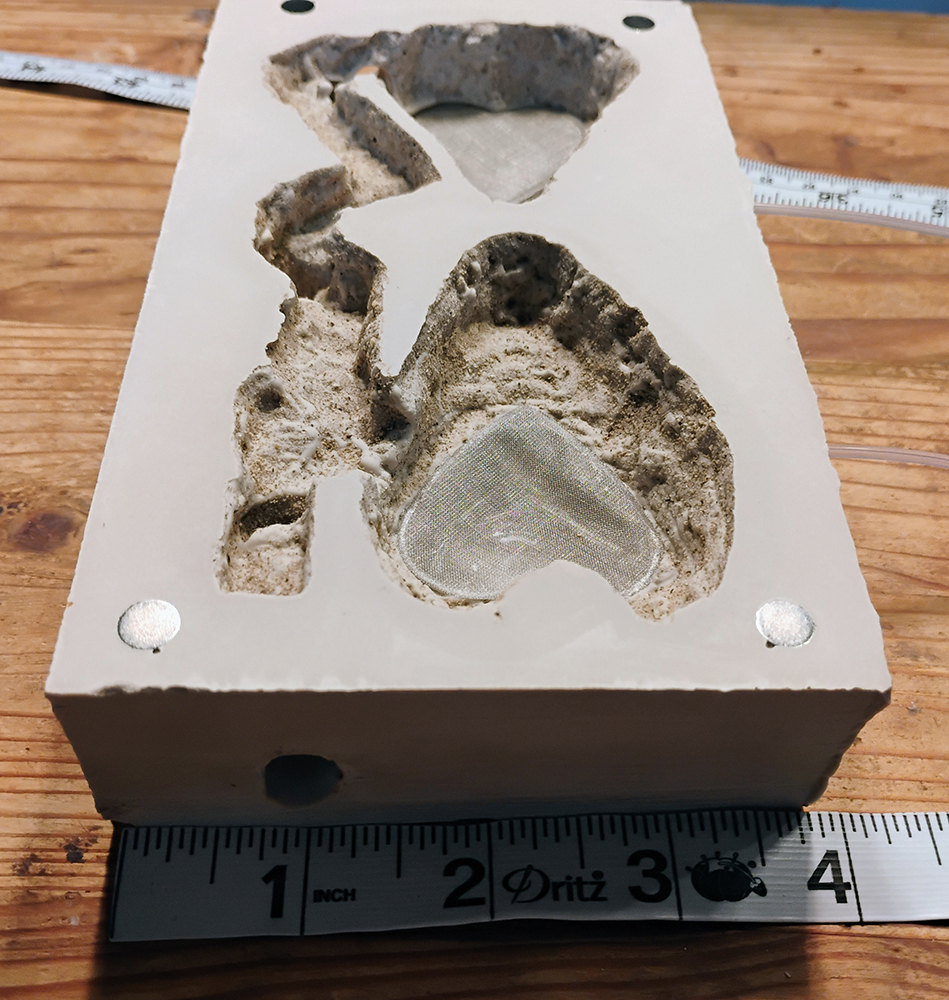
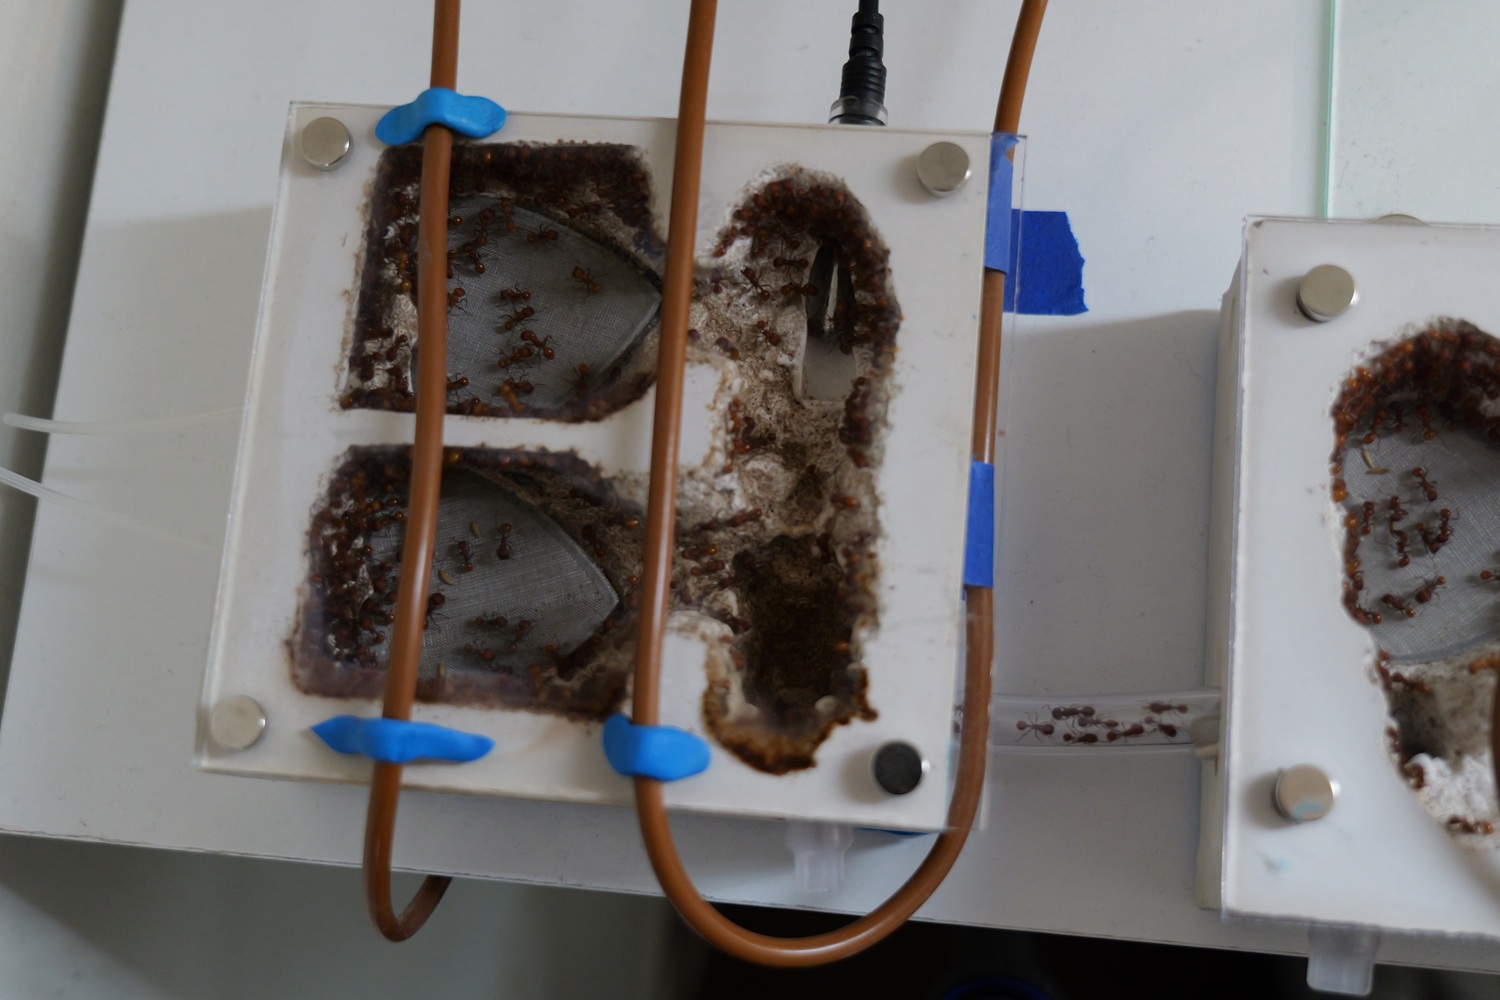
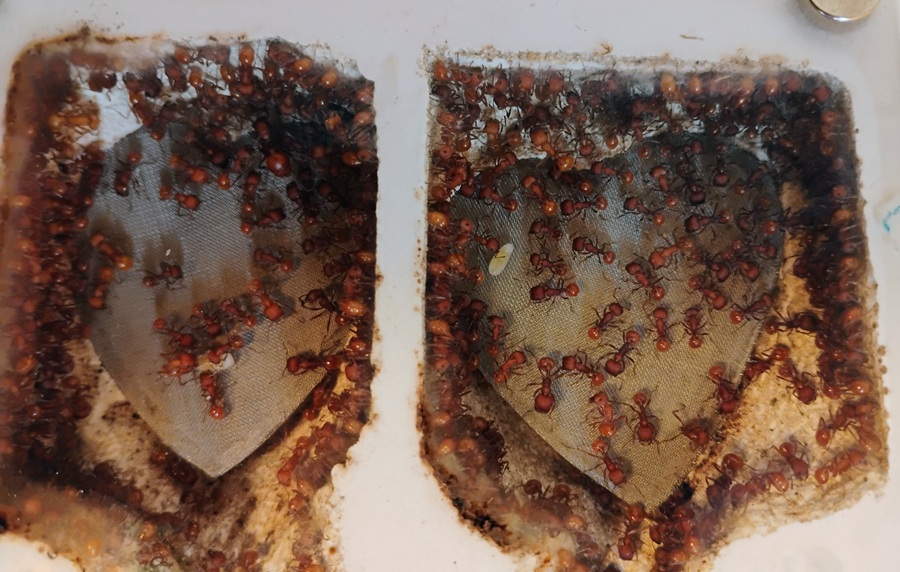
Now with heat cable removed, this is the first nest I made them (the first one I could use anyway), and is still a popular one as you see. This is the “deepest” underground section of the nest. Kept at 71-72f , except in summer when I have no good way of keeping it cooler than ambient which can be in the high 80s low 90s at times. The queen is in this chamber about 80%+ of the time. Under the light reflection blur is the entrance to this nest.
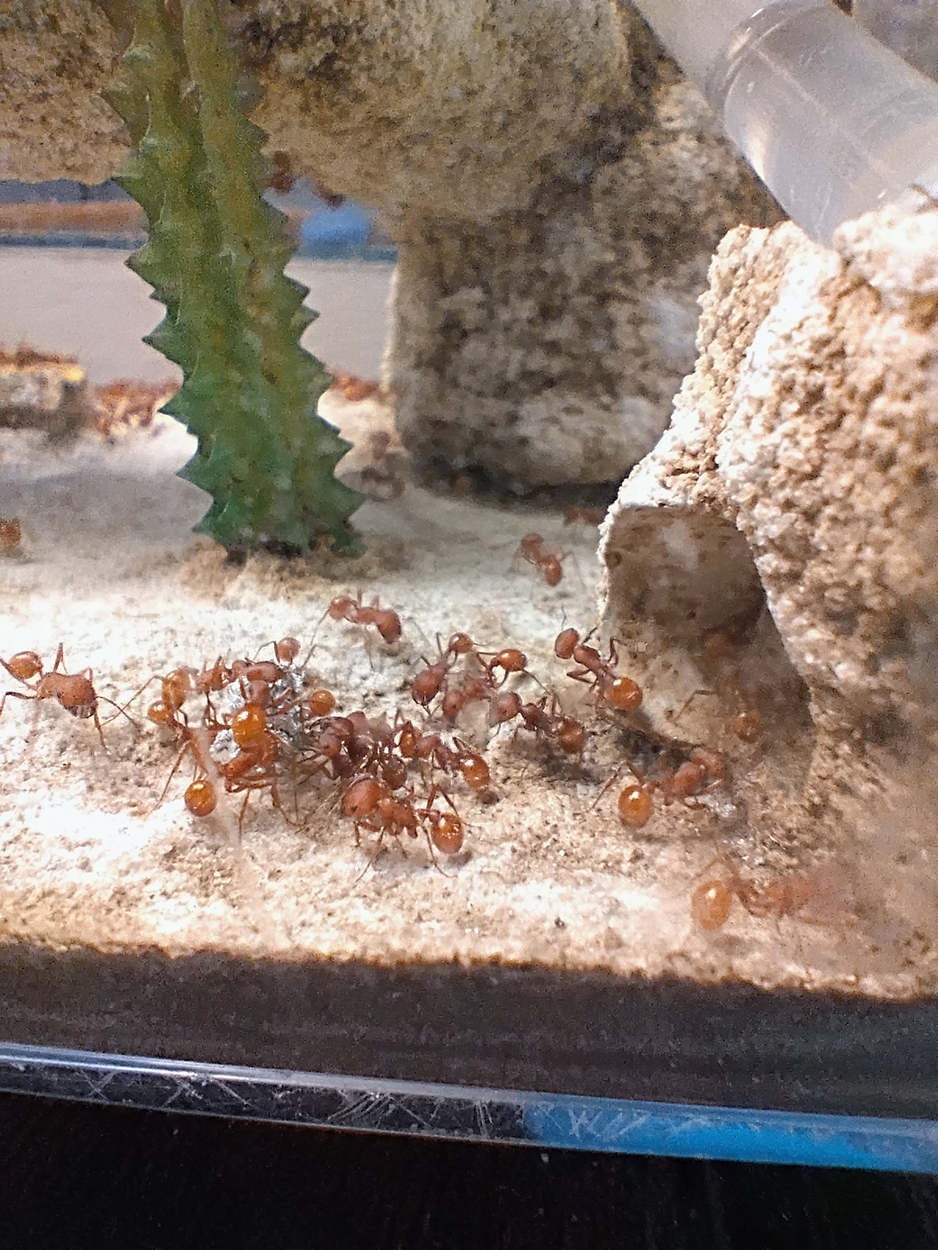
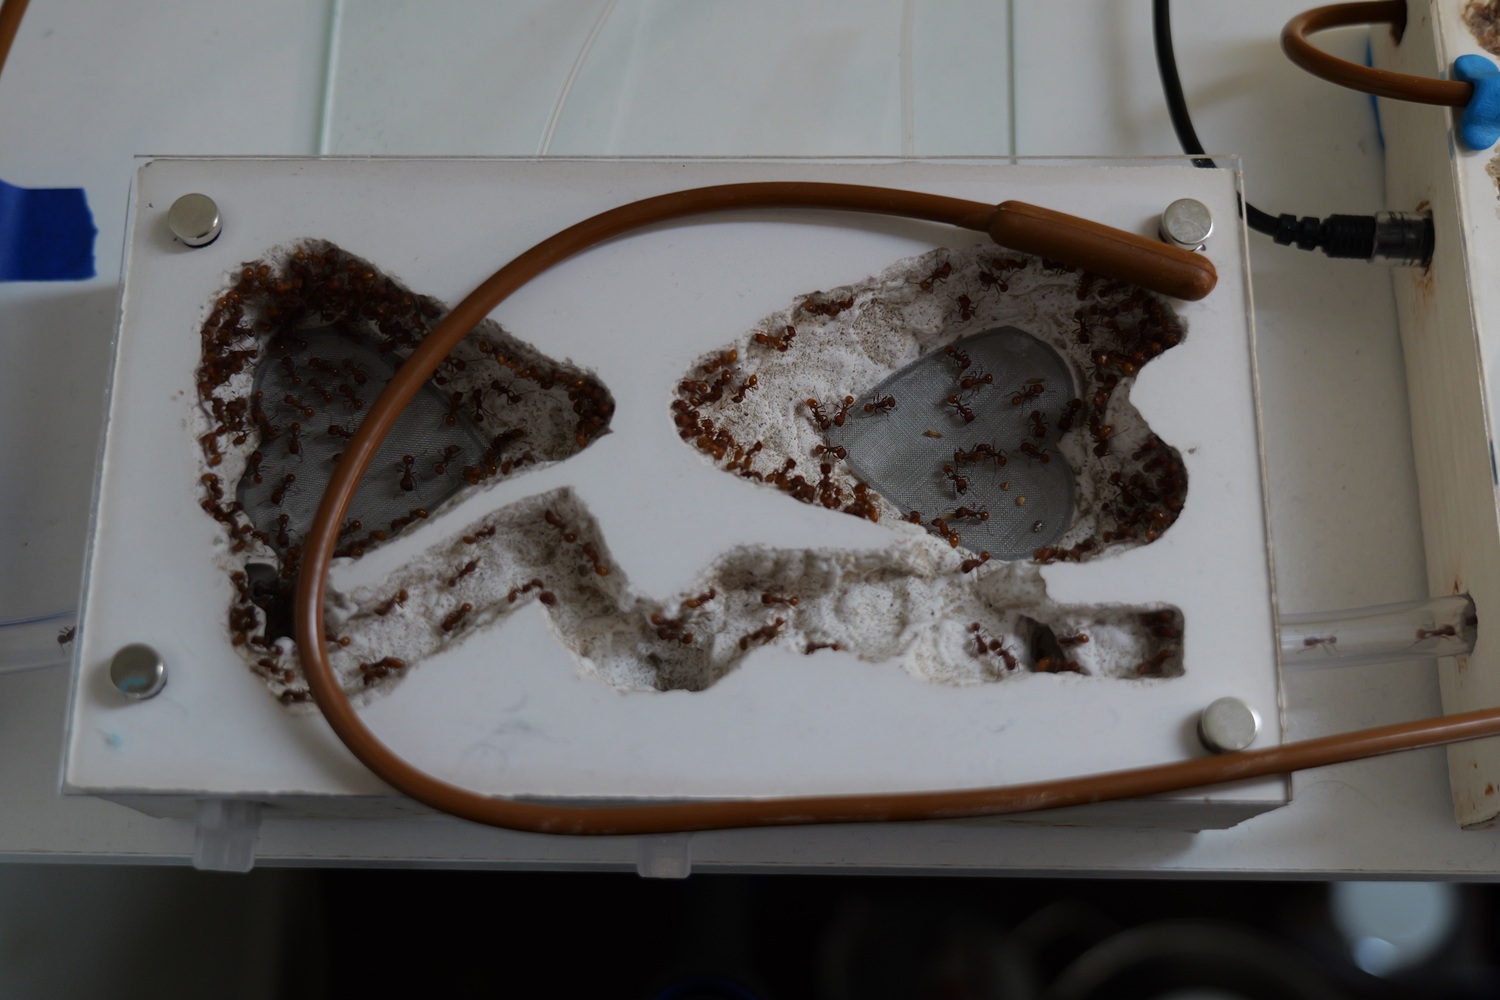
With the queen occasionally showing up in any one of the other four heart shaped water tower chambers. This one is the most popular nest area in terms of pack density. They really like to cram in here.
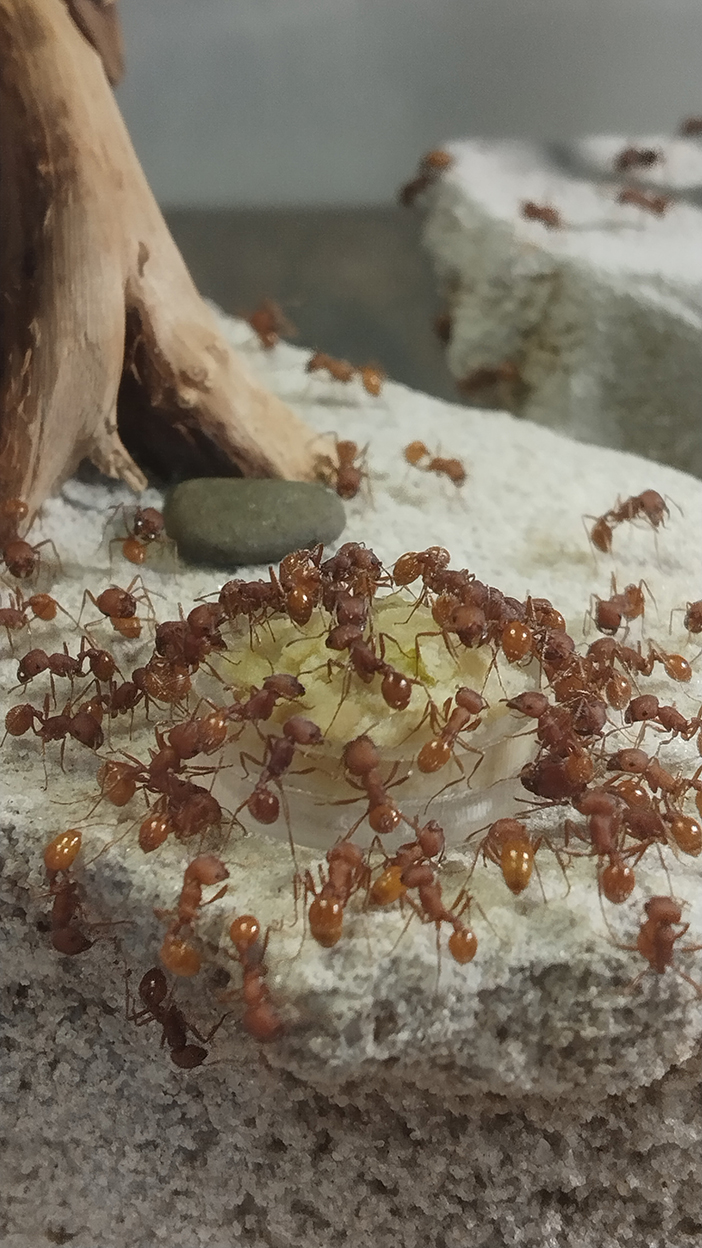
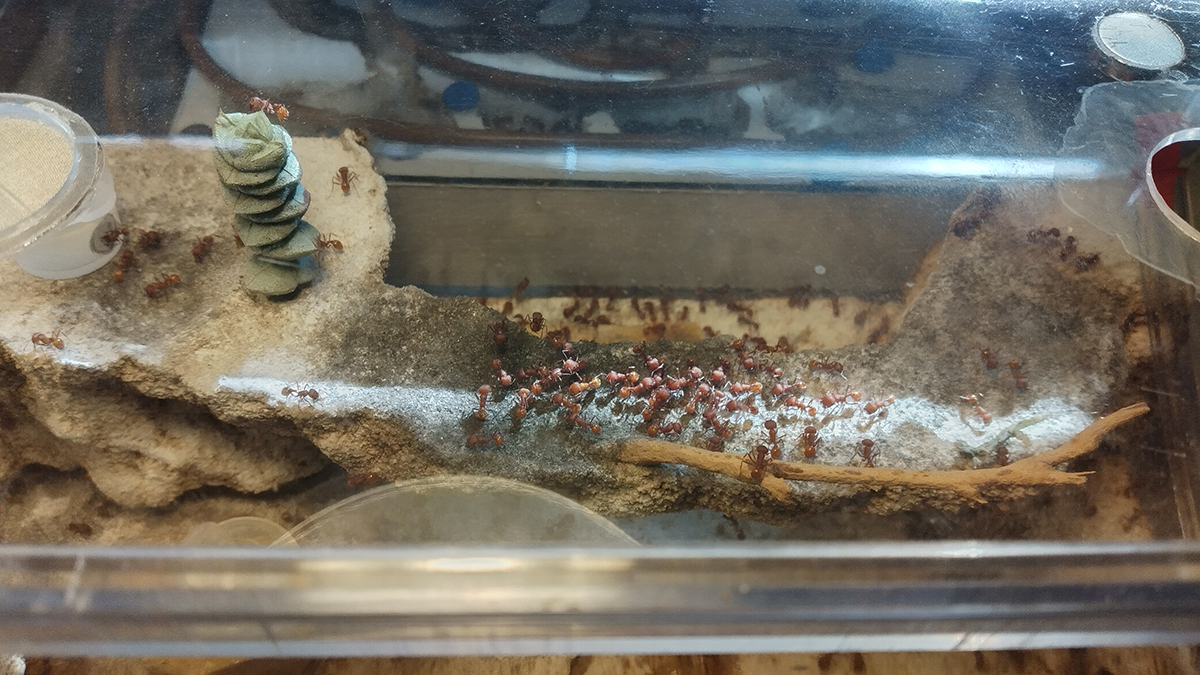
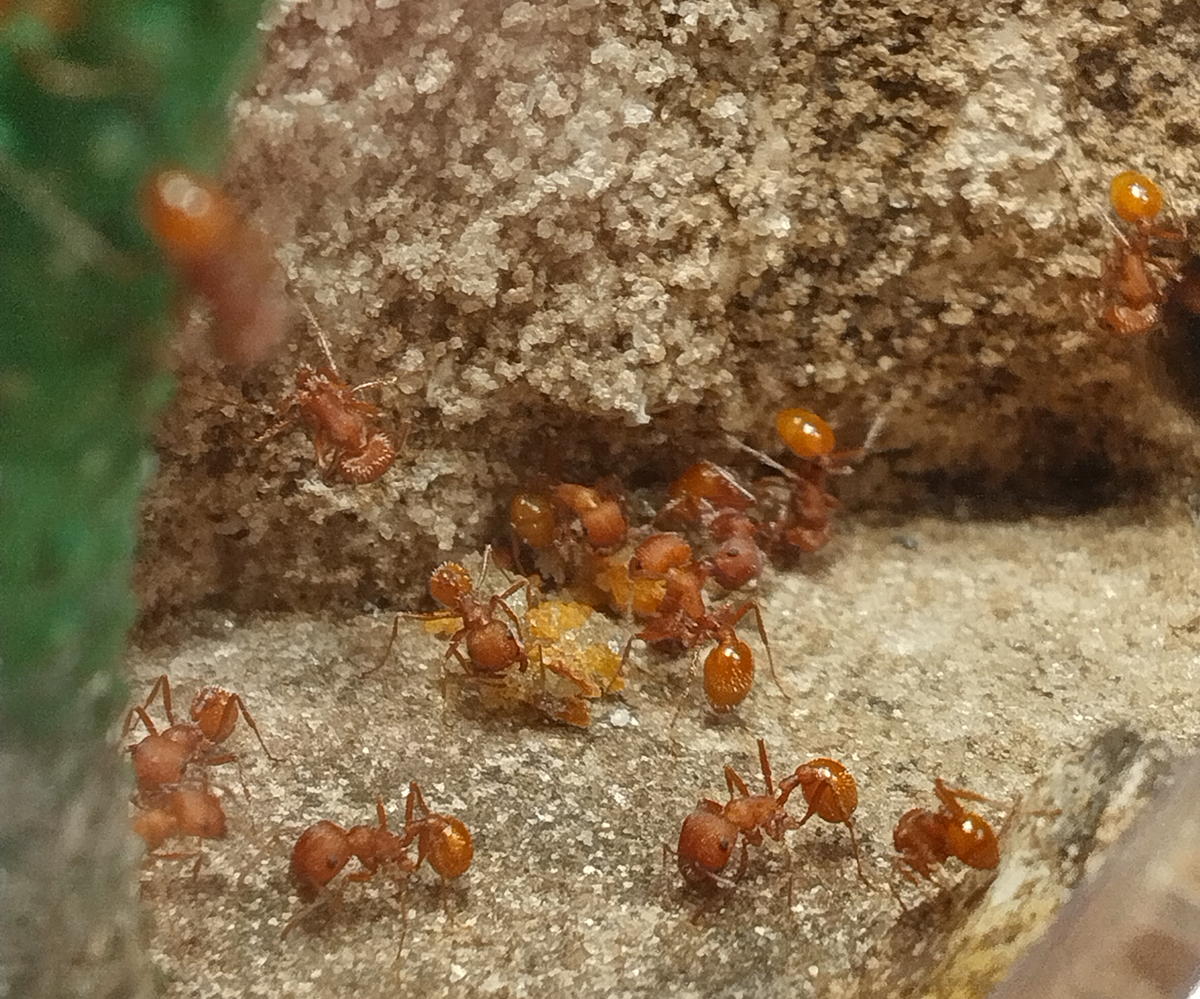
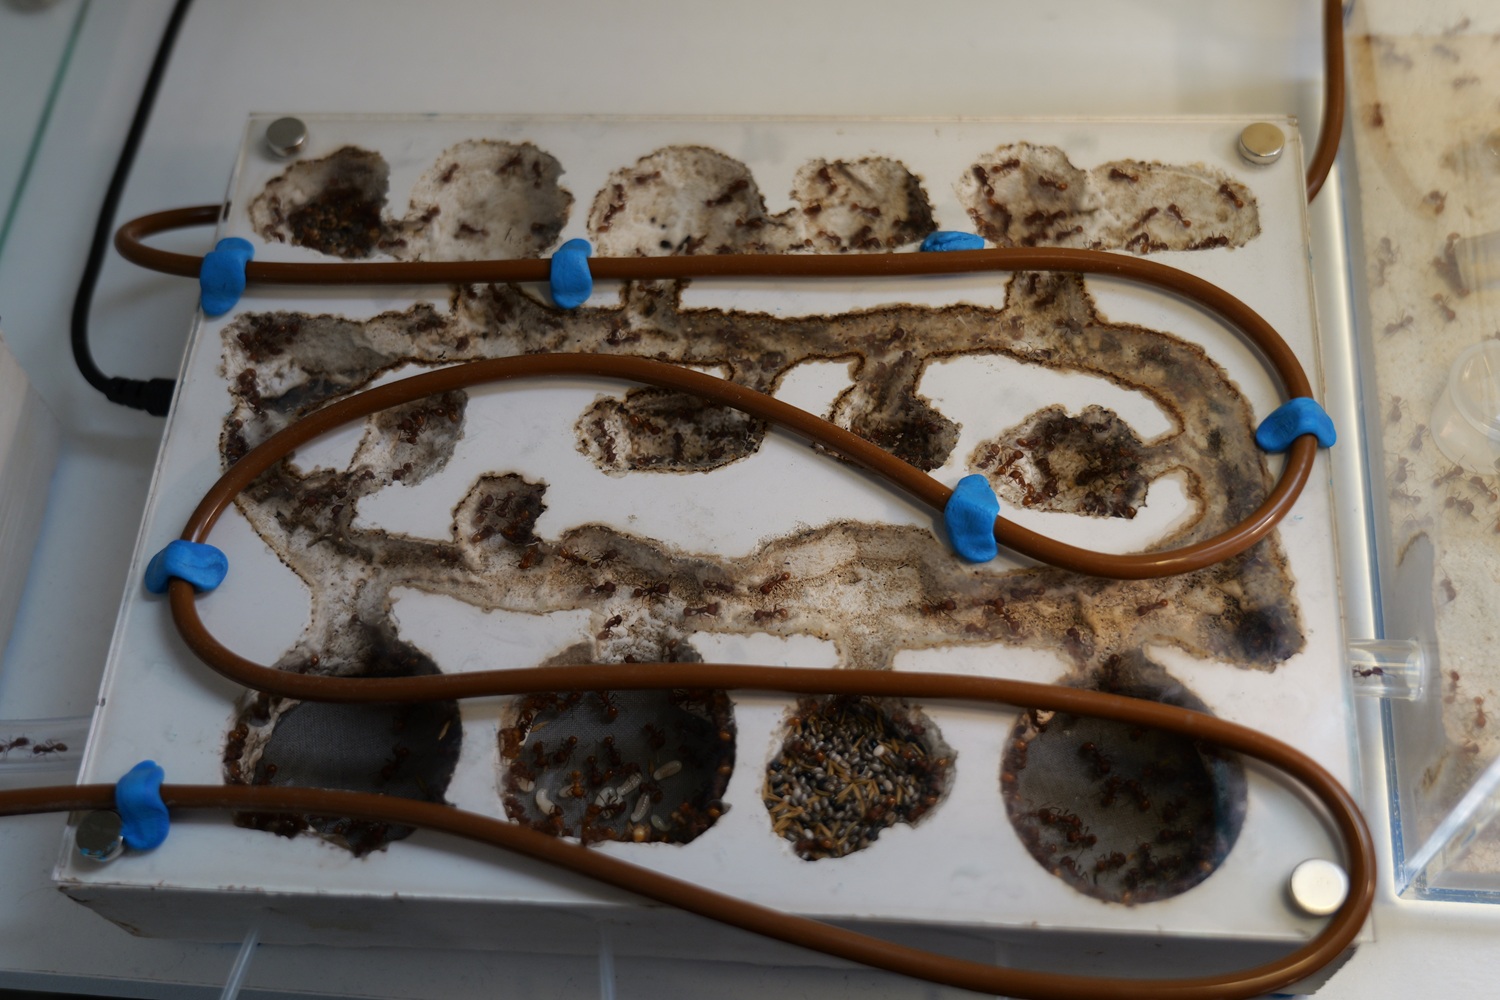
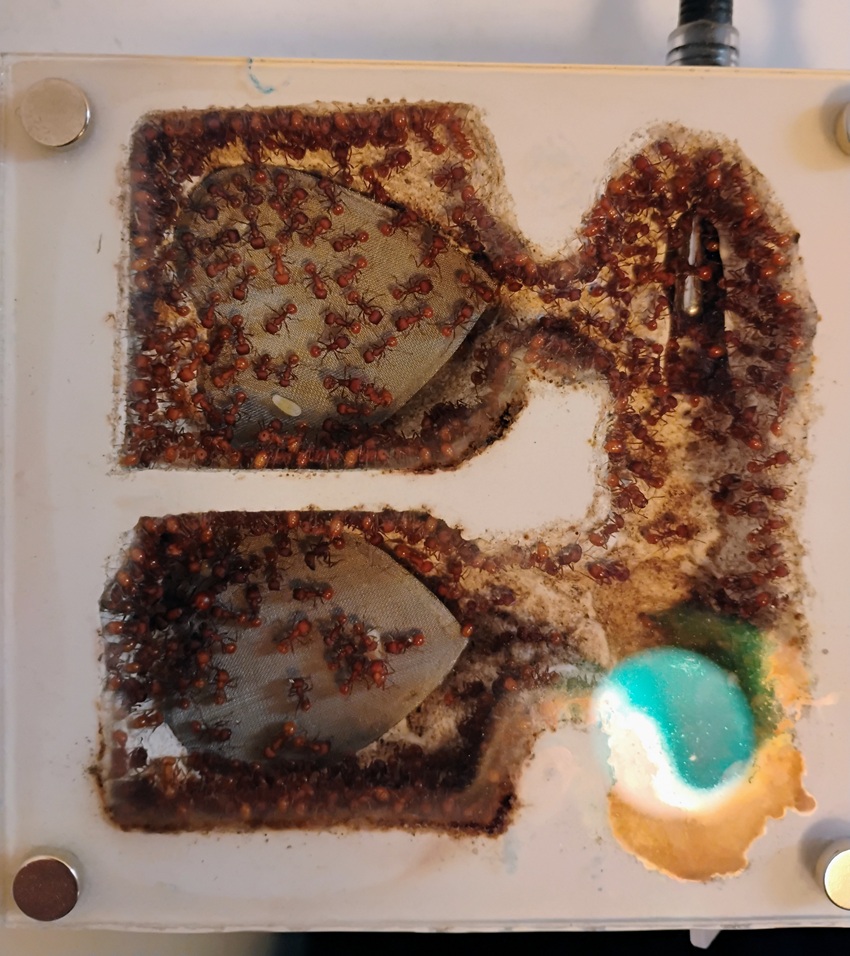
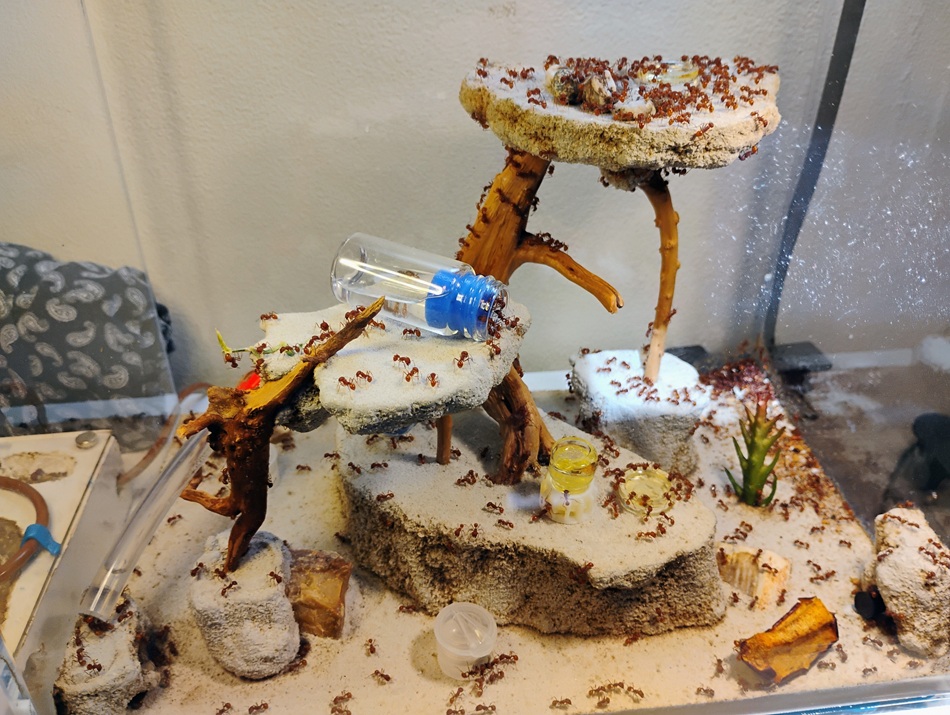
The most recent nest, I was surprised to see them store seeds in here. They normally keep those in dry chambers and only bring a few at a time into humid chambers to work them open.
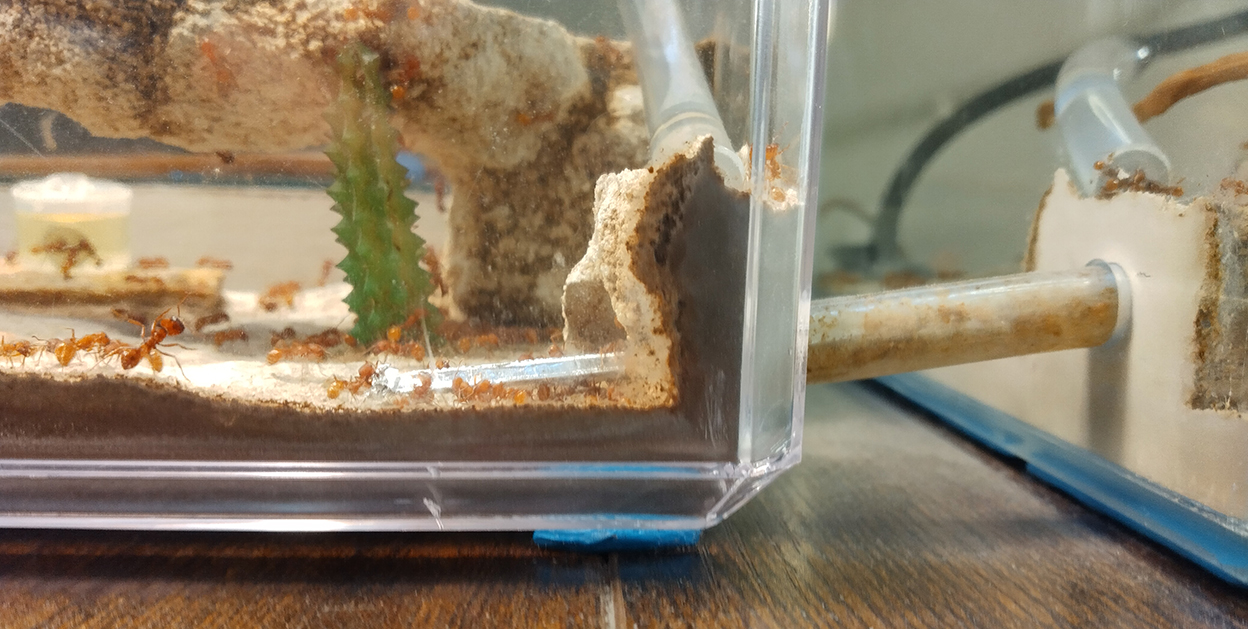
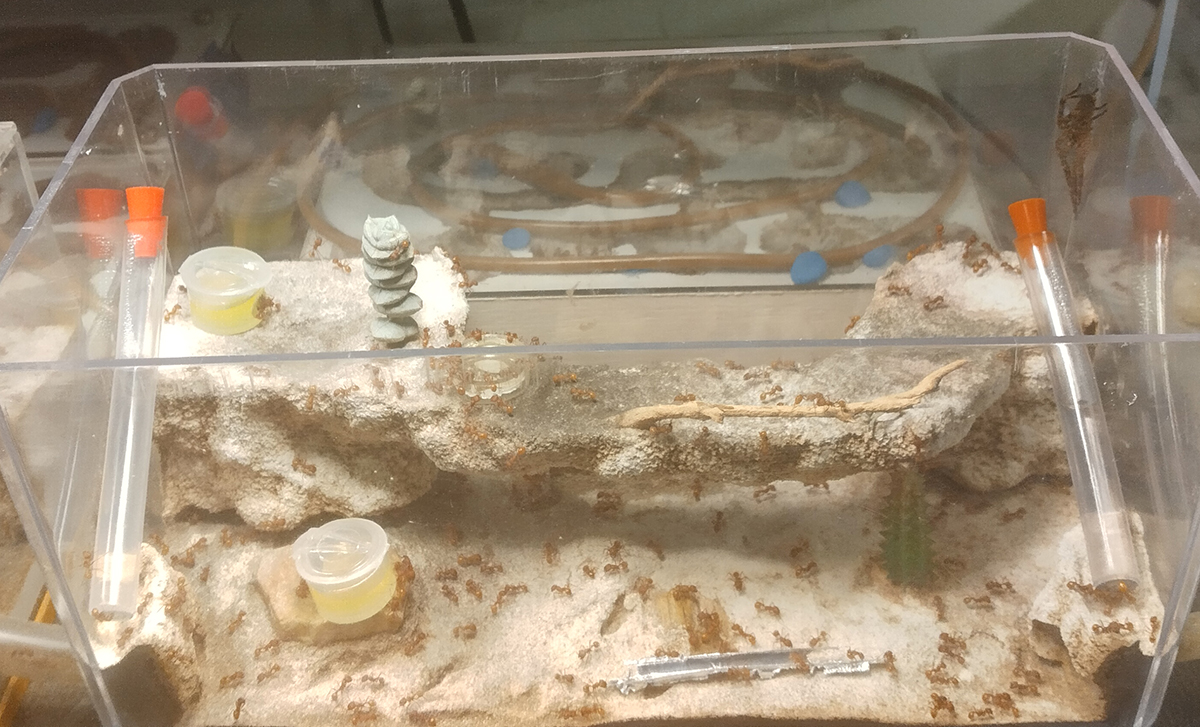
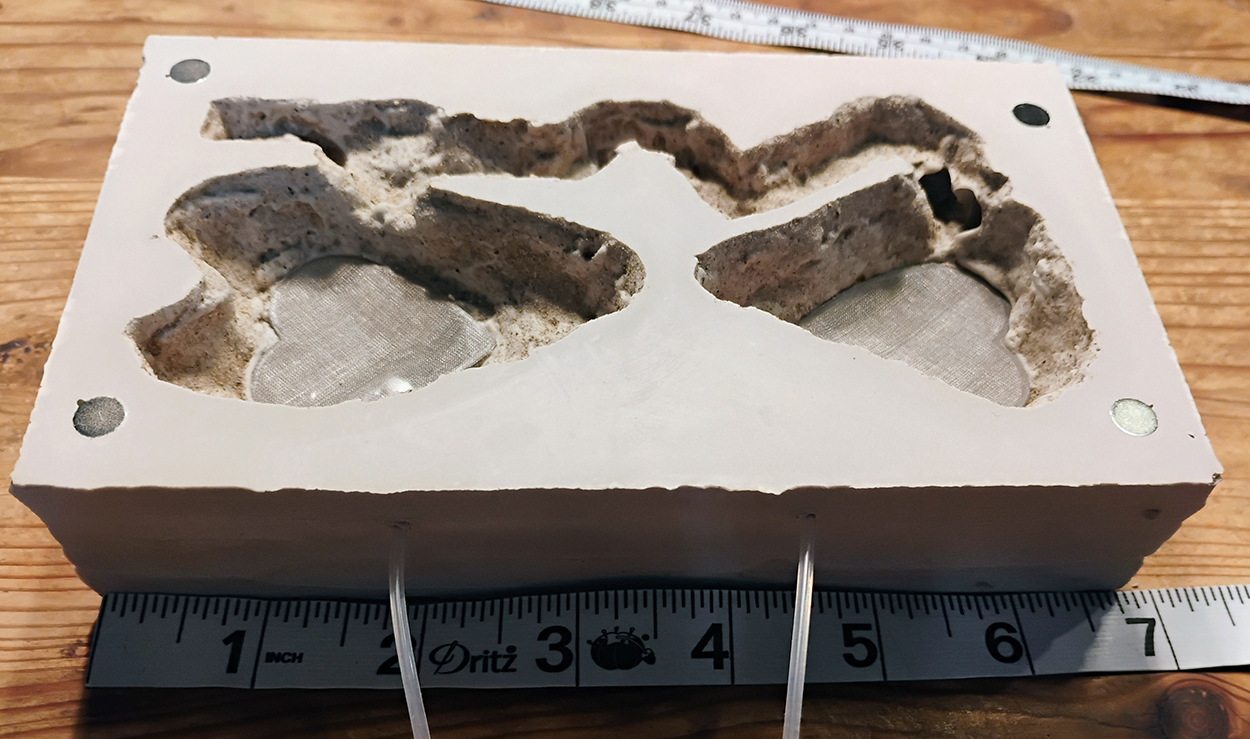
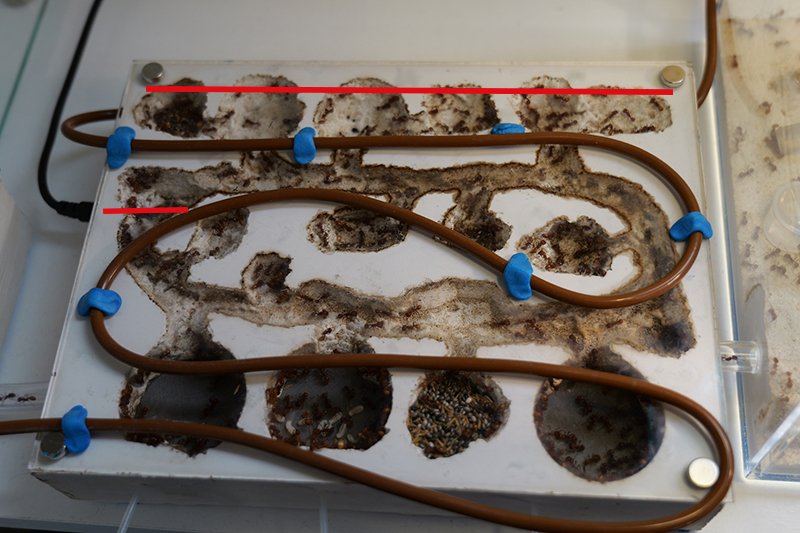
The large nest. As you can see the dry chambers are at the top of the image, where a copper tube runs through the nest right under all of them. The heat cable is passed through the tube as the main source of heat. However, the larger surface are of the glass cools so quickly, that condensation will form anywhere that gets too far away from a heat cable. So unlike the smaller glass tops, I had to use bluetak to hold the cable in place and keep it pressed closer to the glass to prevent condensation from forming. They typically kept the large pile of pupae and non-feeding larvae in the hottest area of the nest over the heat pipe. But ever sense the reorg and shrinking of the brood pile, they have been mostly keeping all of them in the watertower areas.
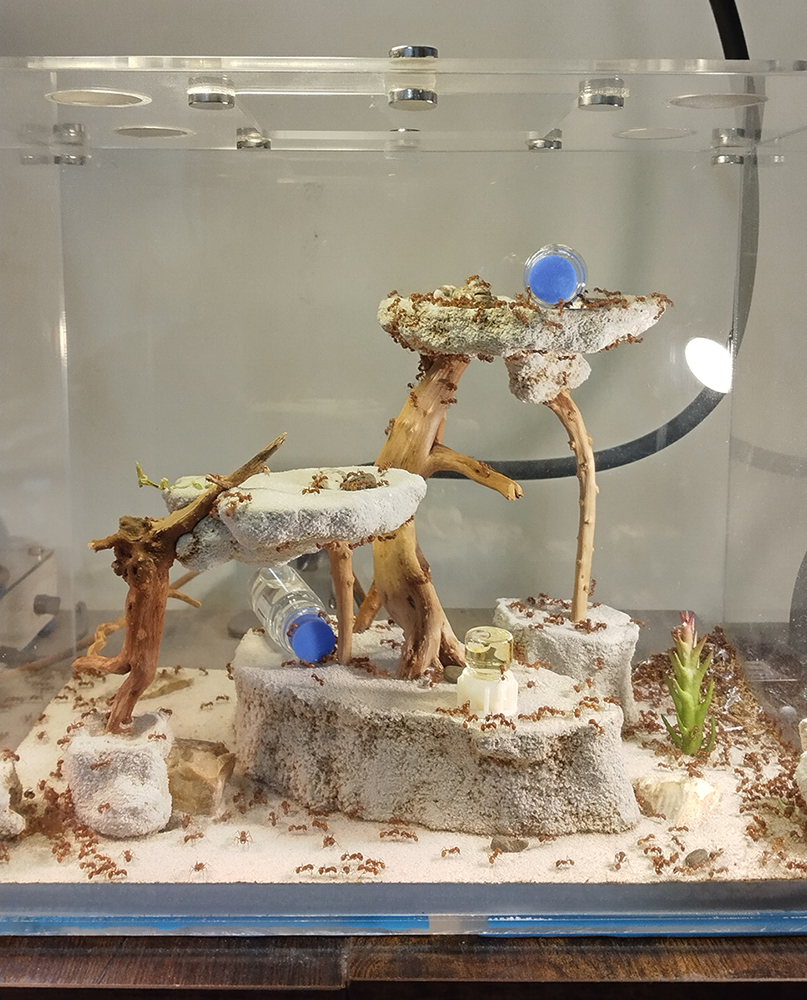
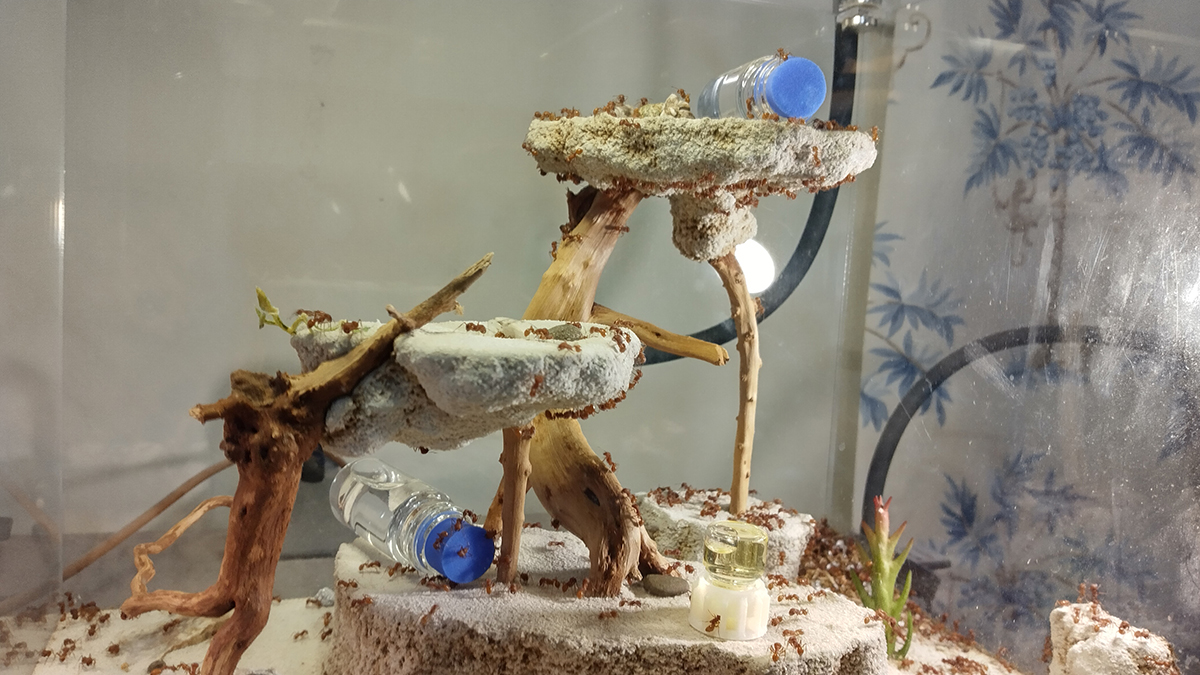
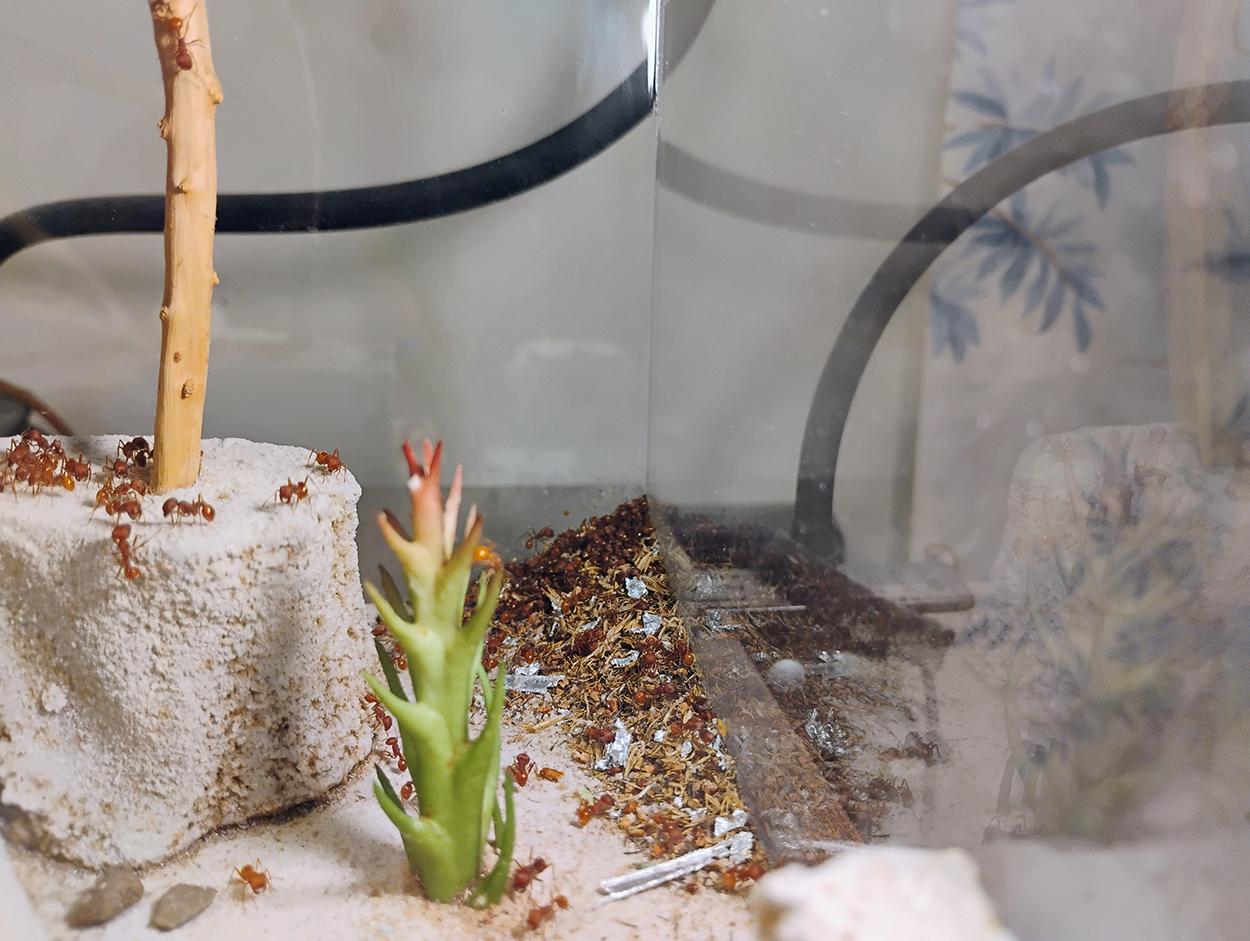
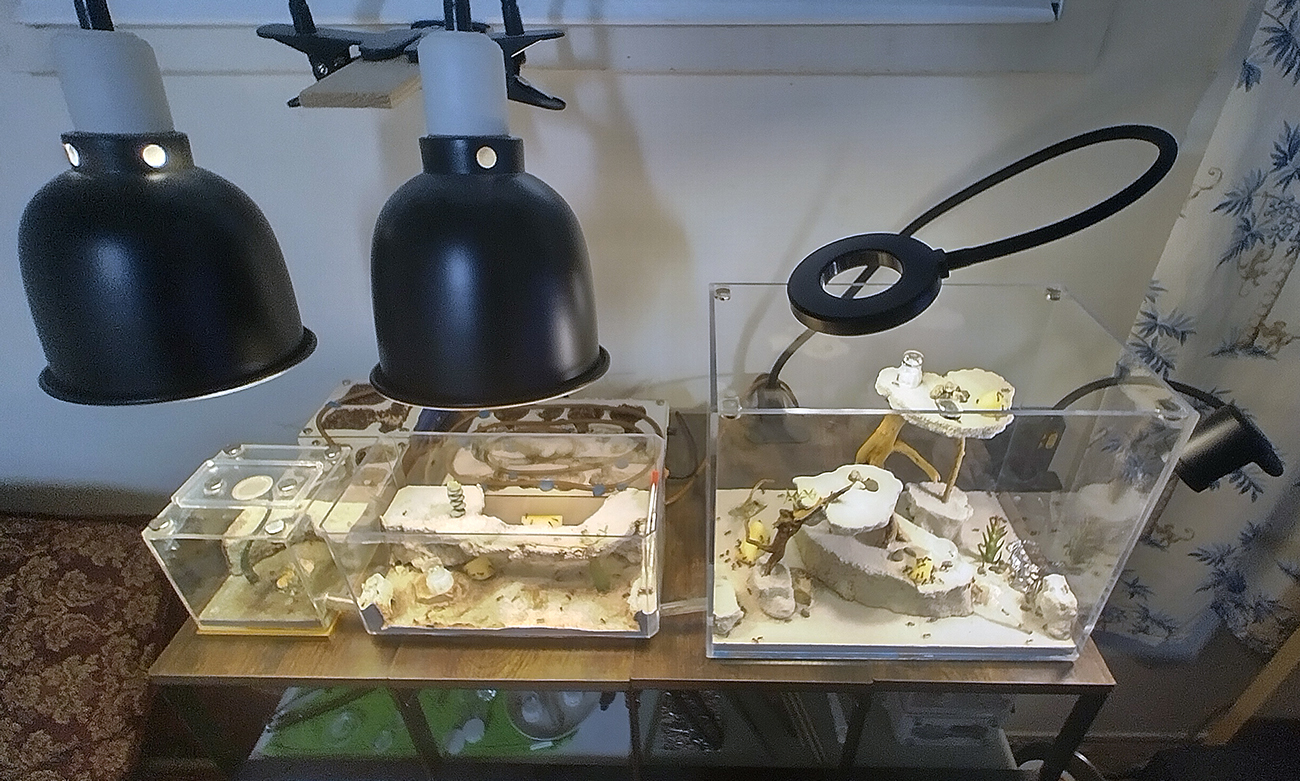
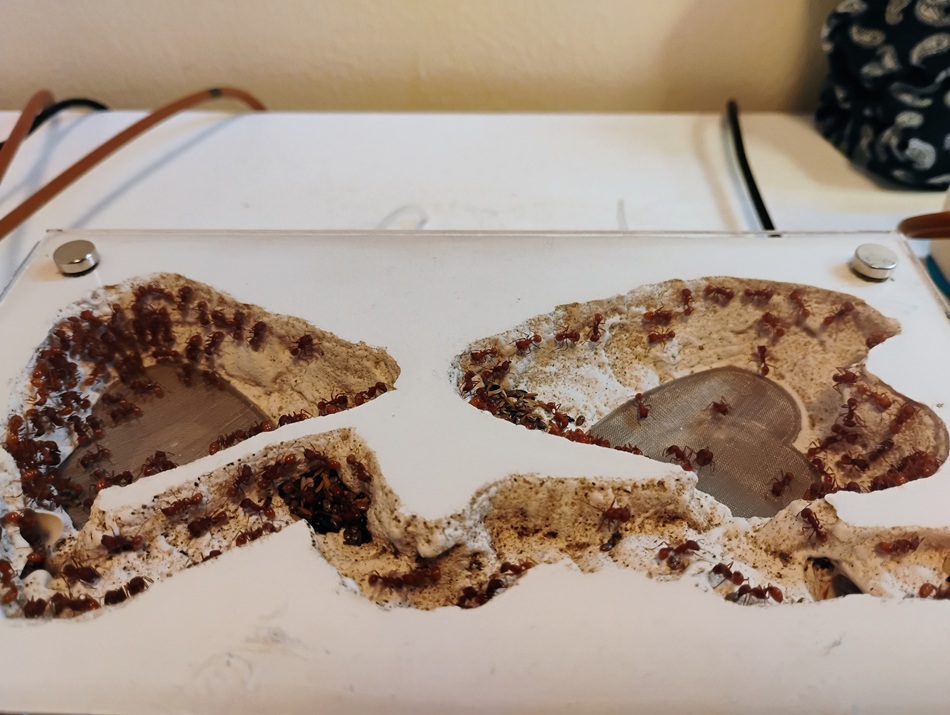
And a couple shots of the now lone outworld. You can see The Congregation of the Sun there on the low platform in the back lower right. Anytime a sun beams into the outworld some of them congregate in it, sometimes climbing the wall into it if it is landing on a side wall.
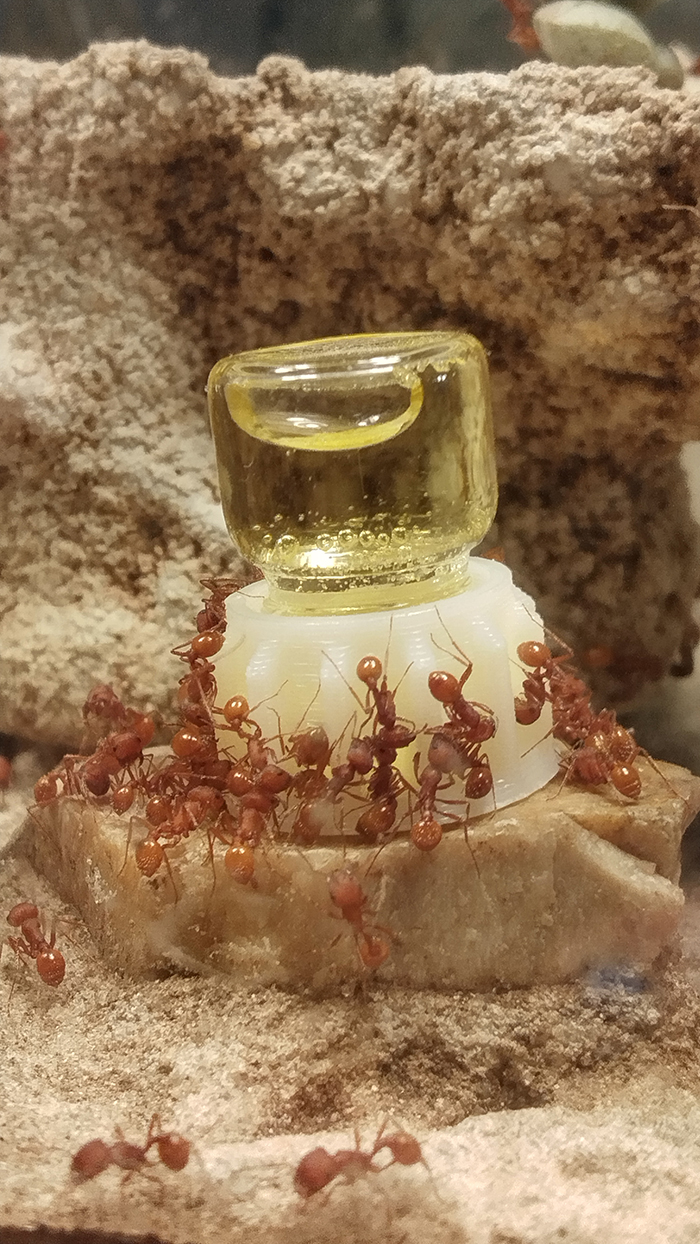
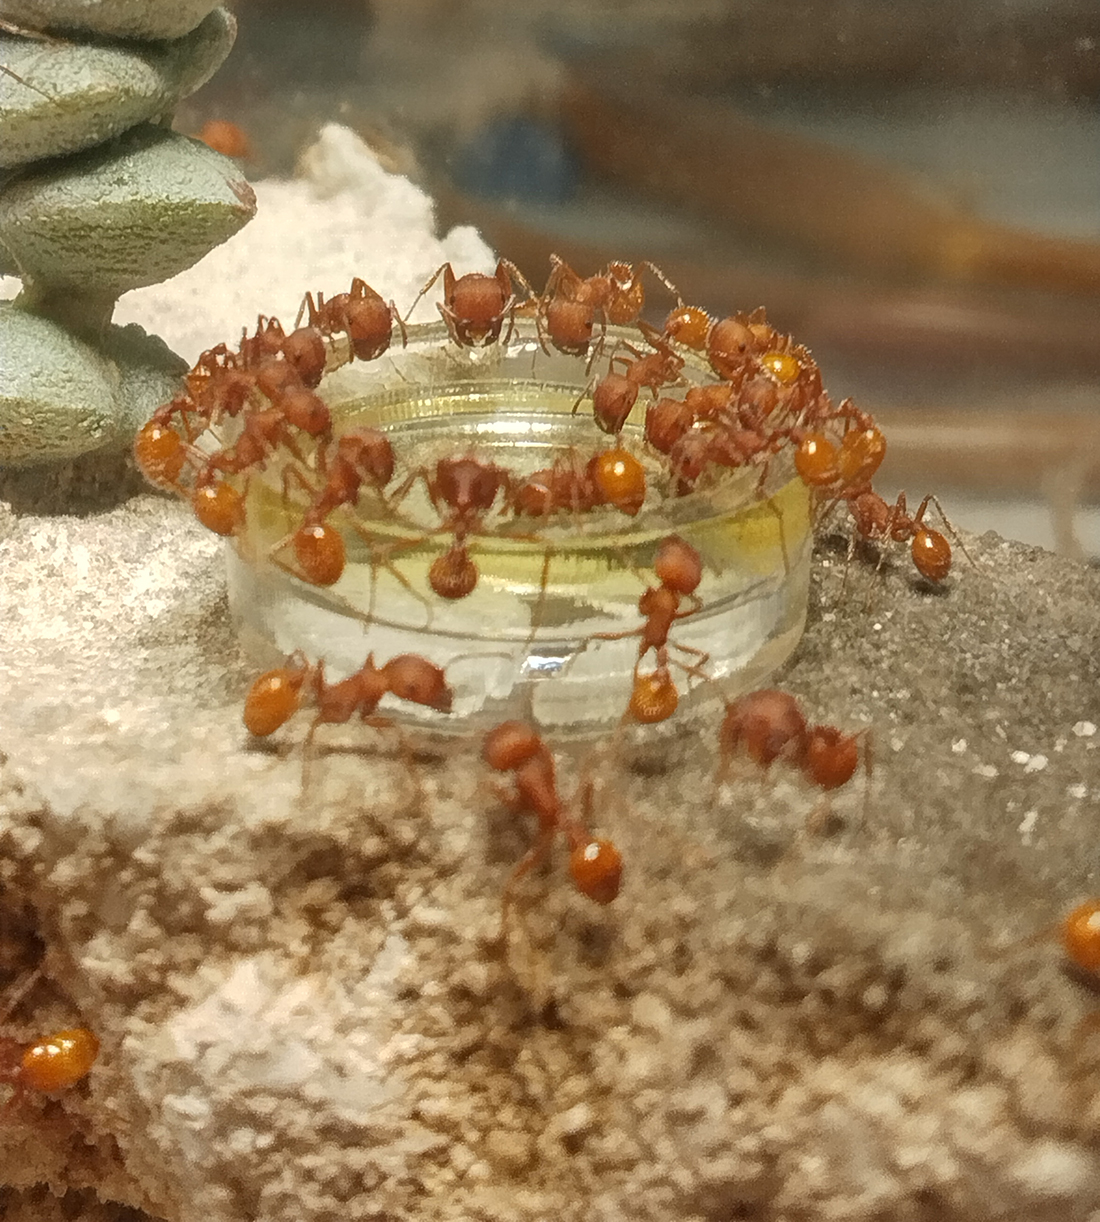
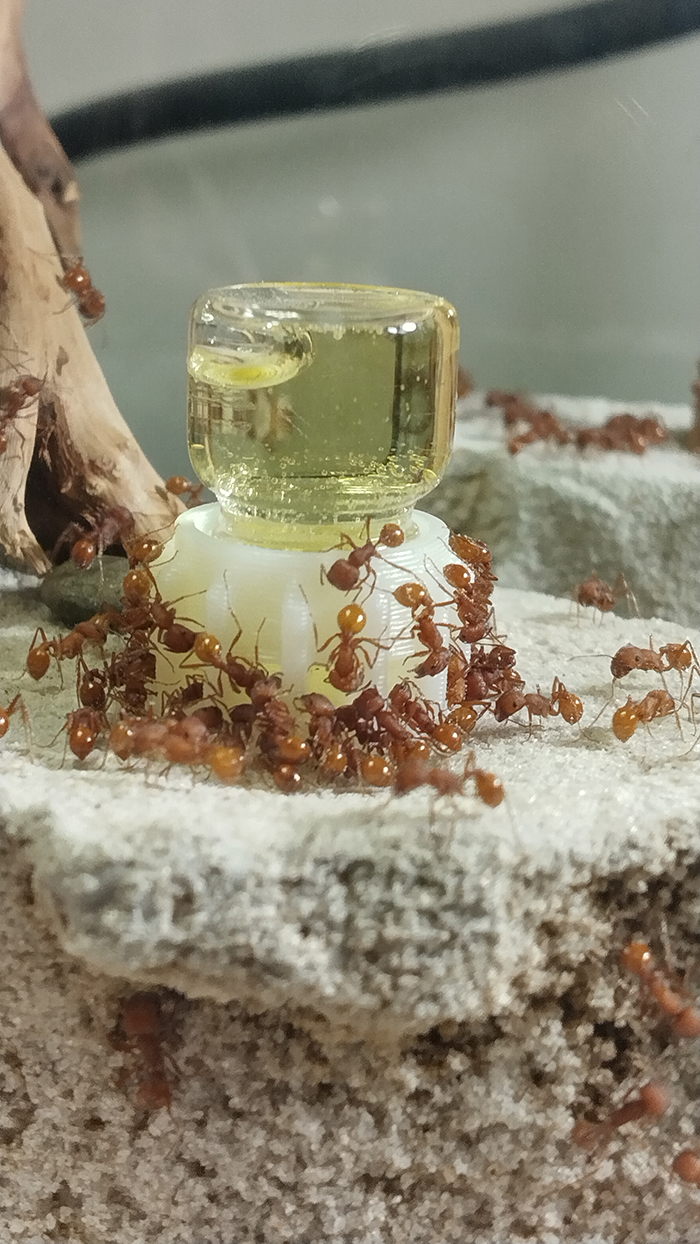
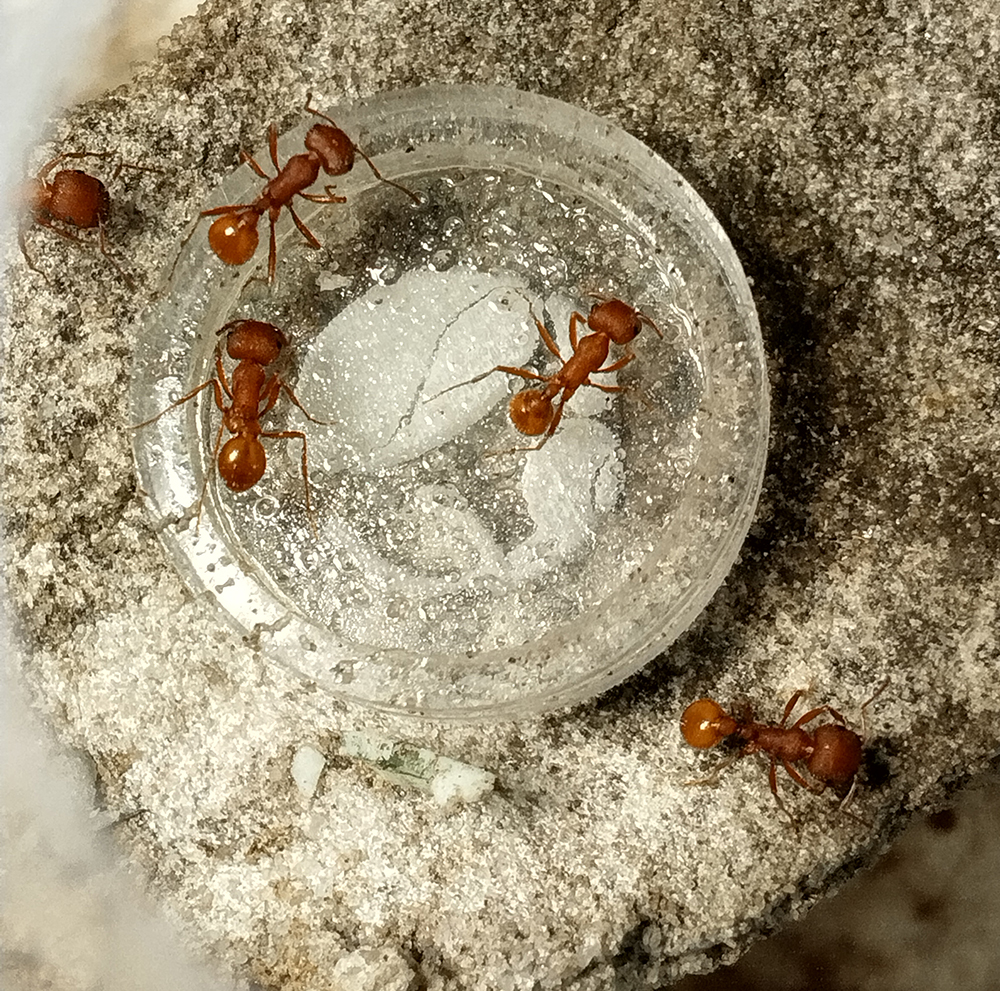
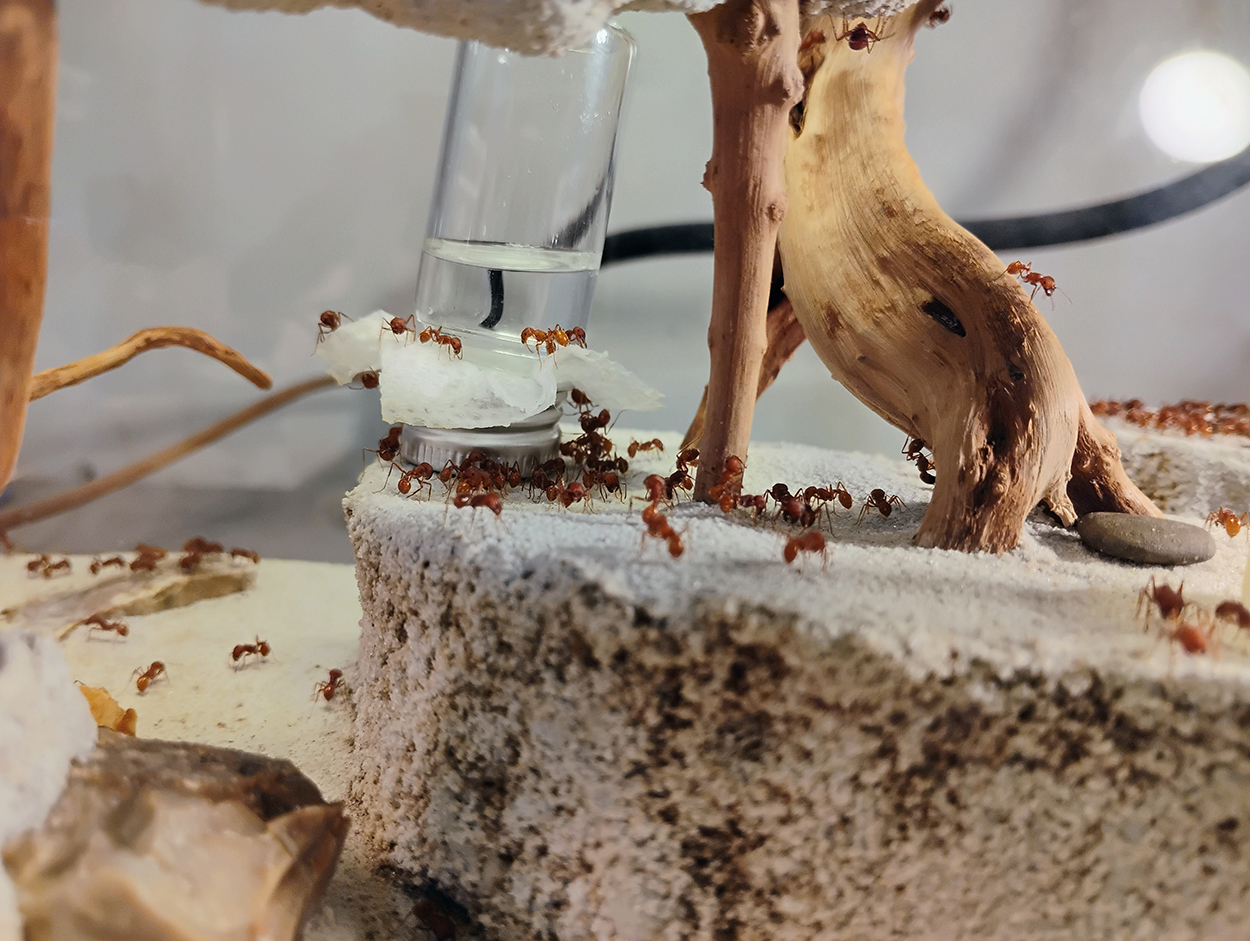
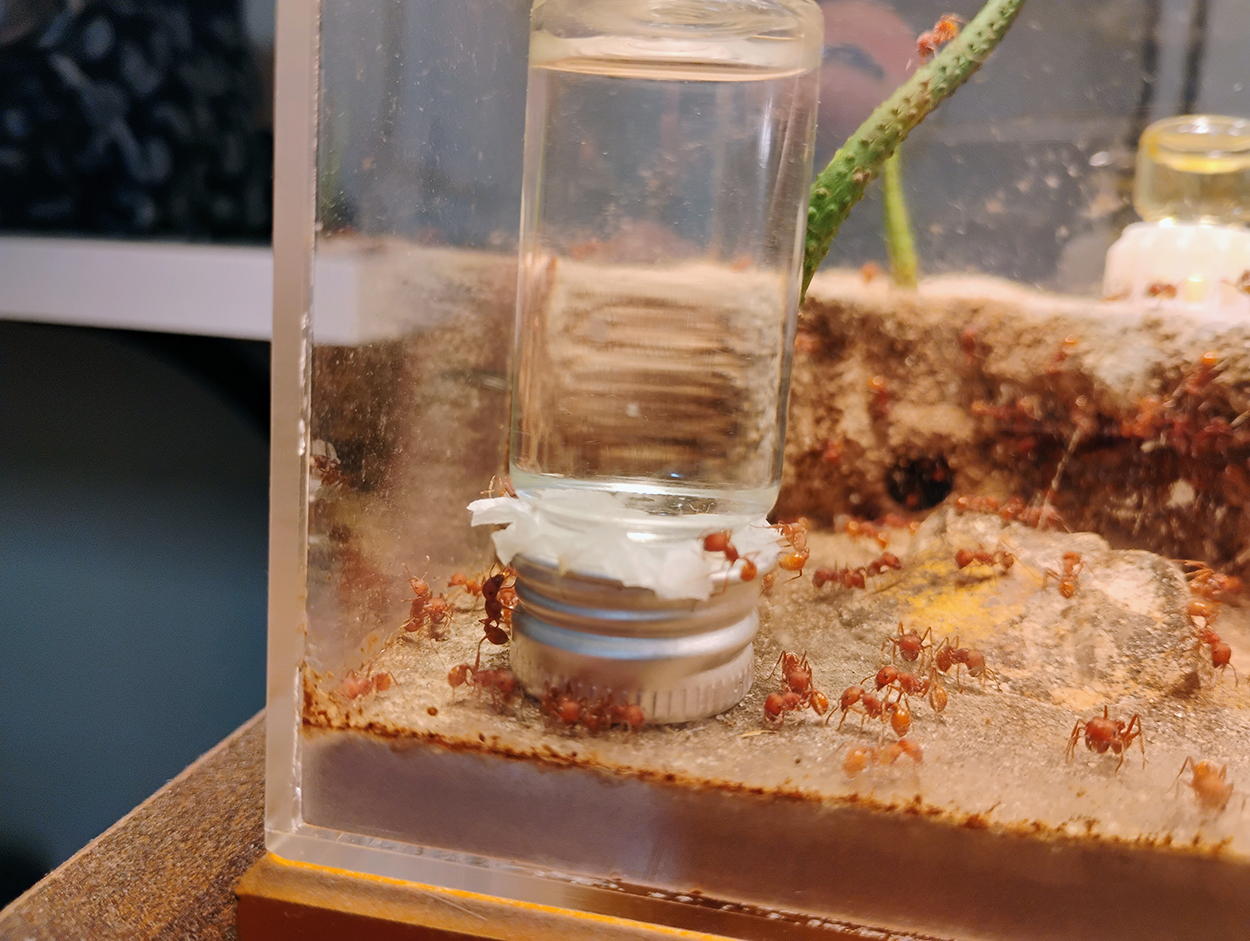
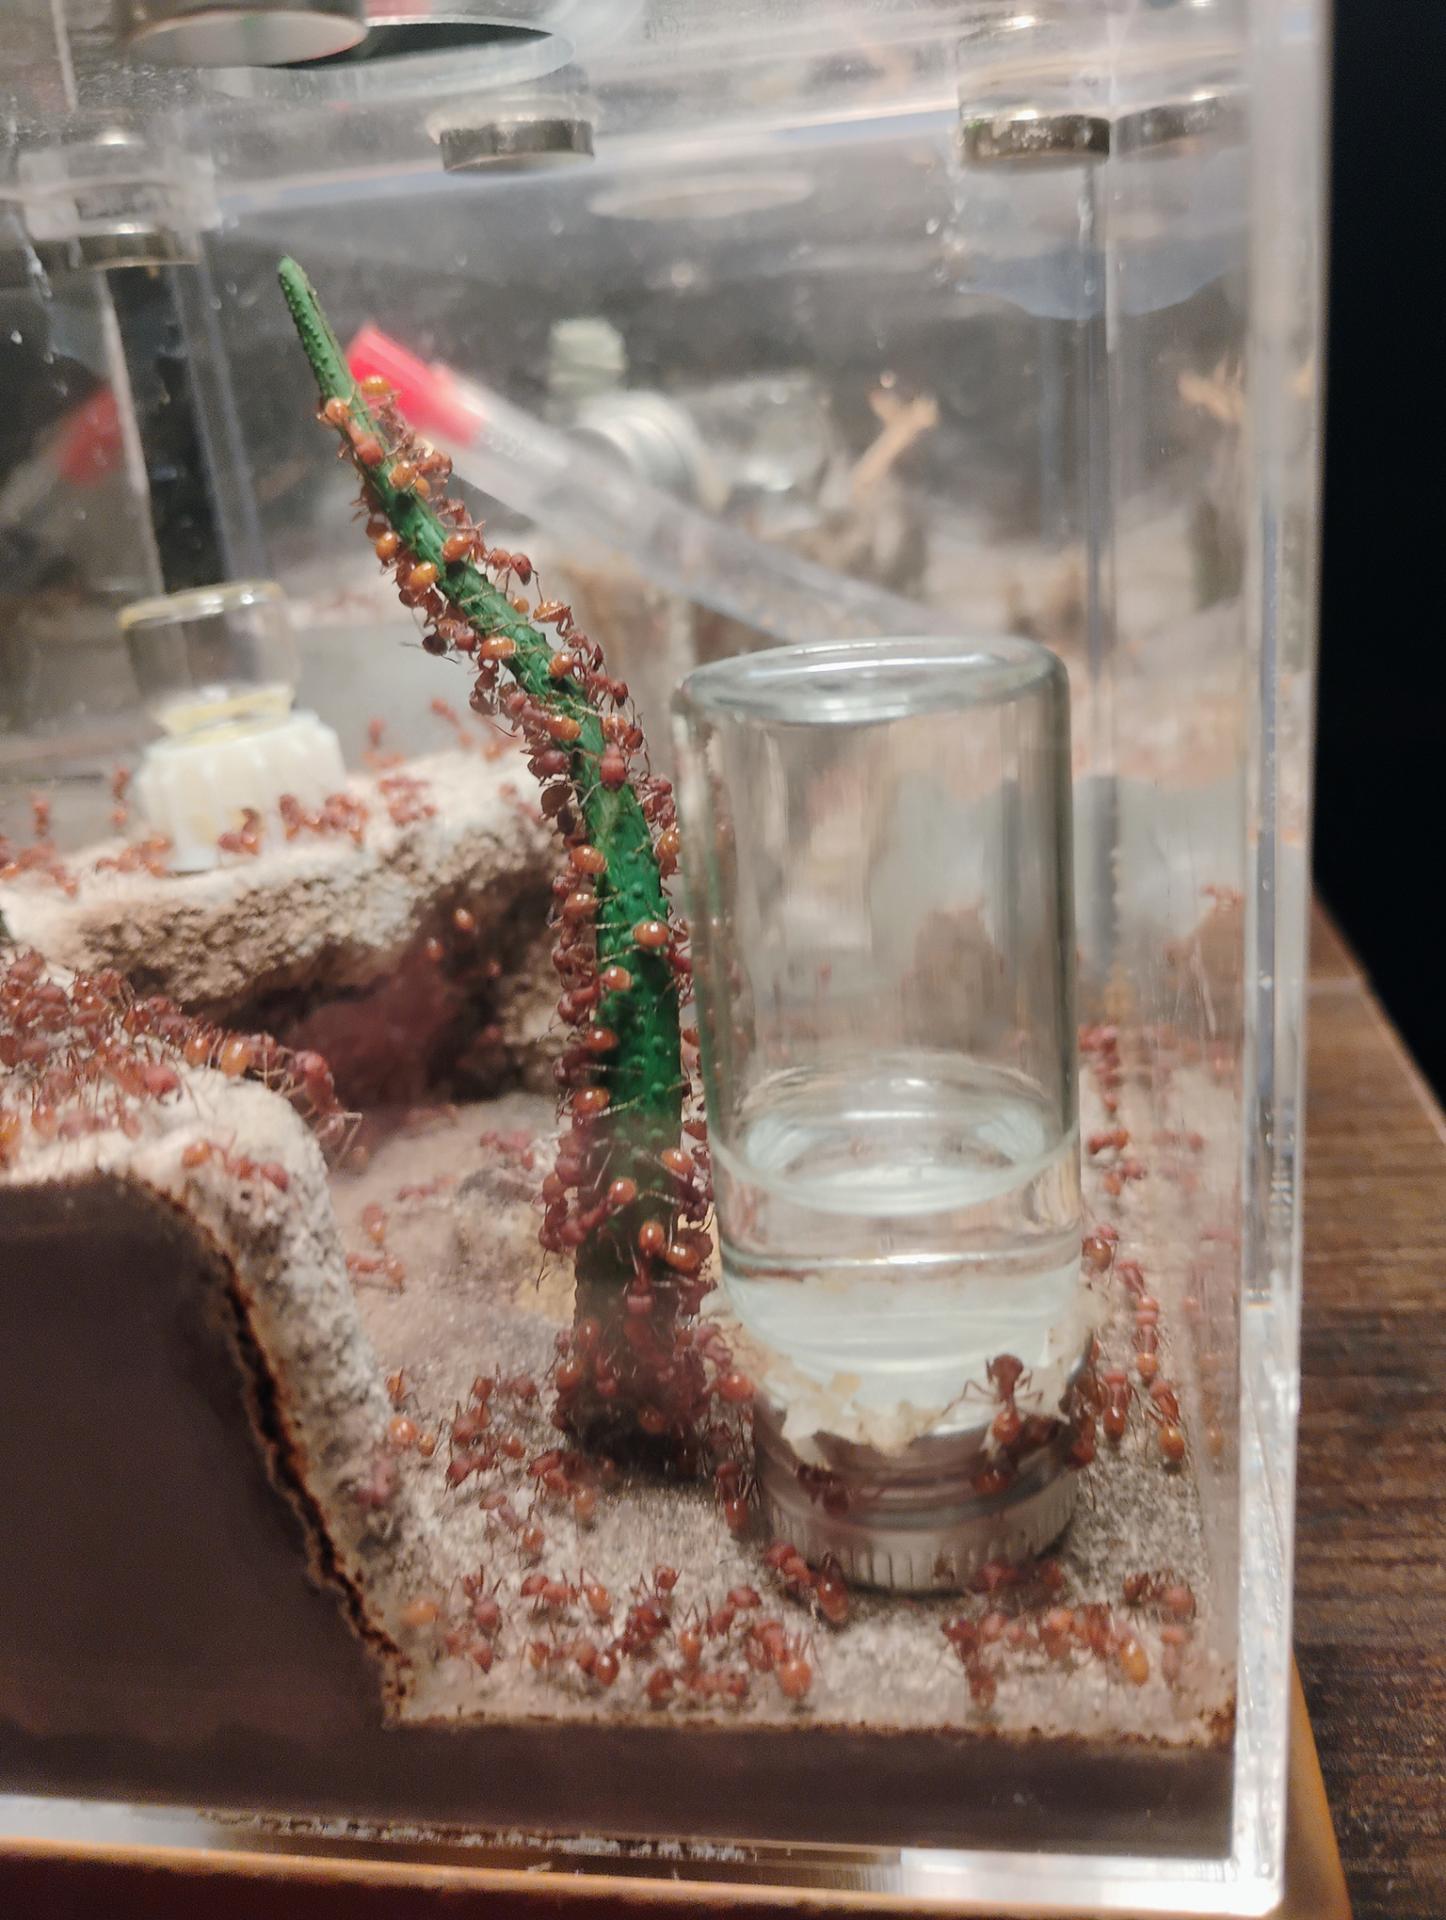
The blue sponge corks work great in the small but larger bottles you see. I have to pull the sponges back out a bit every few days, as there is a vacuum forming when water leaves but air can't flow back through the waterlogged sponge. No biggie, works great, and they go through a lot of water. The trash pile has been slower to regrow with the shrinking brood pile, and is mostly dead ants at the moment. But i still appreciate how fastidious these ants are. Keeping just one real trash pile, and as far from their nest entrance as they can get it.
Edited by Full_Frontal_Yeti, February 27 2025 - 11:17 AM.