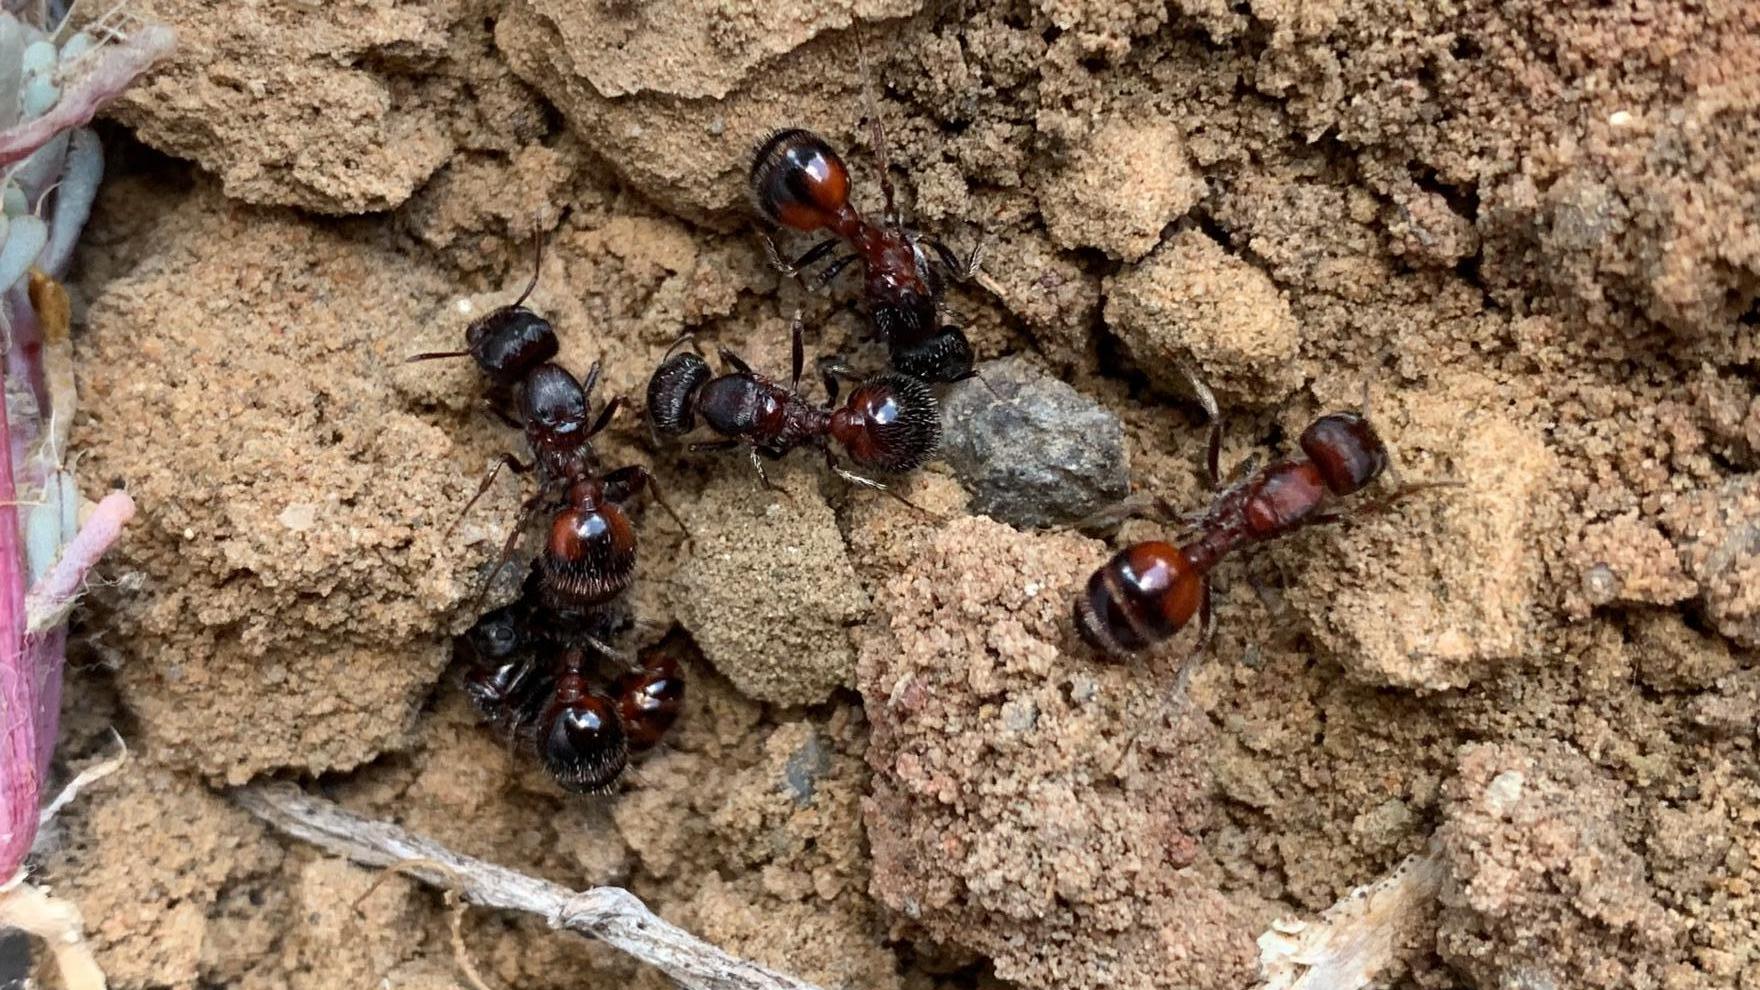
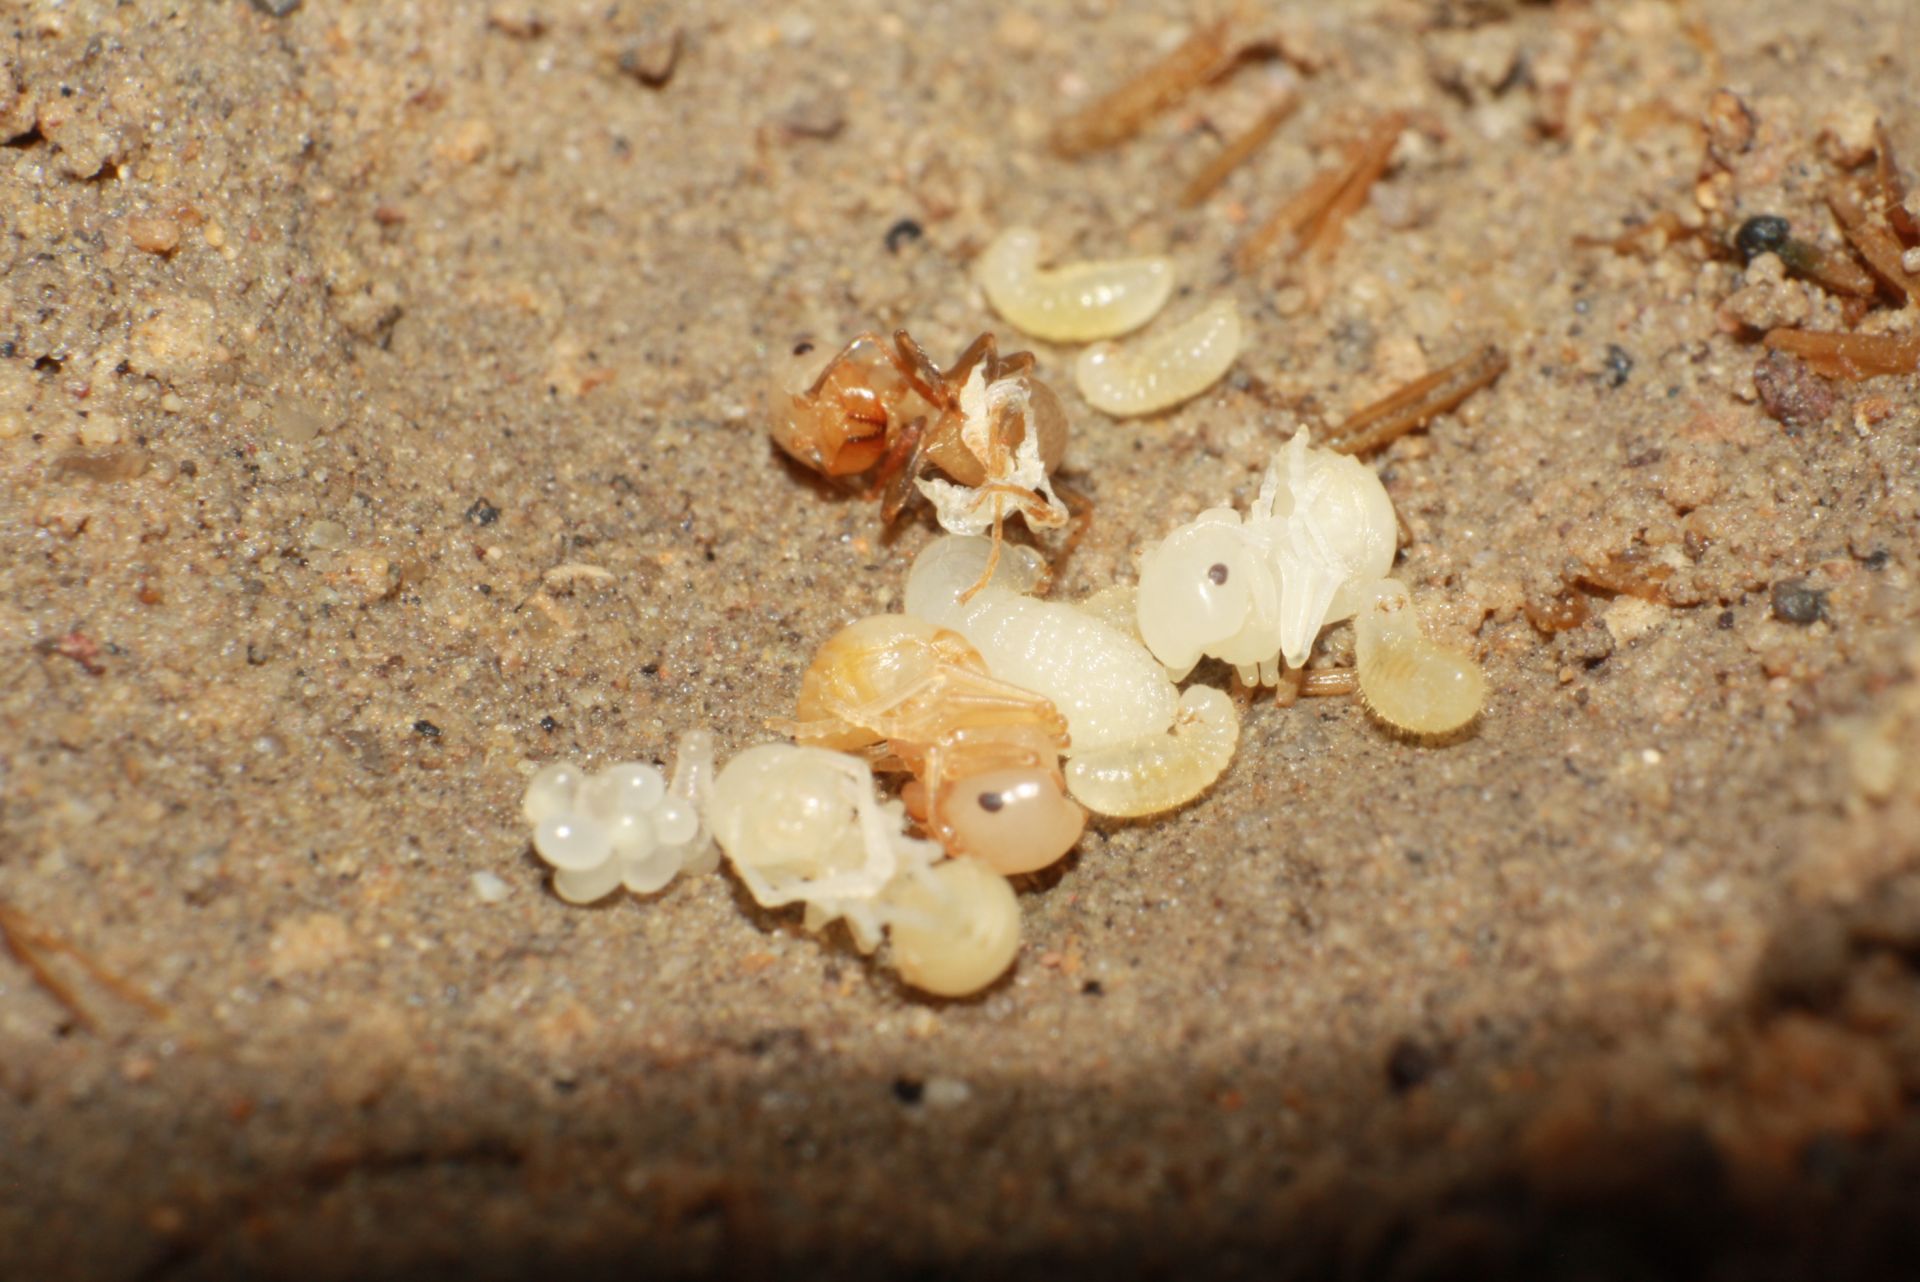
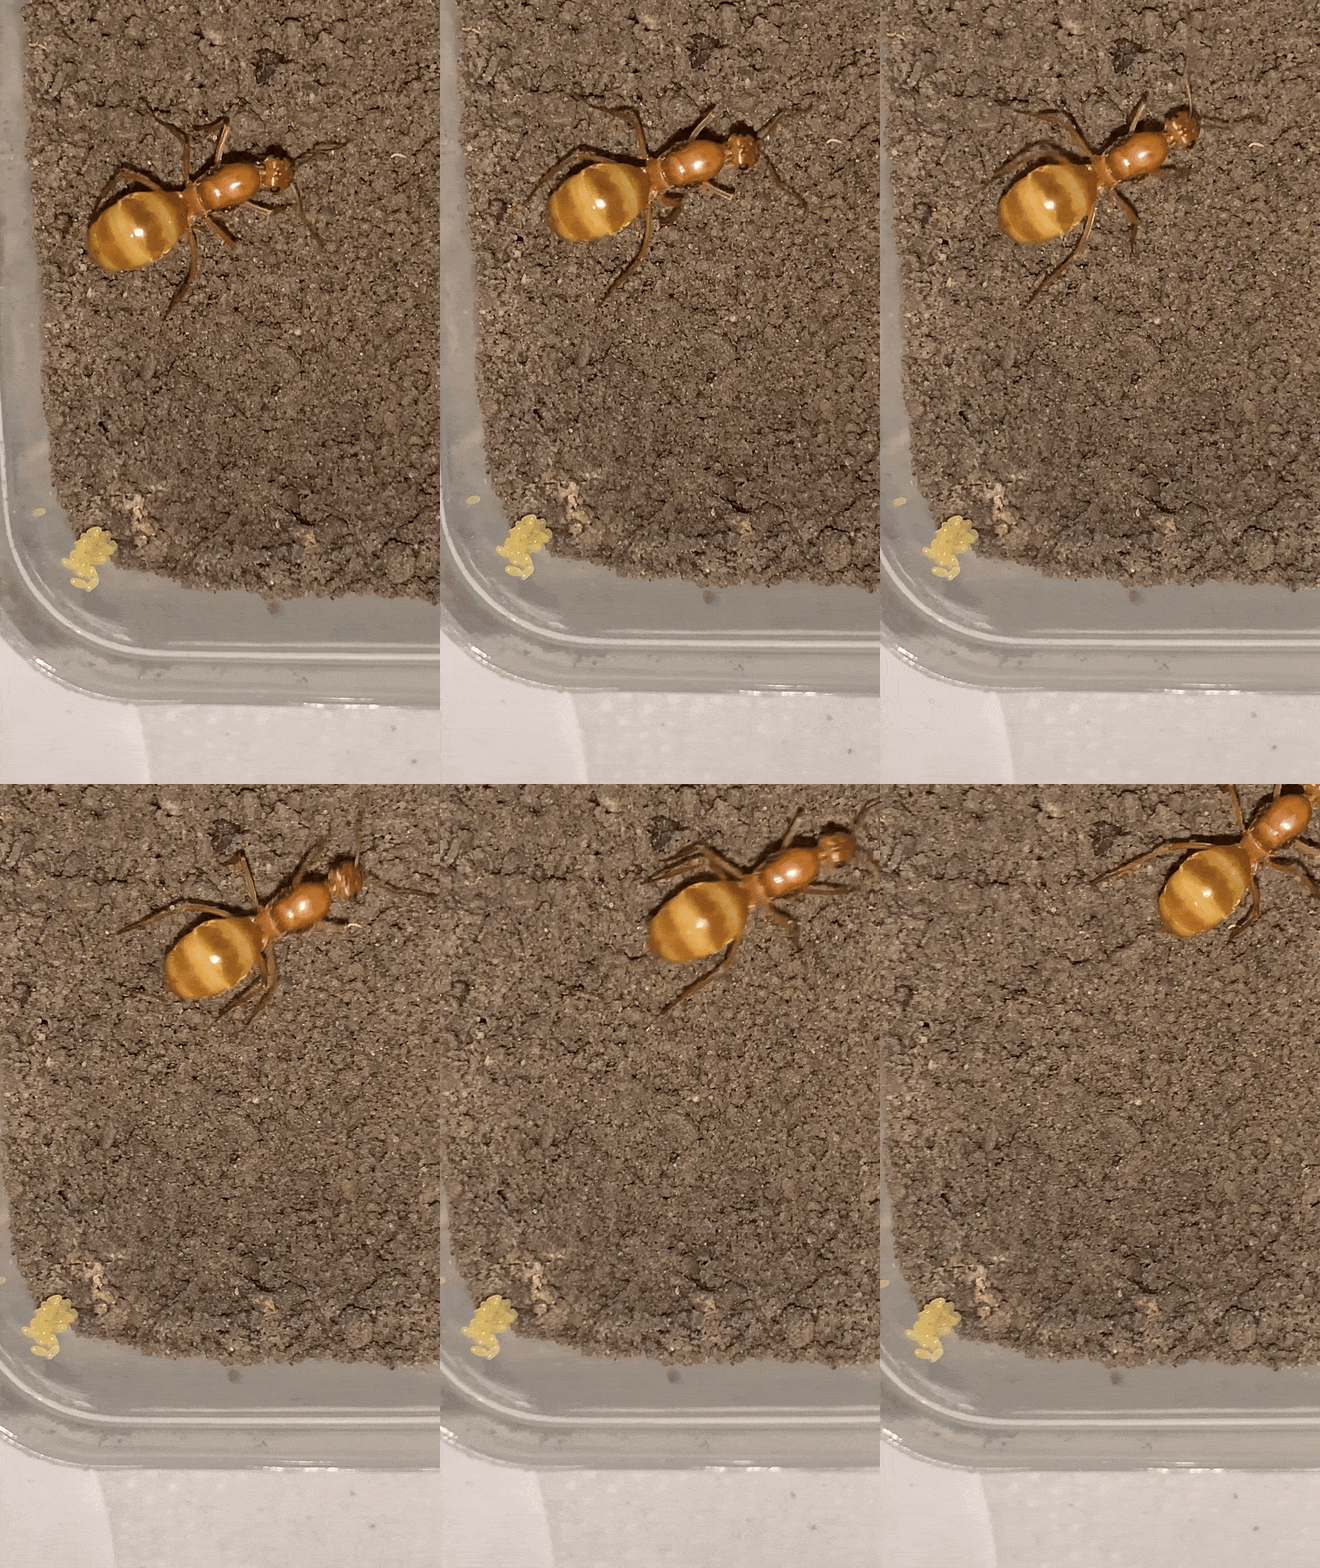
This thread is open to debate, however I'm going to give a quick rundown of the simple dirtbox method, and why I think it is the best way to found long term colonies of harvester ants of the genus Pogonomyrmex, specifically Pogonomyrmex occidentalis and Pogonomyrmex rugosus. I've raised hundreds of queens and colonies, and based on my varying success from different methods, I've found the dirt box to be most effective method for multiple reasons which will be listed below.
First of all, the main competition of this method, the trusted test tube, has been used for decades with varying success. The most obvious issue is that the glass of the test tube itself has little traction for harvester ants, which is already less than ideal for a partially claustral queen ant. Some have developed inserts or variations such as the bamboo test tube which provides more suitable living conditions for the founding queen. However these methods while providing good humidity and visibility, are time consuming to make yourself (if you're into that) or rather expensive if you want to house many colonies. If you are simply housing a couple queens than a test tube variation will work fine if the queen can raise her first generation.
The other well known replacement for test tubes and dirt boxes is founding formicariums. For example the THA mini hearth. These founding formicaria work well in proving space, an easily accessible foraging area (usually a horizontally attached outworld is recommended for harvesters), a good humidity gradient and good visibility. The main issue is the price of such setups. It is not practical to buy dozens of formicaria for founding queens, who may not even make it through founding a successful colony in the first place.
This brings me to the simple and cheap dirt box method. It's self explanatory, however there are a few tips you may not know. Here's a list of materials:
- Small plastic containers, with a very small amount of airflow
- Dirt
- Distilled water on hand to hydrate
- Dandelion, chia or kentucky bluegrass seeds
- Non-treated Toilet paper (optional)
Setting up: After washing the containers and lids, place dirt until the dirt level is about 1/4 to 1/2 of the height of the container after being slightly compacted. Moisten half of the dirt with water and place some seeds on the dry side of the dirt. The setup is ready.
The toilet paper is optional, but I've found it works very well. The toilet paper is a biodegradable and humid medium which will retain water and provide structural support. Queens will tear the paper up and spread it around the founding container. I'm still not sure exactly why but queens which were provided toilet paper in their dirt box laid eggs much sooner than others. To incorporate toilet paper into the dirt box, simply place 2cm by 2 cm squares over the wet side of the dirt.
As for the dirt itself, if you have native colonies, use dirt from the vicinity of different colonies. Be sure to dig at least a few inches down when collecting. I've also had great success with dirt from my garden and soil. If you do use a soil-like medium, be sure to mix adequate amounts of sand and clay in to create a structurally sound and mold resistant founding chamber. I don't like to wash, bake, or boil my dirt, especially when it's coming from a natural environment in the native desert. If any small organisms exist in the soil, they usually keep the mold out. However this does carry a risk of fungal infection, so if you really want to be safe, bake your soil and get a springtail culture.
I find the best ratio to create an ideal founding dirt is: 1 part sand, 1 part clay and 3 parts natural dirt from existing colonies.
If you're going the soil route, I do 3 parts soil to 2 parts clay to 1 part sand.
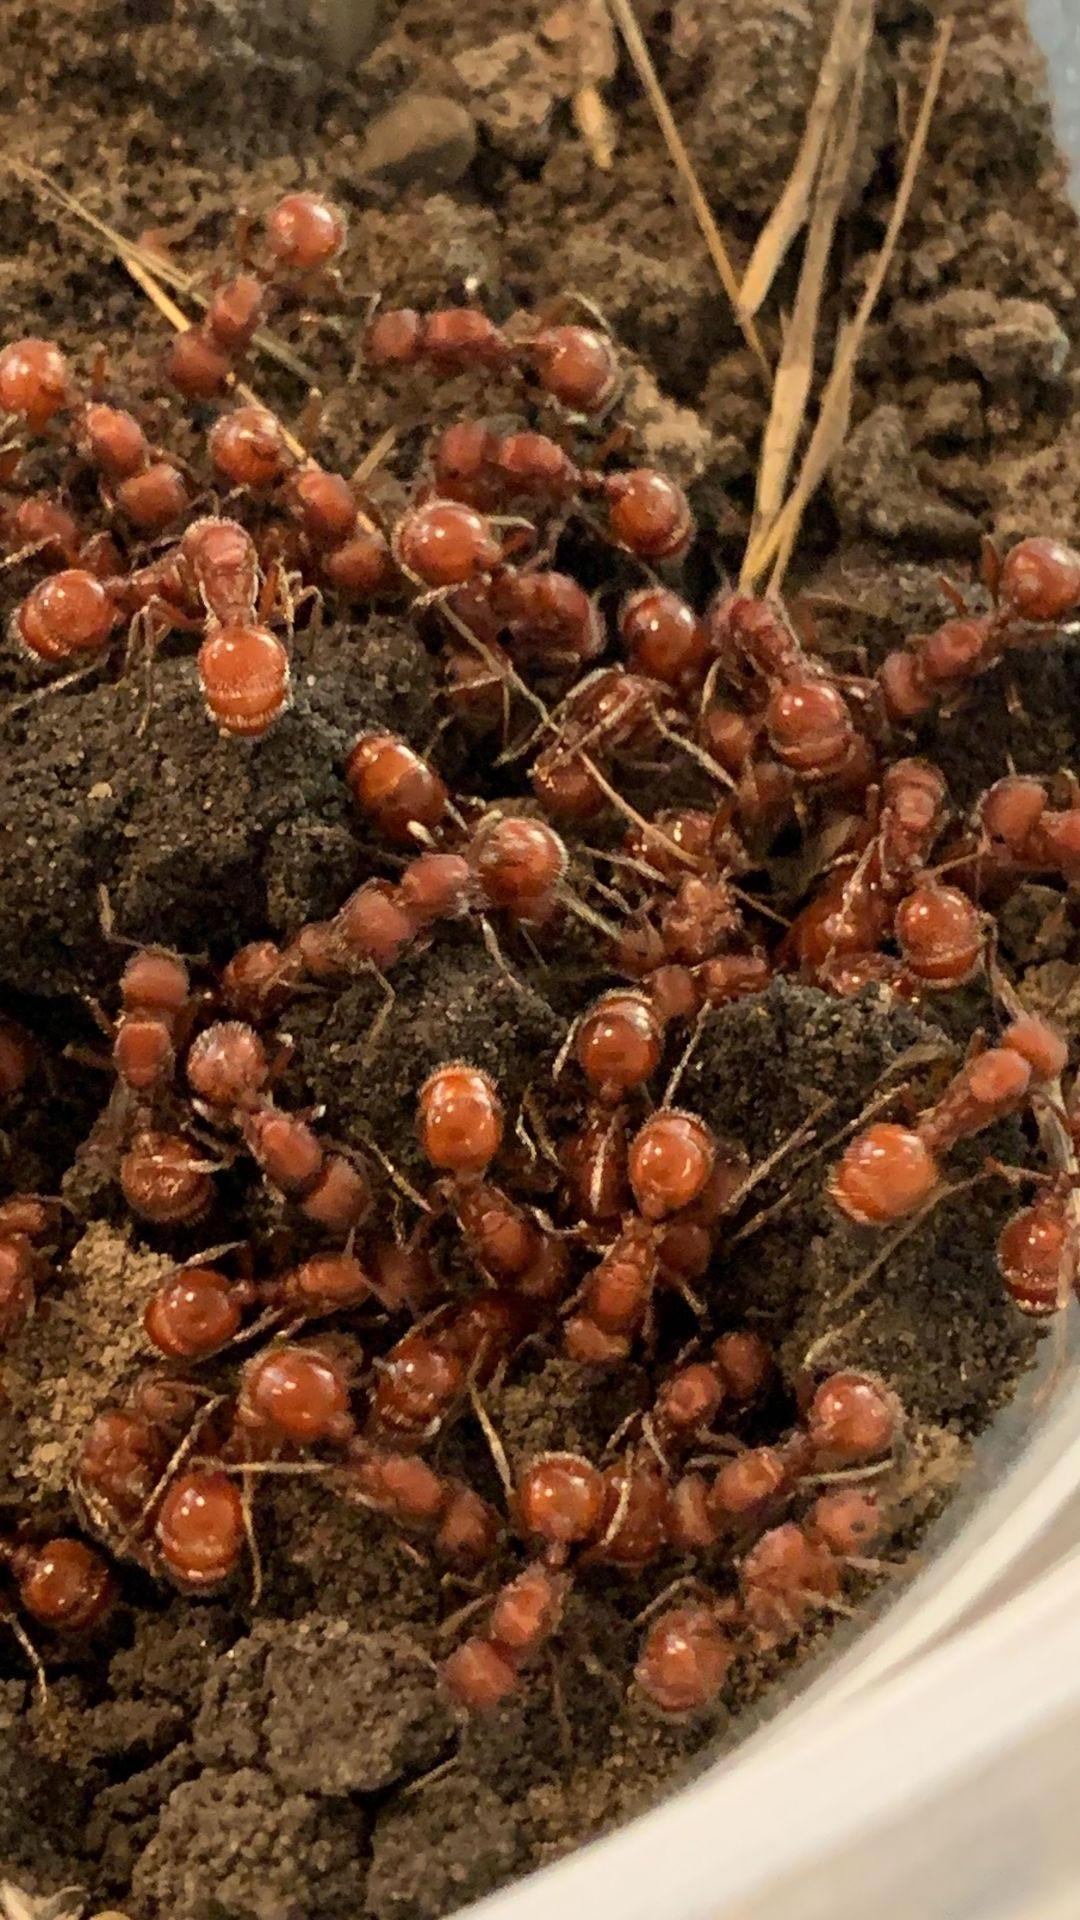
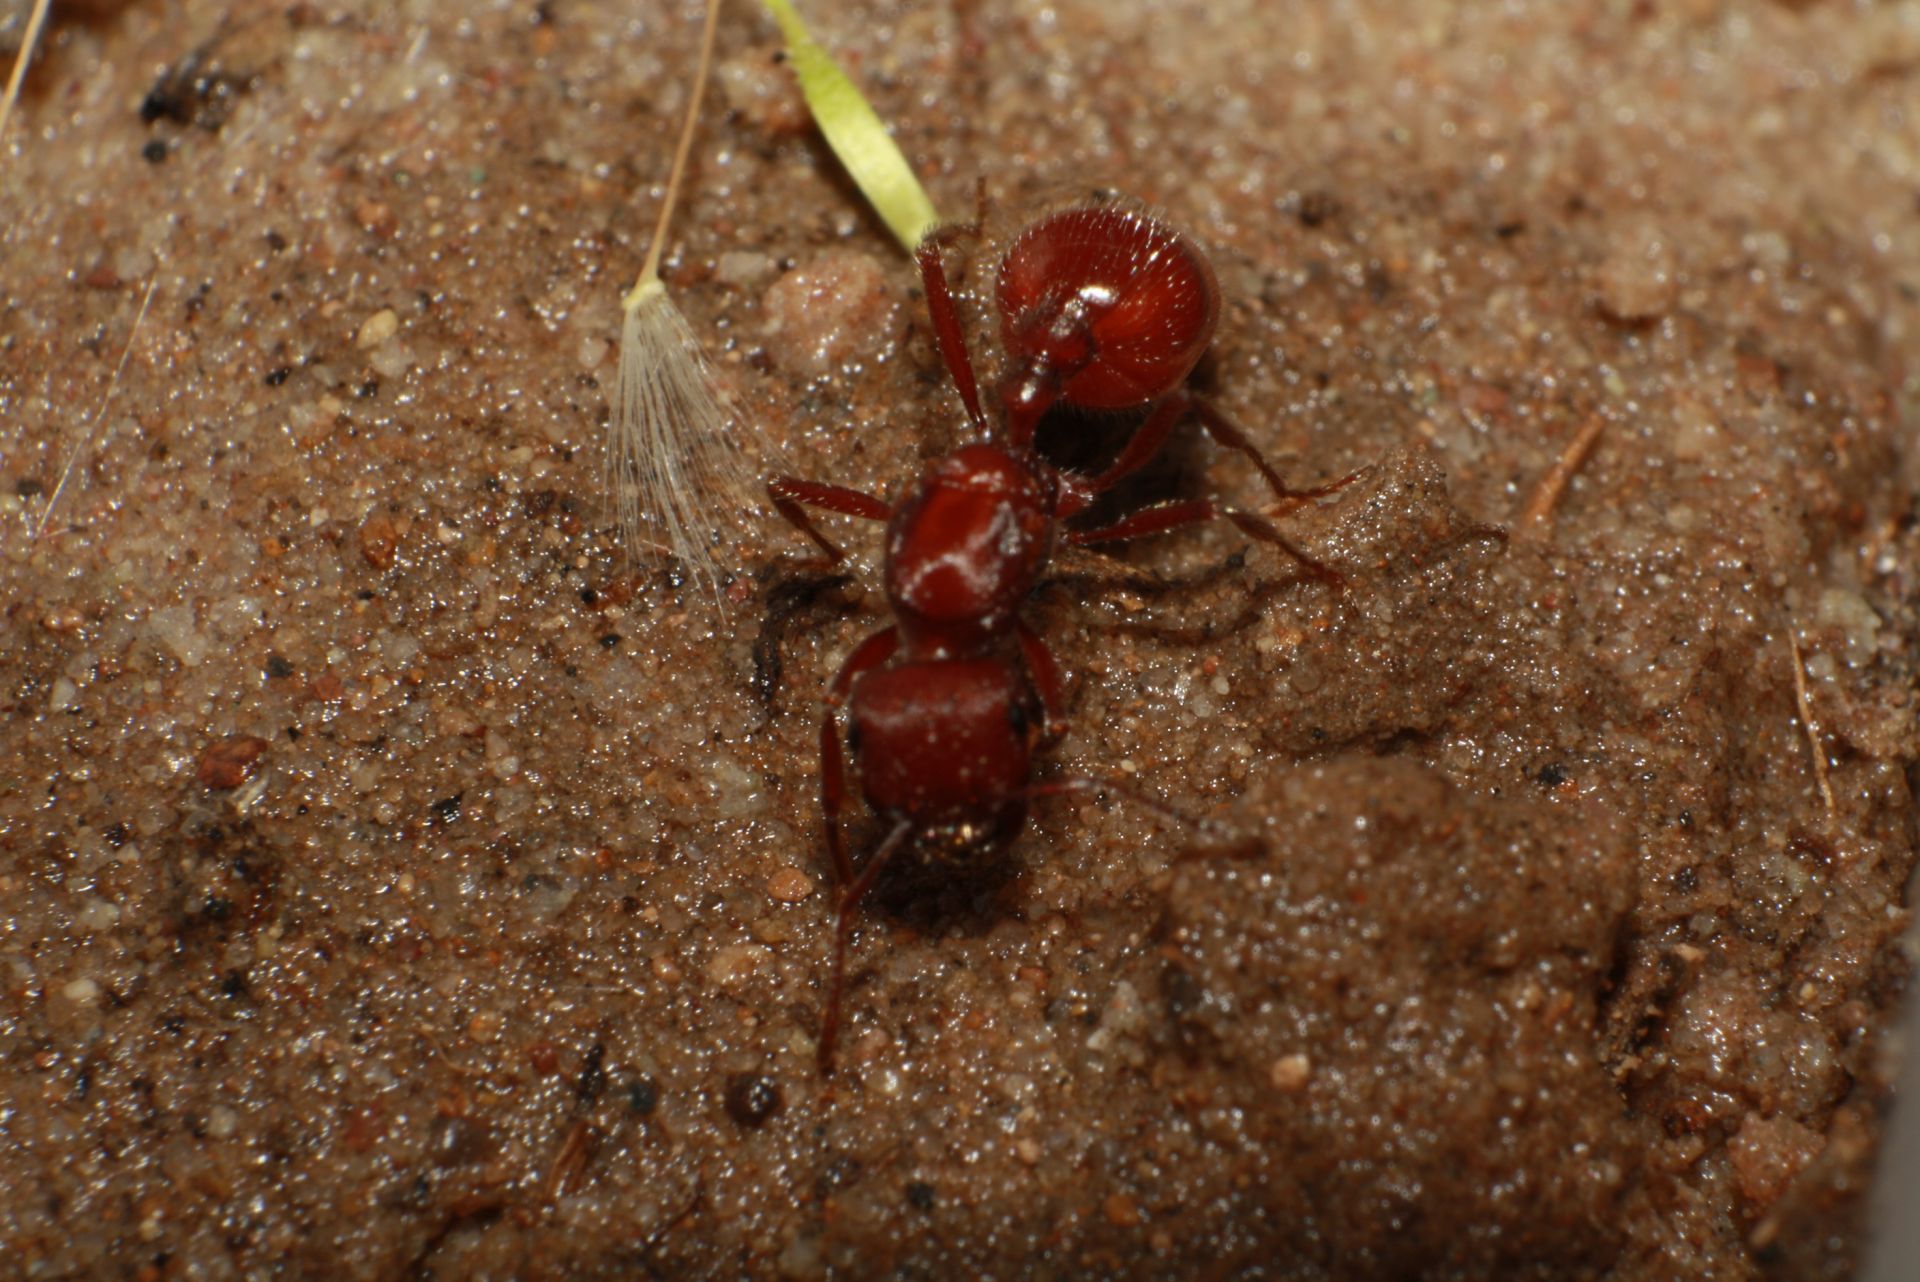
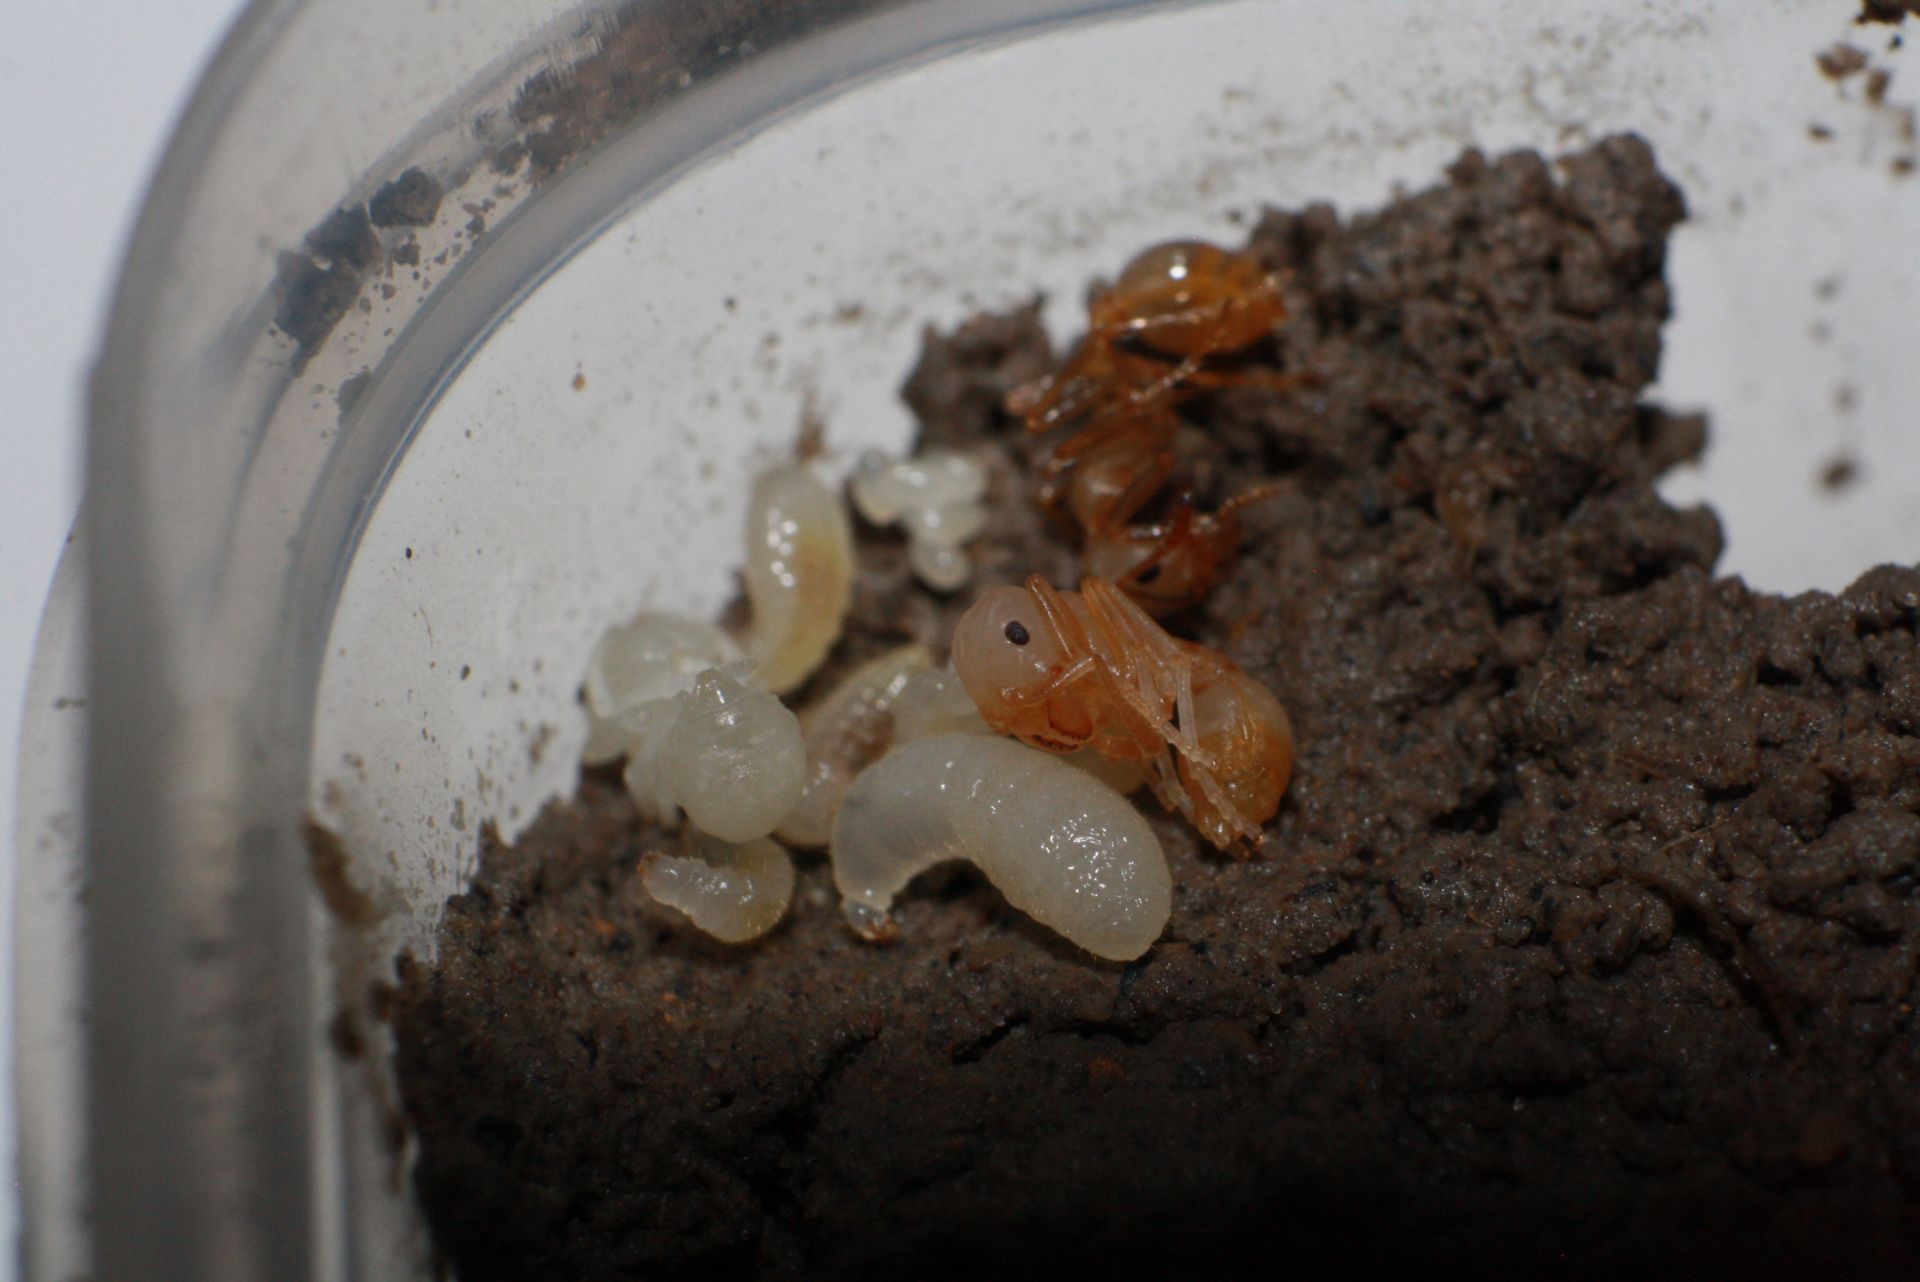
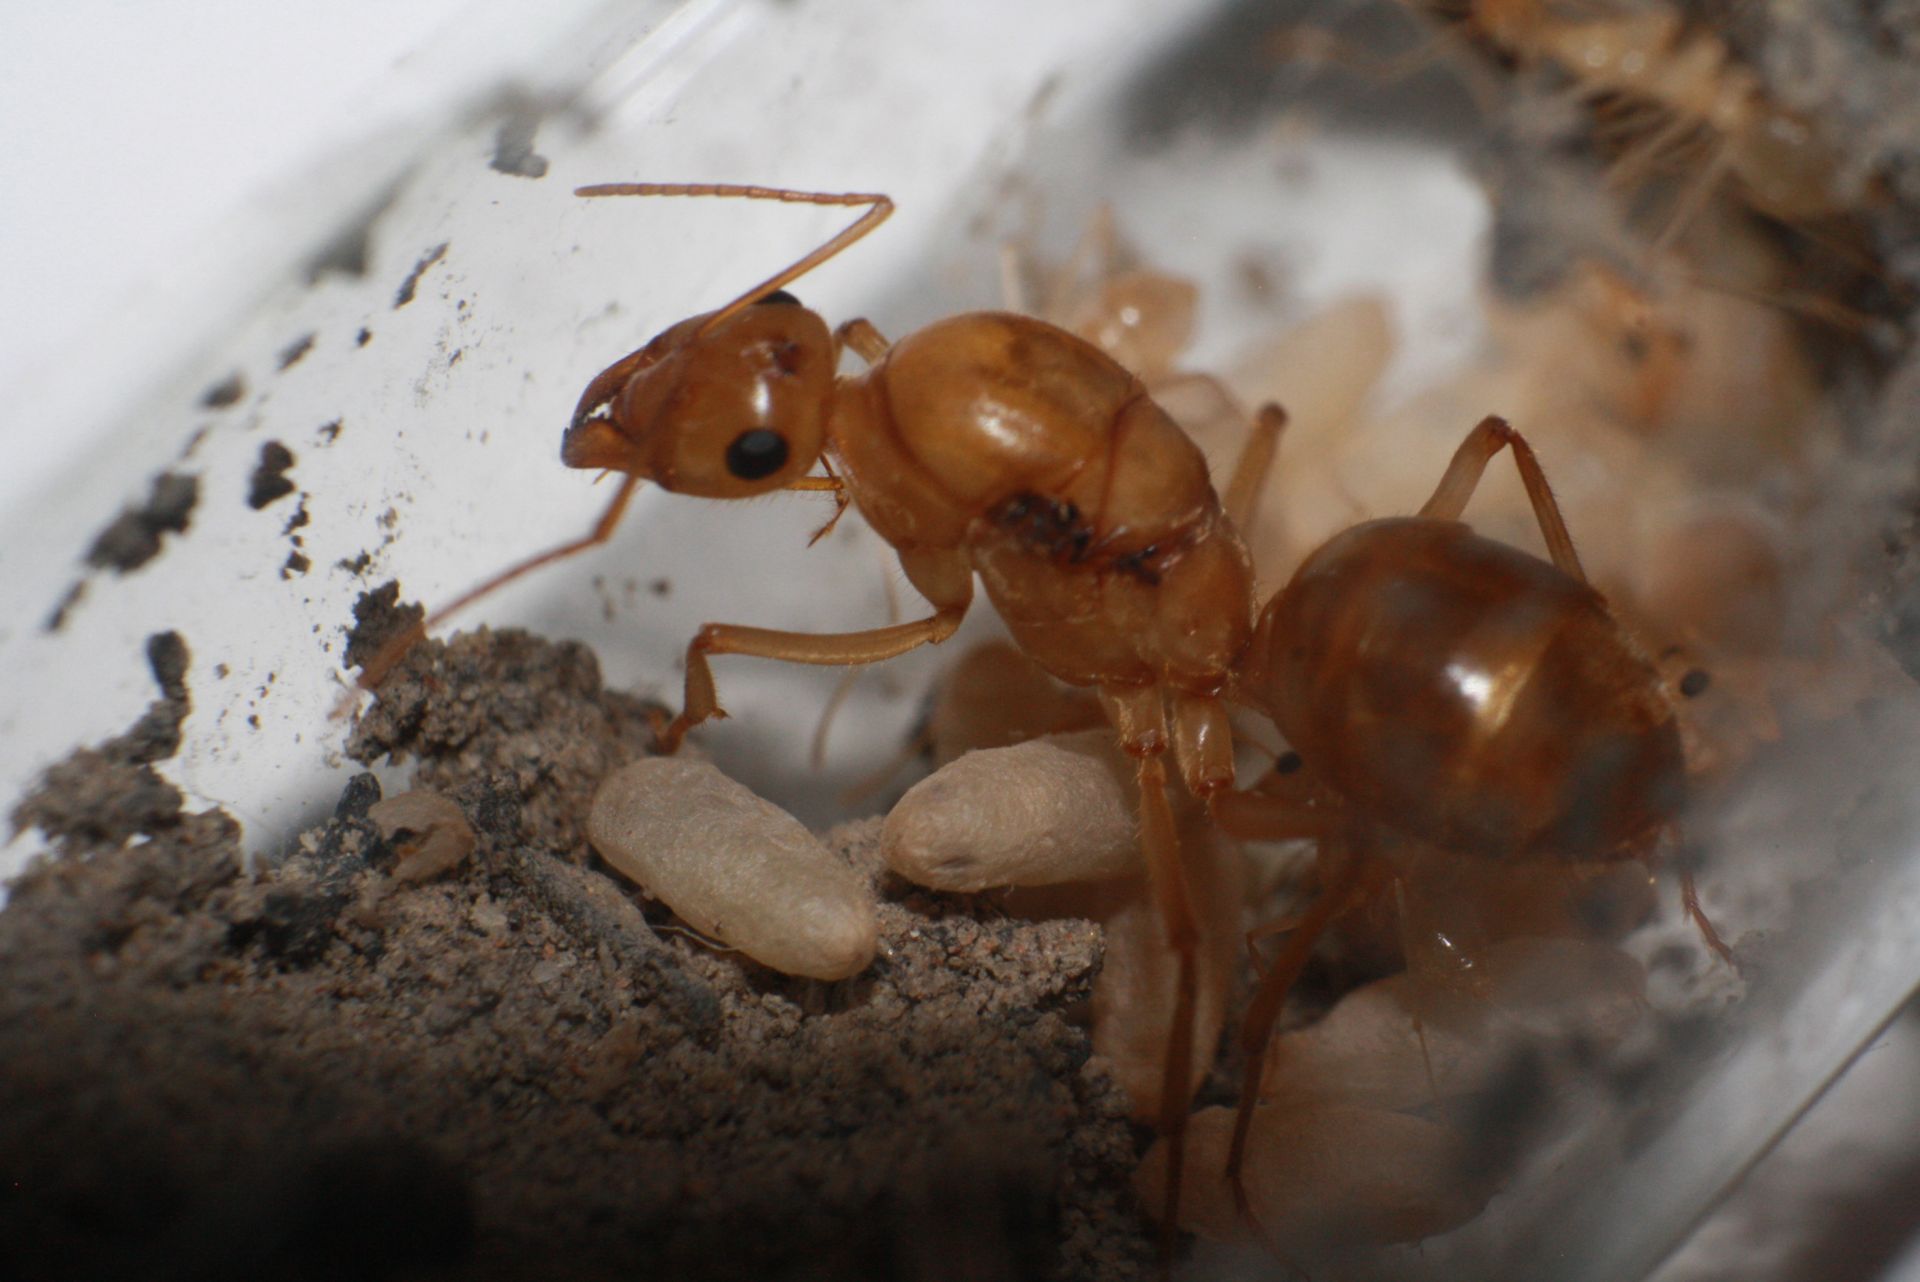
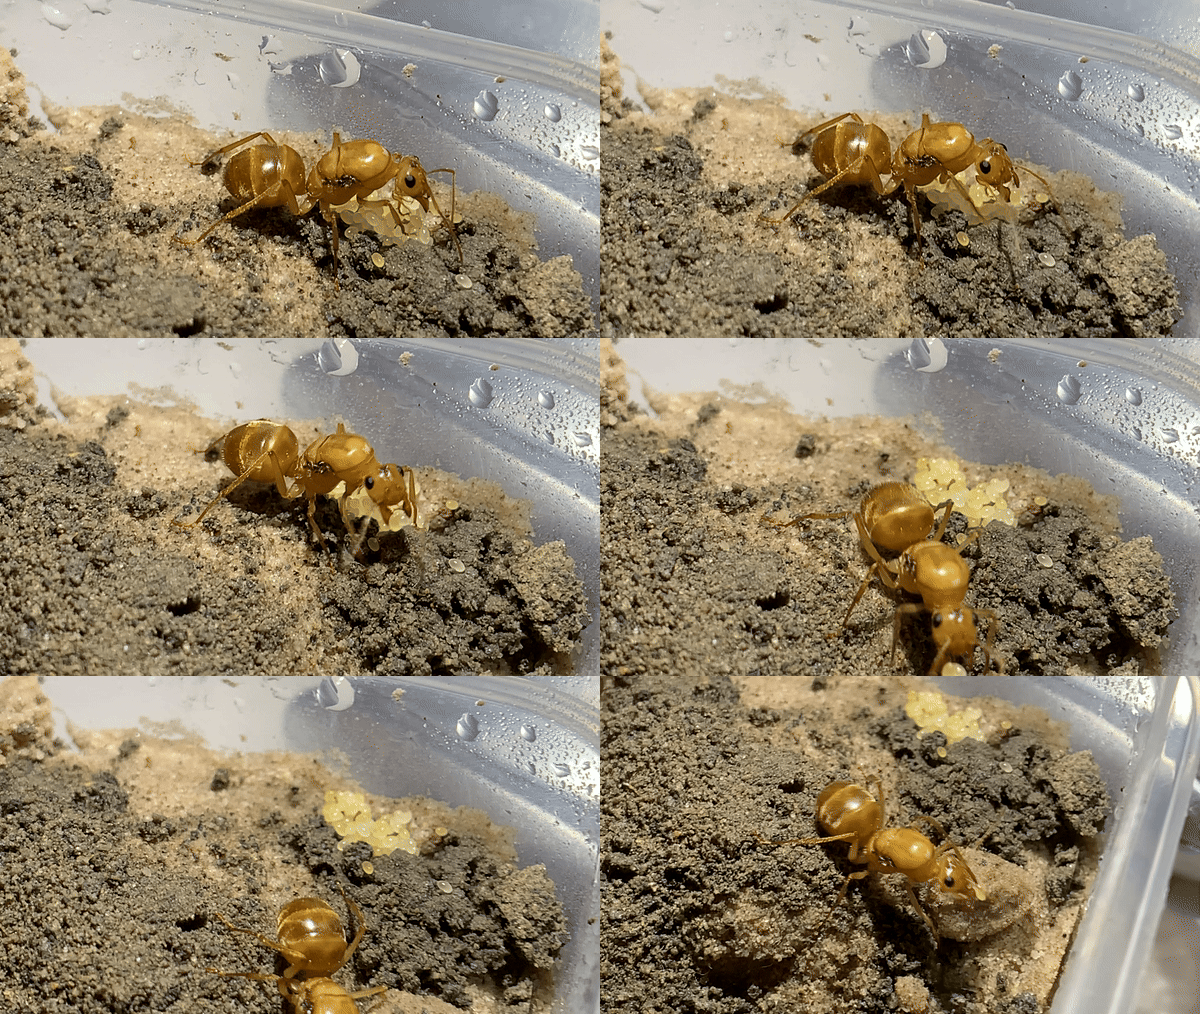
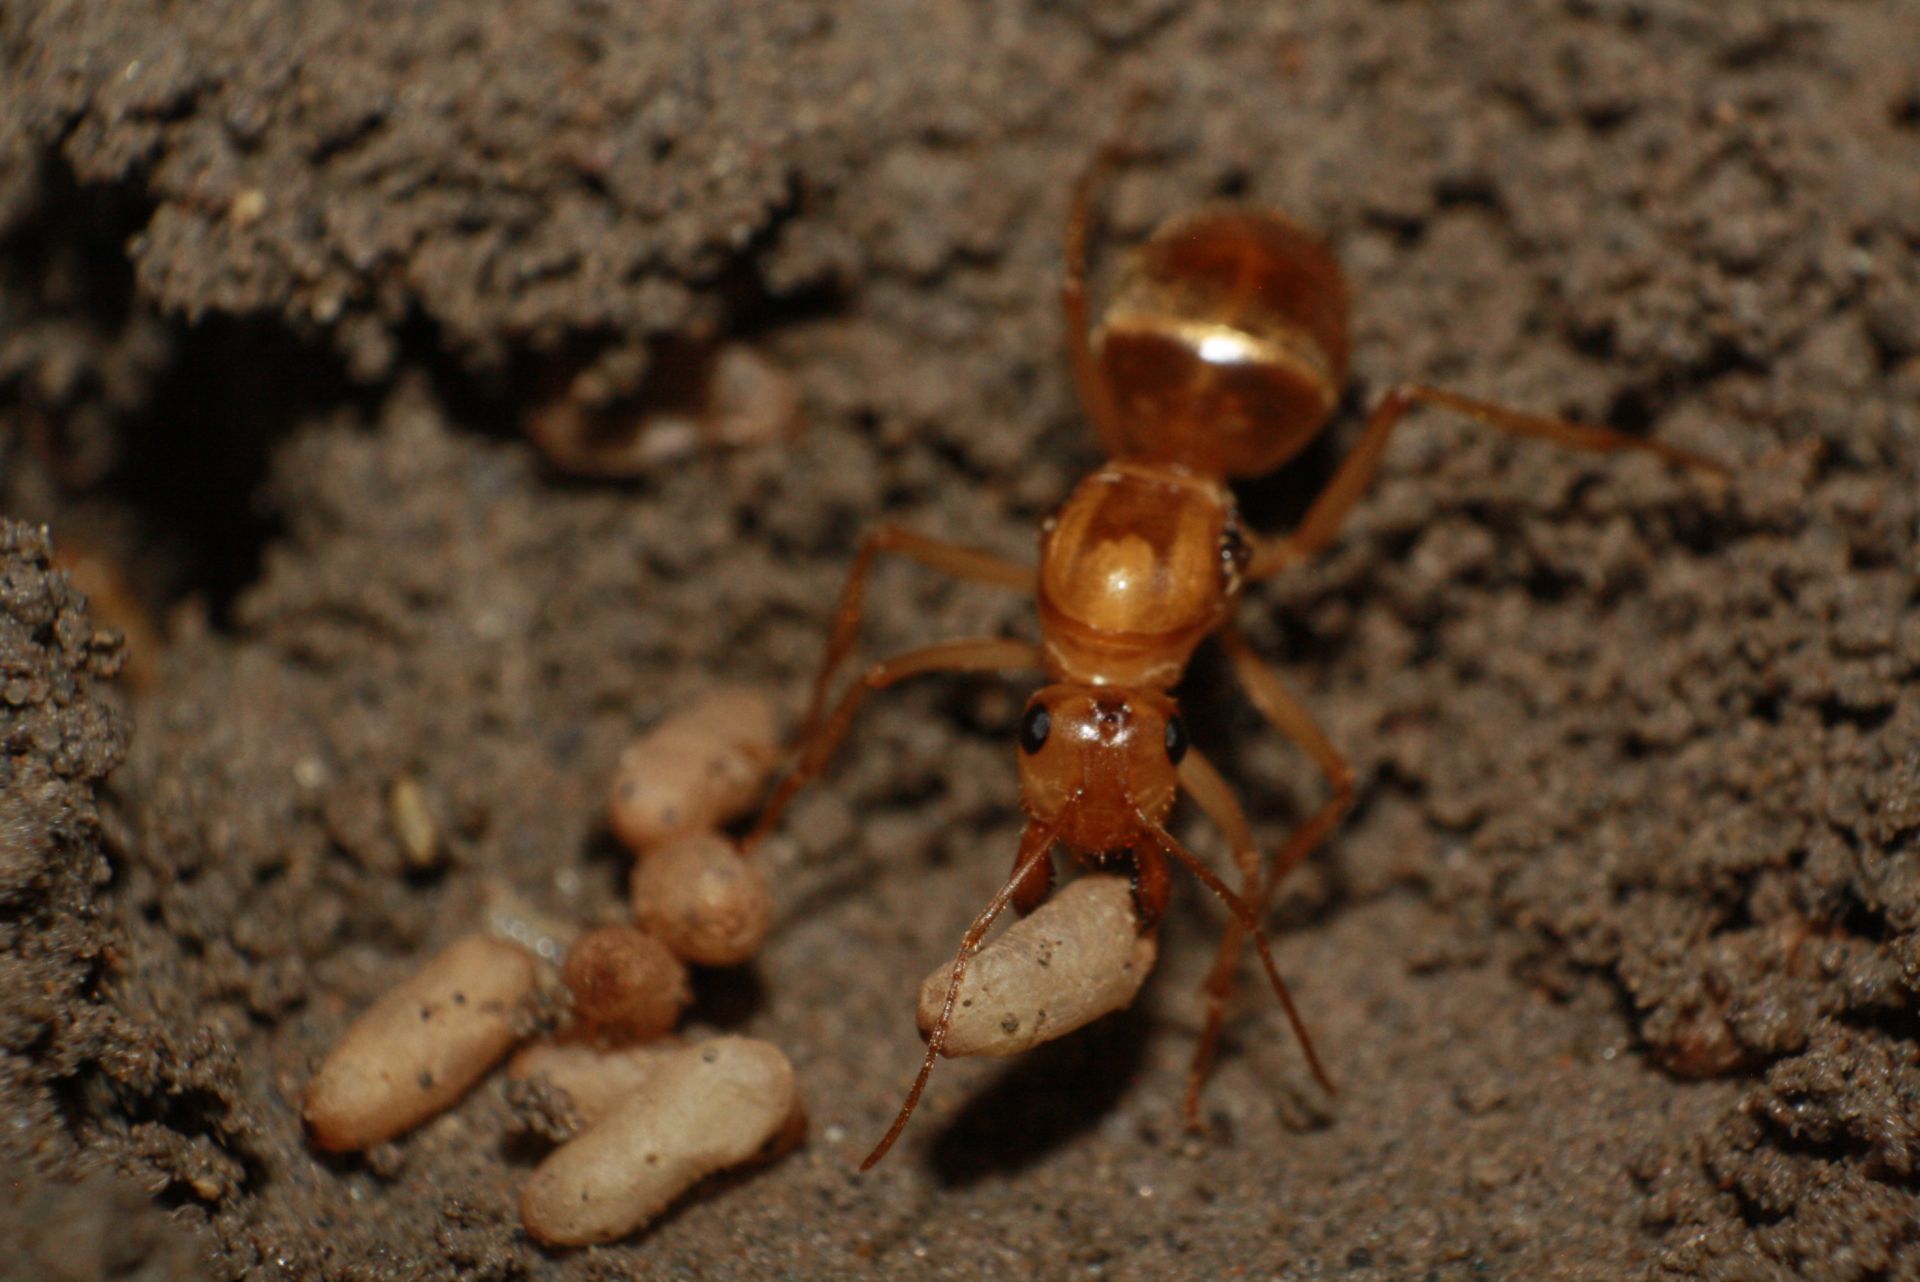
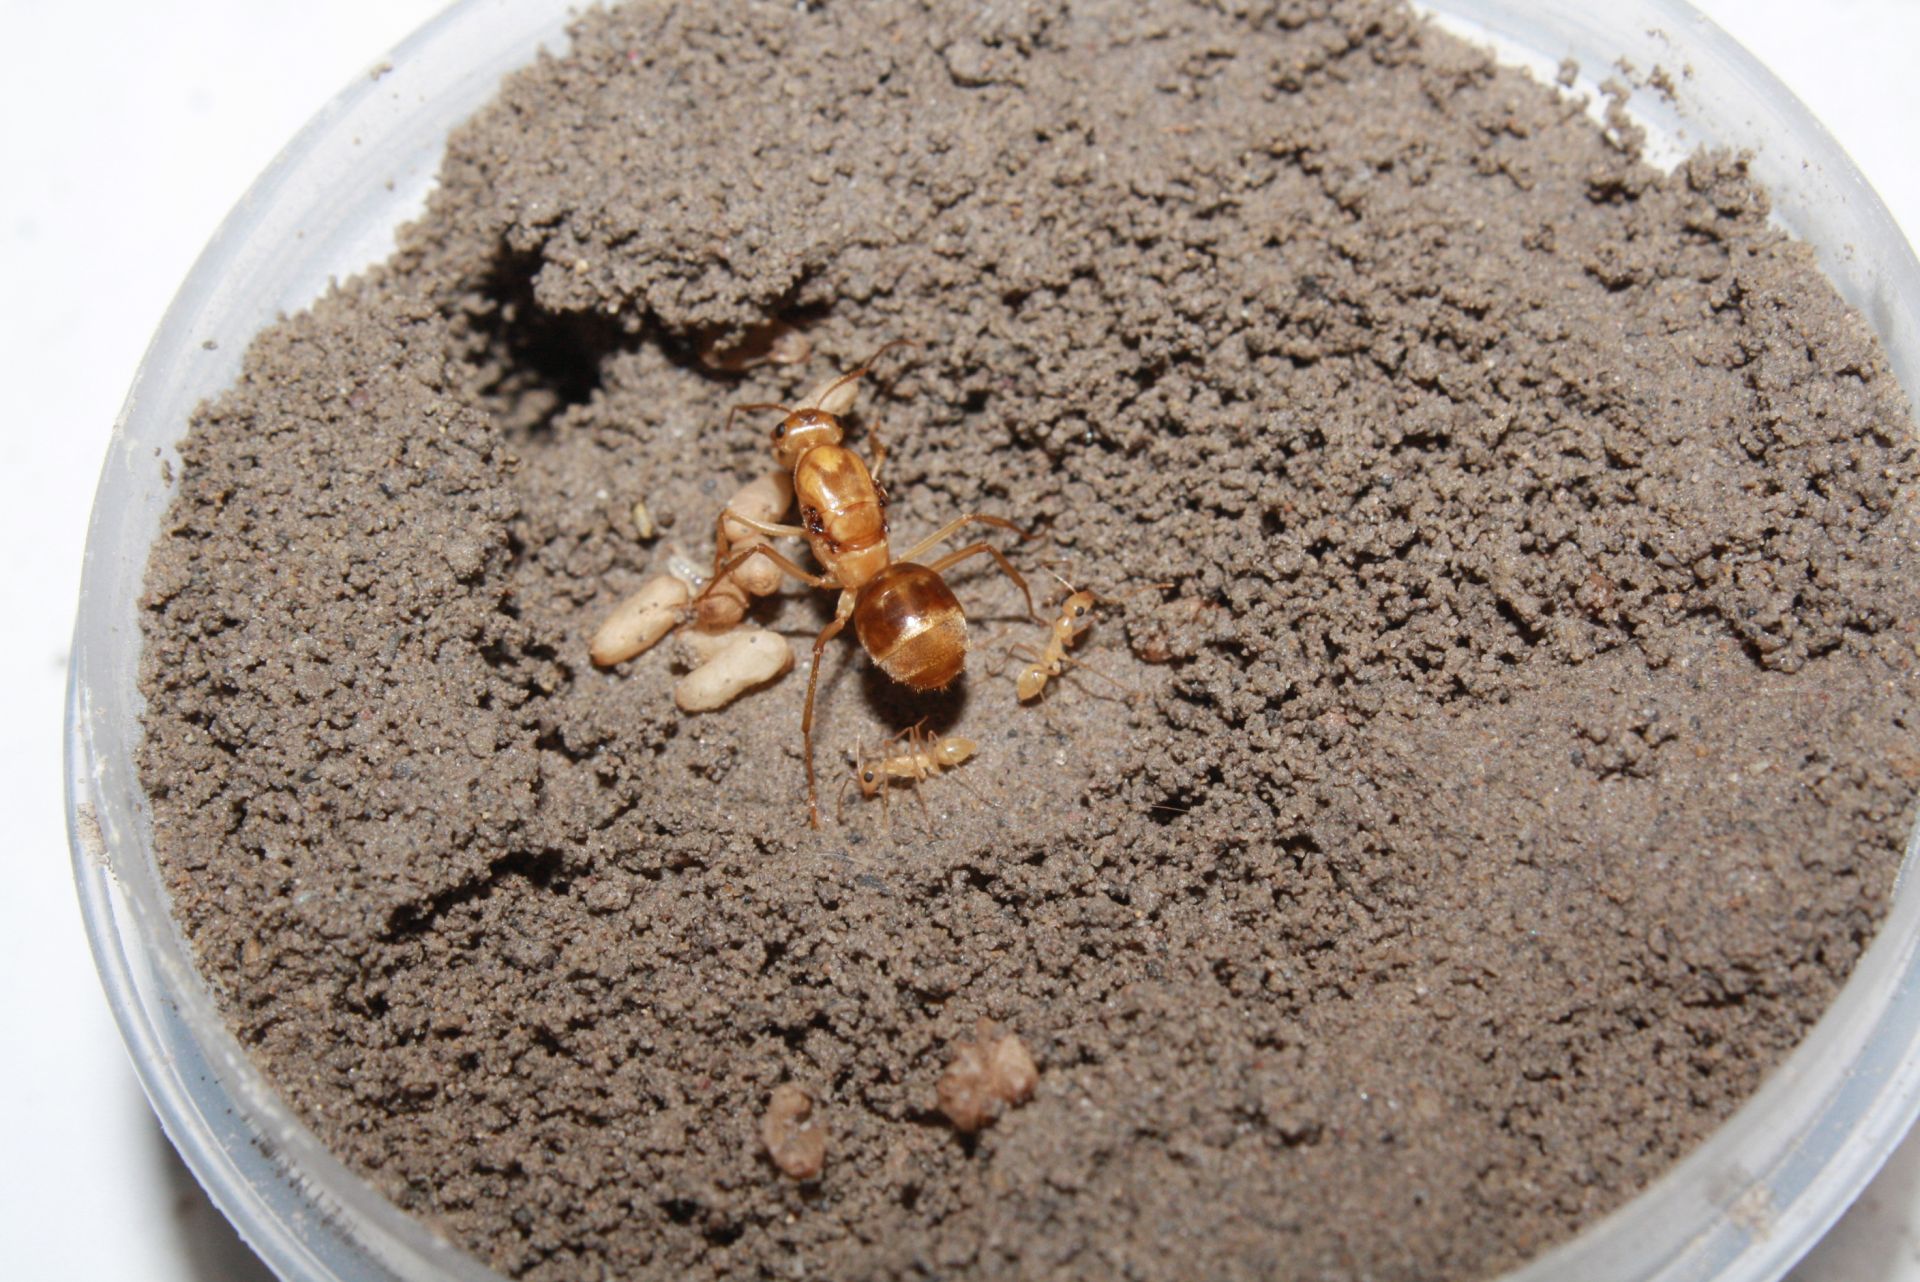
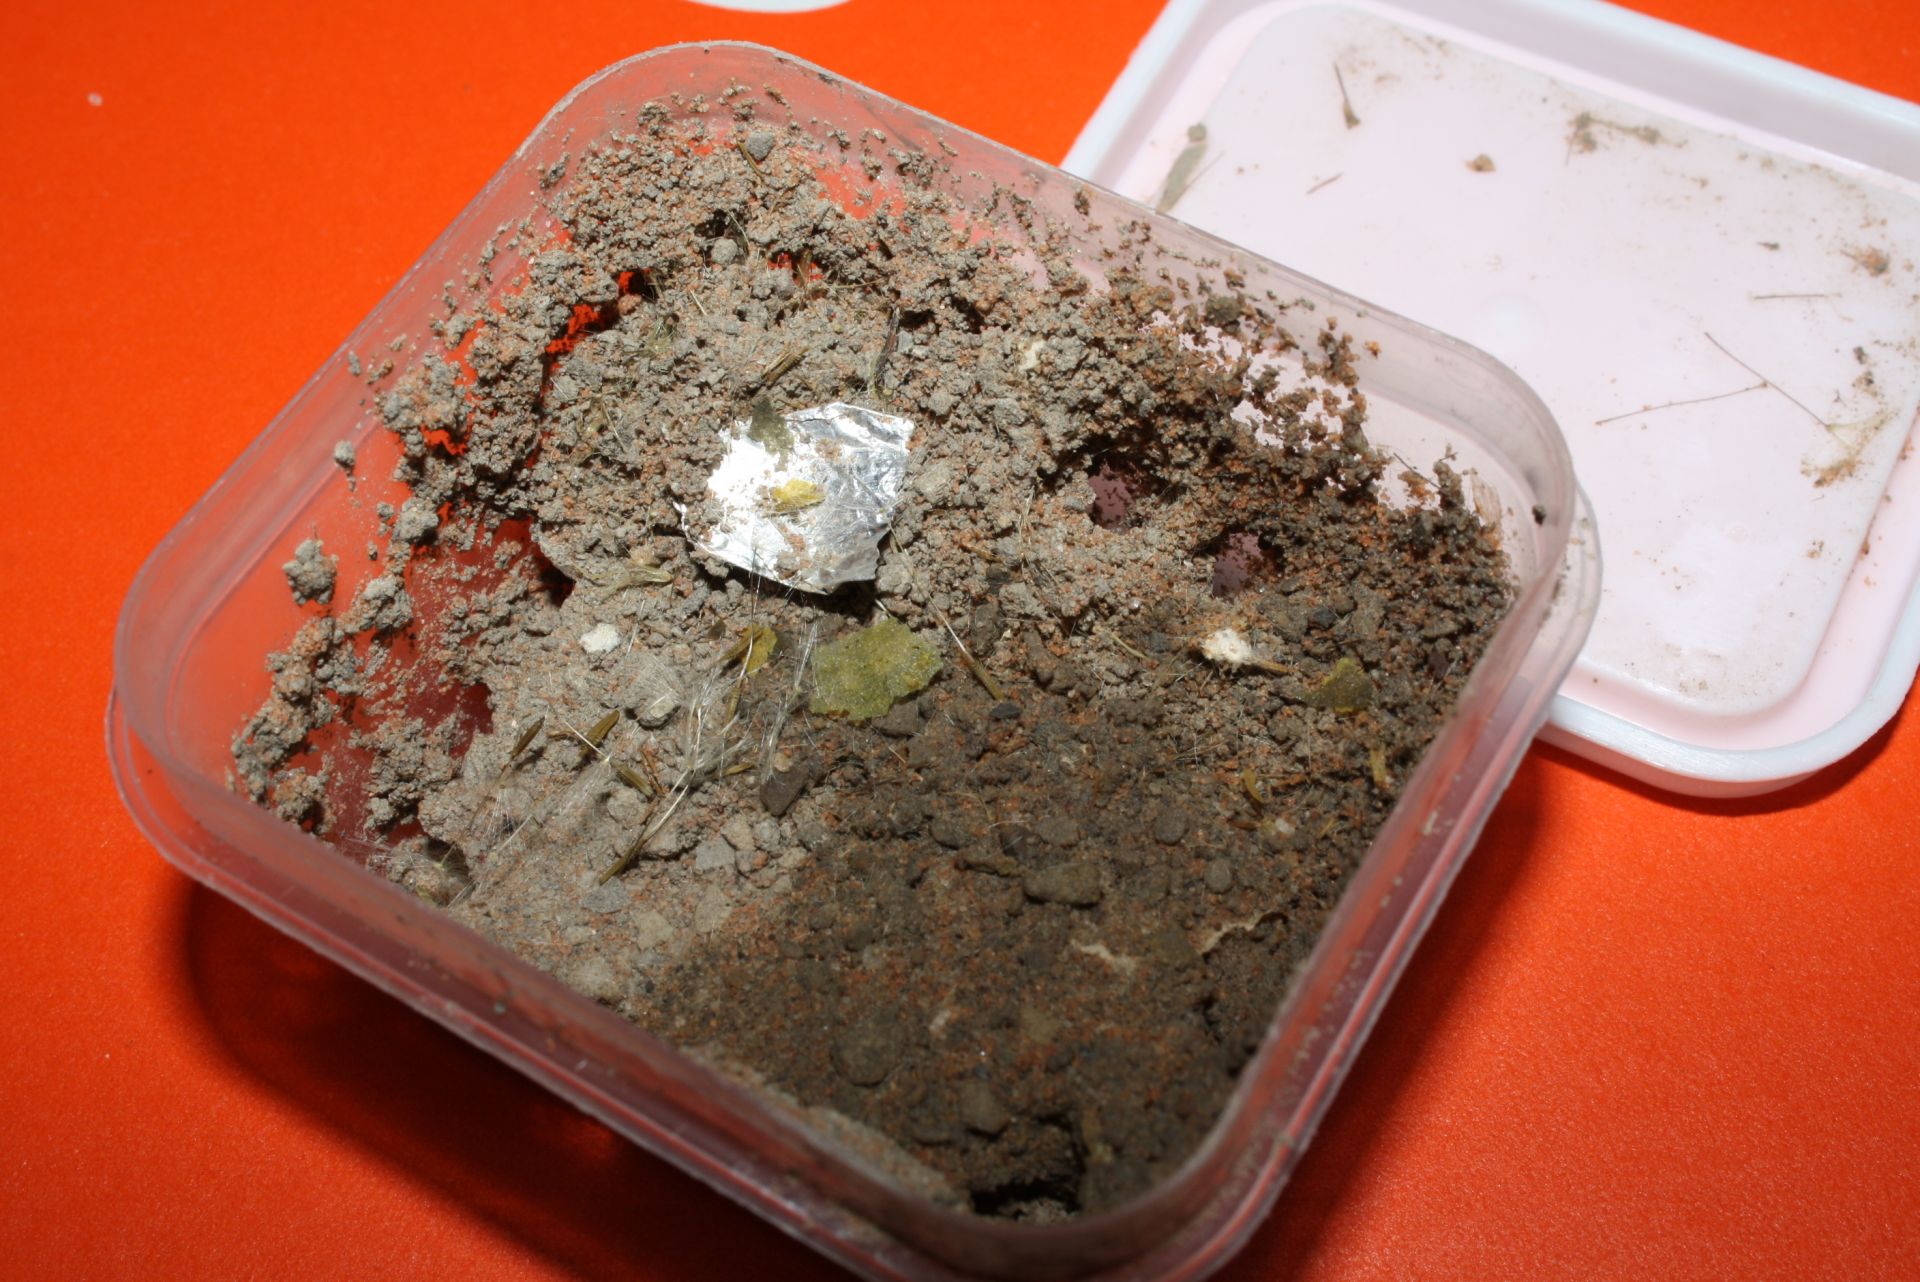
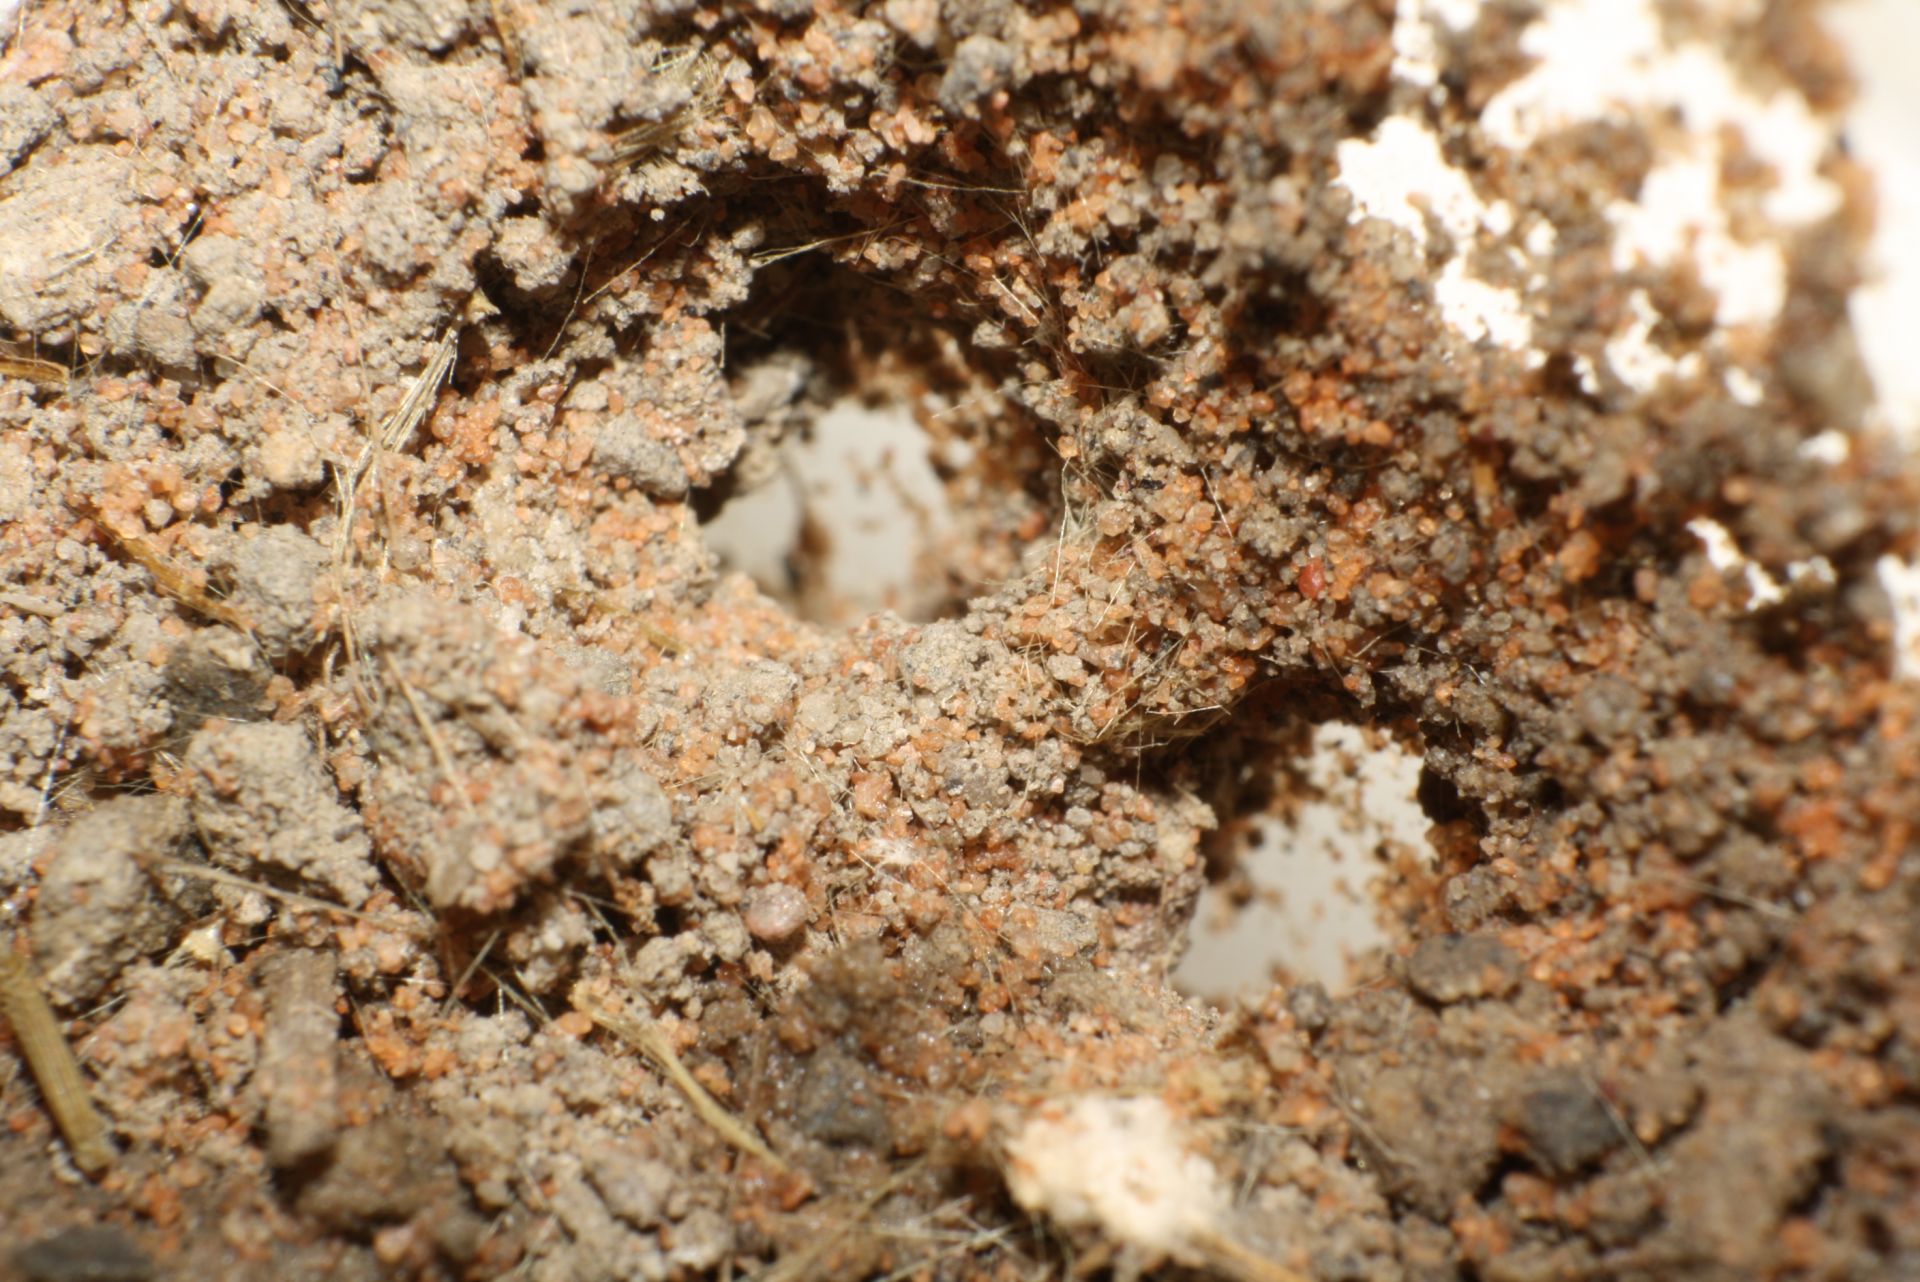
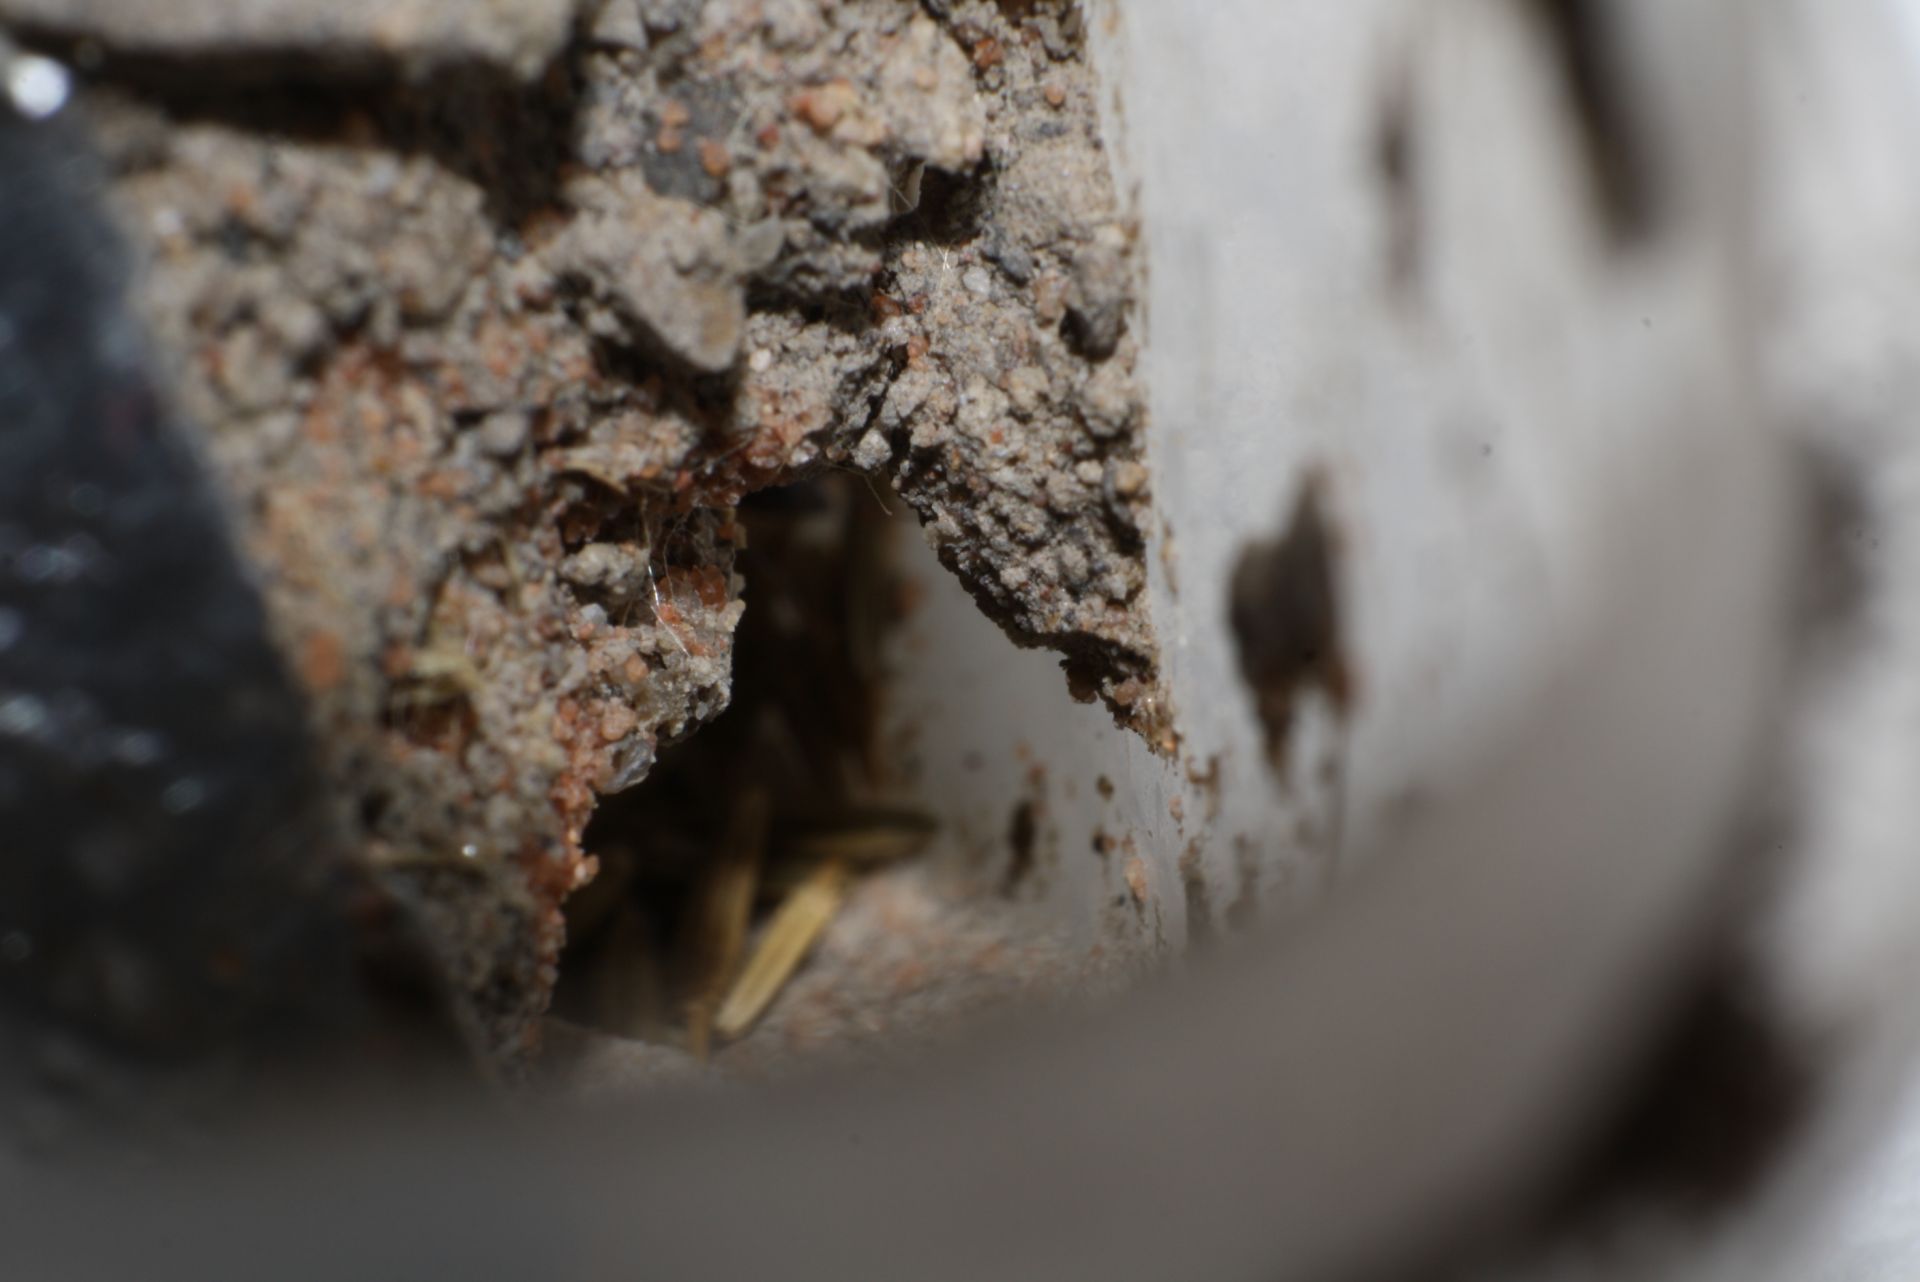
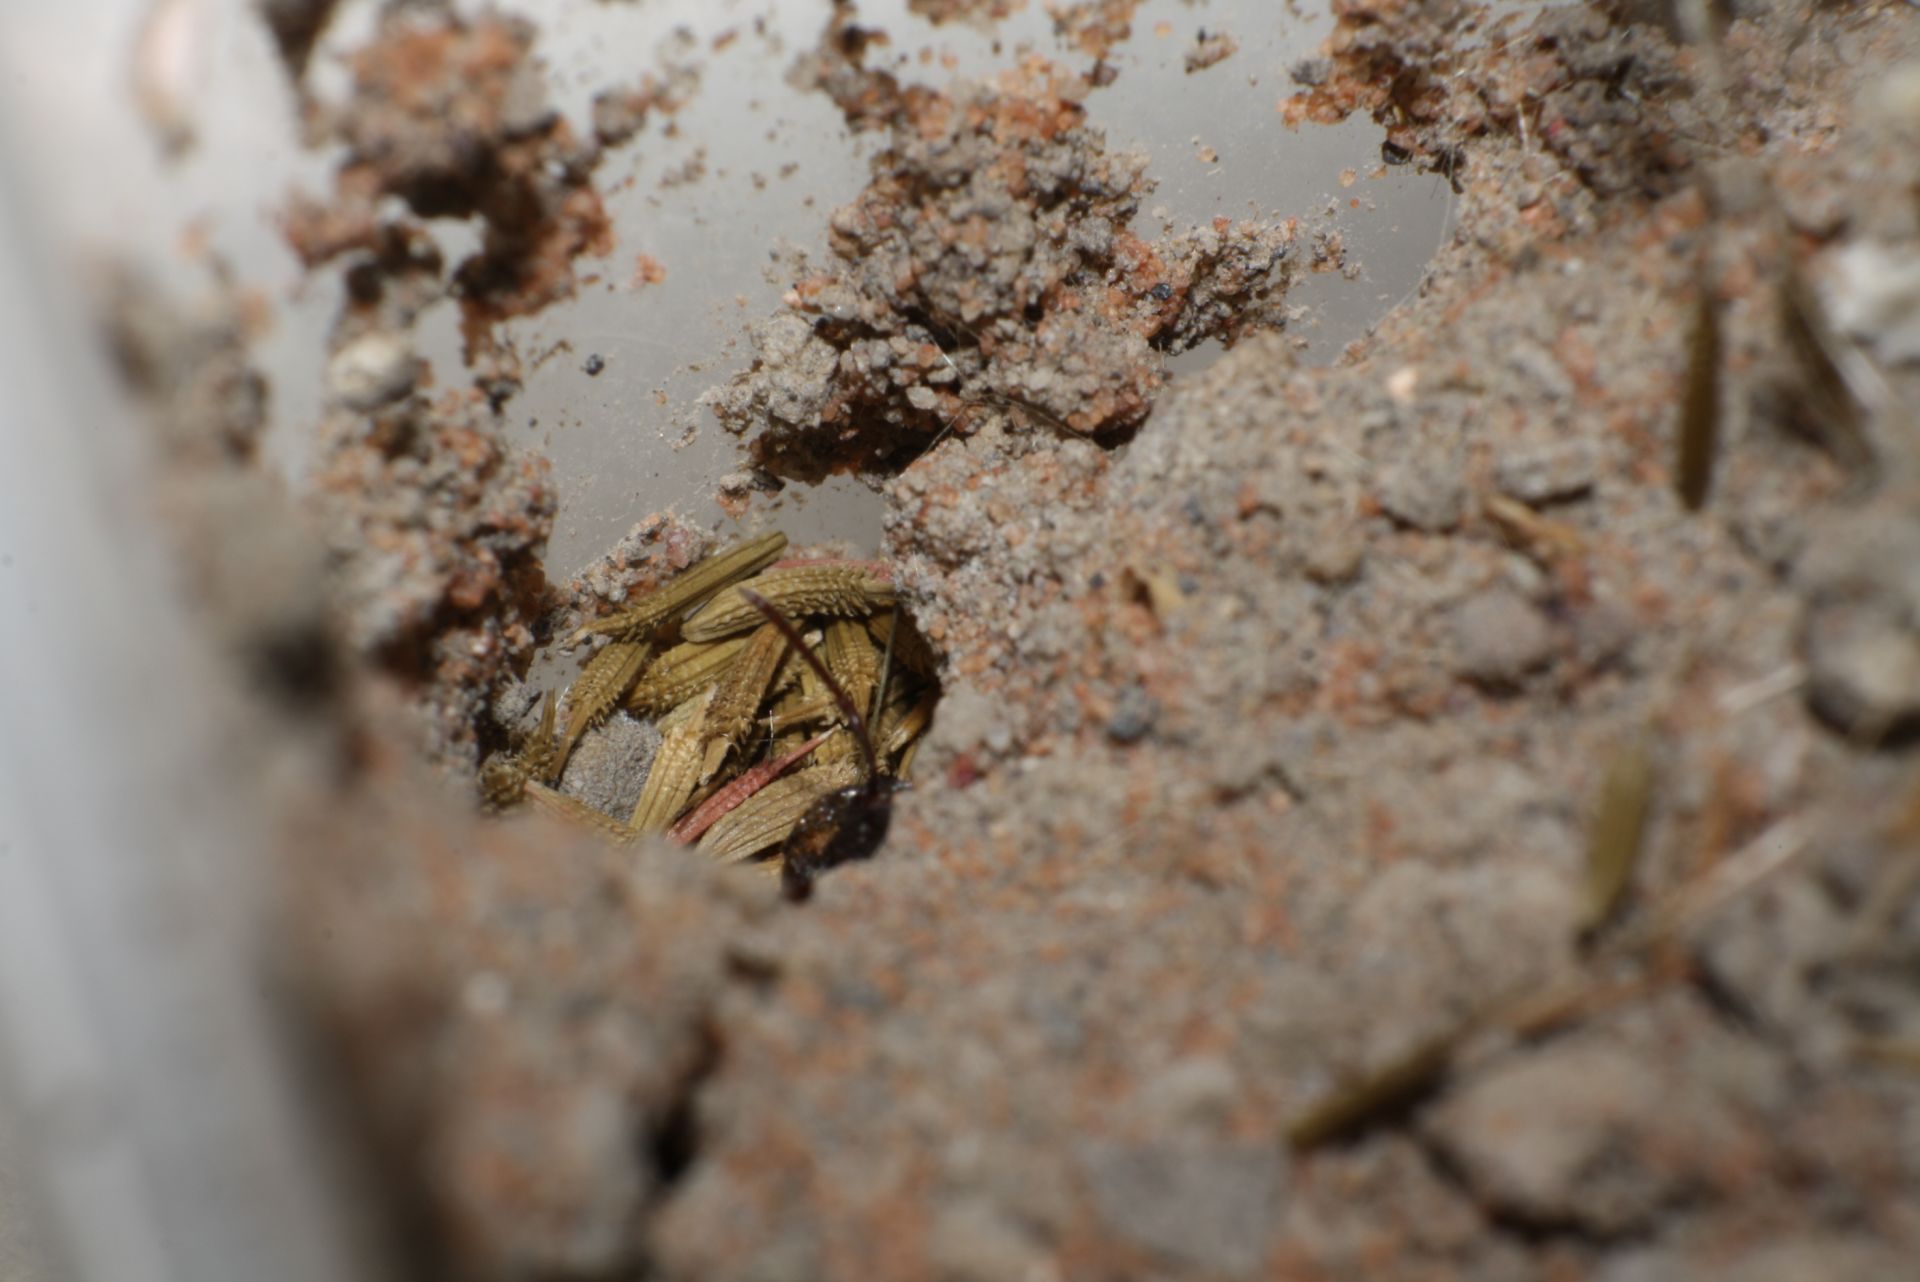
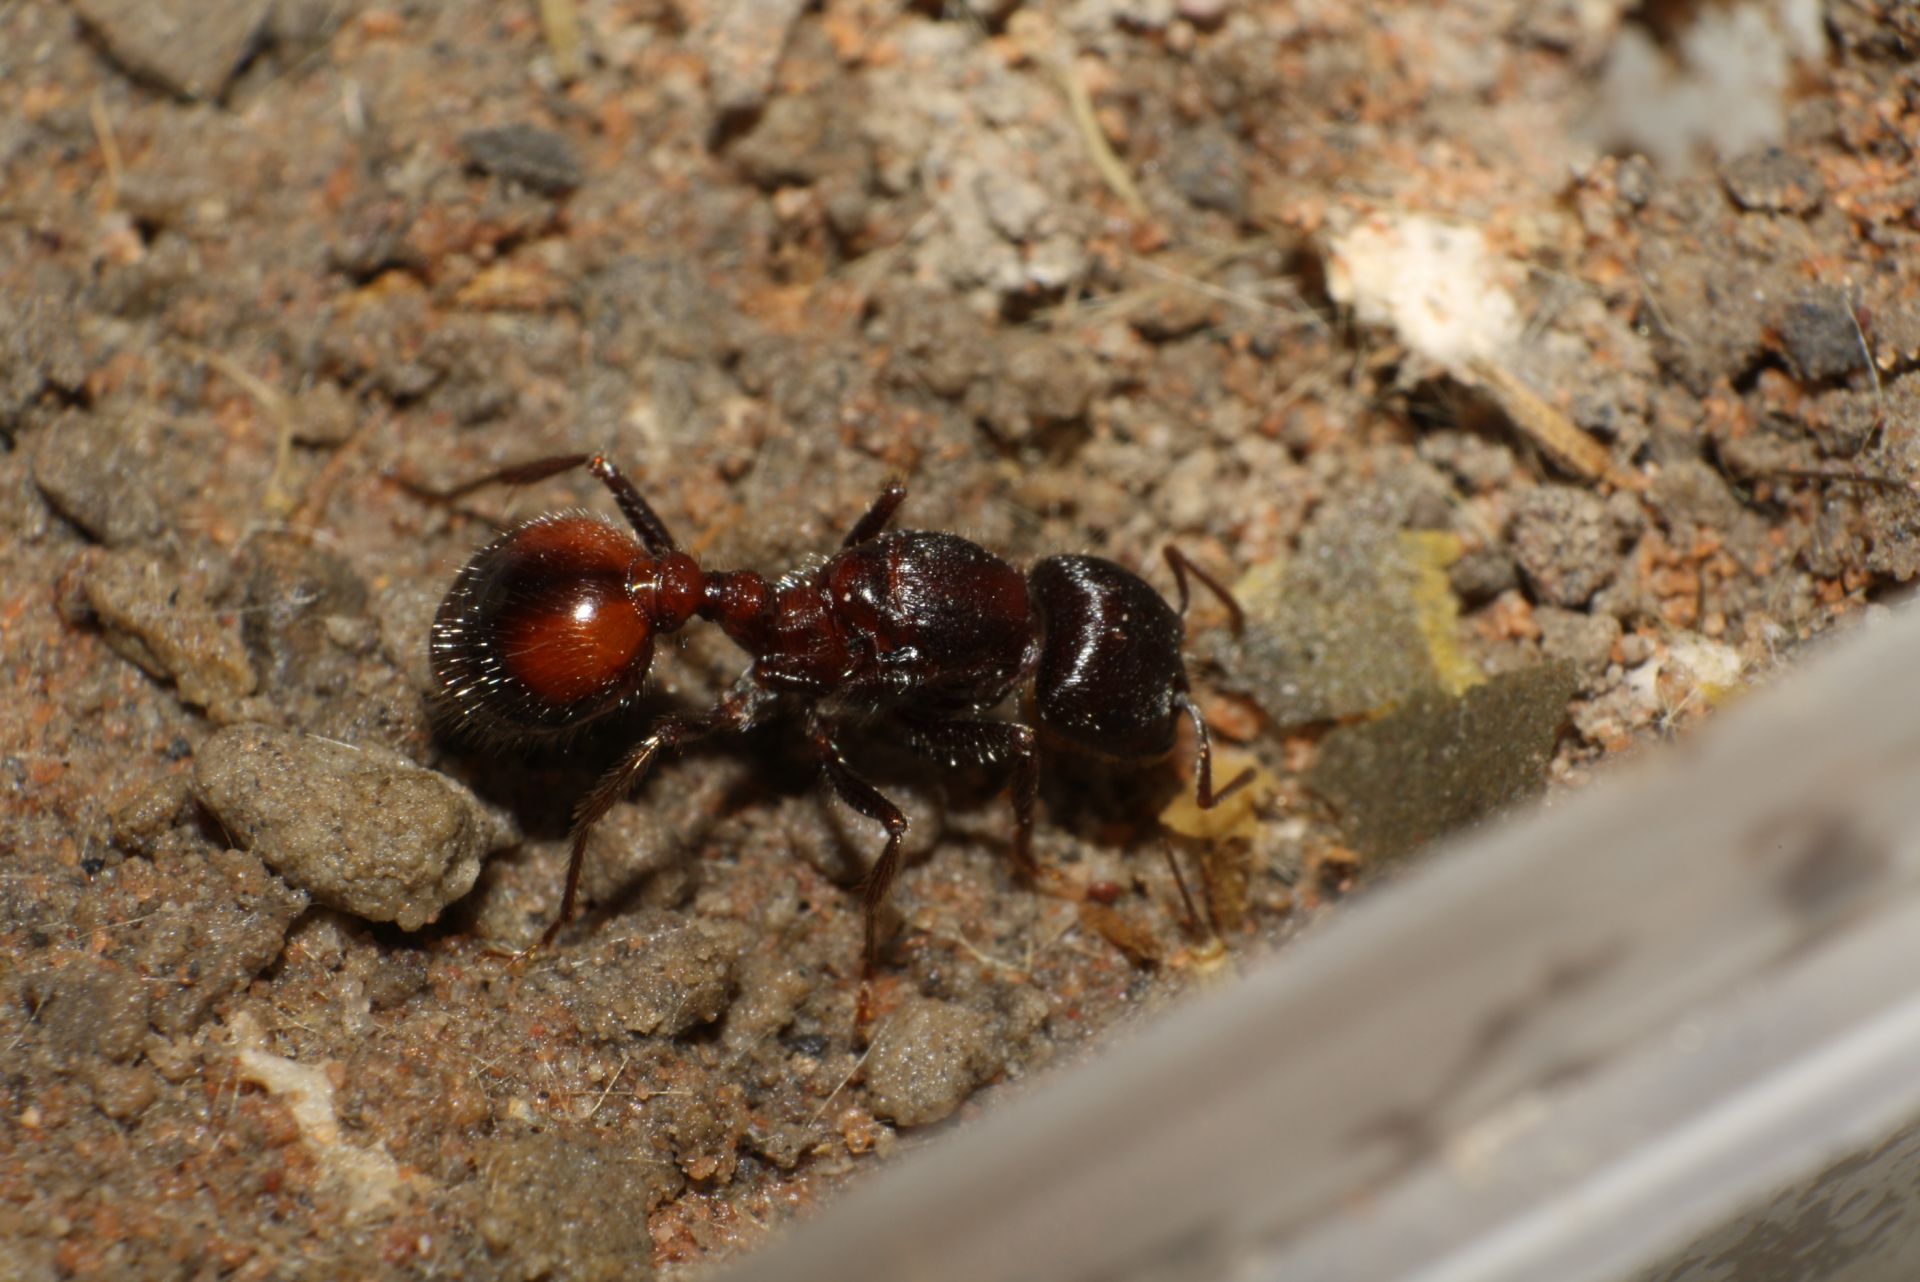
Example of a dirt box housing a pogonomyrmex rugosus colony.
Setup is around 5 months old.
The main advantages of the dirt box method is the increased founding rate and low price. The success of queens in these setups can likely be attributed to:
- The freedom the queen ant has in creating an ideal founding chamber
- Natural stimuli received from digging
- Good traction and grip
- Ease of foraging
- Helpful microbiota and cleanup crews
- High variance of humidity
- Stable temperature/ease of heating
- Absence of cotton
The main disadvantages of the method as I've seen:
- Low visibility
- Needs to be watered periodically
- Takes a bit of practice to learn how much to water
As long as you are fine with not being able to see the queen and her brood (which don't need a visual affirmative every other day to grow) and needing to water every week or so depending on dirt type and size of container, this method may be for you. The rate of success you'll have, not to mention the low entry price makes this method very easy and very effective.
I'd like to conclude with some of my rough statistics for two species:
P. occidentalis
Roughly 70% of queens in plain test tubes die before reaching a first generation
5% found long-term successful colonies
Dirt box setup:
35% of queens in dirt boxes die before reaching first generation.
50% found long term colonies.
P. rugosus
90% of queens in plain test tube setups die before first generation
5% found long term colonies
Dirt box setup:
Roughly 30% of queens in dirt boxes die before reaching first generation.
55% found long term colonies.
Conclusion
The disparity of success rates between the test tube setup and the dirt box is quite obvious, especially for the rugosus who are more sensitive. Admittedly, this only compares test tubes and dirt boxes. The success rate of founding formicariums are closer to those of dirt boxes, however the large price difference is not worth it in terms of founding success when cheaper options exist. Because of the price and success rate, I believe the simple dirt box to be the best method of founding Pogonomyrmex species. I'm interested in hearing your experience with founding Pogonomyrmex species, or any questions or criticism you may have regarding this method.


