I can see this becoming a very economical way of keeping large colonies. Keep it up and keep us updated!
- Formiculture.com
- Forums
- Gallery
- Members
- Member Map
- Chat
I can see this becoming a very economical way of keeping large colonies. Keep it up and keep us updated!
Species I keep:
1 Lasius cf. Neoniger 30 workers
1 Camponotus sp. 15 workers
20 Tetramorium SpE 30 workers
1 T. Sessile 200 workers
Here is a latest untested (until tonight) design of mine right now. Drop box link is there for anybody who wants to download it (STL and Sketchup files).
https://www.dropbox....nS5FYwU5Sa?dl=0
Here is the hardware: http://www.mcmaster....855a281/=z5kqu5, and http://www.mcmaster....72a120/=z5kr14.
I forget the measurements for the acrylic, but it should not be too hard to figure out. I also forgot to add that when printing, print in the orientation as shown, or warping and problems will result, trust me! I have not made the glass slide out yet, I think I can get that done in a few days. The smallest piece of the three is the only thing that needs to be changed.
Edited by Huch, September 29 2015 - 3:27 PM.
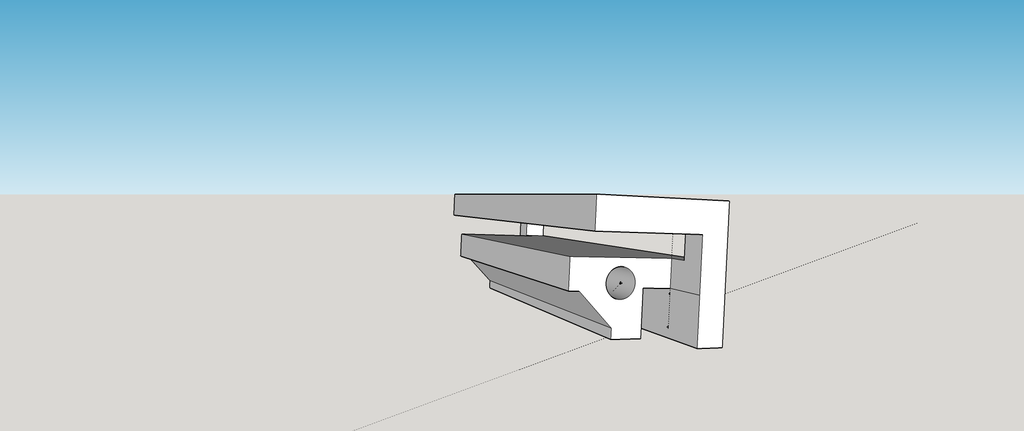
Ok, prototype of a slide out is done. If it works, I will share.
 .
.Edited by Huch, September 30 2015 - 6:29 PM.
I thought of something else while taking mine apart to clean. What about putting a sliding door on the round "doorway" of the test tube connector? I imagine all this idea would need is a slot on the top of the connector and a small piece of plastic to act as the door. This will let you temporarily close the ants in their tube while you clean it.
Camponotus vicinus, Crematogaster 1, Crematogaster 2, Formica francoeuri, *, *, Myrmecocystus testaceus, Novomessor cockerelli, Pheidole hyatti, Pogonomyrmex californicus, Pogonomyrmex rugosus, Solenopsis invicta
I would definitely buy this! It seems like a very useful product.
That is a good idea. Once I get up and running, I'll make the change.
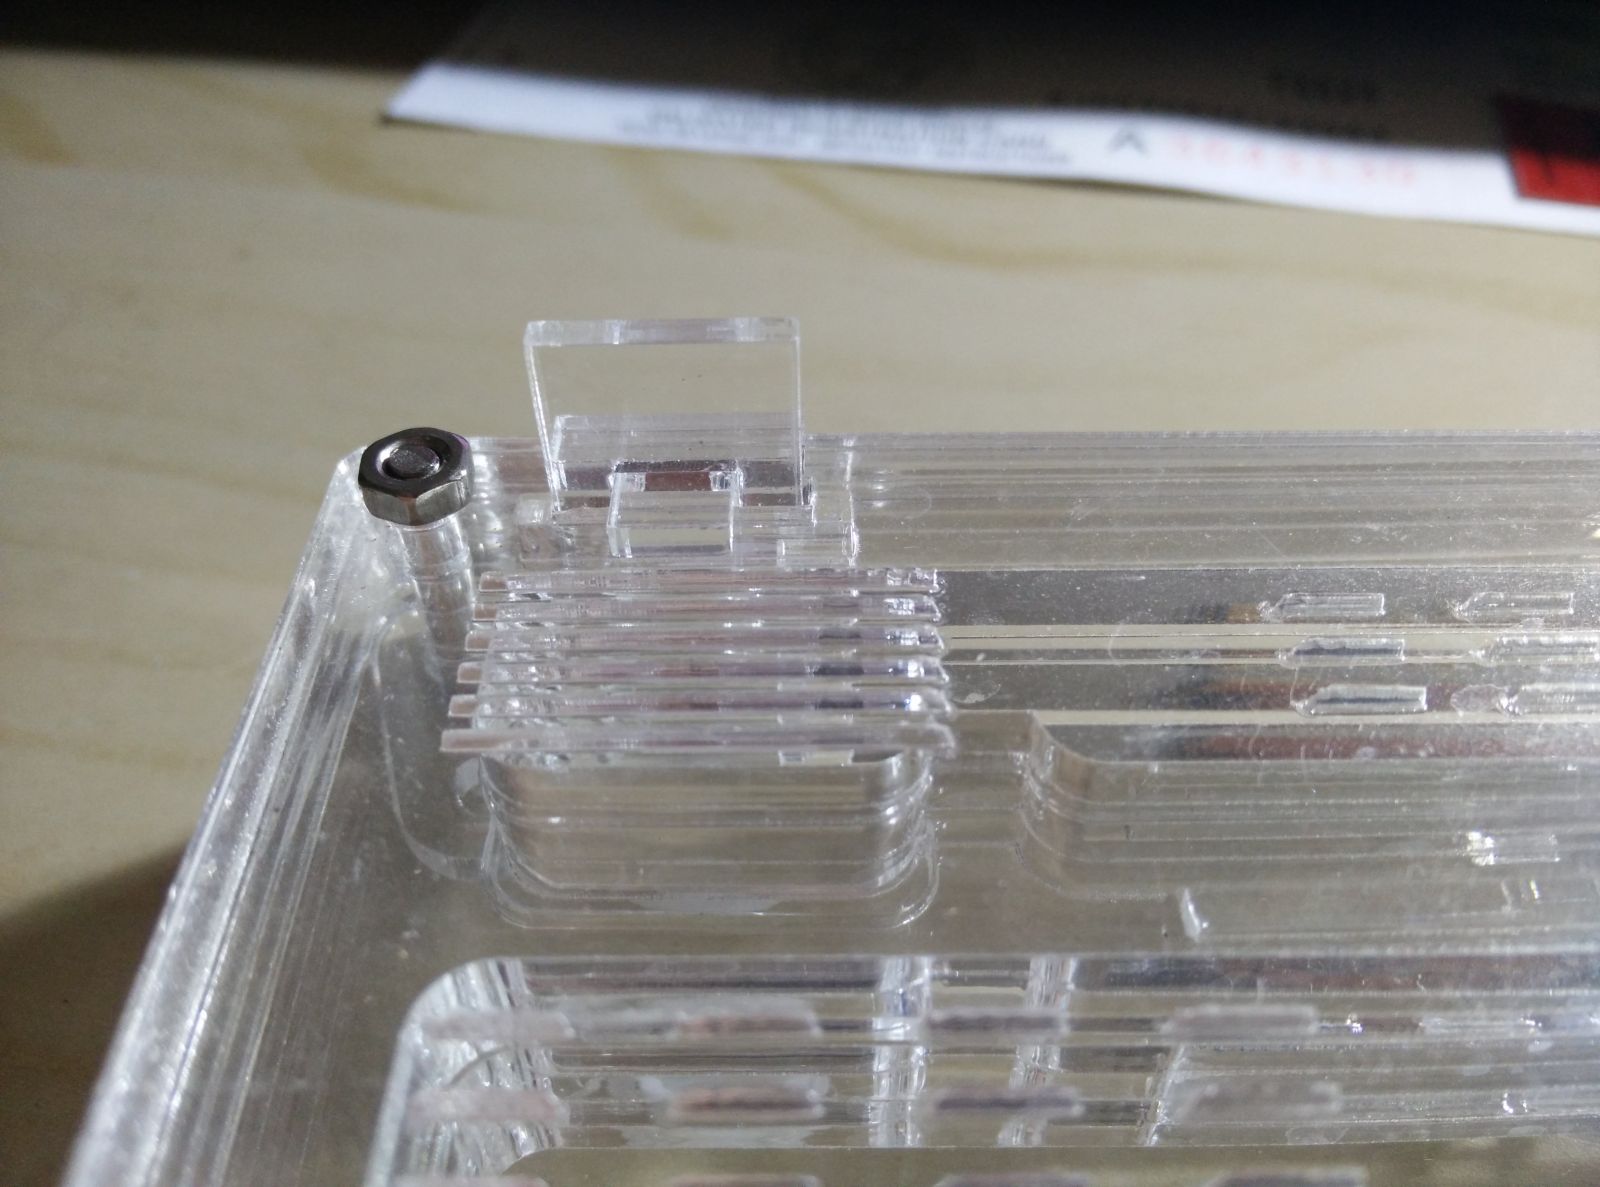
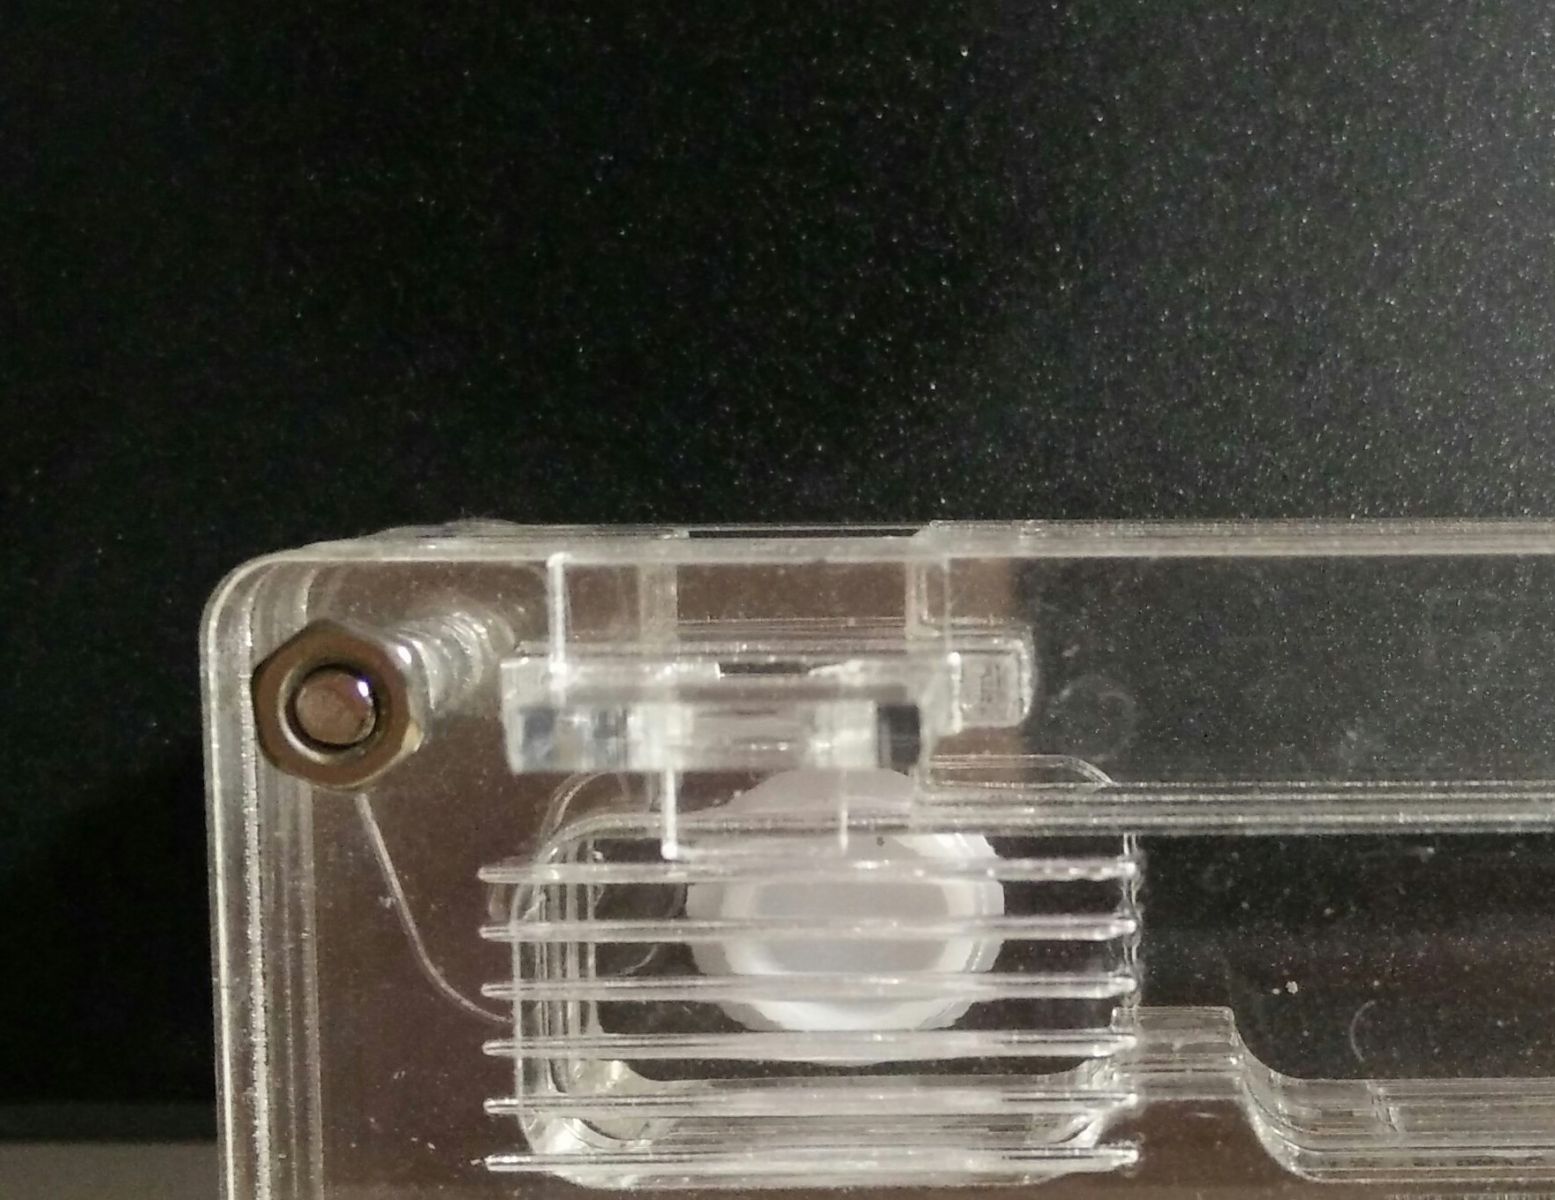
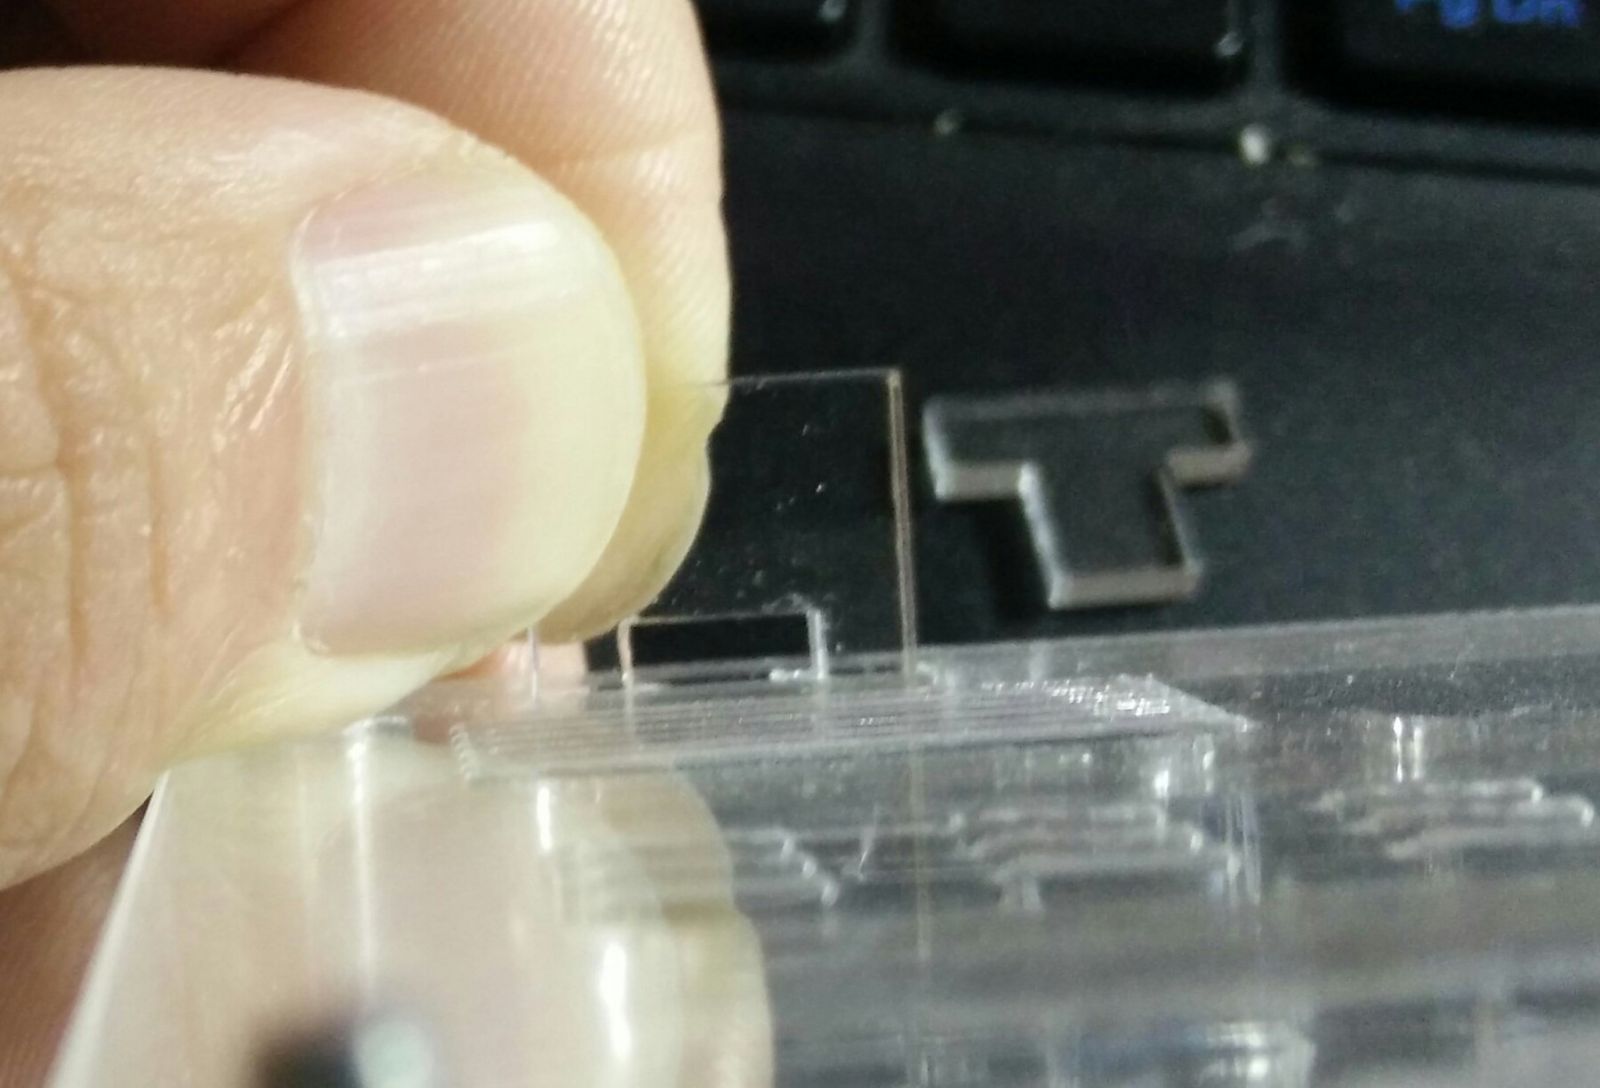
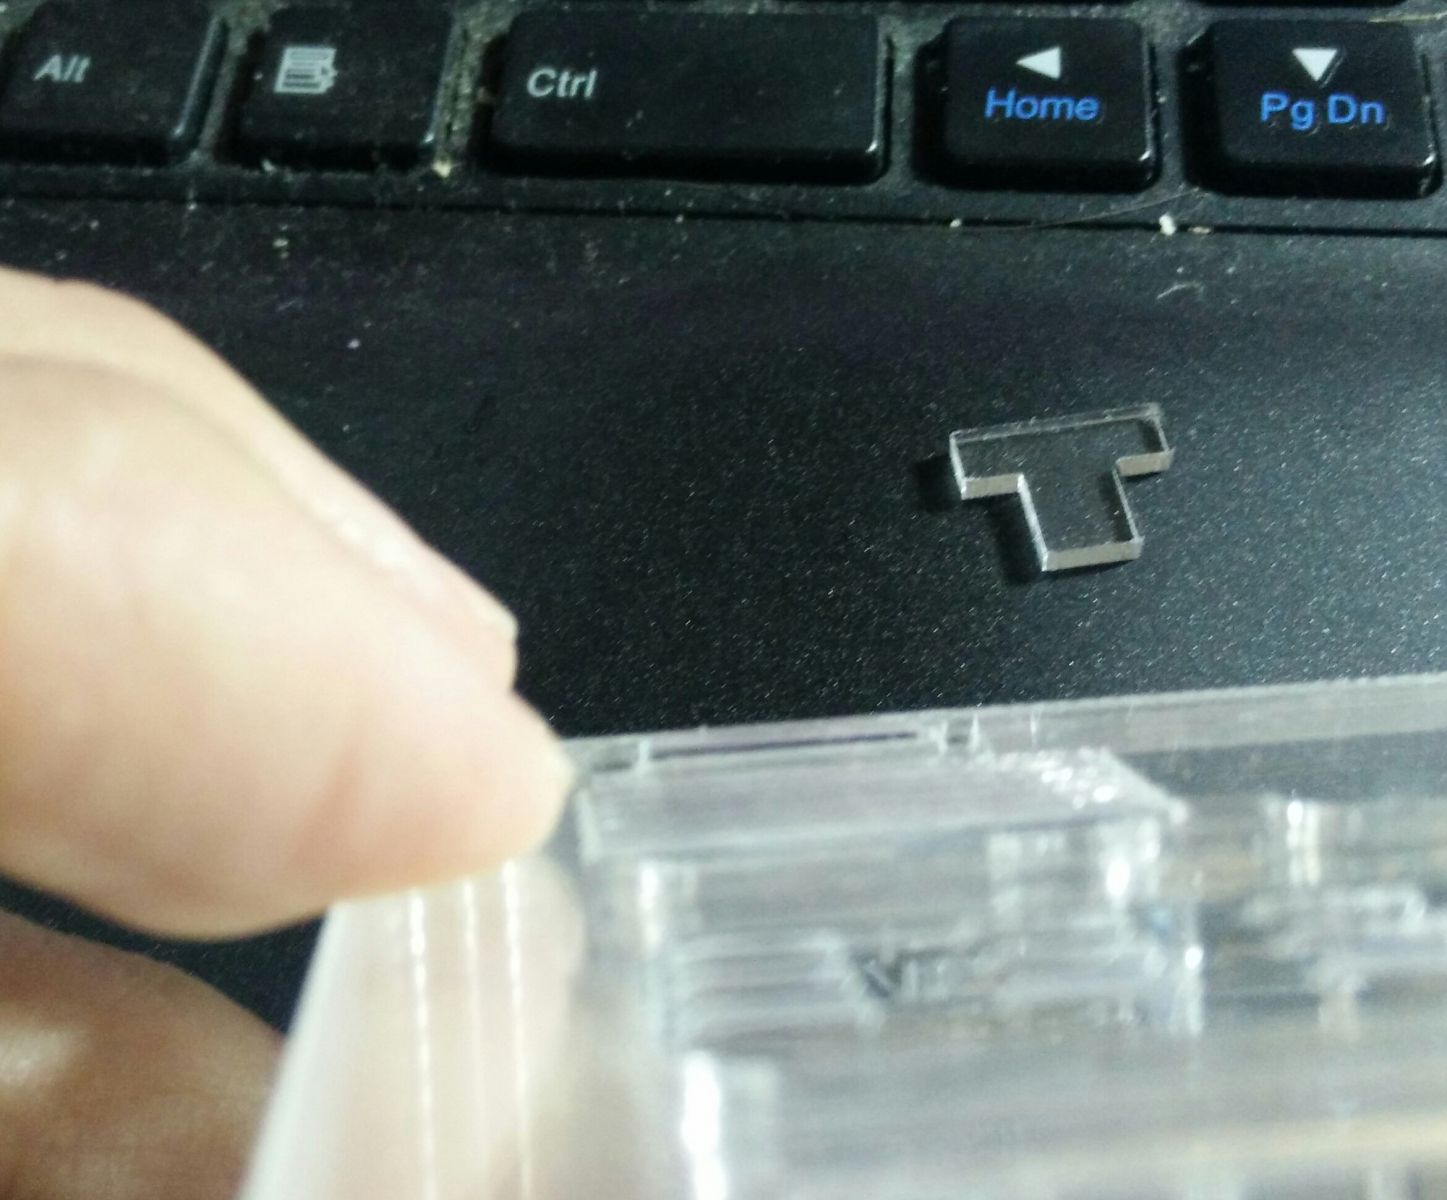
My acrylic nests have this with a little notch on the door to insert a small plastic "stopper" when you want the door to stay open. To close it, you remove the stopper and slide the door shut. It should be pretty quick and simple to implement with a printer. I'll take pictures of it if my explanation doesn't make sense.
Camponotus vicinus, Crematogaster 1, Crematogaster 2, Formica francoeuri, *, *, Myrmecocystus testaceus, Novomessor cockerelli, Pheidole hyatti, Pogonomyrmex californicus, Pogonomyrmex rugosus, Solenopsis invicta
My acrylic nests have this with a little notch on the door to insert a small plastic "stopper" when you want the door to stay open. To close it, you remove the stopper and slide the door shut. It should be pretty quick and simple to implement with a printer. I'll take pictures of it if my explanation doesn't make sense.That is a good idea. Once I get up and running, I'll make the change.
Hope these make sense
Camponotus vicinus, Crematogaster 1, Crematogaster 2, Formica francoeuri, *, *, Myrmecocystus testaceus, Novomessor cockerelli, Pheidole hyatti, Pogonomyrmex californicus, Pogonomyrmex rugosus, Solenopsis invicta
So, I had to get a new computer because the old one died. I am back up and running now.
Here is what the latest version looks like, minus the slide out portion. I didn't have a chance to perfect it yet. I just had to make one because somone ordered it, which reminds me, if somone wants to buy one, please message me on this forum; I had an issue where my email was not syncing, so I missed the notification from amazon. It is just easier here because I am here all the time. Anyhow, here are the photos.
I keep running into a programming error in sketchup, where the ring around the square nuts is not solid, which results in a warping when screwed in. It doesnt effect functionality, in fact, it only needs 4 square nuts opposite the screw head, but I liked it better with 8. This should be a somewhat easy fix.
I think the biggest improvement is what you cannot see; the acyrlic cuts. I got a fancy new saw blade that makes some really clean and precise cuts, which makes it less likely for smaller ants to escape. For the oldest versions, escapies were a problem in the corners of the nest with smaller species.
This update is mostly good news.
I made a prototype with the sliding door. It worked flawlessly. It slides easily in and out of the slots with just a little pressure. That is the best news.
Secondy. I finally fixed the print error, making the square nut rims solid.
This biggest issues I ran into were the printer making a sloppy print this time, and also I was having some difficulty getting the screws to go into the nuts. I ended up having to remove all the nuts from one side because I could not get the screws to thread on the nuts. You can see in the video how I had a problem in two spots with the screws/nuts. I may be able to put it togethor with all the nuts next time if I do it in a certain order.
Also, I need to make some slight adjustements to the slot, because it is unnecessarily too wide, and could lead to escapees for smaller species. I need to make another cut of acrylic, but this time longer, so it takes up all the slack room in the slot, which again, can help prevent escapees.
Photos and video demonstration:
For the next print, I will clean up the slot. I also have to recut another piece of acrlyic. When I have it right and adjust the printer, I will reprint. Maybe I will use ABS next time around.
Edited by Huch, October 14 2015 - 8:35 PM.
So, I have a day off and am working on this. It still needs significant fine tuning to close any small gaps between the plastic. So, while the printer is printing, I thought I would share some of the problems, some funny, some not, that I have had while working on my projects.
When I first got my 3d printer, it did not work. It powered up but refused to take commands. After a couple days of reading and trouble shooting, I found that there was a power wire that was not connected within the plug. That was a pain and was tricky.
Then there was the learning curve on how to level the printer and make the plastic stick to the heating plate, and configuring the printer for different plastics. This is a never ending learning process.
Then I learned that despite perfect measurements, the pieces do not fit because of plastic shrinkage. I found that enclosing the printer helped a whole lot, I am still struggling with this problem.
Now the funny. So, I had bought a 8 foot table from home depot and put my enclosed printer on it. Here is a photo
I was making some measurements changes and was heating the printer up for a quick print, when all of the sudden, the whole table collapsed, printer, computer monitor, and all sorts of random tools i had on the table. At some point I bumped the leg and disengaged the lock. So what happened? Well, the power cord for the printer broke the wall outlet. I think the USB outlet on the motherboard may be dead. Also, The printer motor had a problem which resolved after I messed with it a little bit. I am attempting my first print since that issue.
Hopefully everything works and I don't have a giant paper weight ![]() .
.
That's terrible. ![]()
When things like that happen, it usually means it's time to take a break and go for a walk. Hopefully there's no other damage!
Camponotus vicinus, Crematogaster 1, Crematogaster 2, Formica francoeuri, *, *, Myrmecocystus testaceus, Novomessor cockerelli, Pheidole hyatti, Pogonomyrmex californicus, Pogonomyrmex rugosus, Solenopsis invicta
It powered up but refused to take commands
Quick destroy it it's learning to disobey!
good work on the stuff though, hope it eventually works out great for you in the end ![]()
Printer is fixed and working good. The open edge for the slide out is perfect; the glass sits in perfect with no room for escapees, though the glass can still slide out. I made minor changes and now I feel like most gaps or holes are significantly narrowed down.
I had to shorten the corners a bit and shrink the width, because the screw barely reaches through the second nut when screwed in all the way. I am printing now and will test it in the morning. Once this is done, and I get the glass measurements perfect, I will move onto making a peice that will close off each of the chambers individually. Also, I am thinking of making a slot to attatch a test tube rack. Currently, the test tubes just stick out and "float" in the air. This is not a problem at all, but I think it makes the whole thing look/feel more complete with an open rack (Not enclosed loops, only half loops so it is open).
It is kind of crazy how much time and attempts this takes to get it right. I initially was testing it with Camponotus Pennsylvanicus because that is all I had. But now most of my colonies are small species, and I had problem with escapees on some of the older prints. I want this thing to be escape proof, and so, once I get it to where I think it is good, I will test.
I do plan on having a give away in exchange for open/public critical reviews. I plan on sending free ones to people that had bought my old versions also. That is probably 2-3 months away, or until this is perfected. I think I would of had this done by October, but my job took all my time away ![]() .
.
Can't wait! Have you made any developments on the variable-size port? Or since most of my tubes are 15mm, would it be simple to make custom size ports?
Camponotus vicinus, Crematogaster 1, Crematogaster 2, Formica francoeuri, *, *, Myrmecocystus testaceus, Novomessor cockerelli, Pheidole hyatti, Pogonomyrmex californicus, Pogonomyrmex rugosus, Solenopsis invicta
0 members, 1 guests, 0 anonymous users