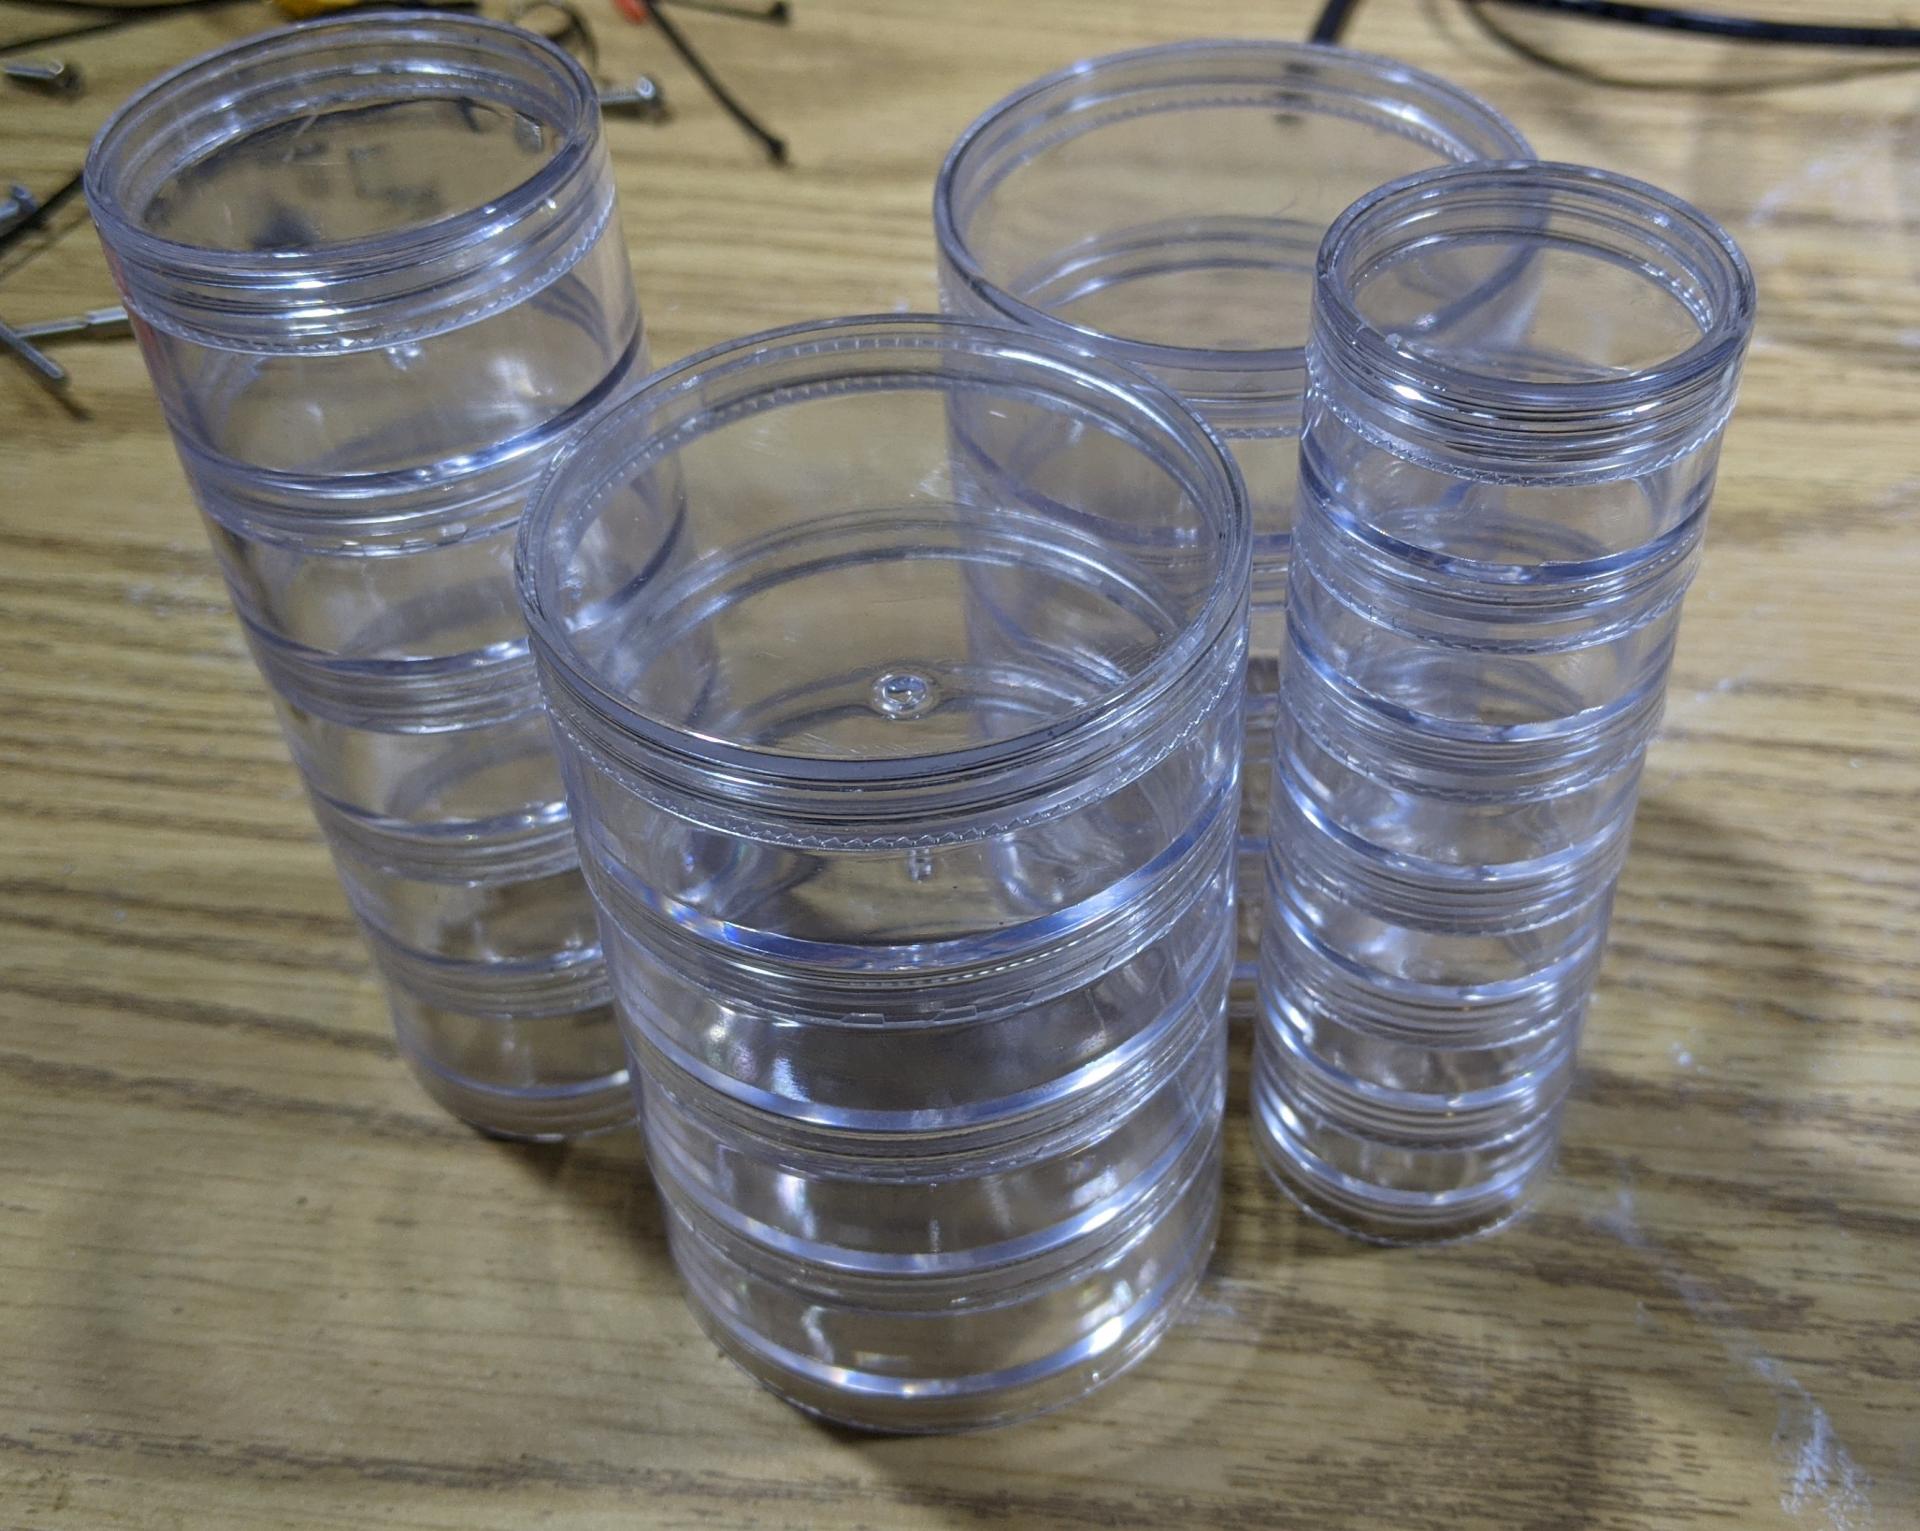
So I went ahead and used those containers to make the nests I was thinking of. Walkthrough here:
So I didn't take details pics of every step of the process, but most. First I drilled holes in the bottom of all but 4 of the containers. I started with a small drill bit, then switched to a step bit to get the diameter I needed. I cut a very short piece of tubing and fit it to the hole. This was to prevent the plaster from pouring out. I used 1/2 inch OD tubing.
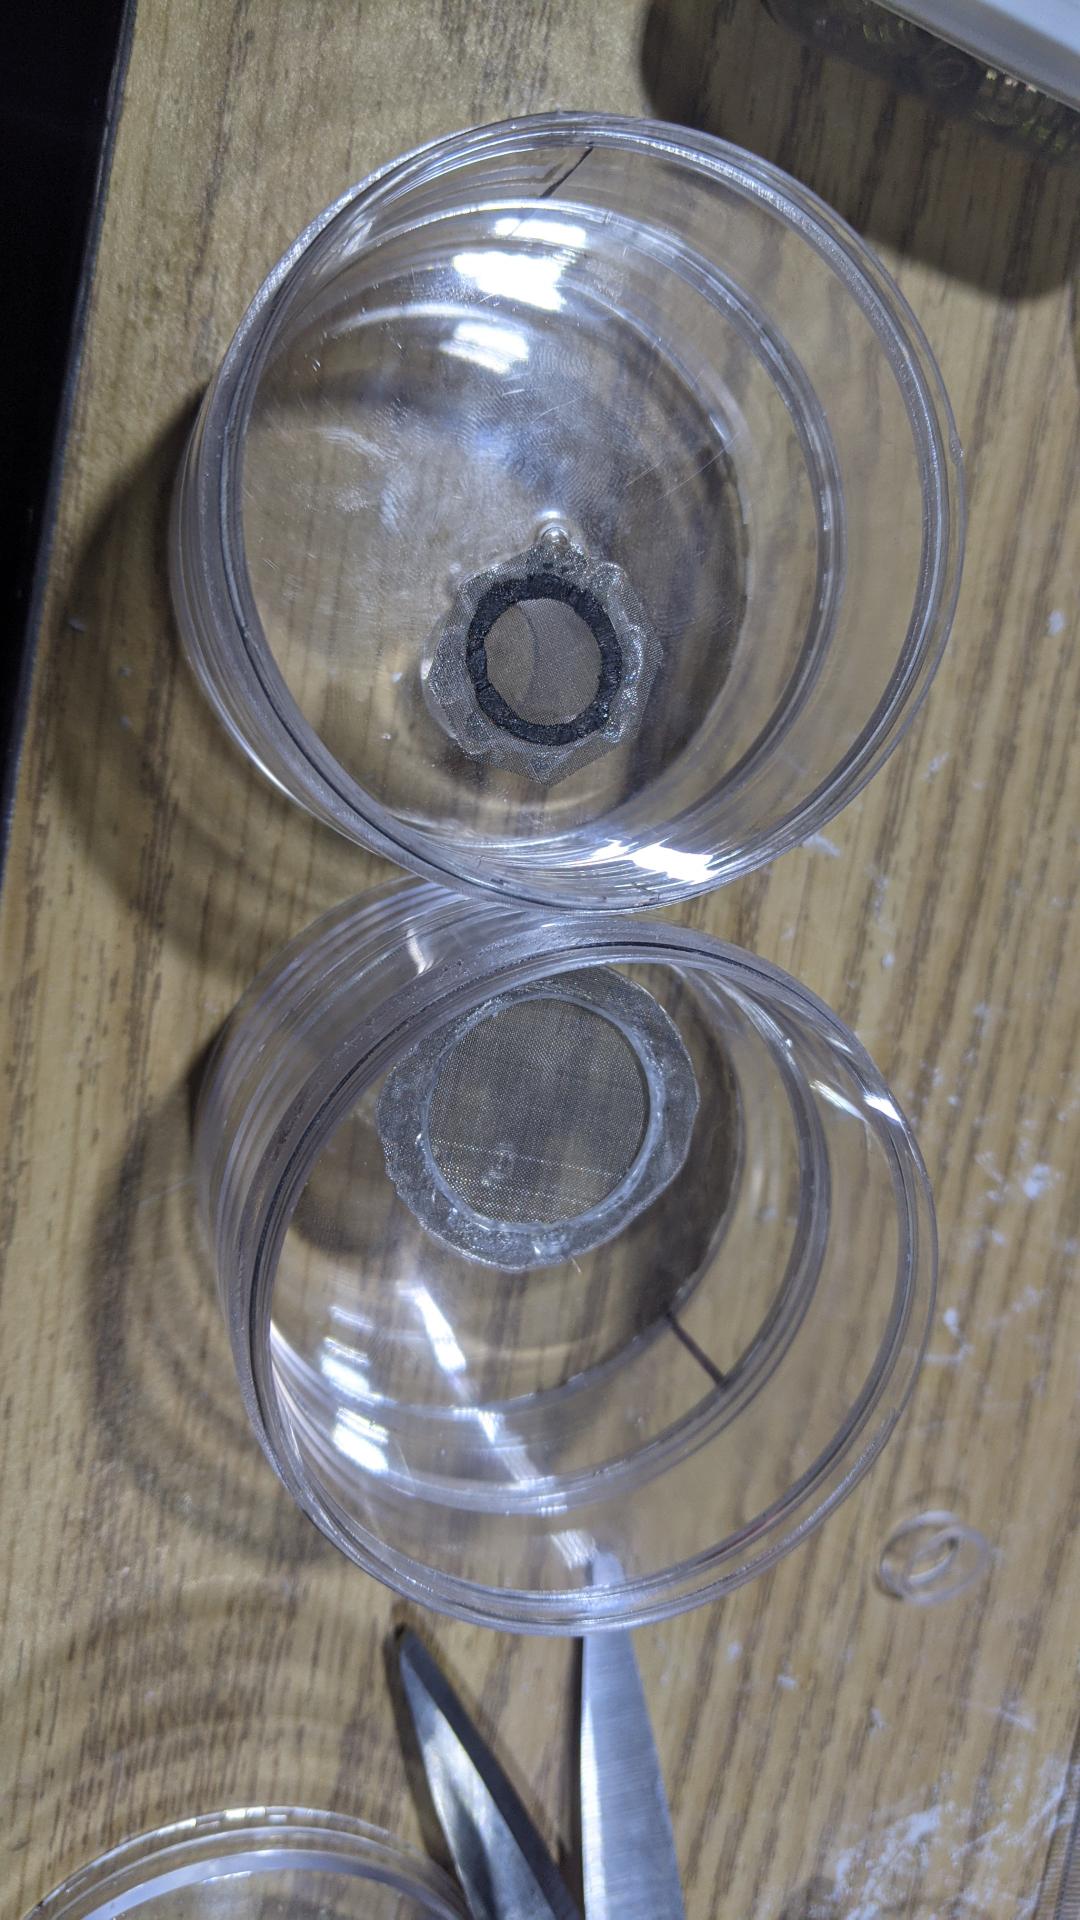
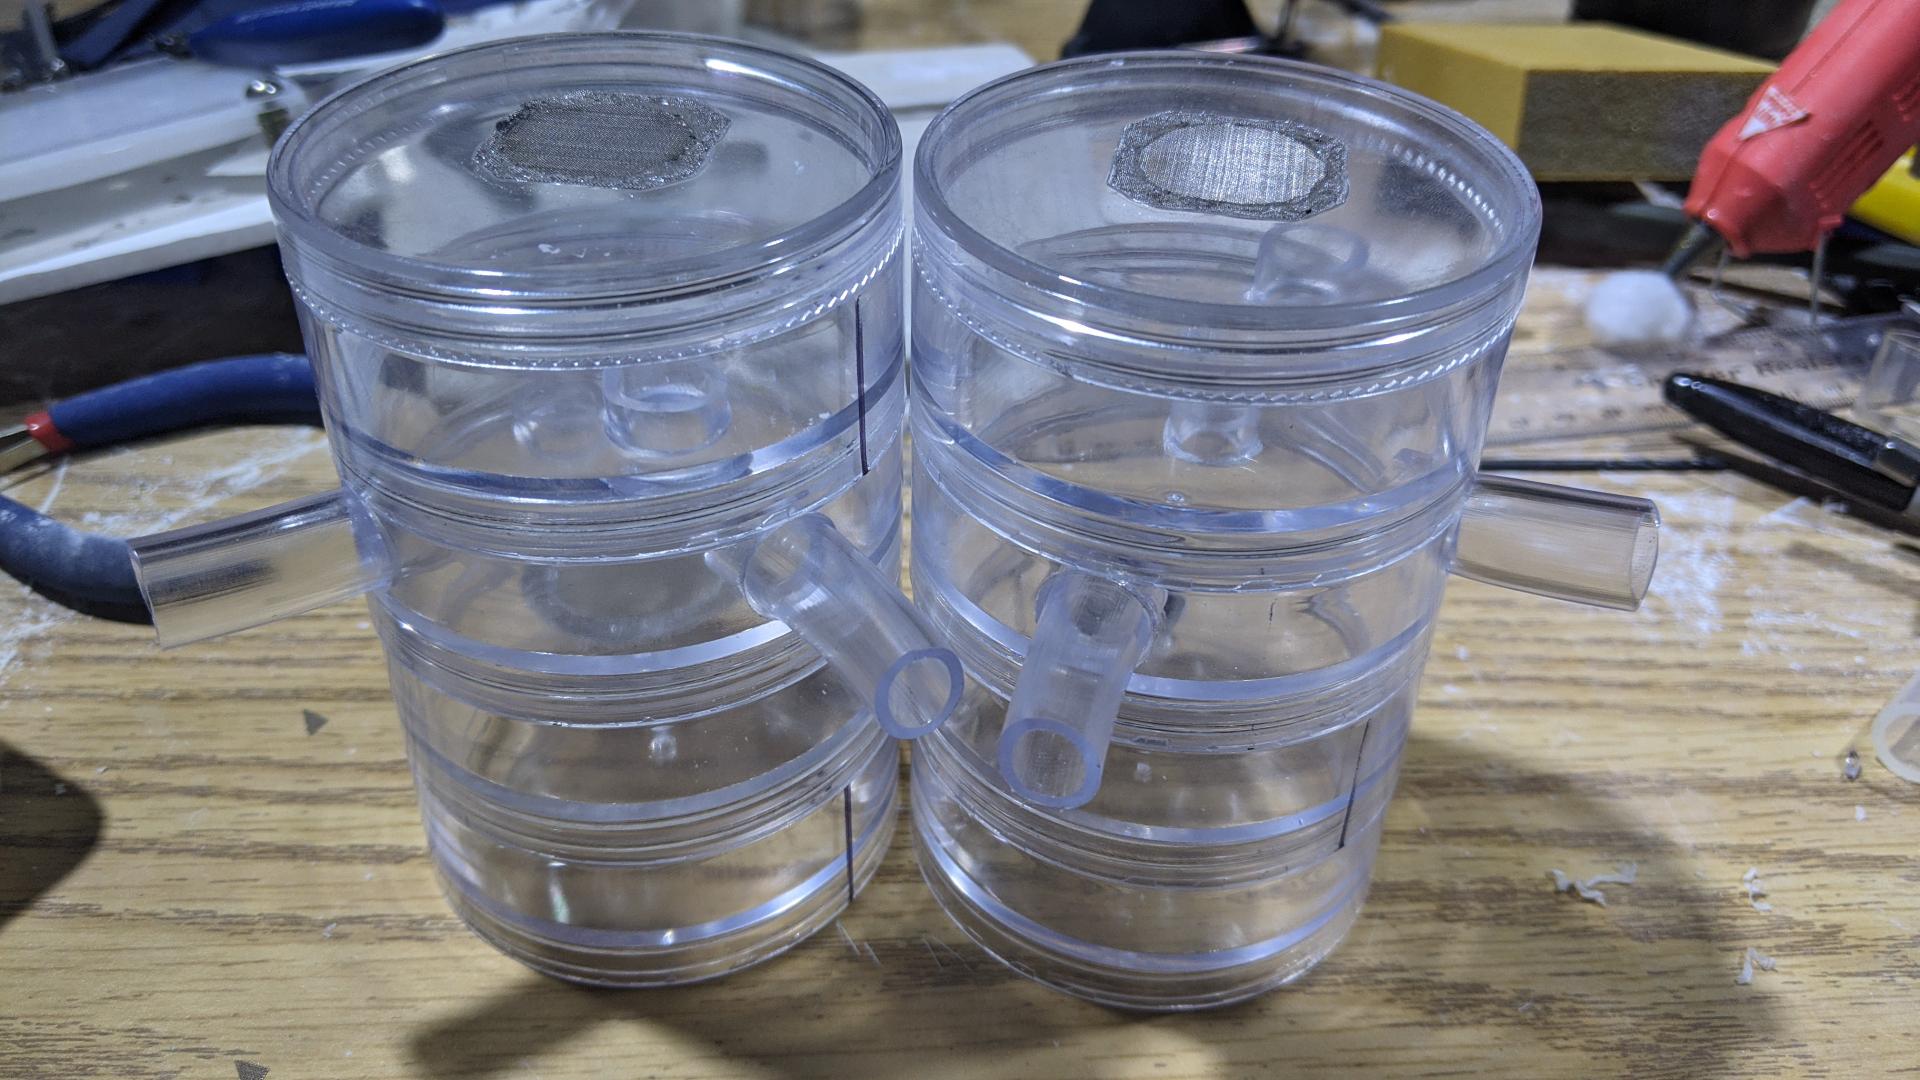
Then, on one of the other containers, I drilled a hole about 1" diameter, and melted my mesh over that. This would be the "water tower" style hydration.
On another, I drilled a hole to fit my larger size tube, (1/2" ID, I would have preferred bigger though), cut a short length of that tubing, and fused mesh to the top of that. Then I slid the tube through that hole. This tube would hold a sponge to wick water up to plaster poured over it.
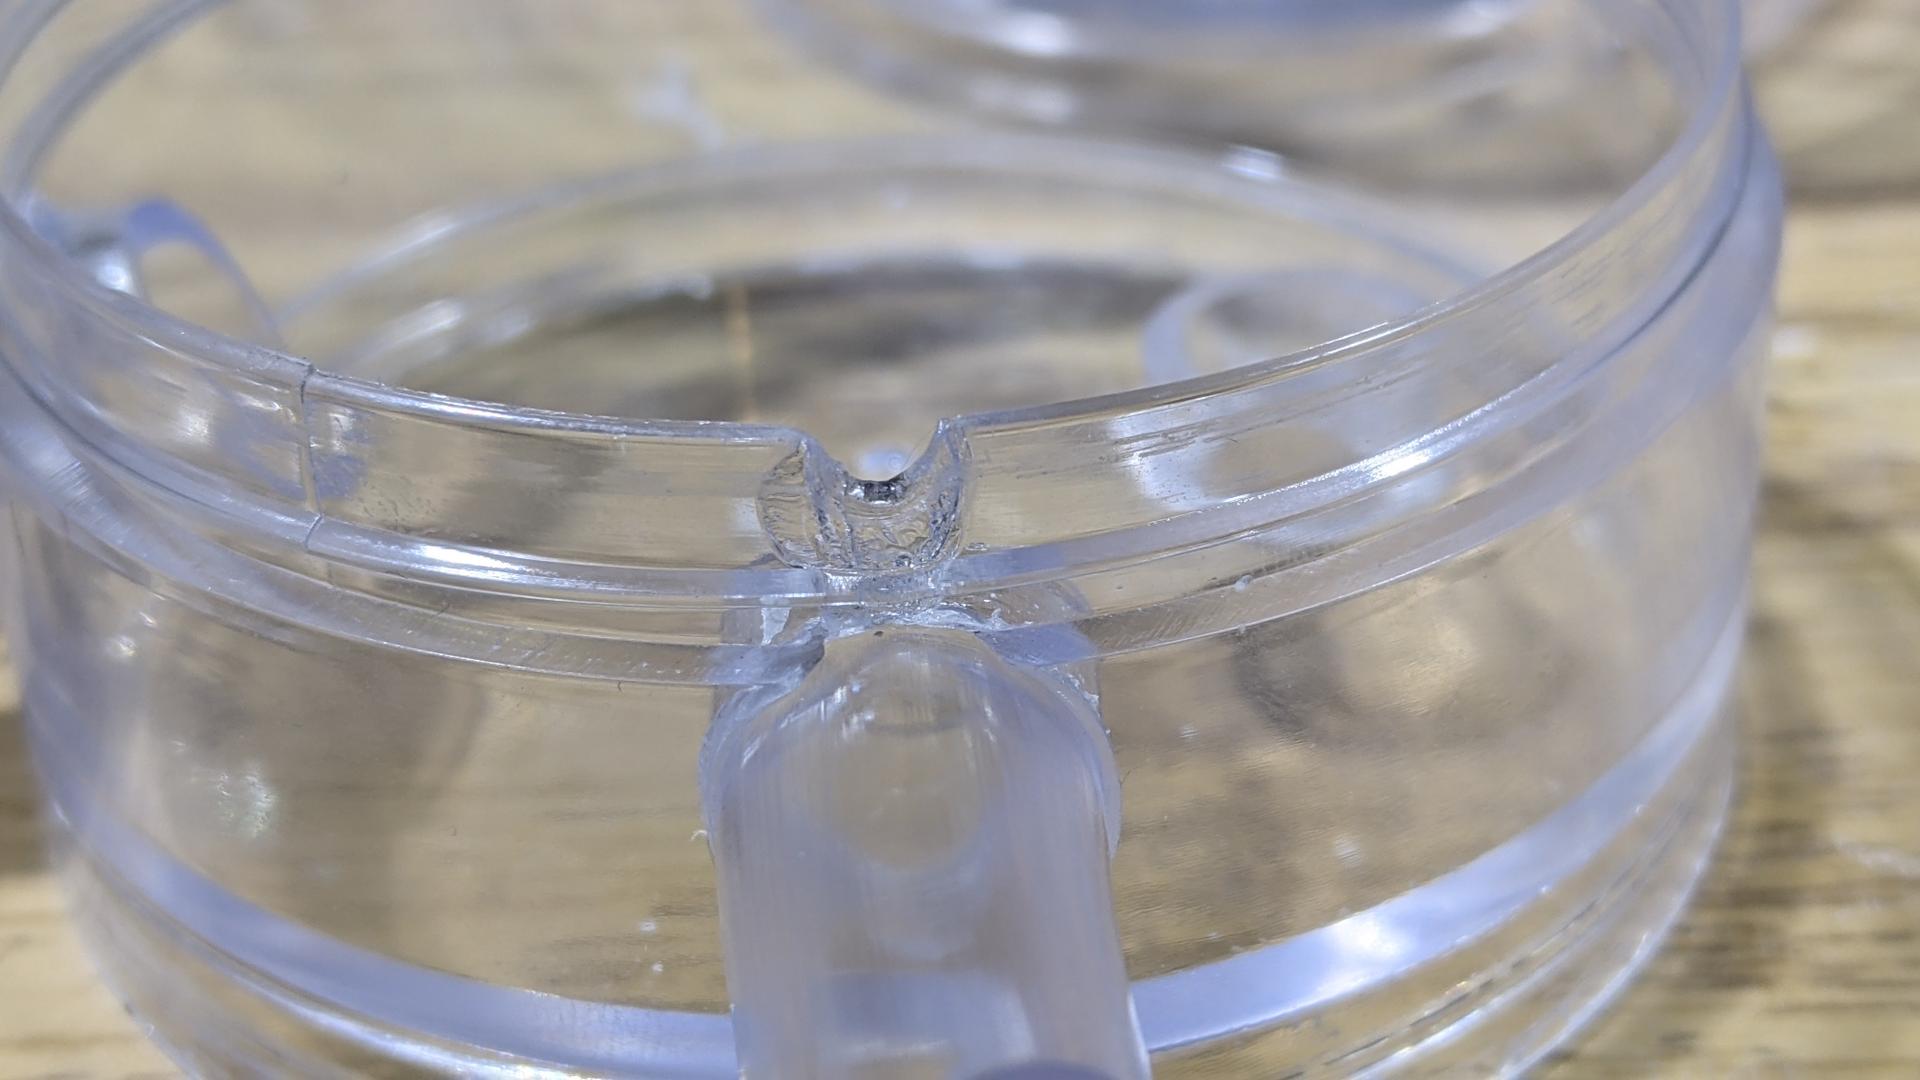
Then I had to make entrances. I picked one of the earlier trays and carefully drilled two holes in the side, a quarter around from each other. I cut my smaller tube at an angle, and put a section in each of those. I only cracked the container once, and kinda fused it back together. I chose to do two entrances on the same level, and at this angle, but I really could have done whatever I wanted.
I also drilled a larger hole in the lids and fused mesh over those. If it gives too much ventilation, I can tape over it.
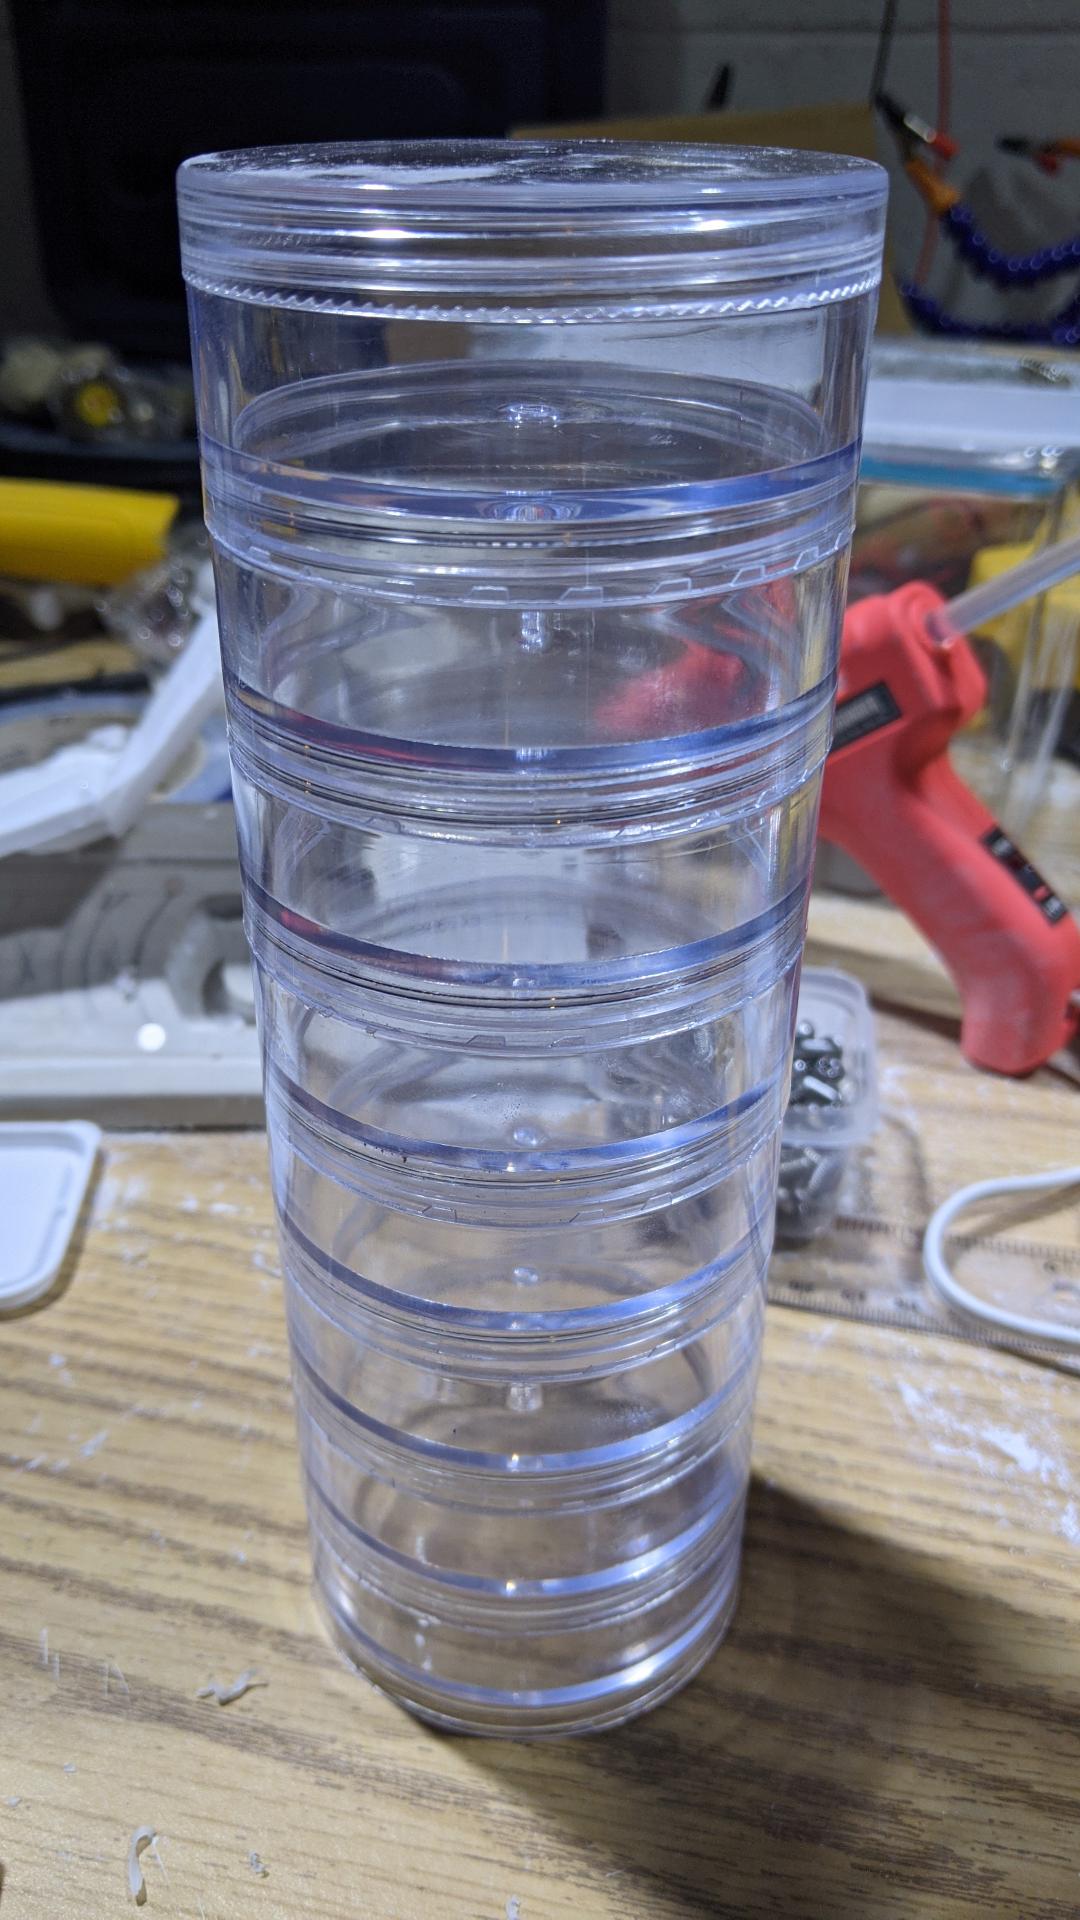
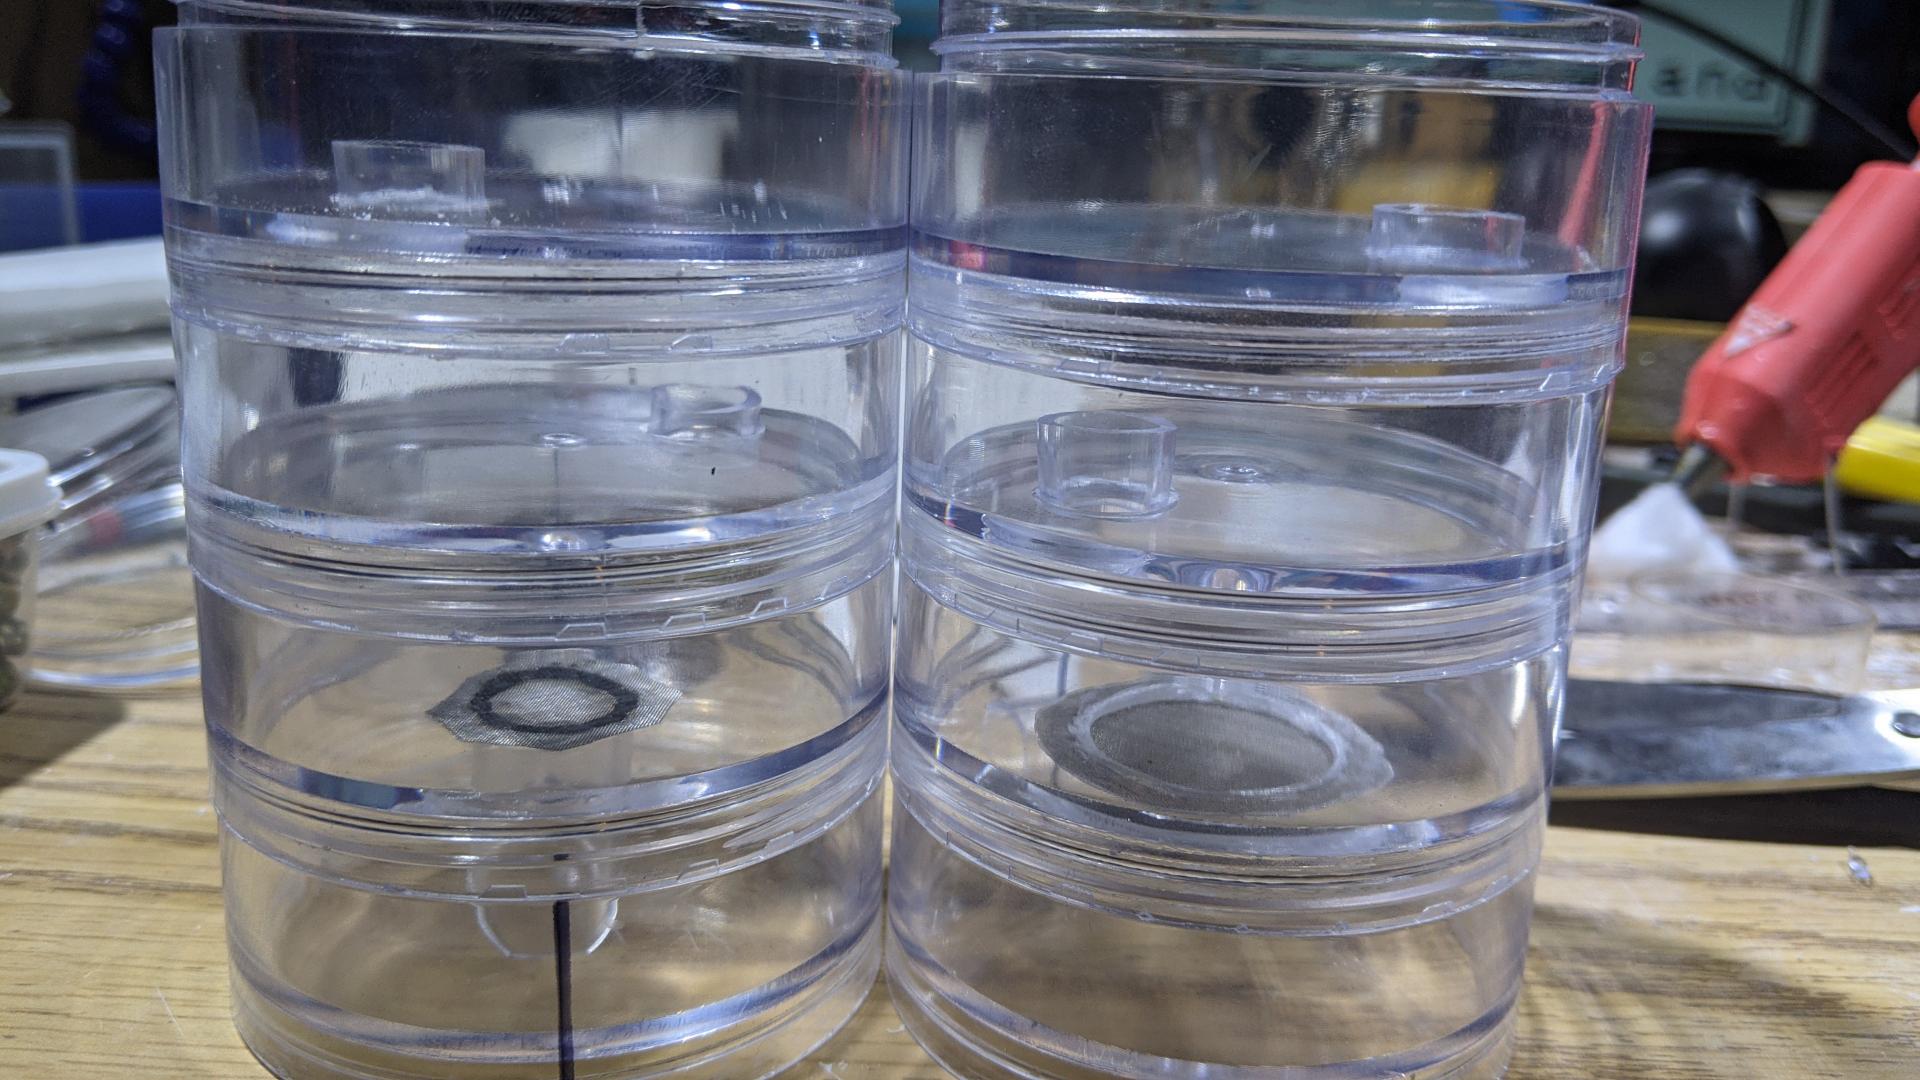
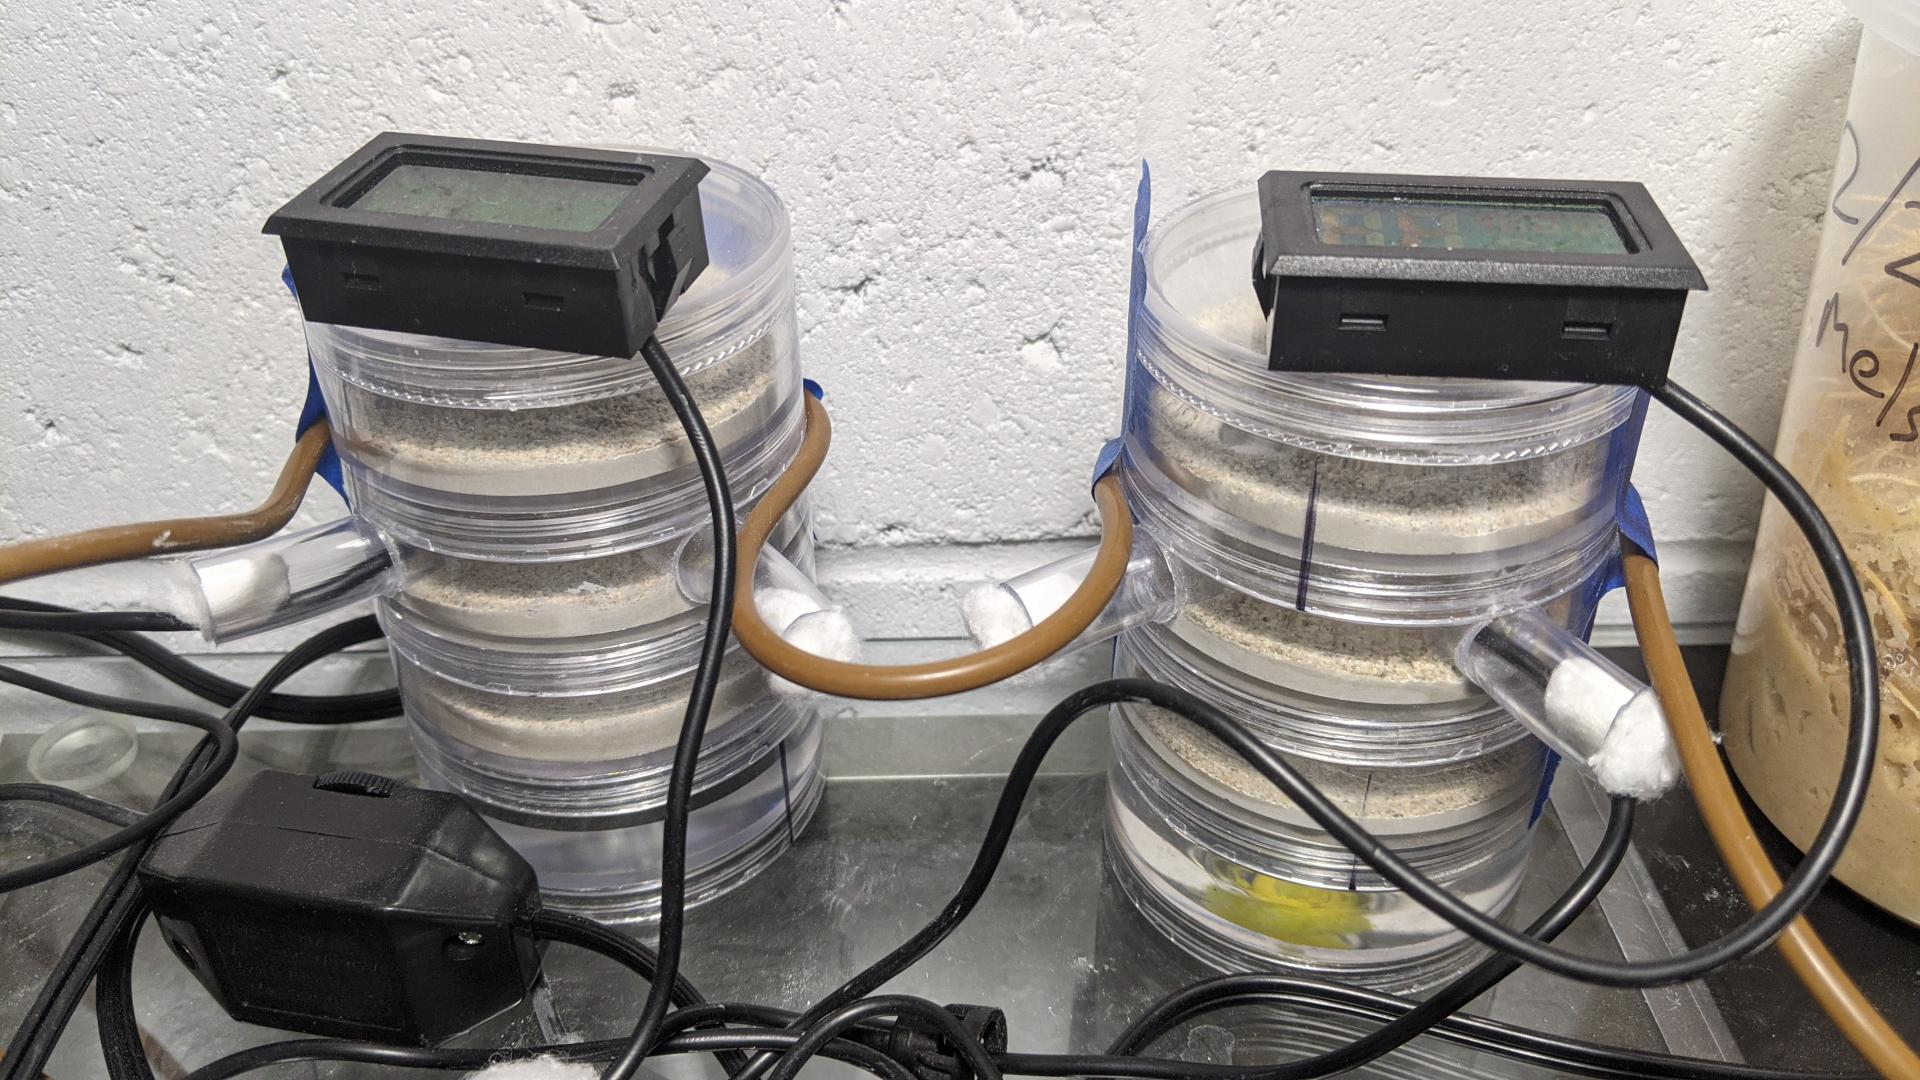
Here's the two towers completed, but before the ultracal pour.
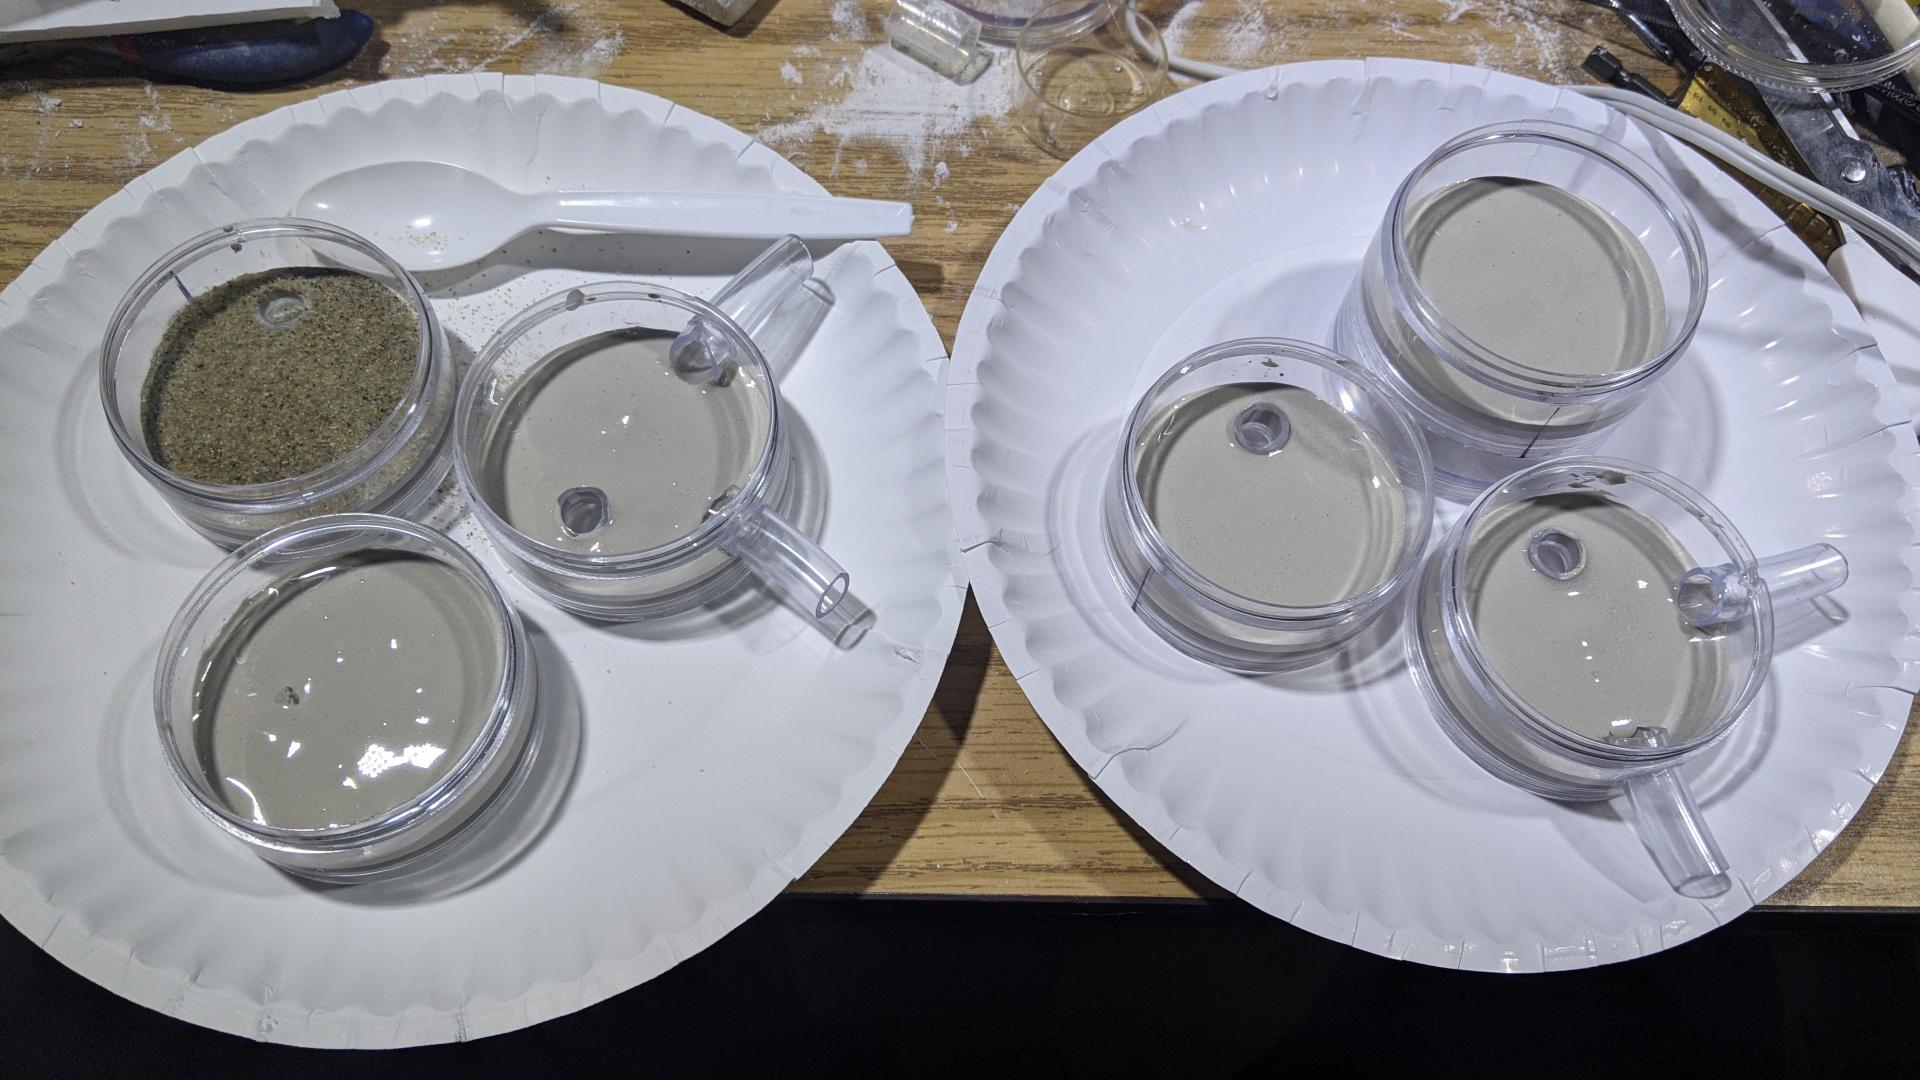
Then I mixed up the last of my ultracal, and poured a thin layer in each tray. Most of these were easy, except the one with the water tower. I had to keep the plaster from covering that mesh, so I used some hot glue to make a barrier. Of course it wasn't nearly enough, and immediately got covered. I also had too thin a mix of plaster, but I didn't have any more I could use to thicken it.
Then, as you might have guessed, I spread sand over the plaster and left it to cure. I tried uncovering the one mesh while it was semi cured, but wasn't too successful...
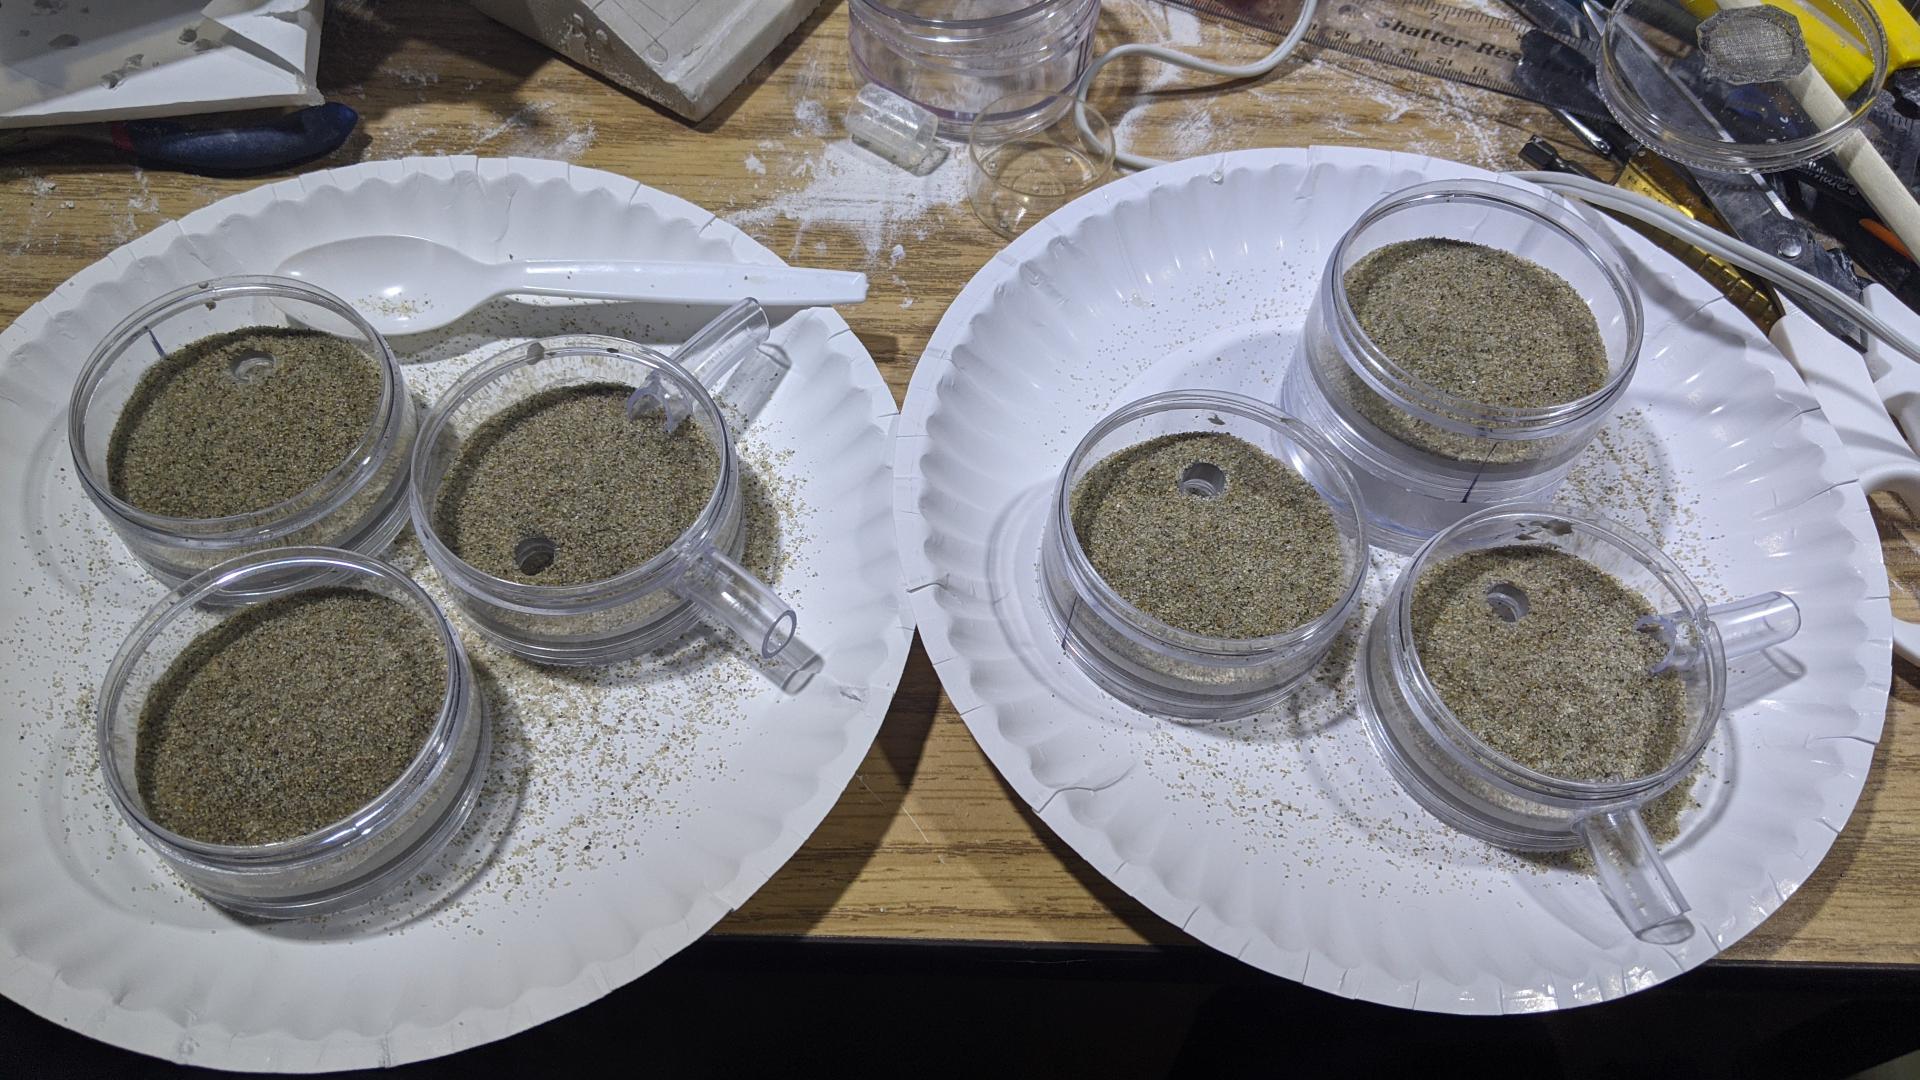
The next day, I dumped out the extra sand, and brushed away anything loose. A lot of sand was only kind of stuck on, because of the watery mixture. I also managed to pry out the chunk of plaster over the mesh successfully, though it wasn't very clean. Good enough for testing though.

Only thing left to do is stack them up and fill the bottom chambers with water.
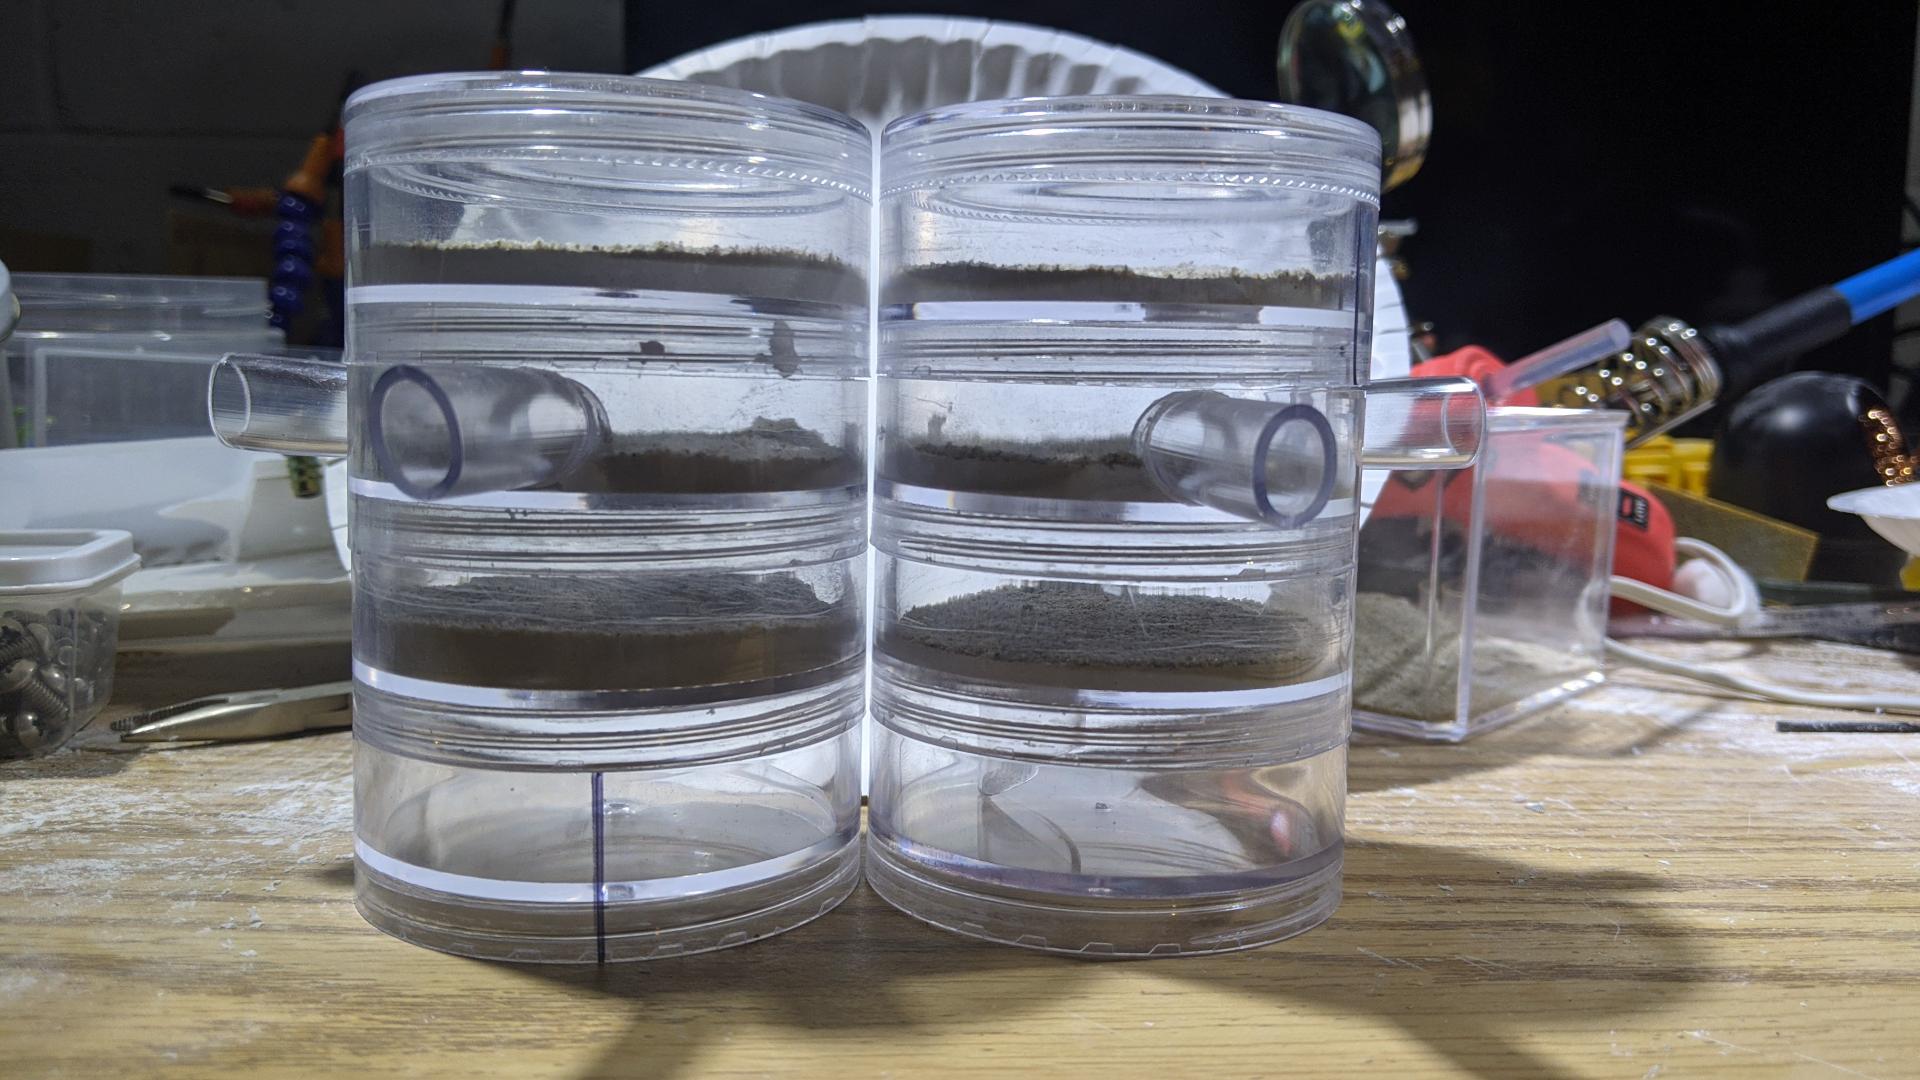
I've got them both with a hydrometer and heating cable for testing. Gonna keep an eye on them for a while and see where the levels balance out.
I actually really like this style of nest, and I learned a few things to improve on next time. I can try a few different hydration methods, some different heating arrangements, as well as other sizes. I ordered more containers for future builds. This may not be the main nest design I end up using, but I am fond of it so far.
On an unrelated note, I need to figure out a different way to post pictures. I'm running out of storage space on FC.