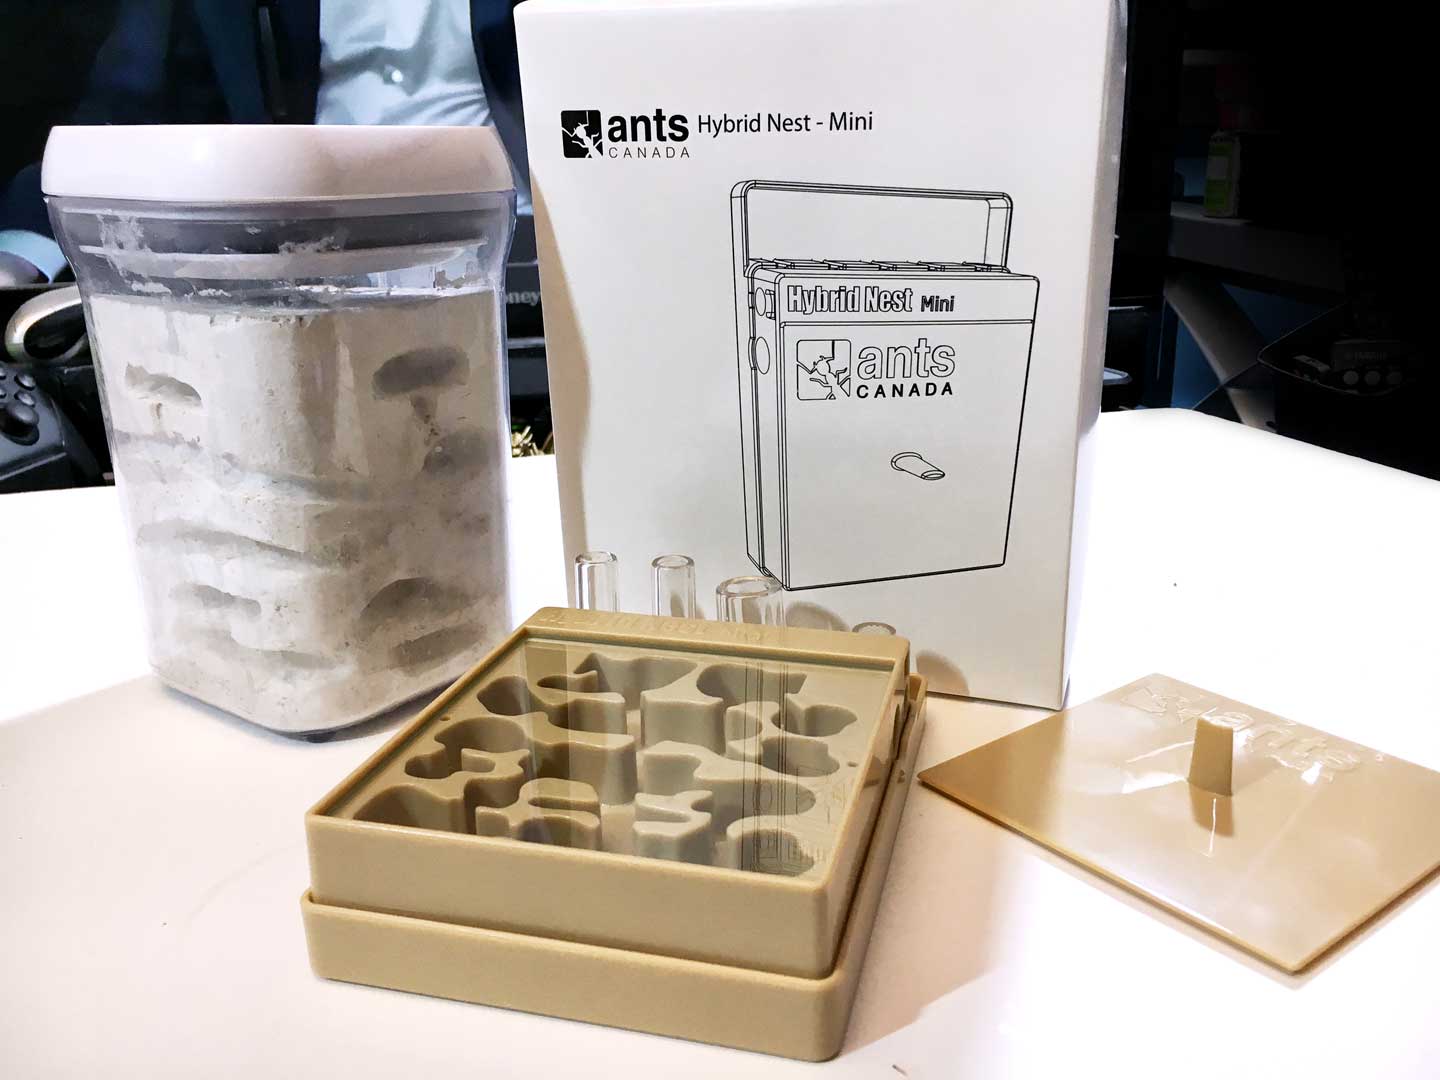
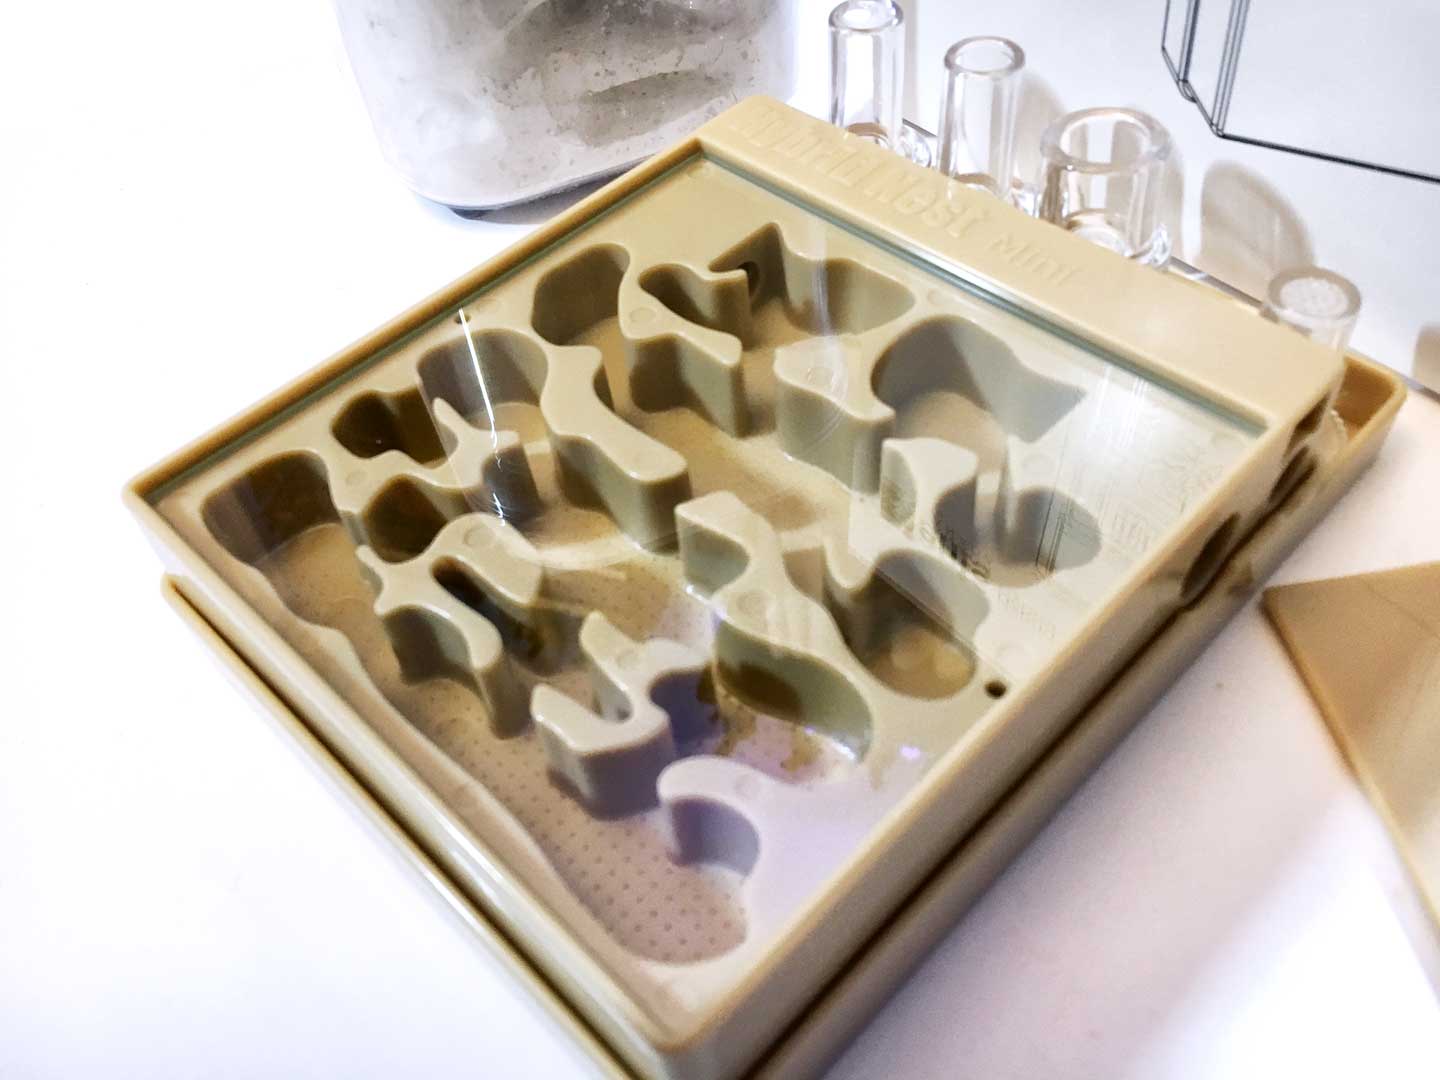
Yá’át’ééh, fellow ant folk! Welcome to Boog’s Bug Builds where I’ll be sharing my DIY formicaria, outworld projects and ant colonies. When I got deep into ant keeping these last few years I’ve been fascinated with making my own formicarium designs. I spend a lot of time daydreaming about what an ant’s POV would be like and what would interest and comfort a colony. It has certainly made me more aware of my environment and what resources I take in.
So I’ll start with my first colony of Camponotus pennsylvanicus that I had acquired through Ants Canada’s GAN project. Queen Elizabeth was caught on June 4th, 2018 and had her first eggs on June 8th according to the ant keeper I got her from. I was a little bummed out when I noticed the queen was missing a quarter of an antennae and had one wing still, but she had brood and almost two dozen workers (with some submajors already!) when I got her on September 7th, 2018. Compared to other starting Camponotus colonies I’ve come across on the net, Queen Elizabeth’s colony was going strong!
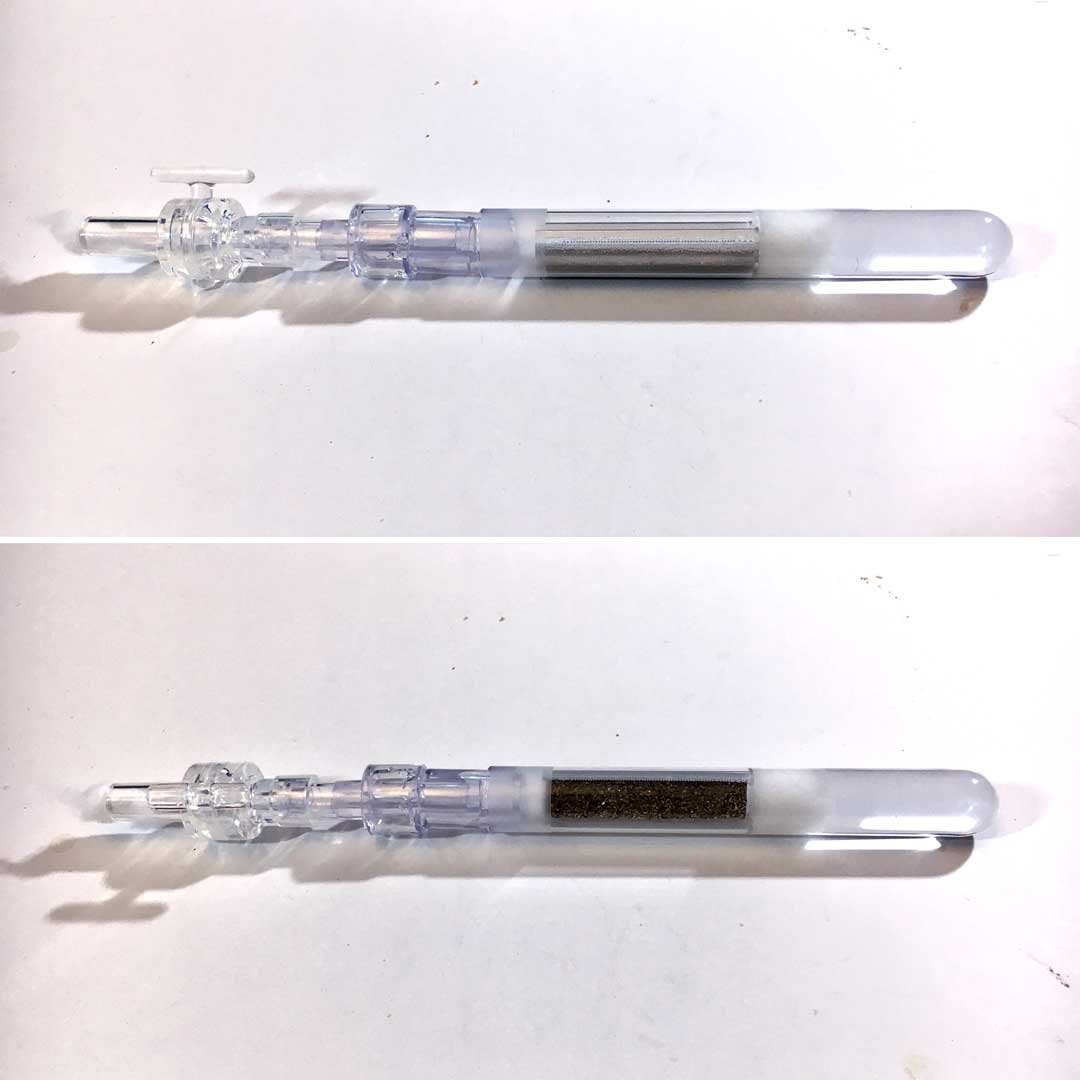
She was given to me in a bubble wand tube, so that was a little difficult to deal with initially but she moved into an Ants Canada test tube after a couple days coaxing with heat and light. I used cotton and bandage wrap to link the wand to the test tube.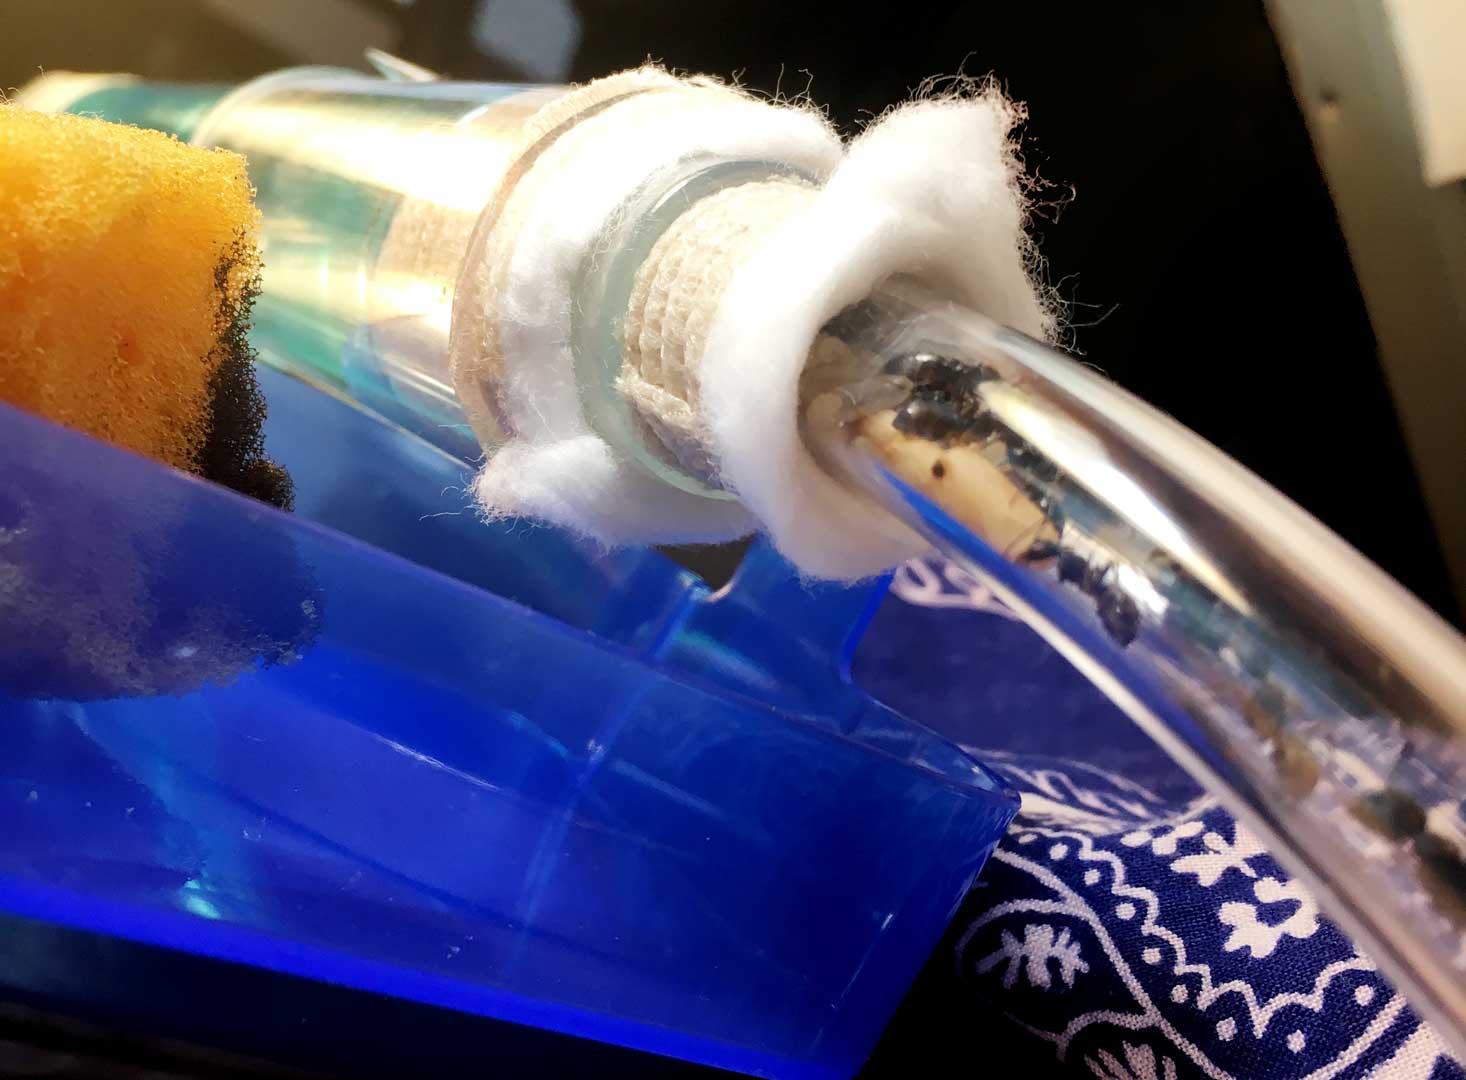
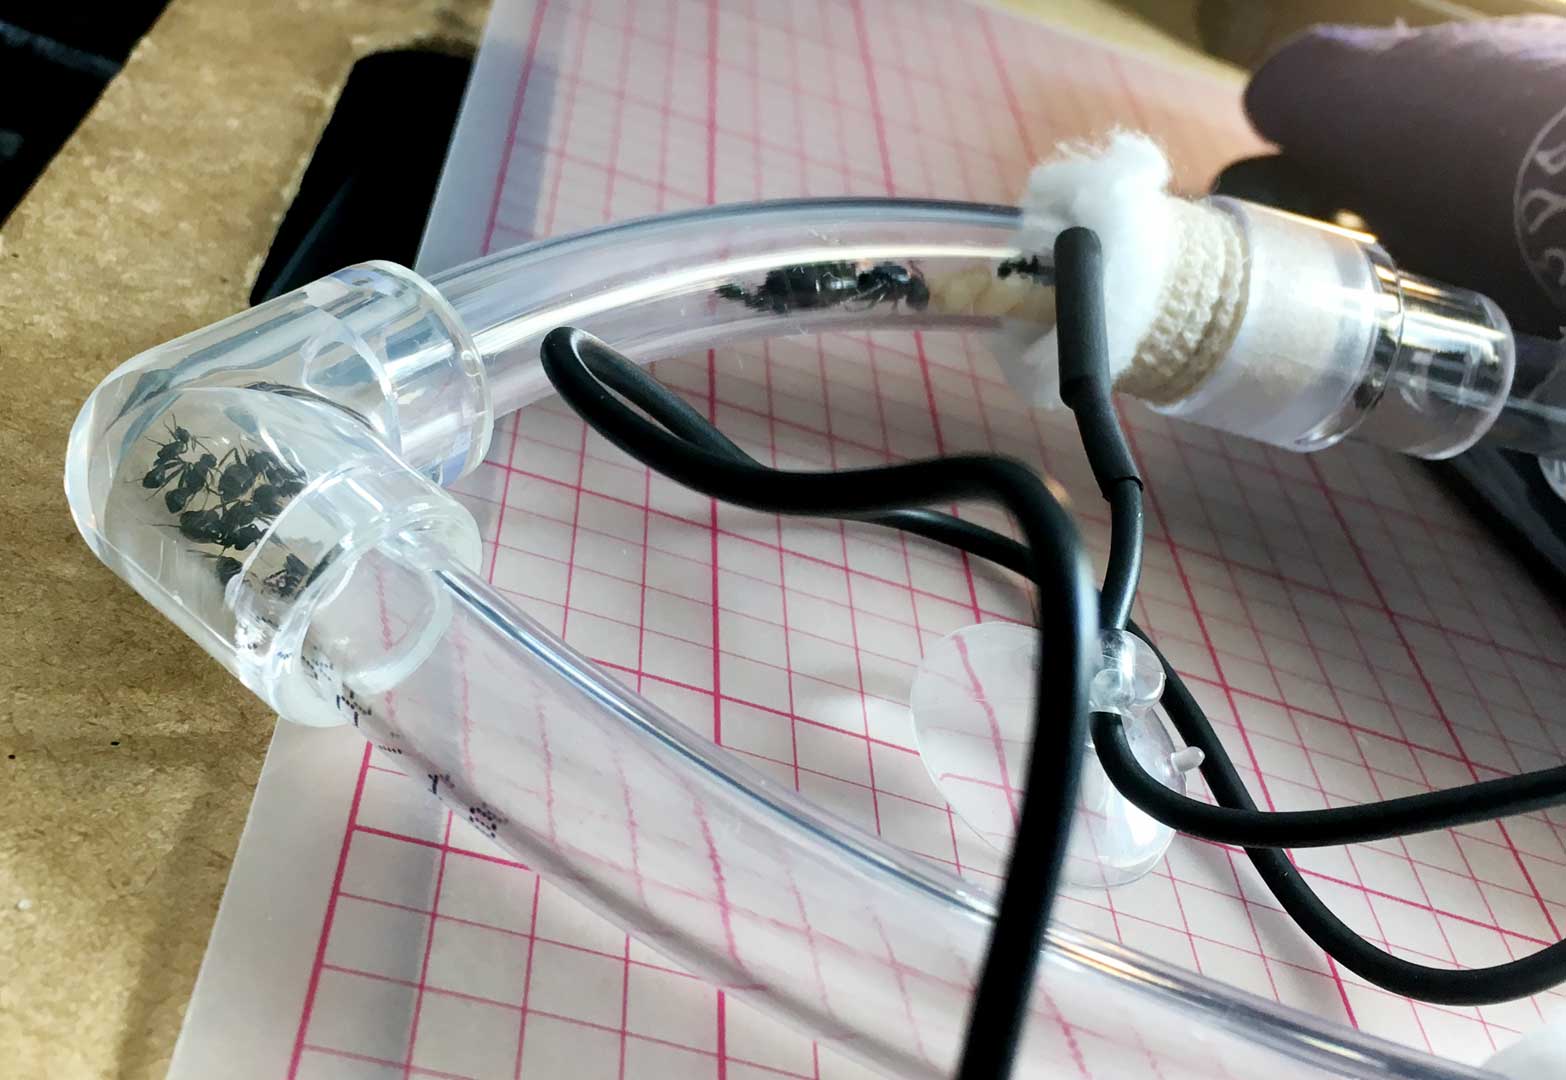
They decided to hang out in the tube and elbow connector for a few days. The queen liked the darkness of the bandaged connection for a while.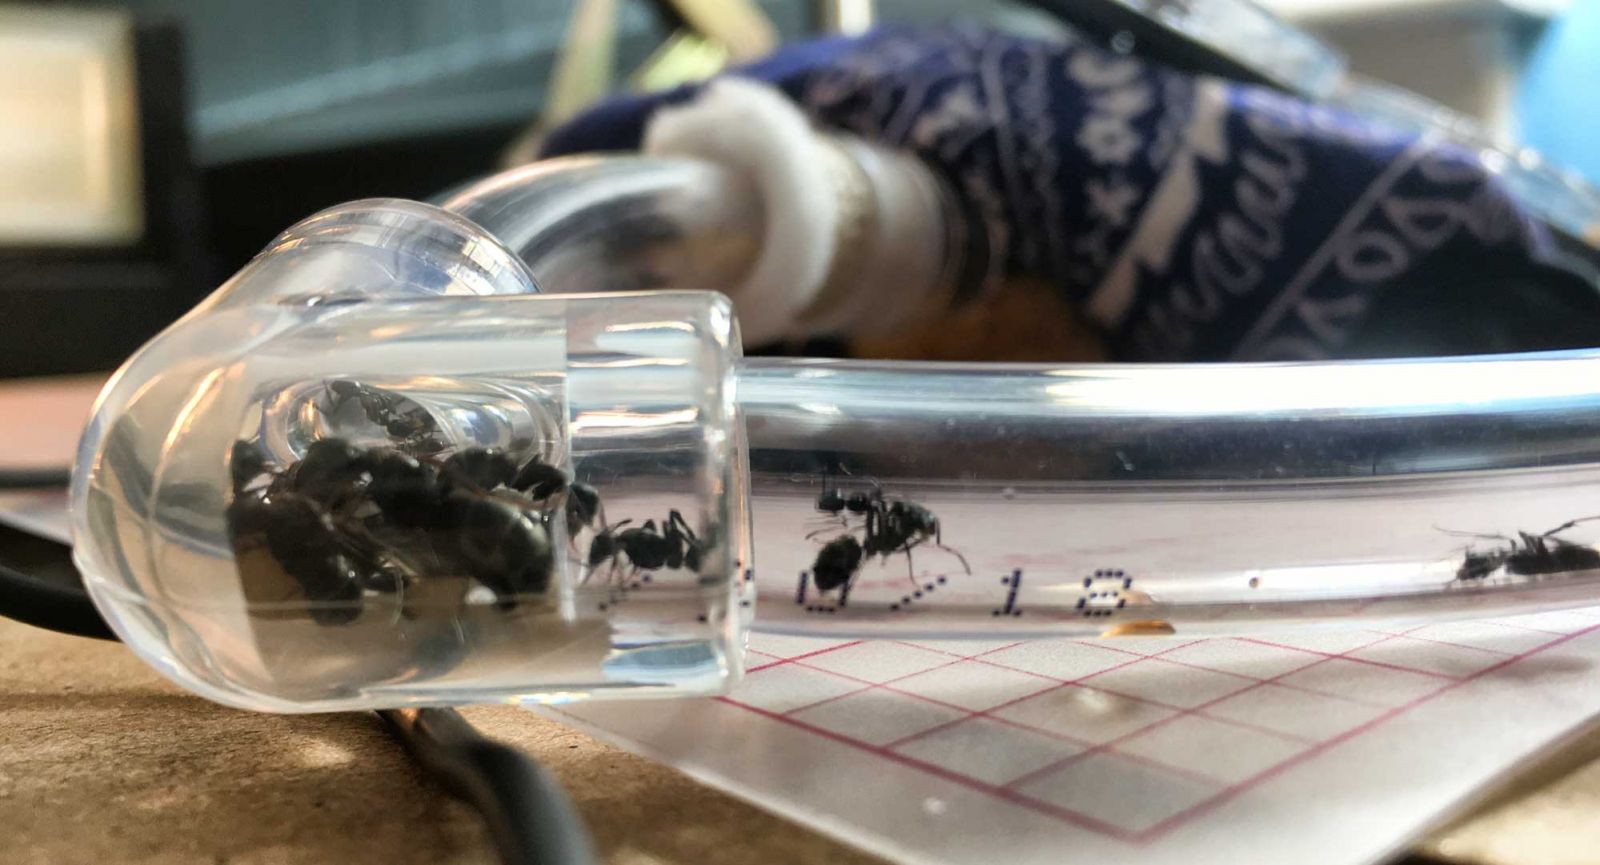
Here’s a close up of the elbow connector with some workers, submajor and brood. Also notice the brown liquid center right, I didn’t know what that was at first. I later noticed a worker intentionally spraying this liquid all around the entrance to their test tube so I think it’s how they scent their nests but maybe its just their waste? I only saw this brownish liquid near the entrance and it looked different than their waste area. I imagine it’s how they make their nests more homey.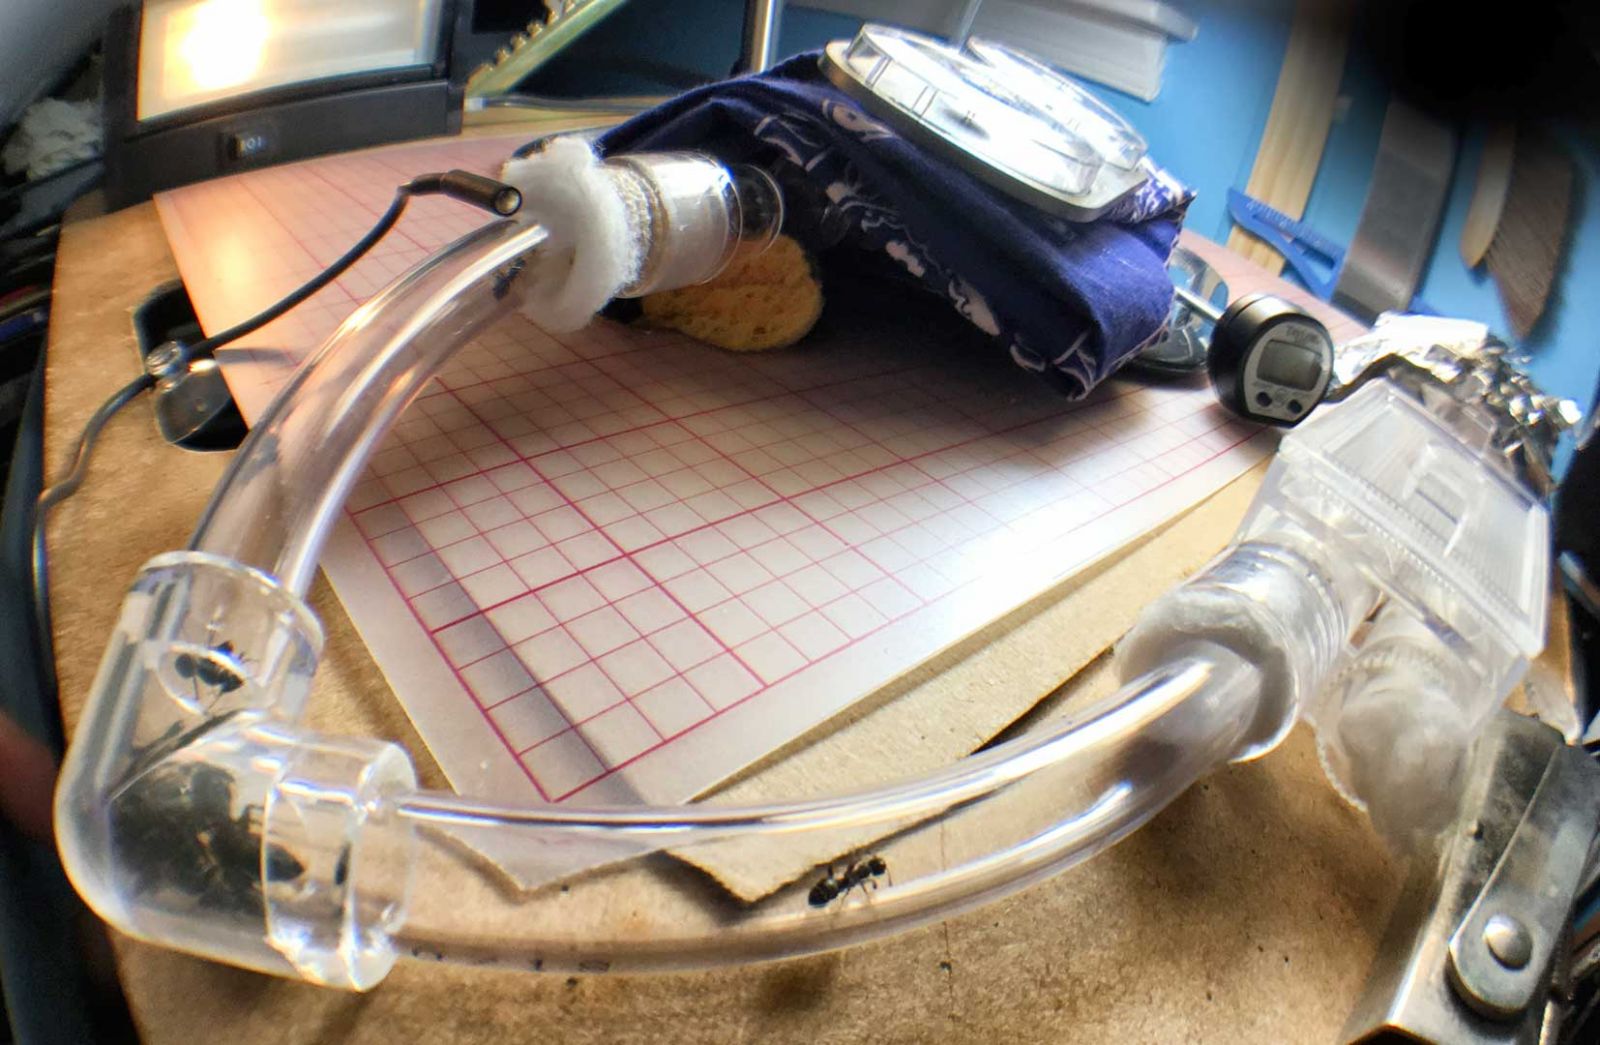
After waiting for the colony move, I decided to use a couple of test tube portals, vinyl tubing and a small outworld at first. I thought putting them on a tray would help with portability but ending up having some hassles with this setup. I also was new to hydrating small areas and ended up overwatering the outworld and causing the fluon to fail. I have stopped hydrating my outworlds except for some misting with a spray bottle sometimes during a feeding or to match rainfall outside. I was feeding them crickets from the pet store, chicken and hot dog scraps, maple syrup/water mixture along with a little honey at this point. It was fun learning about my colony by observation, which I think is the best part of ant keeping. One funny anecdote I witnessed was a minor worker dragging a larger worker that wasn’t moving back to the new nest and come back to carry another, they curl up while being carried and seeing larger ones lifted away by a smaller ant just looked goofy.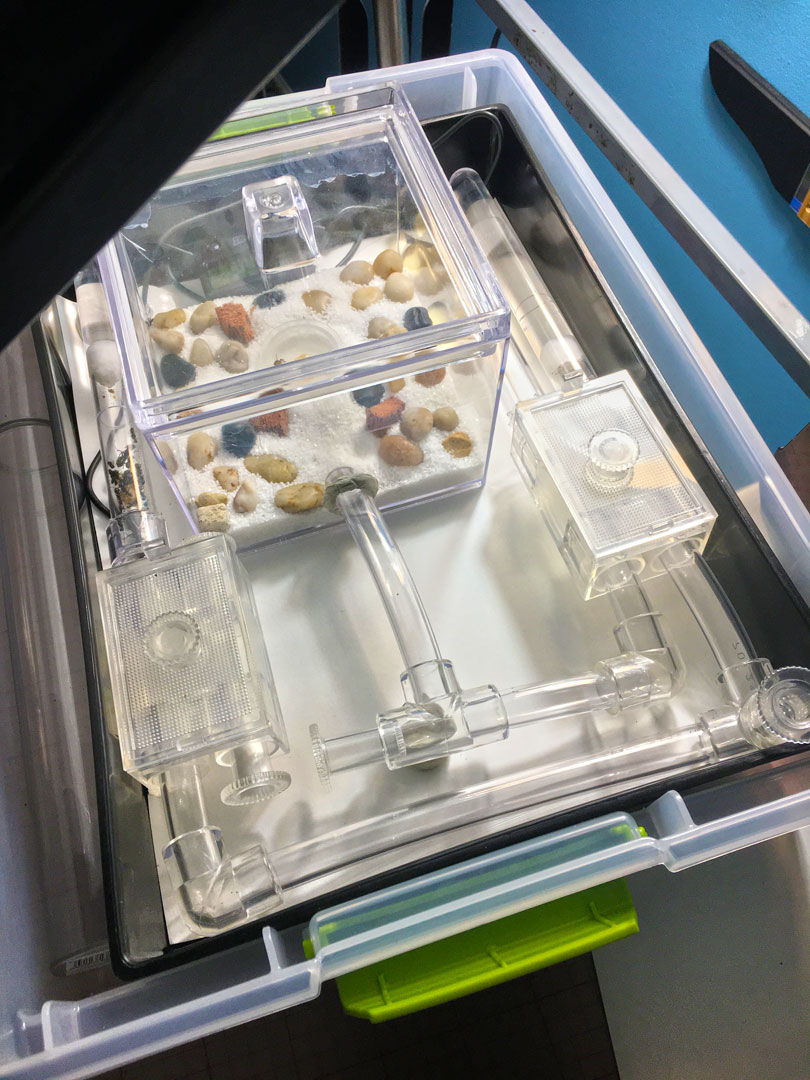
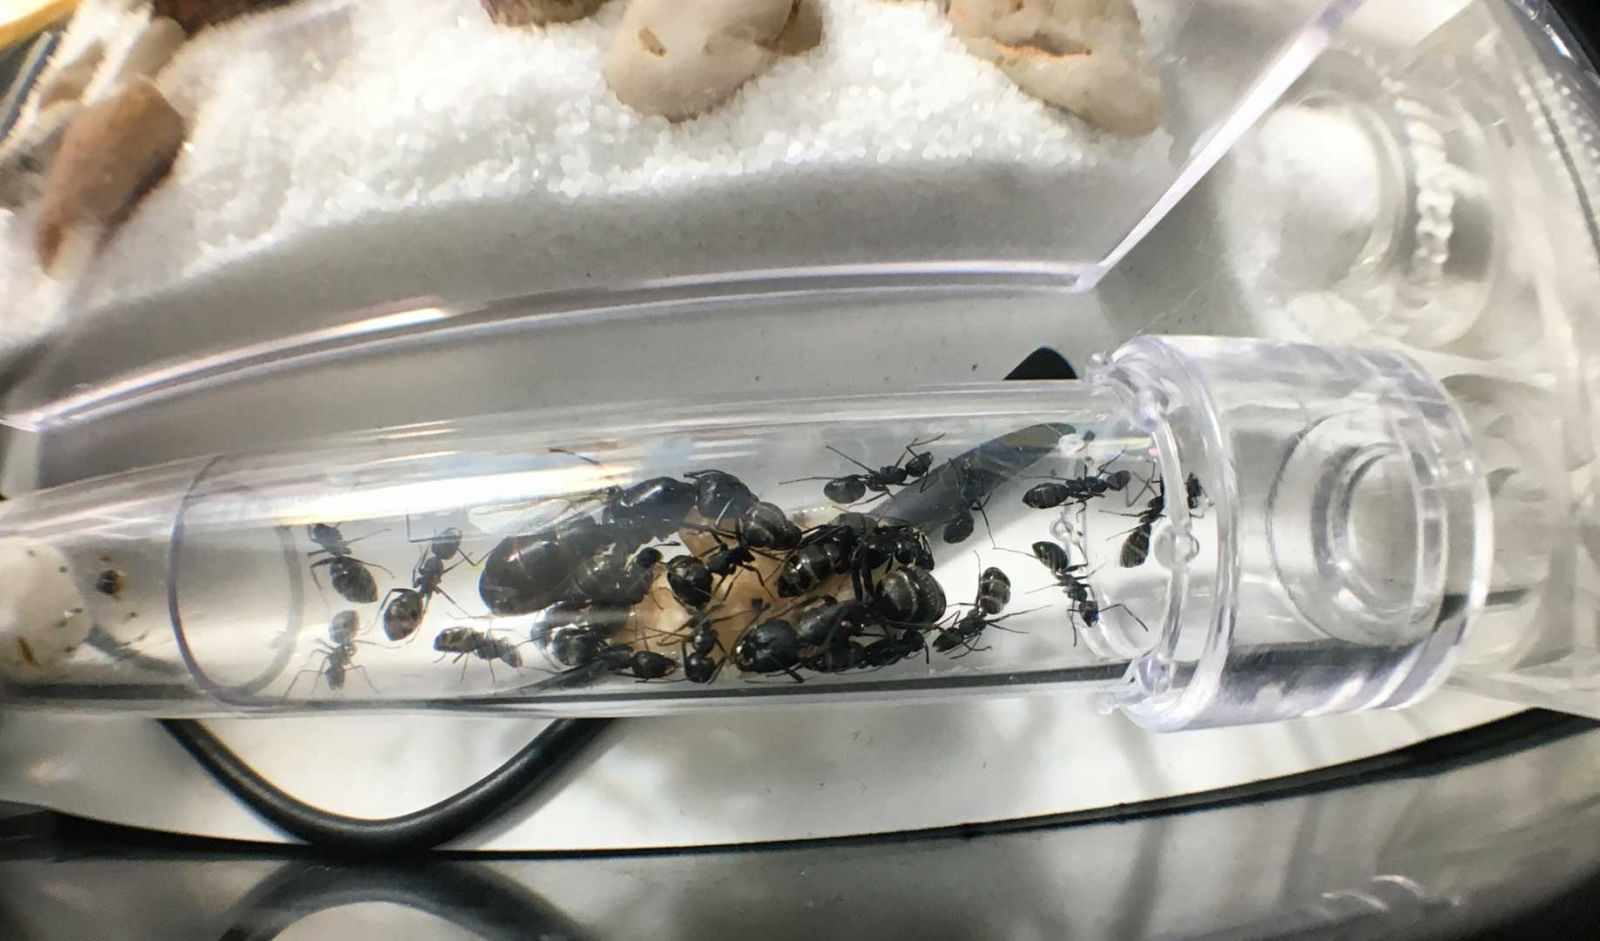
Finally settled in, the burgeoning colony needed a formicarium! It was after some observation I saw a mite on a worker’s leg. It was definitely feeding off the ant, I saw it crawl onto a leg and then overtime watched it fill up on the leg joint and latch off again full of ant hemolymph. I worried there was more mites but thankfully I haven’t noticed anymore since then, maybe they finally munched on it? My first colony and I was already fretting over a mite infestation. If you look closely at the center submajor’s foreleg, you can see it as a pinkish blob against the darkness of her thorax.
My first escape happened, I think the outworld’s lid had a small enough gap for them to crawl through so I then decided to switch up my initial setup. I decided on using grout, which is a great hardscape material for ants, after discovering Crystal’s tutorial videos: https://www.youtube....erer2000/videos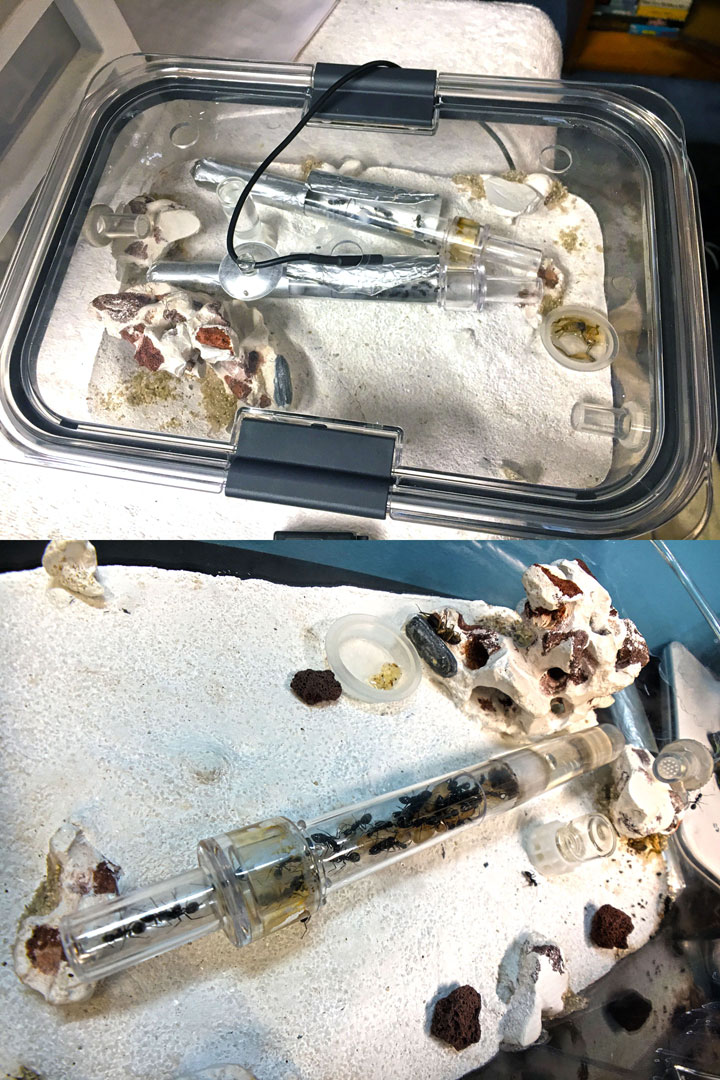
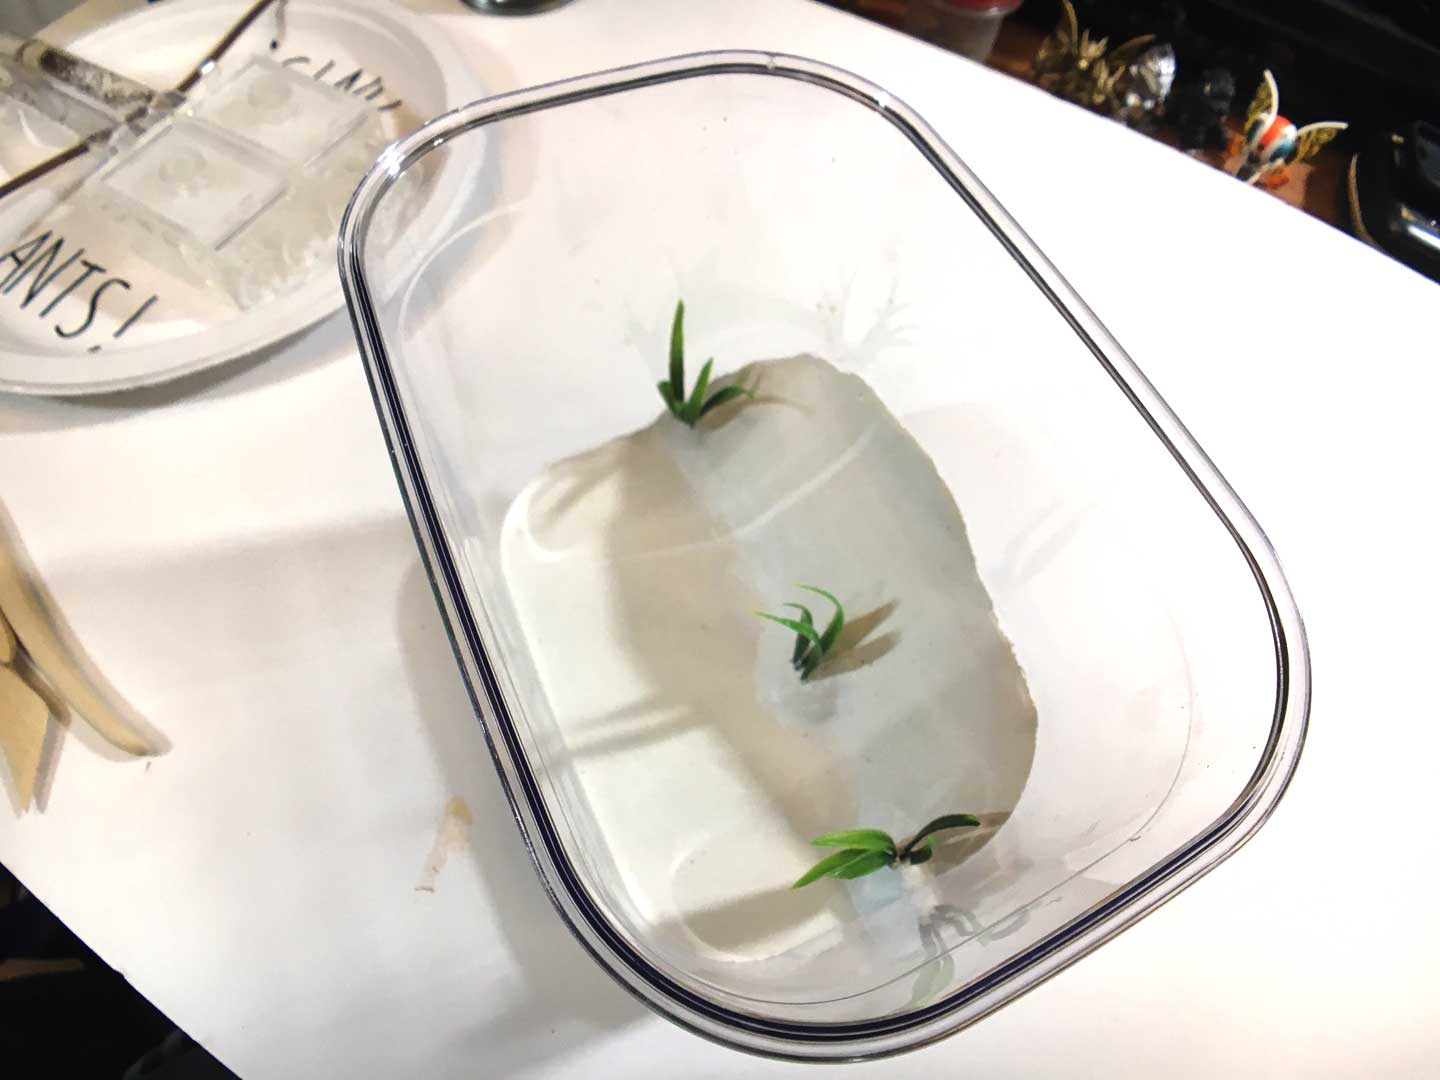
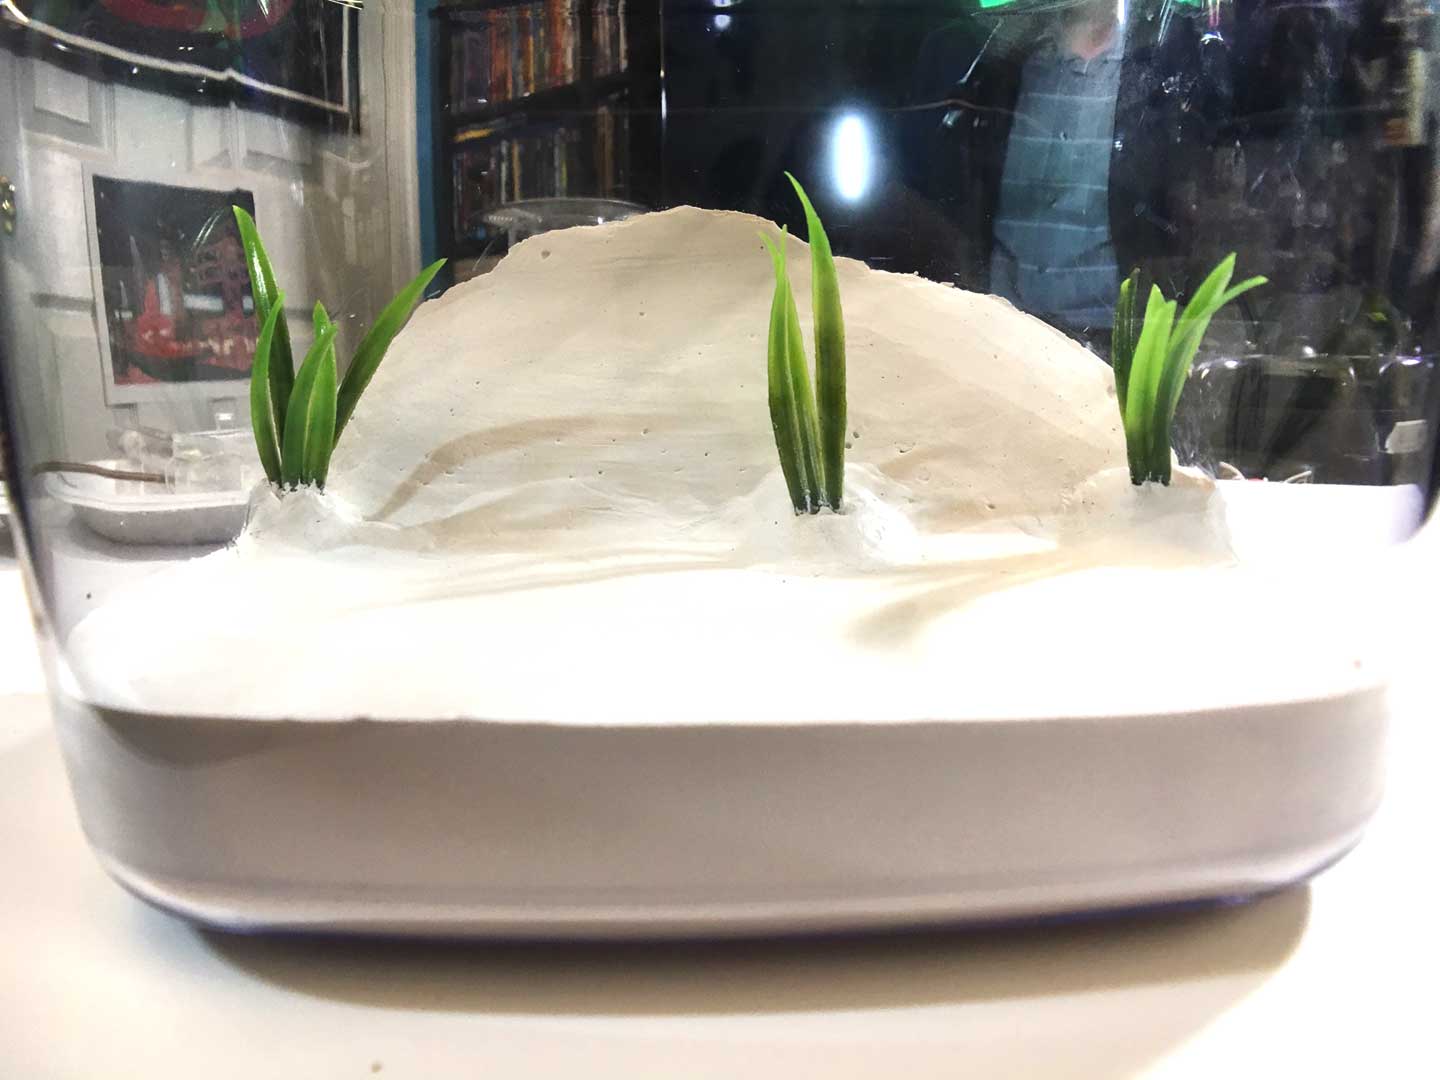
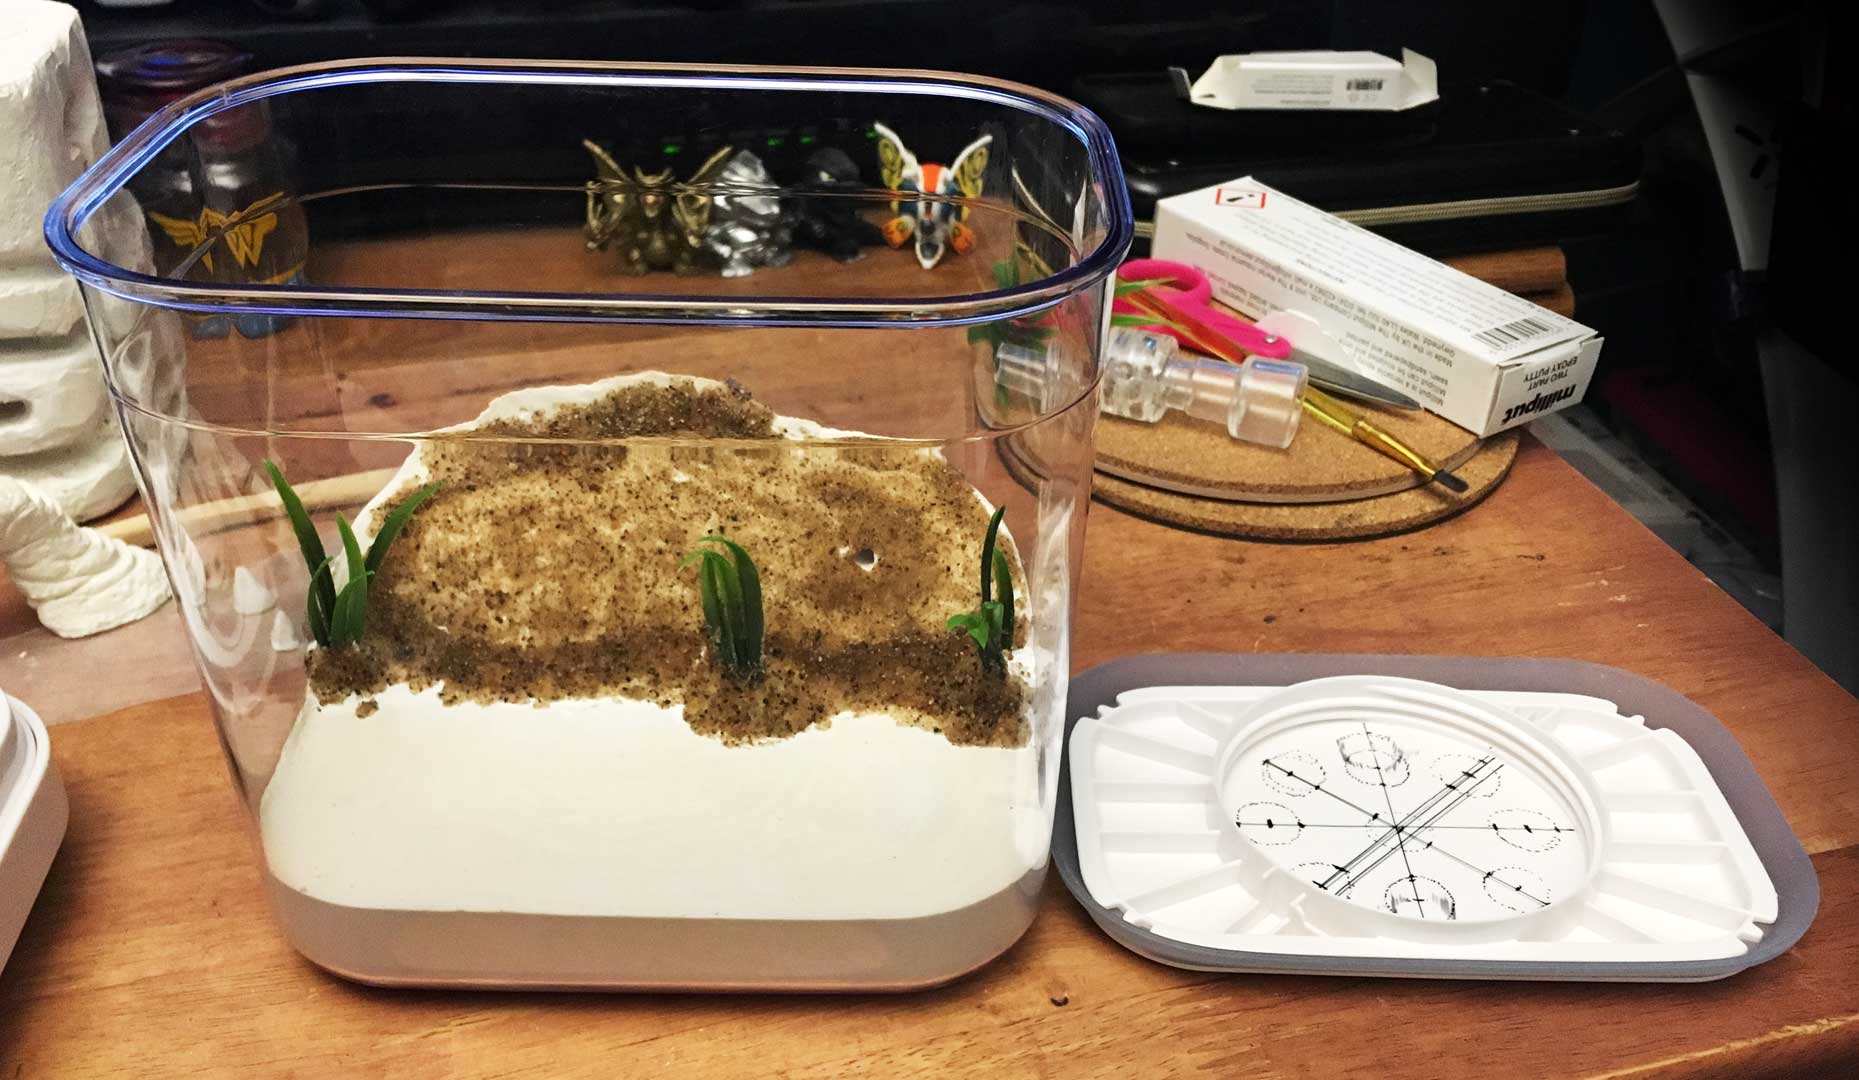
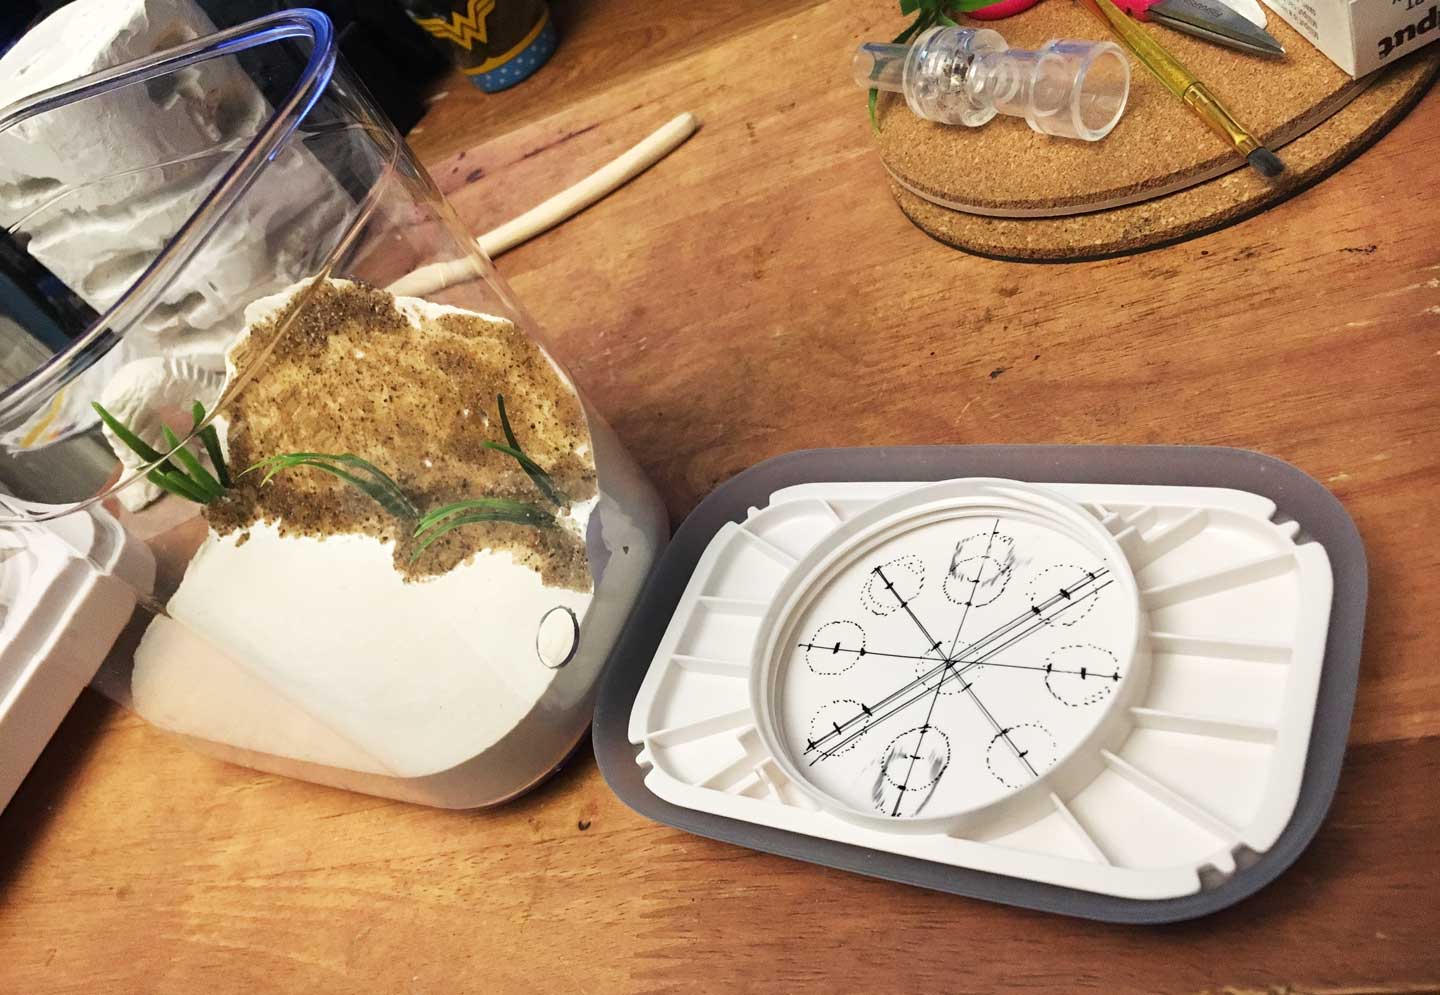
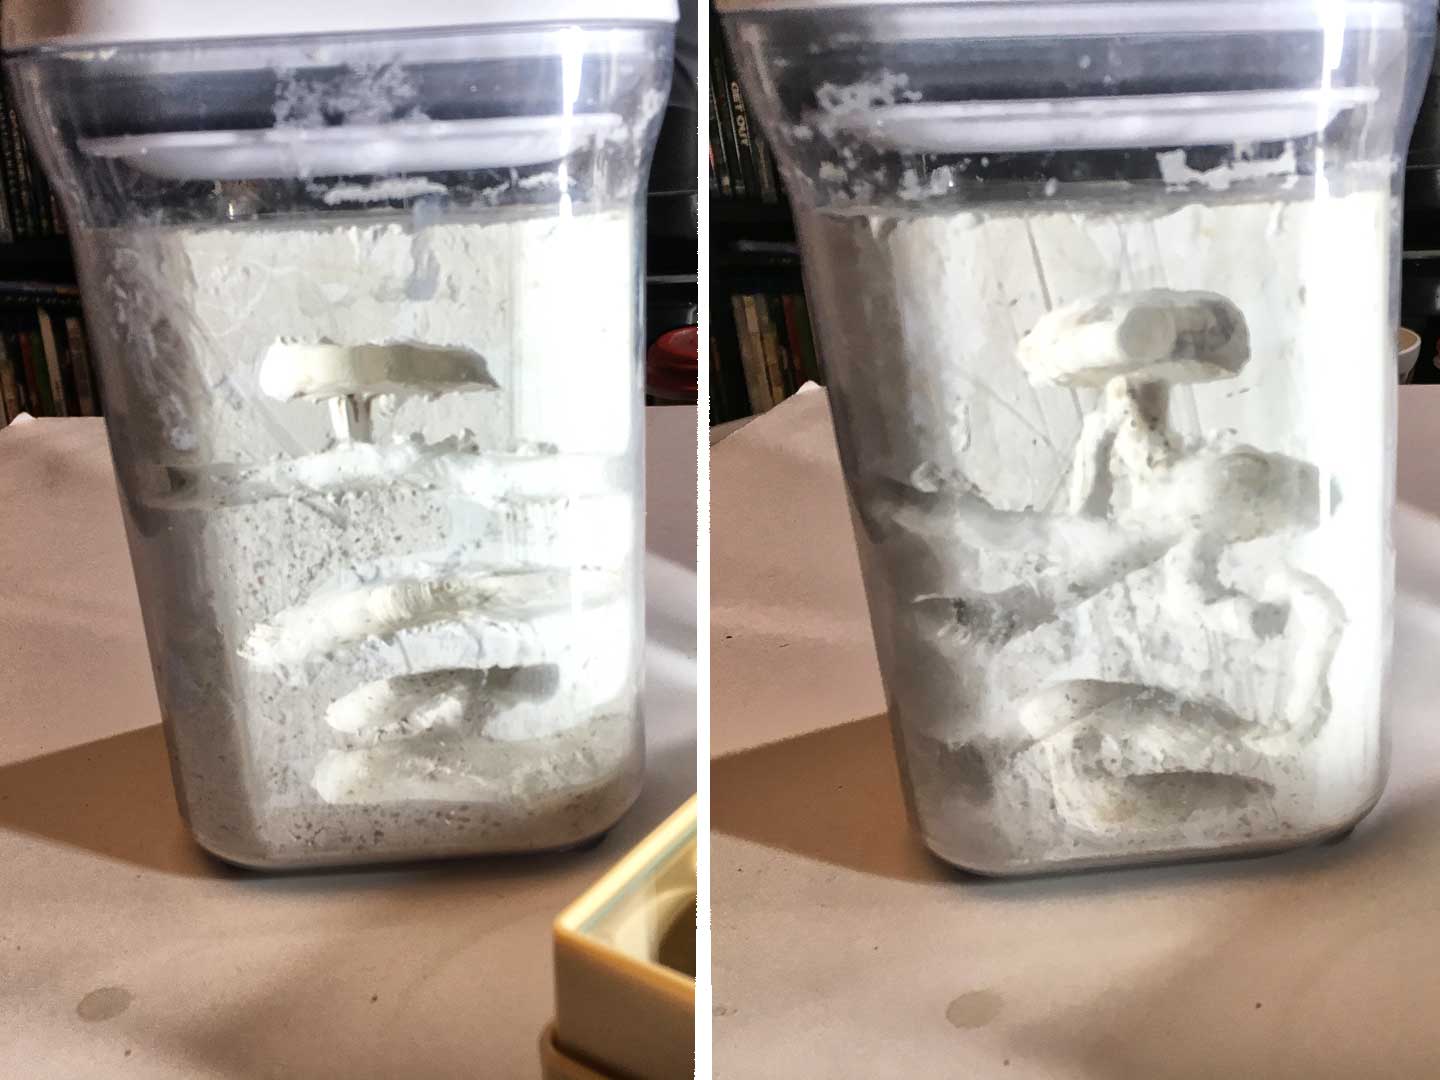
I really ended up liking the white grout with white sand texture to contrast with the ants. I used a Rubbermaid Brilliance container with a rock drainage level, poured grout over that, sprinkled white sand on top while still wet and added some decorations into it. A chunk accidentally broke off my nest build I was doing on the side and I liked how it looked so carved it further and used that as a cliff structure with nooks and crannies for surface area to explore. Also, it was easier to deal with a test tube in an outworld configuration in one container. I let this fully cure for a couple weeks, soaked in water overnight and let fully dry before I introduced the colony.
I gave them a new, cleaner test tube that they eventually moved into. I thought I’d be hydrating the whole container but found out it didn’t need to be so humid. These ants seem to like a less humid outworld so the drainage layer was not needed here but it worked. By this point I had gotten some of byFormica liquid feeders and they’re so gnarly!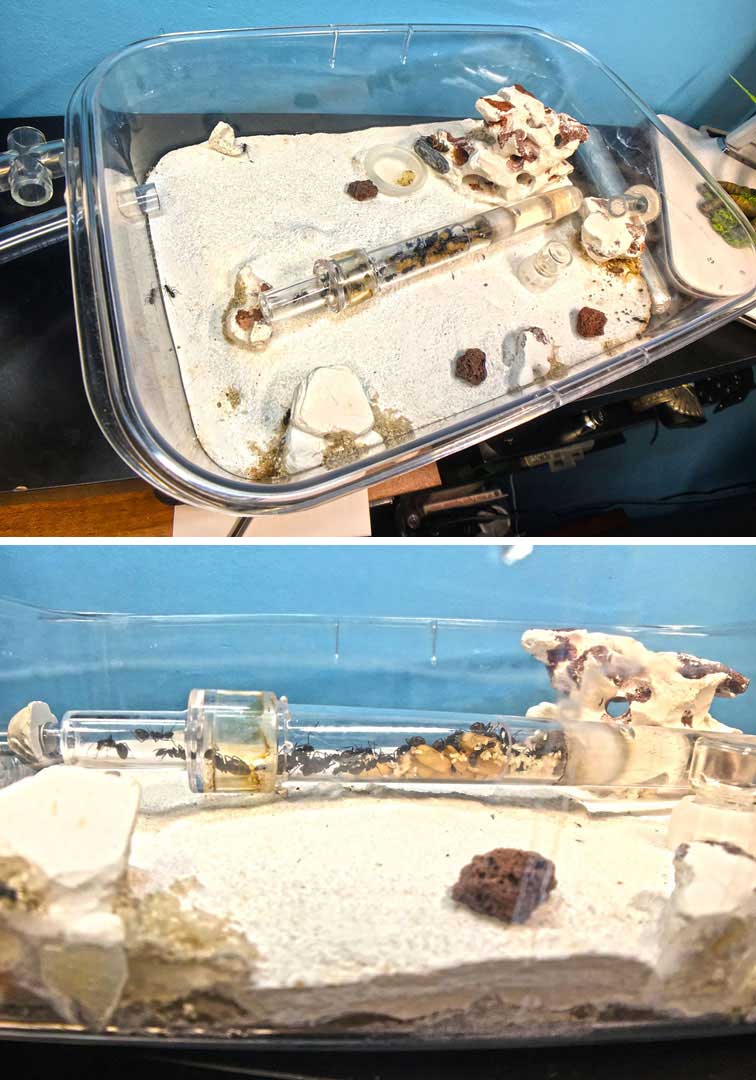
It’s always interesting to see where the colony decides to put their midden pile.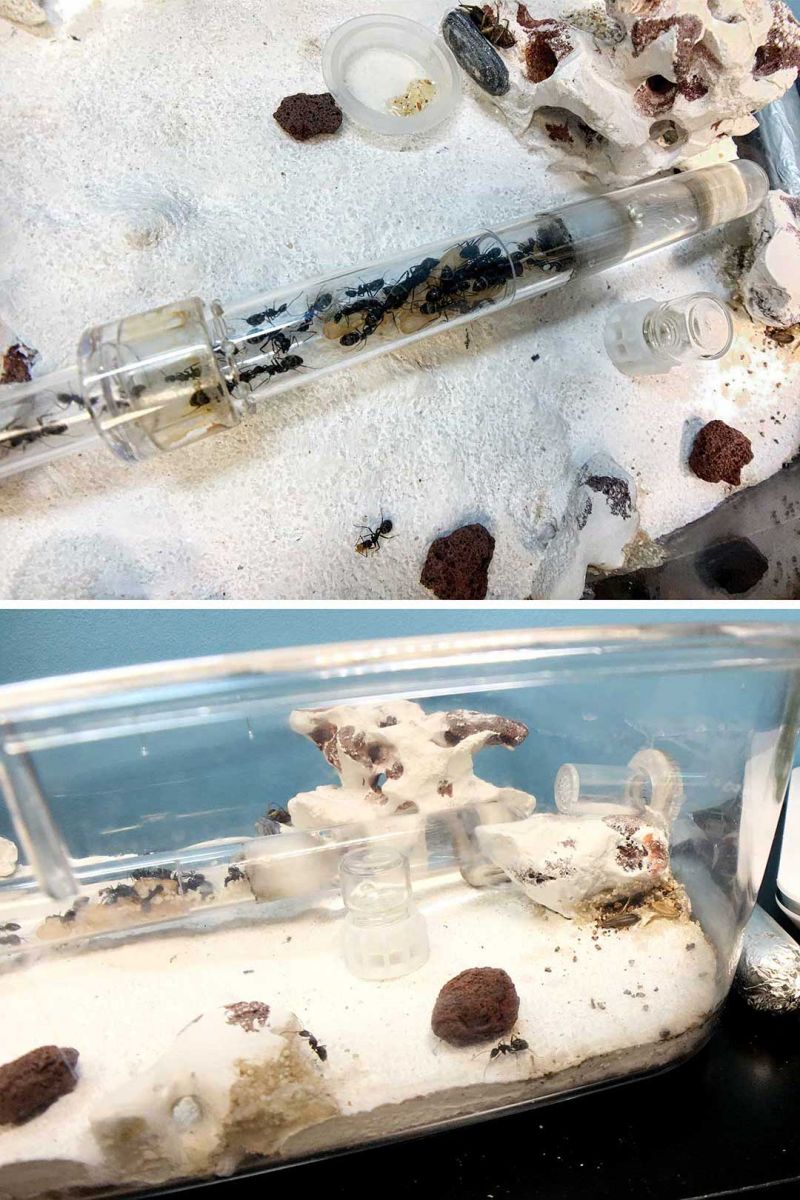
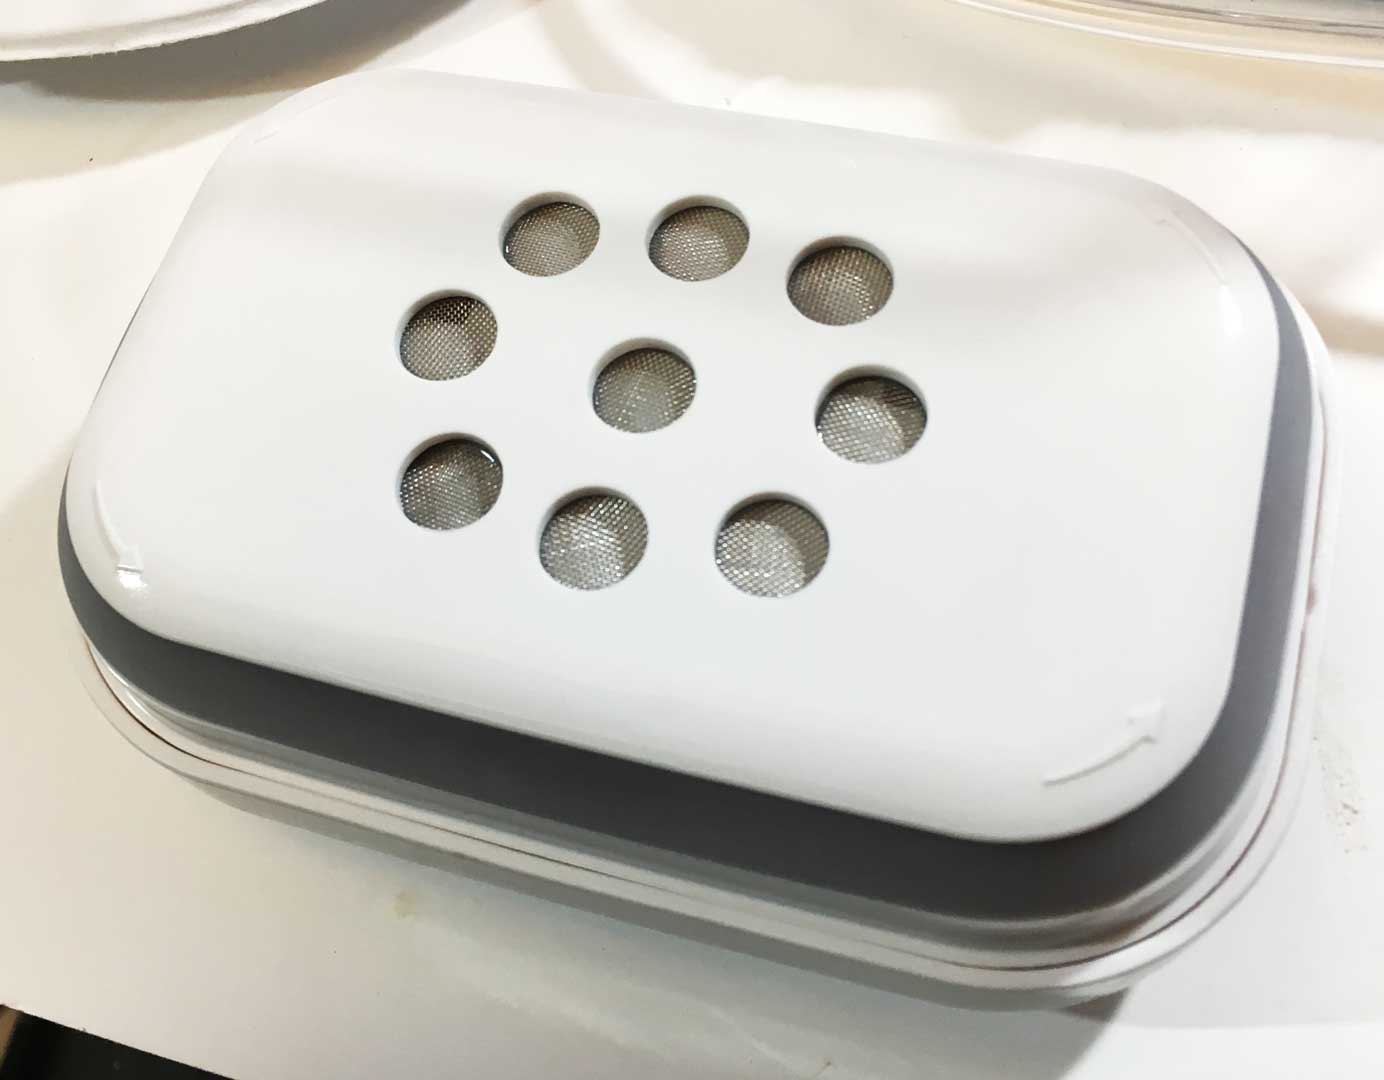
Here’s the lid with pipe screens held by mounting putty for ventilation. I also like to use Ants Canada Plugs for uses like the thermometer sensor here or as a port for an air pump tube held in with mounting putty that blows air into the outworld to add airflow.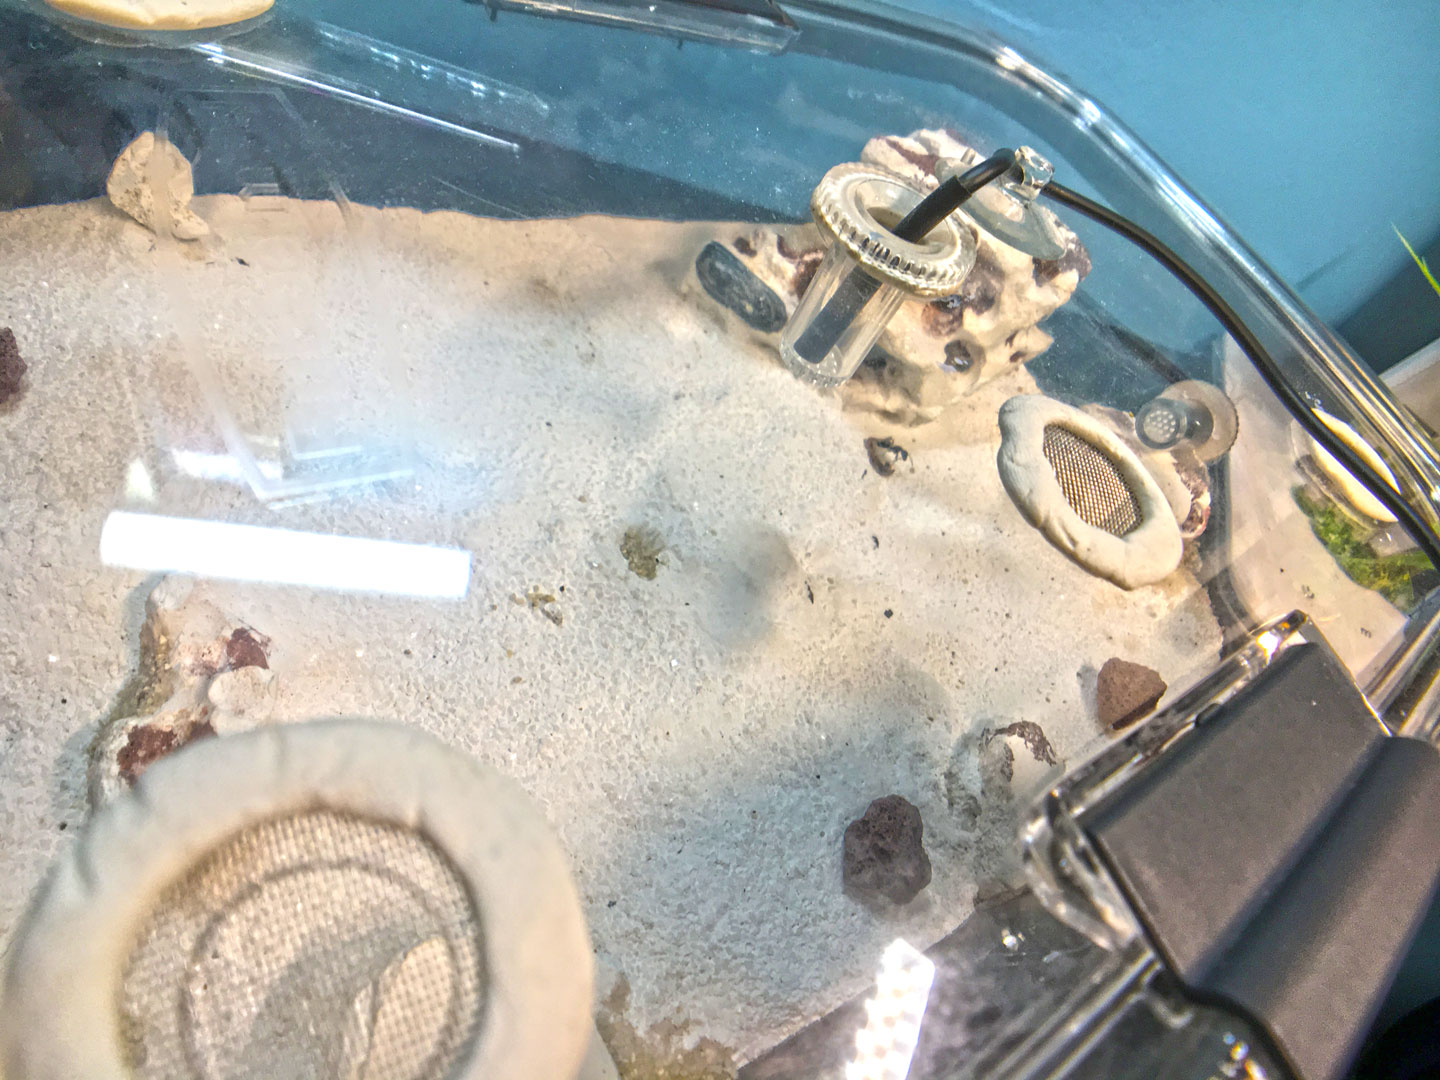
However, the lid of the container needs to be snapped on and this became an issue every feeding time because of the disturbance to the whole nest. I left the hinges off so they wouldn’t snap when I needed to tend to them and still have a lid on but I had some ladies escape from the hinge ports. The panic when seeing a free-roaming ant of yours is certainly unique, your pet becomes a pest! I found one crawling at the top of my computer (wonder if it was the heat that attracted her) while I was working and freaked out but I found the colony at peace in their test tube when I returned the brave explorer.
It’s possible that I could’ve let the lid off with fluon on the walls but I was new to keeping these and didn’t want to test that concept. I put a little fluon on the sides but I wanted mostly a clear view in. I still prefer to know my ants are contained with a lid as a last barrier. So this setup worked for my first year, I noticed that more ants were hanging outside the test tube so I knew I had to have something ready for them after their diapause. I had just over 30 workers when I moved them into this grout setup for a month before overwintering them.
Here’s how I set them up for diapause, in an insulated lunch bag with a thermometer to get an internal reading and I put them in the garage. I checked on them every other week but didn’t feed them over their diapause of about four months.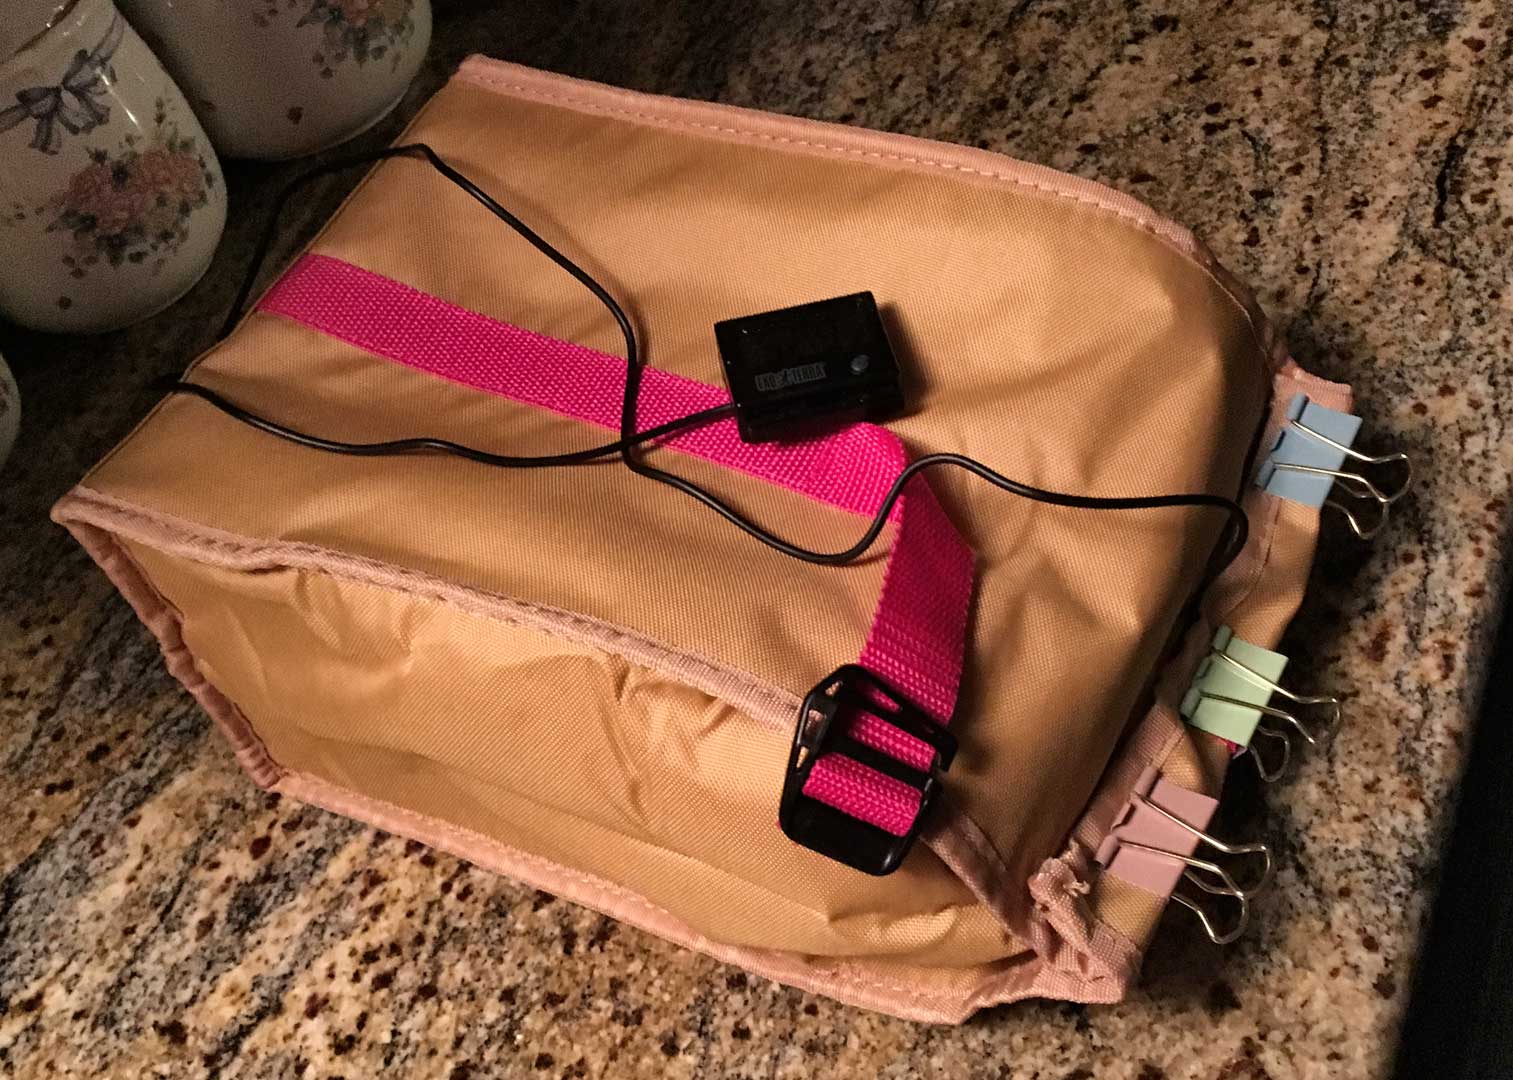
I posted some of these next images into the “Pictures of Formicariums and Outworlds” thread but will explain a little more. I settled on using grout after researching other ant keeper’s experiences with this species and I wanted very little loose substrate in the overall setup. I wanted to house them in wood but then didn’t want to have to deal with a bioactive setup yet since moistened wood molds easily without a clean up detritus crew.
I like these vertical food containers I found from Target, they have a line of clear containers that work well for ants. I wanted visibility into the nest as much as possible and this helped with that. I molded some mounting putty for chambers and poured grout with sand and rock aggregate in at an angle, I wanted the nest in the corner with two sides to view in and also some room behind for layers of rocks. After a couple days to cure, I pulled out the grout pour but snapped off a corner that I ended up using in the Rubbermaid setup from before. After removing the mounting putty, I realized the chambers were too small so I spent a lot of time carving out the nest with chisels and screwdrivers.
USE SAFETY GEAR when handling and especially carving grout, it’s an irritant that can get into your eyes, ears, lungs and dries out your skin. I learned this the hard way and now pull out gloves, safety glasses, long sleeves/hoodie, respirator and ear plugs any time I mess around with mixing or carving grout! The first several days of the grout curing is the best time to carve it but it’s off-gassing some nasty stuff so make sure to only do this outside and take breaks every few minutes to get some air. Its satisfying when the piece fully cures, it’s stone hard and impossible to carve or cut into. I don’t think ants can chew through grout or it’d take a lot longer than other materials used in nests, I haven’t observed it. I epoxied white sand onto the walls and ceilings of the chambers and let the whole thing dry out and cure for a couple months while the colony was overwintering.
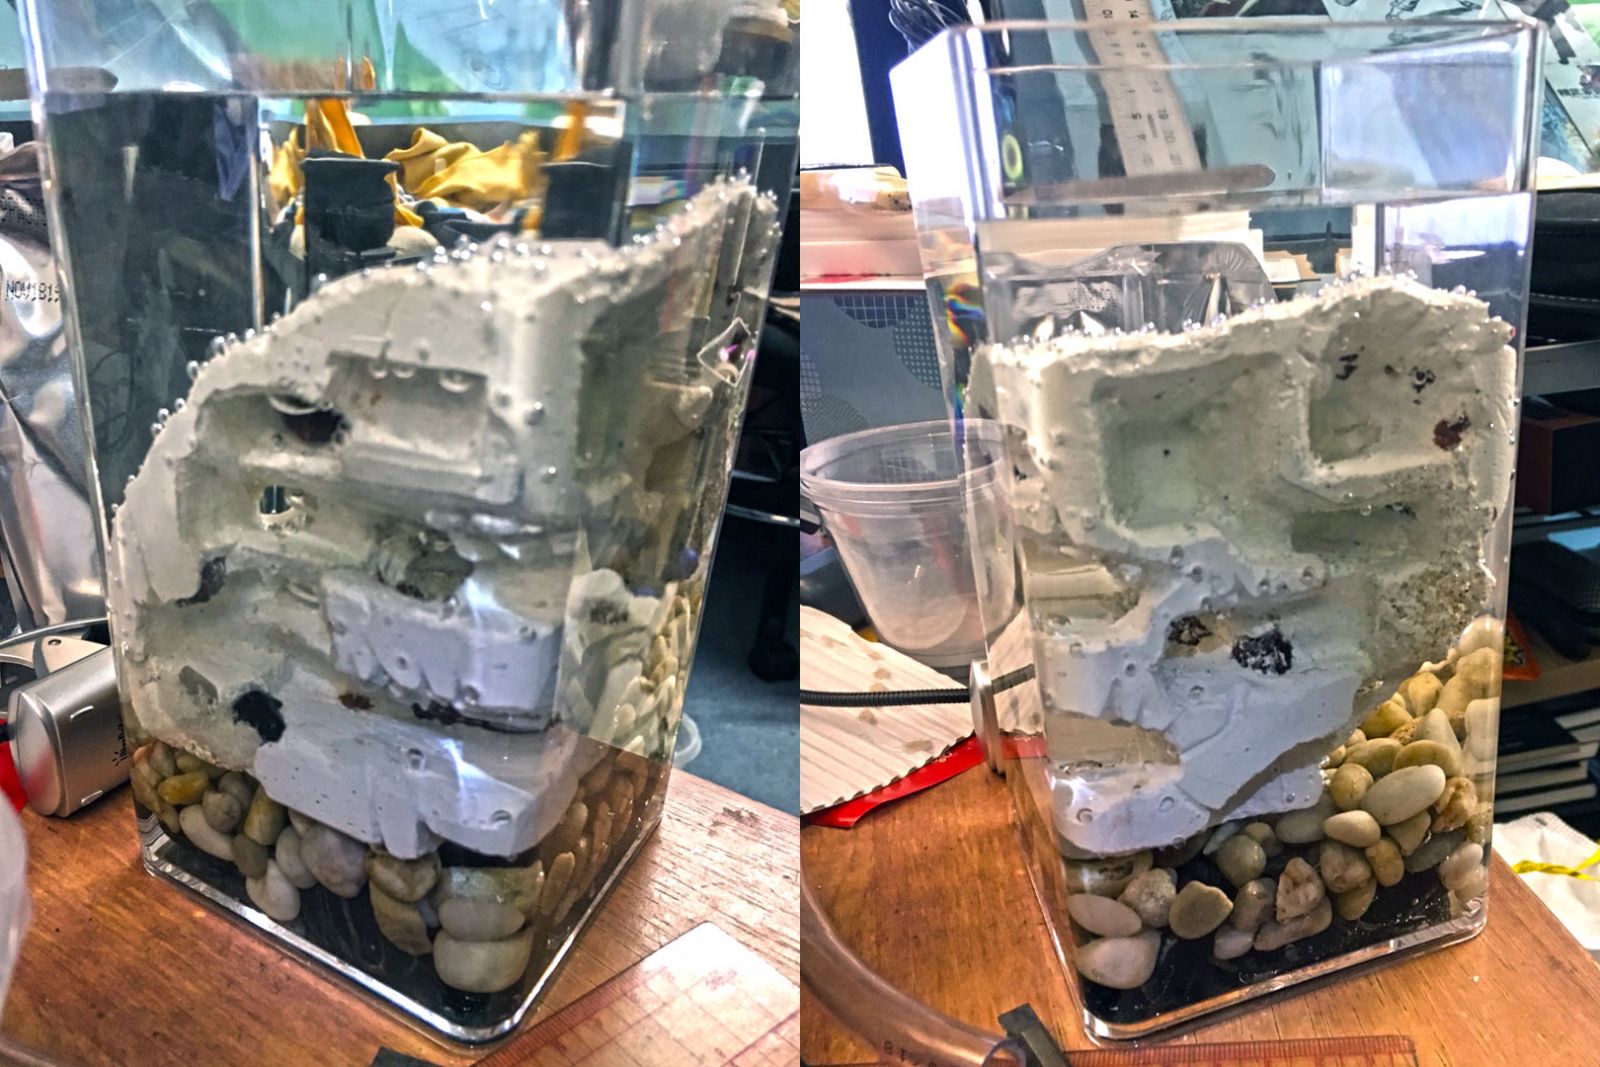
I then sanitized the grout nest with a hot soak in vinegar and water for a day. I read about a lot of colonies dying off in grout nests and I figure it’s because they weren’t letting the grout fully cure. We’re using large amounts of grout in these, so we need far more cure time than the intended purpose of tile grouting. The packaging states 72 hours or so but that’s for the small amount used in between tiles and not a chunk to house living organisms. After this sanitizing soak, I let the grout nest fully dry out for a couple weeks. If you’re planning on making a grout formicarium, make sure to plan the time needed to let it become completely cured. I also sanitized as much of the materials I used and handled everything with gloves to combat any possible future mold growth.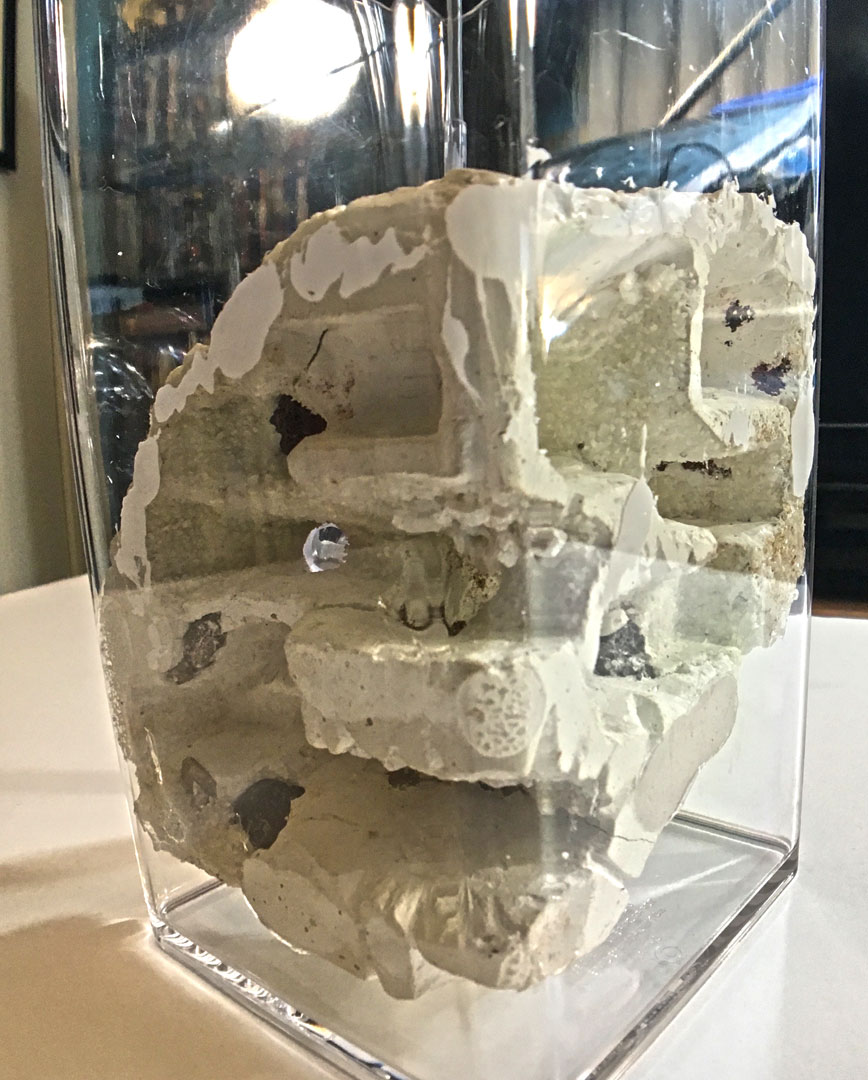
I glued the nest in place with aquarium safe DAP silicone towards the bottom that’ll be in contact with water and Gorilla Glue construction adhesive towards the top. I wanted a few gaps in between the grout nest and plastic to allow for ventilation since these carpenter ants can build up formic acid in their nests which can concentrate enough to cause colony die-off. I left some room below for an aquarium gravel layer.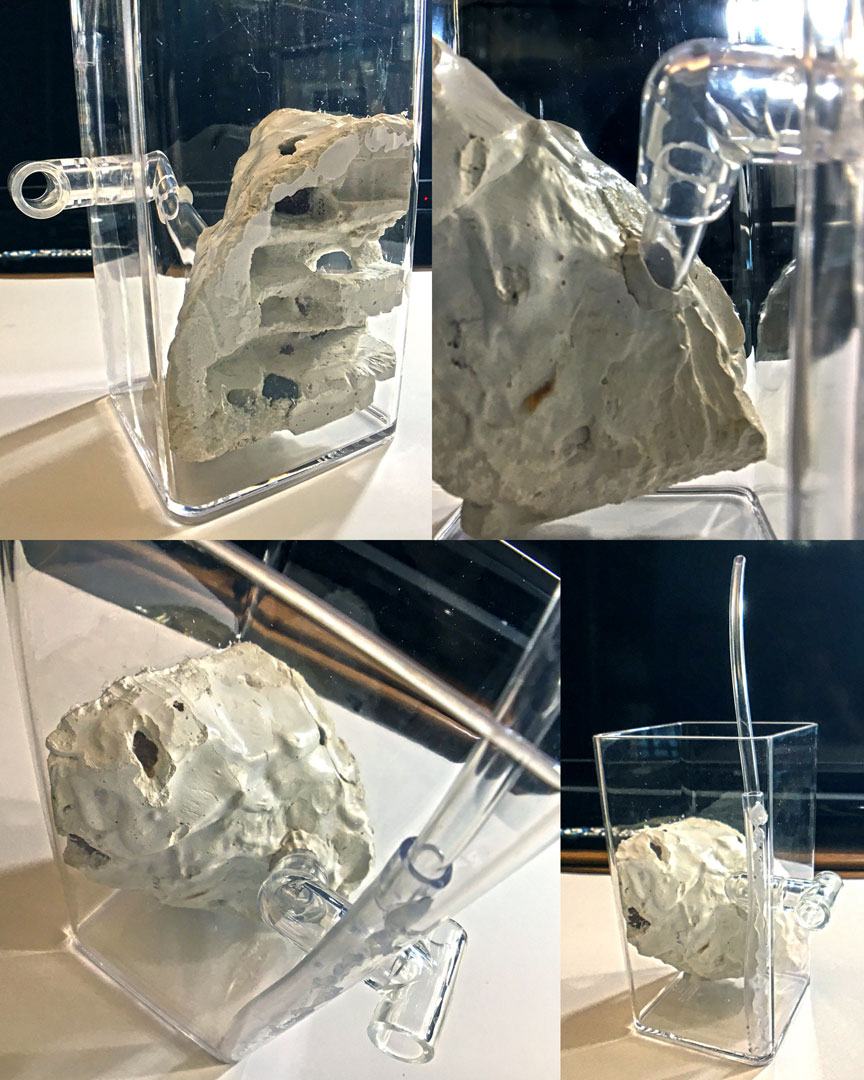
I attached vinyl tubing and some Ants Canada connectors (I love these things) as the entrance into the nest. I also badly glued in a vinyl tube into a corner of the plastic container to be able to feed water into and also suck out if needed. I wanted the water to evaporate up into the nest to humidify from below.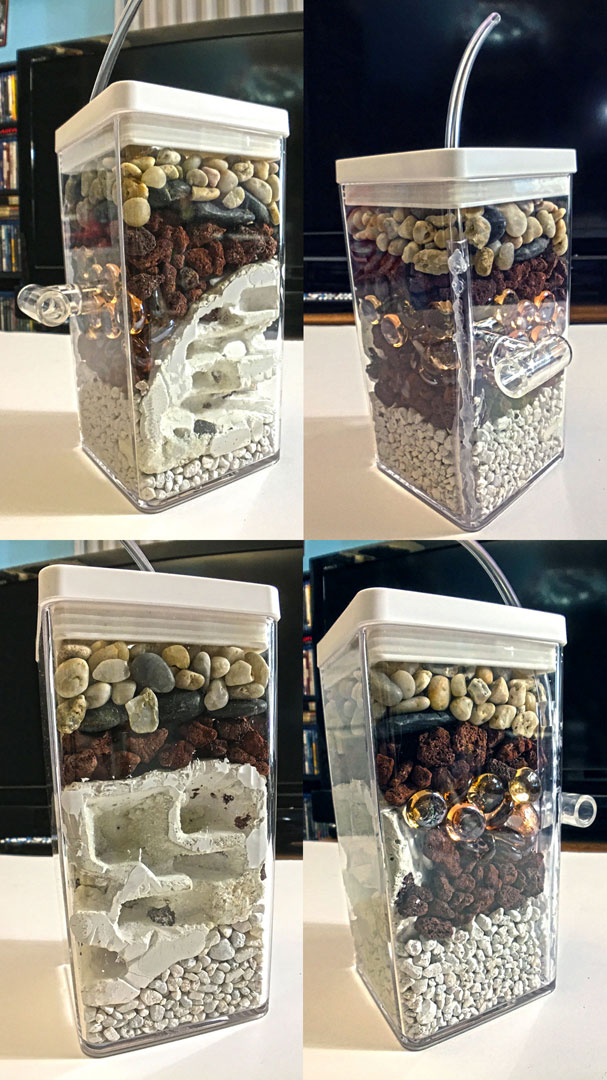
I added aquarium gravel to the bottom, then layered in lava rocks for their light weight and porous nature that I hope would help with air flow then a top layer of rocks. I intended the rocks/gravel to hold back any escapees from the nest but I was confident that they’re wouldn’t be any (HA!). The formicarium had a nice heft to it, not too heavy but enough to make it feel precious. I was proud of this build, it was close to what I had imagined. By the way, I had been practicing with smaller mixes of grout and had some failures before I created something I wanted to keep ants in. I want people to know that making mistakes is the road to success and that DIY can be frustrating but ultimately satisfying when something comes out close to how you intended.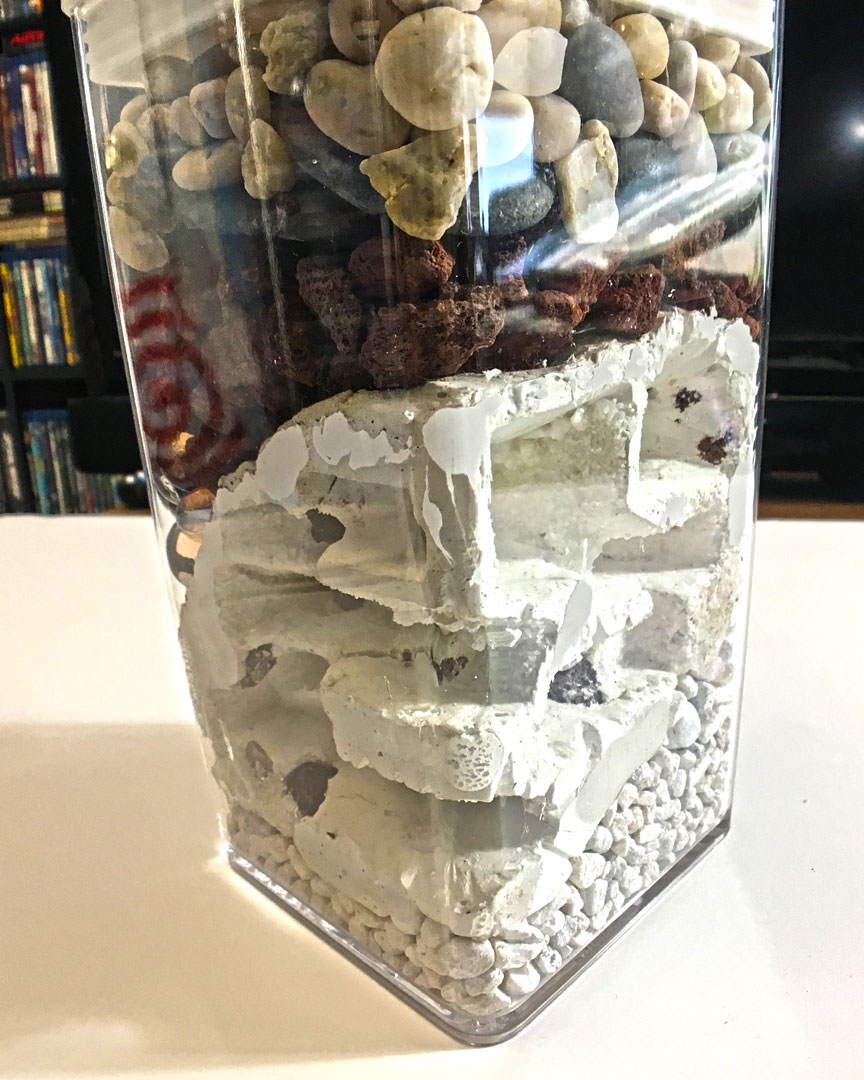
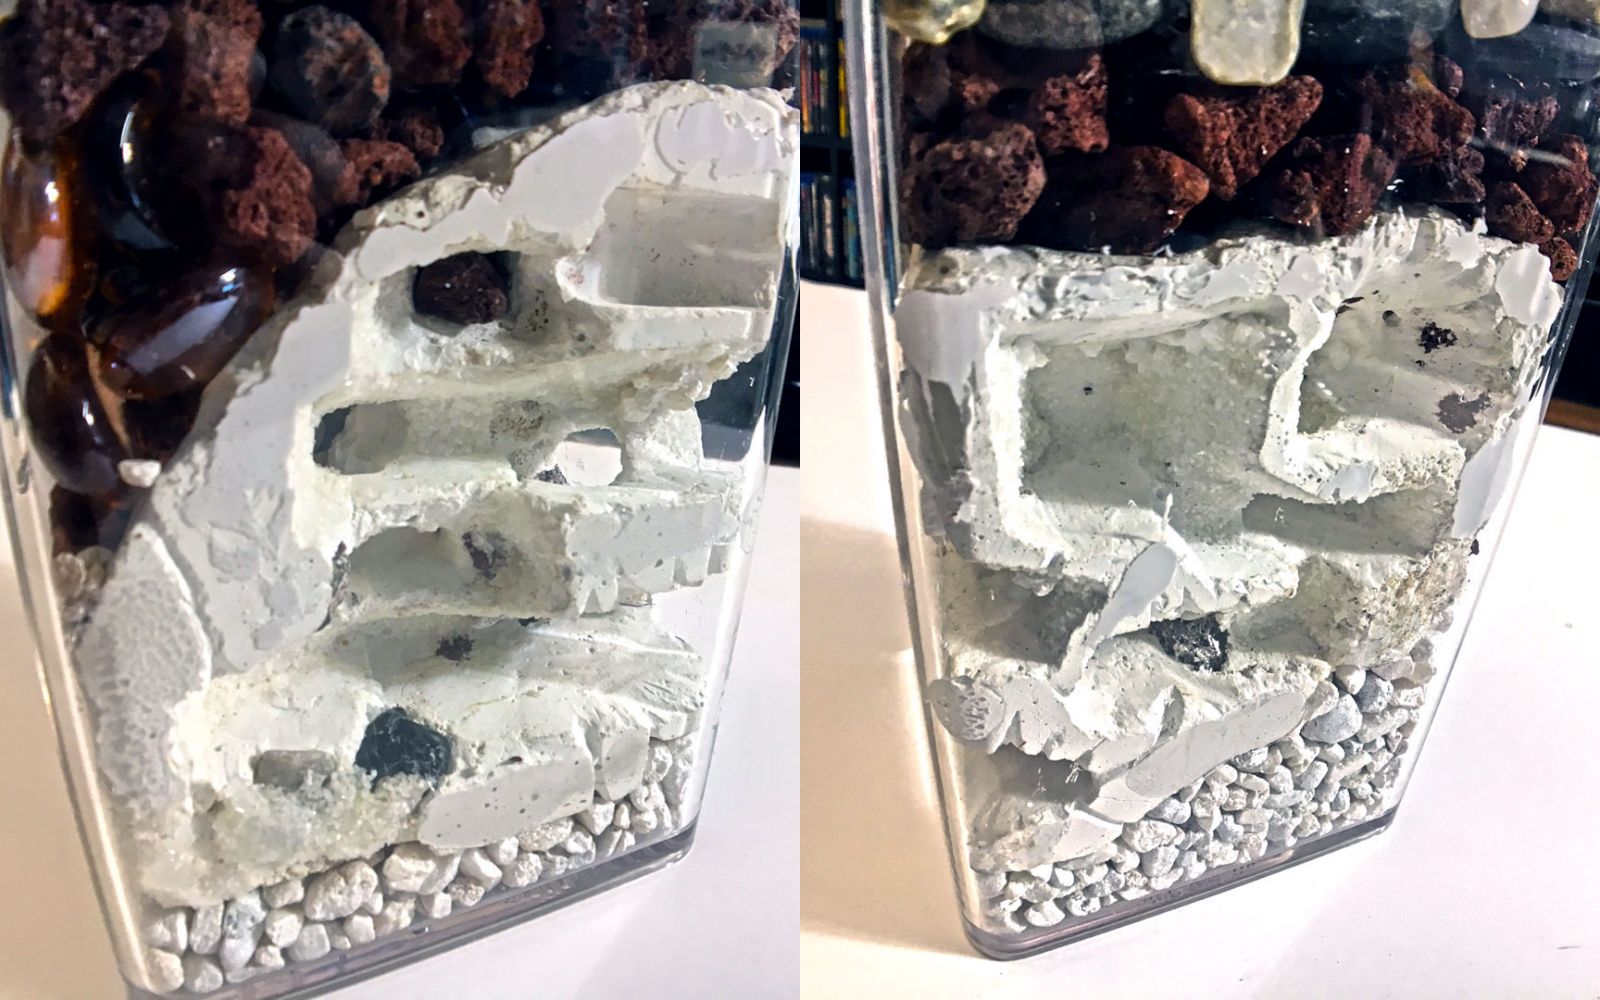
I really like the view into the nest and was excited to get some ants in! If you notice the bottom left area with the rock/sand segment above the gravel layer, that would become an issue. When I poured in the grout, I mixed in some lava rocks and stones for aggregate support and to hopefully help with water absorption. This left some weak areas that broke off like the back edge and also this bottom left corner when I removed the curing grout. I figured more ventilation would come from this side, I thought epoxying some sand there would block the gap enough to not allow the ants to escape but wide enough for humidity to seep upwards from here. I’d have to deal with that down the road…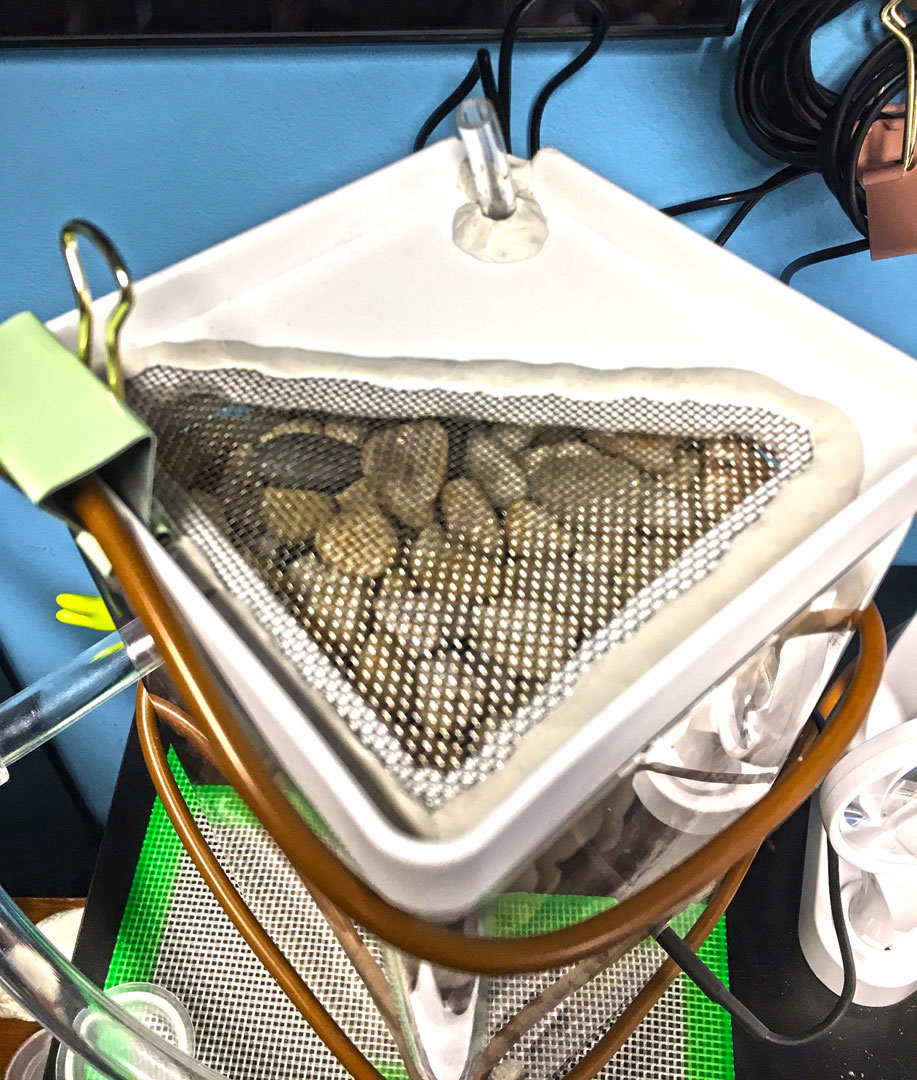
I cut out a section of the lid and used mounting putty to hold a stainless steel screen mesh for ventilation. Can you see I’m obsessed with ventilation? I really think it’s an important part of a formicarium that nobody really seems to talk about. You need airflow in the nest to combat condensation and mold buildup but not enough that the ants feel uncomfortable. That’s also why I like the vertical setup, heat/humidity rises upwards and if properly ventilated should be an ideal nest to hydrate from below. I intend to have drier satellite nests when they need expansions in the future so they can have the option.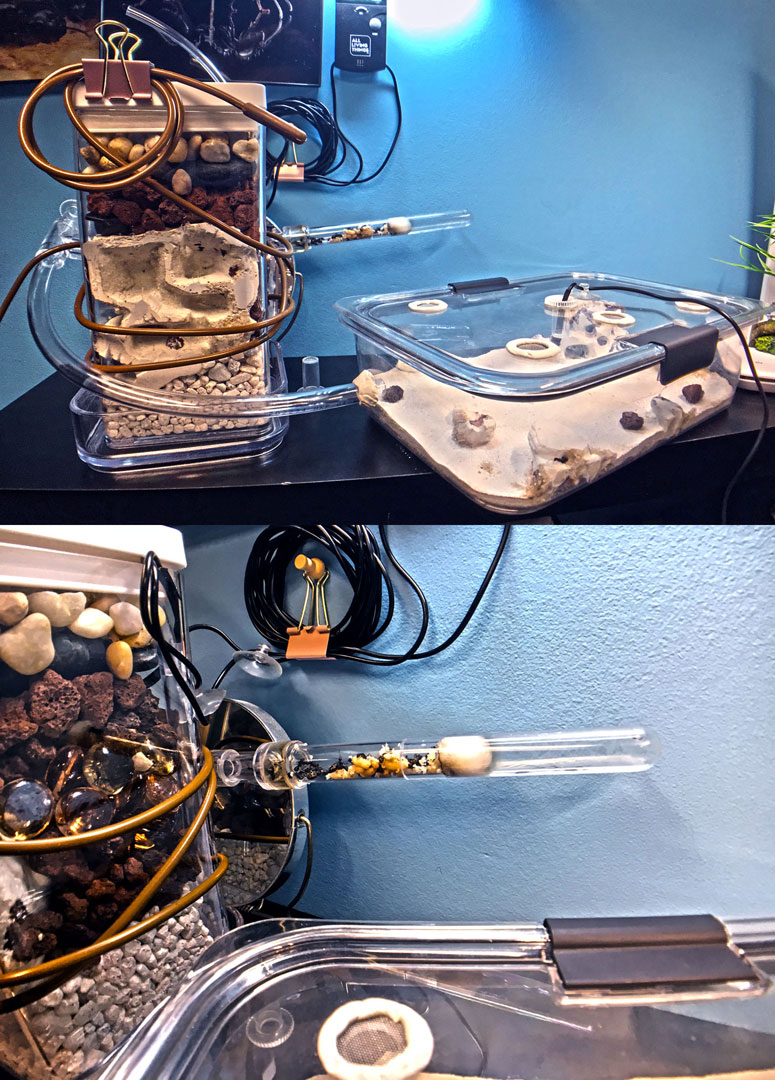
After my colony’s first successful diapause over winter, I let them warm up for a couple weeks before connecting my new grout formicarium. I attempted to let the ants discover the nest on their own while I left their test tube in the Rubbermaid container but that was not happening. I decided to remove their test tube and connect it closer to the nest. They were stubborn and didn’t move for several days so I used an ice pack wrapped in a towel and placed it next to the test tube to encourage their move. It worked within a few minutes, they were aware of the new nest so that’s where they went. A submajor kept coming to protect the test tube after the queen and brood left, she was knocked out by the cold and I had to remove the ice pack after I saw that. I pulled off the test tube and used an Ants Canada plug to block where the test tube was. Here’s some of the initial brood and workers in one of the chambers.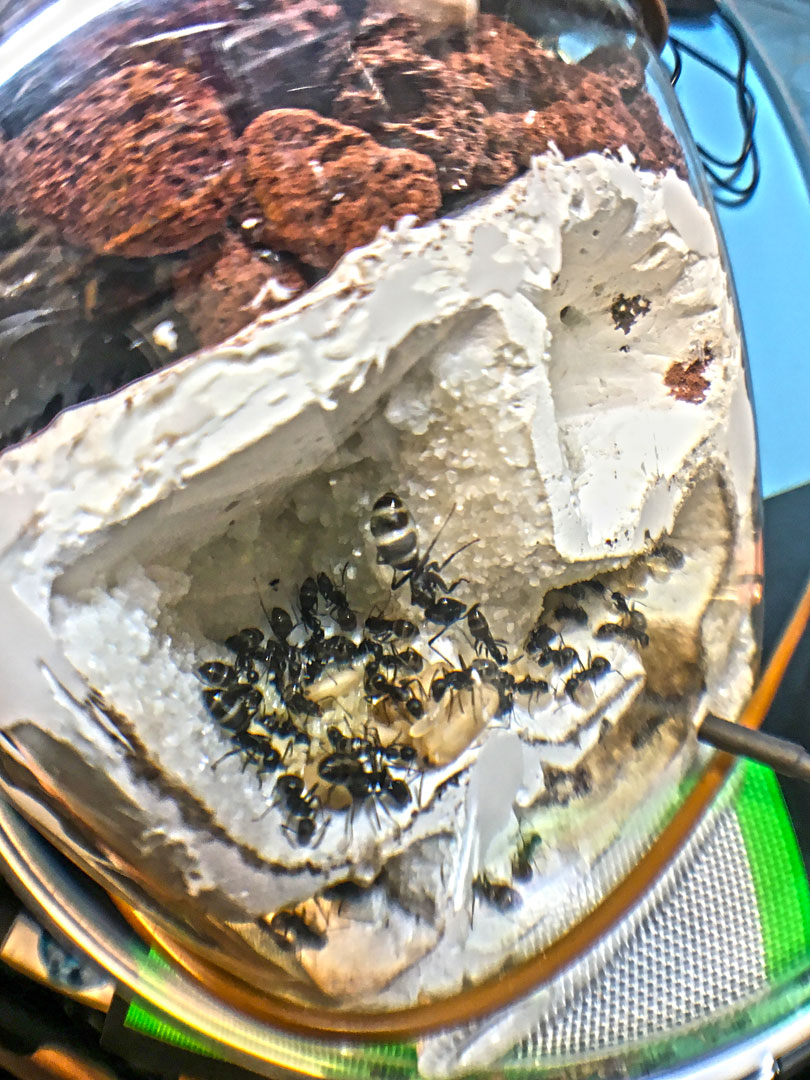
There’s only one spot of the nest that doesn’t lie in contact with the plastic, a sort of inner tunnel between the left and right sides of the nest that Queen Elizabeth has decided to roost. So it’s a little difficult to spot her sometimes but she’s alway’s hanging upside down here, I wonder if that’s a common thing for them? That’s another reason why I like this design, so that the ants have the option to hang from the ceiling of their chambers which many often do. I realized that the lower chambers were not getting much airflow because of the condensation at the bottom left which I dealt with later on by drilling a ventilation hole for pipe screen mesh.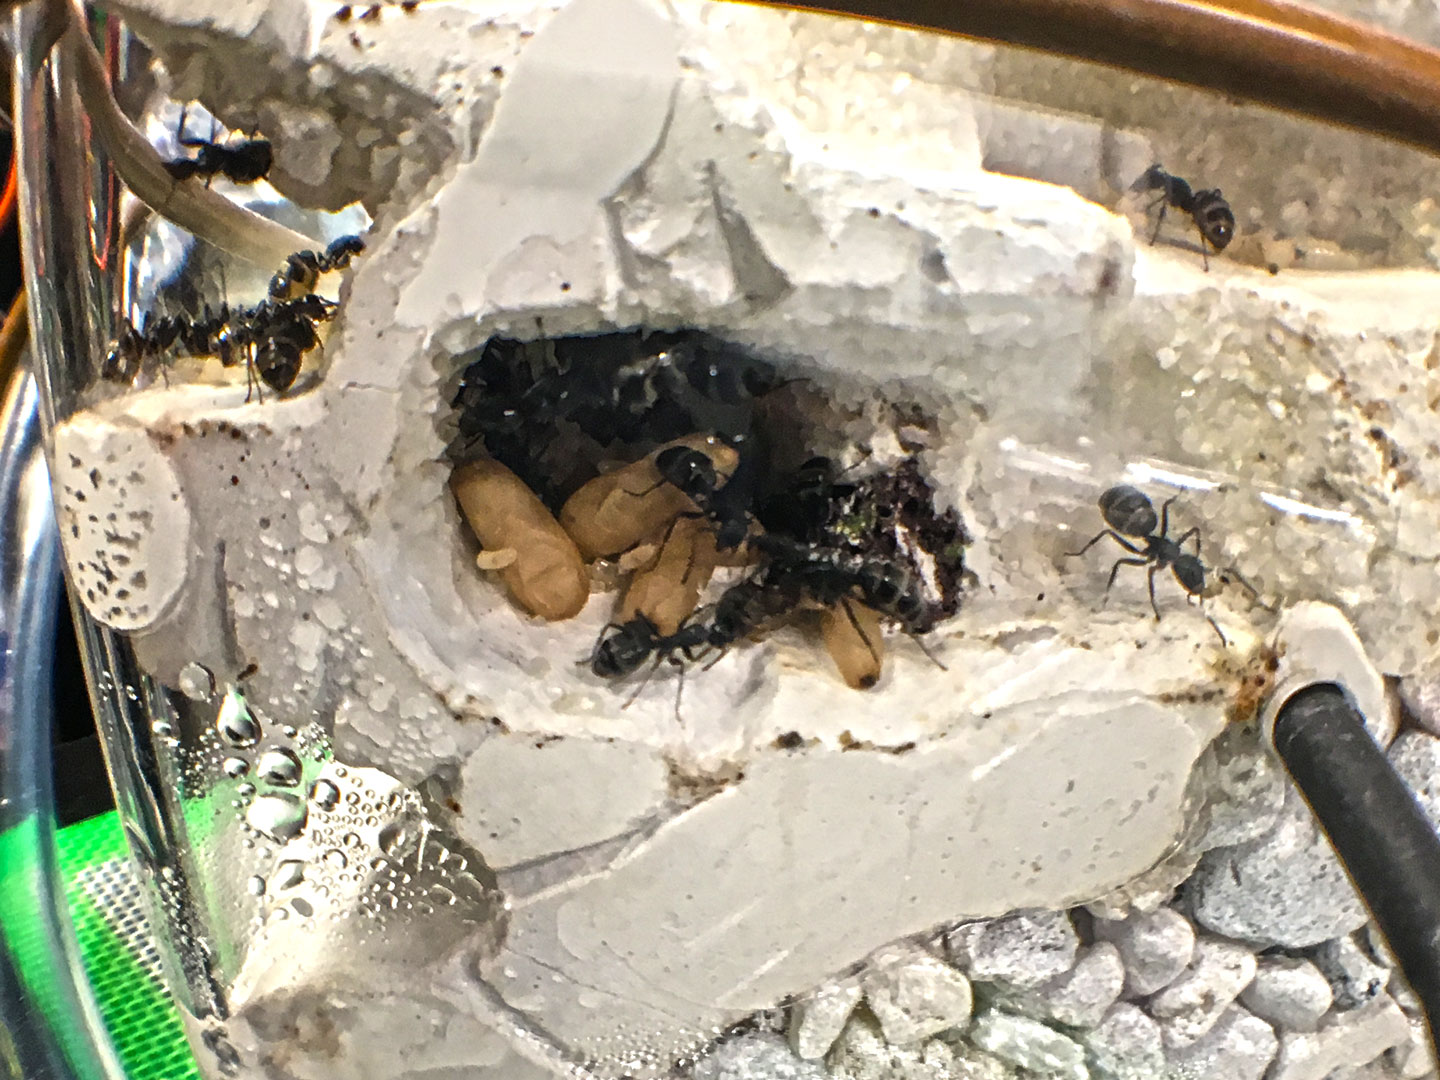
To the right I had to drill a small hole, you can see a thermometer sensor and some mounting putting covering a possible exit that I notice the ants were bothering.
The new nest needed a larger outworld! I found a wedding card holder from my local craft store, Michael’s, that fit my needs. It was clear, had a lid with a slot and was the perfect size. I again used grout but with a beach sand texture for this one and added a hill on the far wall by doing this in two different pours, the second at an angle for the incline. I used bungee cords to hold the box together while pouring in the grout, I didn’t know how strong this box was and was worried it’d fall apart. I added some fake plants and grass to the outworld ground. I also wanted the ants to come in from below ground so made sure I poured in enough grout to have a tunnel entrance. Be careful if pouring grout over carpet, I used a drop cloth.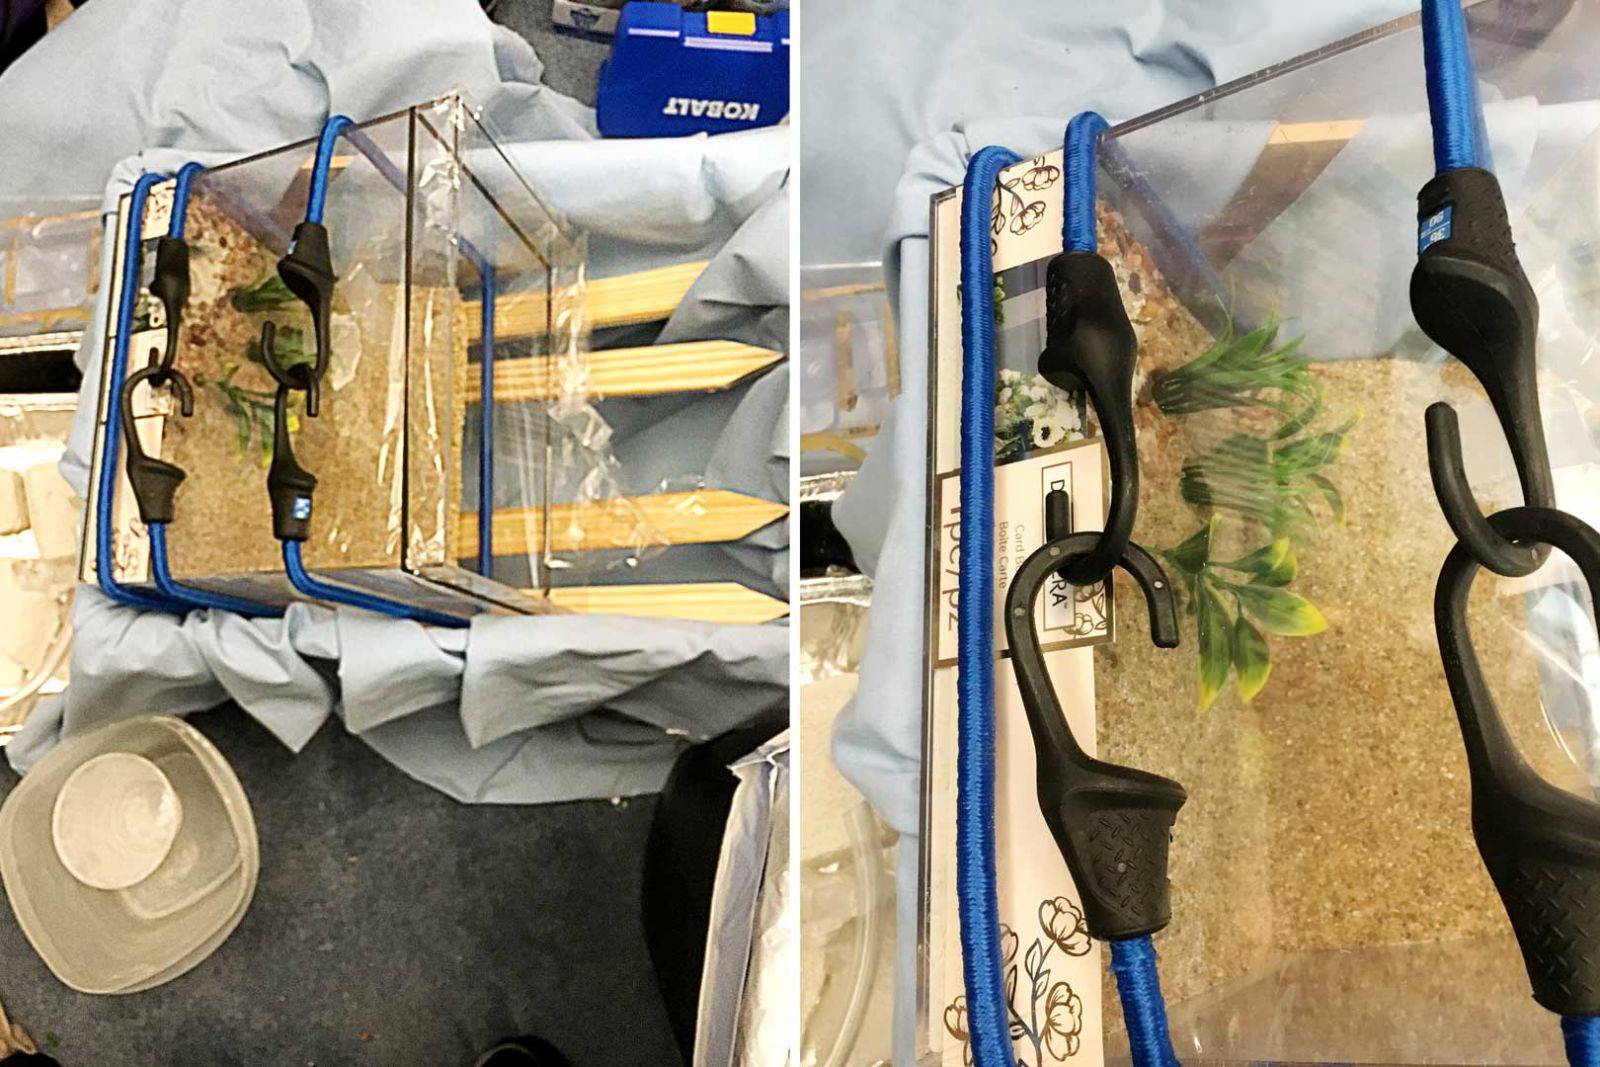
Here’s a more recent pic of the out world after cleaning out for this year’s diapause preparation. I removed the fake drooping plants after the initial pour but left in the grass. I wanted open space for removable decorations and feeders and glued in a couple grout “shelves” to the sides. I really like this acrylic box, the lid had a slot that I covered with steel mesh but I also added a lidded plastic rim I cut out. I then added fluon underneath and held it place with thin strings of mounting putty. So the lid with the mesh lifts off but there’s the rim of plastic that holds them in if I want to keep the lid off which I do sometimes but the ants can’t reach it. I also have an additional port for expansion towards the back which I haven’t utilized. I’ll be adding some additional hardscaping this winter, so I’ll update on my revised out world in the future.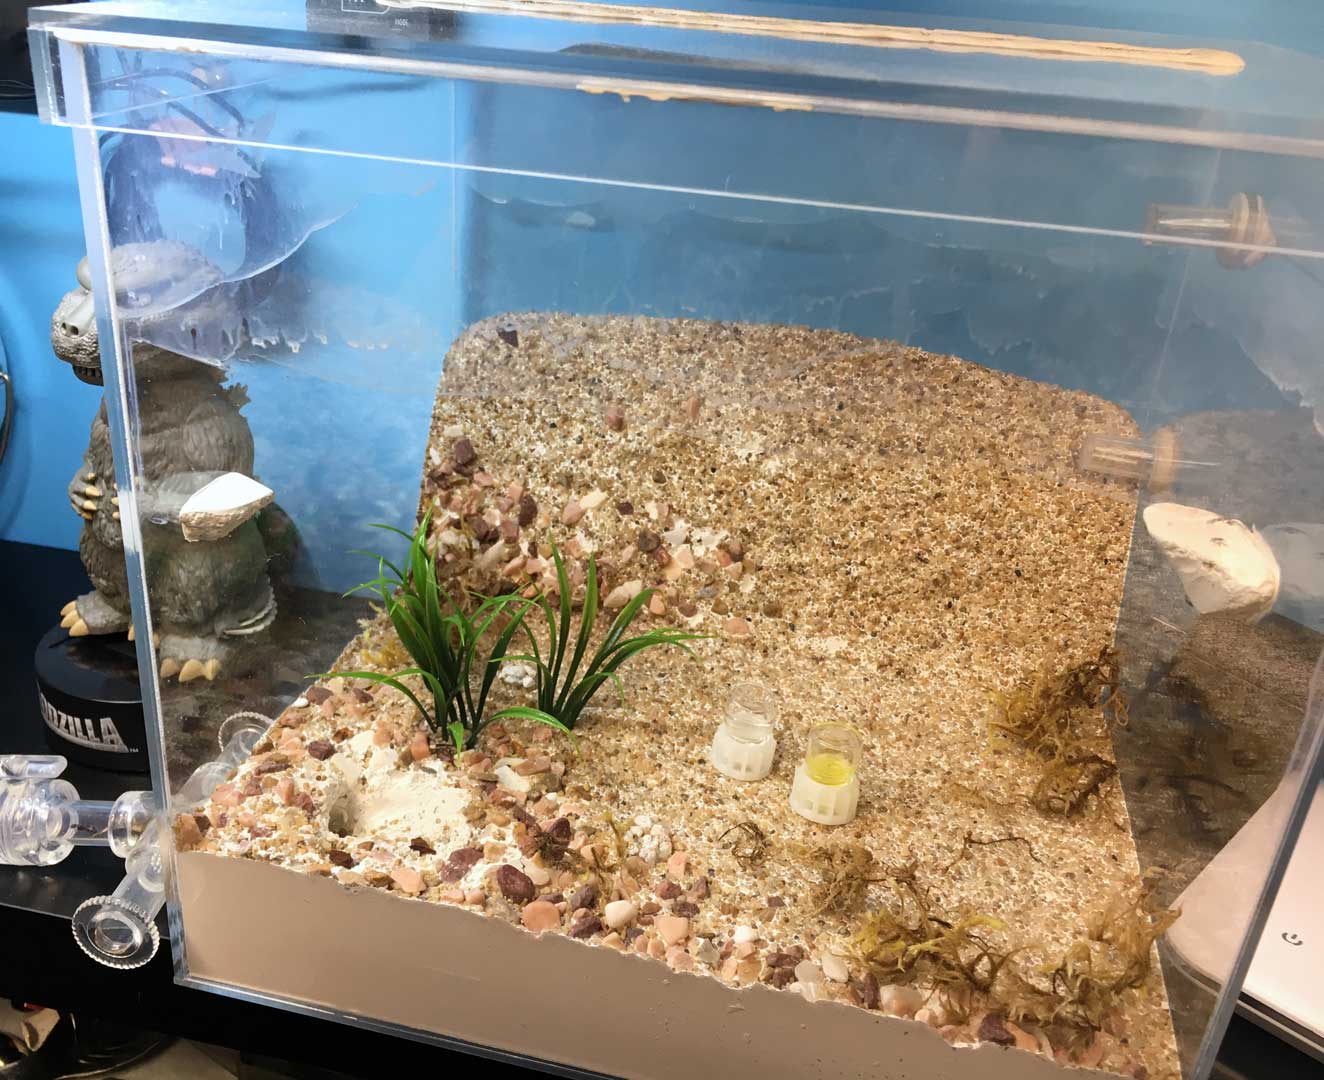
Here’s how I had it mainly decorated this year. I added a layer of beach sand, Cholla Cactus ramps, some quartz crystals and a chunk of petrified wood, again from the craft store. I ended up moving the sphagnum moss around the perimeter of the out world, I found that ants falling from crawling the fluon sides might get injured so wanted landing padding for them.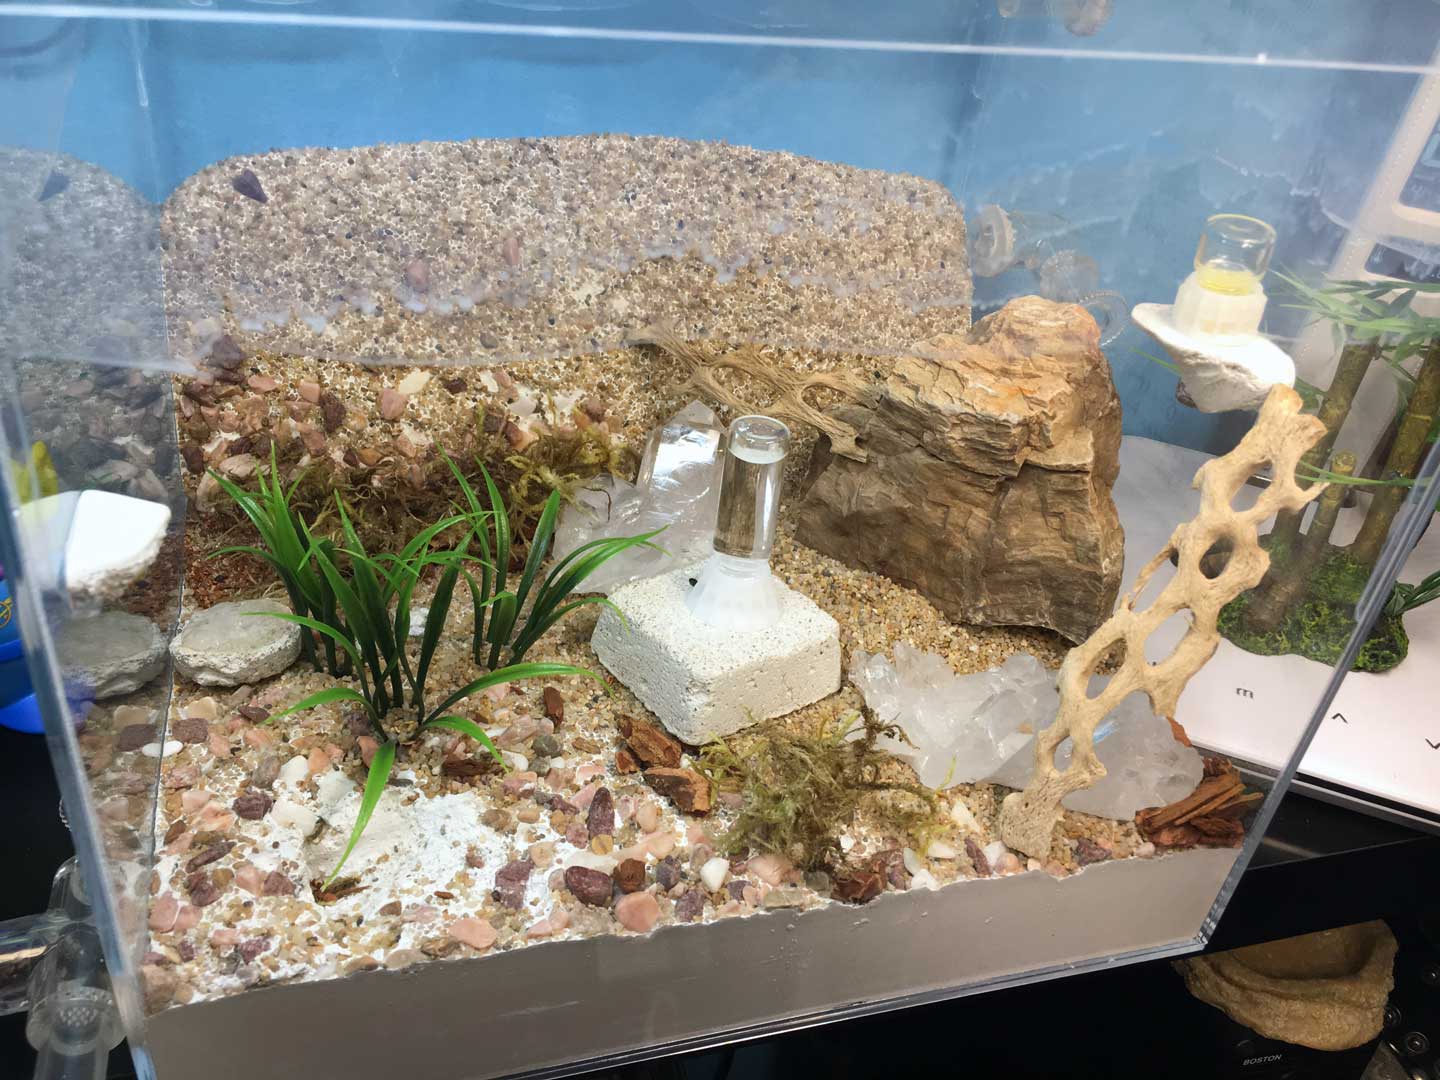
I poured some tiny grout molds from plastic packaging that I thought would make good bases for feeders. Also, just showcasing those awesome byFormica liquid feeders.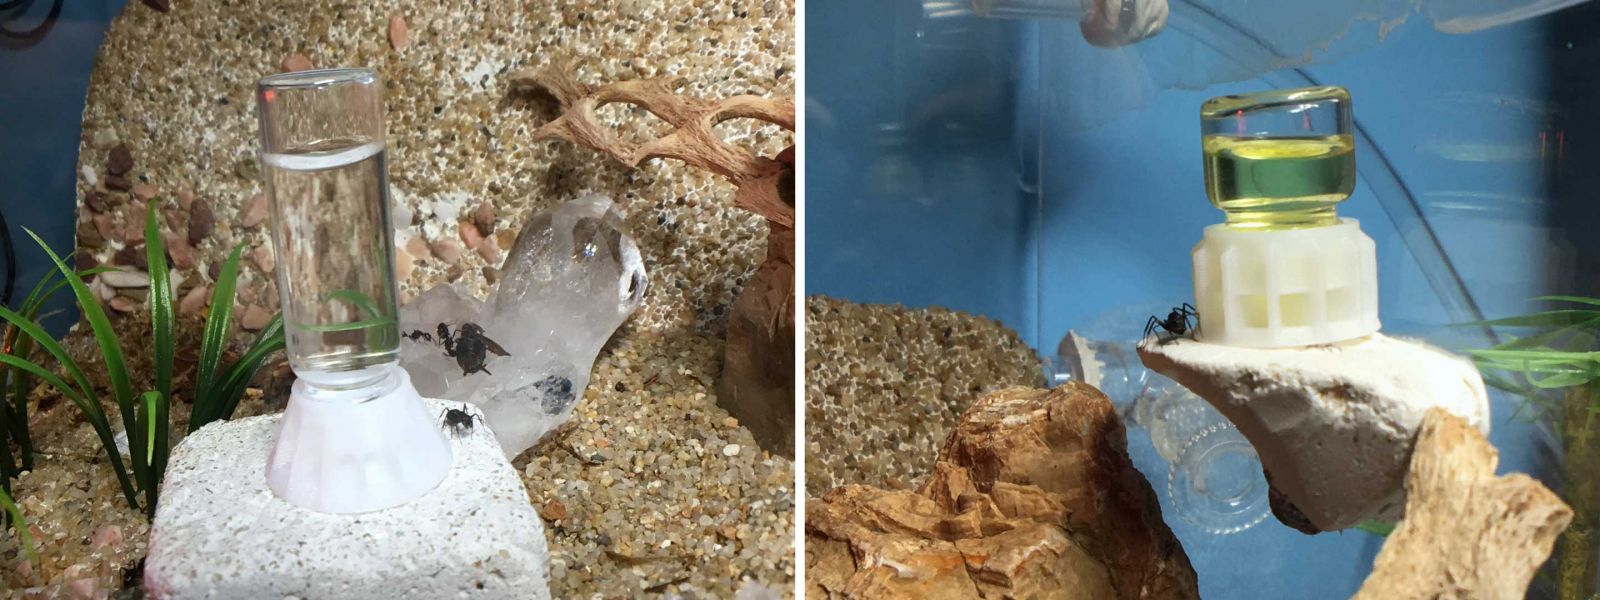
So for my second year, this one nest and outworld setup worked for me. The initial population was over 30 around March of this year coming to about 200 now before setting them up for diapause. The nest was a little too large for them at first, they were setting up their waste pile in the lower chamber right by the water layer, so that became an issue. There was no ventilation here that I had to fix, you can see condensation buildup.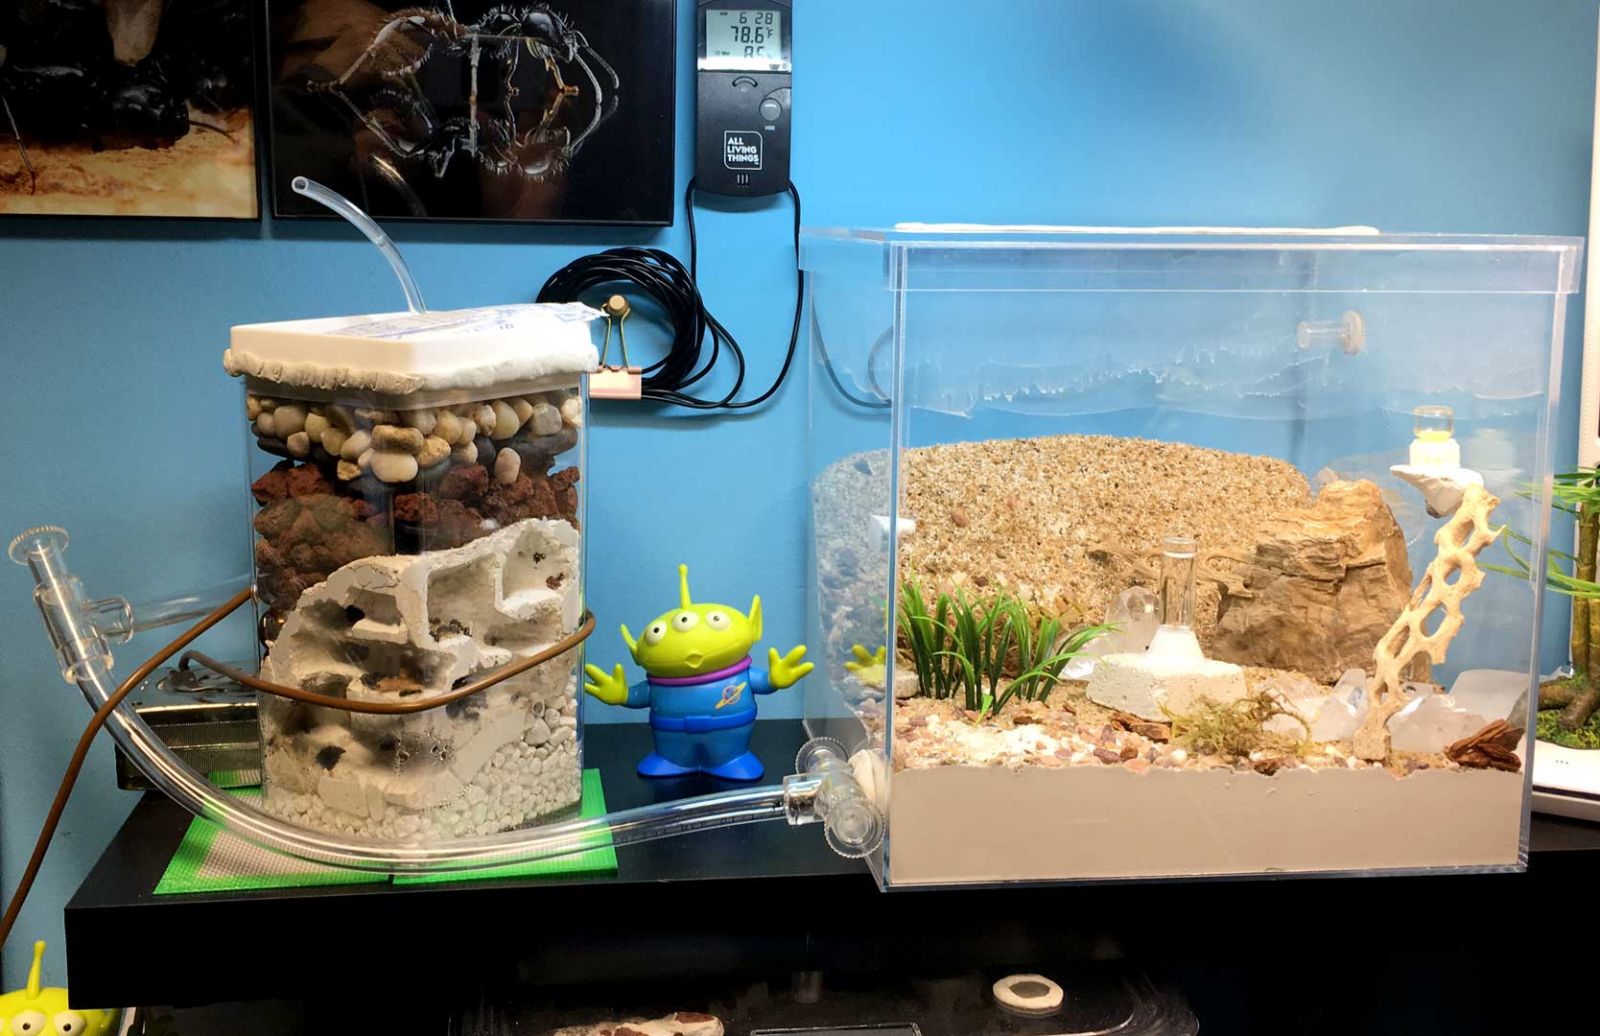
I drilled a 1/2 inch hole in the lower chamber after I saw the thrash build up in the lower chamber was starting to mold. It was nerve wracking having to do this with the colony inside, but I kept my cool and made sure not to injure one of the ants. I then waited for them to settle down after temporary blocking with an Ants Canada plug before slowly cleaning out their thrash pile with tweezers and a keyboard vacuum with a vinyl tube attachment I rigged up. This was a slow process, I had to work around the panicking ants of the lower chamber but it was necessary. I then filled out most of the chamber with beach sand so that they’d have to dig it out while they grew. Here’s a quick blurry photo I managed after that fiasco.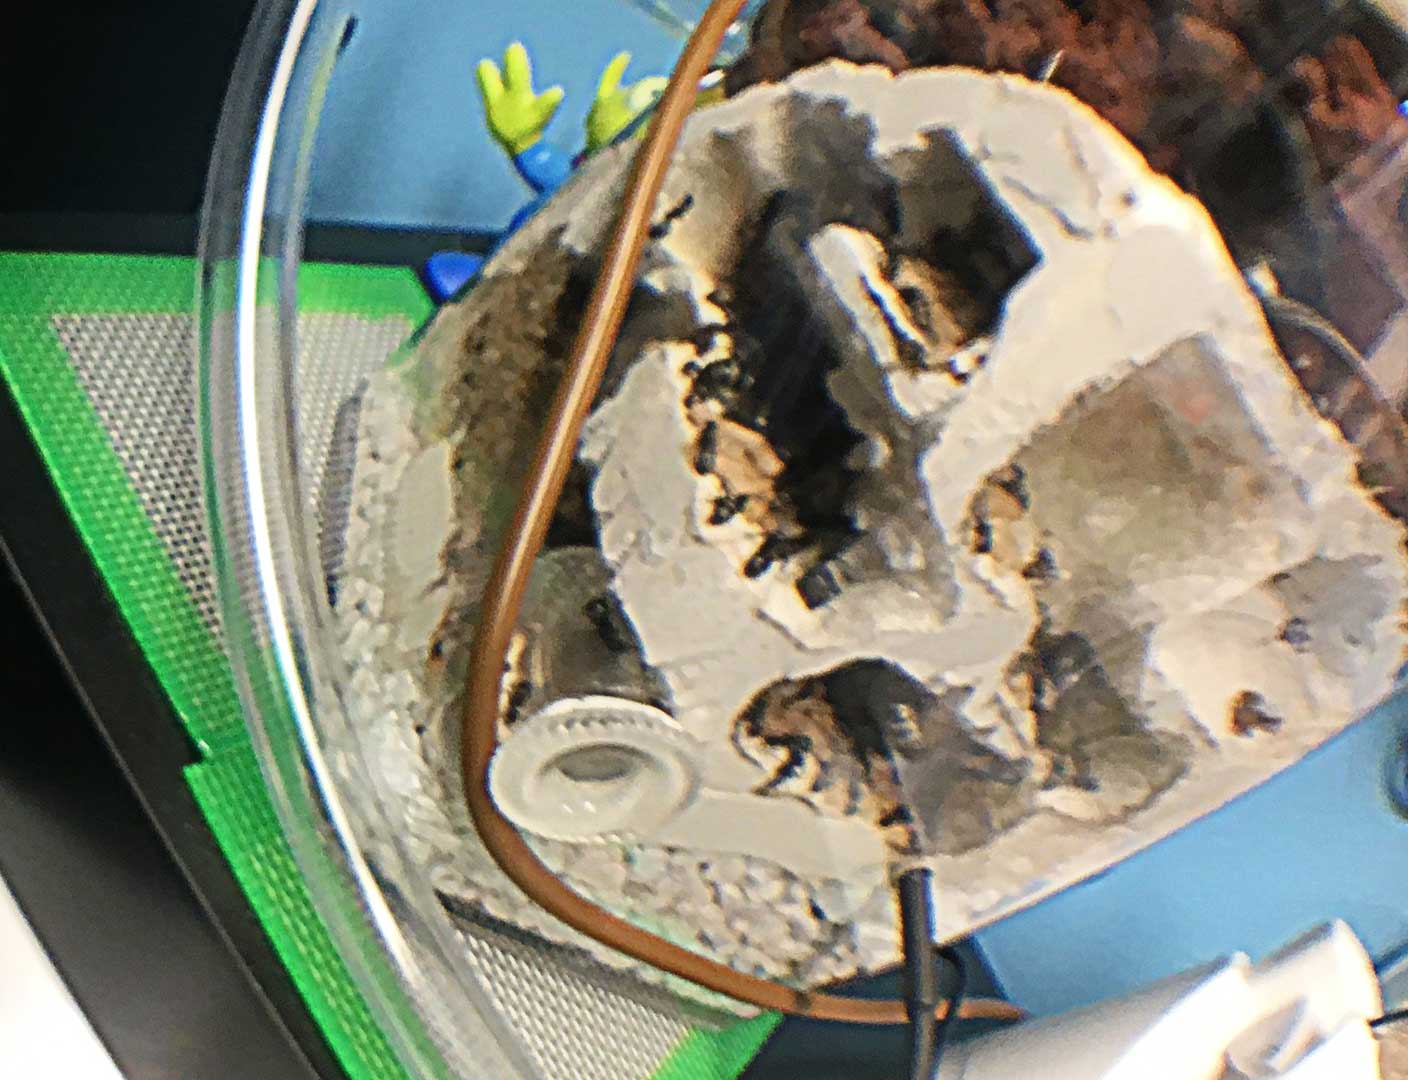
I later covered up that hole with a double layer of pipe screen mesh with a little cotton between to slow air flow held in place with mounting putty. This ventilation hole solved my condensation issues. The ants at first tried to chew through it but they now seem to not bother it.
They seem to keep the brood in the upper chambers, they stayed away from the lower wet chamber until their numbers increased enough to fill out all the chambers.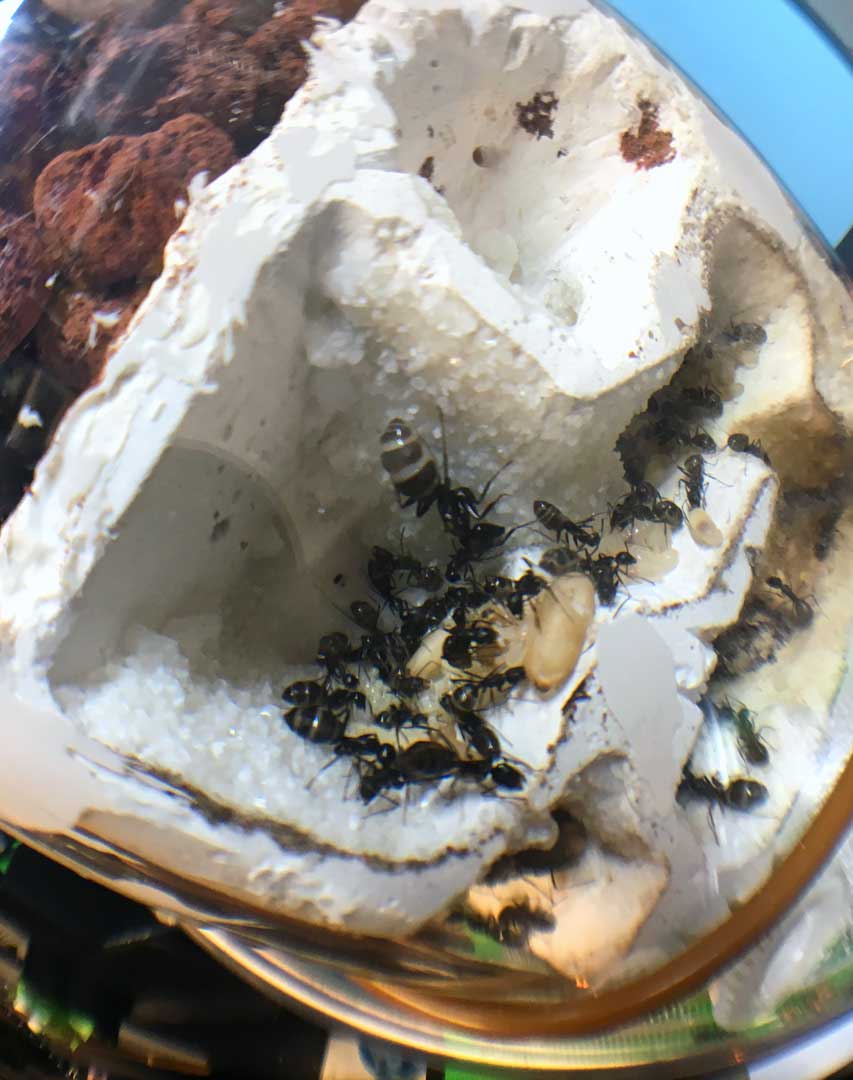
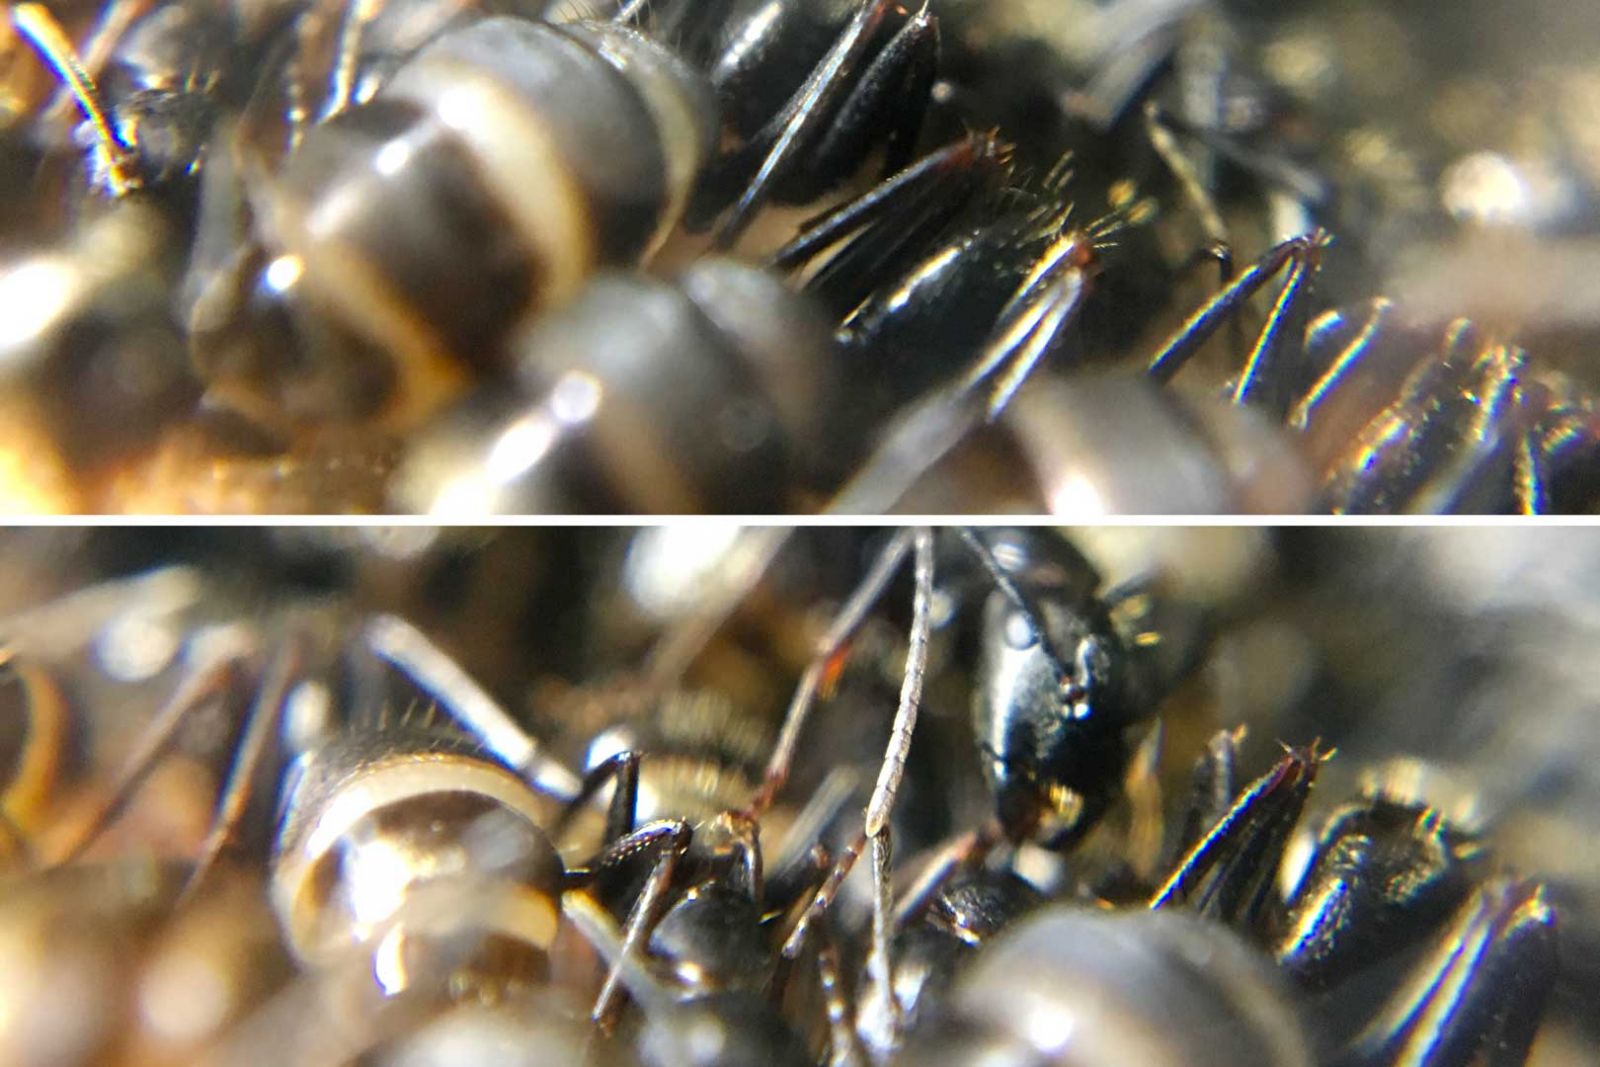
The vertical nest allows for some awesome macro ant pictures!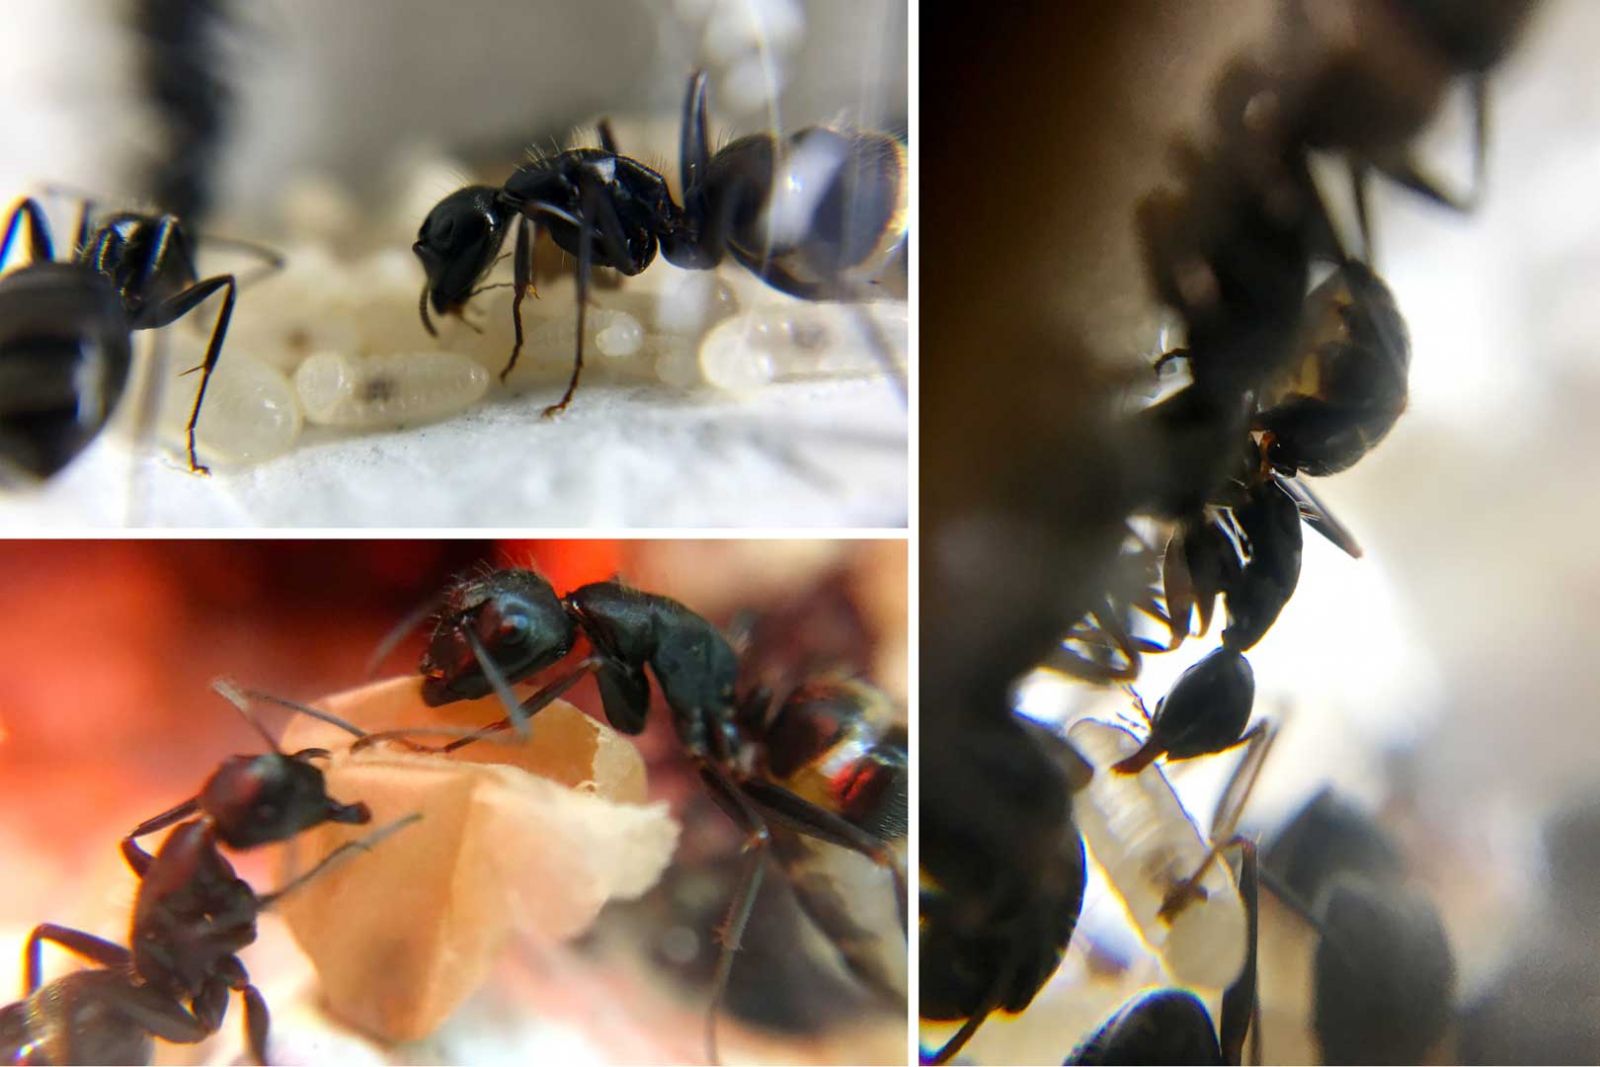
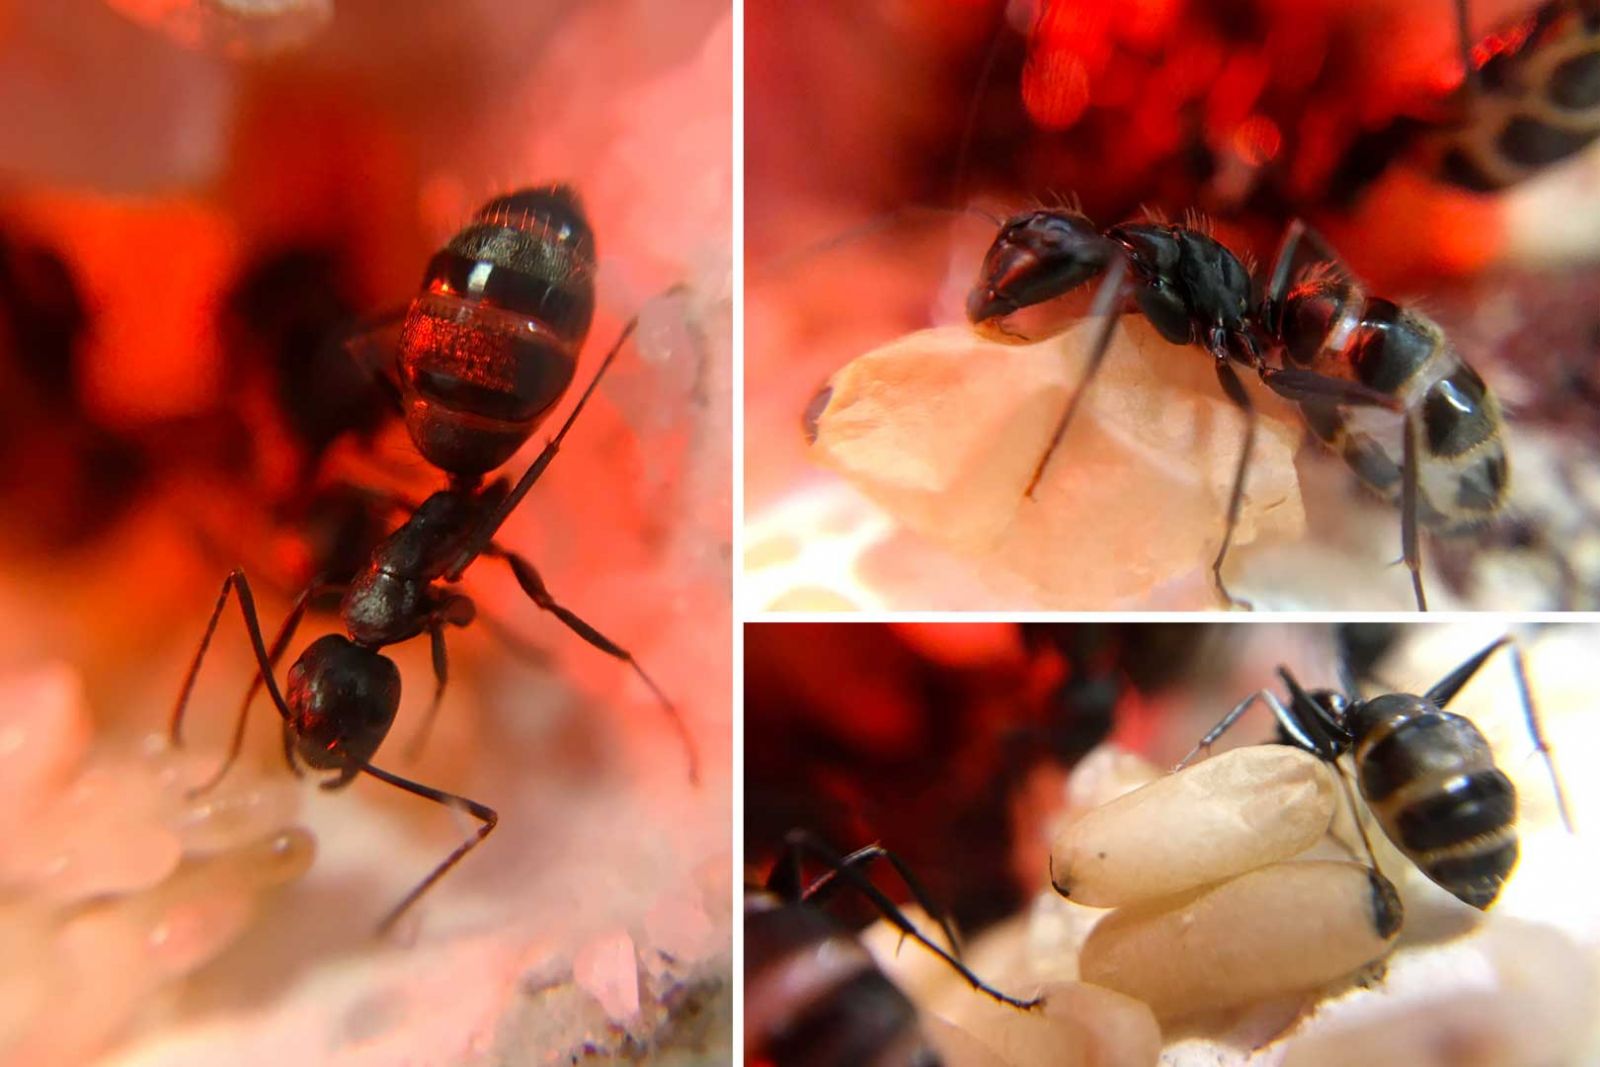
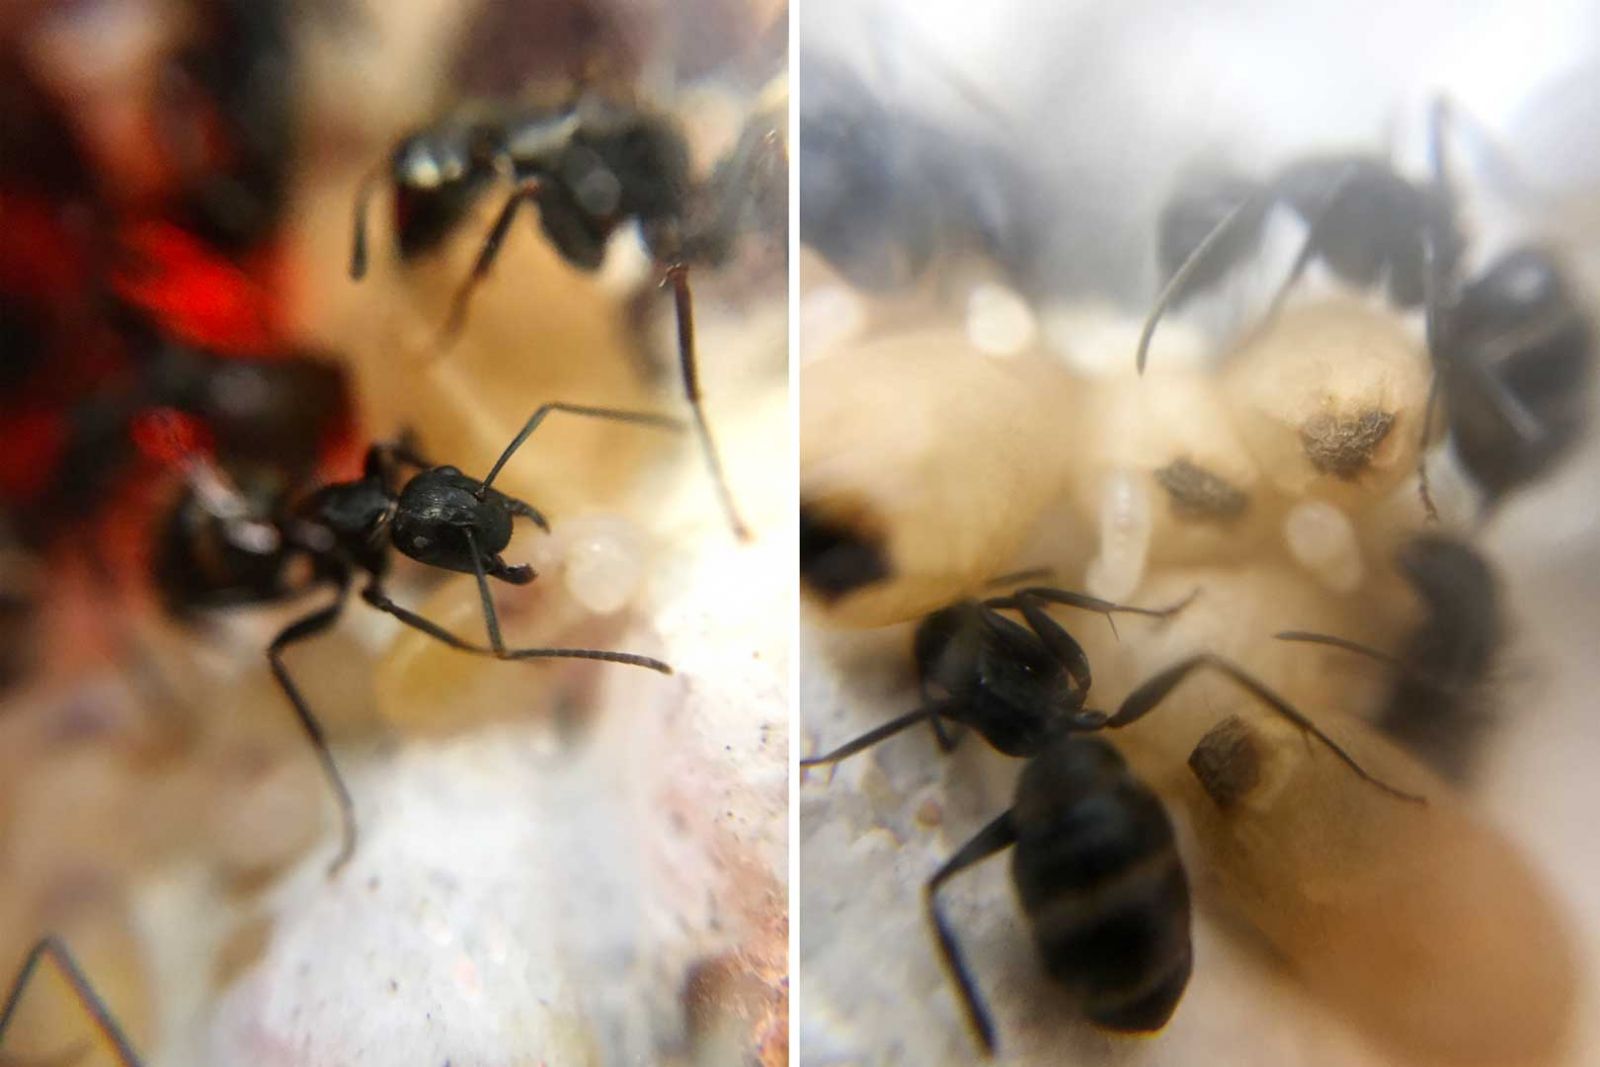
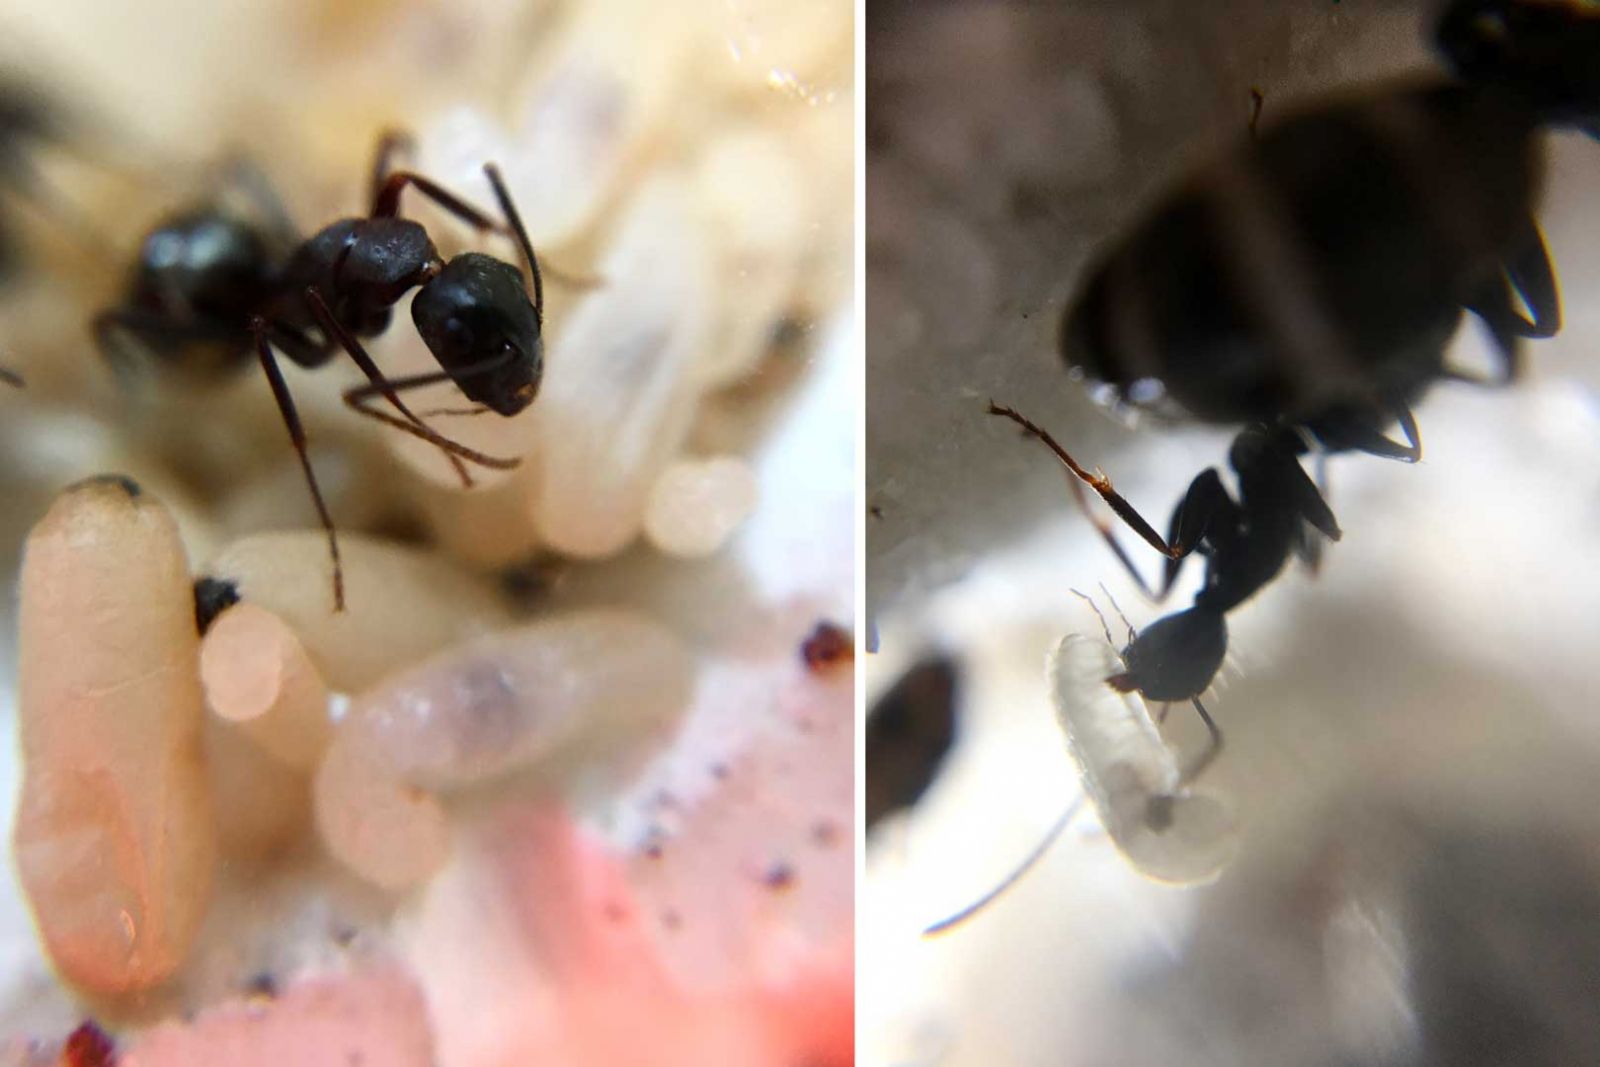
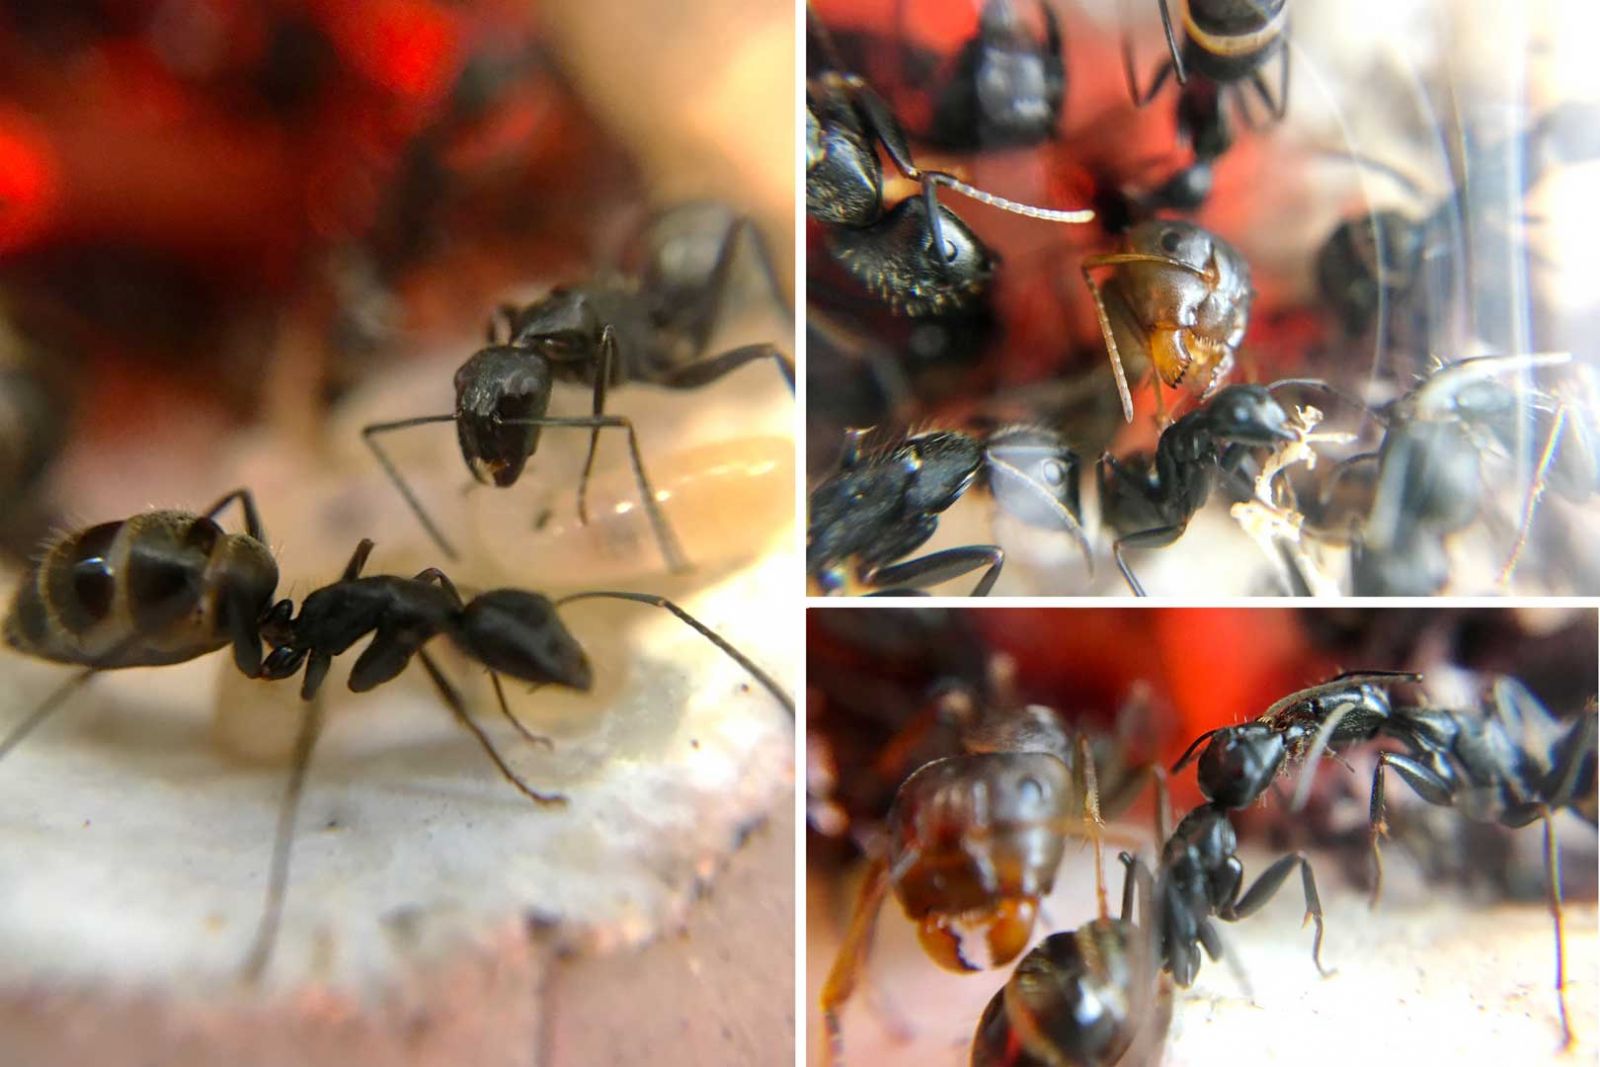
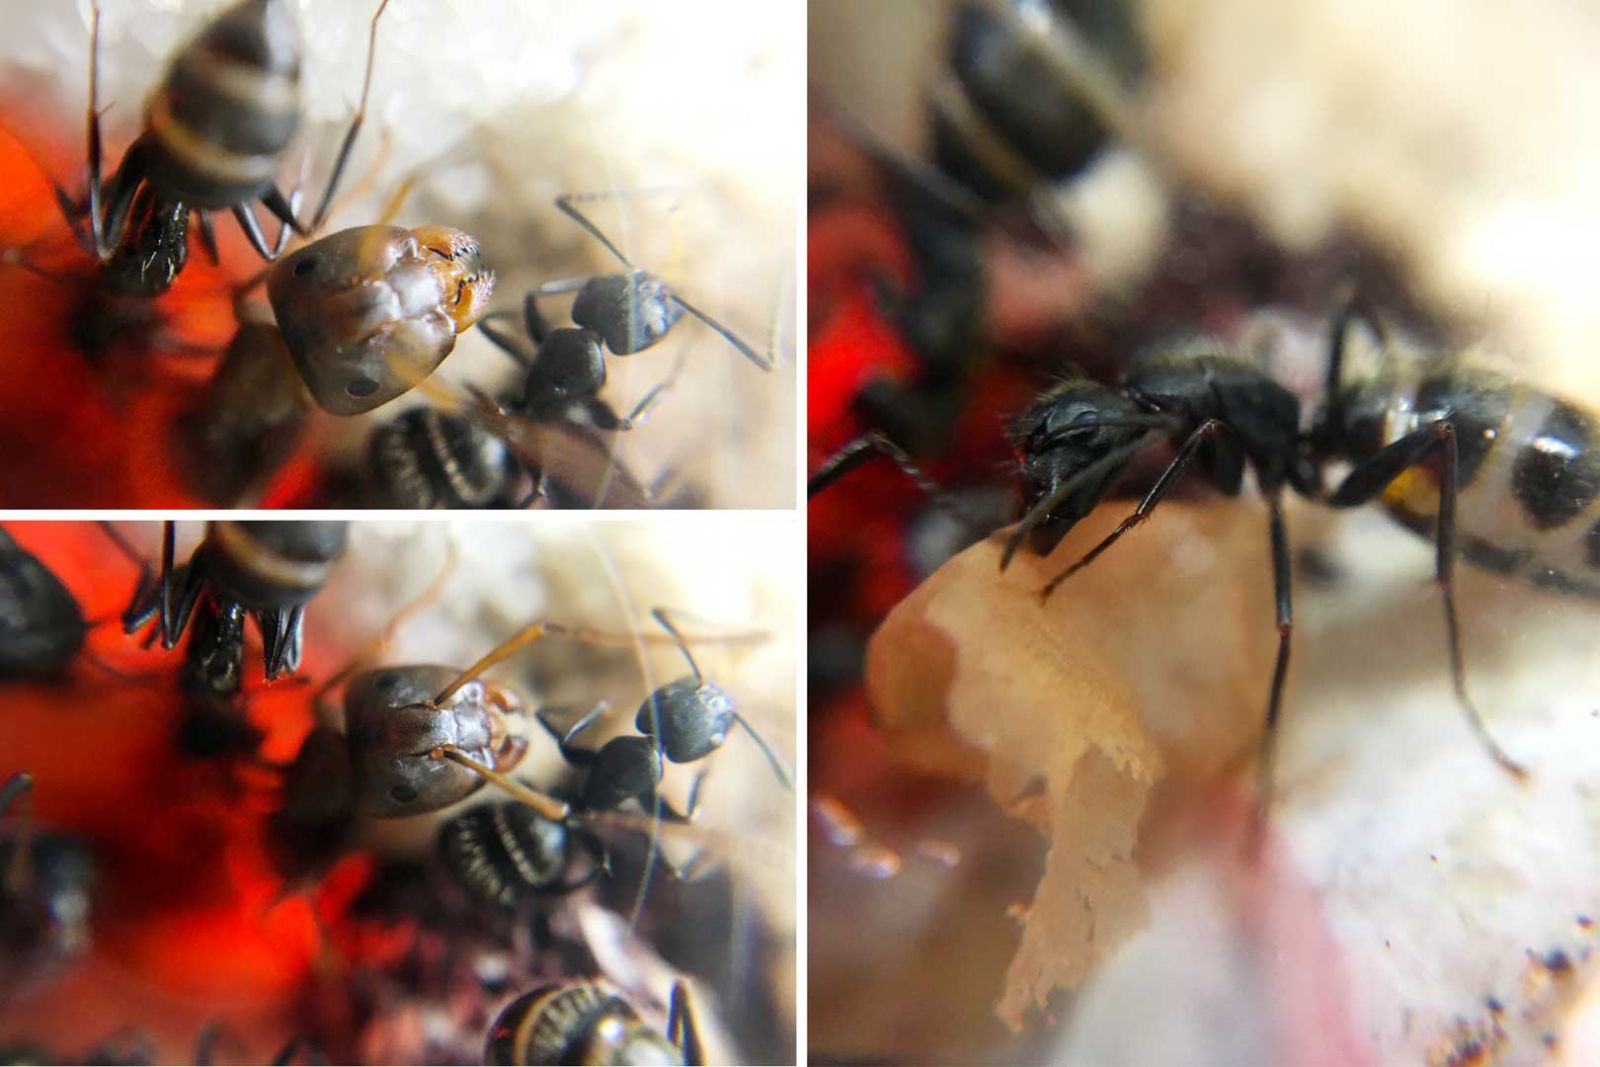
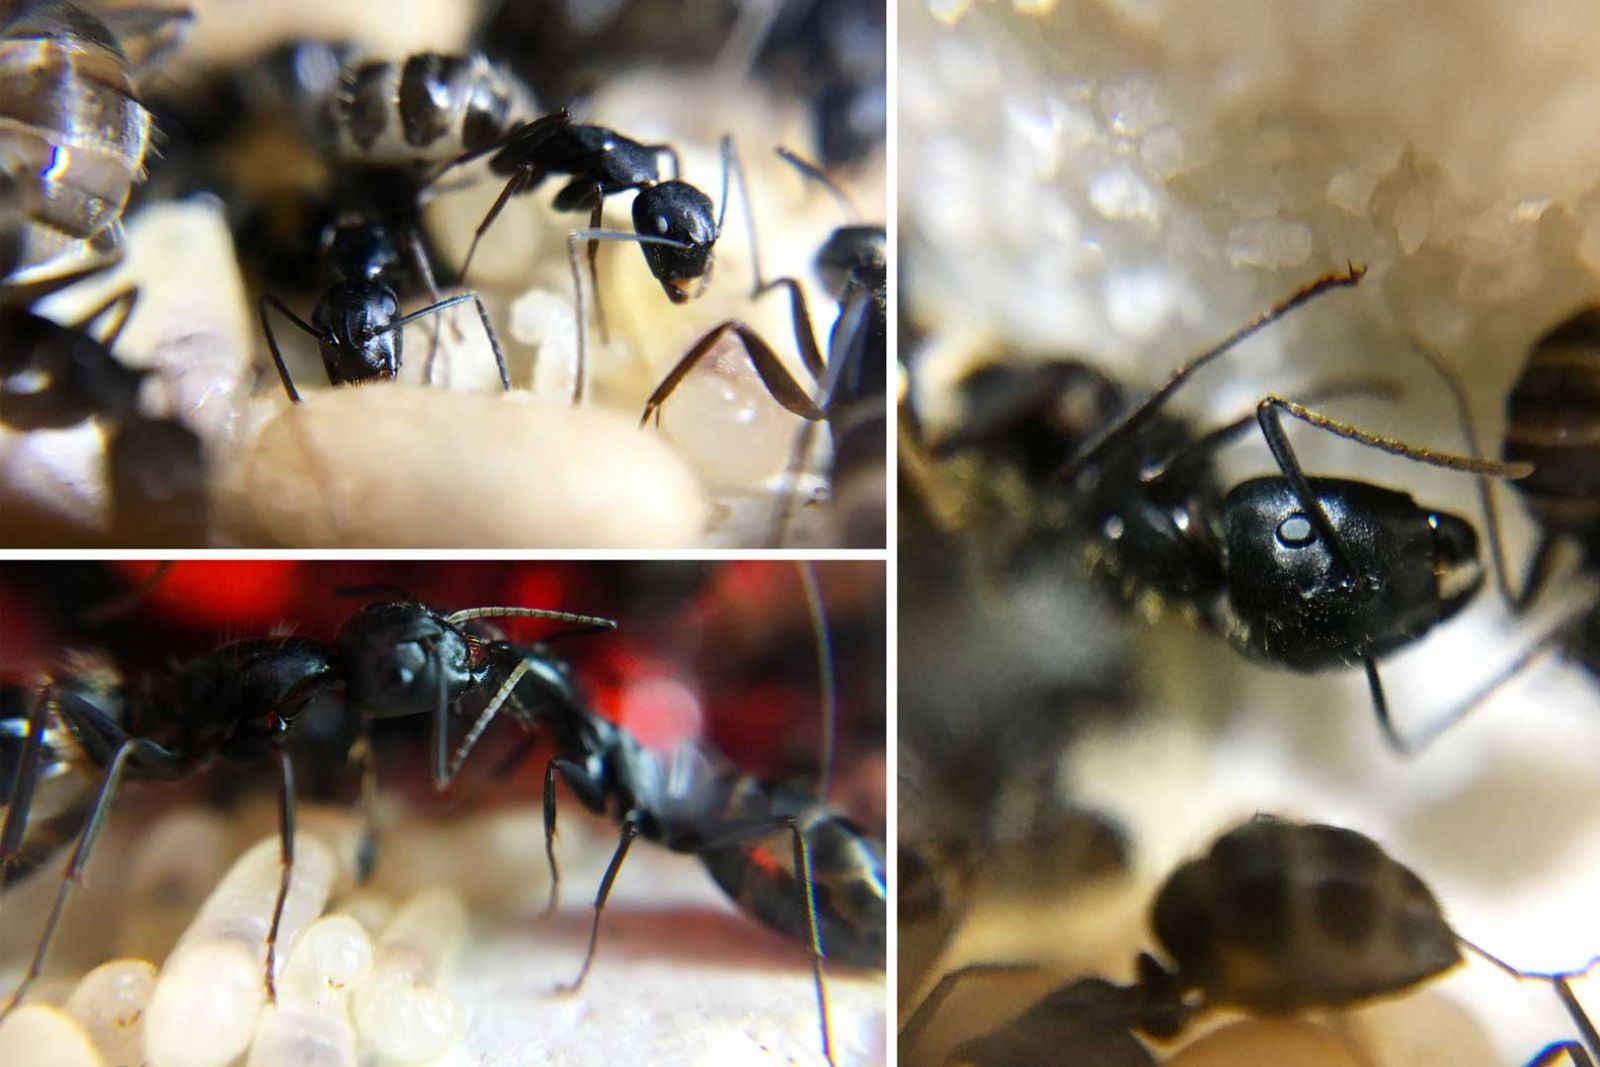
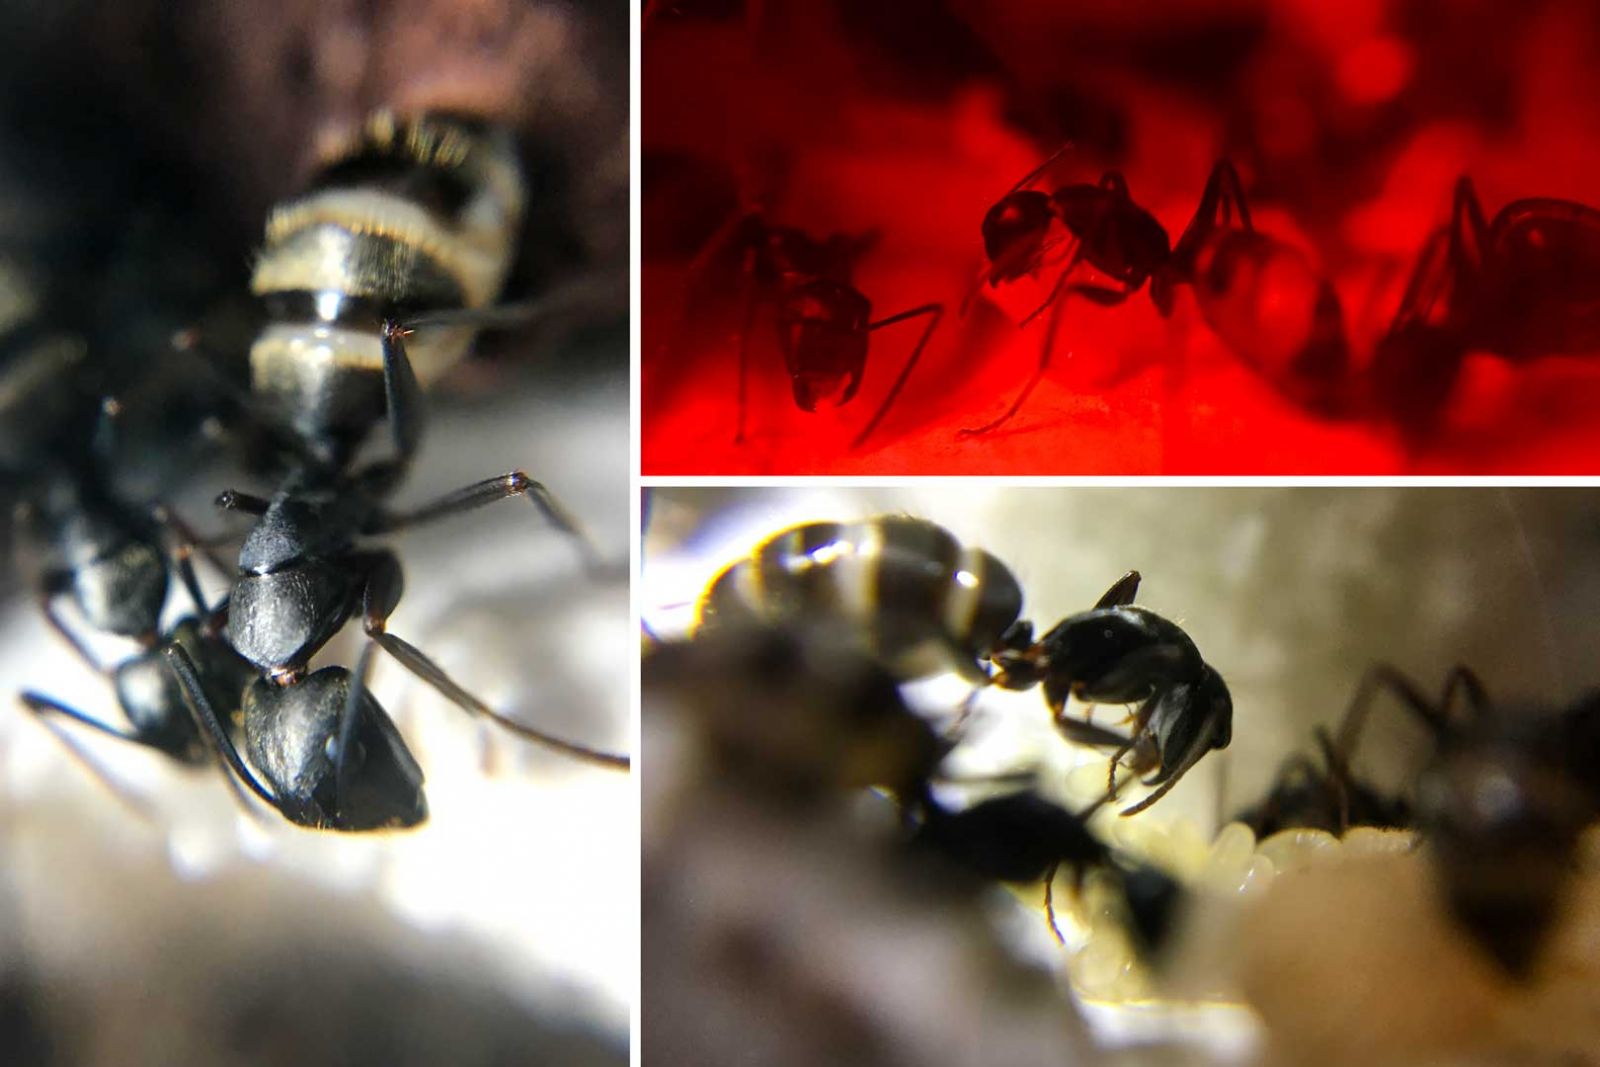
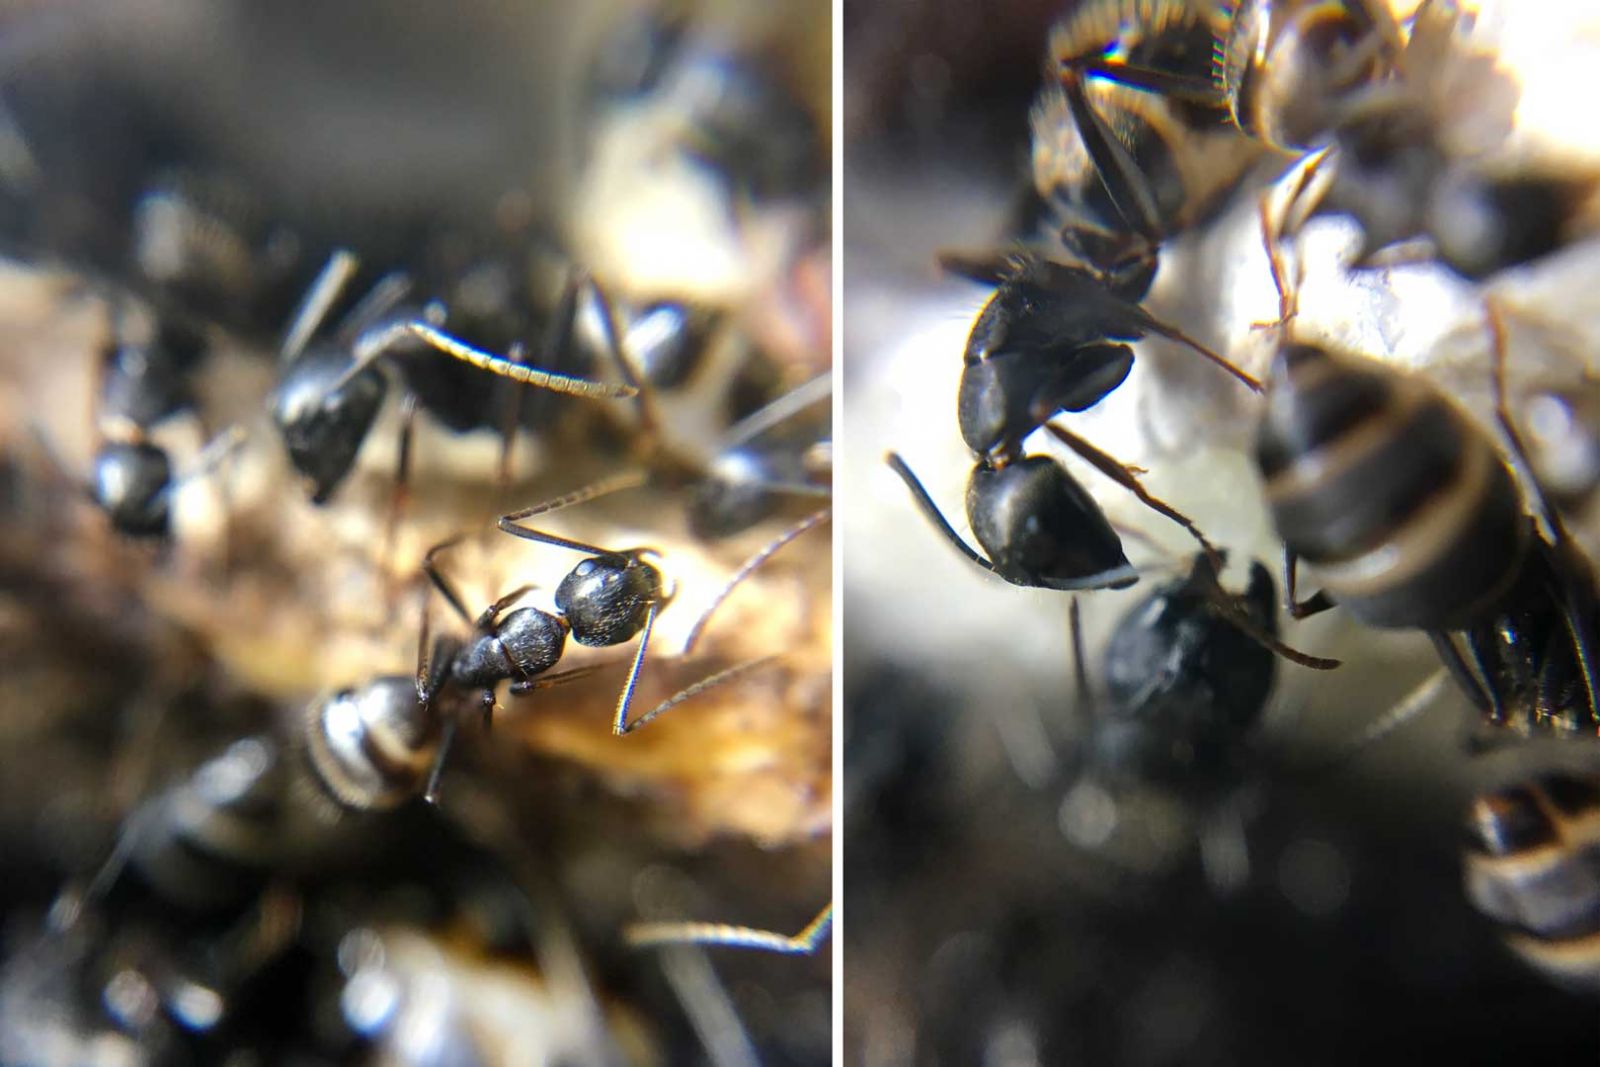
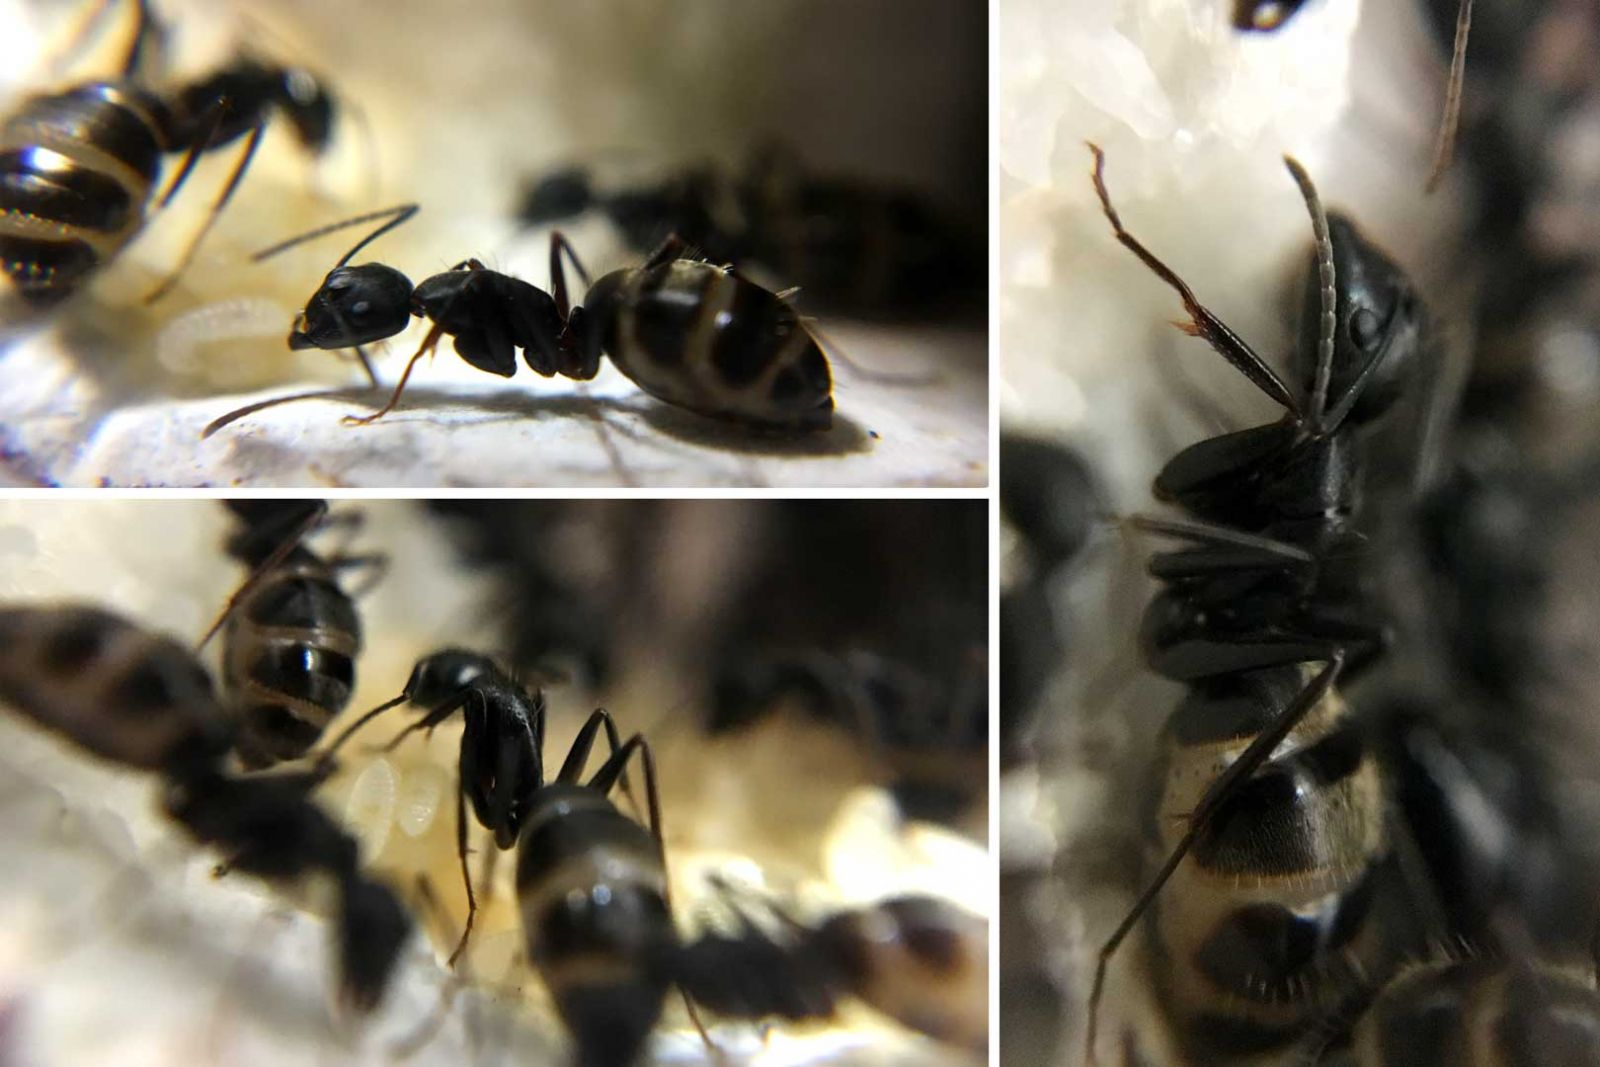
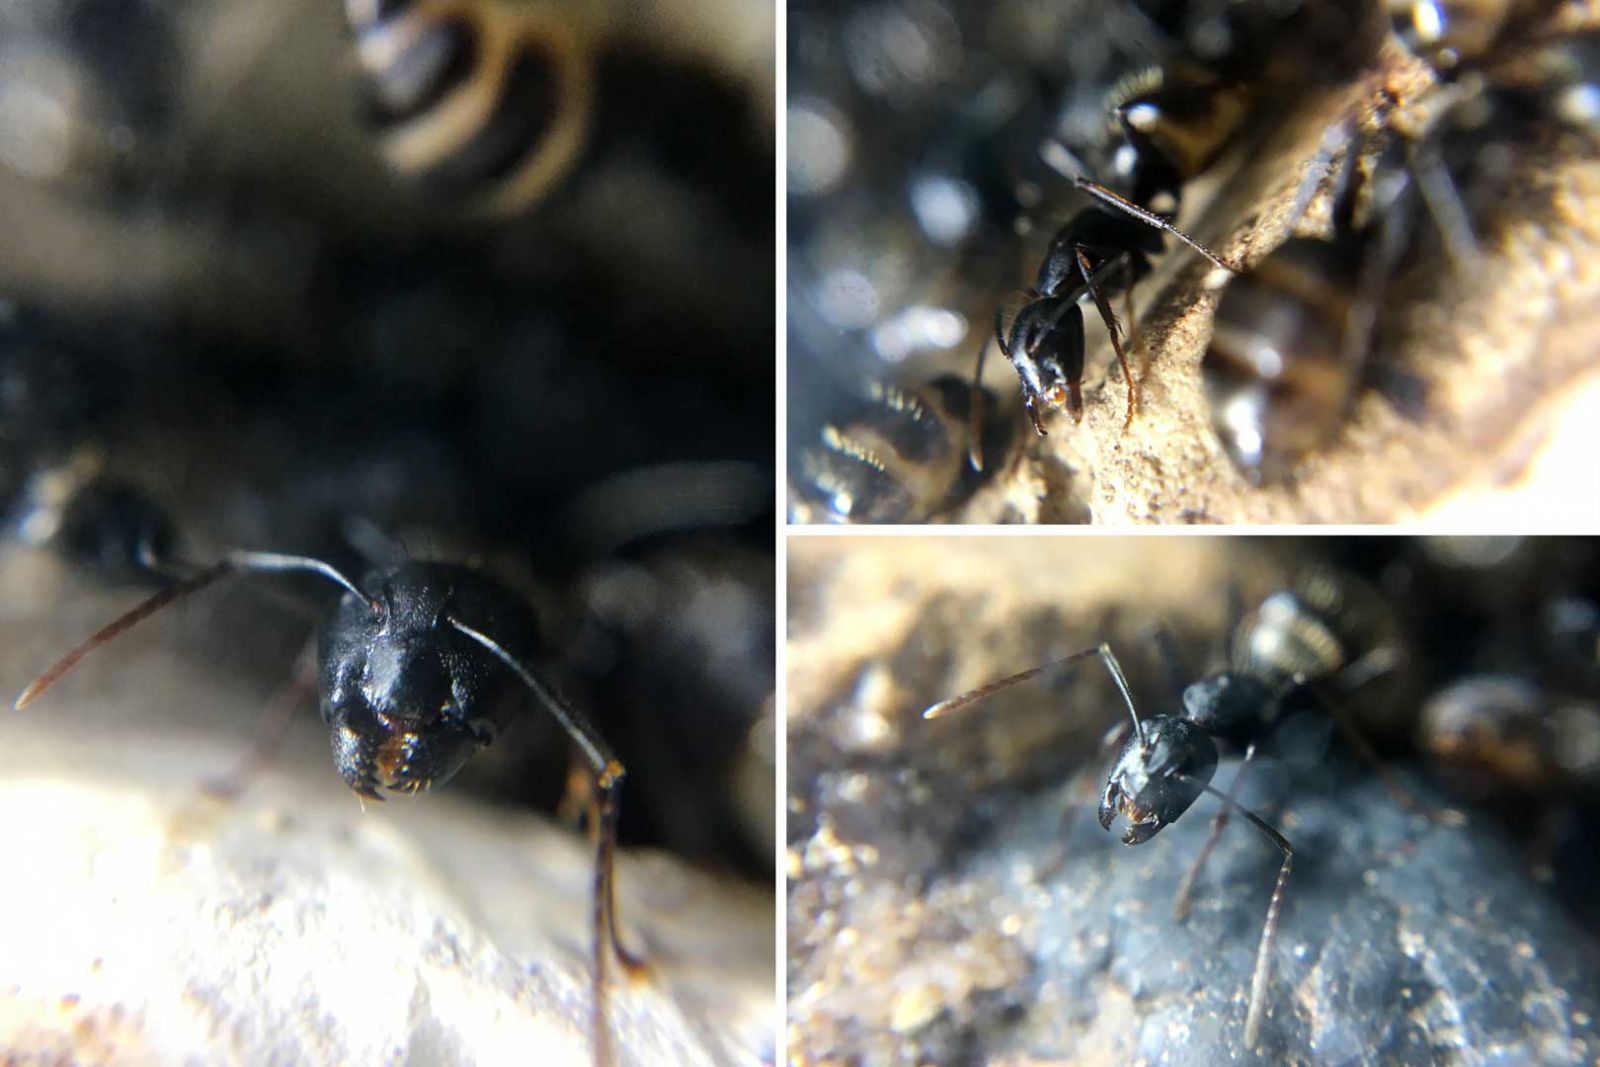
Here’s the colony back in July. You can see the ventilation screen at the bottom chamber that I had to install, held in place with mounting putty. The colony was starting to fill out the nest, they dug out all the beach sand I had put in the bottom chamber and used this area as a restroom.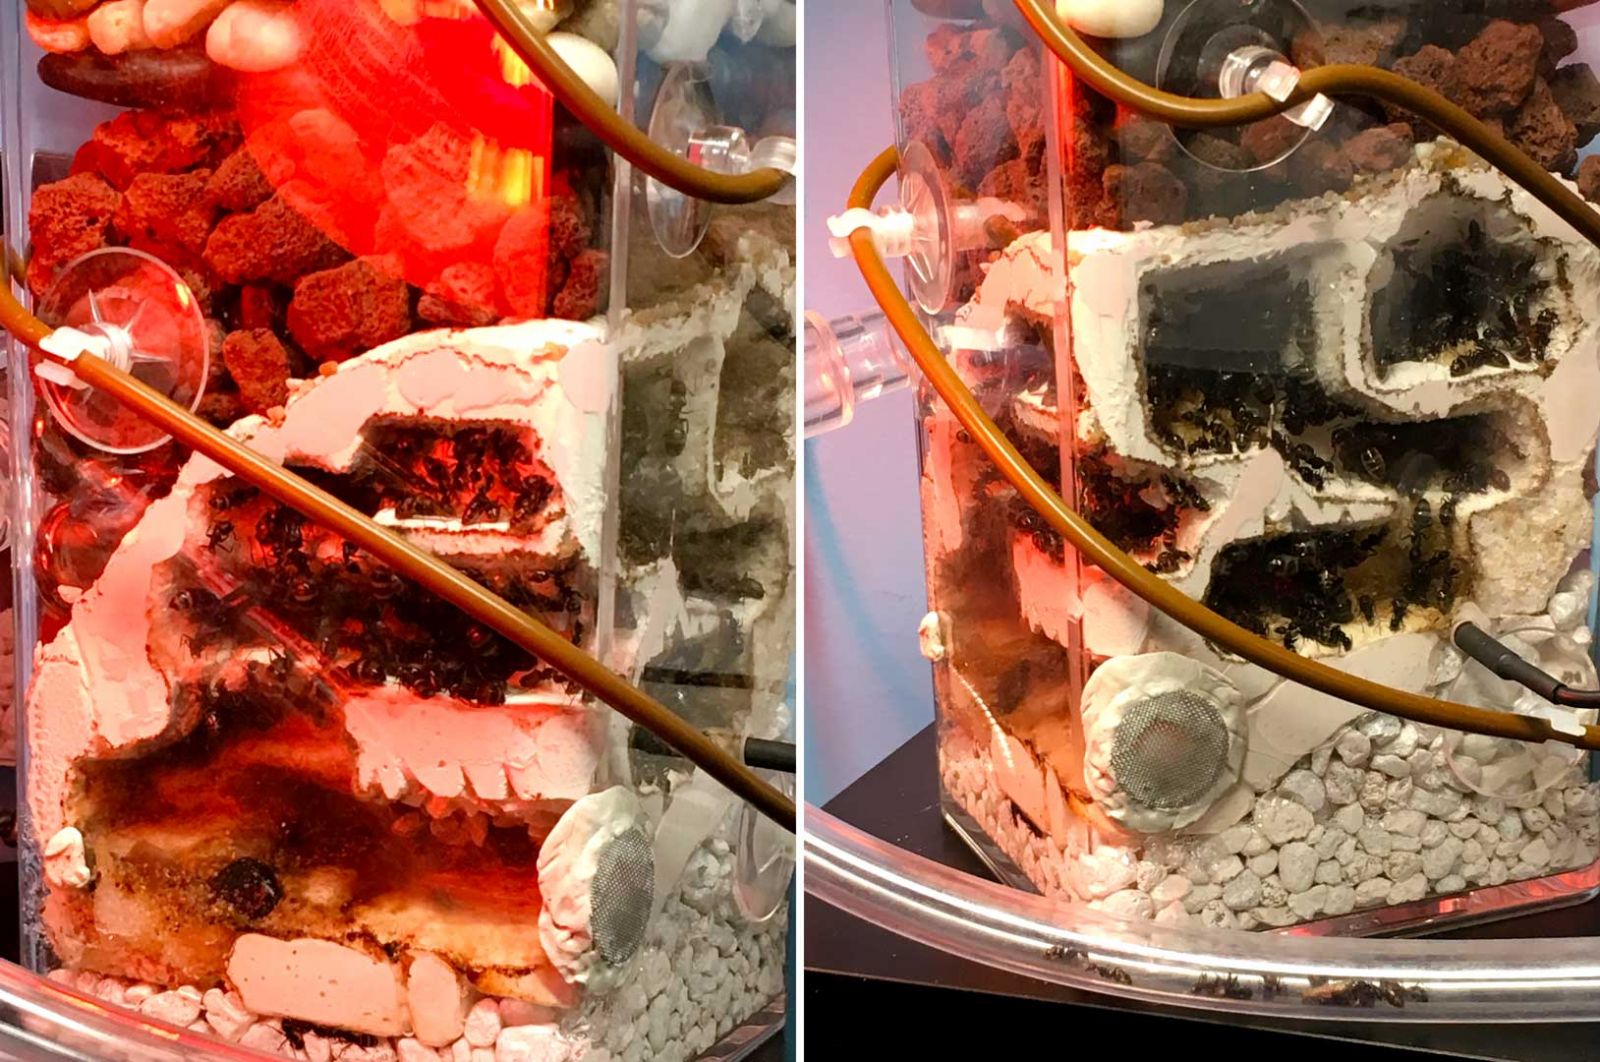
I heat up the nest with a 15 watt reptile heating cable that I wrap around the container and held in place by 1/4 inch aquarium air line clips. I have a couple sensors for the nest, one is inside the container, that gives me temperature and humidity readings. I was keeping them in the mid-80 degrees Fahrenheit for the most part, they seem to love the heat and it really helped with brood development. I don’t have a thermostat to control the heating cable, I work in the room my ants are so I just constantly monitor them. I accidentally overheated the nest once and found the brood out in the vinyl tubing which made me more observant of the temperatures. I’ll be investing in a thermostat for next year.
Now the major flaw I encountered after about 4 months of the colony living in the grout nest, the left corner area that the smaller workers began to investigate. I noticed them inspecting this spot but they couldn’t fit through until the colony started producing smaller workers it seems. I came home one time to find a few dead workers in the water layer and I was freaking out, I didn’t know what I should do next.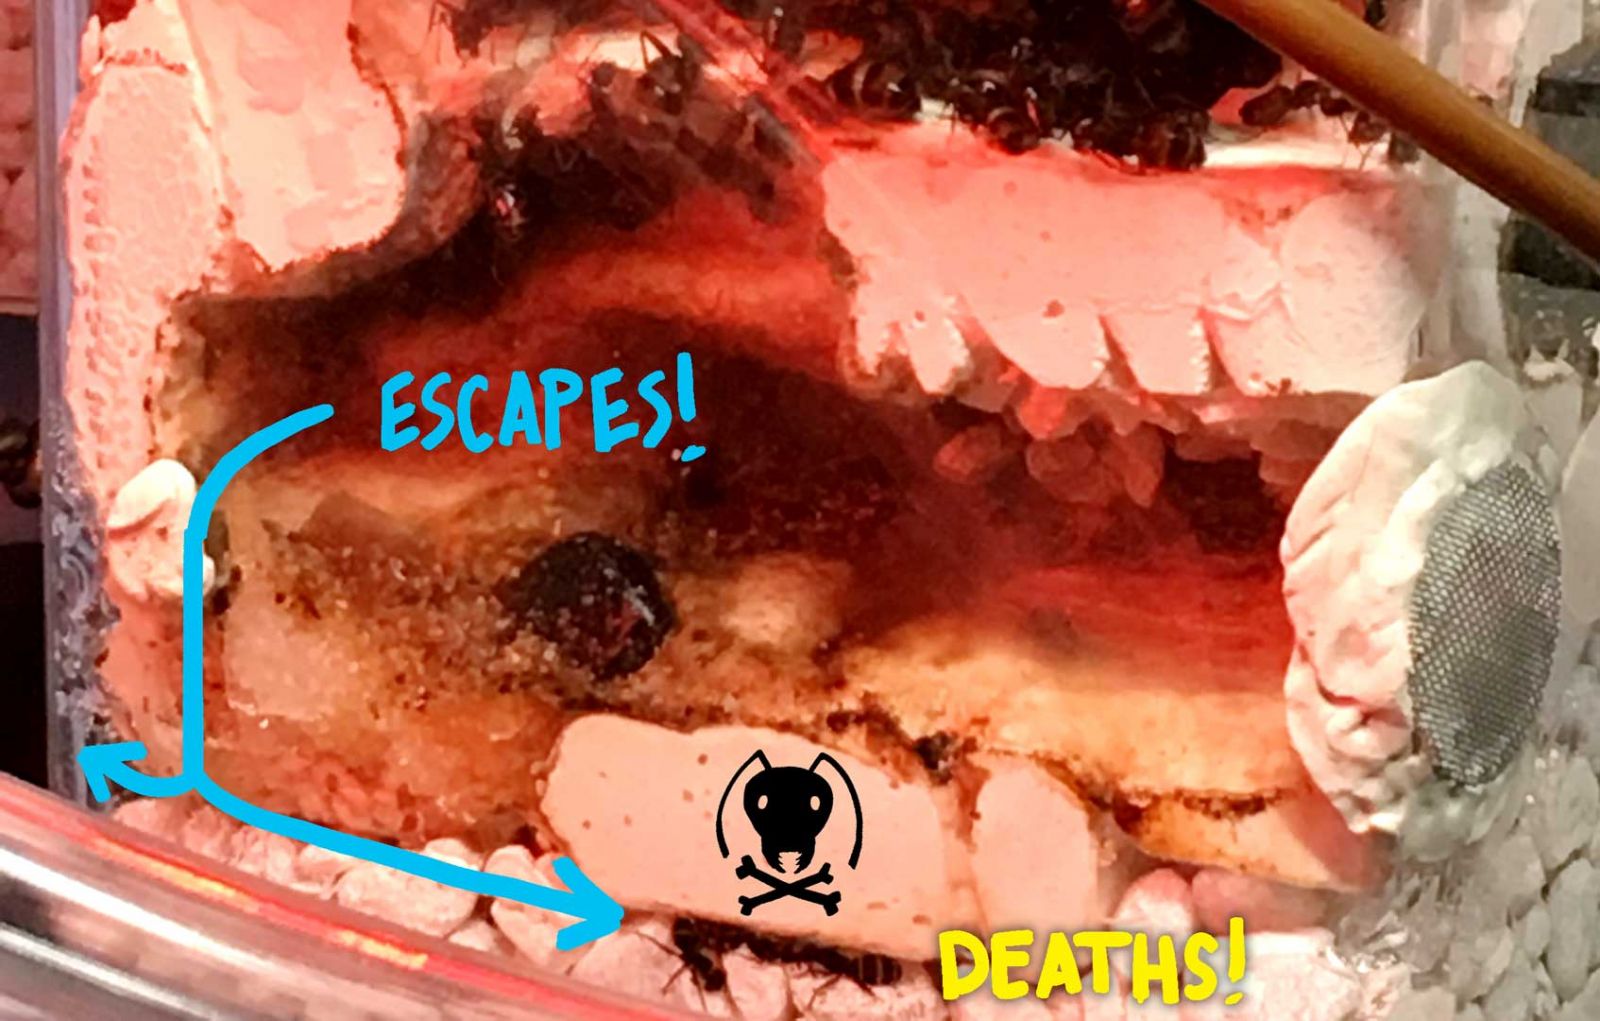
I also noticed another spot in the upper right corner chamber, another ventilation gap I made was just big enough for a smaller worker to squeeze through. I watched a few ants escape the nest from these two spots. The ones in the bottom water layer couldn’t crawl up through all that gravel but the ones crawling out the top gap could walk around the container and up to the lidded ventilation screen. I had to fix this!
I drilled a small hole in the lower left corner and filled the gap with some Elmer’s Glue-All and vermiculite and plugged with mounting putty. I then had to disconnect the nest from the outworld and remove all the gravel and rocks I put in, very carefully and slowly, and glued the top gap again with vermiculite and sand. It was a little difficult to get the bodies that were in the bottom water layer which I was afraid would start to mold because I noticed some green buildup on the grout by them. I used my keyboard vacuum with a rigged vinyl tubing attachment to help suck up the bottom aquarium gravel. Maybe the runoff of waste from the lower chamber and the decomposing ant bodies was causing some algae growth on the grout?
Anyway, I knew I had to keep the gravel and rocks out in case there’s another area they could escape from that I had to close up. I haven’t had any escapees since then but I left the filler rocks out and put in a cotton bandage sheet that is touching underneath the grout which I soak with water every week, which seems to be working just fine now. Here’s some very recent pictures of the colony, they have filled up the nest just in time for diapause. I was lucky to have guessed the nearly appropriate nest size for my first formicarium.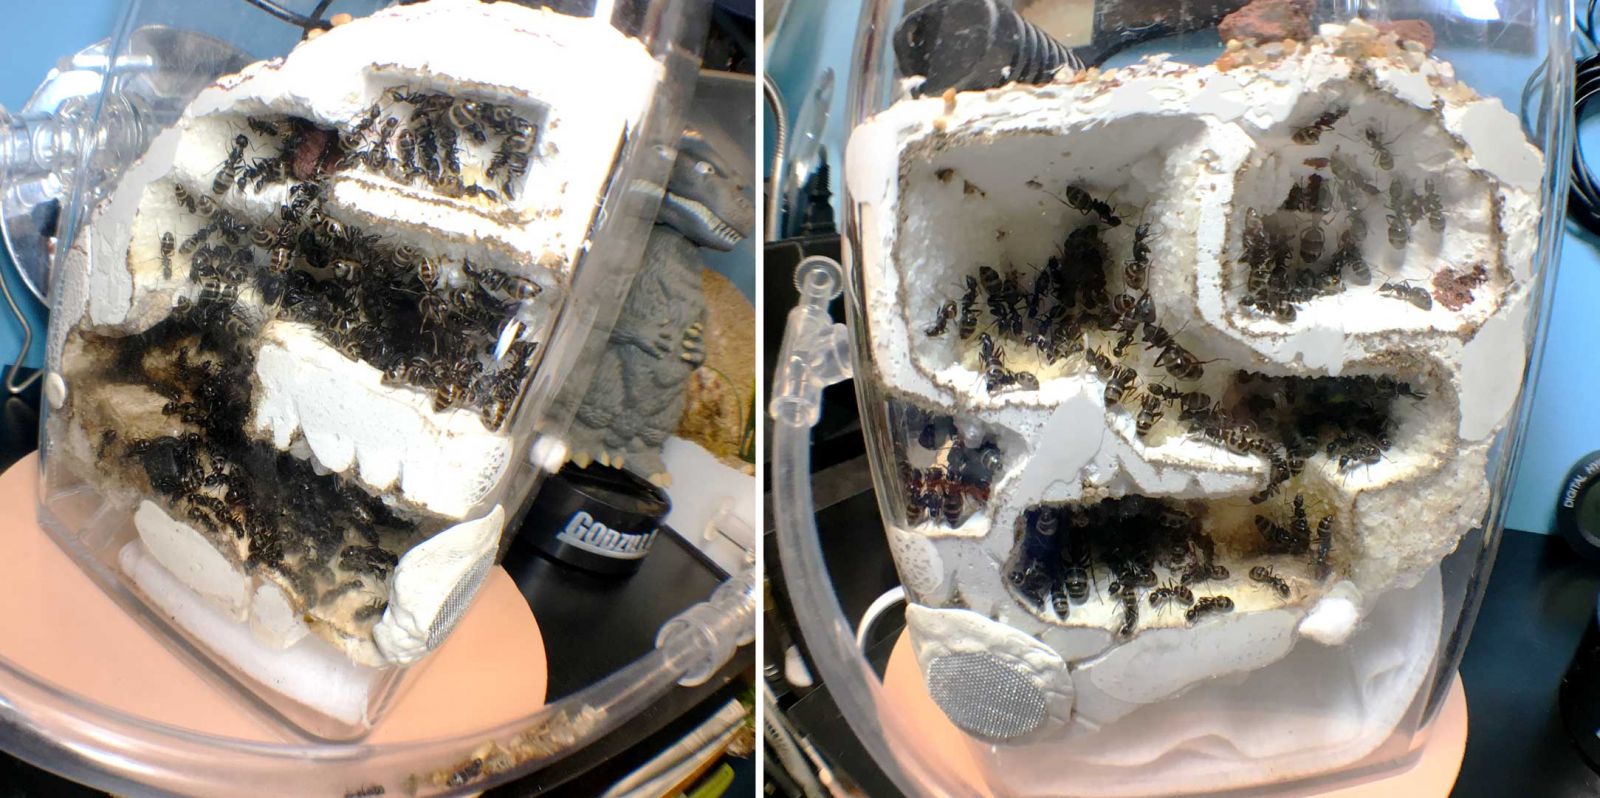
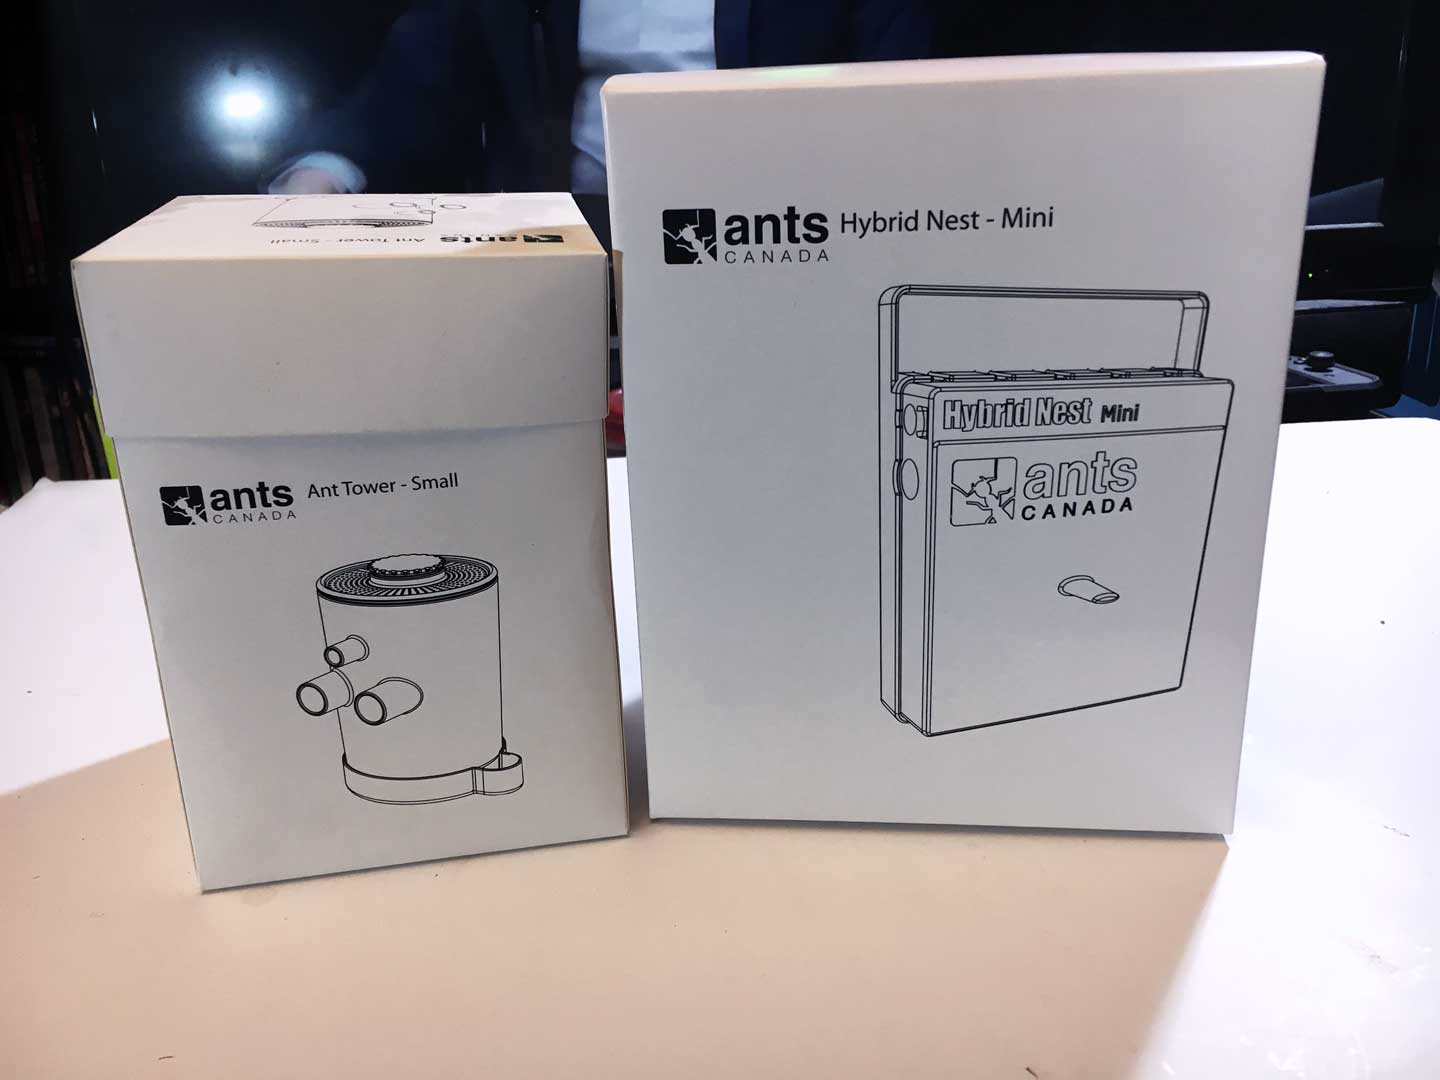
I’ve been using some cloth to cover up their nest since they’ve gone inactive in prep for winter the last few weeks. You can also see the Ants Canada Valve Connectors I recommended in a prior post. They’re really helpful at shutting off ant traffic easily so I could disconnect the nest or the outworld. Check them out here: https://www.antscana...r-femalefemale/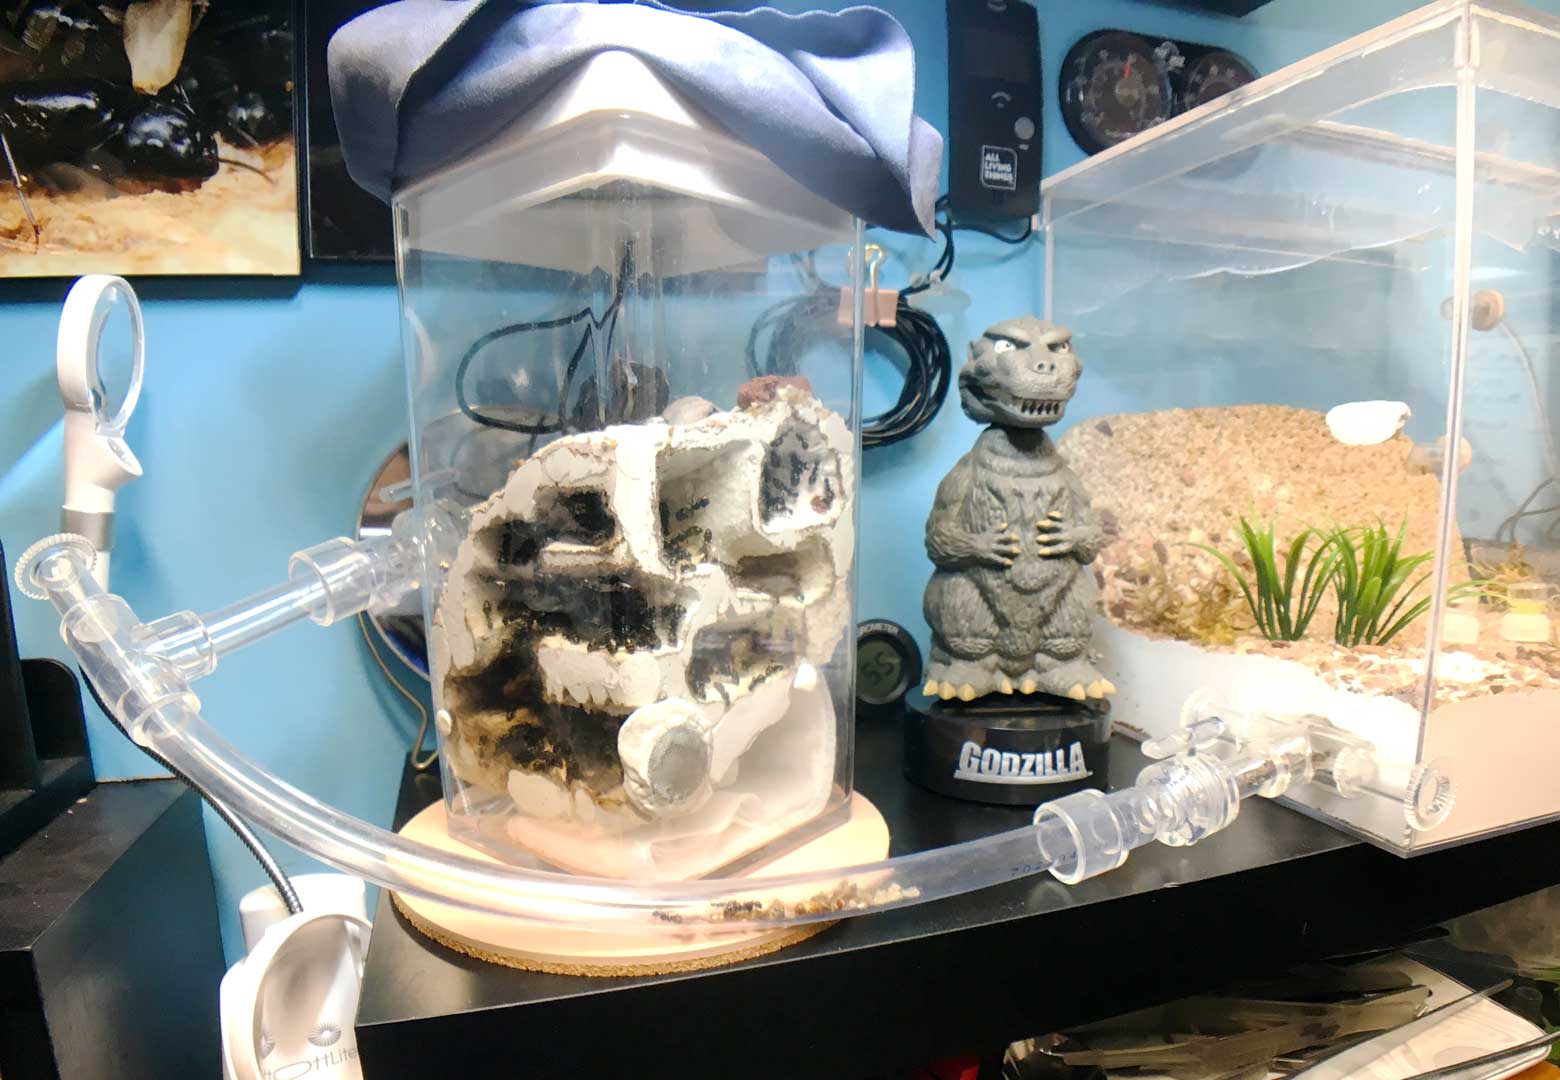
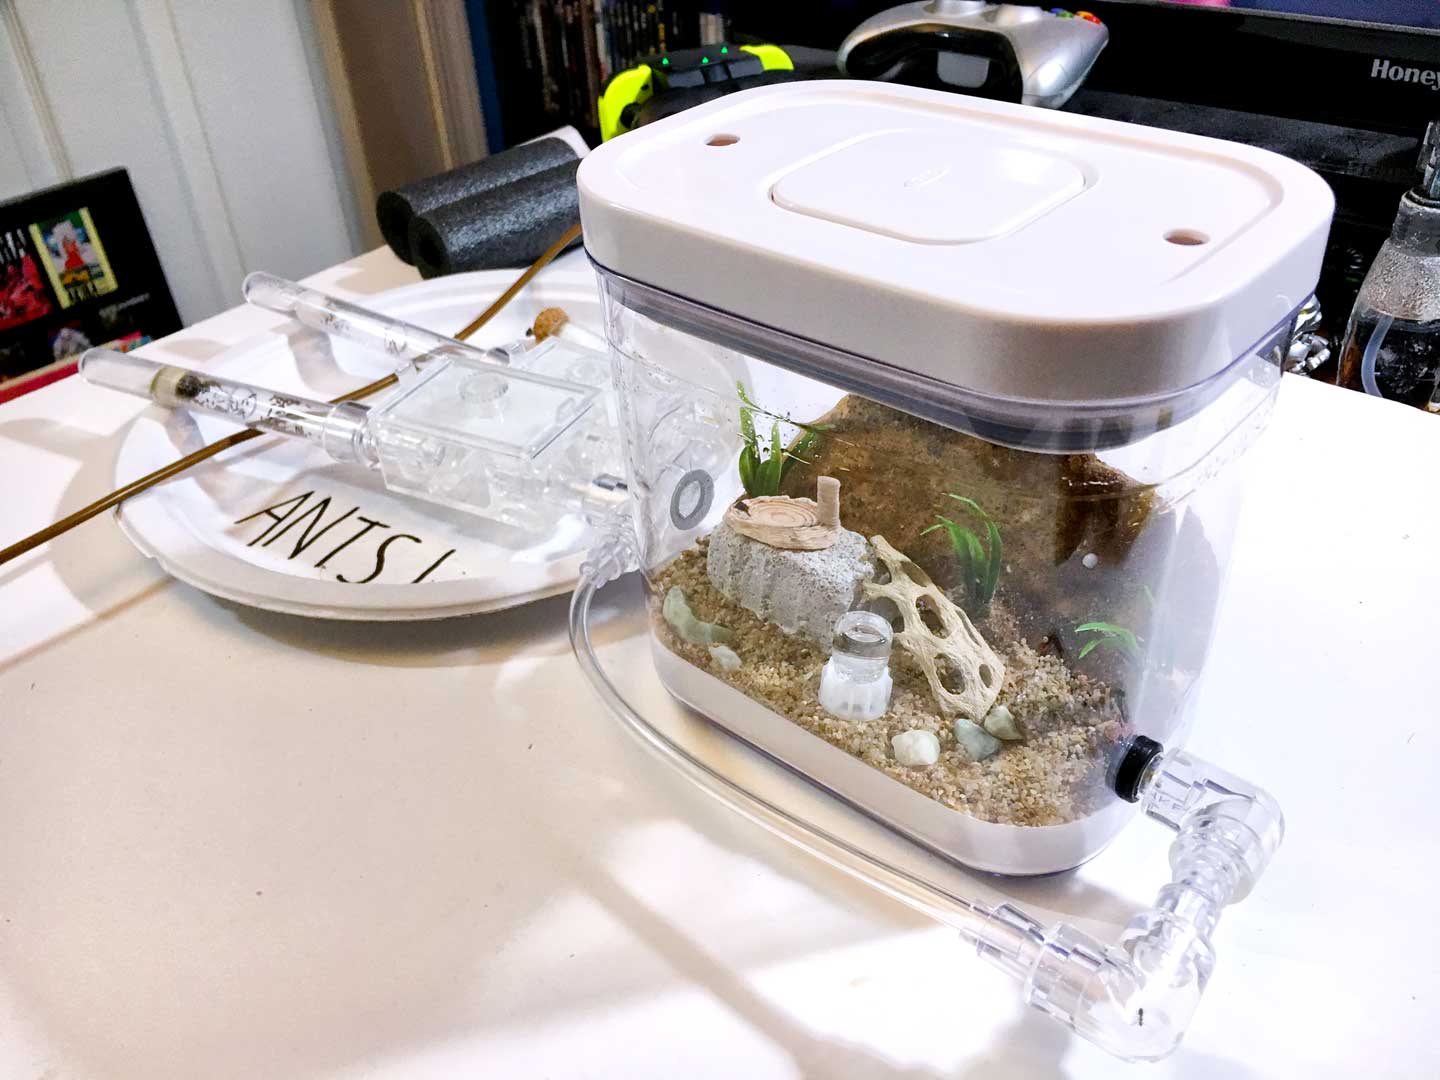
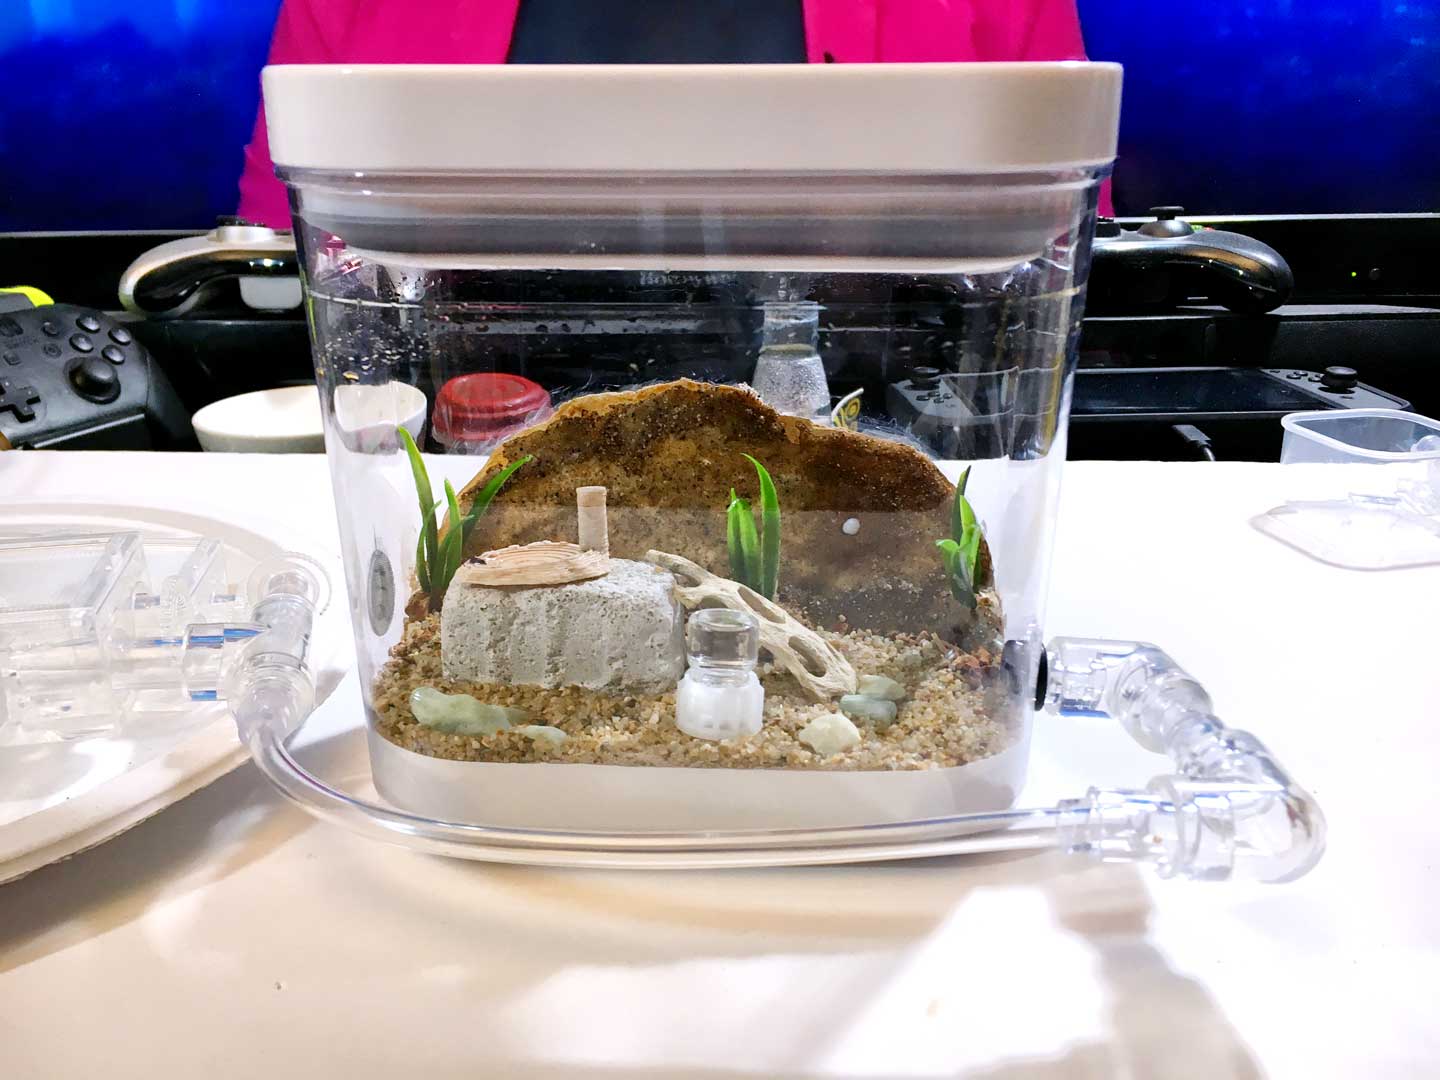
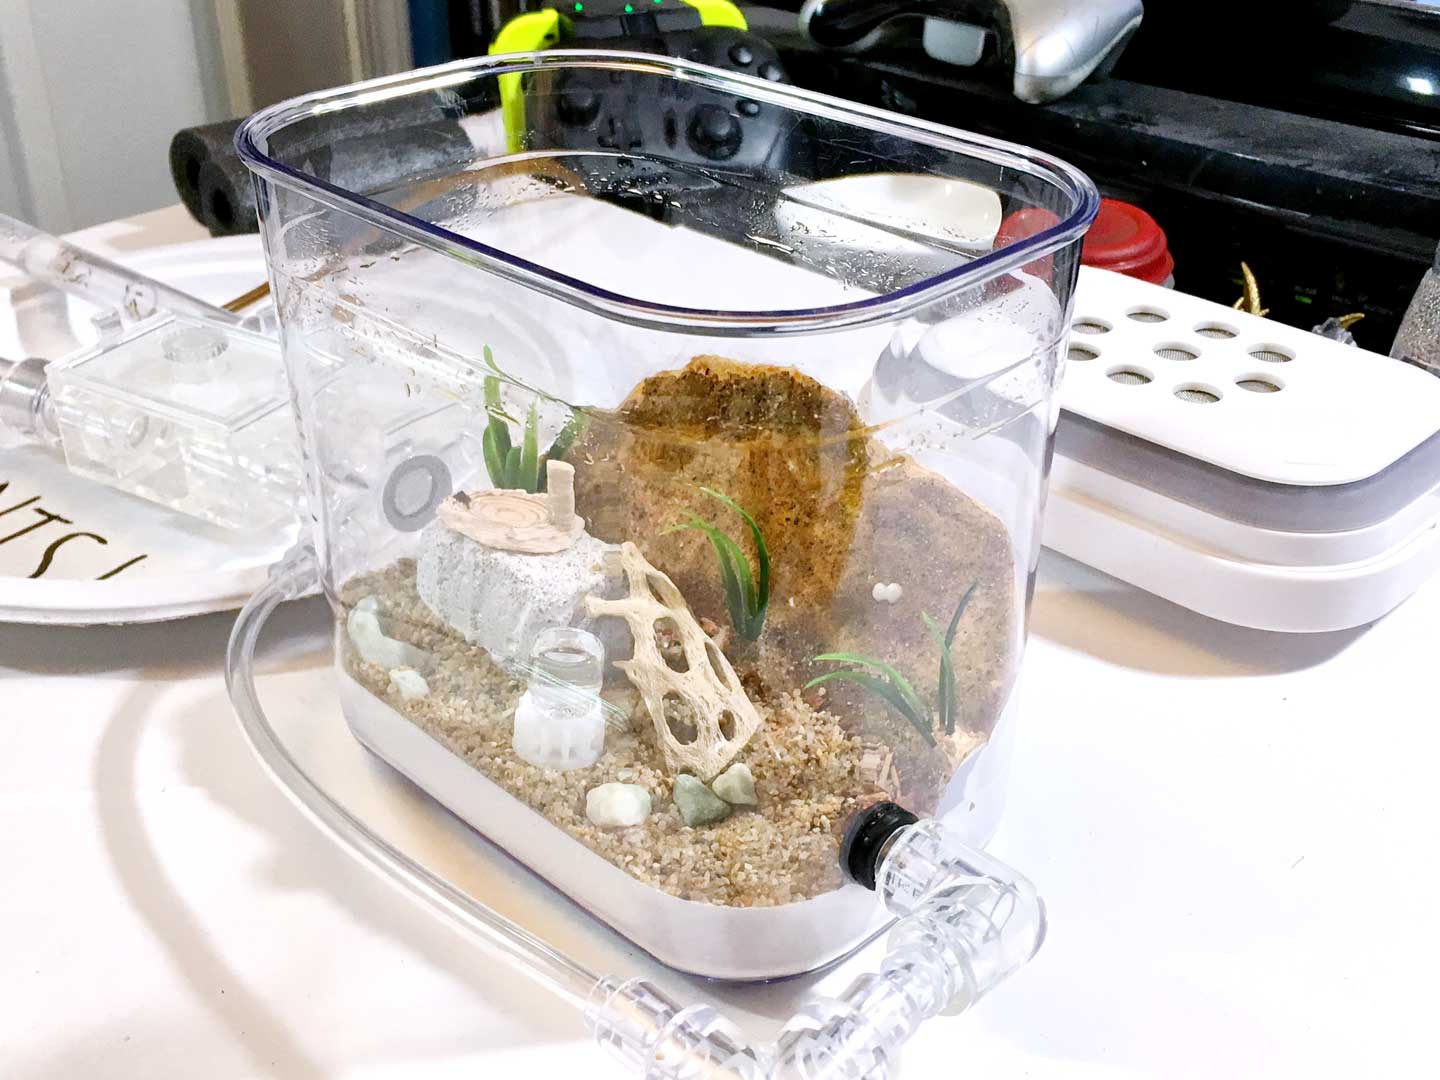
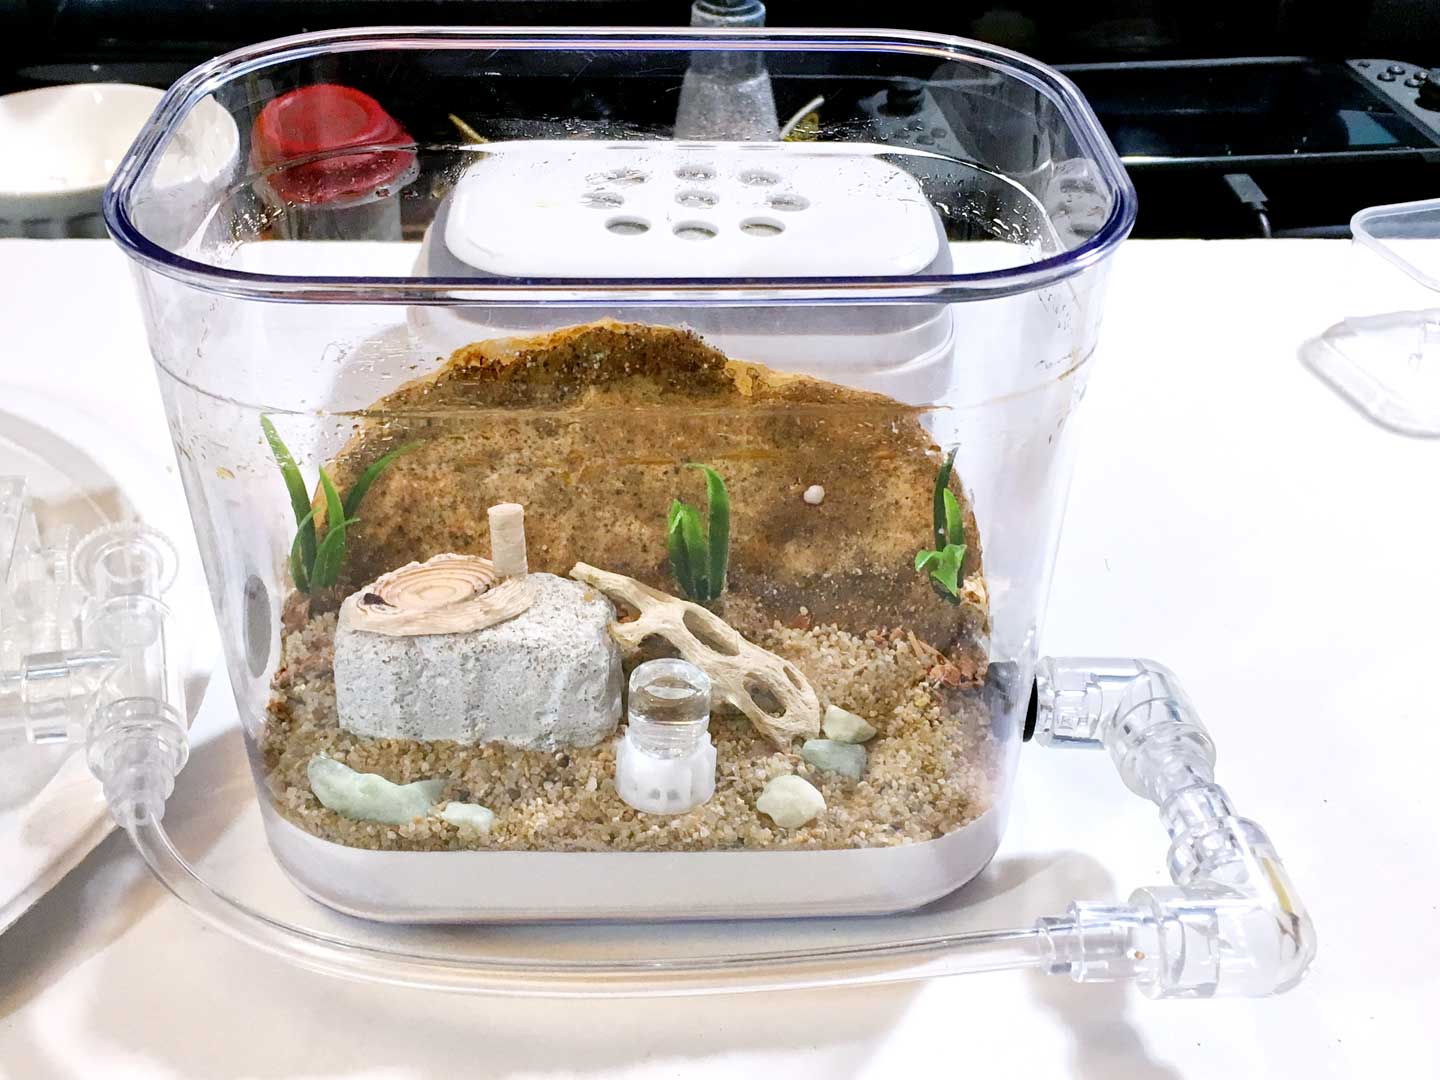
So we come to the present day and I was wondering how I’d be setting up my formicarium for diapause this year with more ants. I wanted a small outworld to attach to the nest so that I could still have a spot to feed and water the colony. I found these small twist cap containers from Wal-Mart that fit the needs for this small build.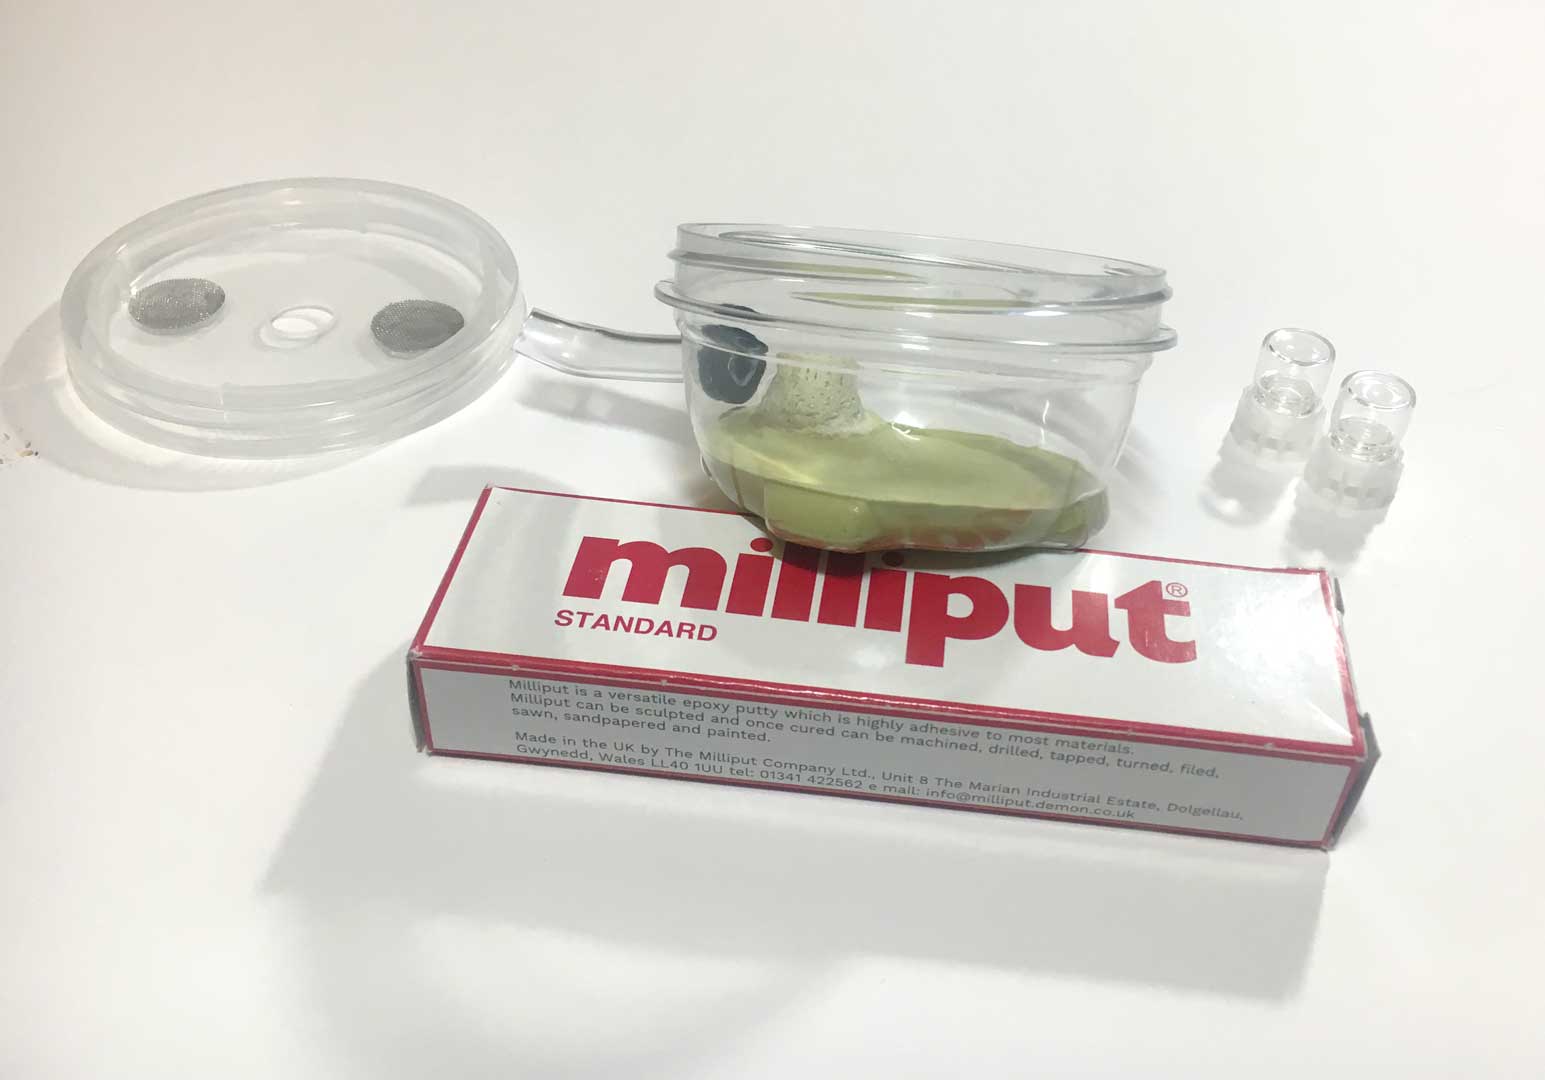
I wanted a floor with a stepping stoop and enough room to fit two small byFormica liquid feeders with a little more additional space for food. I used a two part epoxy putty called Milliput that cures into a stone-like finish for the floor: https://www.milliput.com/
There’s different colors, the standard is yellow-green but I also have a white version. This stuff is amazingly awesome to sculpt with (just a little pricey.) I plan to make additional levels to my outworld and use this to help shape my future formicarium chambers with stalactites structures. The two part epoxy putty is toxic before it cures, again like grout, so make sure to wear gloves and a ventilated area if you’re going to use it. I had a small grout mold from packaging that I set the putty around and sculpted the ground as flat as I could. I drilled a 1/2 inch hole in the side and used a rubber grommet that holds the 3/8 inch vinyl tube entrance.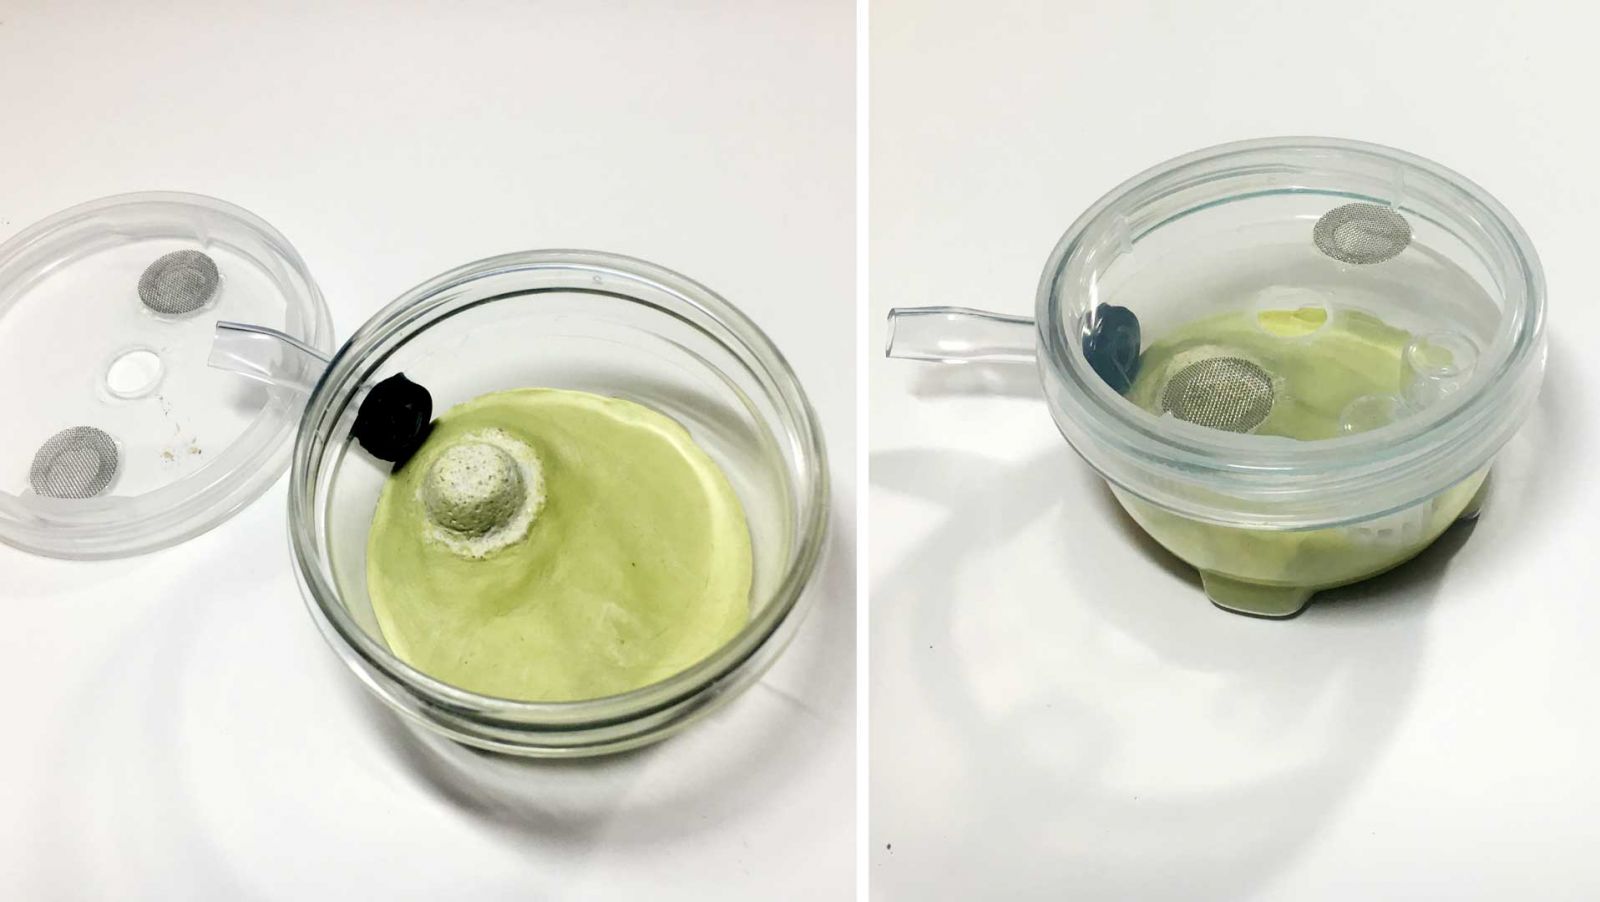
I added a layer of vermiculite and added the two filled byFormica liquid feeders. One has water, the other has byFormica Sunburst Ant Nectar which is another great product!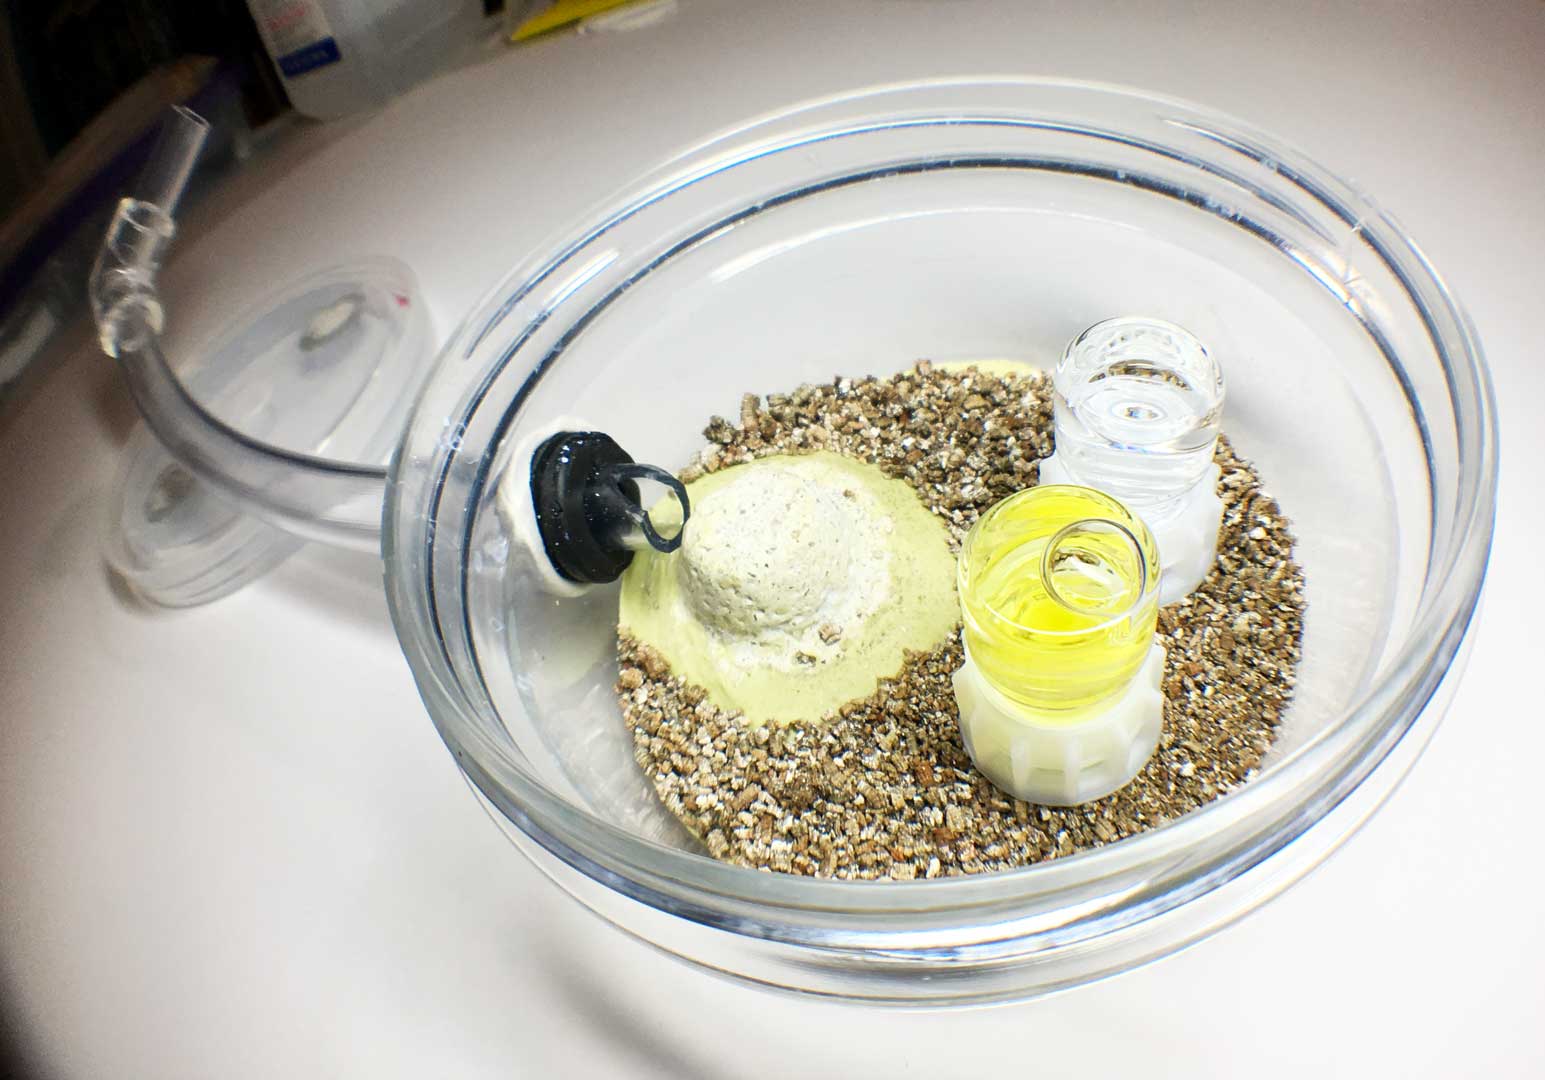
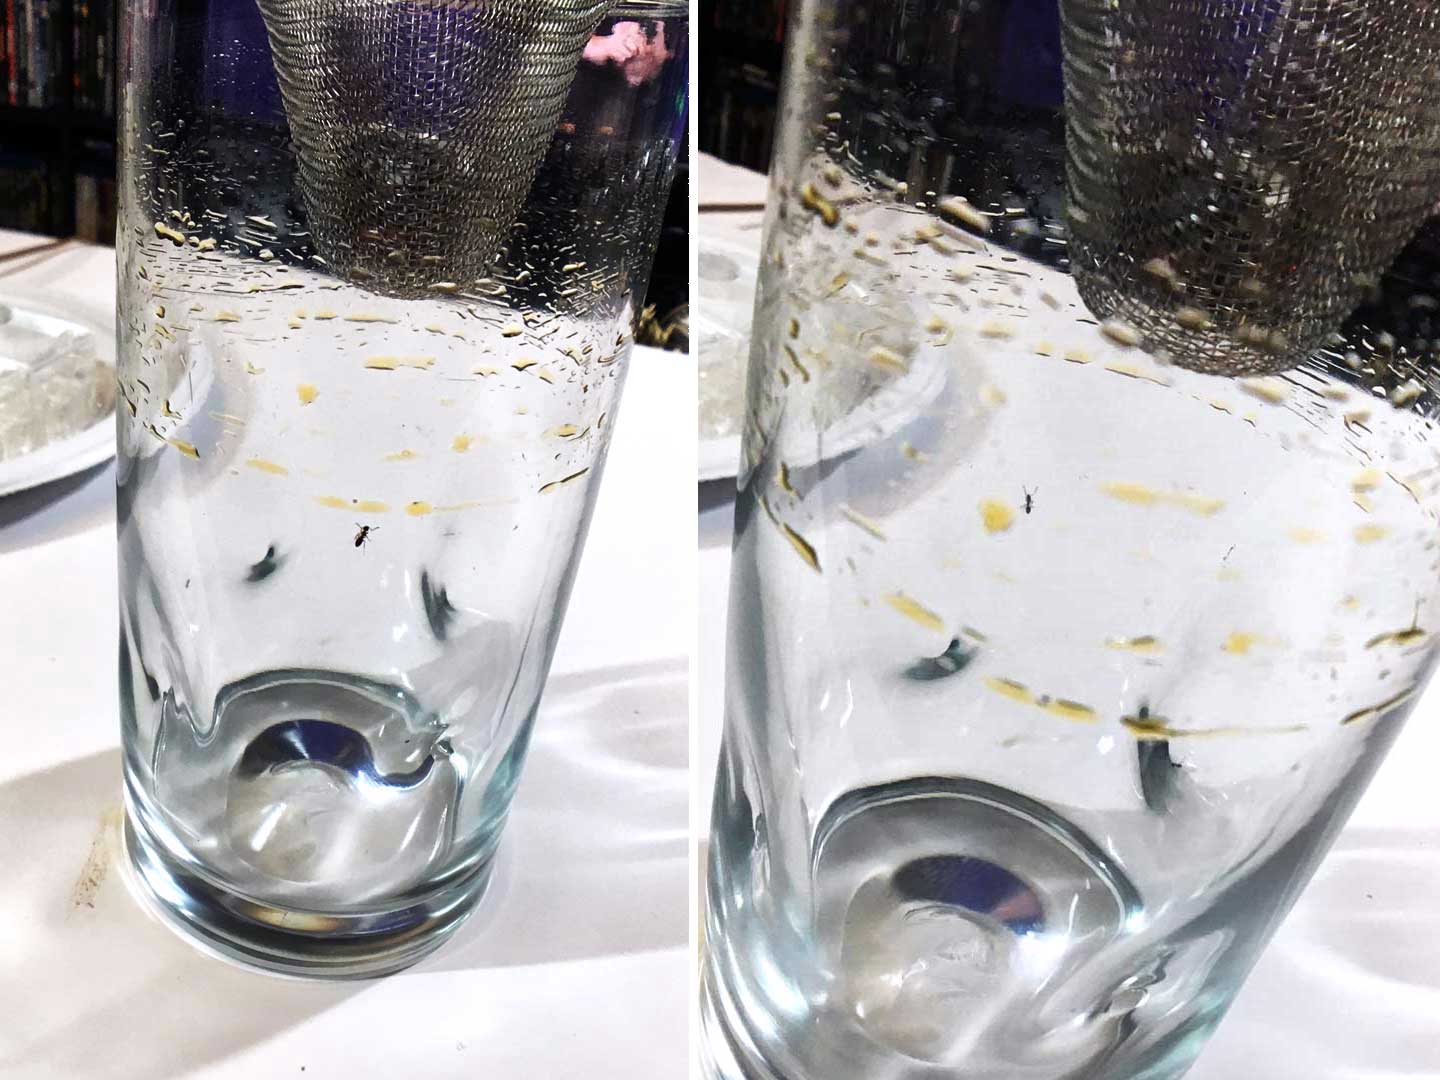
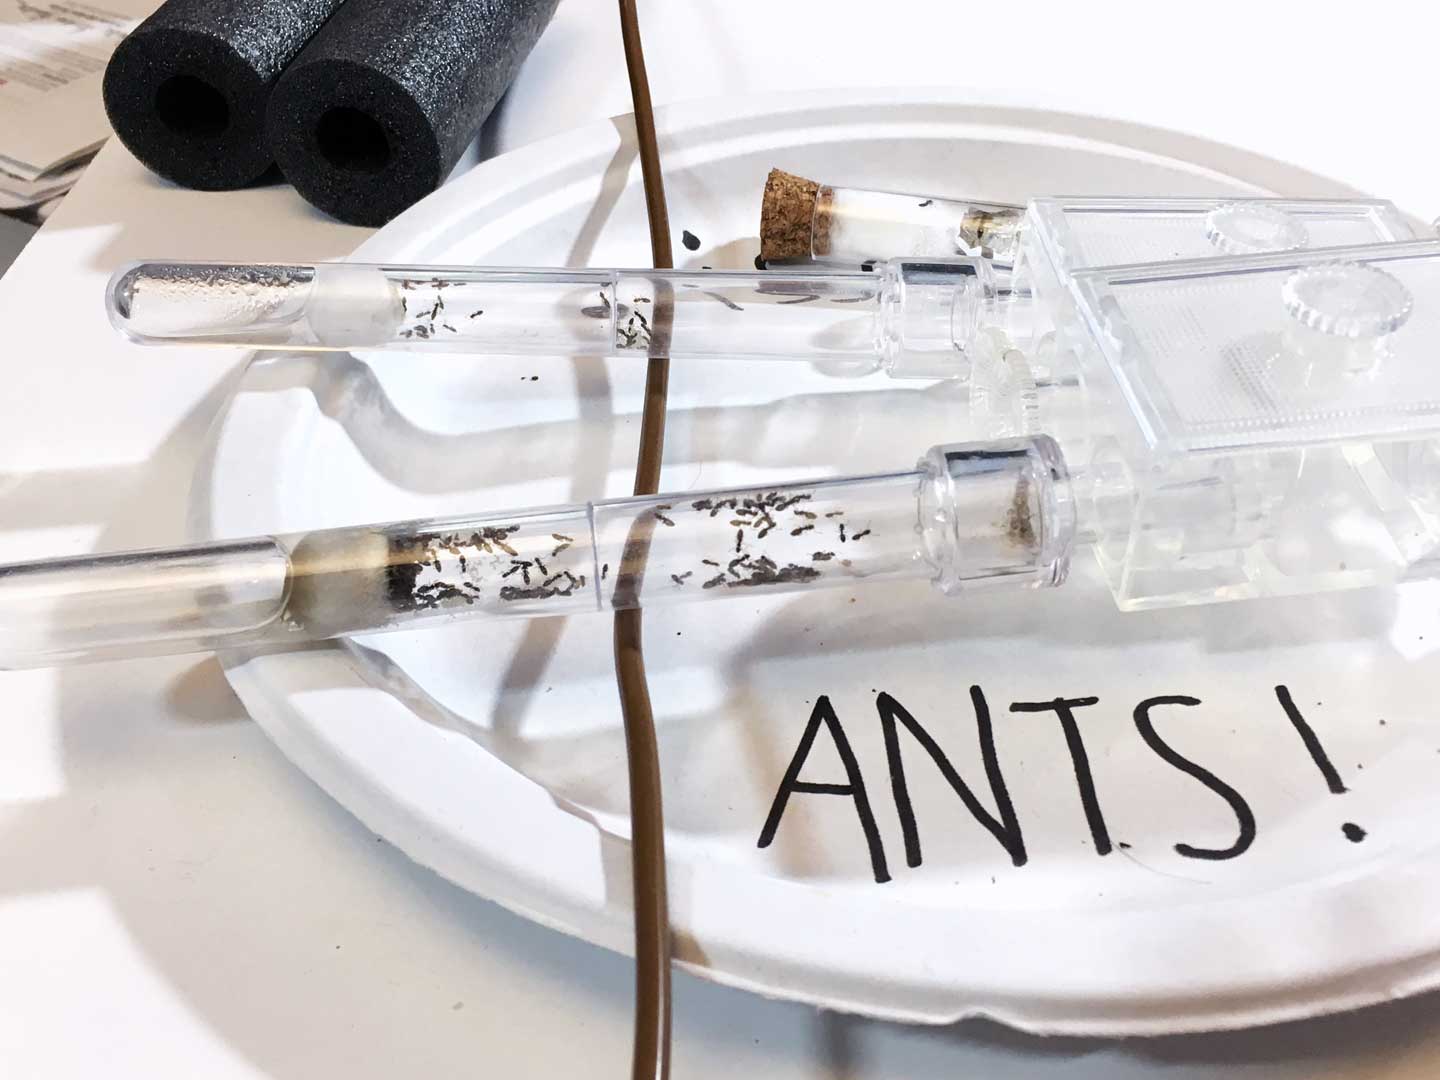
I had to disconnect the larger outworld and lift the smaller outworld off the ground to give the ants level tubing to walk through easily. There was a stubborn set of seven sisters who always seem to be hanging out by the outworld entrance that I had to isolate and individually place into the small outworld with a funnel lined with fluon and a soft paintbrush.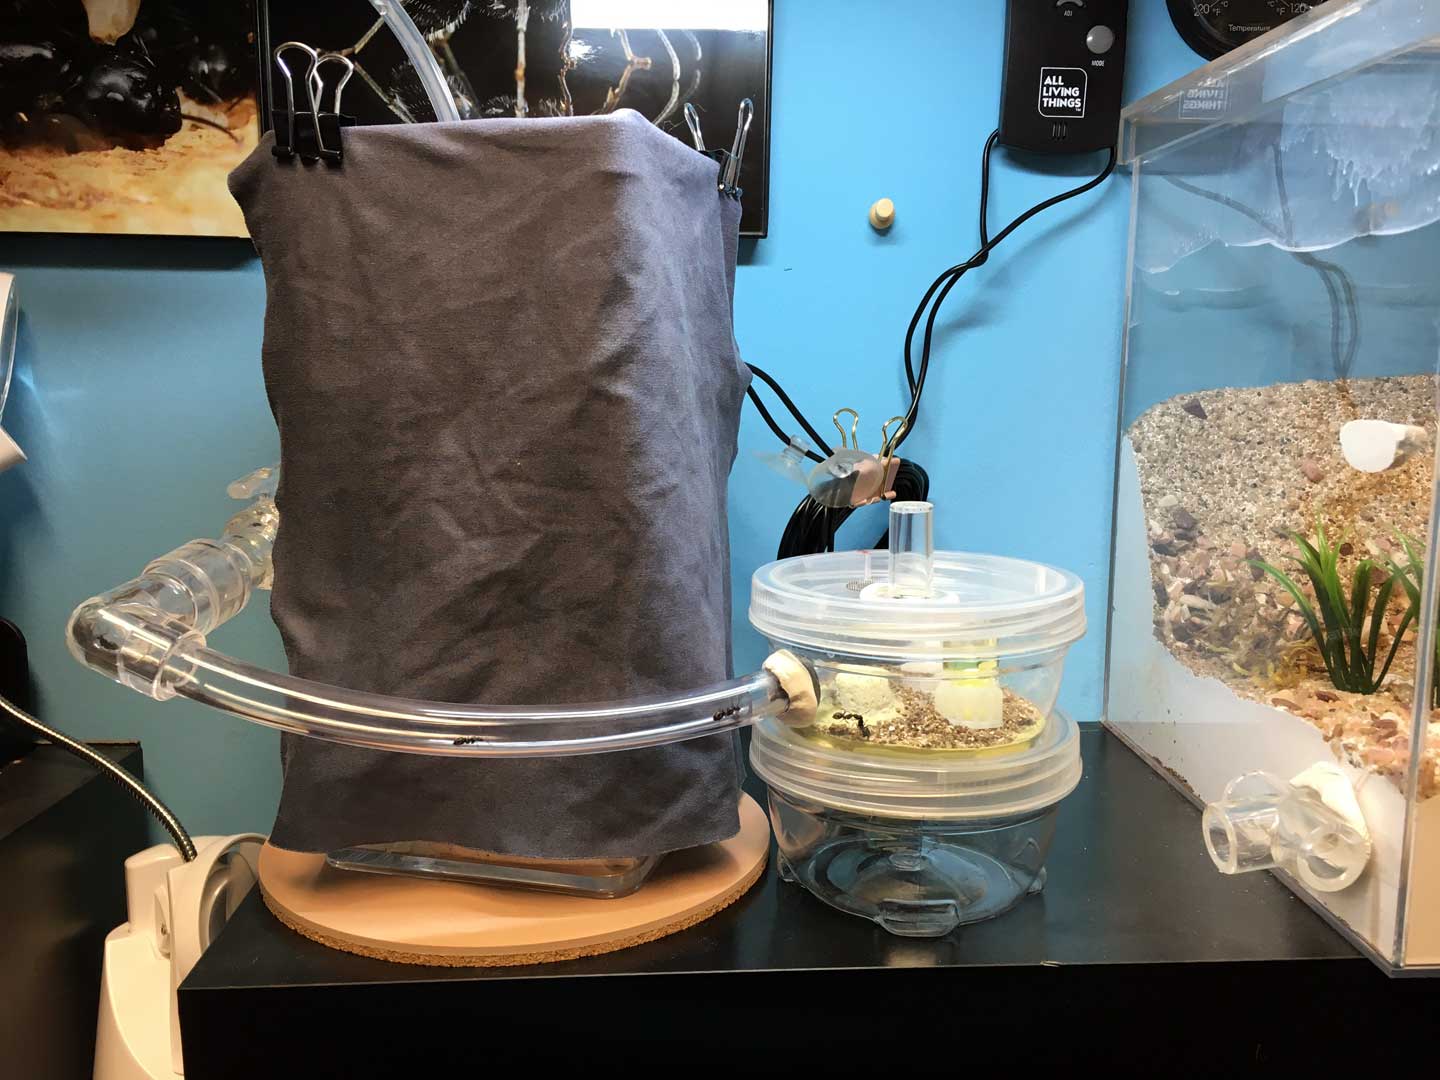
The lid to the smaller outworld had two epoxied pipe screen mesh and a hole I could utilize if needed that I covered with an Ants Canada plug and mounting putty. That’s how I was able to funnel in the Stubborn Seven Sisters. I also put fluon on the walls and underneath the lid which has made it possible to have the lid off the outworld if I wanted.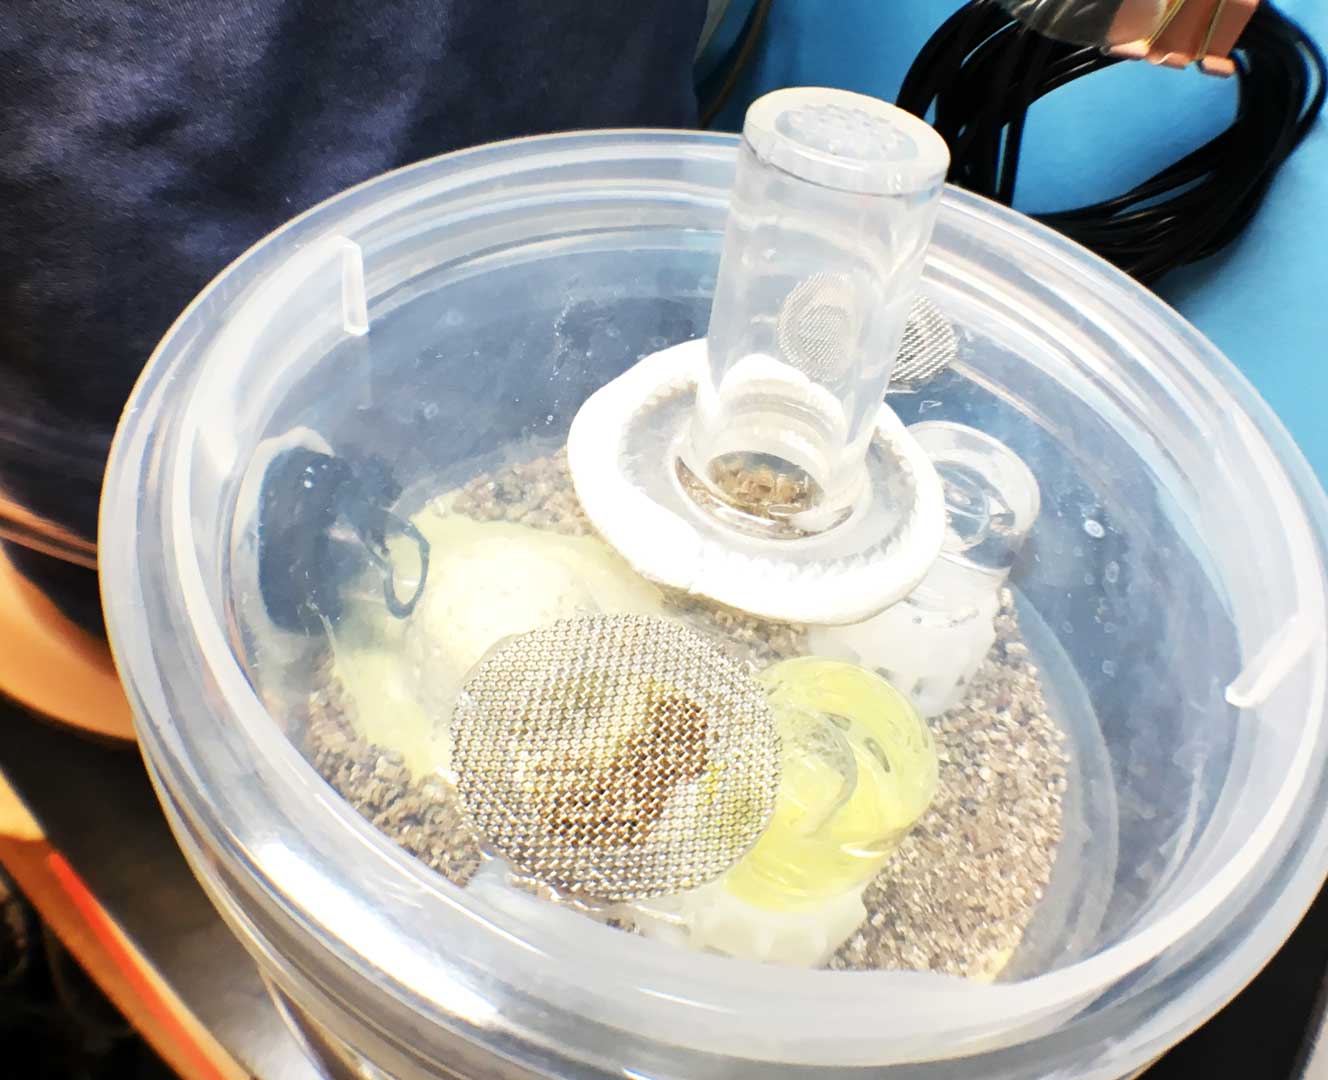
Here’s a peek after I fed them some mealworms. I love the various 3-D printed feeders from Ant-Shake: https://www.ant-shack.com/
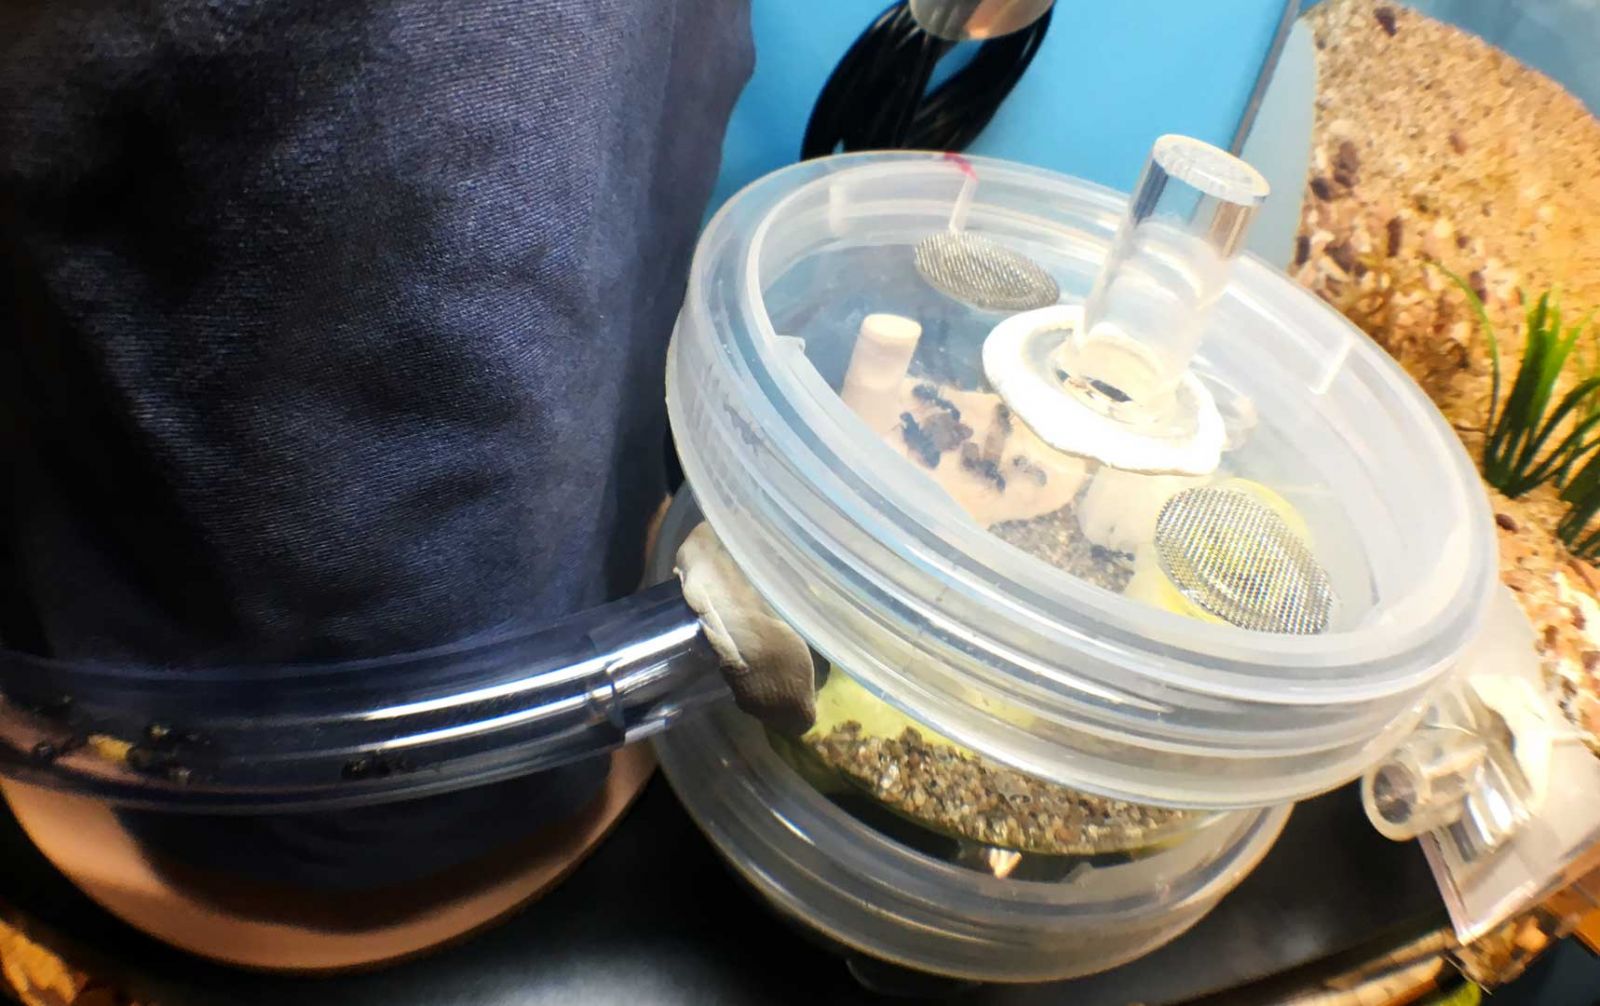
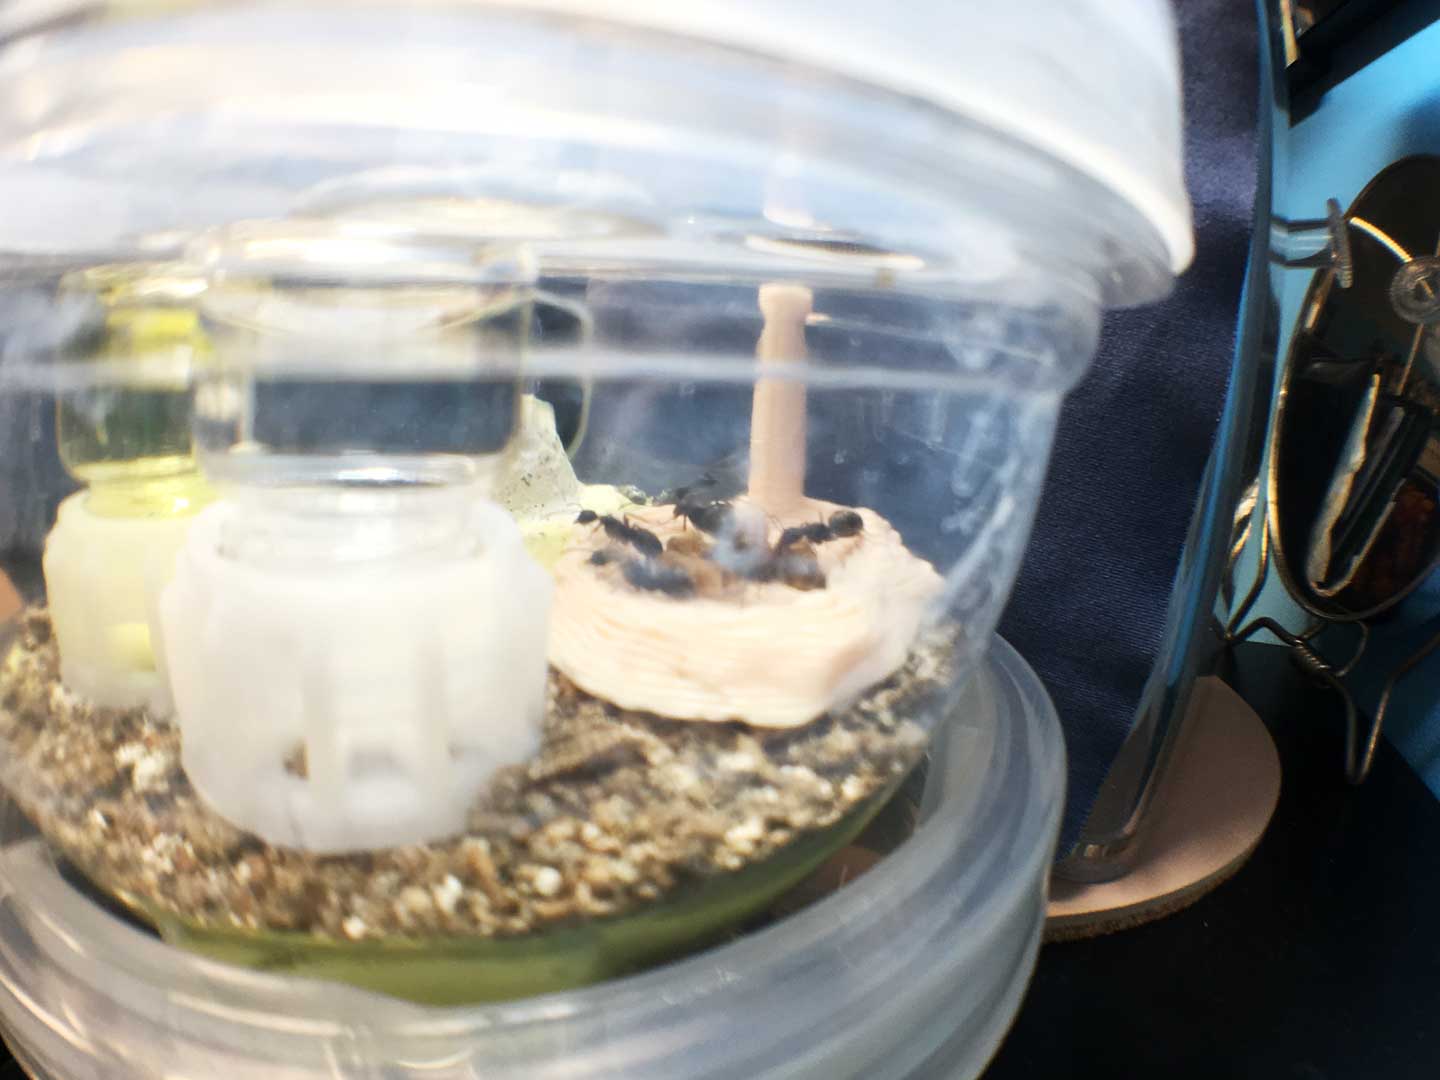
I plan to put my colony in the garage this weekend, which I’ve got a spot I’ve been monitoring with a thermometer this last week to see how much the temps fluctuate. The area I picked is on a shelf in a cabinet by the garage door and it’s fairly insulated enough for the colony to comfortably overwinter. Last year, the temps dipped in the high 30 degrees Fahrenheit at the lowest in this garage so I know it doesn’t get to freezing temps. Camponotus pennsylvanicus is know to build up an anti-freeze compound, glycerol, that protects them during diapause, so long as they have a gradual cool down over a couple months they should be able to withstand even below freezing temperatures if properly prepared.
I hope you enjoyed my ant builds journal, I plan to share my nest and outworld expansions during this winter which I’ll be adding to my setup next year. I’ve already gotten started on them and also the formicaria that’ll house my two Tapinoma sessile colonies. Doing DIY formicarium builds on a budget is possible, but I did invest a bit of dough in order to construct these so I understand if some of the materials I use is a bit pricey for someone looking to build on the cheap.
I highly suggest making your own designs, the satisfaction in seeing your formicaria and outworld builds being utilized by your own ants has a powerful fulfillment unlike anything else!
Edited by Boog, March 31 2022 - 1:12 AM.


