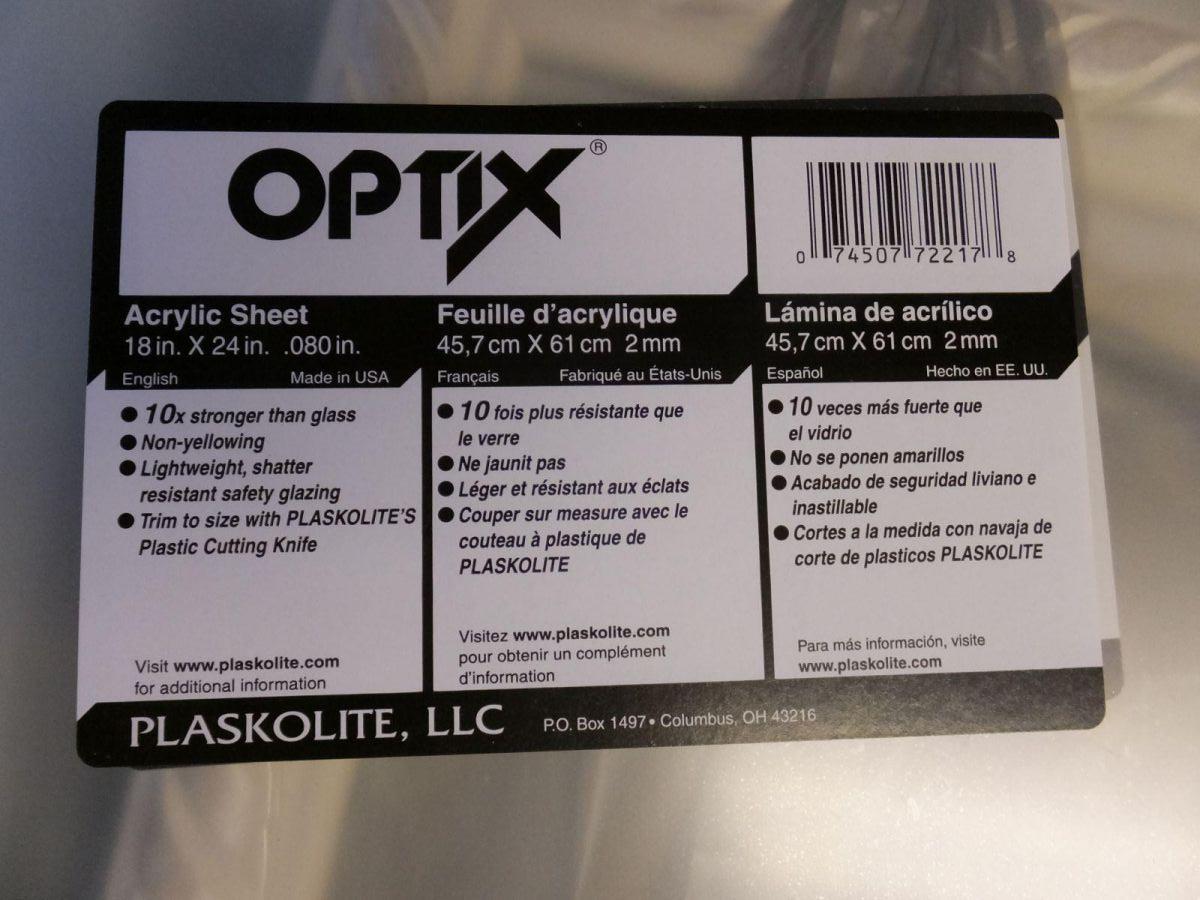
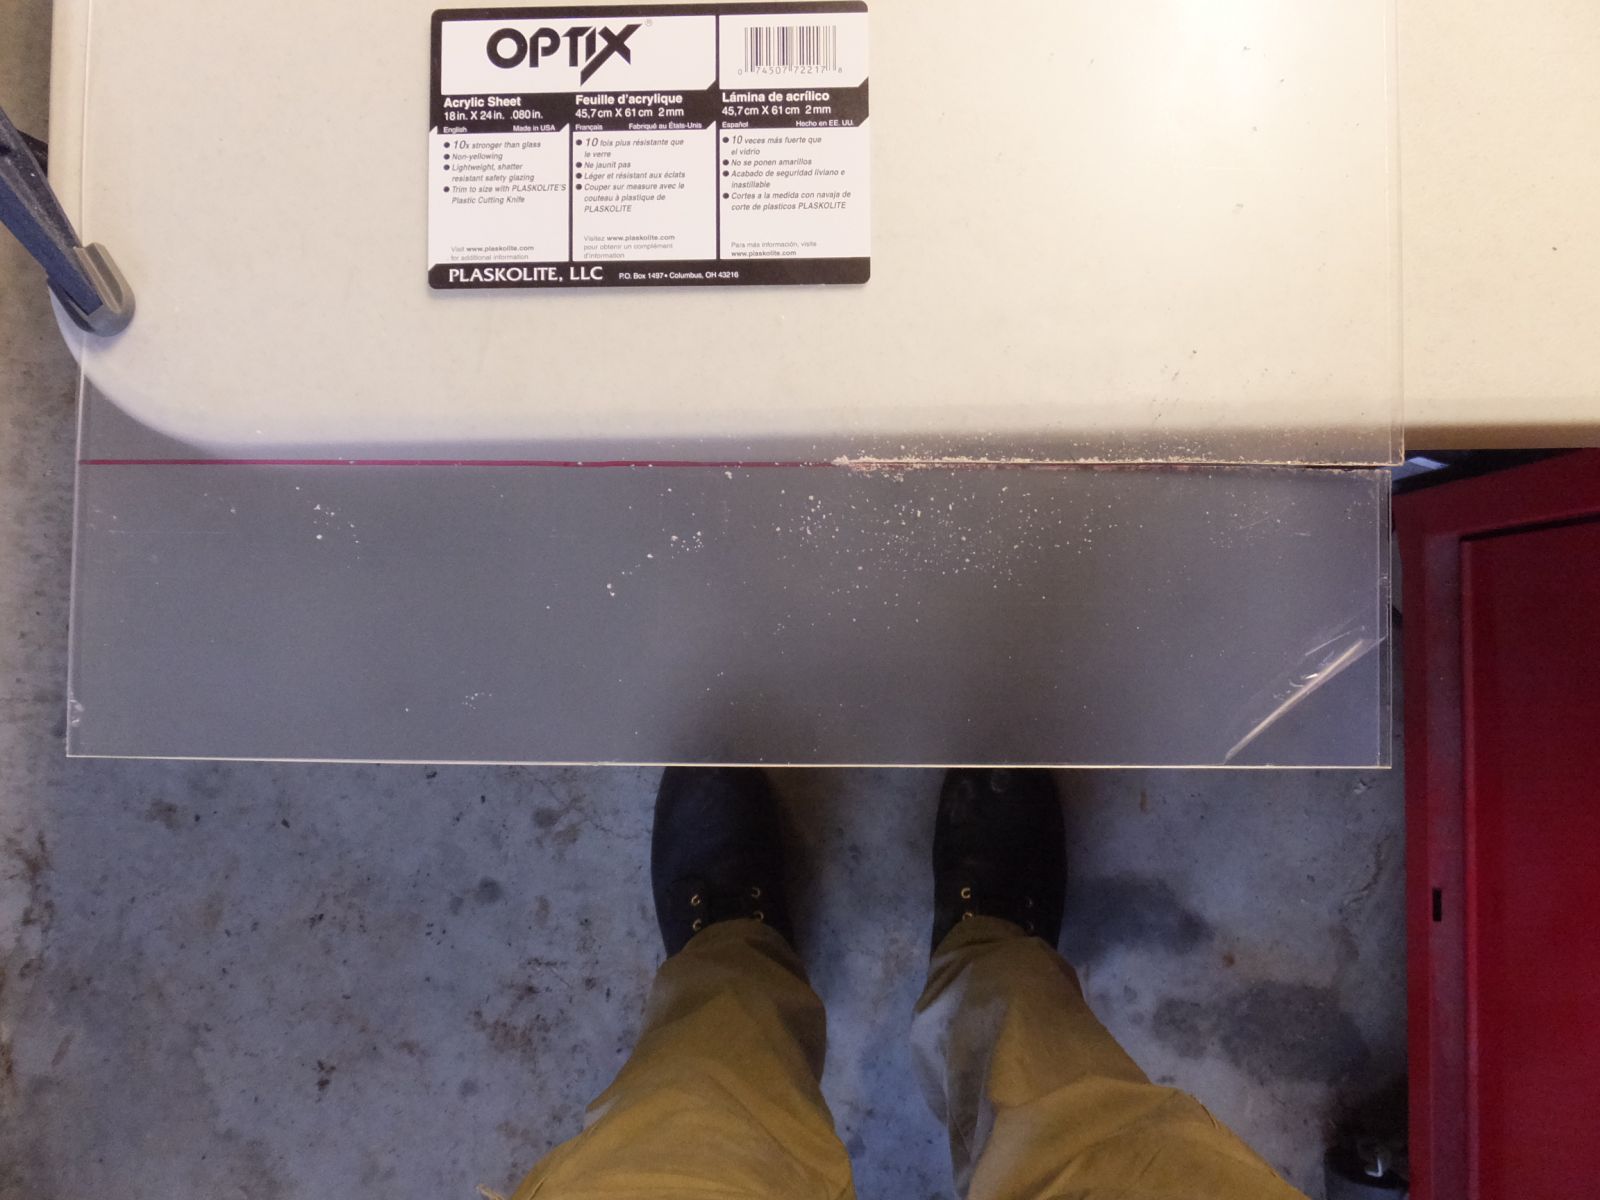
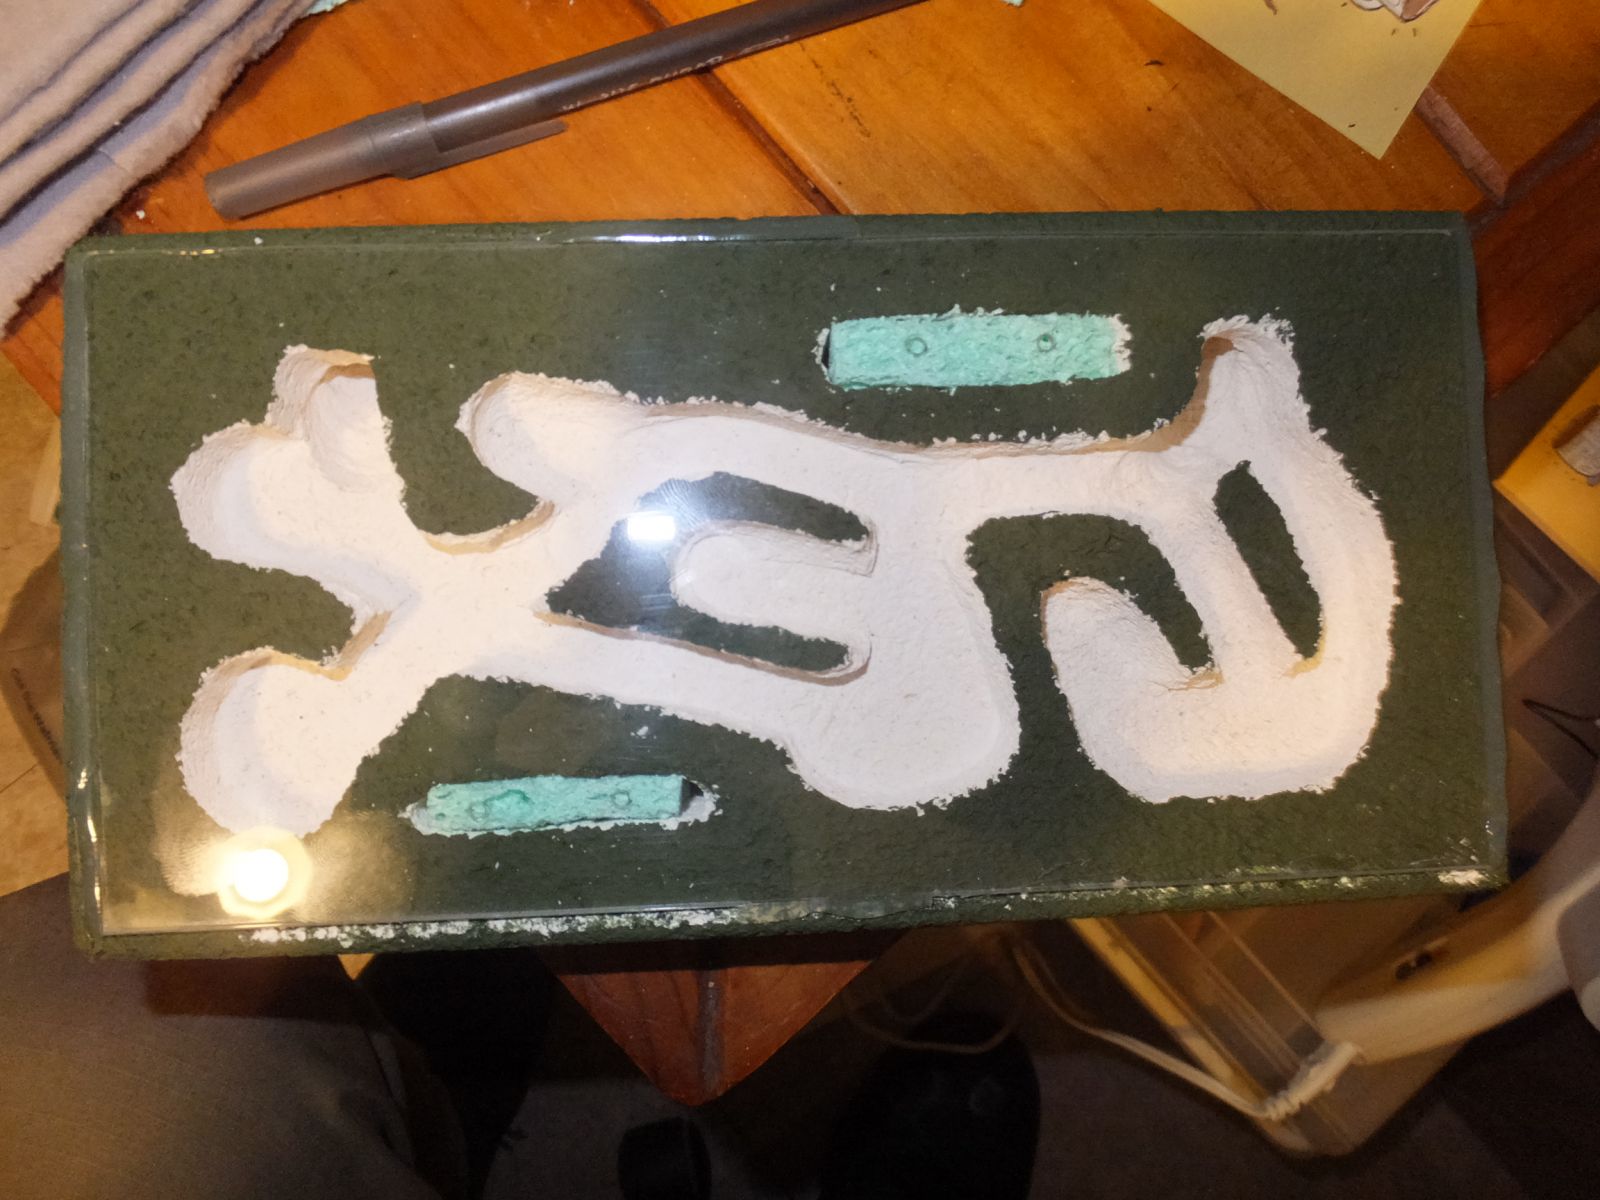
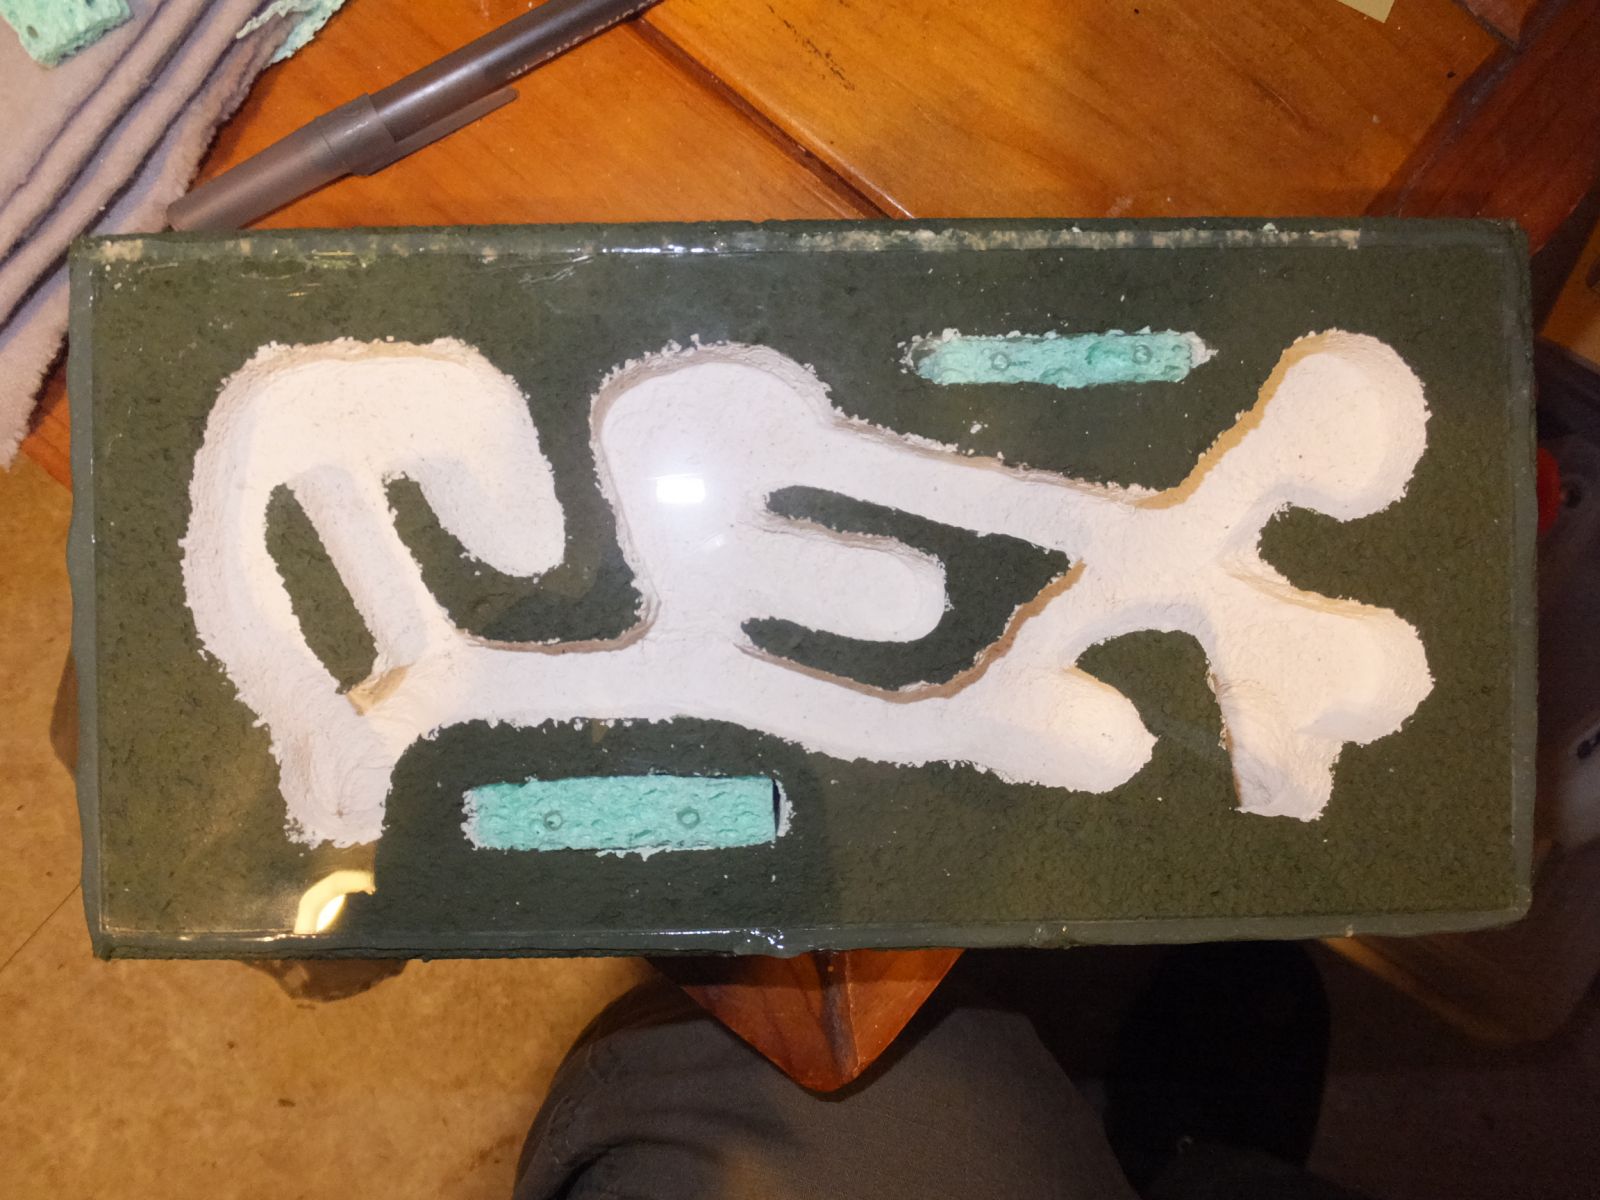
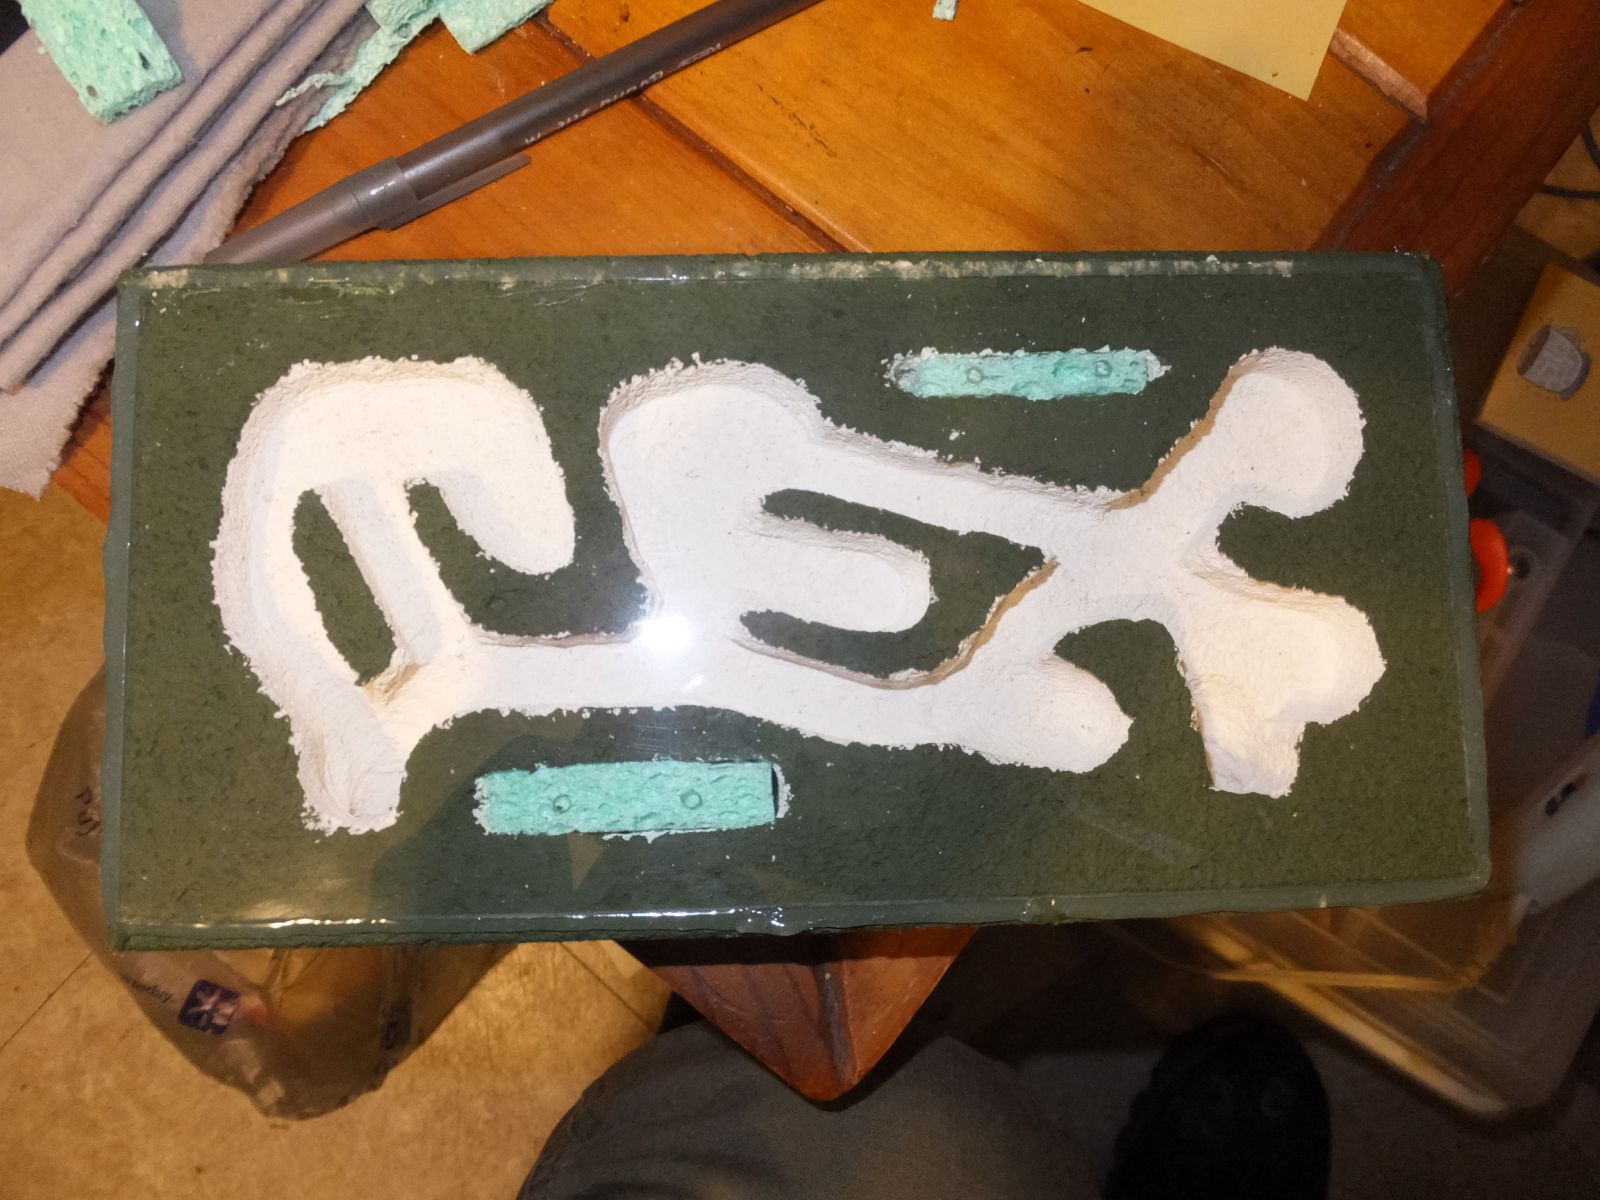
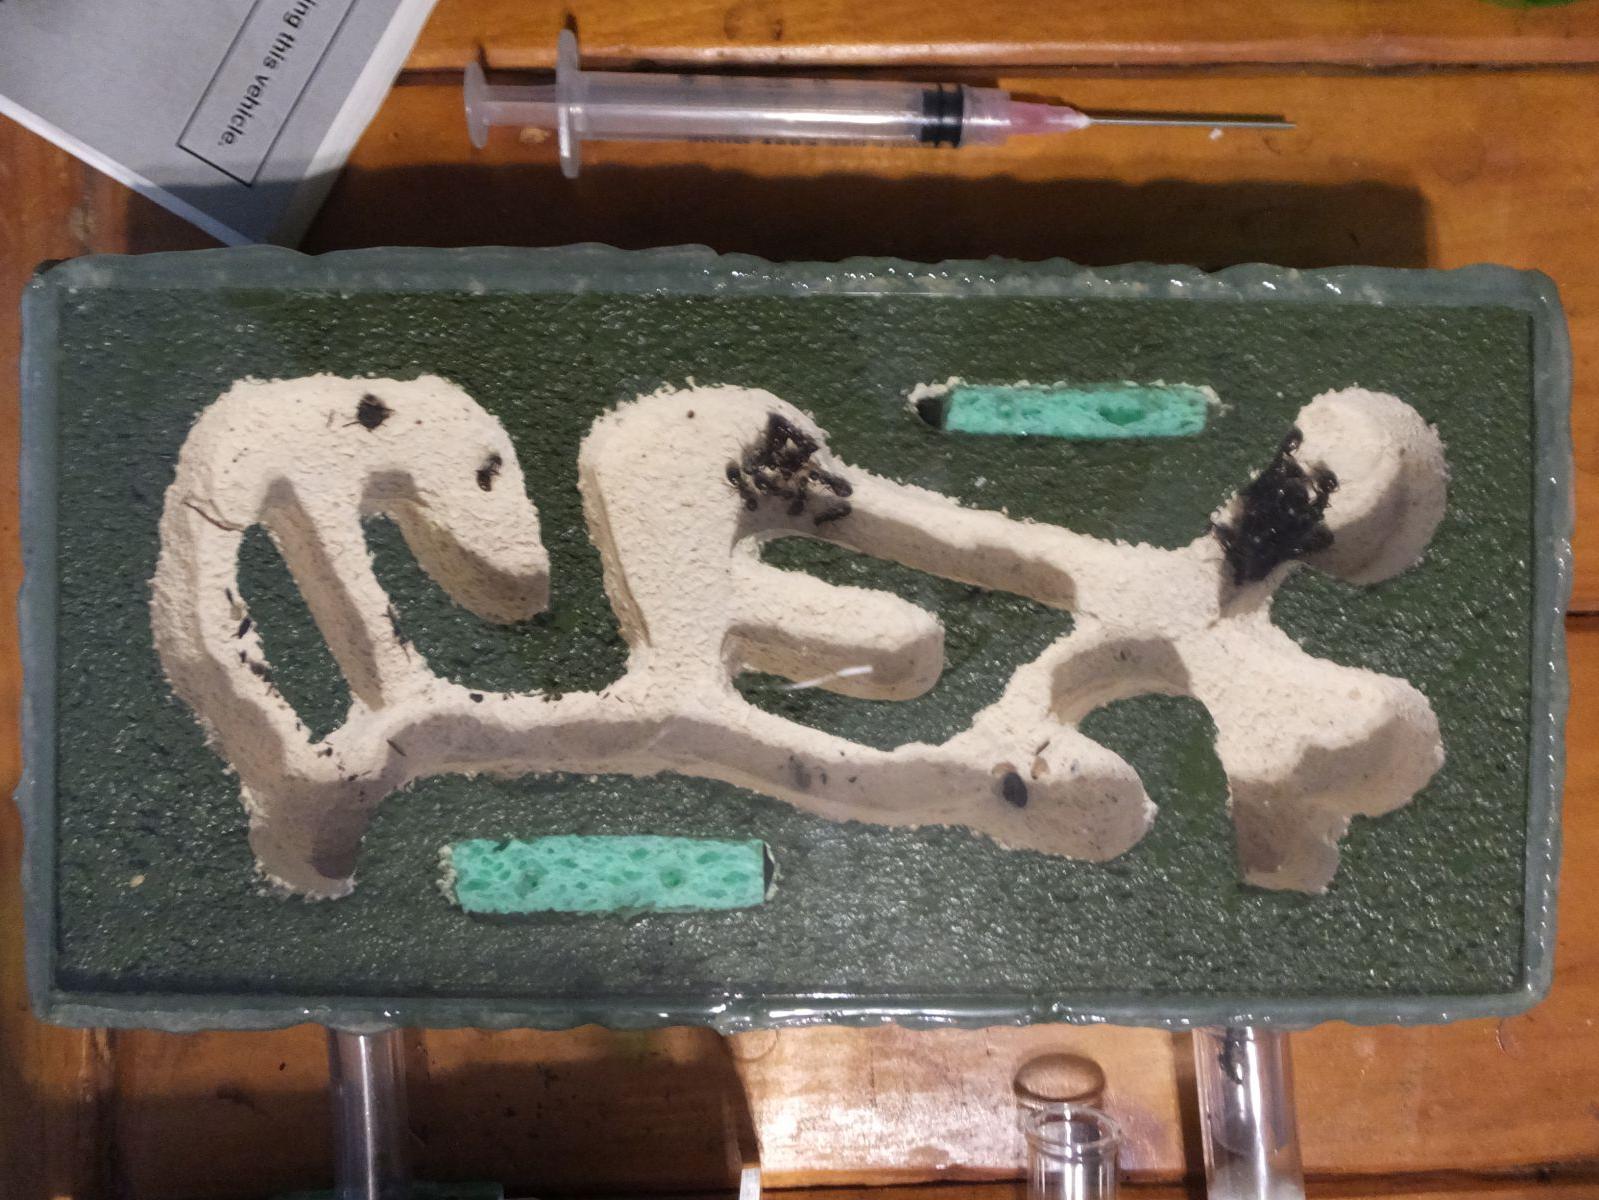
Picked up the sheet of acrylic today from Lowes, stuff is surprisingly cheap. 18"x24"x.080" sheet was only $11.00, which gives me enough for 16 4"x8.5" covers.
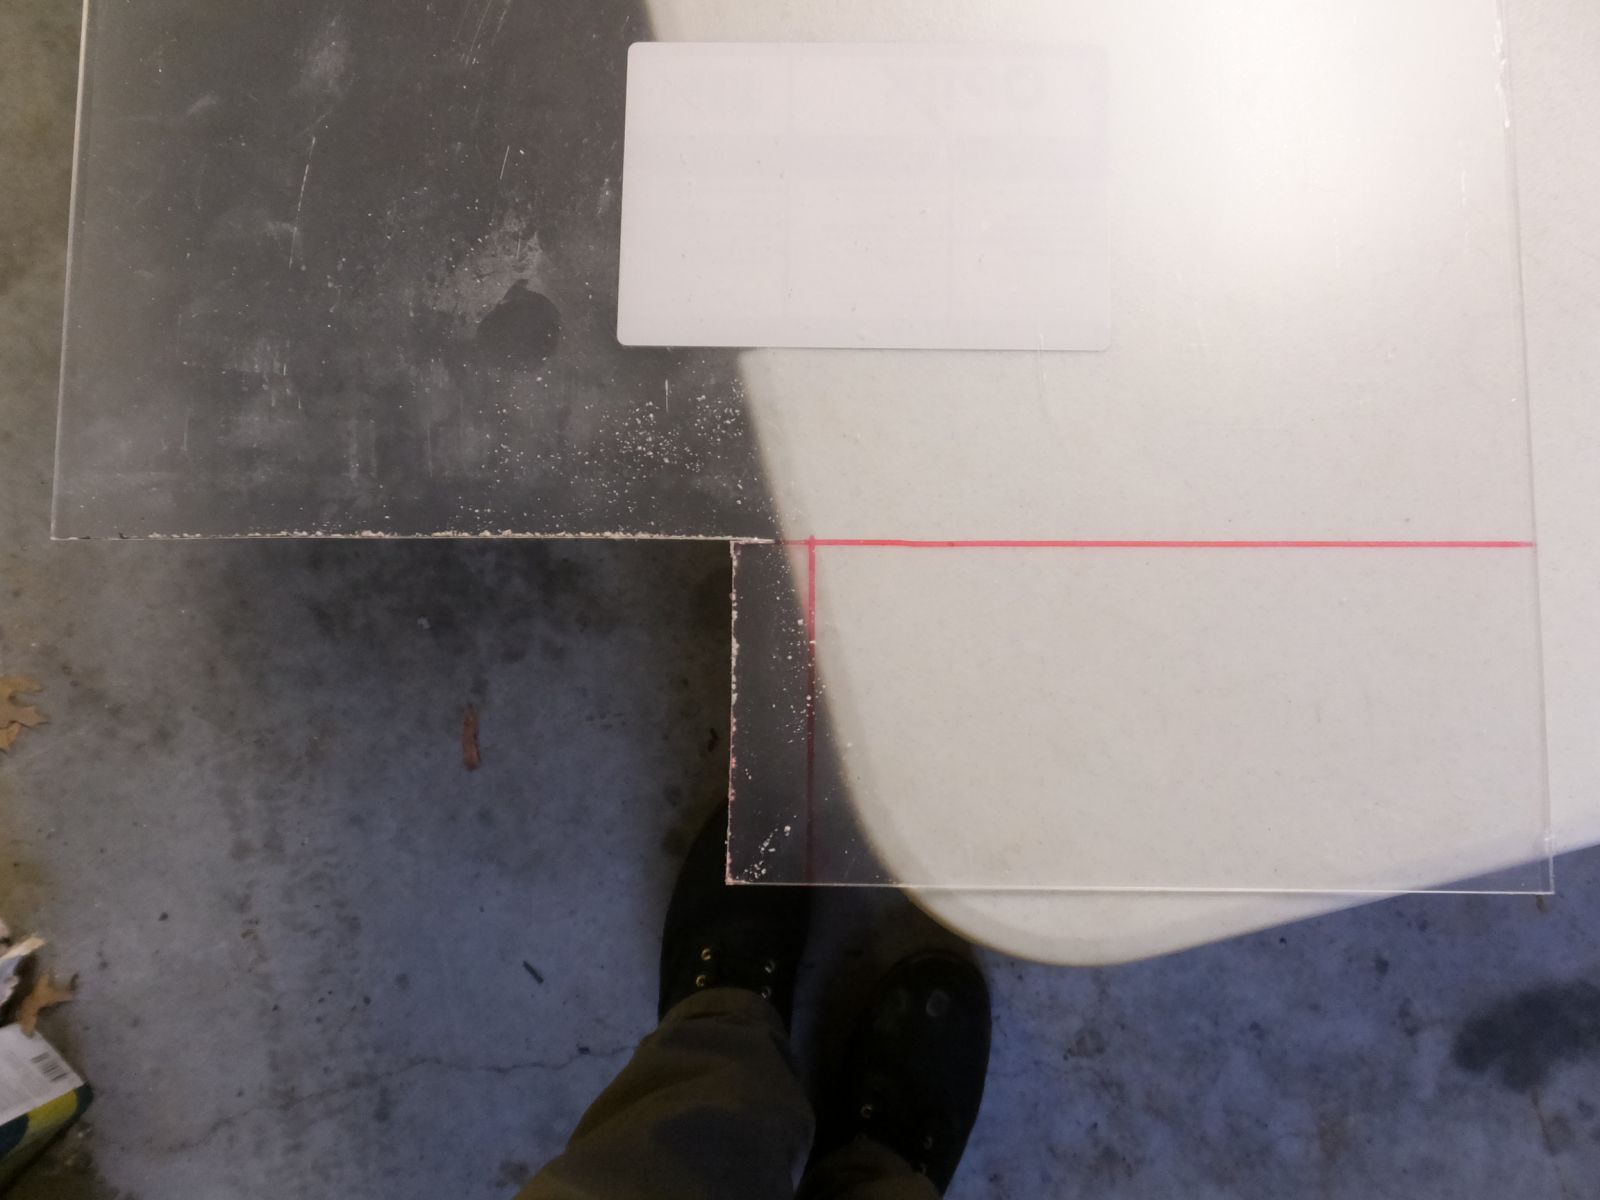
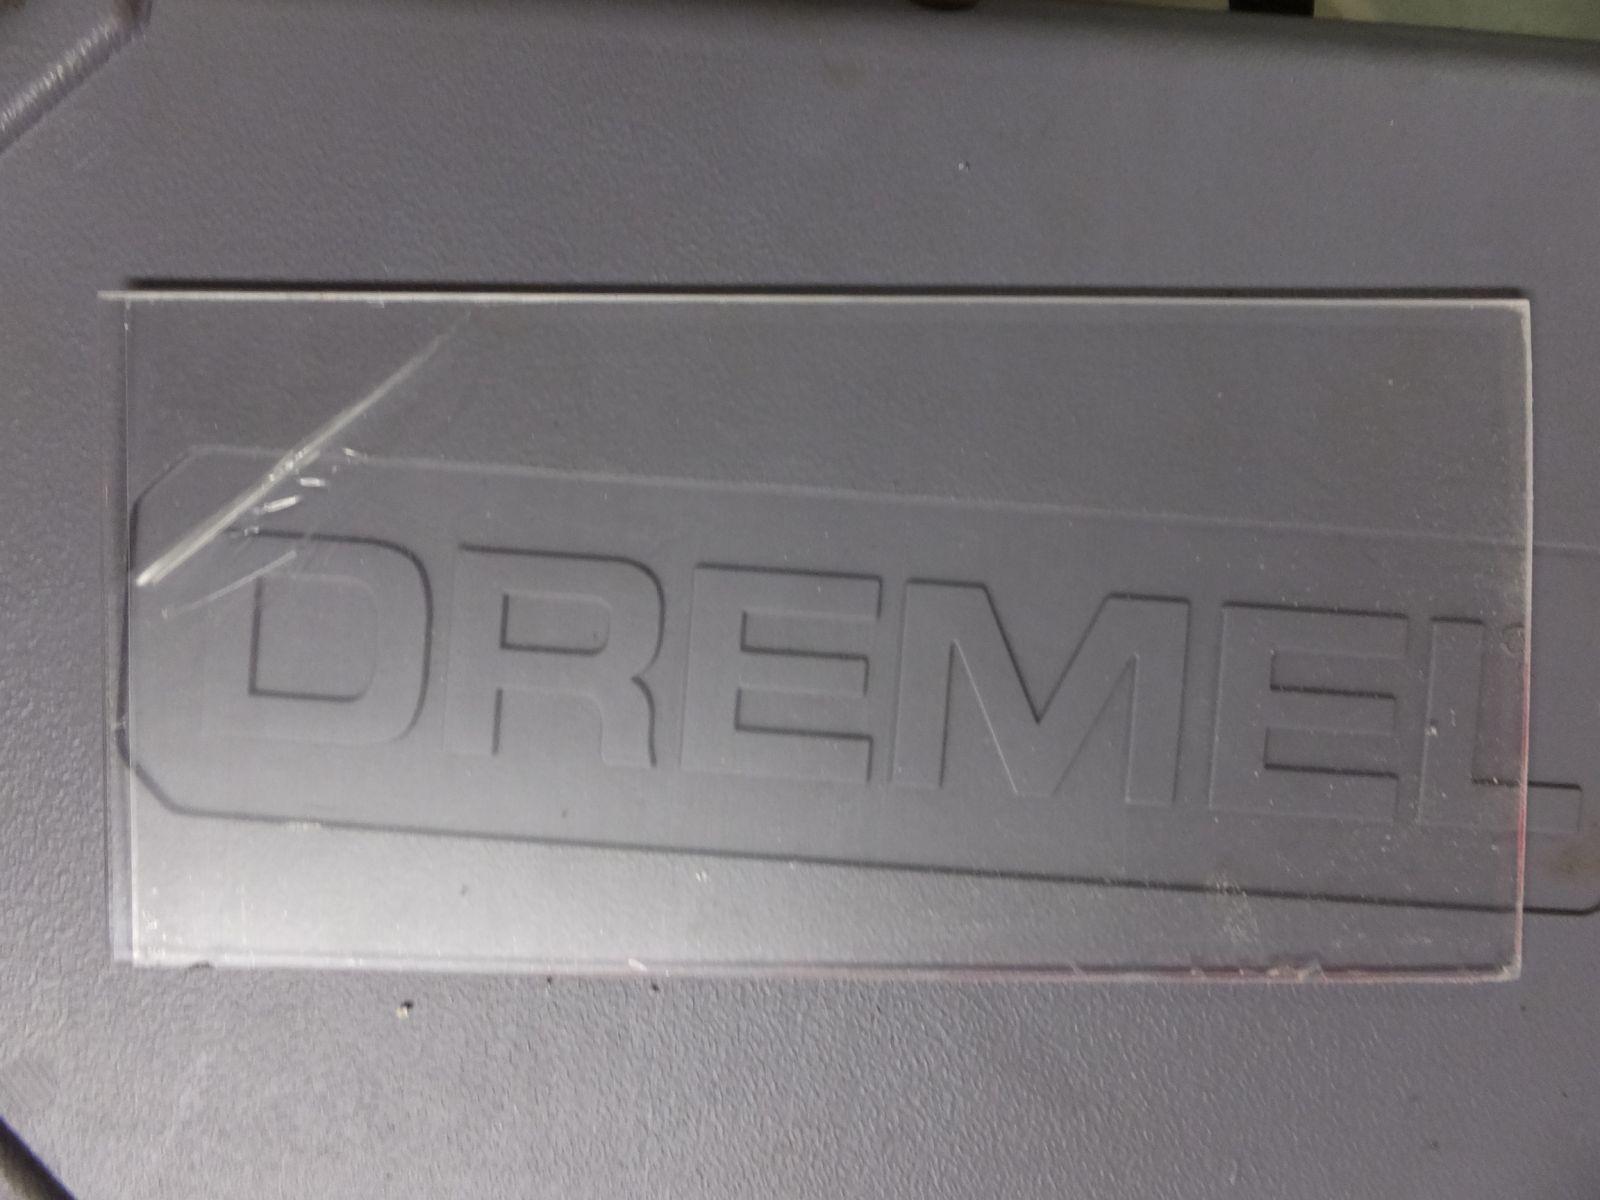
I decided to cut the sheet to the 4" side first. I used a hacksaw with a metal-cutting blade to cut it, the saw I used for the brick was too coarsely toothed. The sheet is wide enough to cut out 2 covers, but I only need 1 for now so that's all I'll do.
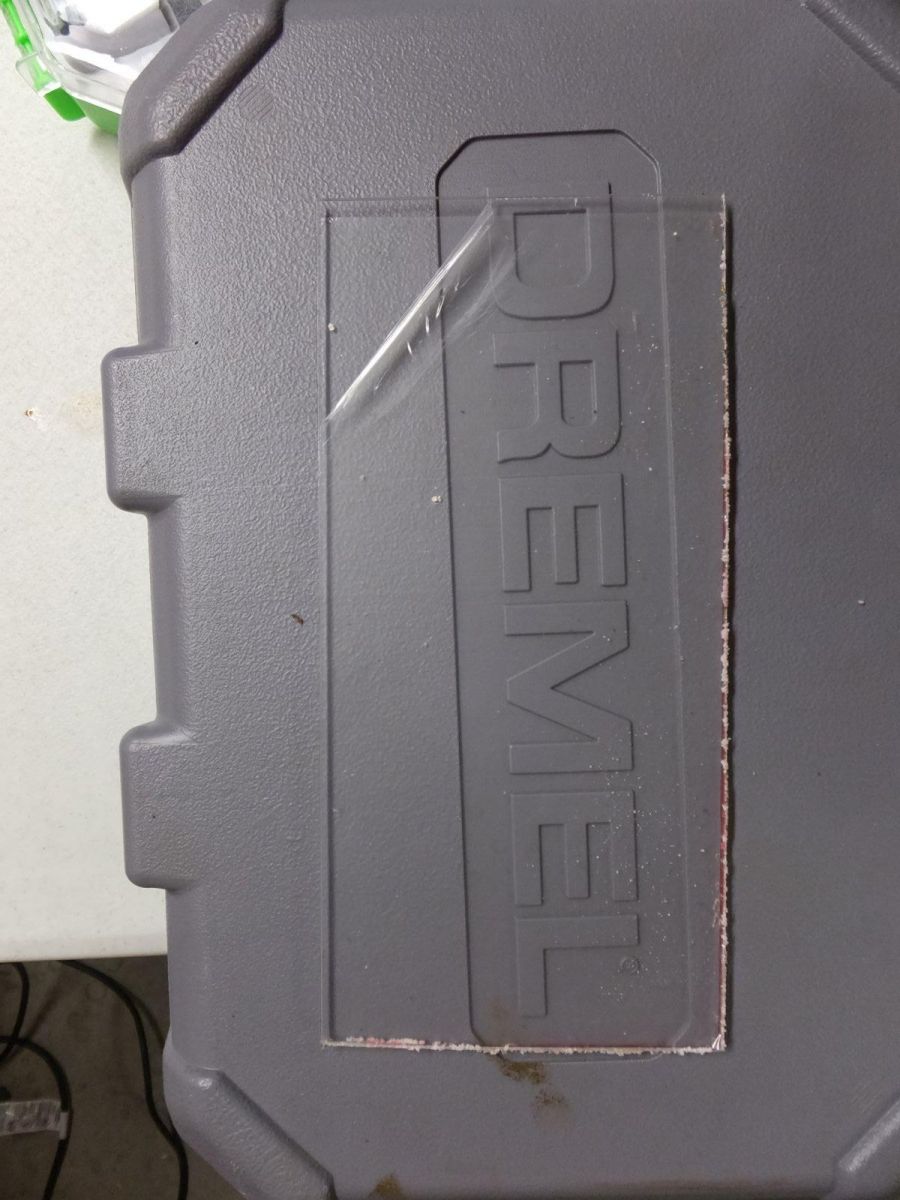
After I cut the cover out of the sheet, I noticed the edges where I cut were not very smooth. I used some 120-grit sandpaper to smooth them out and get rid of the little bit and pieces left from me cutting. For those of you who don't know, acrylic sheets come with a protective plastic film on both sides that you peel off when you are done cutting the sheet to size, that's what that triangle is in the corner, not a scratch. I haven't peeled it off yet, as there is still one more step for the cover before I put it on the nest
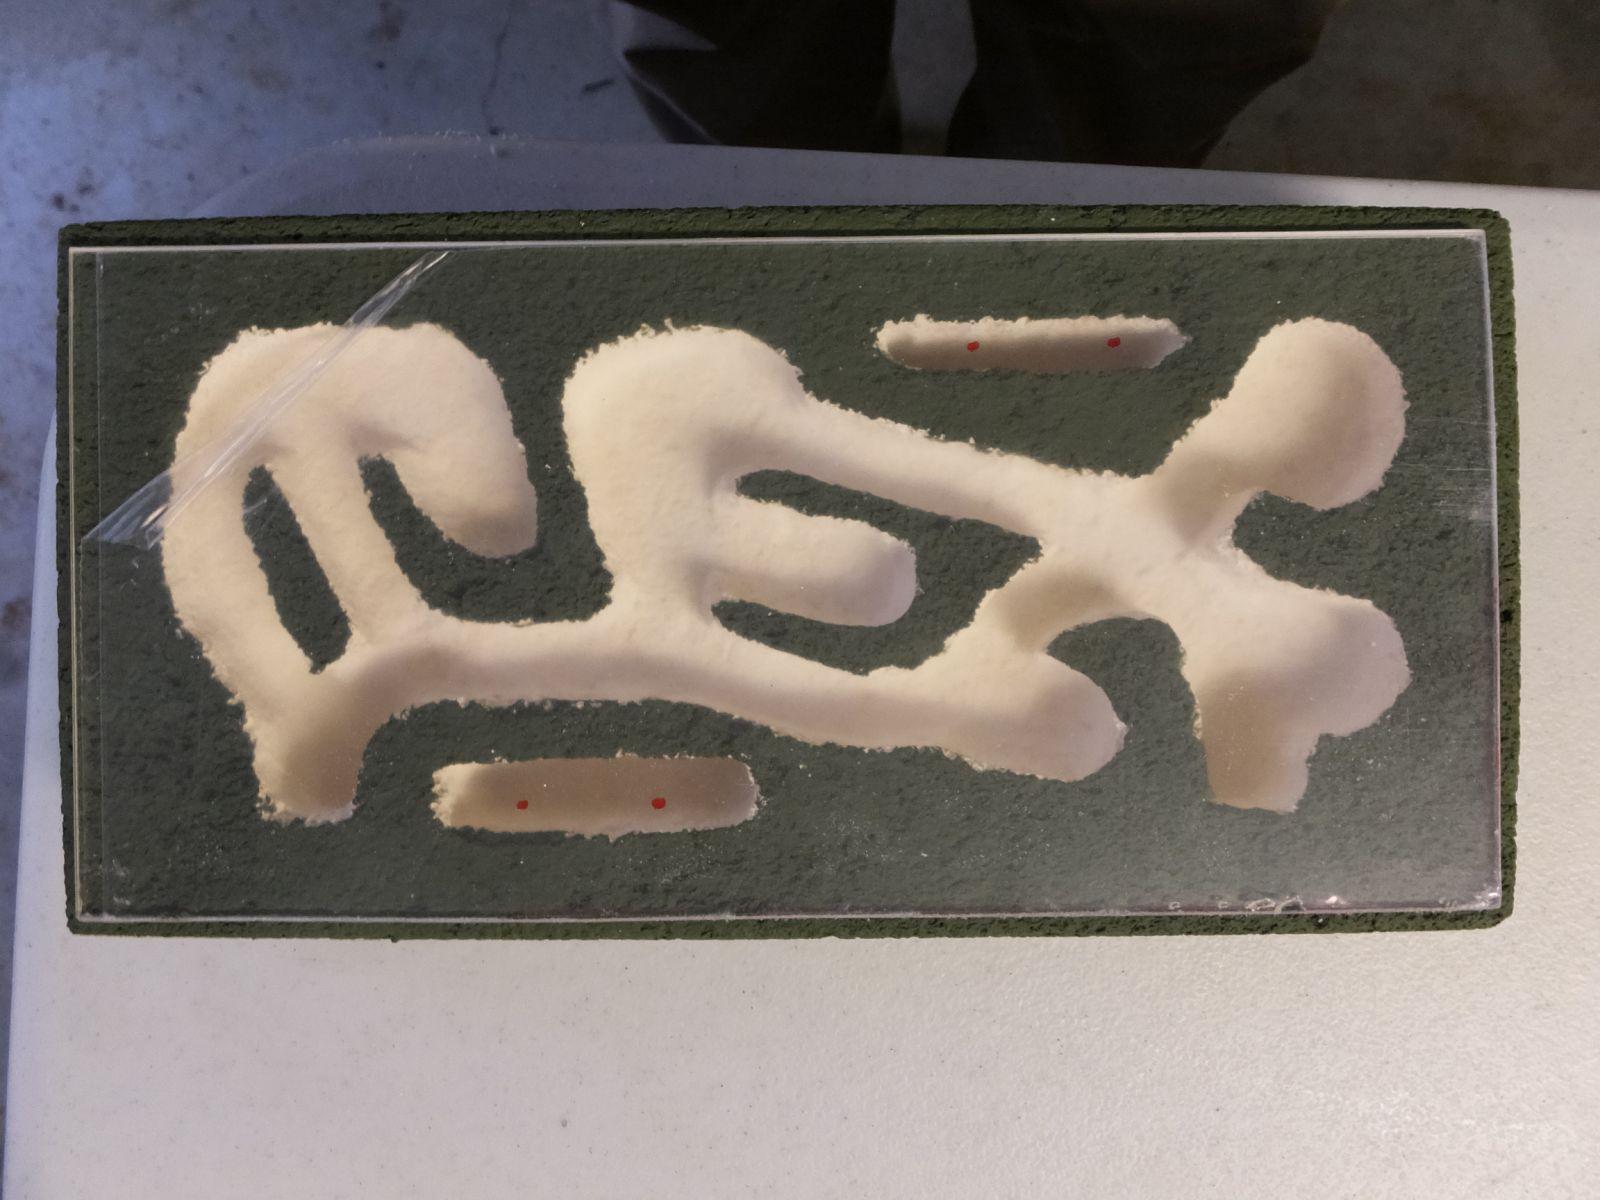
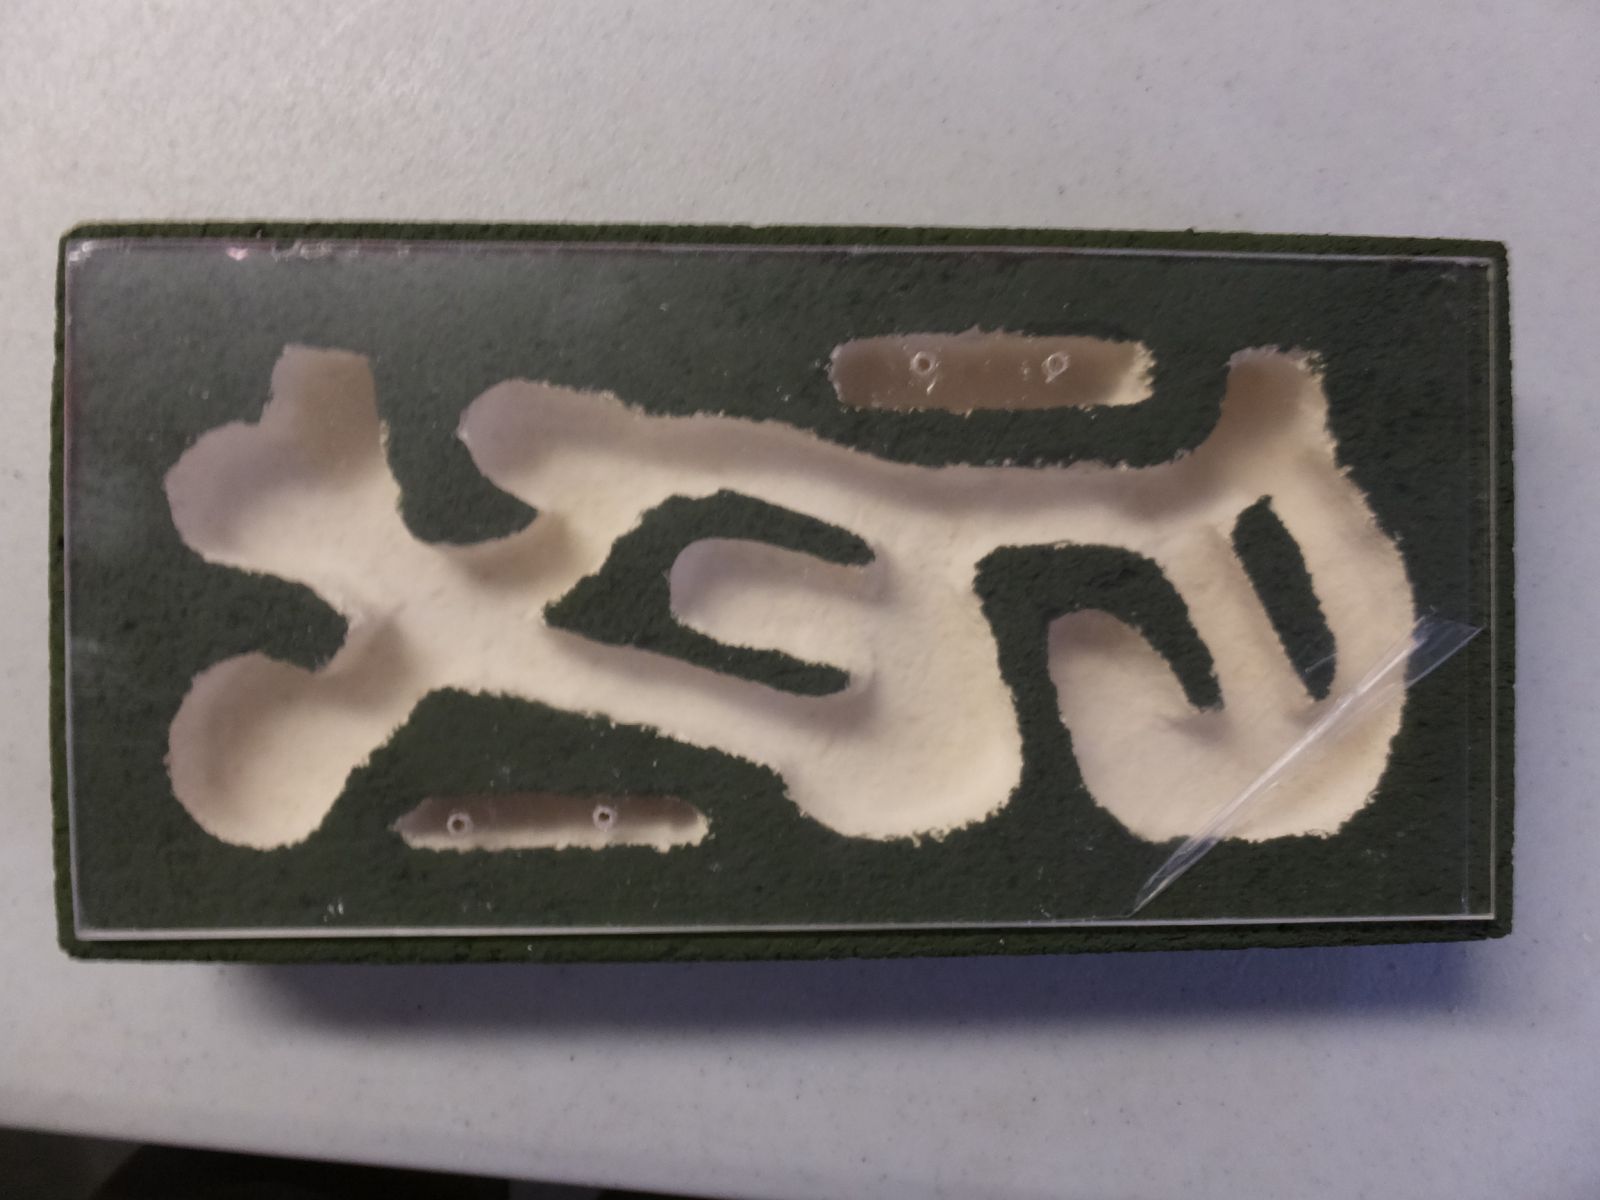
Next thing to do is to mark and drill the holes you'll use to hydrate the nest. I used a 3/32" drill bit for the holes which is just big enough for my syringe tip to fit through.
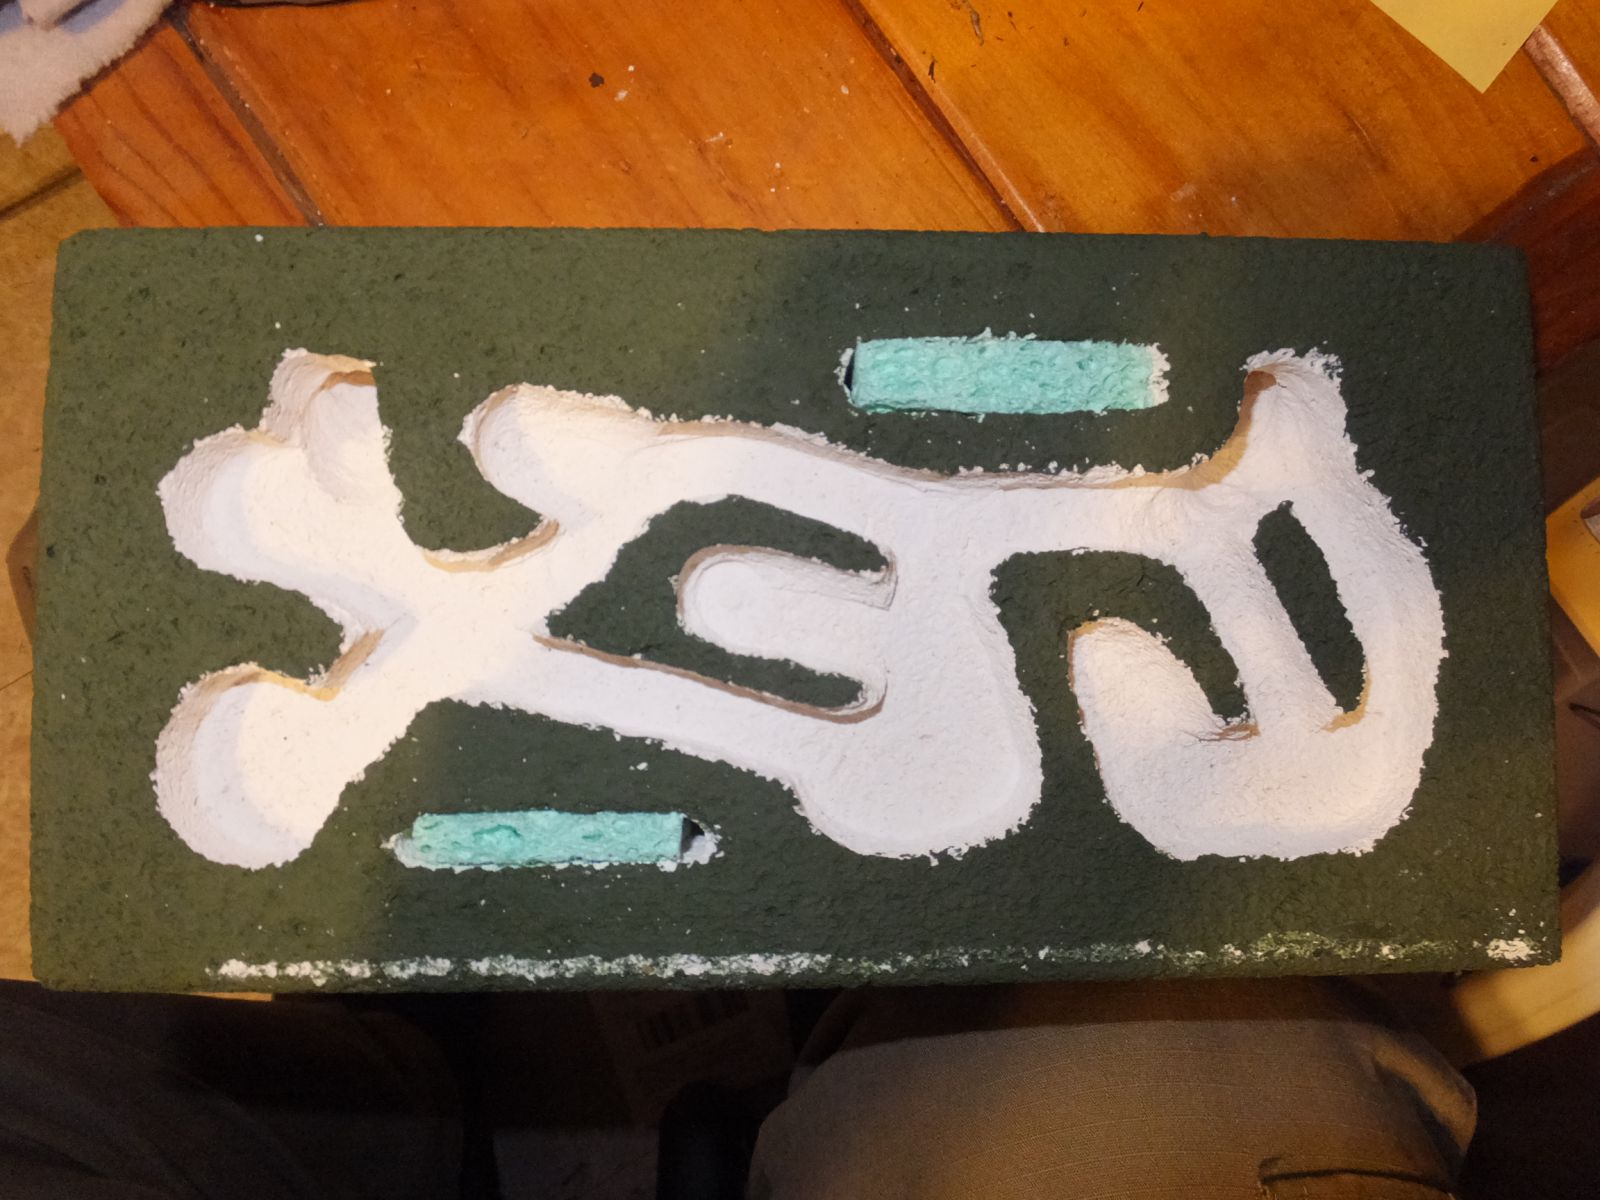
Last thing to do before glueing the cover to the nest is to cut a sponge down small enough that it just barely is compressed when you put it in the hydration chambers. I found a pen or skewer is really helpful for getting the sponges down in the chambers, as the sponge acts like velcro against the brick.
I debated whether I wanted to use silicone or hot glue to attach the cover, but ultimately decided on hot glue as it's cheaper, more readily available to most people, and you don't risk wasting most of a tube if you don't plug the tip well. My hot glue gun is a multi-temp, I used the high temp for this. I see no reason why a low temp wouldn't work though. To make sure you keep the cover perfectly squared up while you do this, you can use a clamp to hold it in place. Just be gentle, the brick is very soft and you don't wanna ruin all the hard work you've put in. I chose instead to hold the cover and push it tightly against the glass on one edge while I ran a bead of glue about 1" long. I blew on it to cool it down faster while still holding it down, then did the same thing for the other three sides. Once you've done that, you don't have to worry about it moving out of place at all.
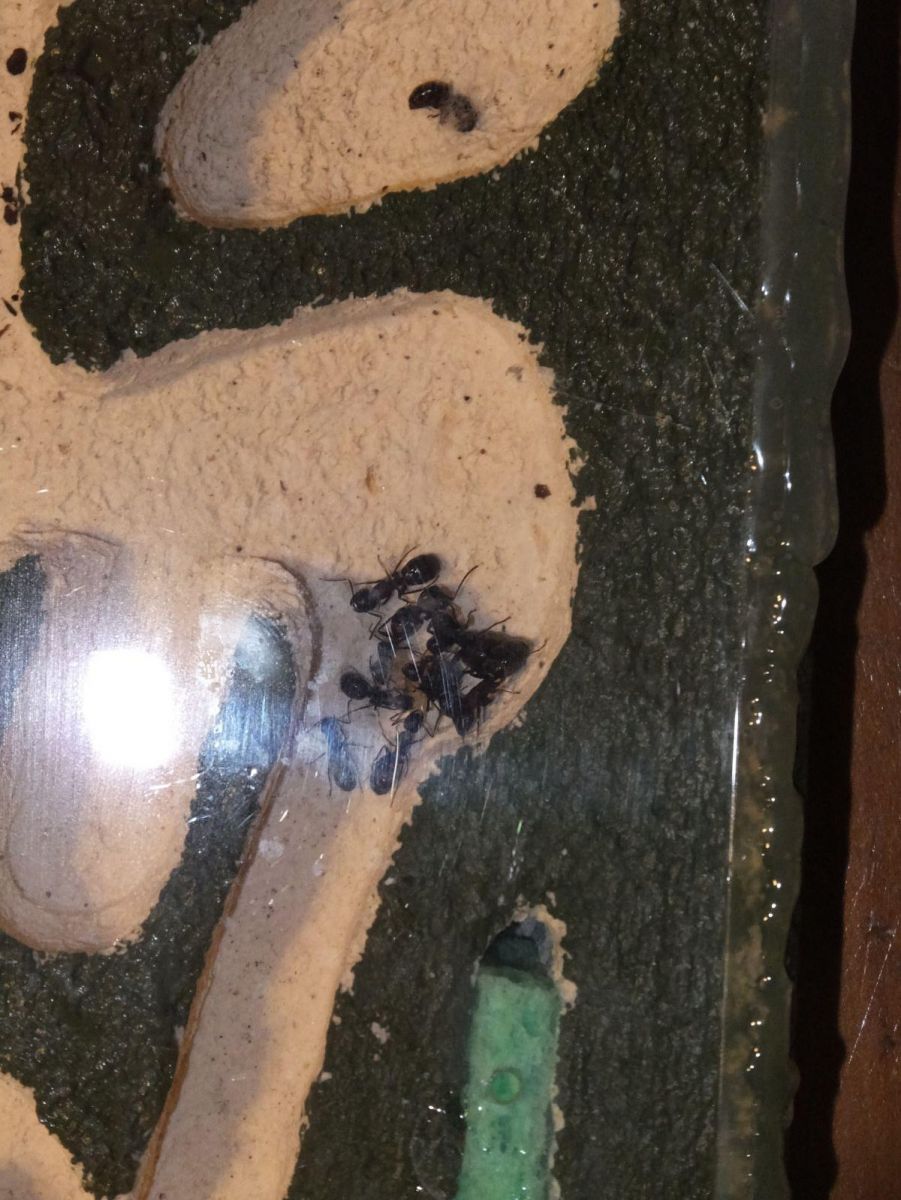
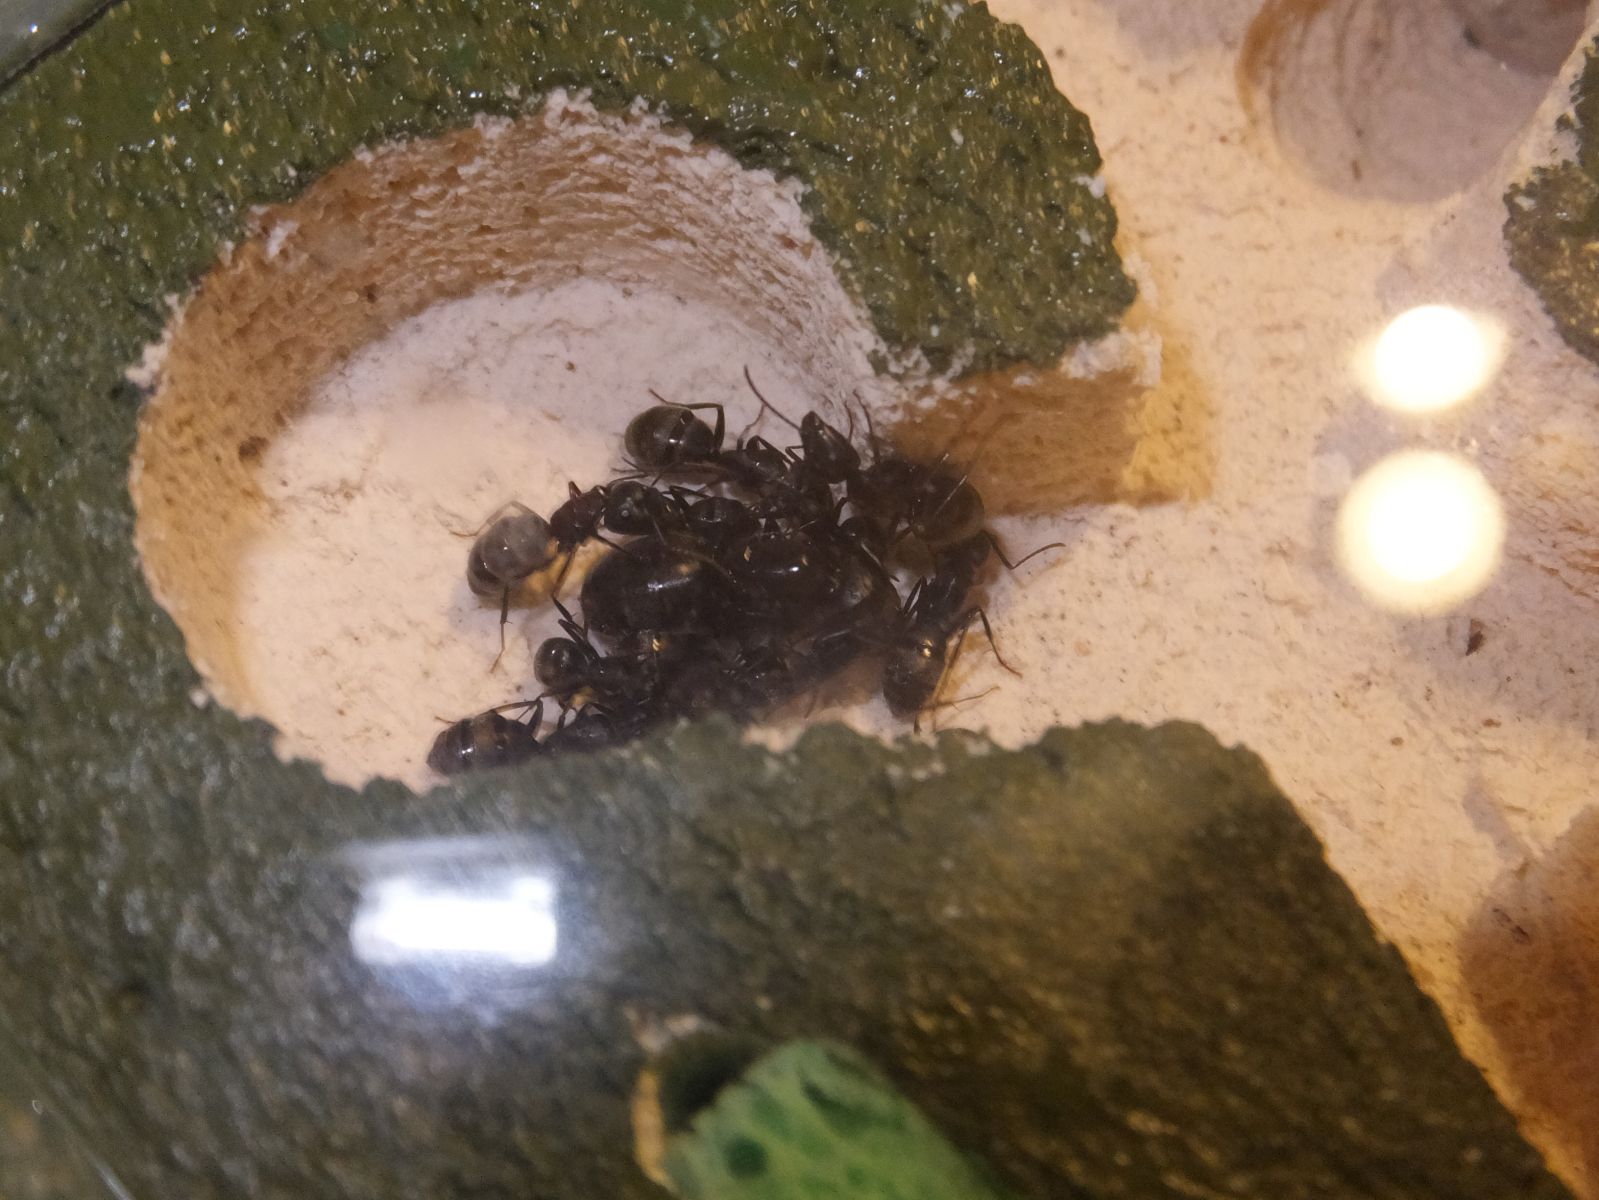
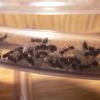
And here she is, all done and pretty! Come spring, I will definitely be moving my Camponotus pennsylvanicus. in here, as they are living in a large Omni nest right now and just don't need that much room. In another week or two, I'm probably going to start a new thread following the next formicarium I make. Just to tease you guys and gals a bit, it'll be a vertical 2-sided nest.
My current colonies:
1x 4 queen Myrmica colony, roughly 30 workers
1x 3 queen Myrmica colony, roughly 20 workers
2x Tetramorium Immigrans colony, one with probably 500 workers and the second has around 200
1x Pogonomyrmex Occidentalis colony from THA, about 40 workers
My 1st firebrick formicarium: http://www.formicult...ck-formicarium/
