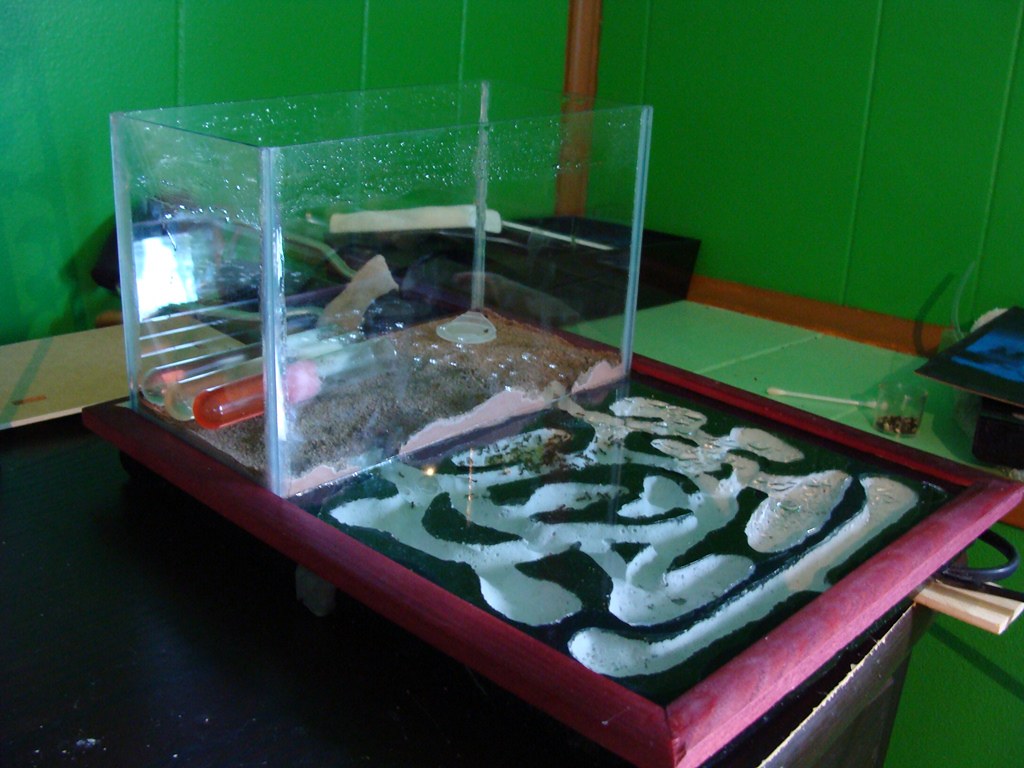
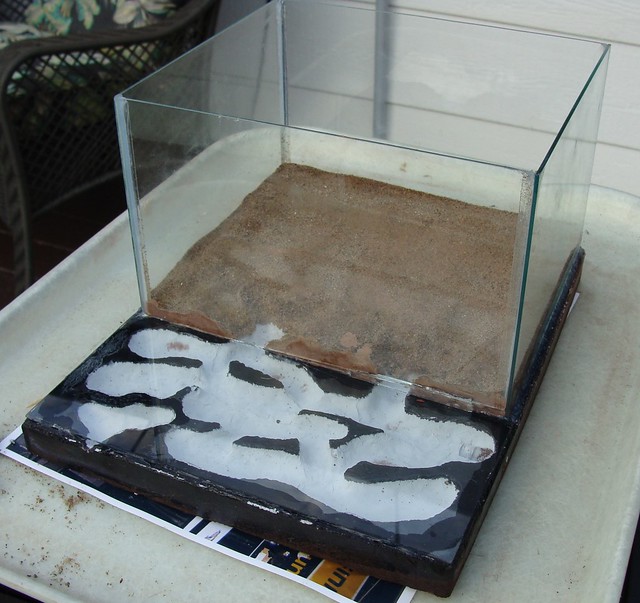
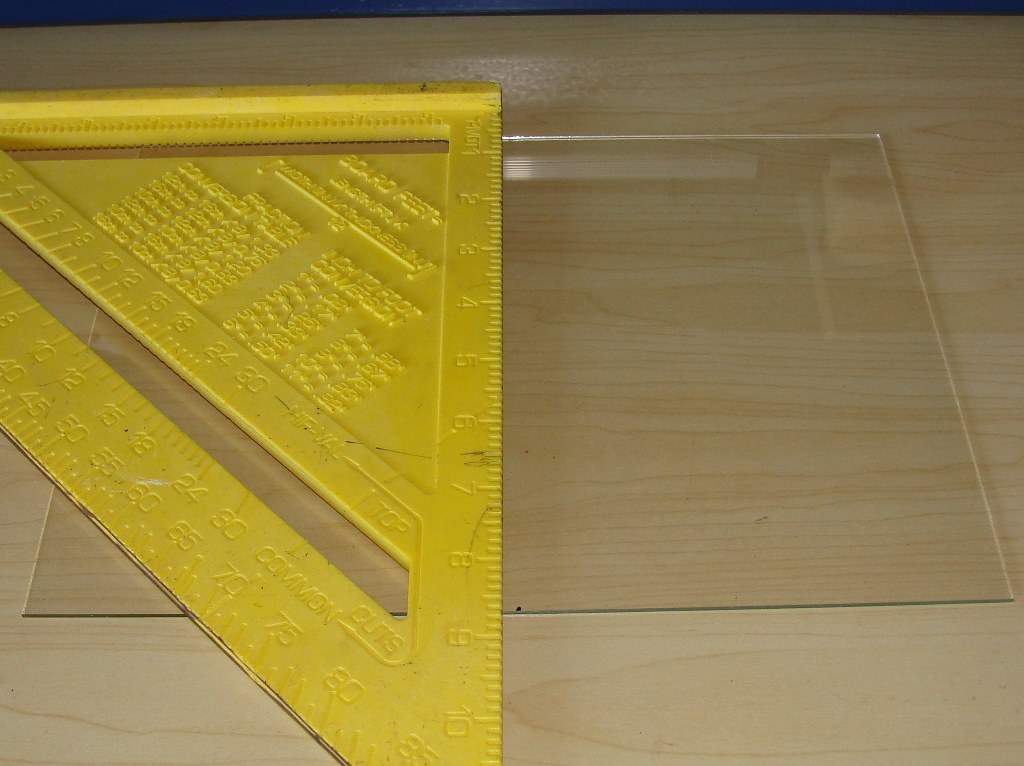
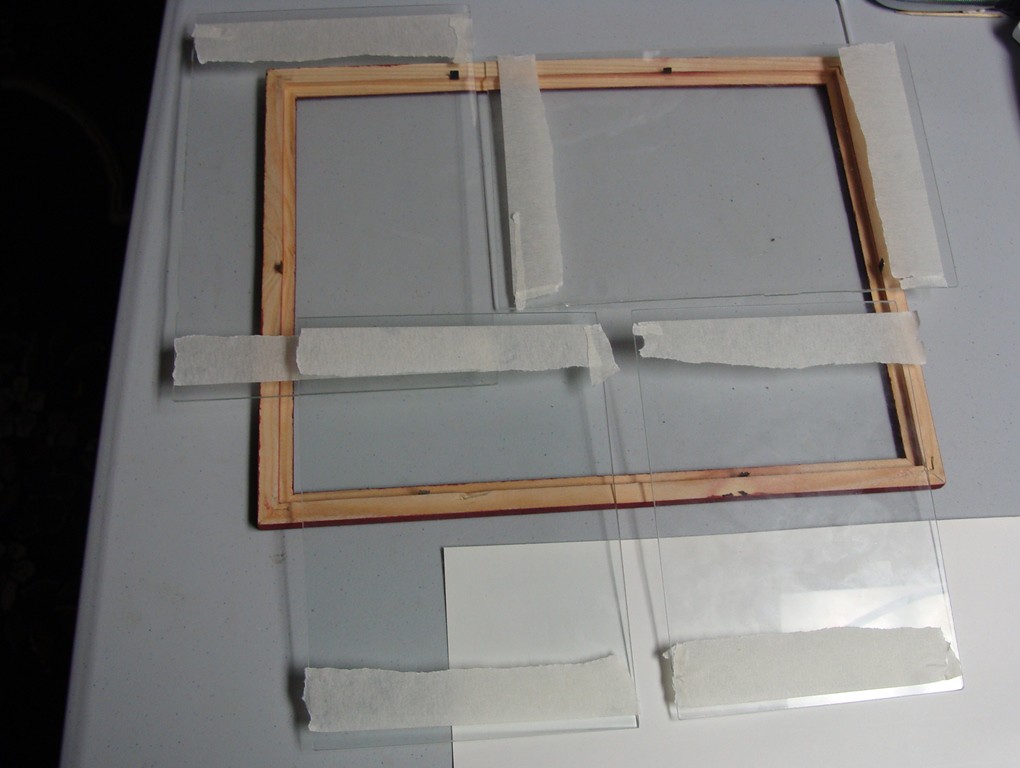
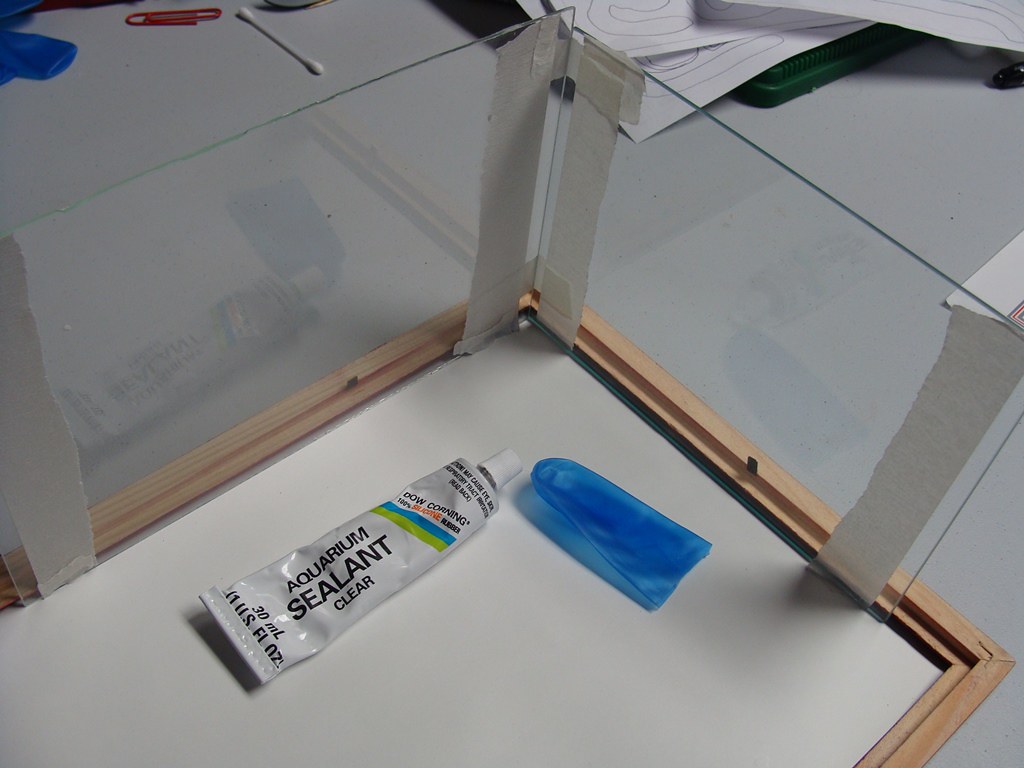
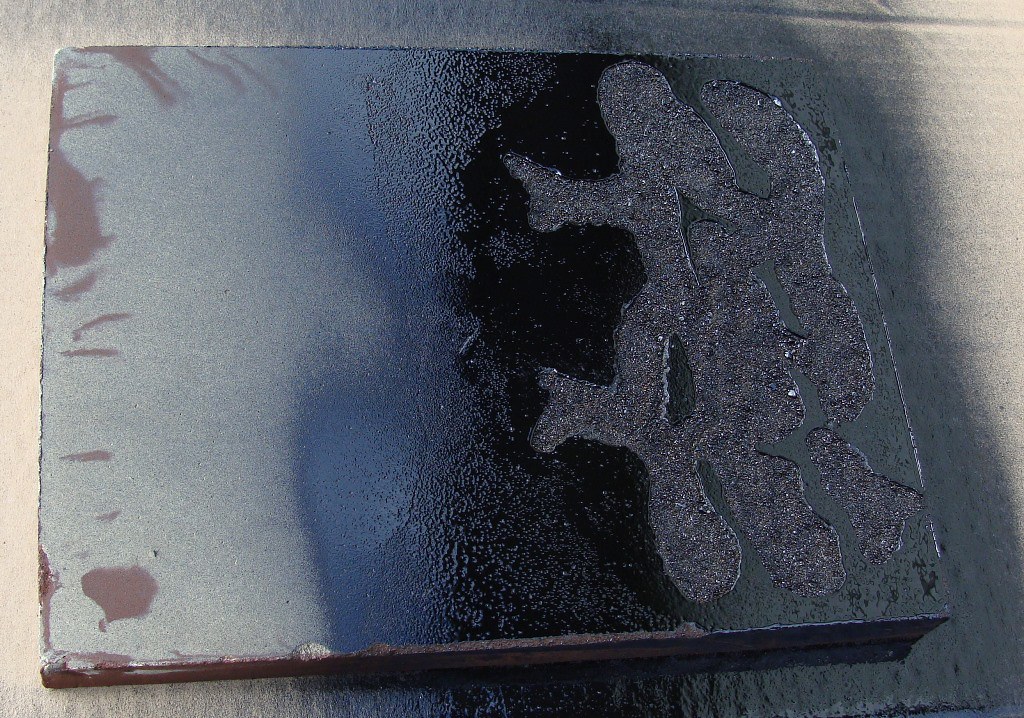
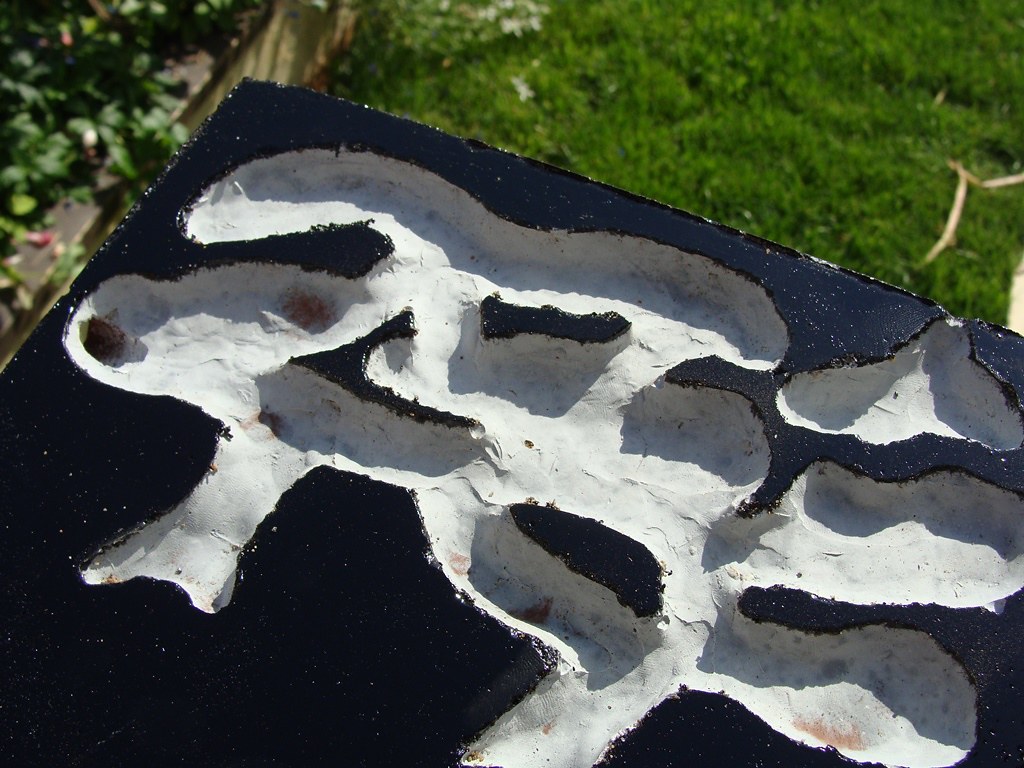
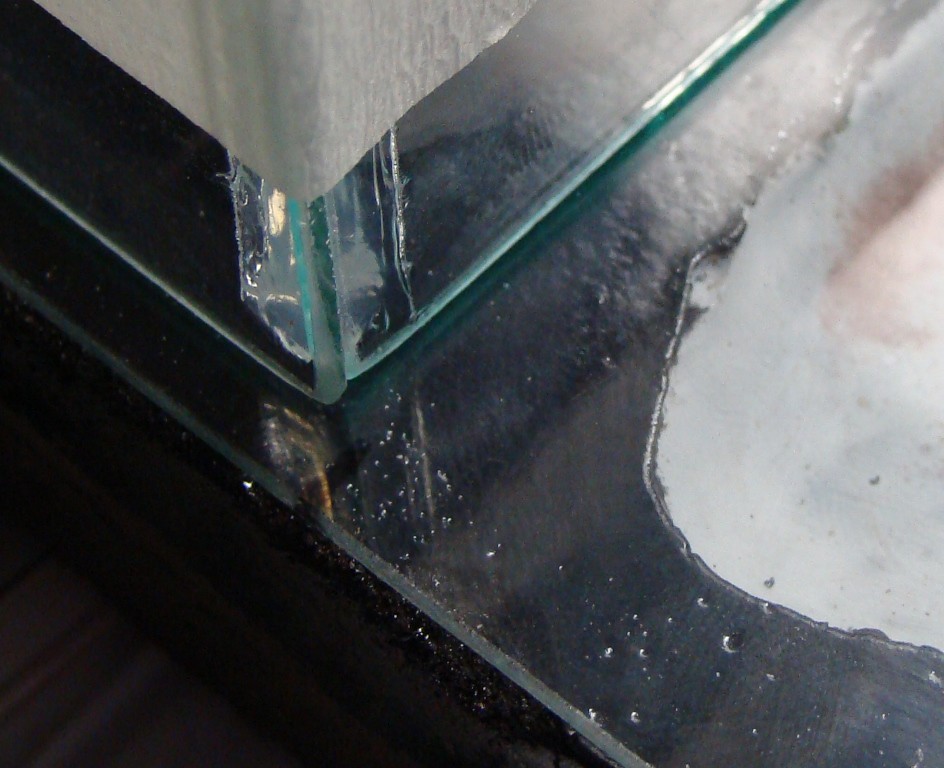
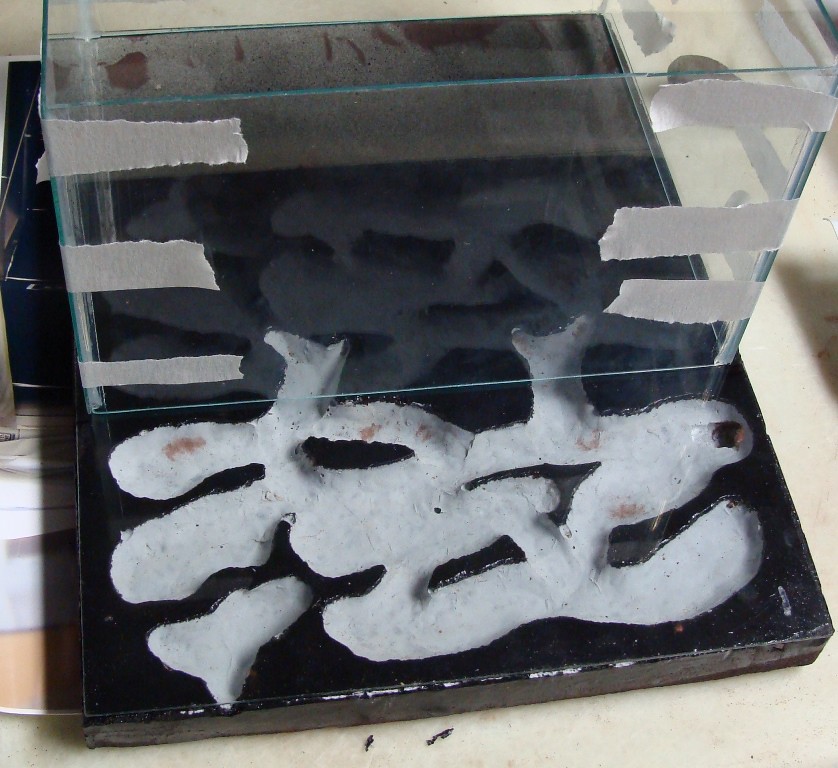
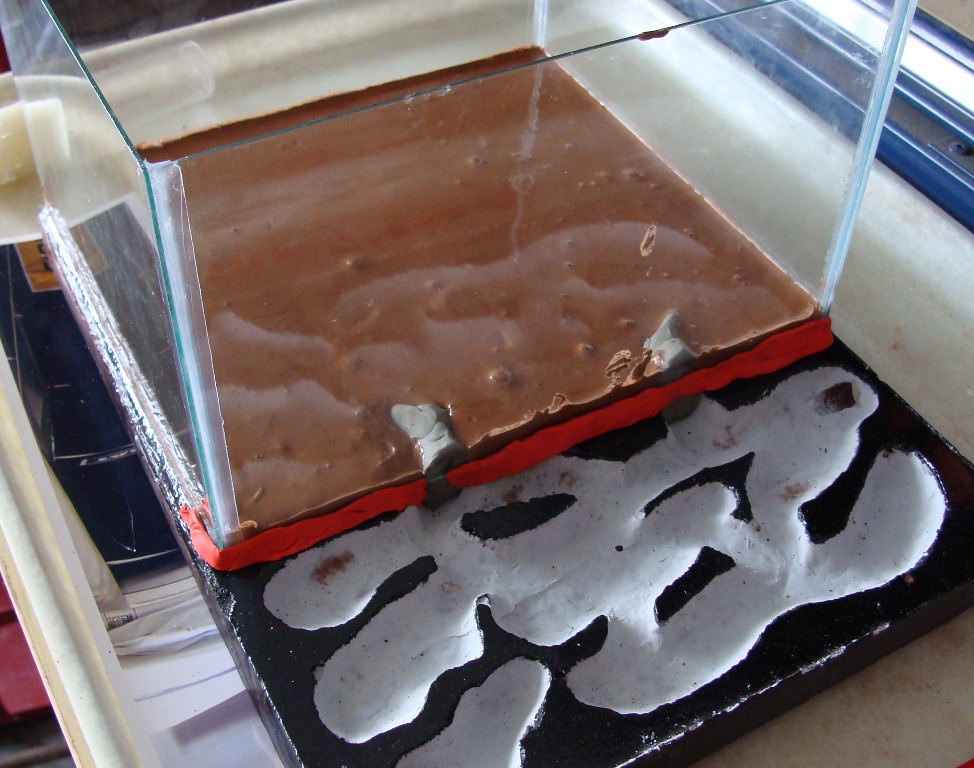
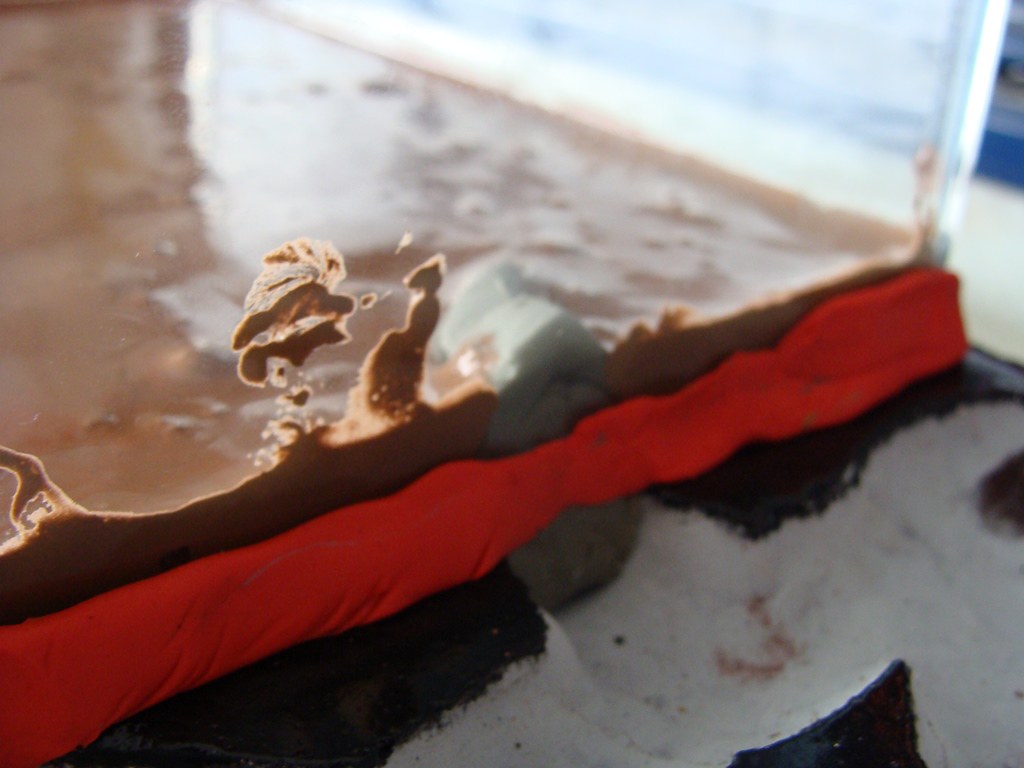
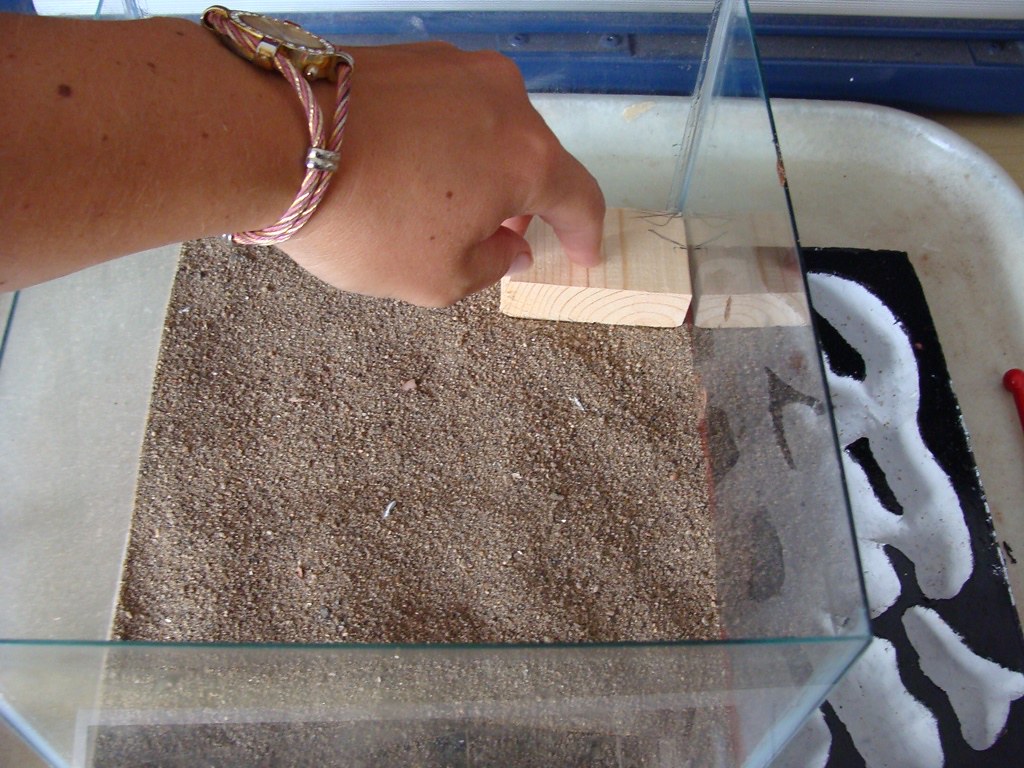
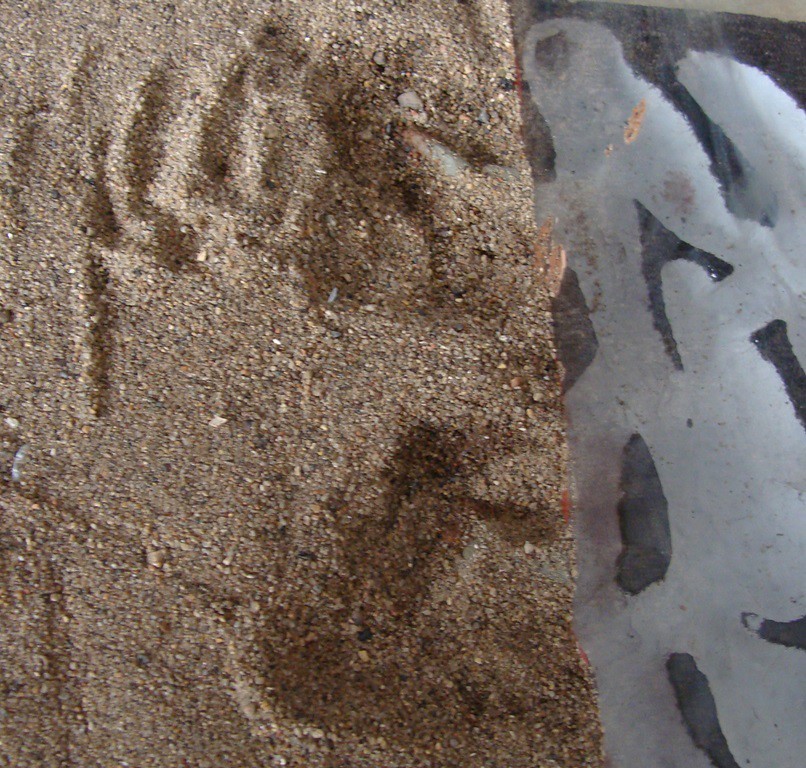
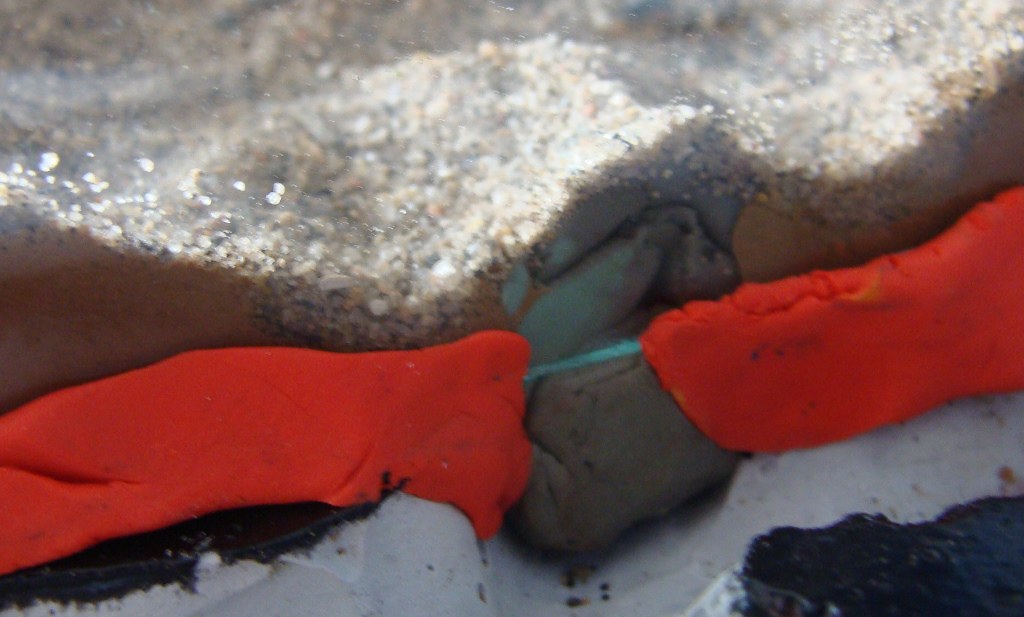
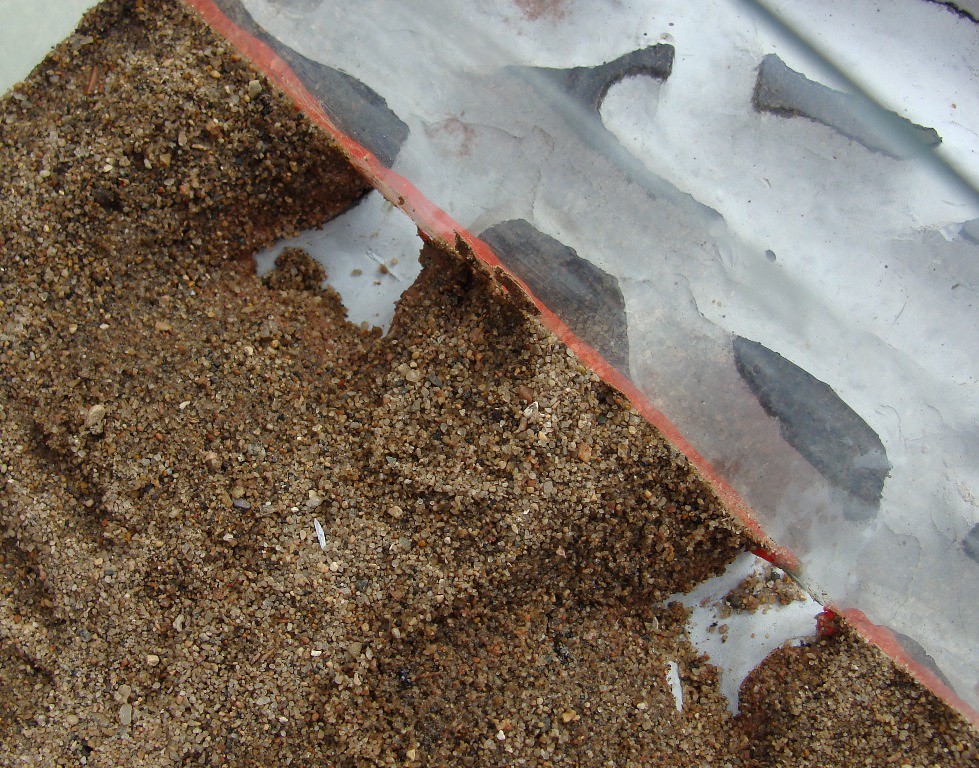
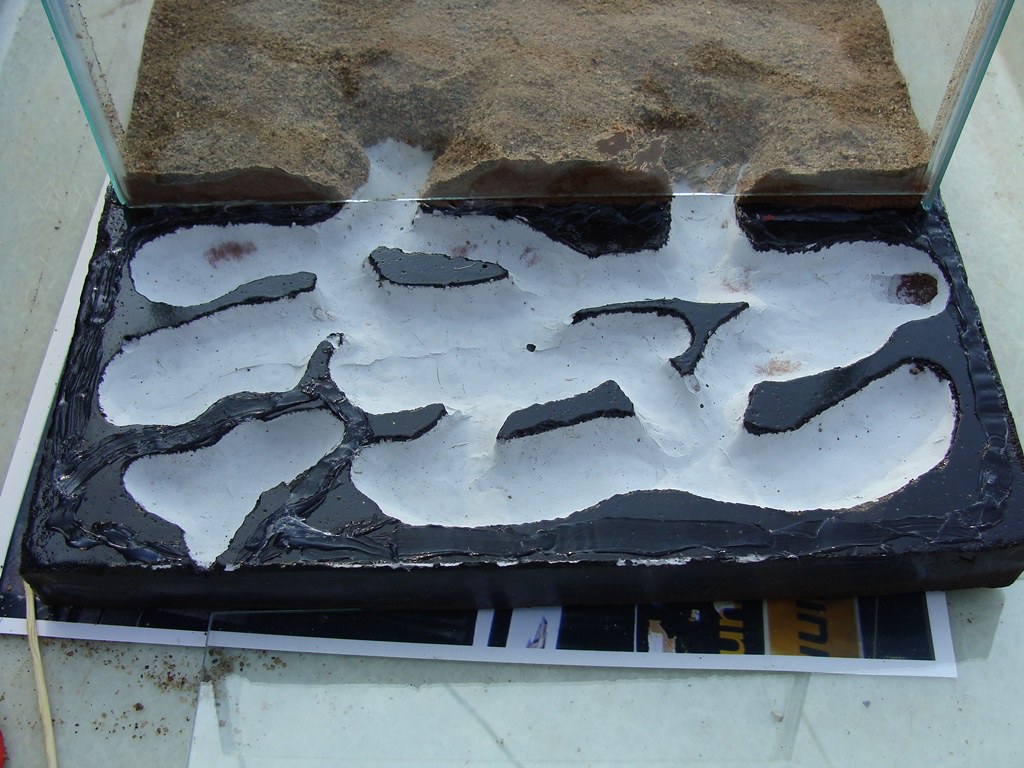
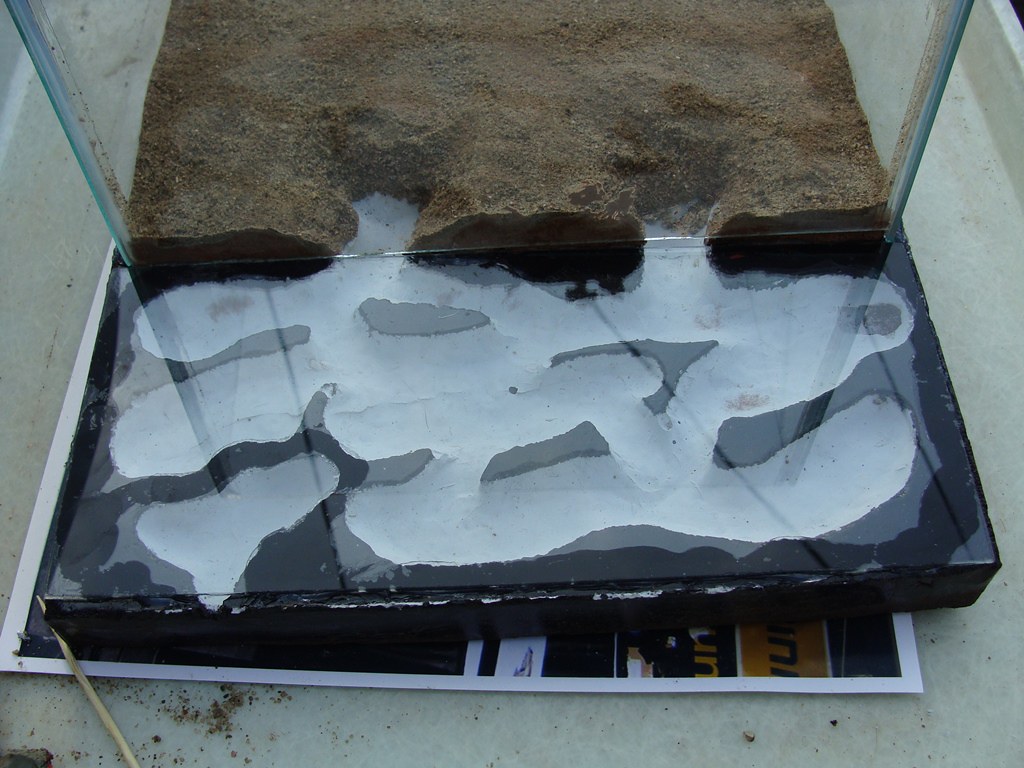
I figured I would share how I built grout formicariums as I made quite a number of mistakes when I first tried it. All I have locally available is un-sanded grout and Plaster of Paris, and I found the Plaster of Paris to get moldy very quickly. Later I found Sanded grout, and I will post my improvements/alterations after this thread.
Here is my photo journey on how I build a grout formicarium.
There are several ways to build a formicarium with un-sanded grout. I will over three different ways.
Note: I used Craftsmart modeling clay that never dries out (from Michaels for $3). Play dough and plasticine will NOT work, the grout will crack all the way through as it dries if you use them.
Container Mould Method:
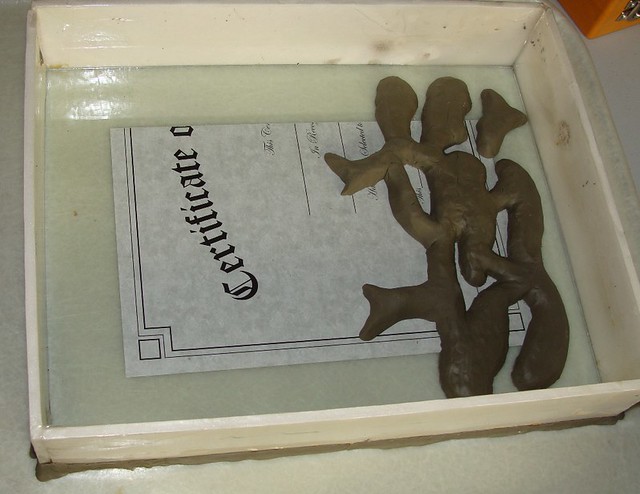
Find a container with a flat bottom, ensure the bottom doesn't flex too easily. Find, or cut, a piece of glass that will fit inside at least 1/2" away from the sides. Use modeling clay to build your tunnels and place the glass into the container. Using a paint brush, brush on virgin, or extra light olive oil. Mix 2 grout: 1 crushed perlite and add water until it is a ketchup consistency, then pour the grout mixture into the container. Pour the grout into the container. Let it dry for at least 12 hours. Then take the grout out and remove the clay. Drill your tubing entrance and watering entrance. Silicone your glass down, turn it upside down or put some weight on the glass and let it dry for 48 hours. I forgot to add the clay and just used a dremel to carve out my tunnels.

Picture Frame Method: (My favorite method)
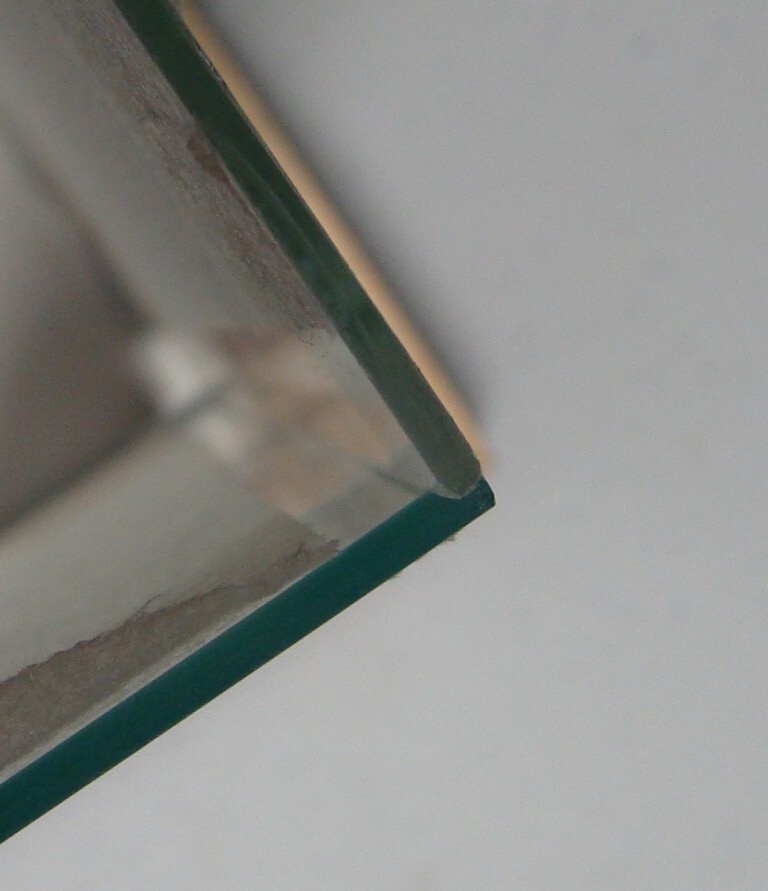
Find a nice picture frame with glass. Dollar stores and garage sales are excellent places to start. Use care when handling the glass, the edges are very sharp.
Make a frame around the outside of the glass. I like to use cardboard or lego. This will contain the liquid grout. This will ensure that your formicarium is the exact same size as your glass and the picture frame.
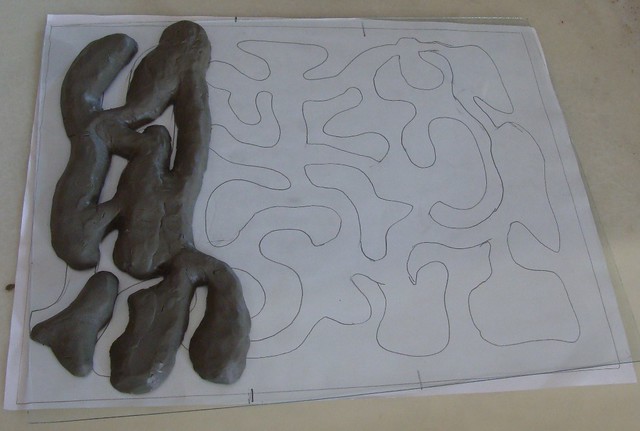
Clean your glass and get your rolling pin and clay carving tools out. I use an exacto blade, rolling pin, toothpicks, tweezers, and a small piece of 1/4" tubing.
I like to have a pattern behind the glass to follow. I use the tubing as a smoothing tool to get rid of those straight edges.

I like to have two watering systems as my location is very dry. I use aquarium 1/4" tubing and a water channel in the pattern (the sun in this one).
The tubing allows for slow absorption, while the water in the water channel creeps along the glass and slowly sinks into the grout. The water channel is faster and allows the ants a quick drink if they drink from the grout/glass joint. This allows for mor even moisture distribution. You can silicone around the water tunnel to prevent water creeping.
Find a flat and sturdy tray or board. I like to use an old serving tray. This will allow you to move your drying formicarium if you need to. It also minimizes the mess.
Brush on some virgin or mild olive oil. Ensure you get the glass, clay, tubing, and the sides of the moulding frame. Using clay, connect your watering system to the wall before oiling, or it won't stick.
We are going to use several layers of grout. Remember that grout will continue to thicken for about 10 minutes, so if it is a bit too watery, just stir for a few more minutes.
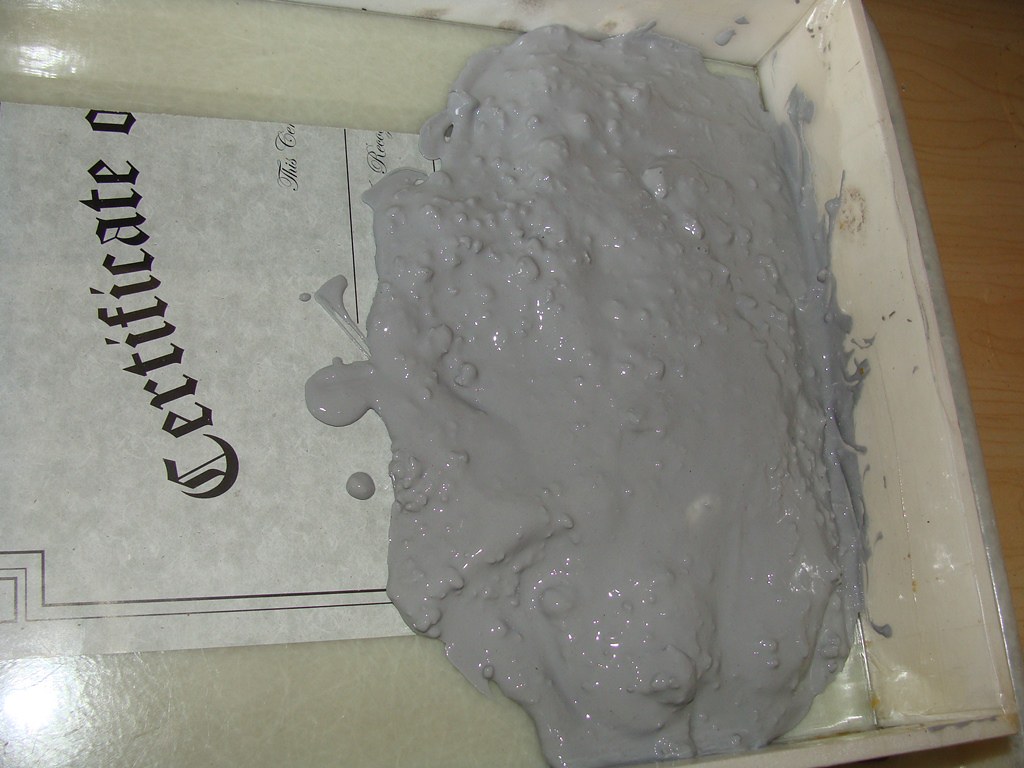
The first edging layer is straight grout. Make the mixture about the consistency of thick pudding. Place it around the edges of the frame, this will keep leakage to a minimum.
Using the thick grout along the edges, I had almost no leakage. Or you can use small strips of clay on the outside.
The next layer is also straight grout. Only this time is is more watery so no air bubbles will get trapped along the edges of the tunnels. This layer will cover the glass, but not the back of the clay tunnels. It is the consistency of pancake syrup. Use a small stick or BBQ skewer to help spread it out as you pour to avoid air bubbles being trapped.
The middle layer is grout mixed half and half with crushed perlite. I used a rolling pin with the perlite in a freezer bag to crush it. This mixture must be thick, about the consistency of thick pudding.
Carefully lift up the water tubing and put this mixture under the tubing. You don't want your tubing to appear in your tunnels. I use a pinch of crushed perlite on the ends of the tubes to allow the water an easier escape from the tubing. I also tend to place a tiny bit of aquarium filter media in the ends of the tubing to keep the grout out. You don't need much to keep the thick grout out. Then continue spreading this mixture over the clay tunnels. Don't use this mixture along the frame as it is quite porous and lets the water travel fairly easily.


Keep in mind that straight grout and grout with perlite in it have noticeably different coloration once dry. This is why I keep the perlite mixture away from the glass.
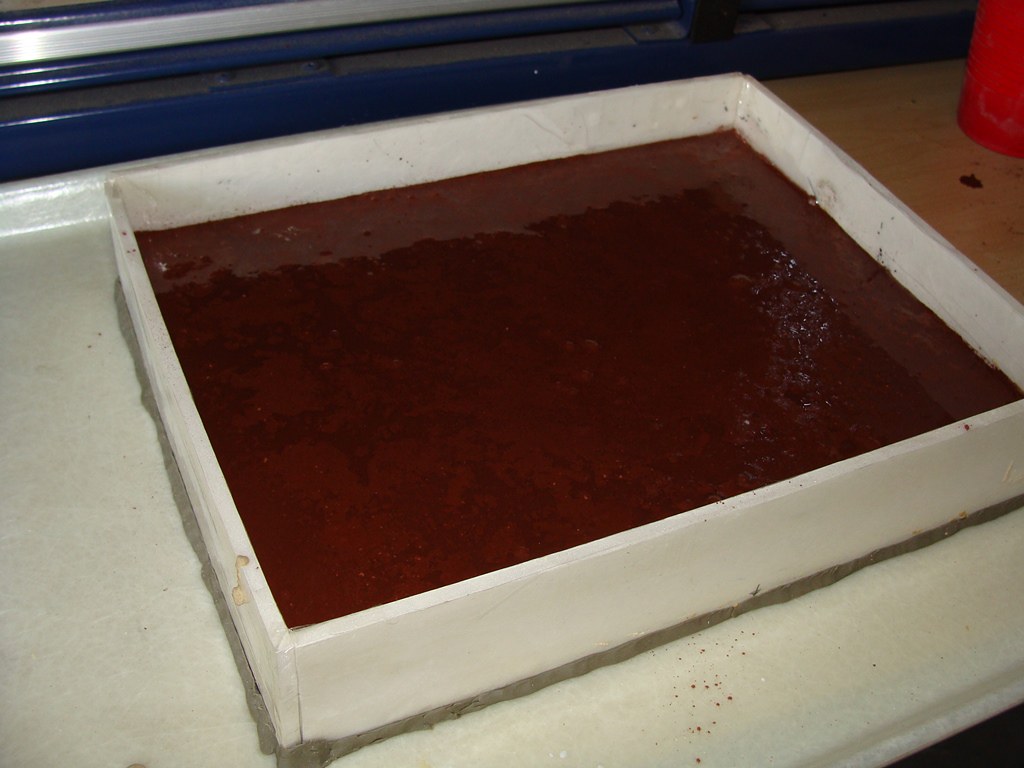
The last layer is straight grout (preferably sanded grout, as it is water proof). Make it fairly runny, about the consistency of melted ice cream.
Pour enough to level out the grout. Then add a sheet of bug screen for added strength if you want. Lightly tap it into the grout. Then pour at least another 3/8" of grout on top of the mesh. Try to level the grout. I lightly shake the tray side to side, but any leveling tool will work.

Let this dry for at least 24 hours. It depends on the temperature and humidity for how long it takes to cure enough to handle.
Test your grout, if it is firm then remove the side frame. If it is cured enough you can turn it over.
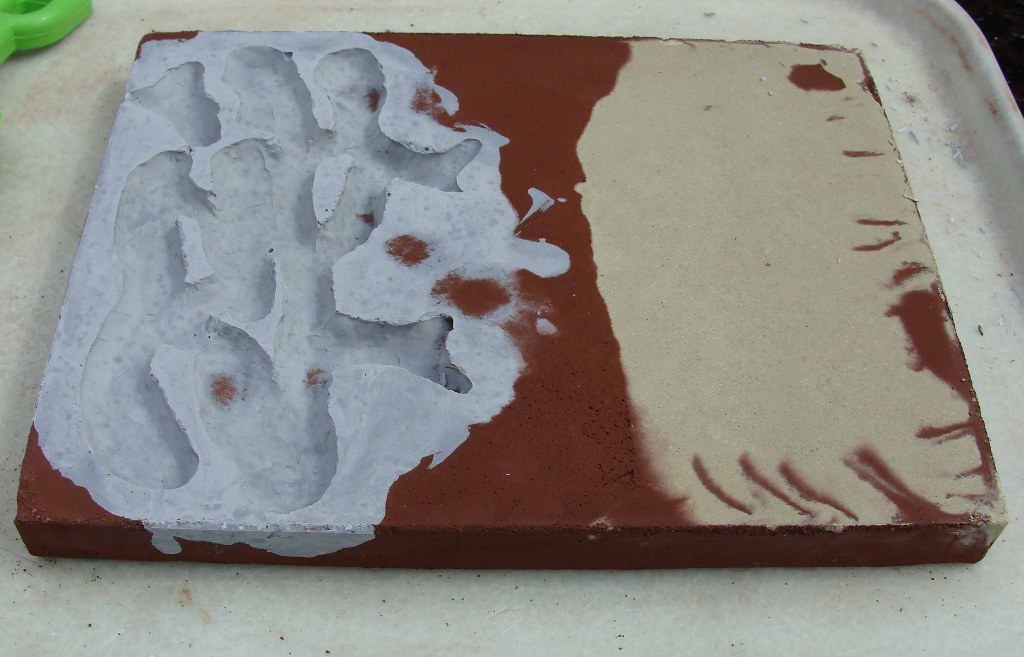
Carefully lift the glass. Go slowly, lift one corner 2mm and then go to each of the other corners. You will probably see the air appearing between the glass and grout. Patience is key in this spot, you will likely have to go to each corner numerous times. You don't want to break the glass.
Often the clay will stick to the glass as the back of the clay was oiled and prevented the grout from sticking. In my case the clay stuck to the glass. I like this pattern so much that I wrapped my clay in plastic wrap and put it away for future moulds. Good thing I bought so many frames of the same size, so I can steal the glass from a spare (also handy if you break some glass).
The watering system survived without incident. The clay kept the grout out. Next time I will be smarter and place the opening at the top of the formicarium as water runs downhill (lesson learnt).
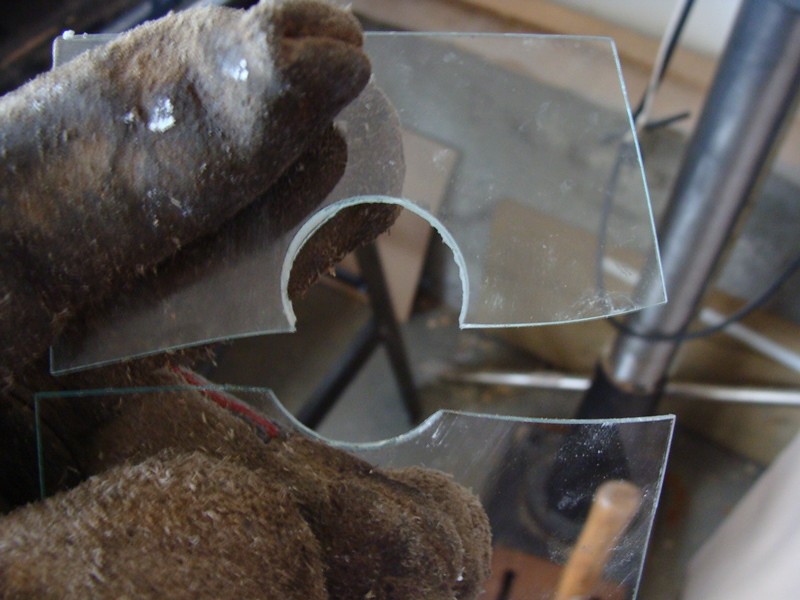
The reality is that cardboard has some give, even if it is fitted around the piece of glass. You will likely have to shave the excess off so it fits properly in its frame. I always have to remove the metal tabs in the frames. I also trim the edges for a clean look. I prefer a razor blade from the dollar store, but anything flat and sturdy will work. The wooden rulers work quite well.
I silicone a clear page protector sheet to the back of the formicarium to prevent water damage to the surface it will be resting on.
Place the glass back on the front while doing this. It may not seem like it, but the formicarium is still soft enough for gravity to affect its shape. Keeping the glass on the front and the formicarium glass side down allows it to keep its shape while it continues to dry.
Let the silicone dry for at least 24 hours. This is more to allow the grout to continue curing than to let the silicone dry.
Then turn it over and remove the glass again. If you wish, you can paint your formicarium. I originally used food coloring, but it eventually faded. I have found that Krylon paint is water proof and works extremely well.
Let it dry for another 12 hours after painting.
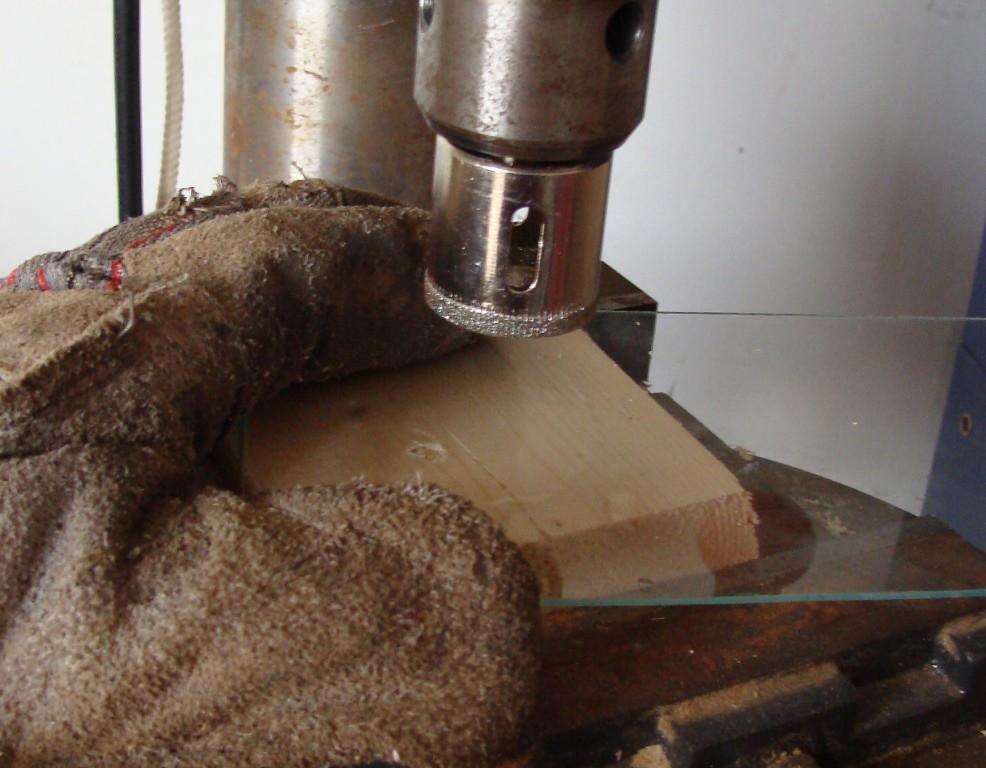
Drill any holes needed. Entrances for tubing and a pin hole for water if you have a water channel. Ensure that that frame will not impede anything, you may have to shave the frame down a bit.
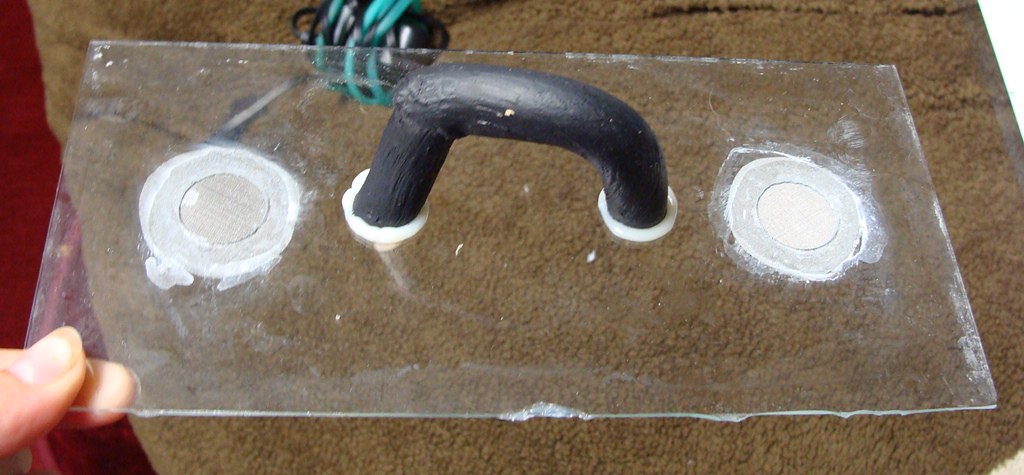
Silicone your tubing in and let it dry for 12 hours. I usually use a 4" piece of tubing leading from the formicarium and use a bigger piece of tubing as a connector for the foraging area tube.
Clean the glass thoroughly. Carefully fit it into the formicarium. Ensure there are no bits of grout under the glass to prevent a perfect fit. If you press on two opposite corners there should be no teeter totter motion. Also ensure the frame fits over the glass and grout. If it doesn't you will have to shave the excess grout off or look at what is impeding progress.
Once you are fully satisfied that it is a good fit we can move on to siliconing.
Place a small bead of silicone along the edge of the grout. I use a toothpick to spread the thick parts out. A thick layer of silicone will make it hard to press the glass tight onto the grout and usualy results in gobs of silicone squishing out.
Get your glass (ensure that it is clean!). Carefully lay it onto the silicone and press down all along the edges. Now lay it upside down on the floor and put a heavy weight on top of it. Leave it for at least 12 hours.
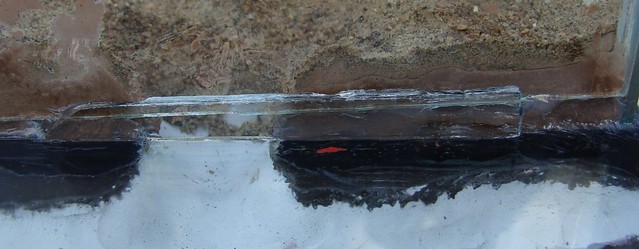
Use another small bead of silicone along the glass/grout joint. I usually use a rubber glove, tiny plastic baggie, or a piece of plastic to spread the silicone along the edge and into the cracks and seams. This is our secondary insurance that any ants we put in the formicarium stay in the formicarium. It will also prevent the water from leaking out as the water creeps along the glass when watering. Use paper towel to rub off any silicone that is on the surface pane of the glass.
Let it dry for 12 hours.
Place the frame on formicarium. You can silicone it on if you want; or if you wish to swap frames in the future, don't bother.

Container containing both nest and foraging area:
Find a container that is at least as tall as it is long. I found mine at an oddball Giant Dollar Store. This also works well in Betta fish containers and small aquariums.
Build a clay tunnel mould on one side (don't go more than 1/2 way up). Add an entrance tunnel that will stick up the surface.

Oil the container and the clay. Mix the grout and add it. The grout should be at least 1/2 grout and 1/2 crushed perlite. The consistency doesn't really matter as the grout cannot escape the container. Thin enough to avoid air bubbles, but thick enough that you won't have to wait forever for it to cure. Melted ice cream to ketchup consistency works well. Place the container on a 45 degree angle and pour the grout in. Ensure your entrance tunnel remains upright.

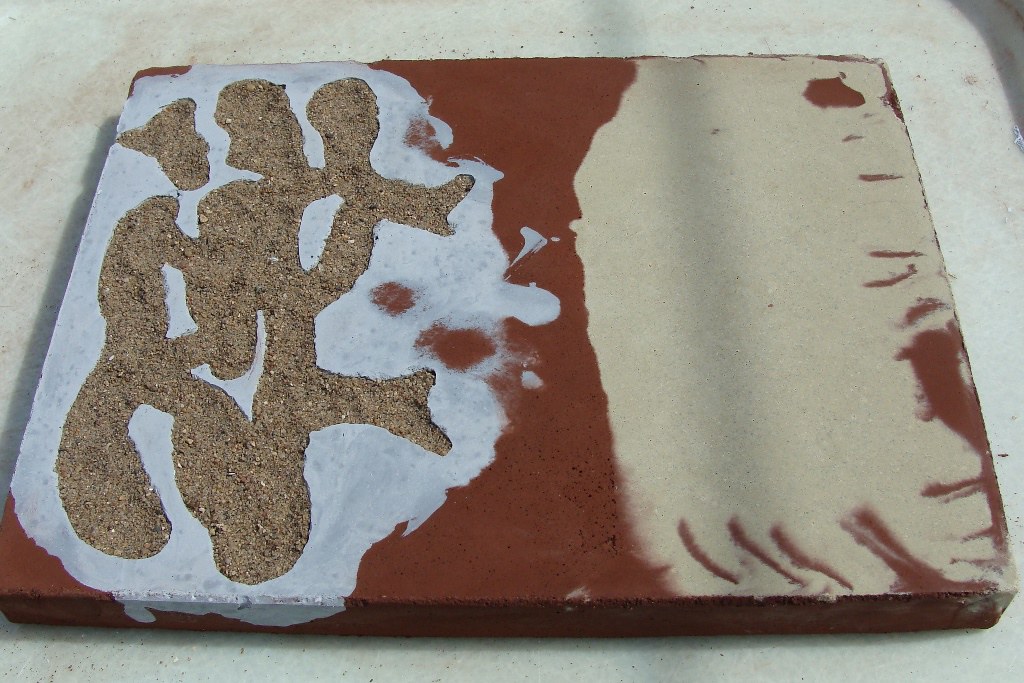
I added a second layer as it matched the sand I was planning on using. The ants I had in mind were brown, so grey was my best tunnel choice.
I added sand on top, patted it in lightly and let it dry for 24 hours
Carefully remove the mould and pull out the clay. Put the mould back in. If you want, you can silicone around the tunnel edges.
Mix up more grout. Thin enough that it levels itself easily, or at least levels with a shake of the container. Pour it in.
Add sand on top, and any decorations you wish to include. Pat the sand down, remember any indentations you make here will result in valleys and hills once dry.
Let it dry for 48 hours and you are good to go.
You can add a watering hole on top, but just by watering the foraging area the water will creep along the plastic to the nest.
This is good for small colonies just starting out.
My Myrmica lived in my grout nests over 5 months before I gave them away:
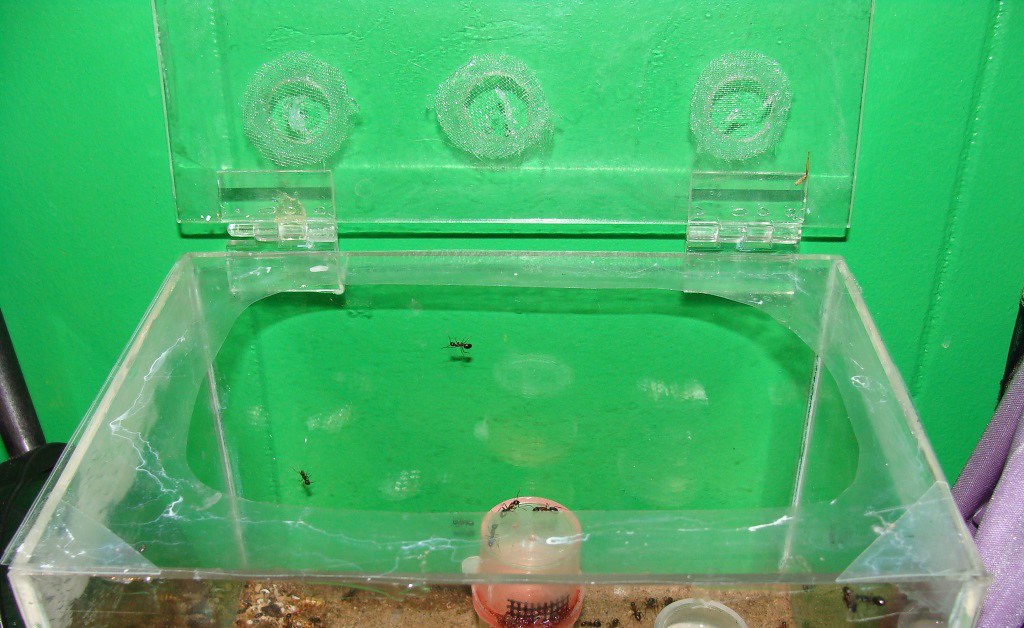
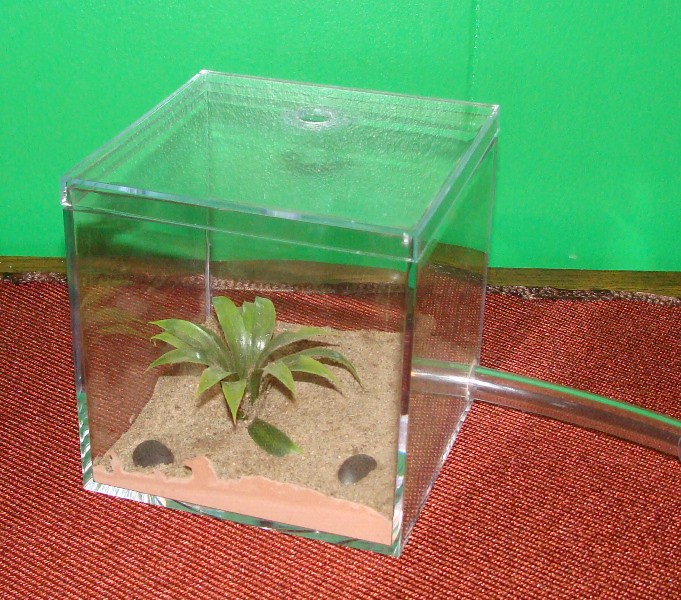
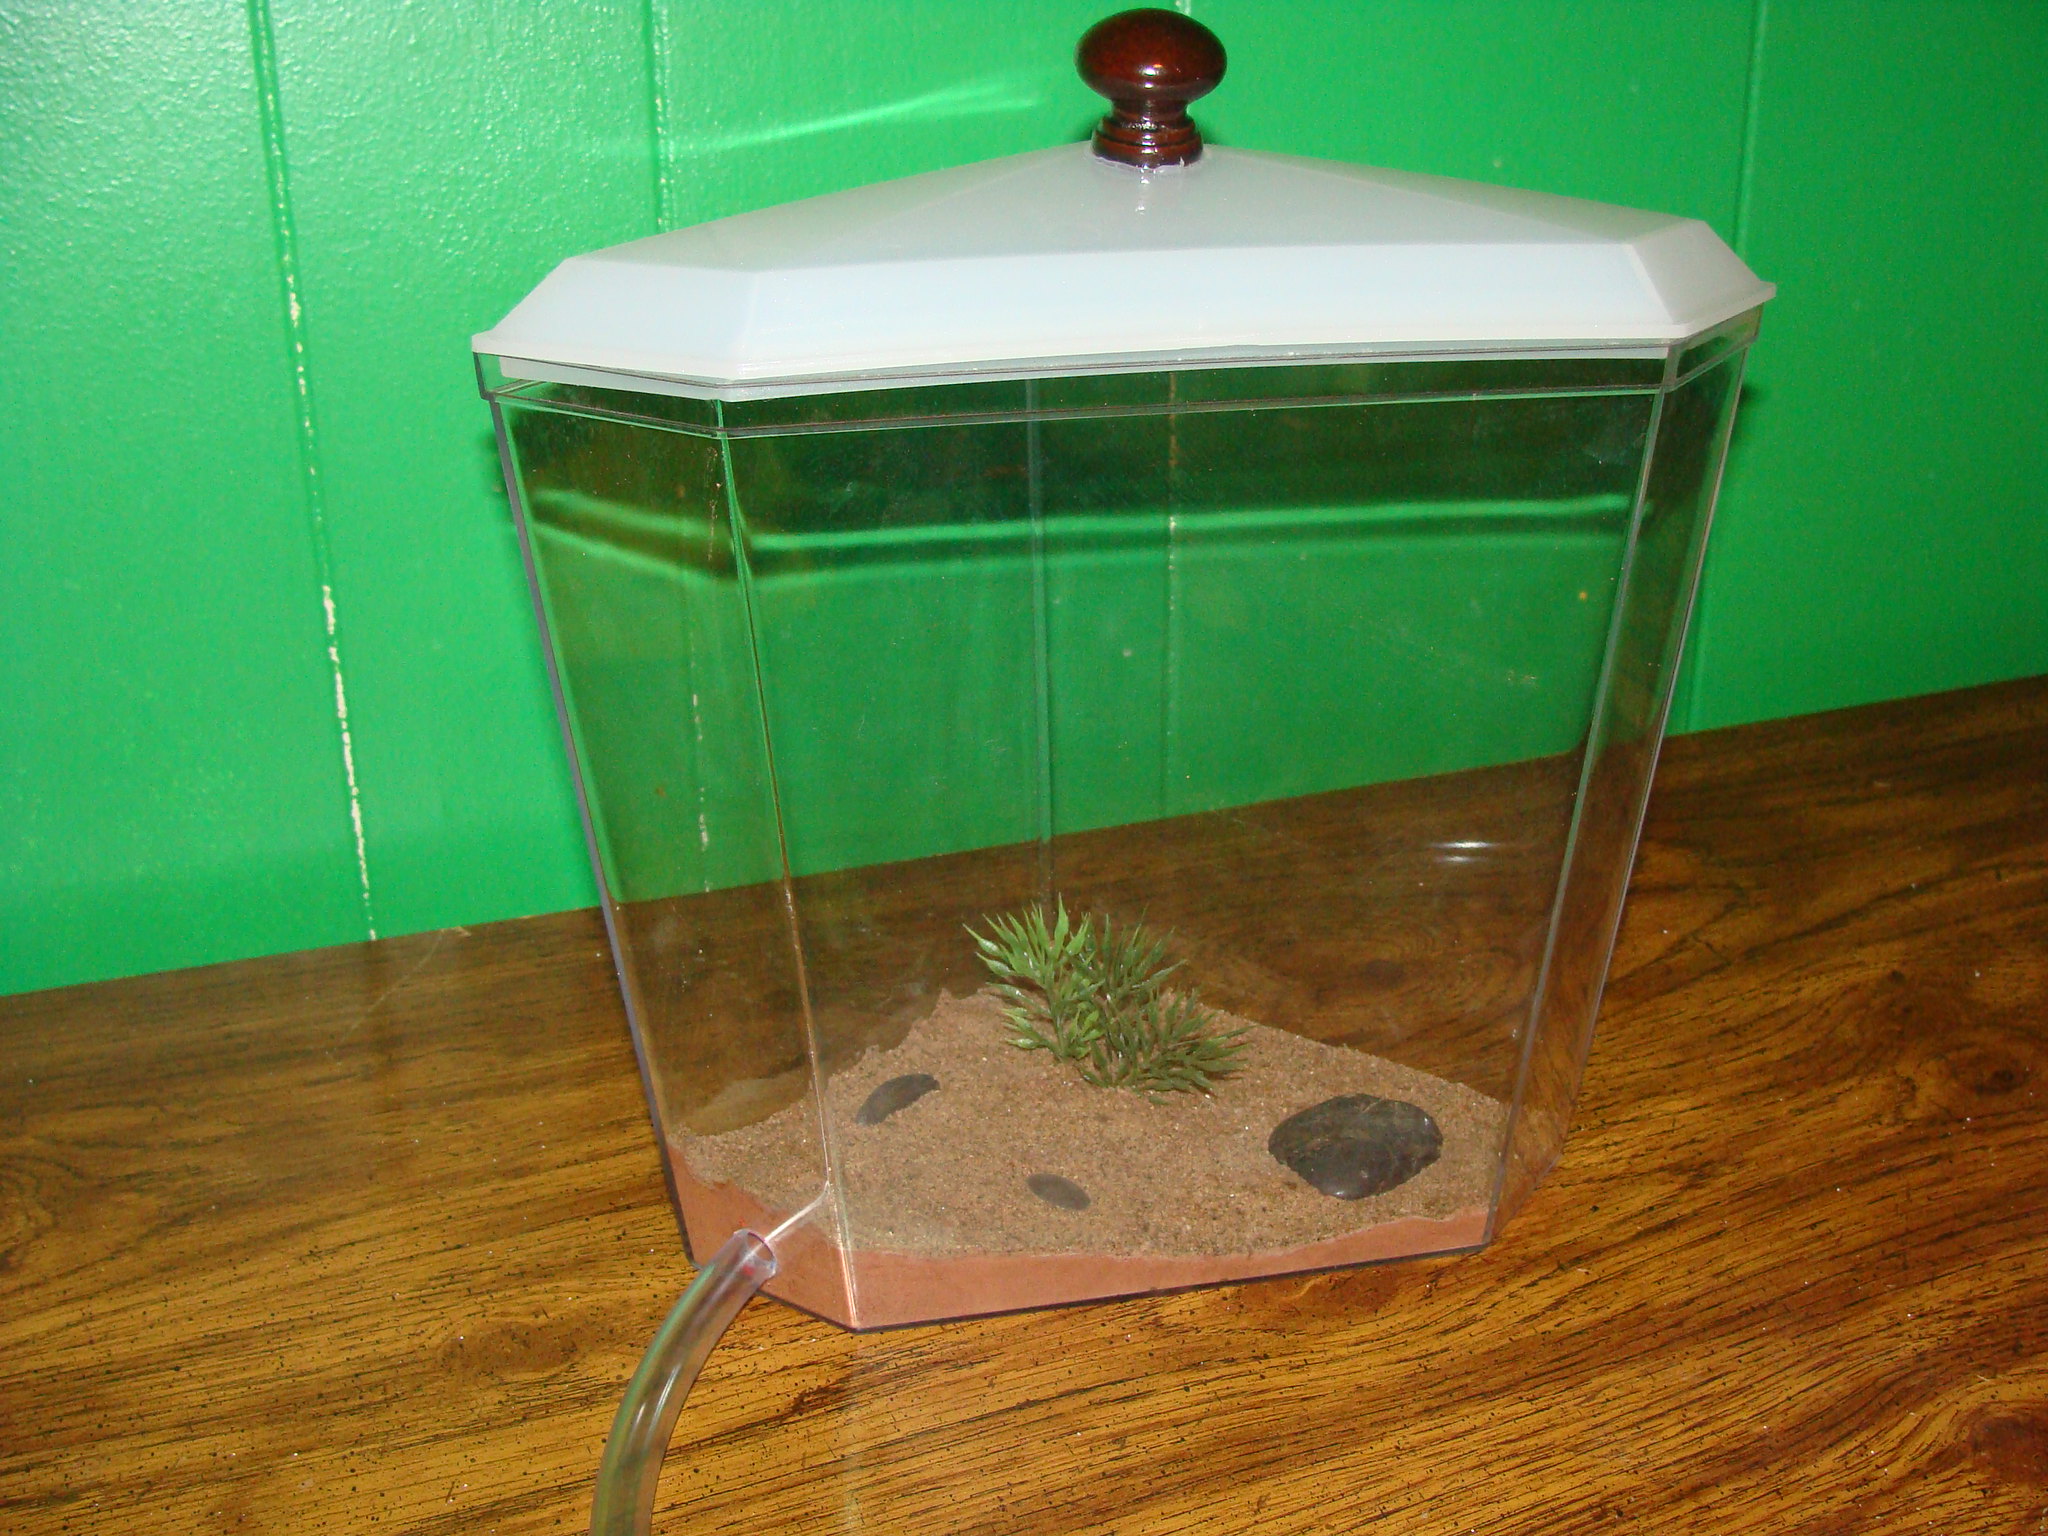
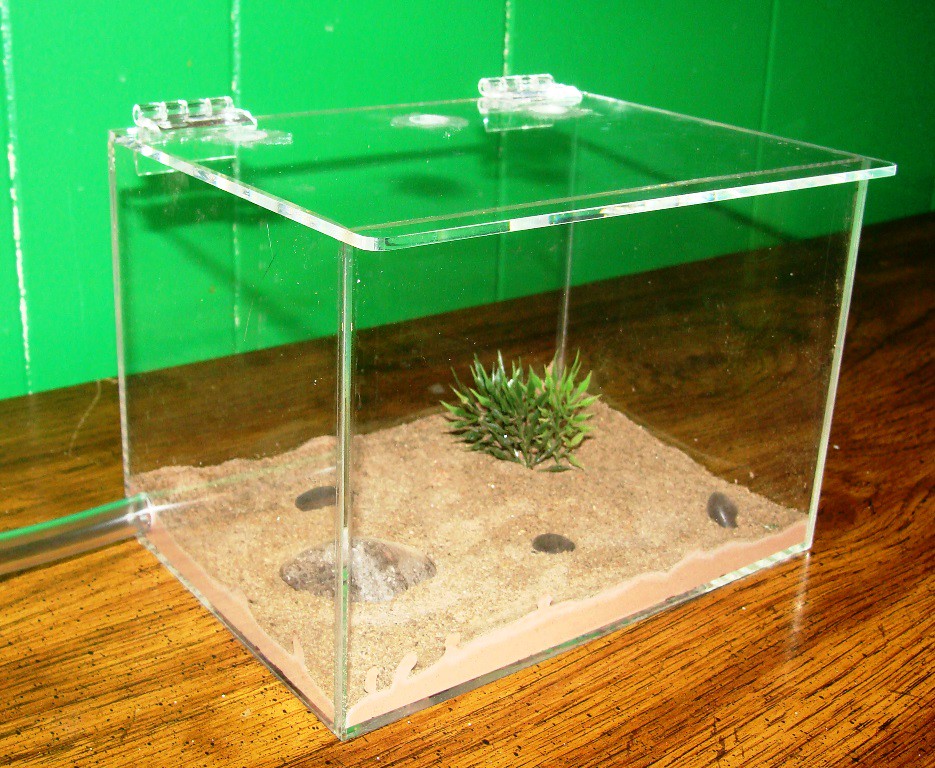
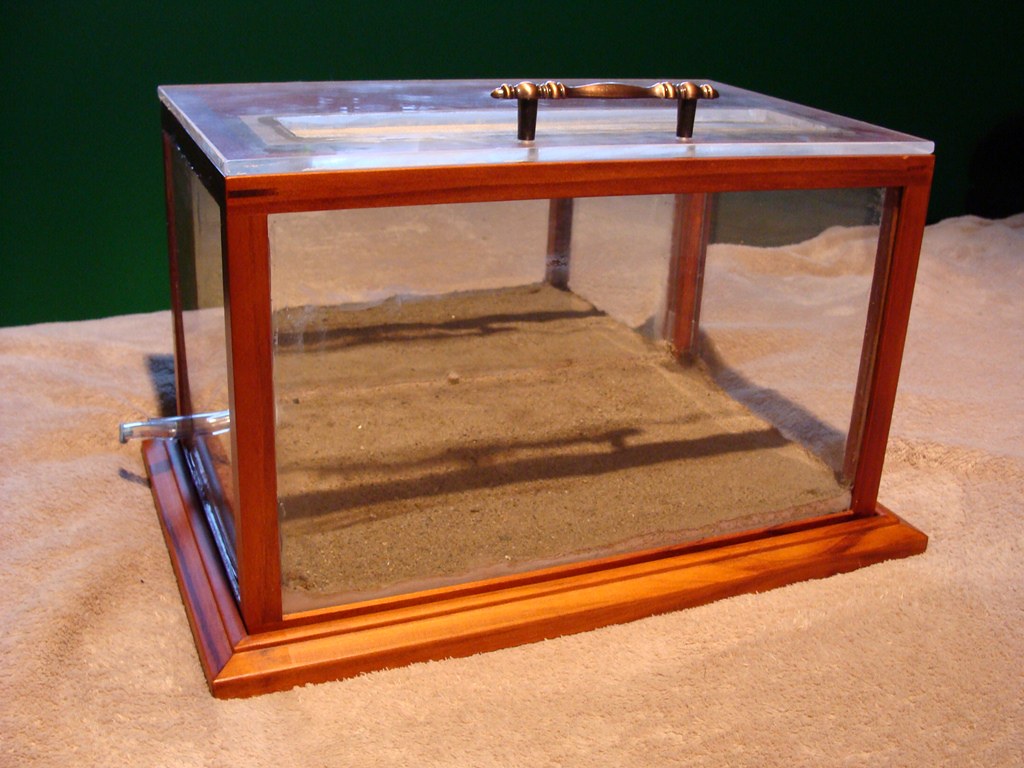
I find that football display cases and aquariums make excellent foraging areas that look nice enough that family members won't call it garbage or junk.


