Jump to content

  • Chat
  •  
  •  

Welcome to Formiculture.com!

This is a website for anyone interested in Myrmecology and all aspects of finding, keeping, and studying ants. The site and forum are free to use. Register now to gain access to all of our features. Once registered and logged in, you will be able to create topics, post replies to existing threads, give reputation points to your fellow members, get your own private messenger, post status updates, manage your profile and so much more. If you already have an account, login here - otherwise create an account for free today!

Photo

Hydrostone Formicarium


  • Please log in to reply
24 replies to this topic

#1 Offline AntsCalifornia - Posted May 23 2018 - 7:19 PM

AntsCalifornia

    Advanced Member

  • Members
  • PipPipPip
  • 247 posts

So I saw this guy in a youtube video who has lots of successful ant colonies. 

https://www.youtube....h?v=LADgNlKp4BY

In the video, the guy said he used hydrostone for his honeypot ant formicariums. He's made bbc videos with those setups and they look really nice. I want to try and make one myself where you can shine light in the top just like his. I'm going to make it a topic just because I might need help/ideas to make this formicarium. I've already found that sticking it in another container won't work because the hydrostone expands and makes it impossible to get out. So my first try was a fail. I'm going to need to get some materials for a mold. Here's my idea, first make the nest using clay to make the chambers. Once hardened, I pull the clay out. Then I make some more hydrostone. I paint this hydrostone inside the chambers with a brush, then bury it in sand and gravel. Once this hardens I will add a little additional substrate to help the honeypot larvae spin their cocoons. I will finish by painting the outside with a sand/water mix for a natural look. Any ideas I might find useful would be appreciated.  


#2 Offline T.C. - Posted May 23 2018 - 8:55 PM

T.C.

    Advanced Member

  • Members
  • PipPipPip
  • 3,099 posts

I think getting the interior to look natural is the challenge. Making the nest wouldn't be difficult, at least I know I could make it. I do however wonder how the hydration works.


#3 Offline AntsCalifornia - Posted May 23 2018 - 8:59 PM

AntsCalifornia

    Advanced Member

  • Members
  • PipPipPip
  • 247 posts

From the video it looks like he has a white plastic tube on the side for hydration. I think one of my main problems will be getting the moisture gradient.


#4 Offline T.C. - Posted May 23 2018 - 9:05 PM

T.C.

    Advanced Member

  • Members
  • PipPipPip
  • 3,099 posts

From the video it looks like he has a white plastic tube on the side for hydration. I think one of my main problems will be getting the moisture gradient.

Yeah, hydrostone is fairly absorbent. I have yet to work with it since I liked grout so much. I should get some here real soon though.


#5 Offline AntsCalifornia - Posted May 28 2018 - 9:12 PM

AntsCalifornia

    Advanced Member

  • Members
  • PipPipPip
  • 247 posts

So I did a bit of research and found this, http://www.formicult...e-update/page-3

This is basically exactly what I was trying to build, so I think I'll start by making something very similar to this. After I get some experience, I'll try to figure out how to do overhead lighting.


Edited by AntsCalifornia, December 1 2018 - 5:45 PM.


#6 Offline AntsCalifornia - Posted December 1 2018 - 3:29 PM

AntsCalifornia

    Advanced Member

  • Members
  • PipPipPip
  • 247 posts

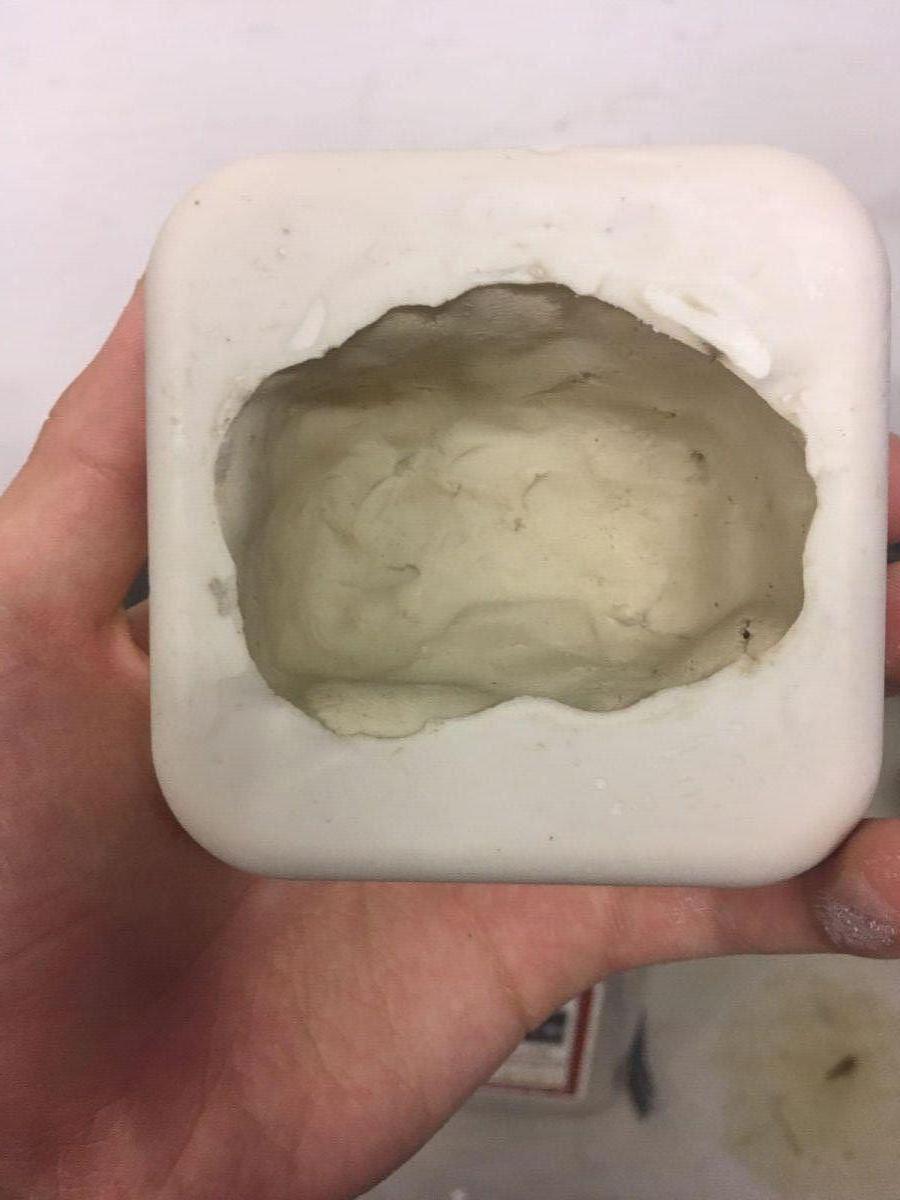
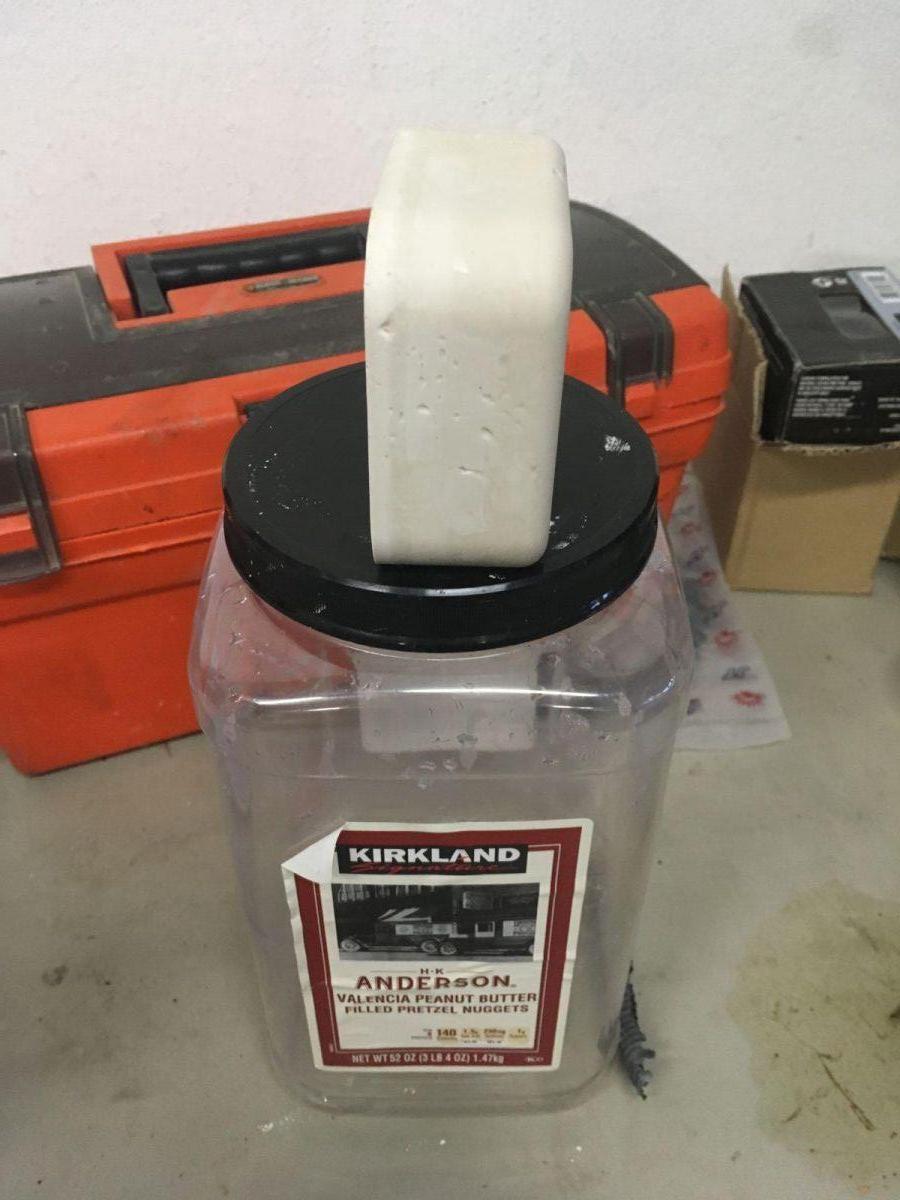
So I finally got around to making one. Turns out if you want to make one, though, you need to coat the mold in vegetable oil or it will be near impossible to take out without breaking it.

3E791804 F4AE 4F81 A3DC 32ED1CC0125E
53F9934A 237C 4AD4 B957 156EA60E8E4C

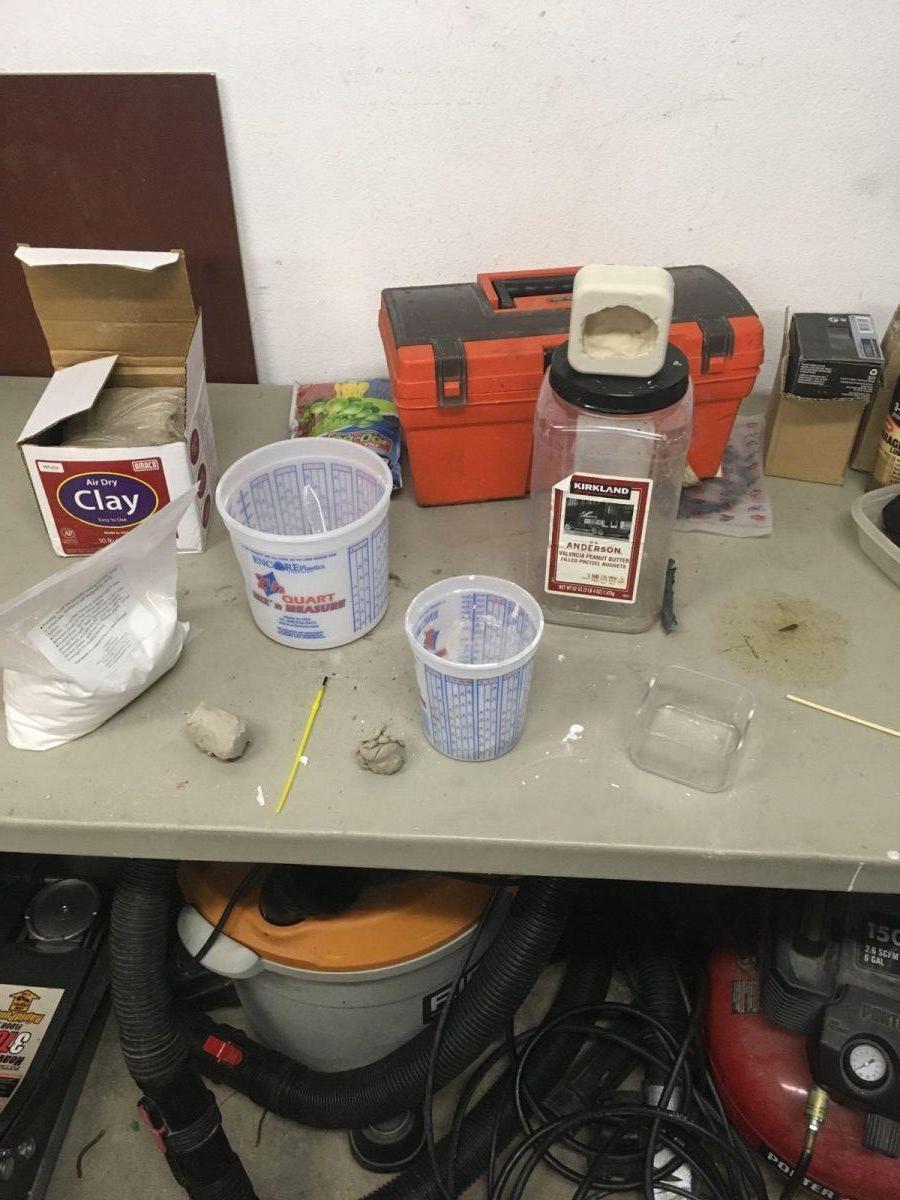
Made a huge mess for such a simple formicarium :)

7F93F2AB 11BA 40CB 902F 9C24145CC12A
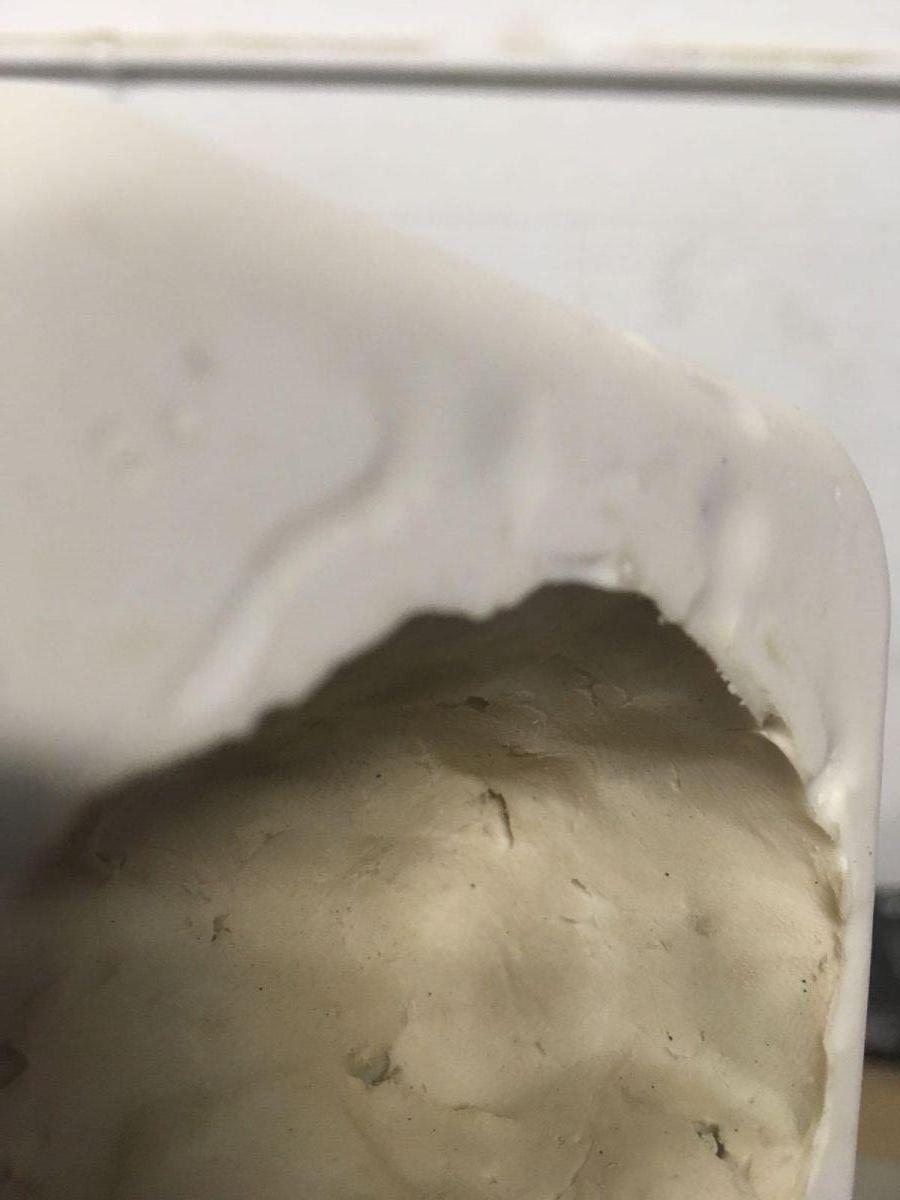
I noticed waves on the formicarium though, but I'm pretty sure that it is due to too much vegetable oil, next time I will try sticking a thinner layer on and make it as smooth as possible and try to eliminate these waves. They were only in this one area though.
B6E106D0 A96F 495E A198 68B14D119747

It shouldn't be too much of a problem though as I am using blue tack to put the glass on, so it will seal all the way around. I'm going to try painting it and getting sand to stick to the chamber later.


  • FSTP likes this

#7 Offline Rstheant - Posted December 1 2018 - 4:03 PM

Rstheant

    Advanced Member

  • Members
  • PipPipPip
  • 883 posts
  • LocationSan Jose, CA
How are you going to hydrate it?

#8 Offline AntsCalifornia - Posted December 1 2018 - 4:30 PM

AntsCalifornia

    Advanced Member

  • Members
  • PipPipPip
  • 247 posts

I'm going to drill a hole in the top.


#9 Offline Kalidas - Posted December 1 2018 - 4:33 PM

Kalidas

    Advanced Member

  • Members
  • PipPipPip
  • 351 posts
  • LocationSanta Ana
The one in that guys video is really awesome, I really love that idea, it looks so natural and awesome while giving full view of everything. I really dig that idea.

How do you make a mold from scratch?

#10 Offline AntsCalifornia - Posted December 1 2018 - 5:30 PM

AntsCalifornia

    Advanced Member

  • Members
  • PipPipPip
  • 247 posts

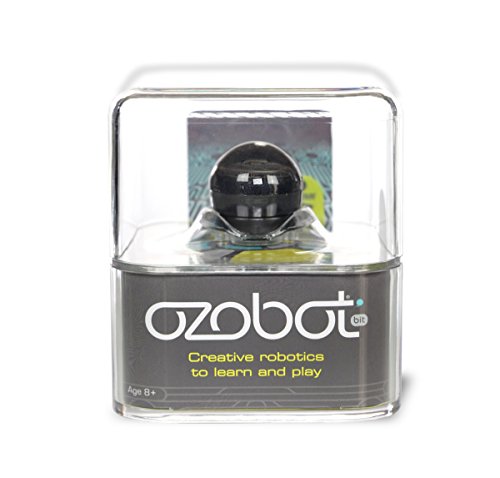
I used the top half of my brothers ozobot package, looks like this,Ozobot-20-Bit-the-Educational-Toy-Robot-

Then I made the chamber with clay and coated the whole thing in vegetable oil with a paintbrush. I just finished drilling the entrance/exit and hydration holes, I'll update pictures when I get it painted and attempt sticking sand to it.


#11 Offline AntsCalifornia - Posted December 3 2018 - 8:41 PM

AntsCalifornia

    Advanced Member

  • Members
  • PipPipPip
  • 247 posts

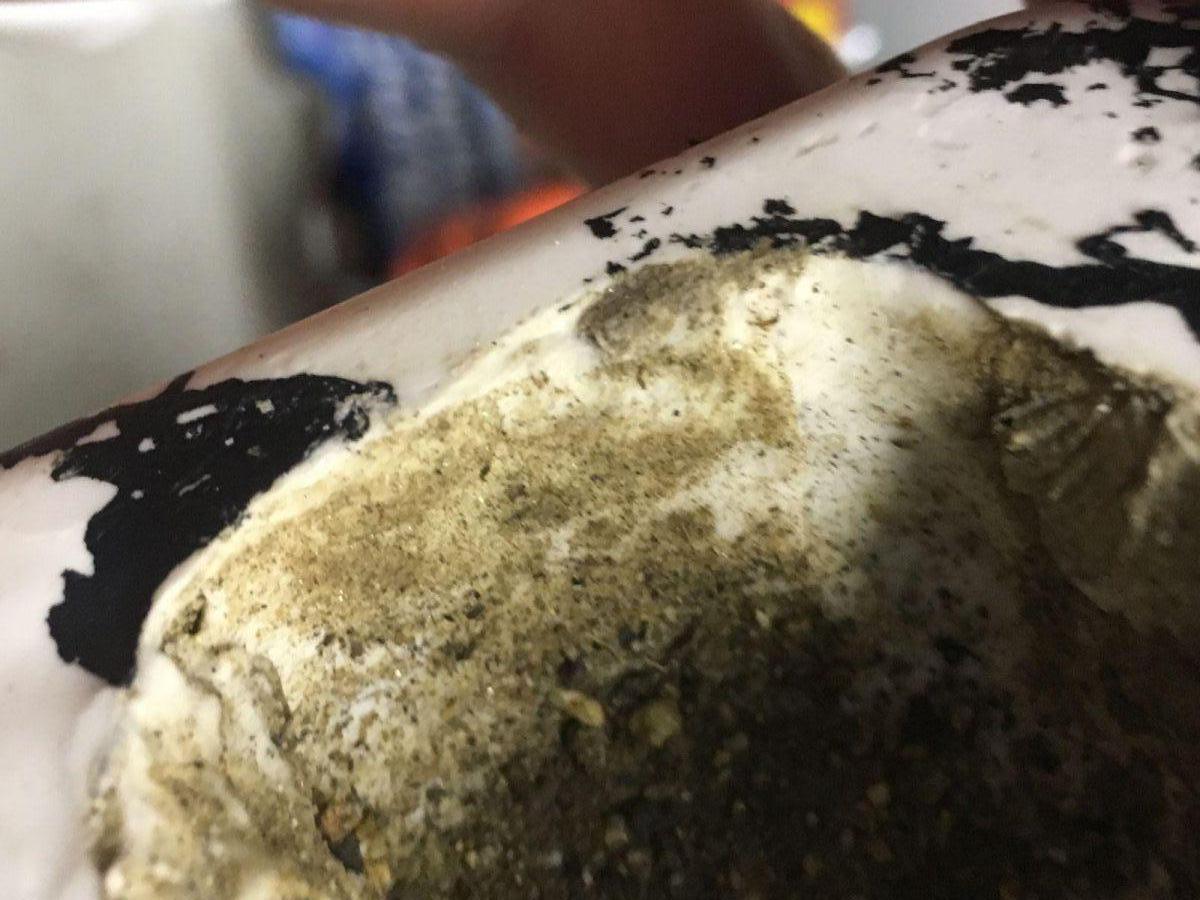
Well, method one for getting sand to stick to chamber is a fail, attempt two starts tomorrow. I got it painted, but the only color I had was black, so it looks all splotchy. :(


Edited by AntsCalifornia, December 3 2018 - 8:42 PM.


#12 Offline AntsCalifornia - Posted December 3 2018 - 8:48 PM

AntsCalifornia

    Advanced Member

  • Members
  • PipPipPip
  • 247 posts

I think getting the interior to look natural is the challenge. Making the nest wouldn't be difficult, at least I know I could make it. I do however wonder how the hydration works.

I learned how the hydration works from somebody who made formicariums very similar to this guys, https://www.youtube....h?v=6qXt0OAd26Y

Basically you drill a hole straight through, plug one side, and then put one of those white things on the side, I don't know what they're called, but I'm going to look for them when I go to home depot for the acrylic.


#13 Offline FSTP - Posted December 3 2018 - 9:18 PM

FSTP

    Advanced Member

  • Members
  • PipPipPip
  • 1,032 posts
  • Location36.7378° N, 119.7871° W

Looks great! Can't wait to see the finished product! I like the shape and size. Its always great when you find that perfect container that's just the right size and proportions. 


#14 Offline AntsCalifornia - Posted December 4 2018 - 3:48 PM

AntsCalifornia

    Advanced Member

  • Members
  • PipPipPip
  • 247 posts

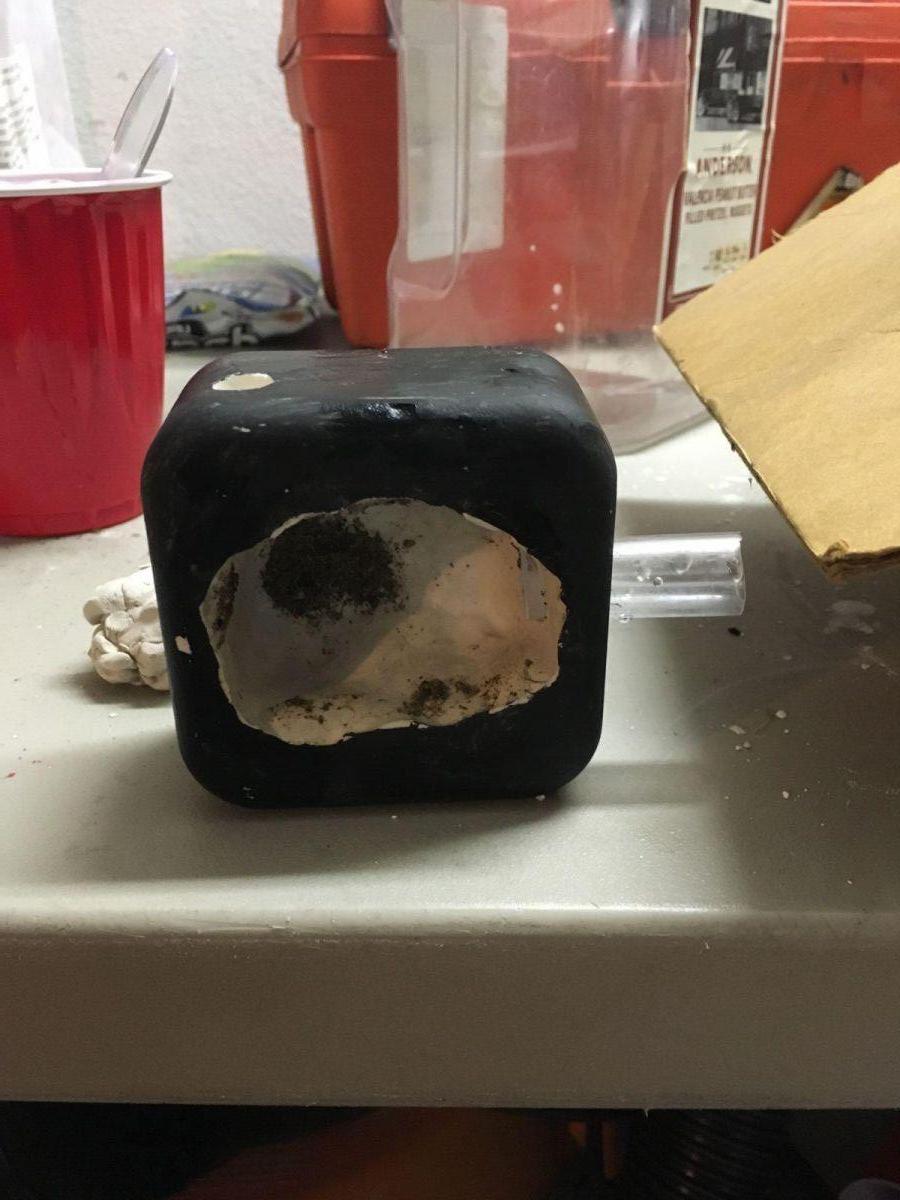
So I am starting work on attempt two, here is attempt one:

DFDAFF66 06AF 4F1F 9FE9 72546EFCC541
I am going to try a thicker mixture to get the sand to stick better for attempt two.
 

If you want to see the ugly paint on it:

image

  • FSTP likes this

#15 Offline FSTP - Posted December 4 2018 - 5:32 PM

FSTP

    Advanced Member

  • Members
  • PipPipPip
  • 1,032 posts
  • Location36.7378° N, 119.7871° W

nice job on the second one. I will say though that I don't like the painted look. I tried painting my first few ones as well but I didn't care for it. If I want to have the formicarium a color other then white, I use a pigment to color it instead of painting it. 


#16 Offline AntsCalifornia - Posted December 4 2018 - 9:25 PM

AntsCalifornia

    Advanced Member

  • Members
  • PipPipPip
  • 247 posts

nice job on the second one. I will say though that I don't like the painted look. I tried painting my first few ones as well but I didn't care for it. If I want to have the formicarium a color other then white, I use a pigment to color it instead of painting it. 

Yeah, I should probably find some pigment for it, the paint job doesn't look great. By the way, this is still the first one.


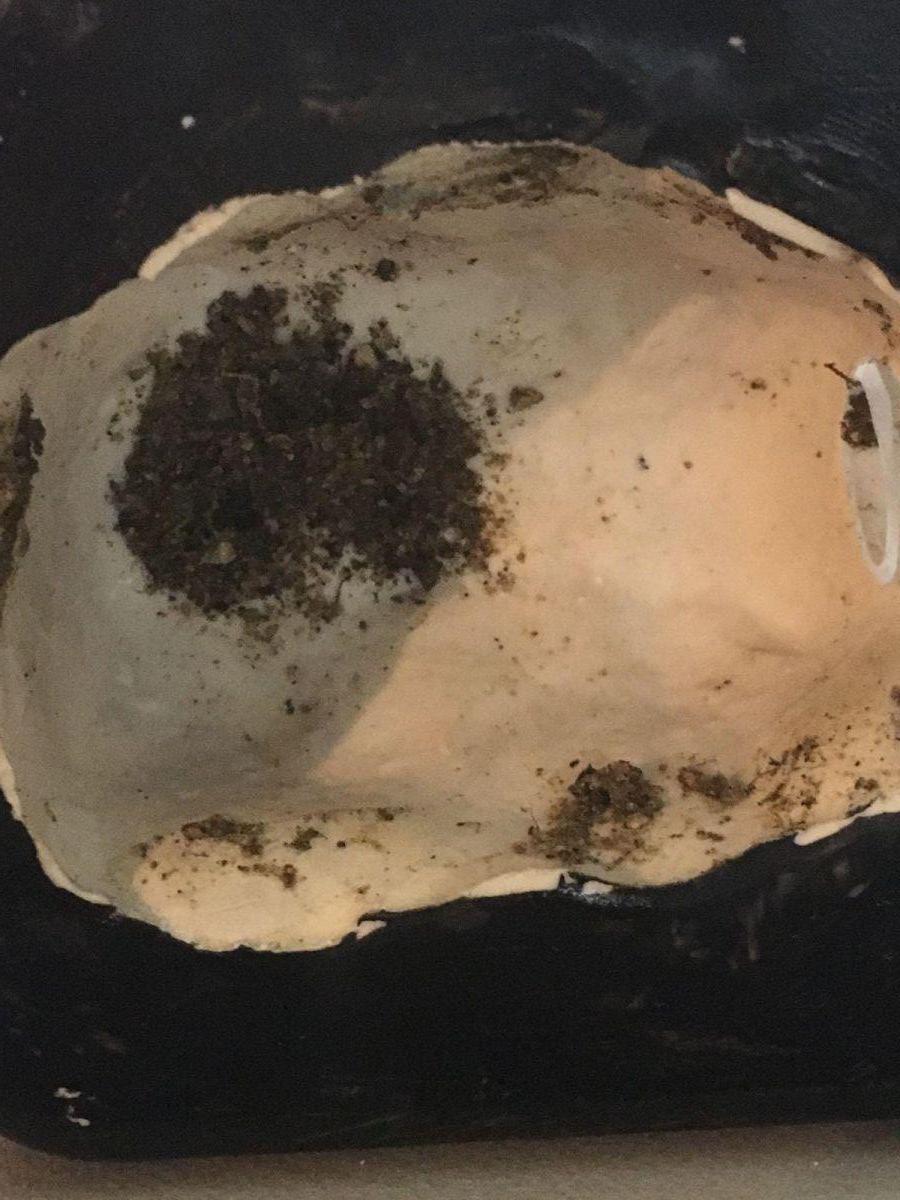
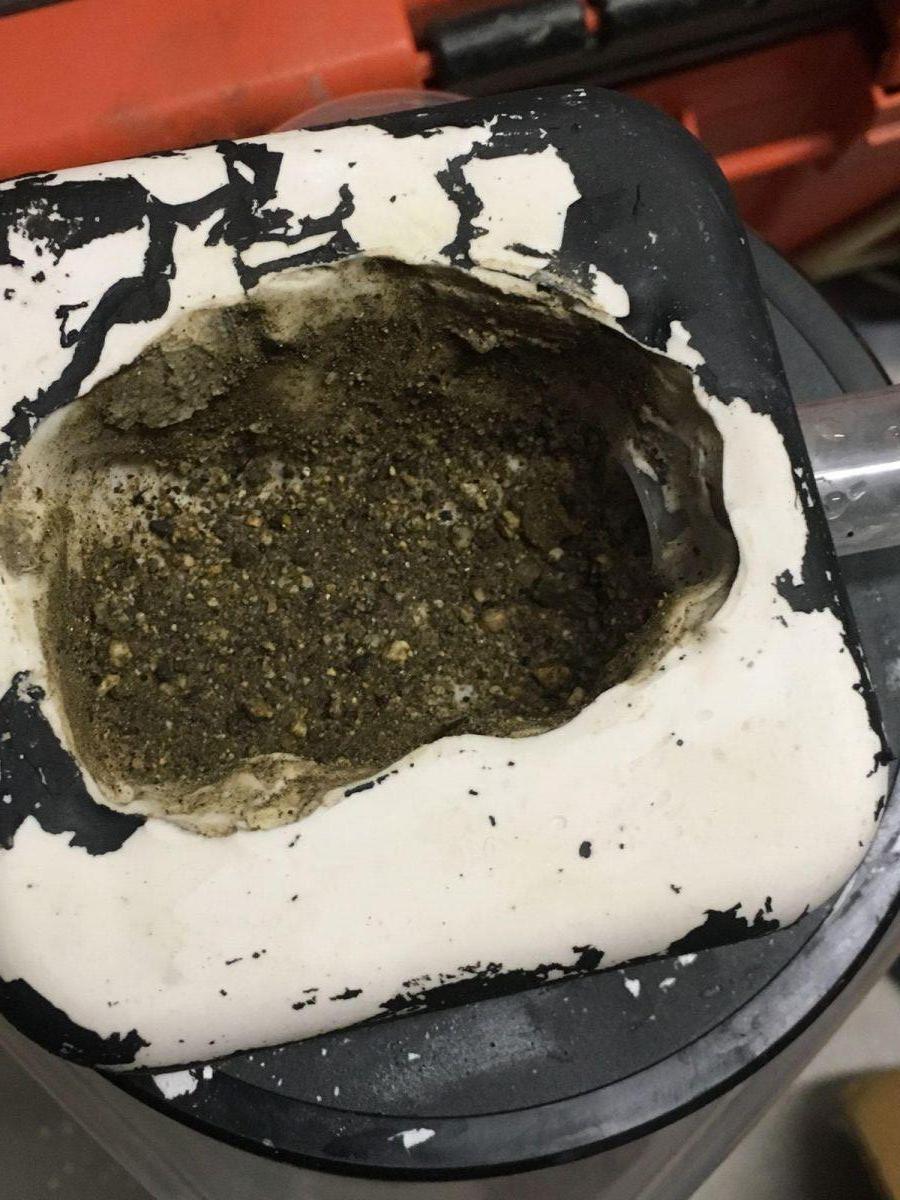
So I did attempt two, the thicker batch definitely helped. I had it at a pancake mixture like consistency for attempt two, pored it in, kind of swished it around in there, poured out the excess, and then put the sand in. I had to sacrifice the crappy paint job though. It doesn't look too great because this isn't really sand, its just dirt from my backyard ;)

EB9C414B F62C 480D 8E46 5EAD4B4AF448
I still have trouble getting it to stick to the sides though. I'll have to figure out a better way to do this, maybe an even thicker batch of hydrostone?
B50BF970 3E41 4A4D AA55 433B66F9CB6F


Edited by AntsCalifornia, December 4 2018 - 9:30 PM.


#17 Offline YsTheAnt - Posted December 4 2018 - 9:58 PM

YsTheAnt

    Advanced Member

  • Members
  • PipPipPip
  • 1,436 posts
  • LocationSan Jose, CA
What I usually do is take a medium consistency batch of hudrostone and paint it onto the inside of the formicarium, then dump a bunch of sand into it and let it dry. Shake off yhr excess and you got a nice even coat.

I would mask the part that touches the glass to make sure it's flat though.
  • DaveJay and Technomyrmex like this

Instagram          Journal           Shop


#18 Offline DaveJay - Posted December 4 2018 - 10:07 PM

DaveJay

    Advanced Member

  • Members
  • PipPipPip
  • 497 posts
  • LocationSouth Australia
A guy on YouTube, Ant Invasion, made a tutorial where he used sand rather than modelling clay or similar to mould his chambers, his reason was because he could wash the sand out rather than having to remove the hydrostone/plaster to take out the clay, of course his chambers were perfectly coated with sand. Perhaps you could adapt the method to suit what you are doing, maybe coat your mould with sand then when the hydrostone is poured the sand will be imbedded into the hydrostone when dry?
Just thinking out loud really.🙂
  • CoolColJ, Rstheant and Technomyrmex like this

#19 Offline DaveJay - Posted December 5 2018 - 6:44 PM

DaveJay

    Advanced Member

  • Members
  • PipPipPip
  • 497 posts
  • LocationSouth Australia

What I usually do is take a medium consistency batch of hudrostone and paint it onto the inside of the formicarium, then dump a bunch of sand into it and let it dry. Shake off yhr excess and you got a nice even coat.

I would mask the part that touches the glass to make sure it's flat though.

This reply wasn't on the thread when I read it, if I'd refreshed and seen it I wouldn't have posted my reply, I think you've nailed it. 


#20 Offline AntsCalifornia - Posted December 5 2018 - 7:39 PM

AntsCalifornia

    Advanced Member

  • Members
  • PipPipPip
  • 247 posts

What I usually do is take a medium consistency batch of hudrostone and paint it onto the inside of the formicarium, then dump a bunch of sand into it and let it dry. Shake off yhr excess and you got a nice even coat.

I would mask the part that touches the glass to make sure it's flat though.

Thanks for the advice!


So I finally finished the first prototype, but I need to wait to get some acrylic for the formicarium, then I will upload more pictures and begin work on the second prototype, but finals are going to make this difficult. I probably won't have time to work on these for a few weeks. 


  • DaveJay likes this


1 user(s) are reading this topic

0 members, 1 guests, 0 anonymous users