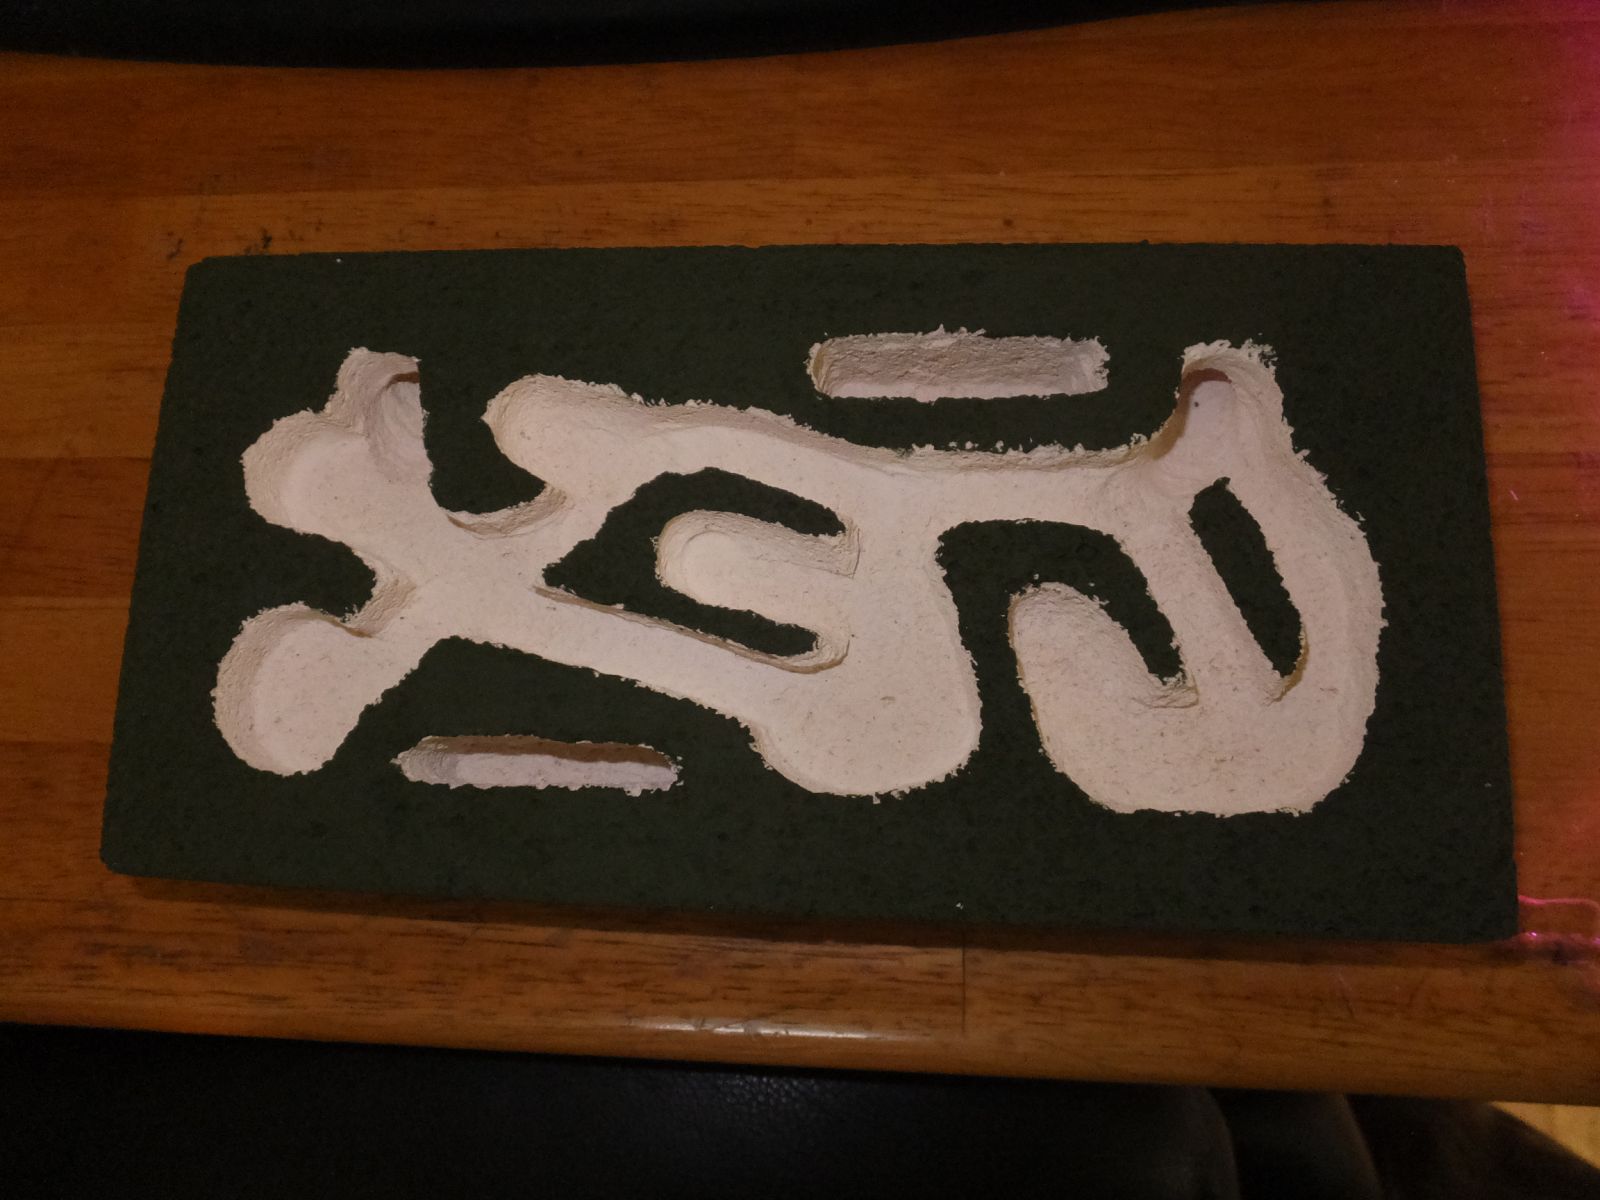
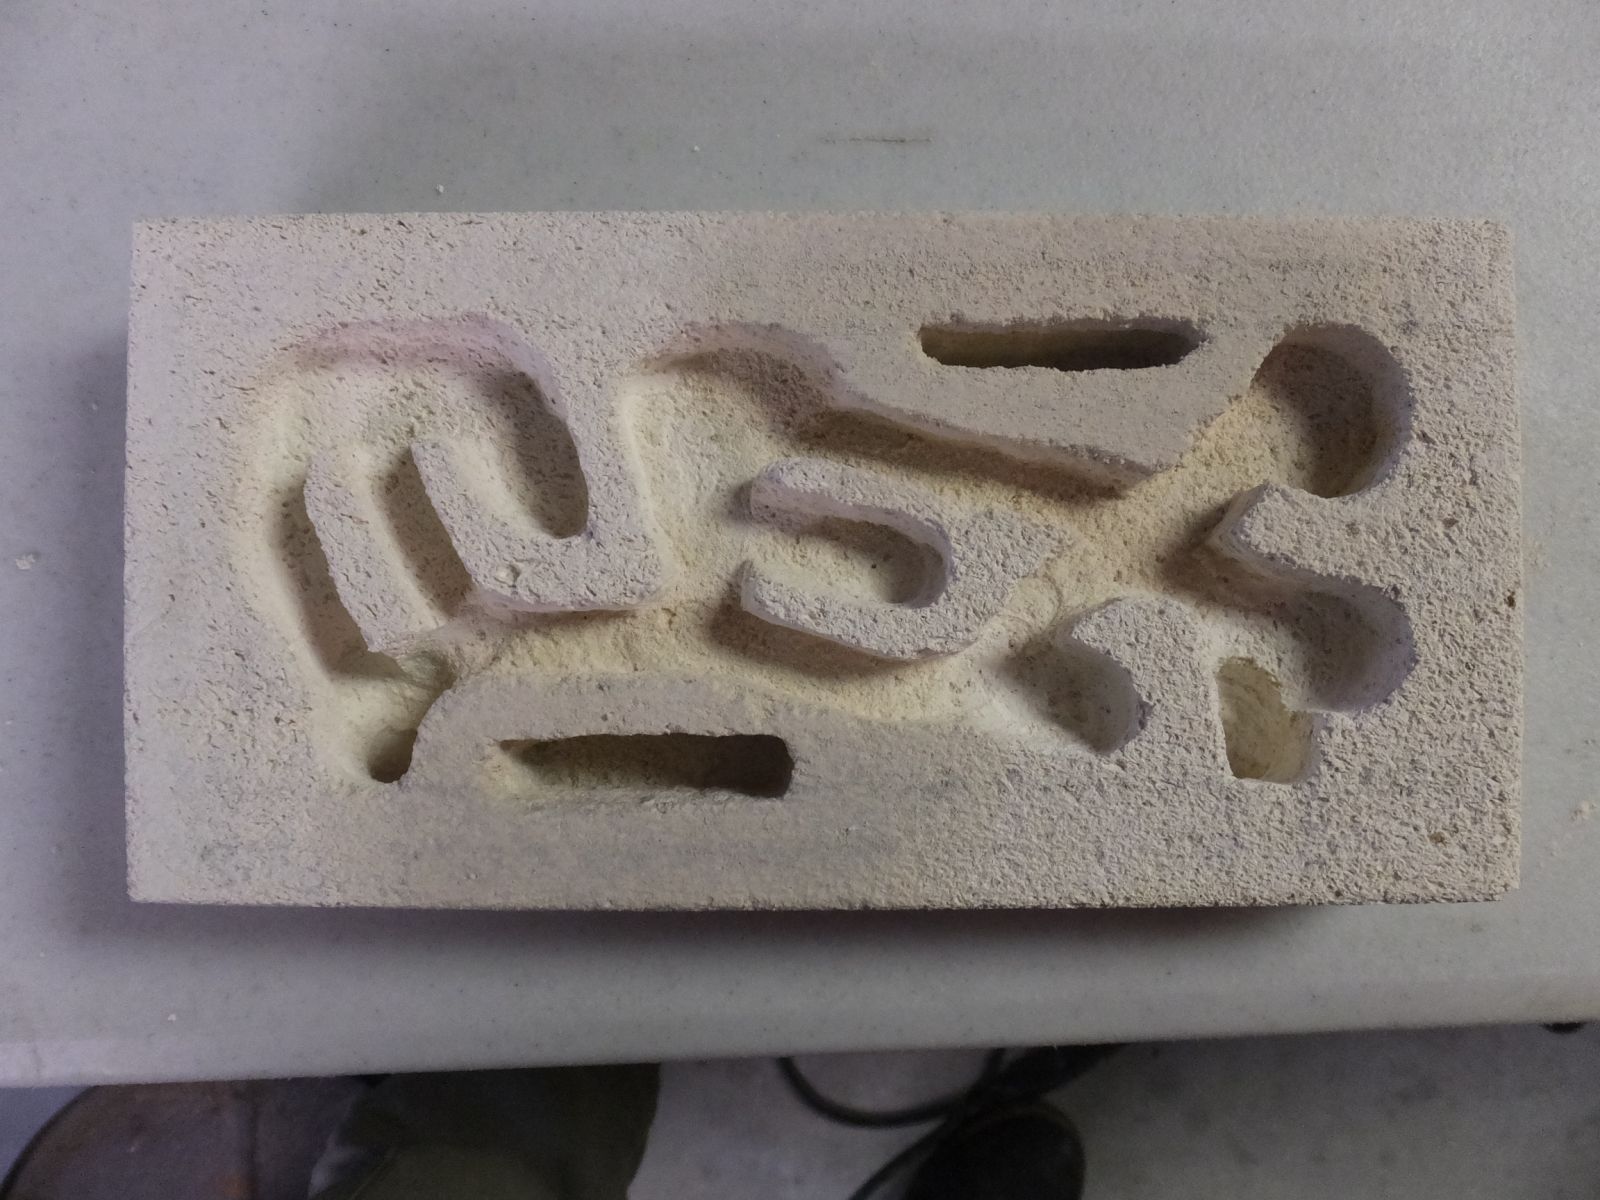
So I've been looking around for a bit, and it seems that those of us in the USA are just out of luck when it comes to getting AAC here. I know I'm not the first to think of using firebrick, but I did want to try and make a small tutorial on how someone else would make a formicarium out of firebrick. Specifically, the K-23 firebrick used in pottery kilns. I picked up two 4.5"x9"x2.5" and one 4.5"x9"x3" bricks for about $15 from a pottery supplier near me. I was able to make a nest in about 2.5 hours with only the AntsAus guide on making a nest out of AAC for reference, and even to my eyes it looks pretty good for a first try.
Before you take the dremel or any other tools to the brick, I have one VERY IMPORTANT THING to say:
WEAR SAFETY GLASSES AND A DUST MASK!!!!!!
It doesn't matter what you are using, whether it's screwdrivers and chisels or a dremel and a drill. Tiny pieces of firebrick are going to be flying through the air, and that stuff WILL damage your eyesight if you get a piece in there. The dust mask is because most pottery firebricks are made of fired clay, and breathing that stuff in will quickly cause silicosis, otherwise known as potter's rot. It's not a pleasant thing, and is very easily avoided by just wearing the mask. You can minimize the dust by dumping water on the brick, but you should still wear the mask and the glasses whenever you are doing anything to the brick. Once you have the proper safety gear on, you can continue.
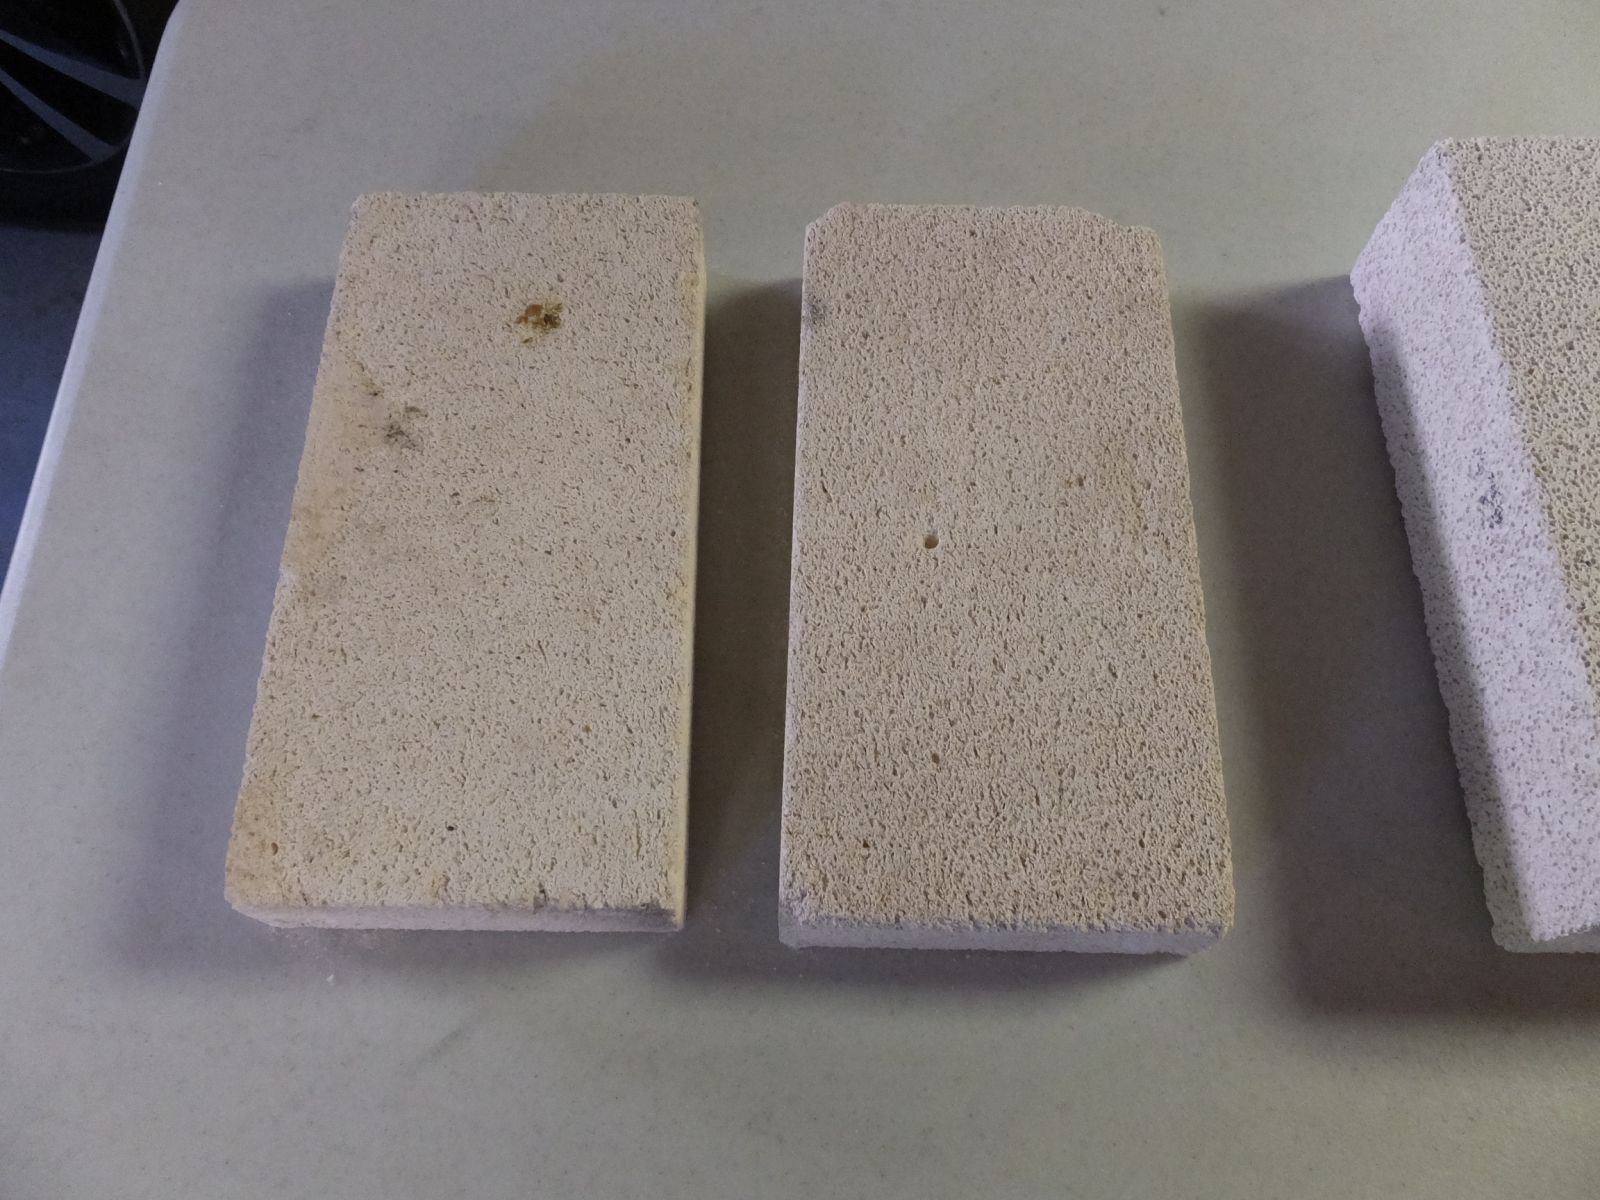
I started off with a 4.5"x9"x3" brick. I decided that 3" thick was just unnecessary, but didn't want to waste anything. I figured I could probably get two nests if I cut it in half down the 3" side. I used a carpenter's saw, one of the ones that come with a plastic frame with slots in it to make sure you cut straight down. It worked better than I thought it would, I didn't really need to apply any pressure to cut the brick.
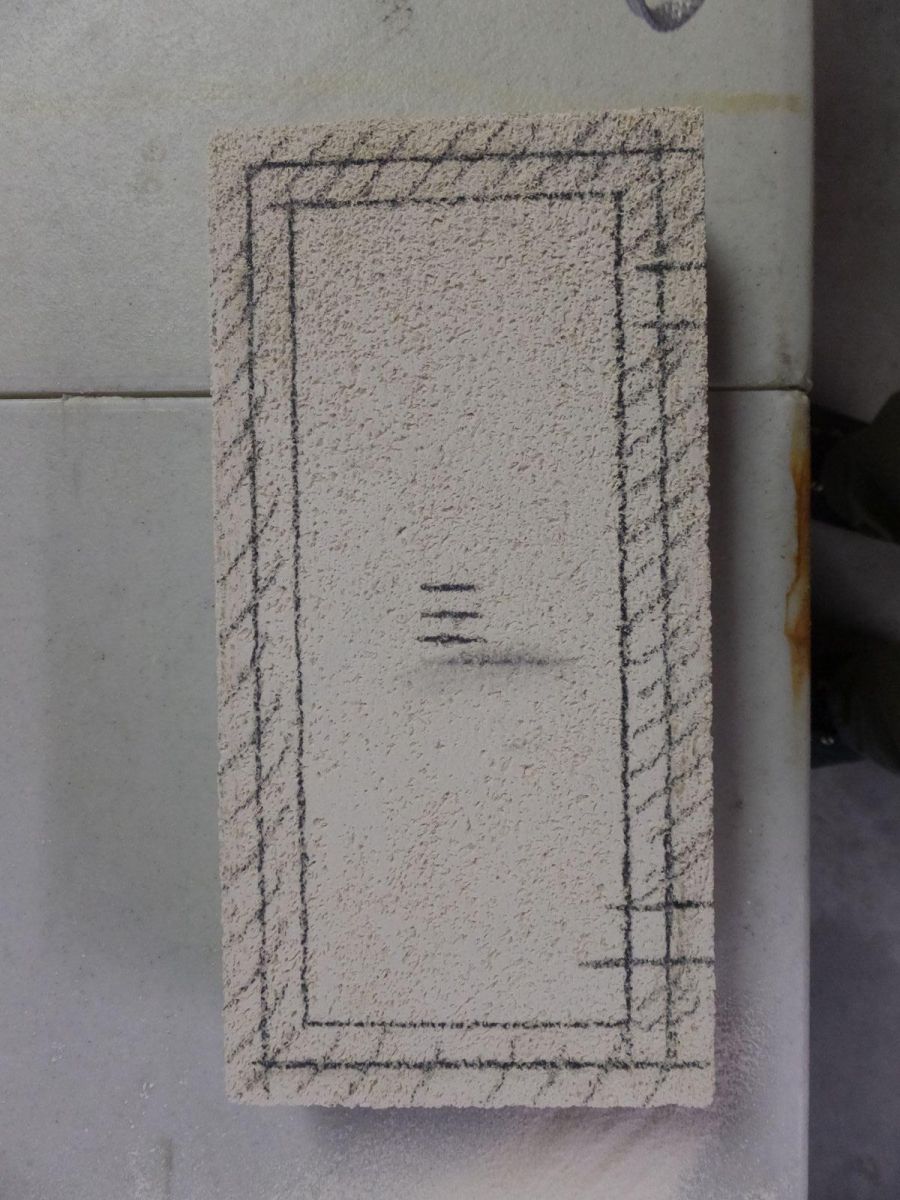
I marked in about 3/8" from the edge of the brick with a pencil, to show where the cover would be. I then marked a further 3/8" from that line (for a total of 3/4" from the edge of the brick) to make sure that I didn't make any tunnels too close to the edge of the cover. Don't want any ants escaping, now do we? I decidedthat since it was so long it would have two entrance holes, so I marked out two 1/2" spaces roughly where I wanted the entrances to be.
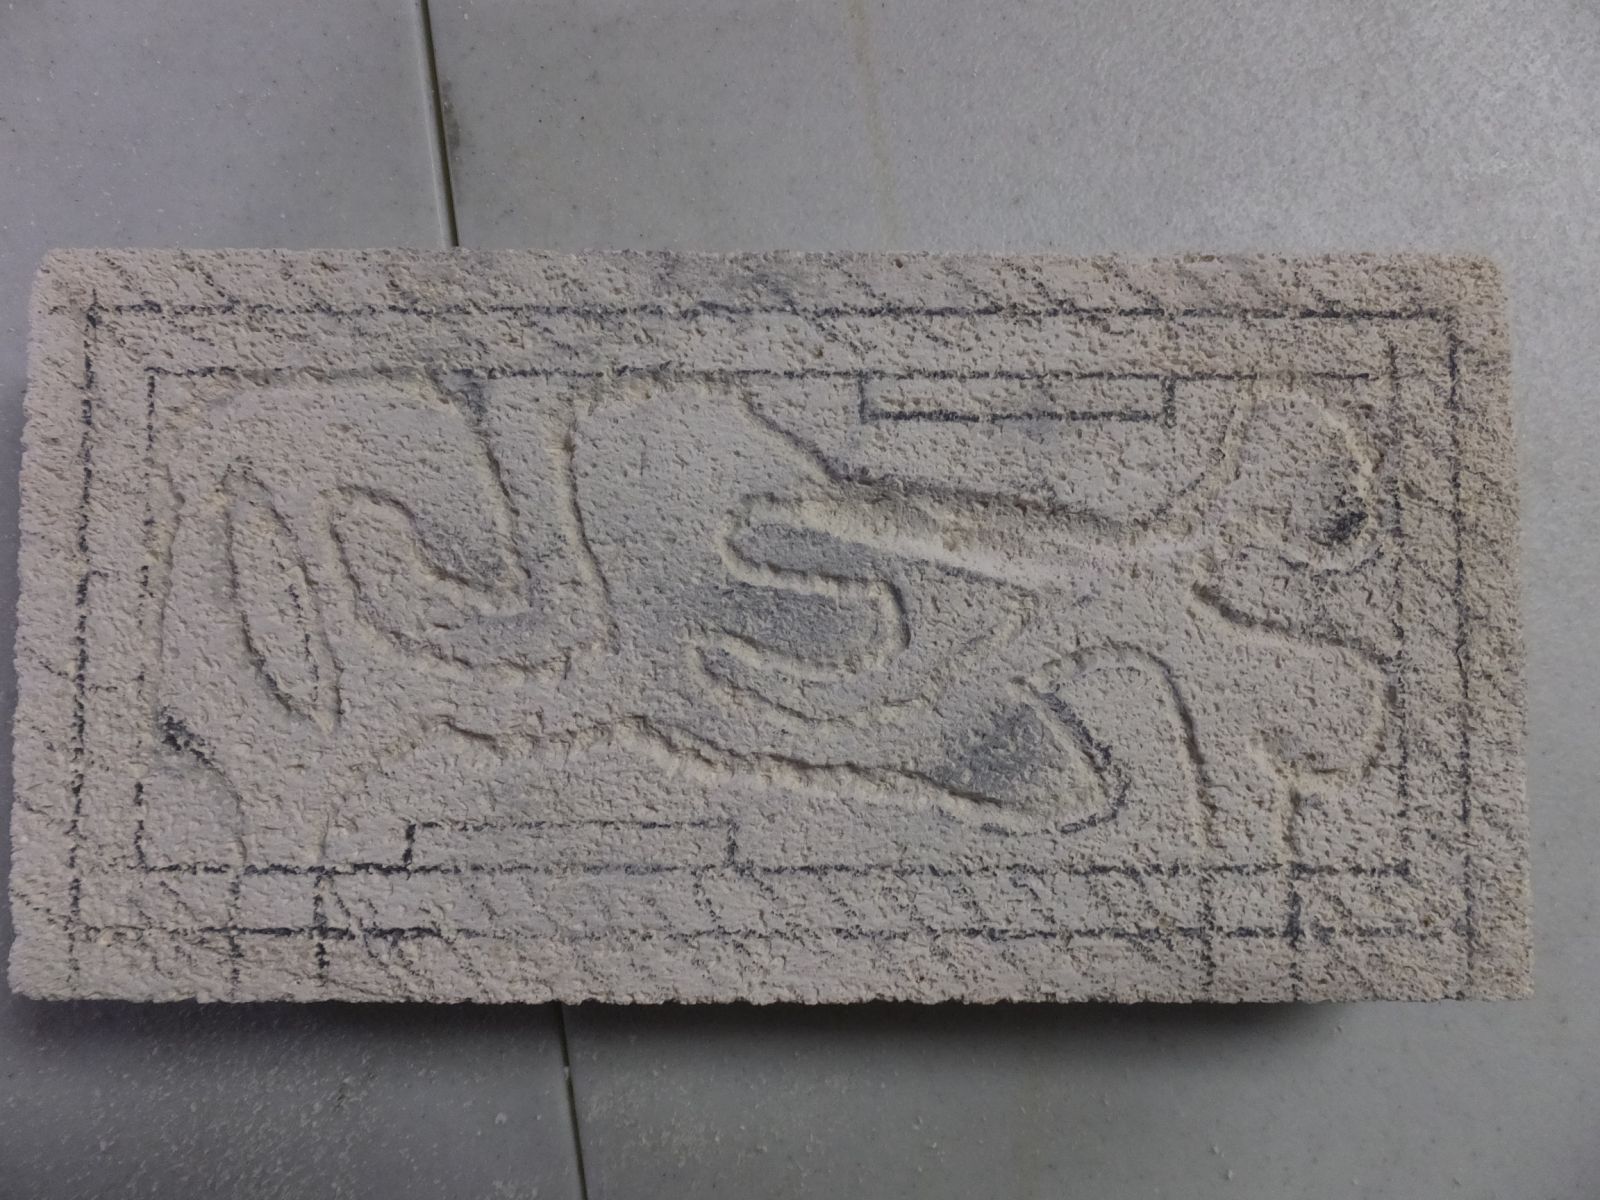
From there, I just free-handed all of the tunnels and chambers. I did draw them all out with the pencil first before I took the dremel to the brick, but I forgot to take pictures of that due to having too much fun. I also drew out where I wanted the water resevoirs to be, and made them big enough that I'd be able to put a small piece of a sponge in there. I used a dremel to carve everything out, but this stuff is soft enough that a flat-headed screwdriver or a small chisel would work just fine. Just be gentle and work slowly. You can always carve away more brick, but you can't put it back if you take too much off. I used a small engraving bit to carve over the lines for the tunnels/chambers I drew with my pencil, as I noticed that the marks would get covered up in dust very quickly.
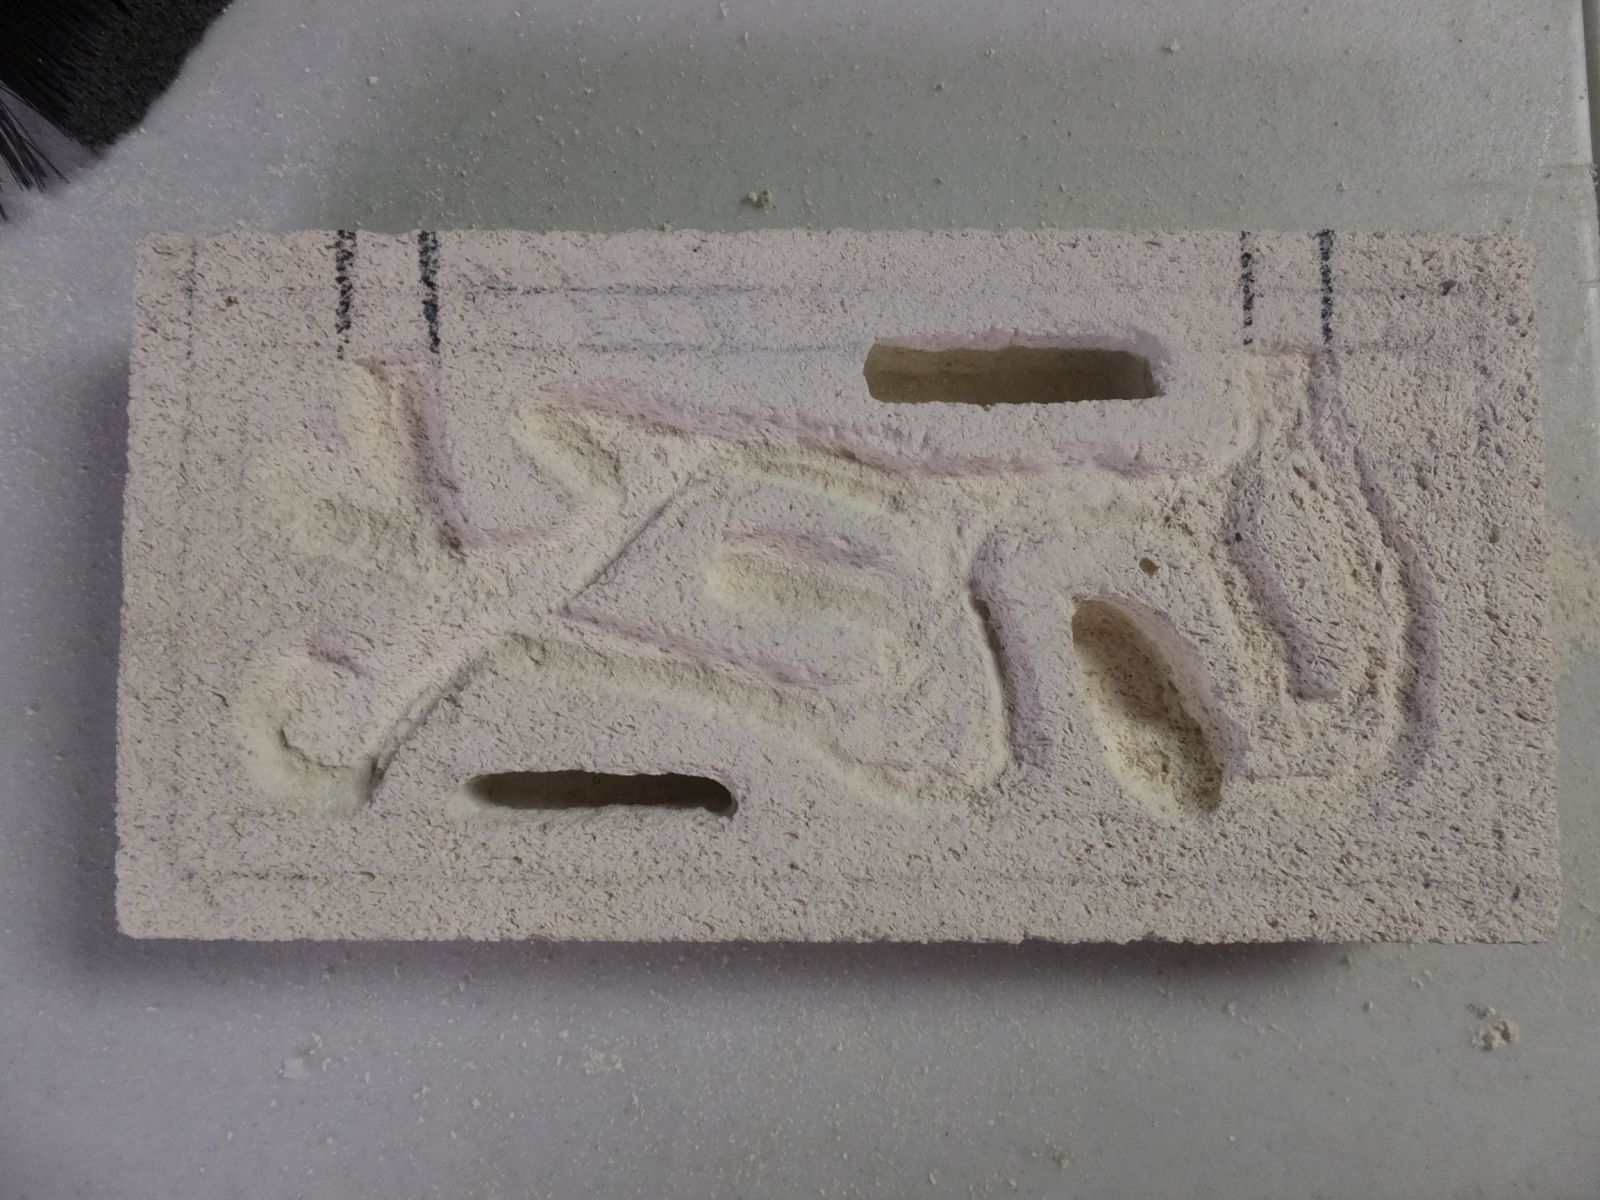
Once the outline was done, I used the cone-shaped and cylindrical orange grinding bits to carve everything to the right depth. I would suggest using the cone first, to get rid of most of the material and to make the tunnels. I found that the length of the cylinder tool is just the right right for chamber depth, so I just pushed it straight down until the bottom edge was even with the top of the brick, and followed the edges of the tunnels and chambers.
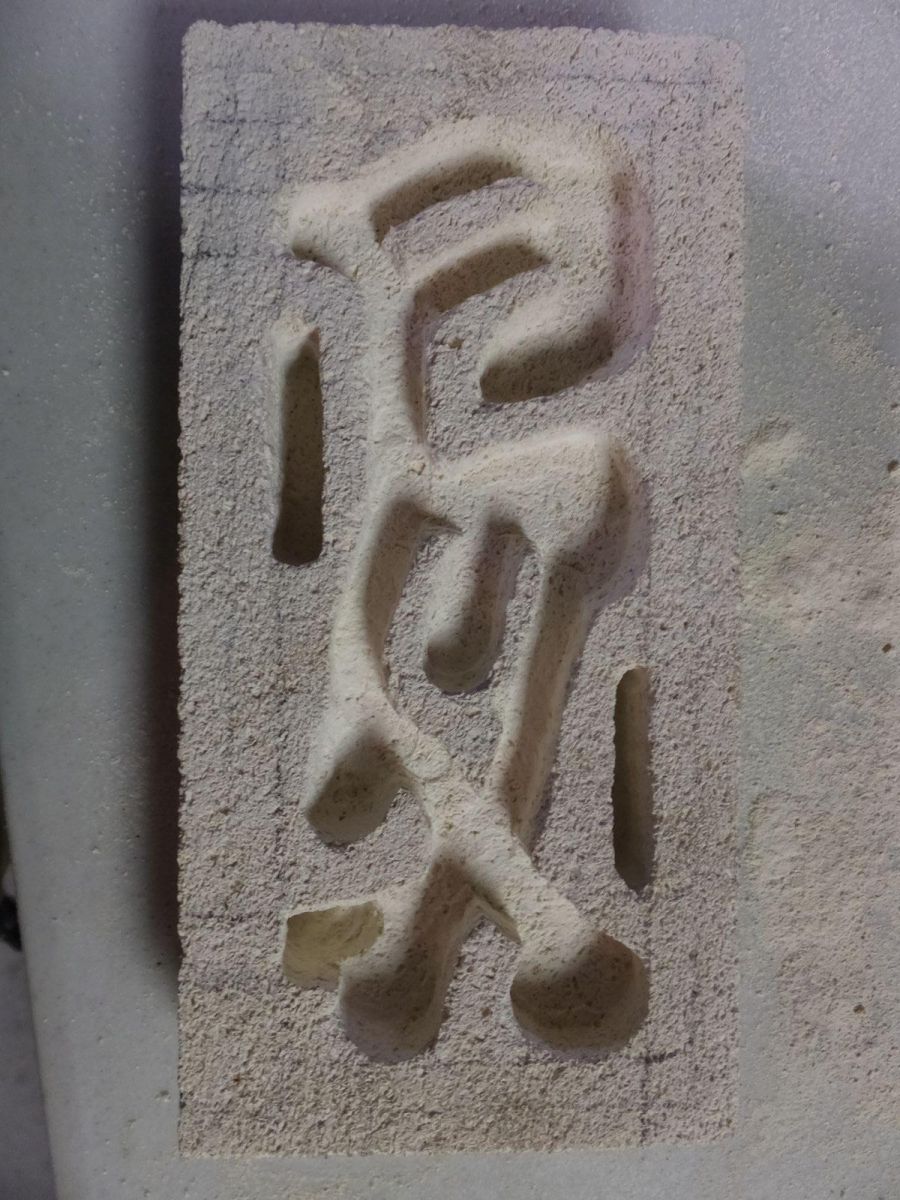
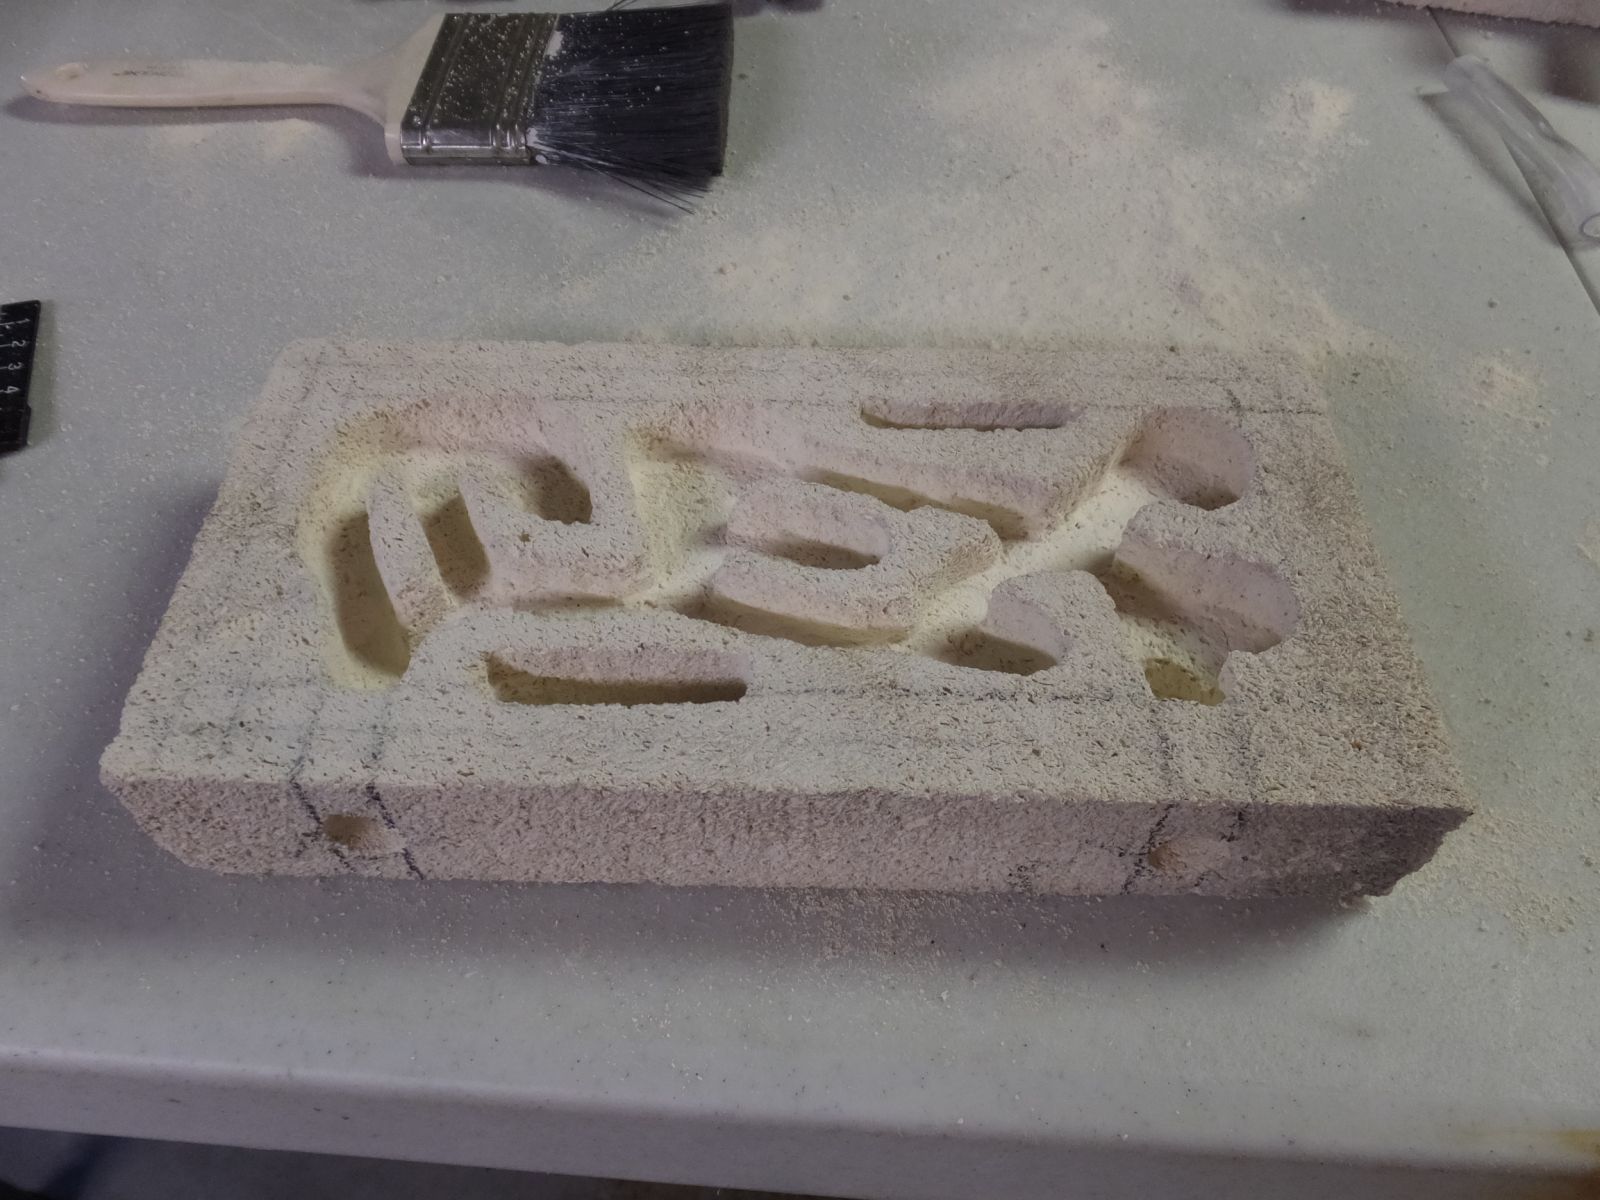
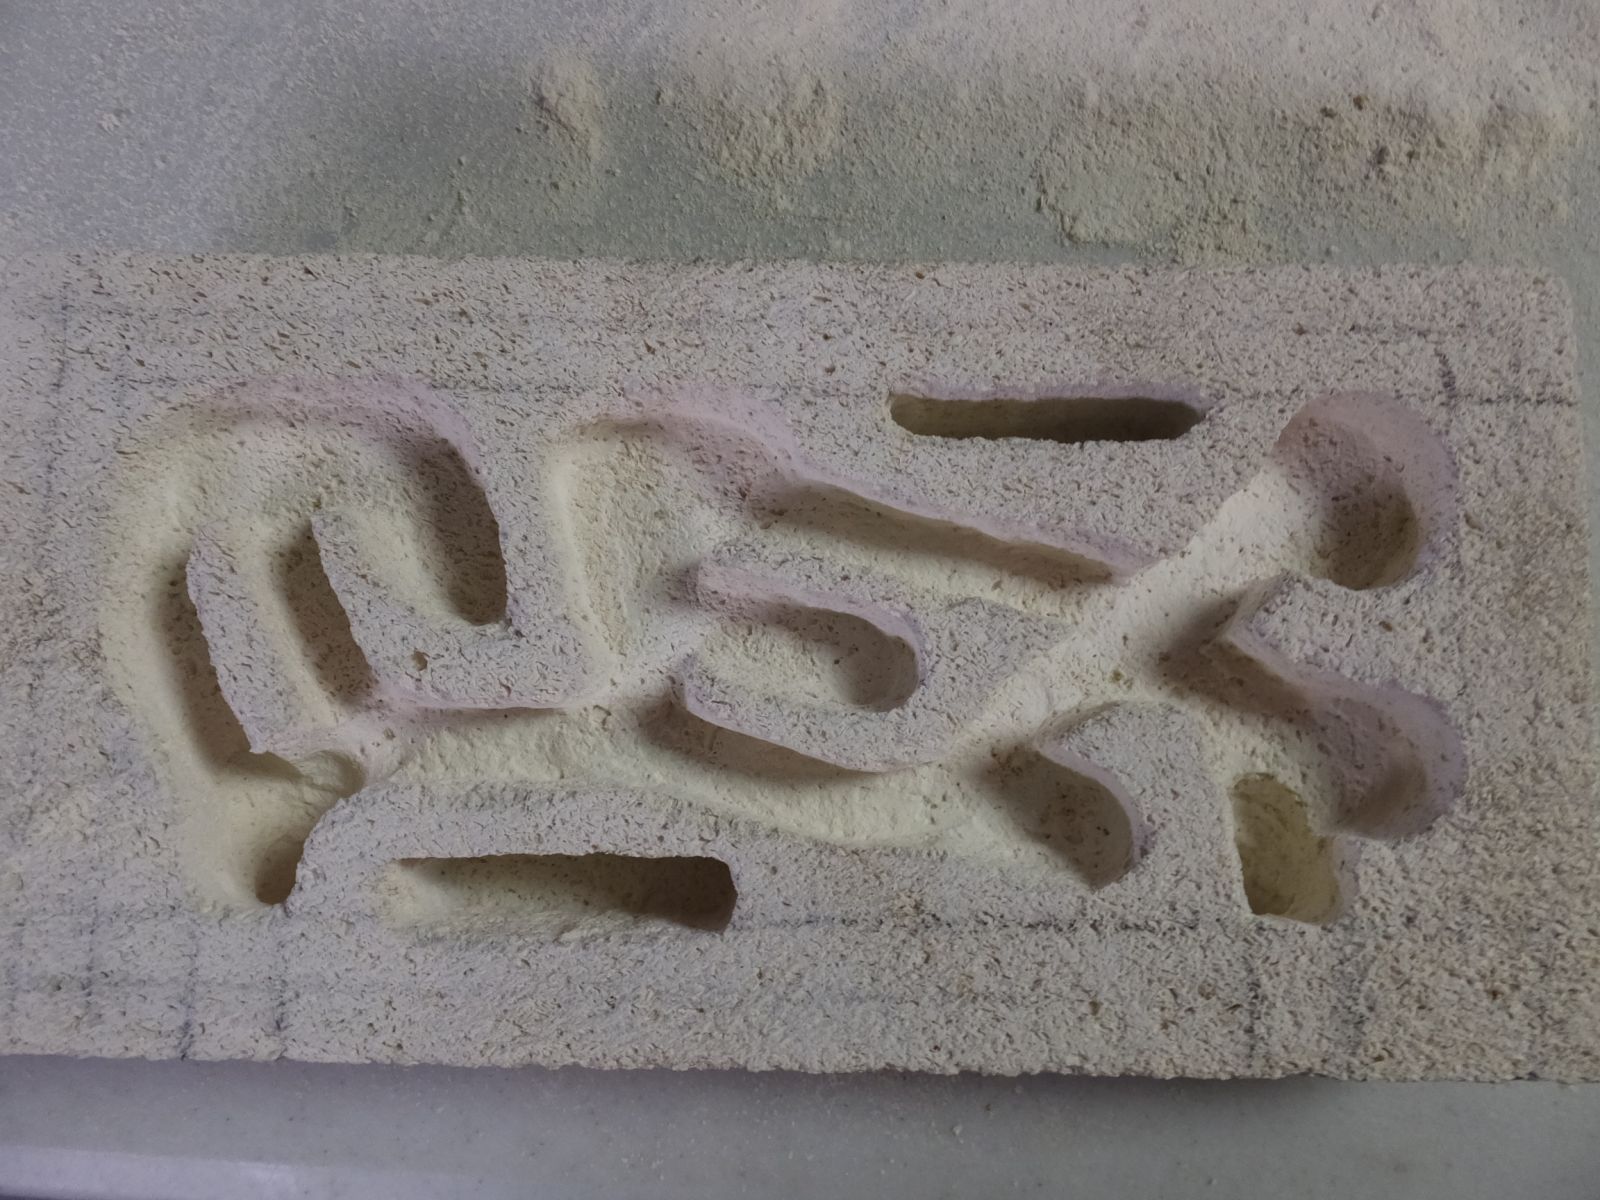
Now all that's left is the finishing touches! I took some sandpaper and smoothed out all of the faces of the brick, and rounded out the edges to make it just look a bit better. I soaked the brick to try and keep the dust down, so it's sitting in the oven right now at 200oF to help it dry out faster. You don't want to set the oven hotter than that, as it may crack the brick in two. I'll be finishing it tomorrow, making the cover out of a picture frame and painting the nest.


