Jump to content

  • Chat
  •  
  •  

Welcome to Formiculture.com!

This is a website for anyone interested in Myrmecology and all aspects of finding, keeping, and studying ants. The site and forum are free to use. Register now to gain access to all of our features. Once registered and logged in, you will be able to create topics, post replies to existing threads, give reputation points to your fellow members, get your own private messenger, post status updates, manage your profile and so much more. If you already have an account, login here - otherwise create an account for free today!

Photo

Dspdrew's Formicarium 08 Research and Design (Updated 11-26-2023)

formicarium container out world enclosure how-to diy design nest dspdrew tutorial

  • Please log in to reply
190 replies to this topic

#101 Offline dspdrew - Posted October 26 2015 - 10:46 AM

dspdrew
  • LocationSanta Ana, CA

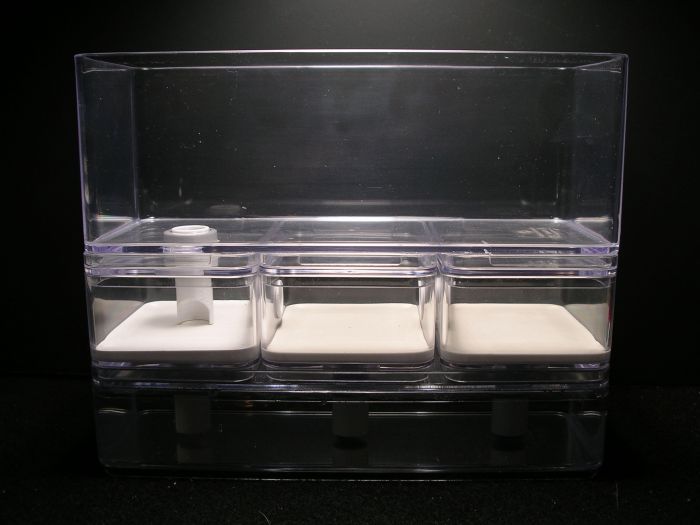
Well, originally it was to allow me to pop out the hard piece of plastic used in the mold, but since the acrylic rod was in so tight, I decided to leave it in there to be used as a handle.
#102 Offline dspdrew - Posted November 4 2015 - 8:16 AM

dspdrew
  • LocationSanta Ana, CA
First of all, in case anyone is wondering, the jig for sanding down the tile is working perfectly. It's a messy operation, but so far I think it's worth it. The acrylic rod has been primarily how I hold on to it, so it was a good thing I kept it there.
 
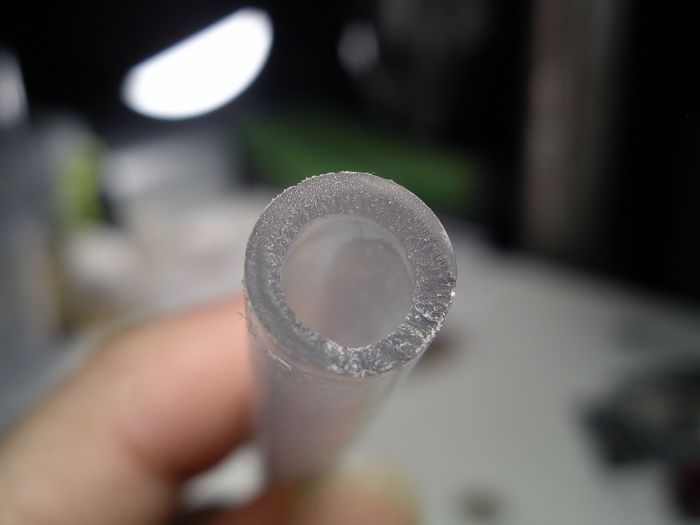
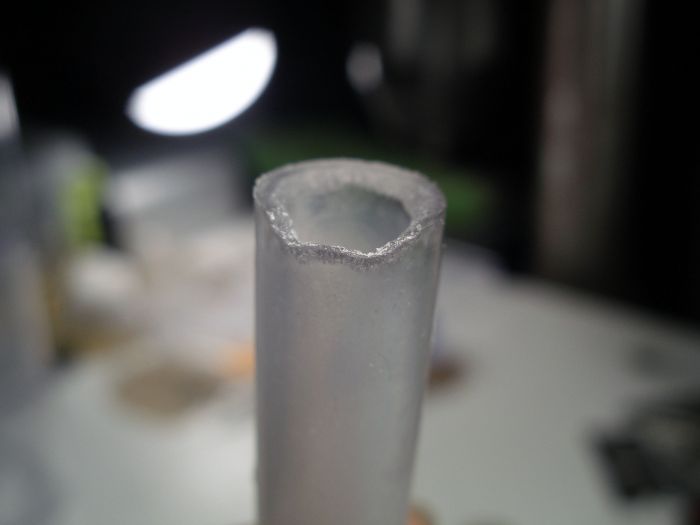
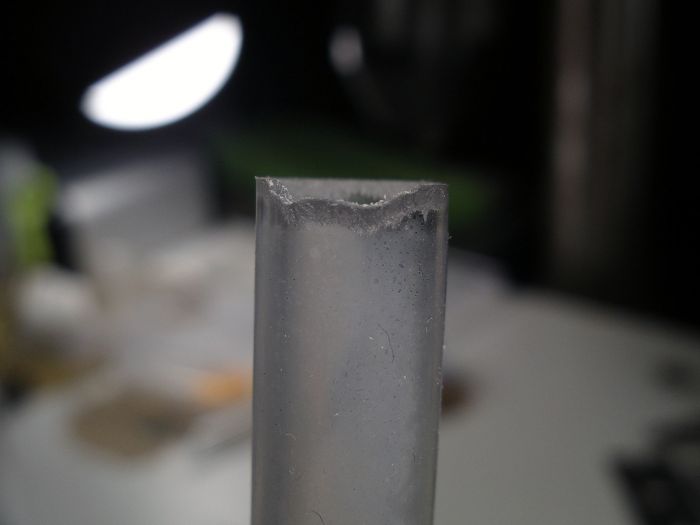
Apparently the silicone plugs aren't the only things these ants can chew through. Now they've even started making their way through through vinyl tubing.  :o I guess it's a good thing I'm no longer using it in any of my formicarium designs.
 
med_gallery_2_281_42748.jpg
 
med_gallery_2_281_157781.jpg
 
med_gallery_2_281_253340.jpg
 
 
Now of course the ants did have access to an edge, and this happened over a period of many months, but it's still much more than I thought they would have ever been able to do.
 
I finally finished the third prototype. I changed quite a few things since that last picture of all the 3D printed parts. I also started making three-chamber versions for the prototypes to cut down on the waste. Other than the number of chambers and the overall size, they're still exactly the same and I'll be making these in both sizes once I'm finished anyway.
 
I decided to do away with the Hyrdrostone in any containers above the first level where it's needed of course for the hydration. This will make things more visible and less work to make, plus the ants have no problem walking around on smooth plastic anyway. As for absorption of unwanted liquids, that will be the only drawback. It's yet to be seen how much condensation might form on the upper levels of containers (which BTW I haven't even tried yet). One thing I know for sure is that the foraging container should never have liquid in it.
 
med_gallery_2_281_313538.jpg
 
 
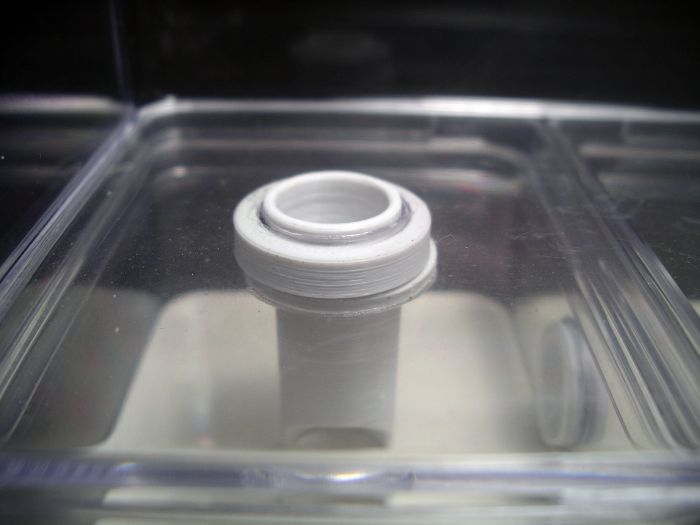
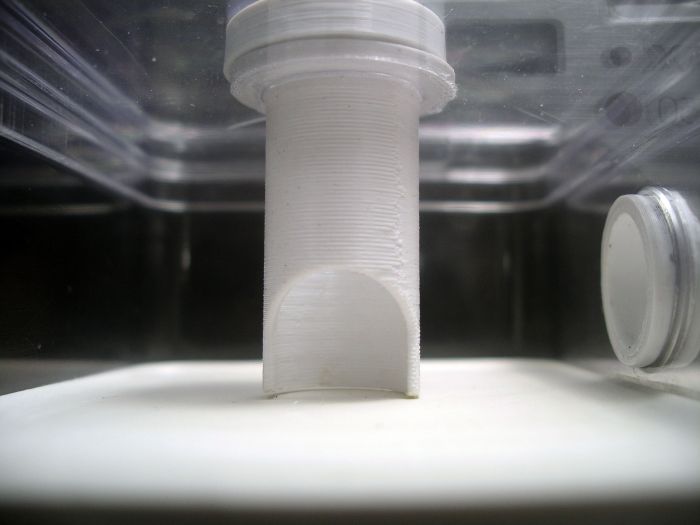
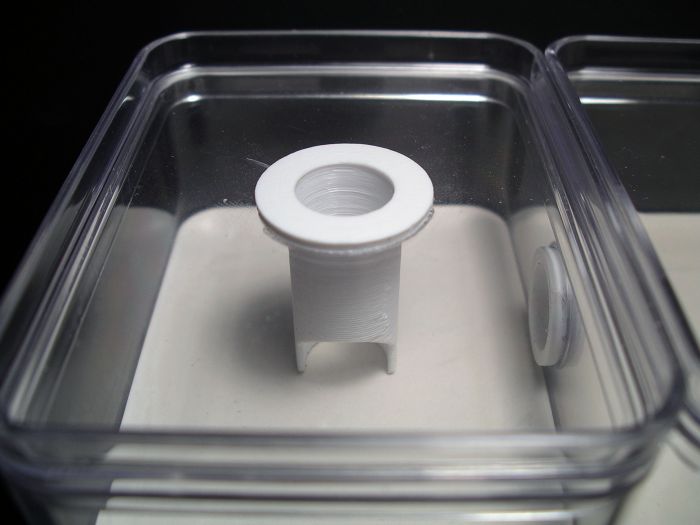
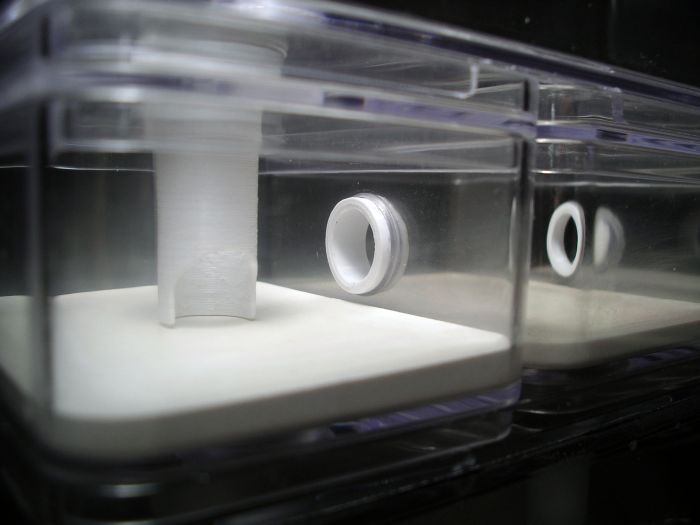
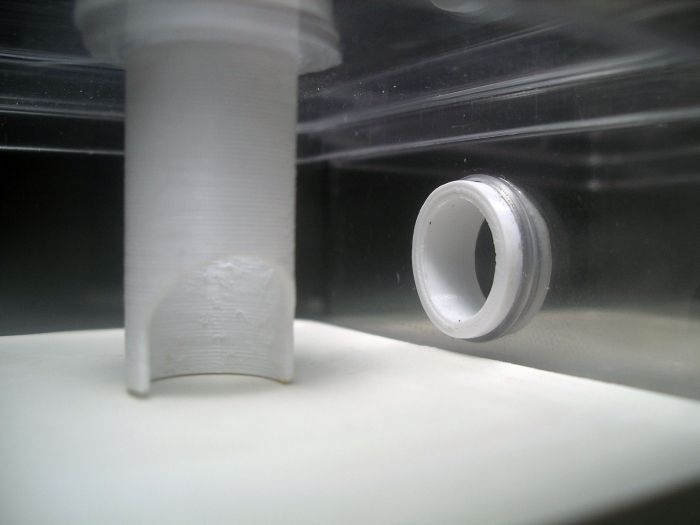
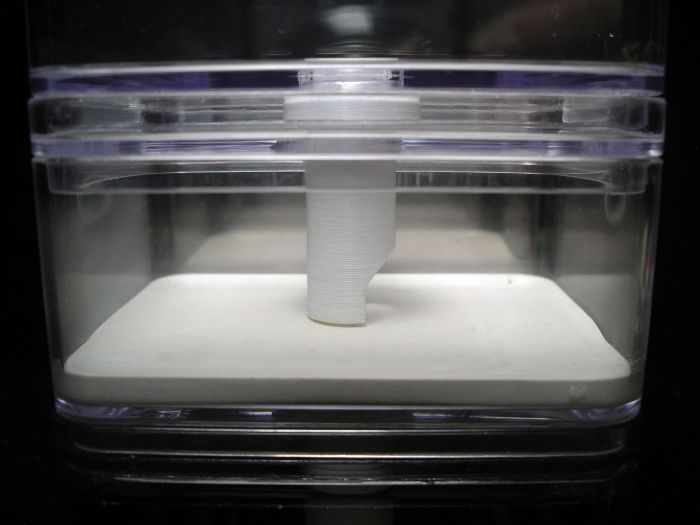
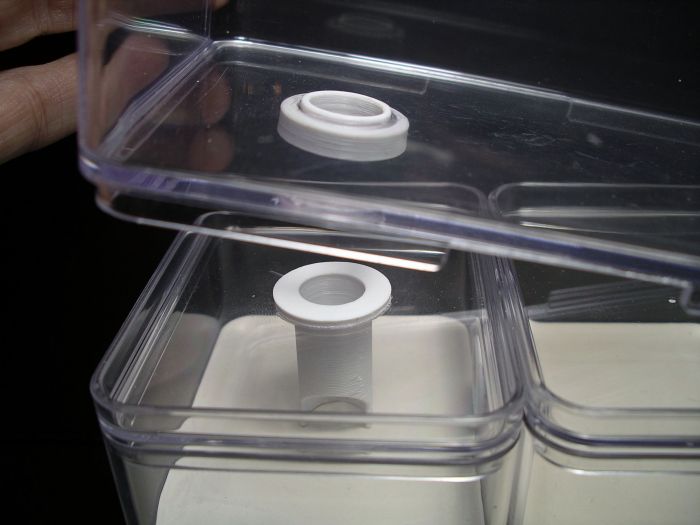
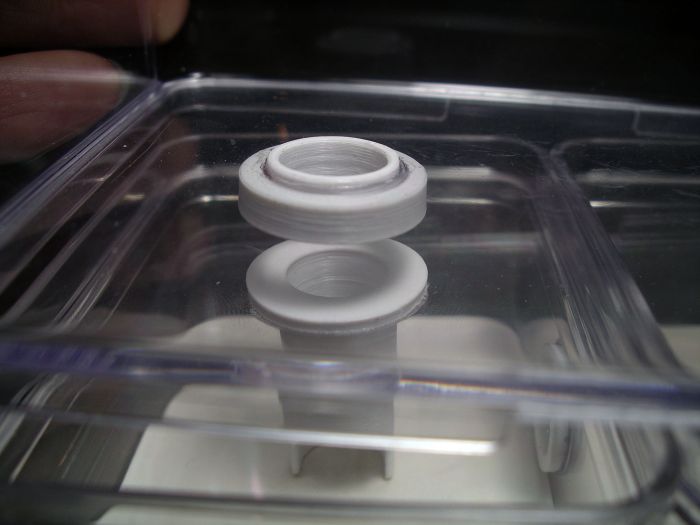
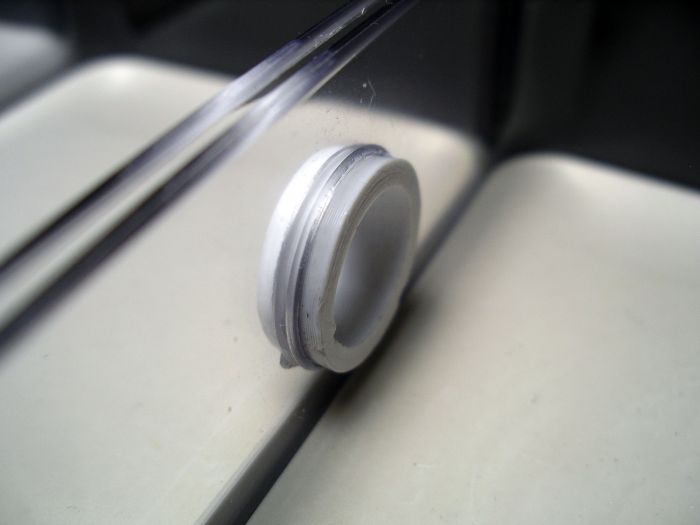
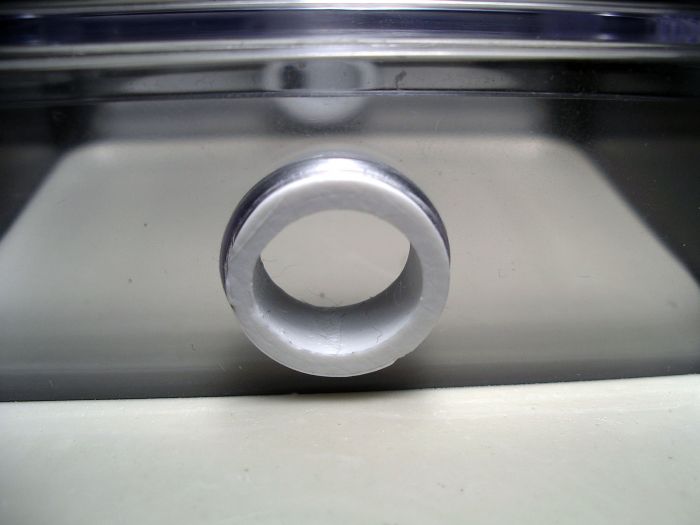
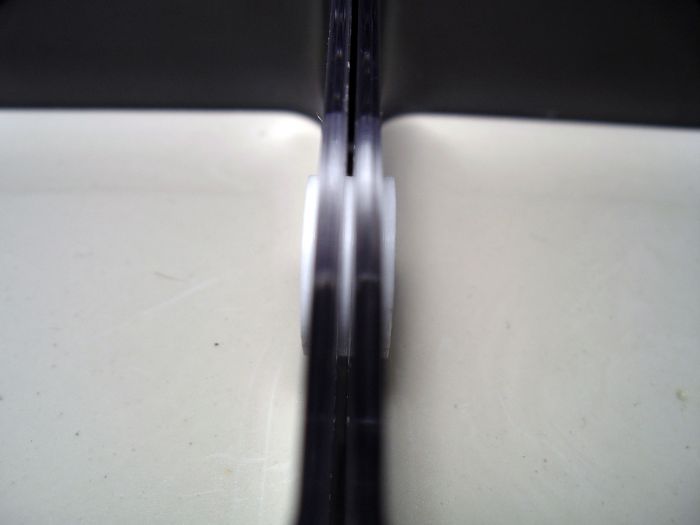
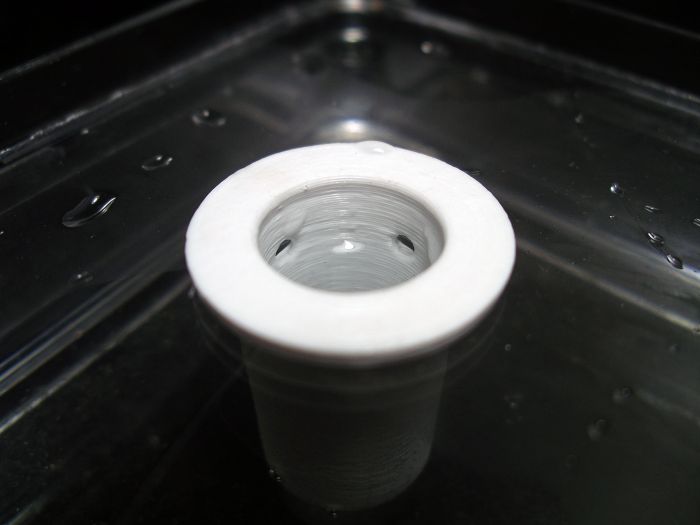
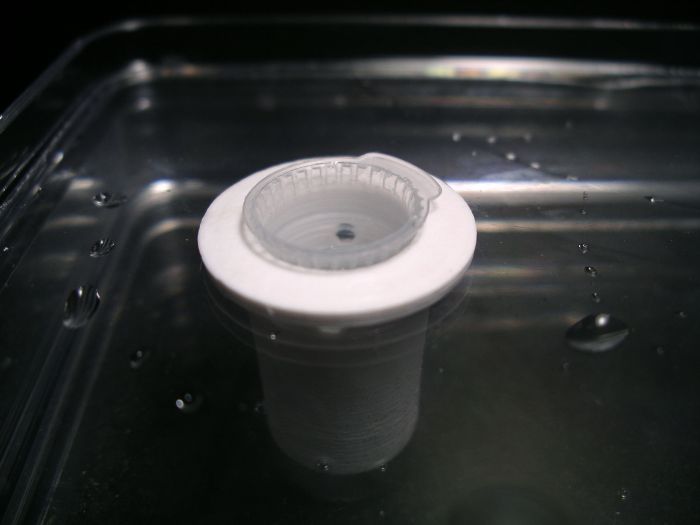
For the foraging container connection and nest entrance, I decided to go with two fittings that will just butt up against each other. It's hard to see because of the clear plastic, but the upper fitting only sticks up into the container about 1mm. The larger flange is on the bottom side of the container. For anyone who doesn't know, because of the nature of the design of these BoxBox containers, there is about a 5mm gap between them when stacked. I need to work on getting the holes in both containers lined up better. This is an issue with my jig and how I'm using it.
 
med_gallery_2_281_246274.jpg
 
med_gallery_2_281_351418.jpg
 
med_gallery_2_281_3108.jpg
 
med_gallery_2_281_395287.jpg
 
med_gallery_2_281_74408.jpg
 
med_gallery_2_281_20454.jpg
 
 
The reason I went with this connection/entrance design is for ease of disconnecting the foraging container while the nest is occupied by a large colony. It took me a while to think of the best way of doing this, because every other connector I tried became a nightmare when this situation arised.
 
med_gallery_2_281_24965.jpg
 
 
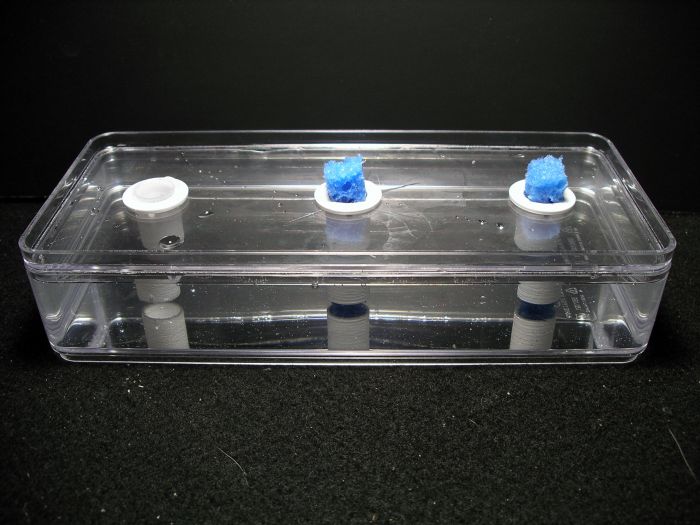
You would simply stuff something like cotton or a sponge down into the entrance until it's all the way inside the bottom tube sealing it off. Then you would just put the included polystyrene plug into the upper hole sealing that one off. Once this is done the foraging container can be easily lifted off without any ants escaping from the nest or itself. Once it's time to reattach the foraging container, you just set it back down, pull out the upper plug, and then use a tweezers or something to pull out the cotton.
 
med_gallery_2_281_458676.jpg
 
 
The chamber connectors are the same inner diameter as the entrance--about 1/2 inch. I'll also be making an adapter to attach 5/8 inch OD vinyl tubing to the formicarium in case anyone wants to hook something else up to it.
 
med_gallery_2_281_100801.jpg
 
med_gallery_2_281_304246.jpg
 
med_gallery_2_281_314752.jpg
 
 
The water tank is still the same; I just make some minor adjustments to the water port design. You can see I also cracked the plastic putting the center port in. I'll have to find a way to secure the lids before putting that much pressure on them.
 
med_gallery_2_281_608945.jpg
 
med_gallery_2_281_272187.jpg
 
med_gallery_2_281_192471.jpg
  • drtrmiller and ferhat like this

#103 Offline dspdrew - Posted February 1 2016 - 11:16 AM

dspdrew
  • LocationSanta Ana, CA
My high-tech setup for sanding down tiles.  :lol:  I definitely need to do this another way...
 
med_gallery_2_281_123883.jpg

#104 Offline dspdrew - Posted February 15 2016 - 8:04 PM

dspdrew
  • LocationSanta Ana, CA
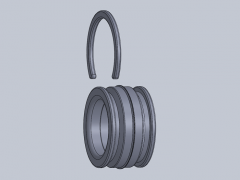
So I came up with a new design for the chamber connectors that will allow the nest to be expanded on the fly, without the need to move the colony out to do it. I'm not talking about opening more existing chambers, but actually adding on more. This would include things like attaching two formicariums together side by side or end to end to make one larger one. The new chambers should be able to be added without ever having to open the existing chamber that the new one is being attached to. You would just add it, and then open it up by pulling out the plug. This means there will be an infinite amount of configurations and sizes that can be created.
 
The way I'll do this is by using a connector held in by c-clips.
 
sml_gallery_2_281_32027.png   sml_gallery_2_281_13637.png
 
 
I have a 3D printer on the way, so soon I'll be able to print this stuff out on demand. :D

#105 Offline drtrmiller - Posted February 15 2016 - 8:34 PM

drtrmiller

    Vendor

  • Members
  • PipPipPip
  • 2,714 posts
That part is definitely not going to print the way you expect. You'll need to change lots of things. You'll see when you get your machine.


byFormica® is the manufacturer of the iconic nectar feeders and Sunburst Ant Nectar.
byFormica ant products always deliver consistent performance, convenience,
and reliability, making them among the most beloved ant foods and kit enjoyed by
ant keeping enthusiasts worldwide. For more information, visit www.byFormica.com.

#106 Offline dspdrew - Posted February 15 2016 - 9:45 PM

dspdrew
  • LocationSanta Ana, CA
:lol: Okay. How is it going to print then?
 
You know it's not one part right? I showed it to you already.
 
gallery_2_281_23759.png

#107 Offline drtrmiller - Posted February 15 2016 - 11:32 PM

drtrmiller

    Vendor

  • Members
  • PipPipPip
  • 2,714 posts

Depends on your tolerances. Also get rid of any unsupported fillets on the first few layers of your printing orientation, otherwise you're printing on air. Making small parts that are supposed to fit and work in an assembly is tricky on these low resolution machines.


Edited by drtrmiller, February 16 2016 - 12:09 AM.


byFormica® is the manufacturer of the iconic nectar feeders and Sunburst Ant Nectar.
byFormica ant products always deliver consistent performance, convenience,
and reliability, making them among the most beloved ant foods and kit enjoyed by
ant keeping enthusiasts worldwide. For more information, visit www.byFormica.com.

#108 Offline dspdrew - Posted February 16 2016 - 1:45 AM

dspdrew
  • LocationSanta Ana, CA

I'll take care of those fillets, although it never seemed to be an issue for Bryan. At .25 mm, they're pretty much nonexistent to the printer. The assembly I'm pretty sure will work fine. None of this stuff needs to be that precise.


Edit: I just looked at the old connector, and it actually sits on a .5 mm fillet and prints just fine.


Edited by dspdrew, February 16 2016 - 7:37 AM.


#109 Offline Foogoo - Posted February 23 2016 - 1:21 PM

Foogoo

    Advanced Member

  • Members
  • PipPipPip
  • 1,161 posts
  • LocationLos Angeles, CA

I have a 3D printer on the way, so soon I'll be able to print this stuff out on demand. :D

Which model did you settle on?


Camponotus vicinus, Crematogaster 1, Crematogaster 2, Formica francoeuri, *, *, Myrmecocystus testaceus, Novomessor cockerelli, Pheidole hyatti, Pogonomyrmex californicus, Pogonomyrmex rugosus, Solenopsis invicta


#110 Offline Vendayn - Posted March 1 2016 - 7:56 PM

Vendayn

    Advanced Member

  • Banned
  • PipPipPip
  • 1,981 posts
  • LocationOrange County, California

How is the design coming along? Still a work in progress? Dunno if you got the 3d printer or not yet.


#111 Offline dspdrew - Posted March 1 2016 - 10:00 PM

dspdrew
  • LocationSanta Ana, CA


I have a 3D printer on the way, so soon I'll be able to print this stuff out on demand. :D

Which model did you settle on?


A Chinese steaming pile of crap. This is why I haven't gotten anywhere on these projects. I should not have gotten their newest design. The old design apparently works well, and many people have them, so there's lots of support. The one I got, not so much. This thing was totally beat up and used. I'm filing a claim with PayPal to get my money back.


#112 Offline Ants4fun - Posted March 4 2016 - 3:36 PM

Ants4fun

    Advanced Member

  • Members
  • PipPipPip
  • 1,142 posts
  • LocationSouth Dakota
If I may, what model is supposedly good? Just figuring out the cost of a 3-d printer.

#113 Offline drtrmiller - Posted March 4 2016 - 3:51 PM

drtrmiller

    Vendor

  • Members
  • PipPipPip
  • 2,714 posts

If I may, what model is supposedly good? Just figuring out the cost of a 3-d printer.


Buying a pre-built machine for less than $1000 with the goal of reliably making functional parts is a risky proposition.


Edited by drtrmiller, March 4 2016 - 3:57 PM.


byFormica® is the manufacturer of the iconic nectar feeders and Sunburst Ant Nectar.
byFormica ant products always deliver consistent performance, convenience,
and reliability, making them among the most beloved ant foods and kit enjoyed by
ant keeping enthusiasts worldwide. For more information, visit www.byFormica.com.

#114 Offline dspdrew - Posted March 5 2016 - 1:39 PM

dspdrew
  • LocationSanta Ana, CA

There are countless amounts of people who have.


#115 Offline dspdrew - Posted March 31 2016 - 7:57 AM

dspdrew
  • LocationSanta Ana, CA
So now that I got a 3D printer that works, I've been printing tons of stuff out. In case anyone is wondering, I got another Chinese MakerBot clone called QIDI TECHNOLOGY. This deal was a world of a difference from that last one. It has a steel frame instead of wood, and came with tons of extra parts and tools. The entire package was really good for the price ($150 cheaper than the first one), and everybody says their support is great. Enough about the printer though.
 
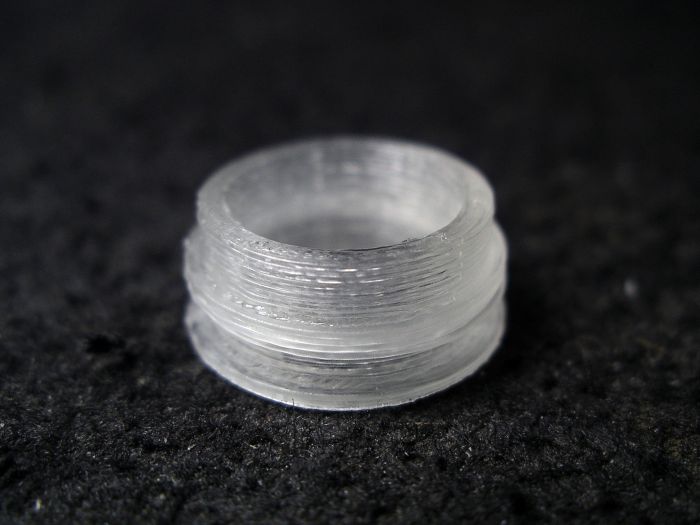
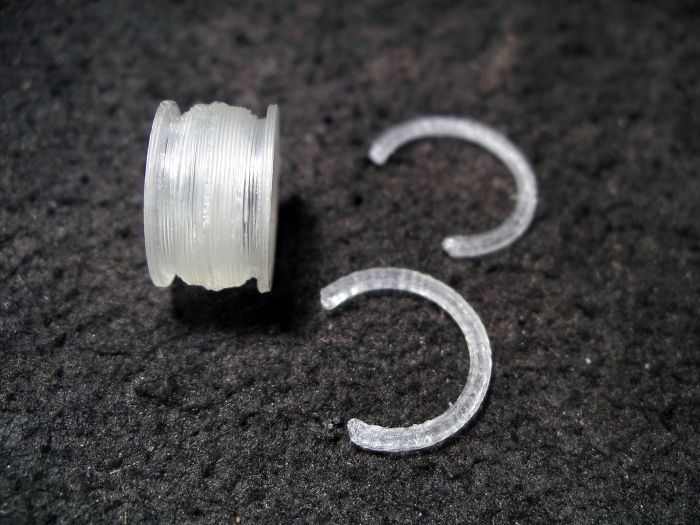
I've been printing lots of parts at about the same quality as I was getting from Bigb (he has a MakerBot clone as well), but this part didn't come out so great at first. The area where the two pieces come together was just too detailed and complex for its small size, and really just ended up causing them to not even come close to fitting together. So instead, I just simplified it a bit. Now it's basically just a 1.5 mm tube that slides into the other side. Since there is no locking mechanism, I'm using a little solvent to weld them together permanently, even though they actually fit tight enough already that they probably don't even need that.
 
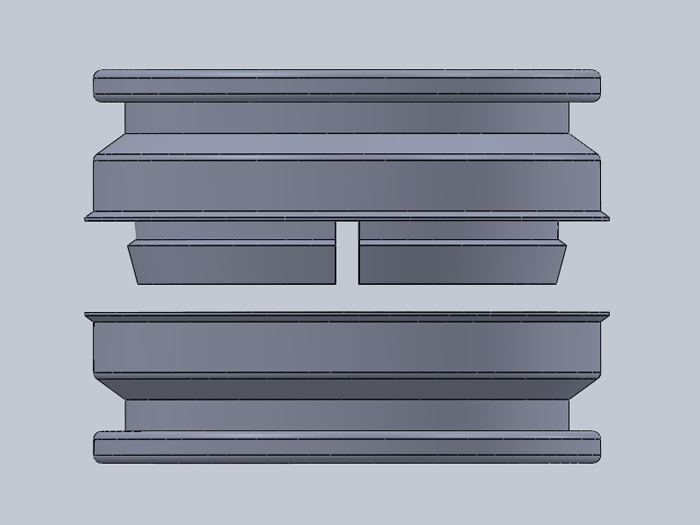
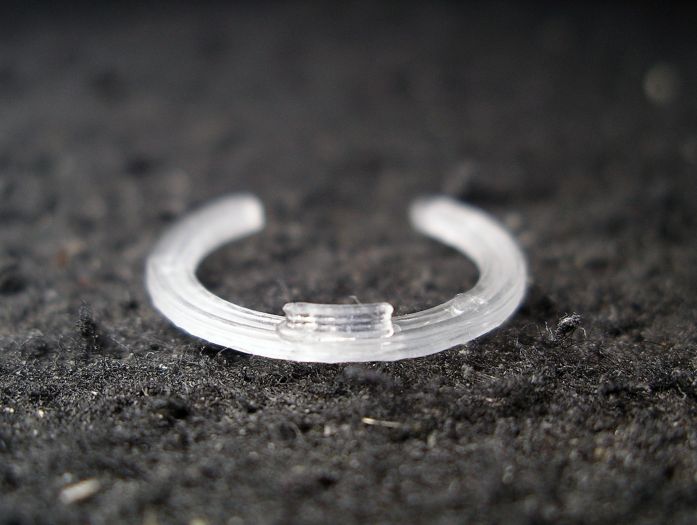
In case anyone is wondering why I am printing these connectors out in two parts, it's because typically with 3D printing, you can only get flat surfaces on top, and not the bottom of features, except for the very bottom of course where it's sitting on the print bed. These c-clips must be up against a perfectly flat surface in order to stay in place with strength. Obviously this is the same for both sides, so therefor each side has to be printed separately.
 
Here's the finished connector and c-clips.
 
med_gallery_2_281_824260.jpg
 
 
They're actually working better than I even expected. Once the c-clips are on, they're on good, and they are quite strong too. I didn't test how much force it would take to pull the connector out, but it would most likely be WAY more force than should ever be exerted on these things. Just as I had planned, the smaller 10 mm plug fits perfectly, and is small enough to easily fit through the hole in the containers, allowing them to remain plugged, until the new container is securely attached. Even though taking the c-clip off is not something that will be done very often, I still think I might add a tiny tab at the top to make it easier to get a hold of them and slide them off.
 
med_gallery_2_281_37672.jpg
 
med_gallery_2_281_433629.jpg
 
 
These even act as a spacer, to keep the containers about 1 mm apart as the should be to fit perfectly on top of the larger containers.
 
med_gallery_2_281_243185.jpg
 
 
I purposely designed these new connectors with the same outer diameter, so I can now swap out all my old connectors with these when I get the chance. :D
  • Subverted likes this

#116 Offline dspdrew - Posted April 1 2016 - 8:14 PM

dspdrew
  • LocationSanta Ana, CA
It was actually pretty hard to get the c-clips off, so I went ahead and added the tab. Now it's simple to remove them, and the tab is hardly noticeable when it's installed.
 
med_gallery_2_281_479290.jpg

#117 Offline Vendayn - Posted April 5 2016 - 2:57 PM

Vendayn

    Advanced Member

  • Banned
  • PipPipPip
  • 1,981 posts
  • LocationOrange County, California

The formicarium looks really awesome. :) How are the ants liking it?


#118 Offline dspdrew - Posted April 5 2016 - 3:12 PM

dspdrew
  • LocationSanta Ana, CA

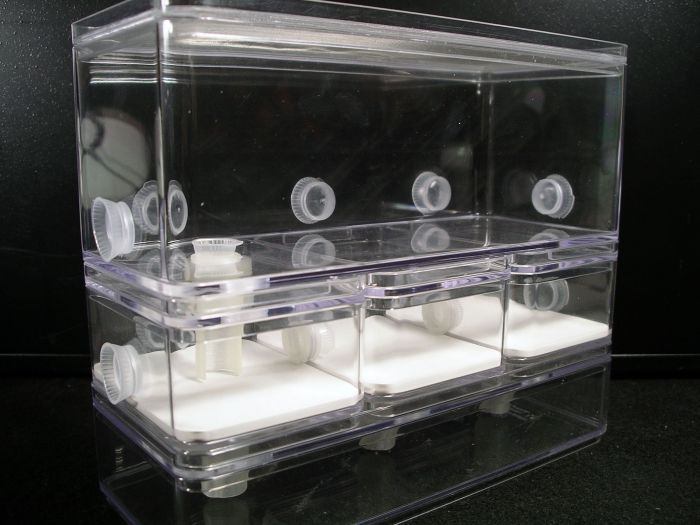
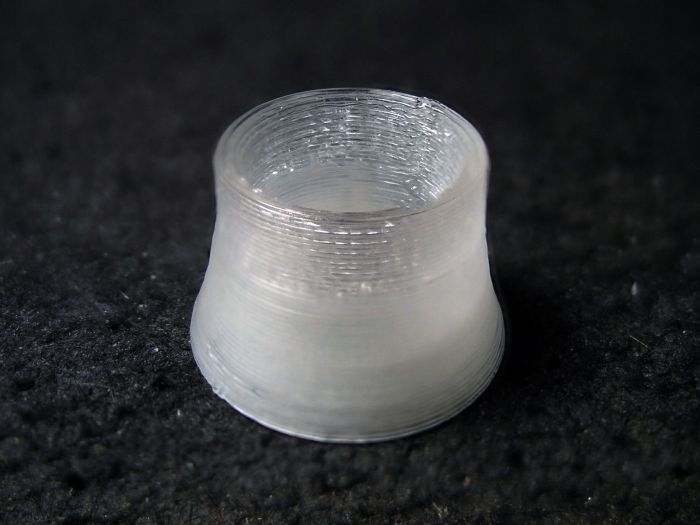
I haven't upgraded any of them yet. It's really not much of a difference to the ants, except the tunnel size is slightly smaller now.
#119 Offline dspdrew - Posted April 22 2016 - 1:48 PM

dspdrew
  • LocationSanta Ana, CA
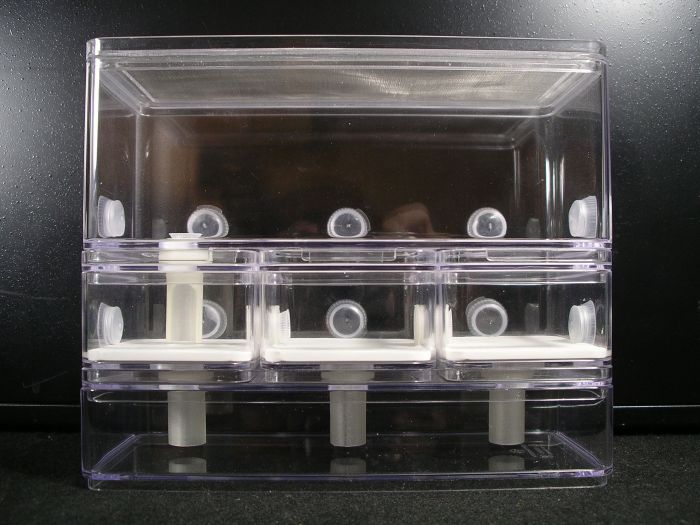
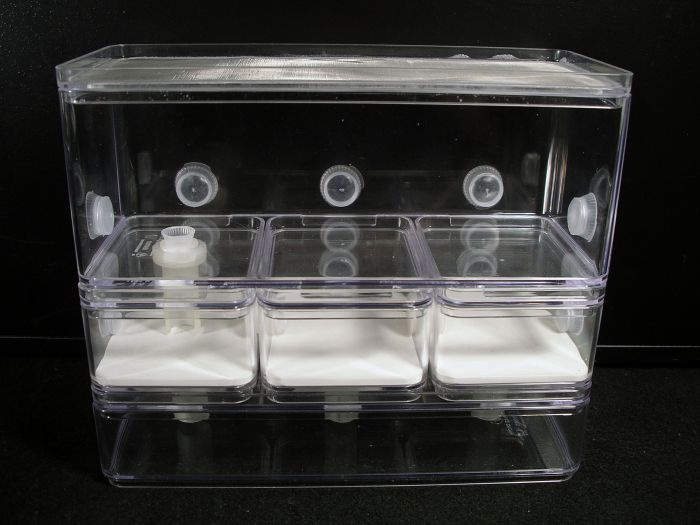
New photos of the finished 3-chamber nest.
 
med_gallery_2_281_129937.jpg
 
med_gallery_2_281_305125.jpg
 
med_gallery_2_281_580329.jpg
 
 
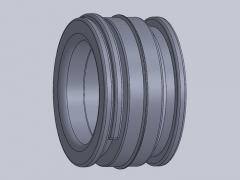
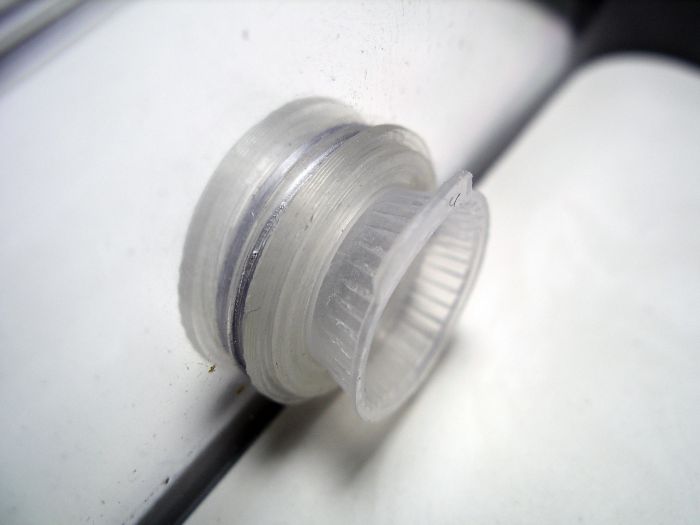
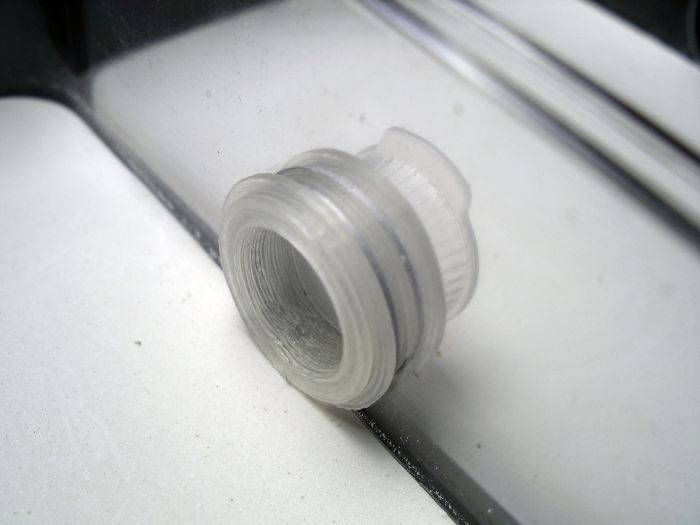
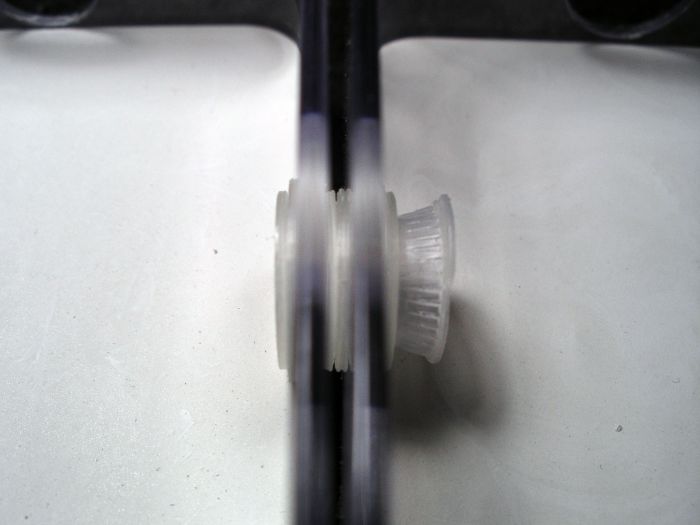
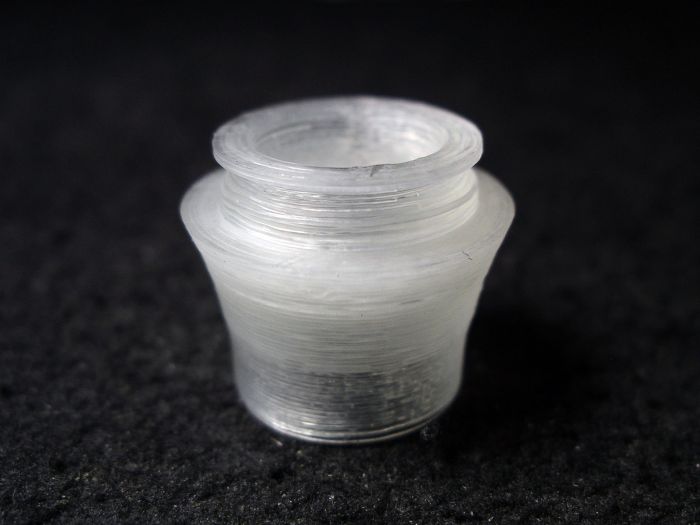
Here is how I print the tube adapters/fittings. These are held in with c-clips too now. It's two pieces pressed together with a vise. That allows me to get flat surfaces on the top and bottom of certain spots.
 
med_gallery_2_281_336796.jpg
 
med_gallery_2_281_192658.jpg
 
med_gallery_2_281_257812.jpg
  • AntsTexas likes this

#120 Offline dermy - Posted April 23 2016 - 10:16 AM

dermy

    Advanced Member

  • Members
  • PipPipPip
  • 1,392 posts
  • LocationCanada

Looks like it should hold a pretty decent sized ant colony :D


Also tagged with one or more of these keywords: formicarium, container, out world, enclosure, how-to, diy, design, nest, dspdrew, tutorial

0 user(s) are reading this topic

0 members, 0 guests, 0 anonymous users